[ESP / ENG] Lindo Búho, elaborado con material reciclado (tutorial).//Cute Owl, made with recycled material (tutorial).
hive-130560·@alfrednoyed·
0.000 HBD[ESP / ENG] Lindo Búho, elaborado con material reciclado (tutorial).//Cute Owl, made with recycled material (tutorial).
<center> <div class="text-justify"> <center> 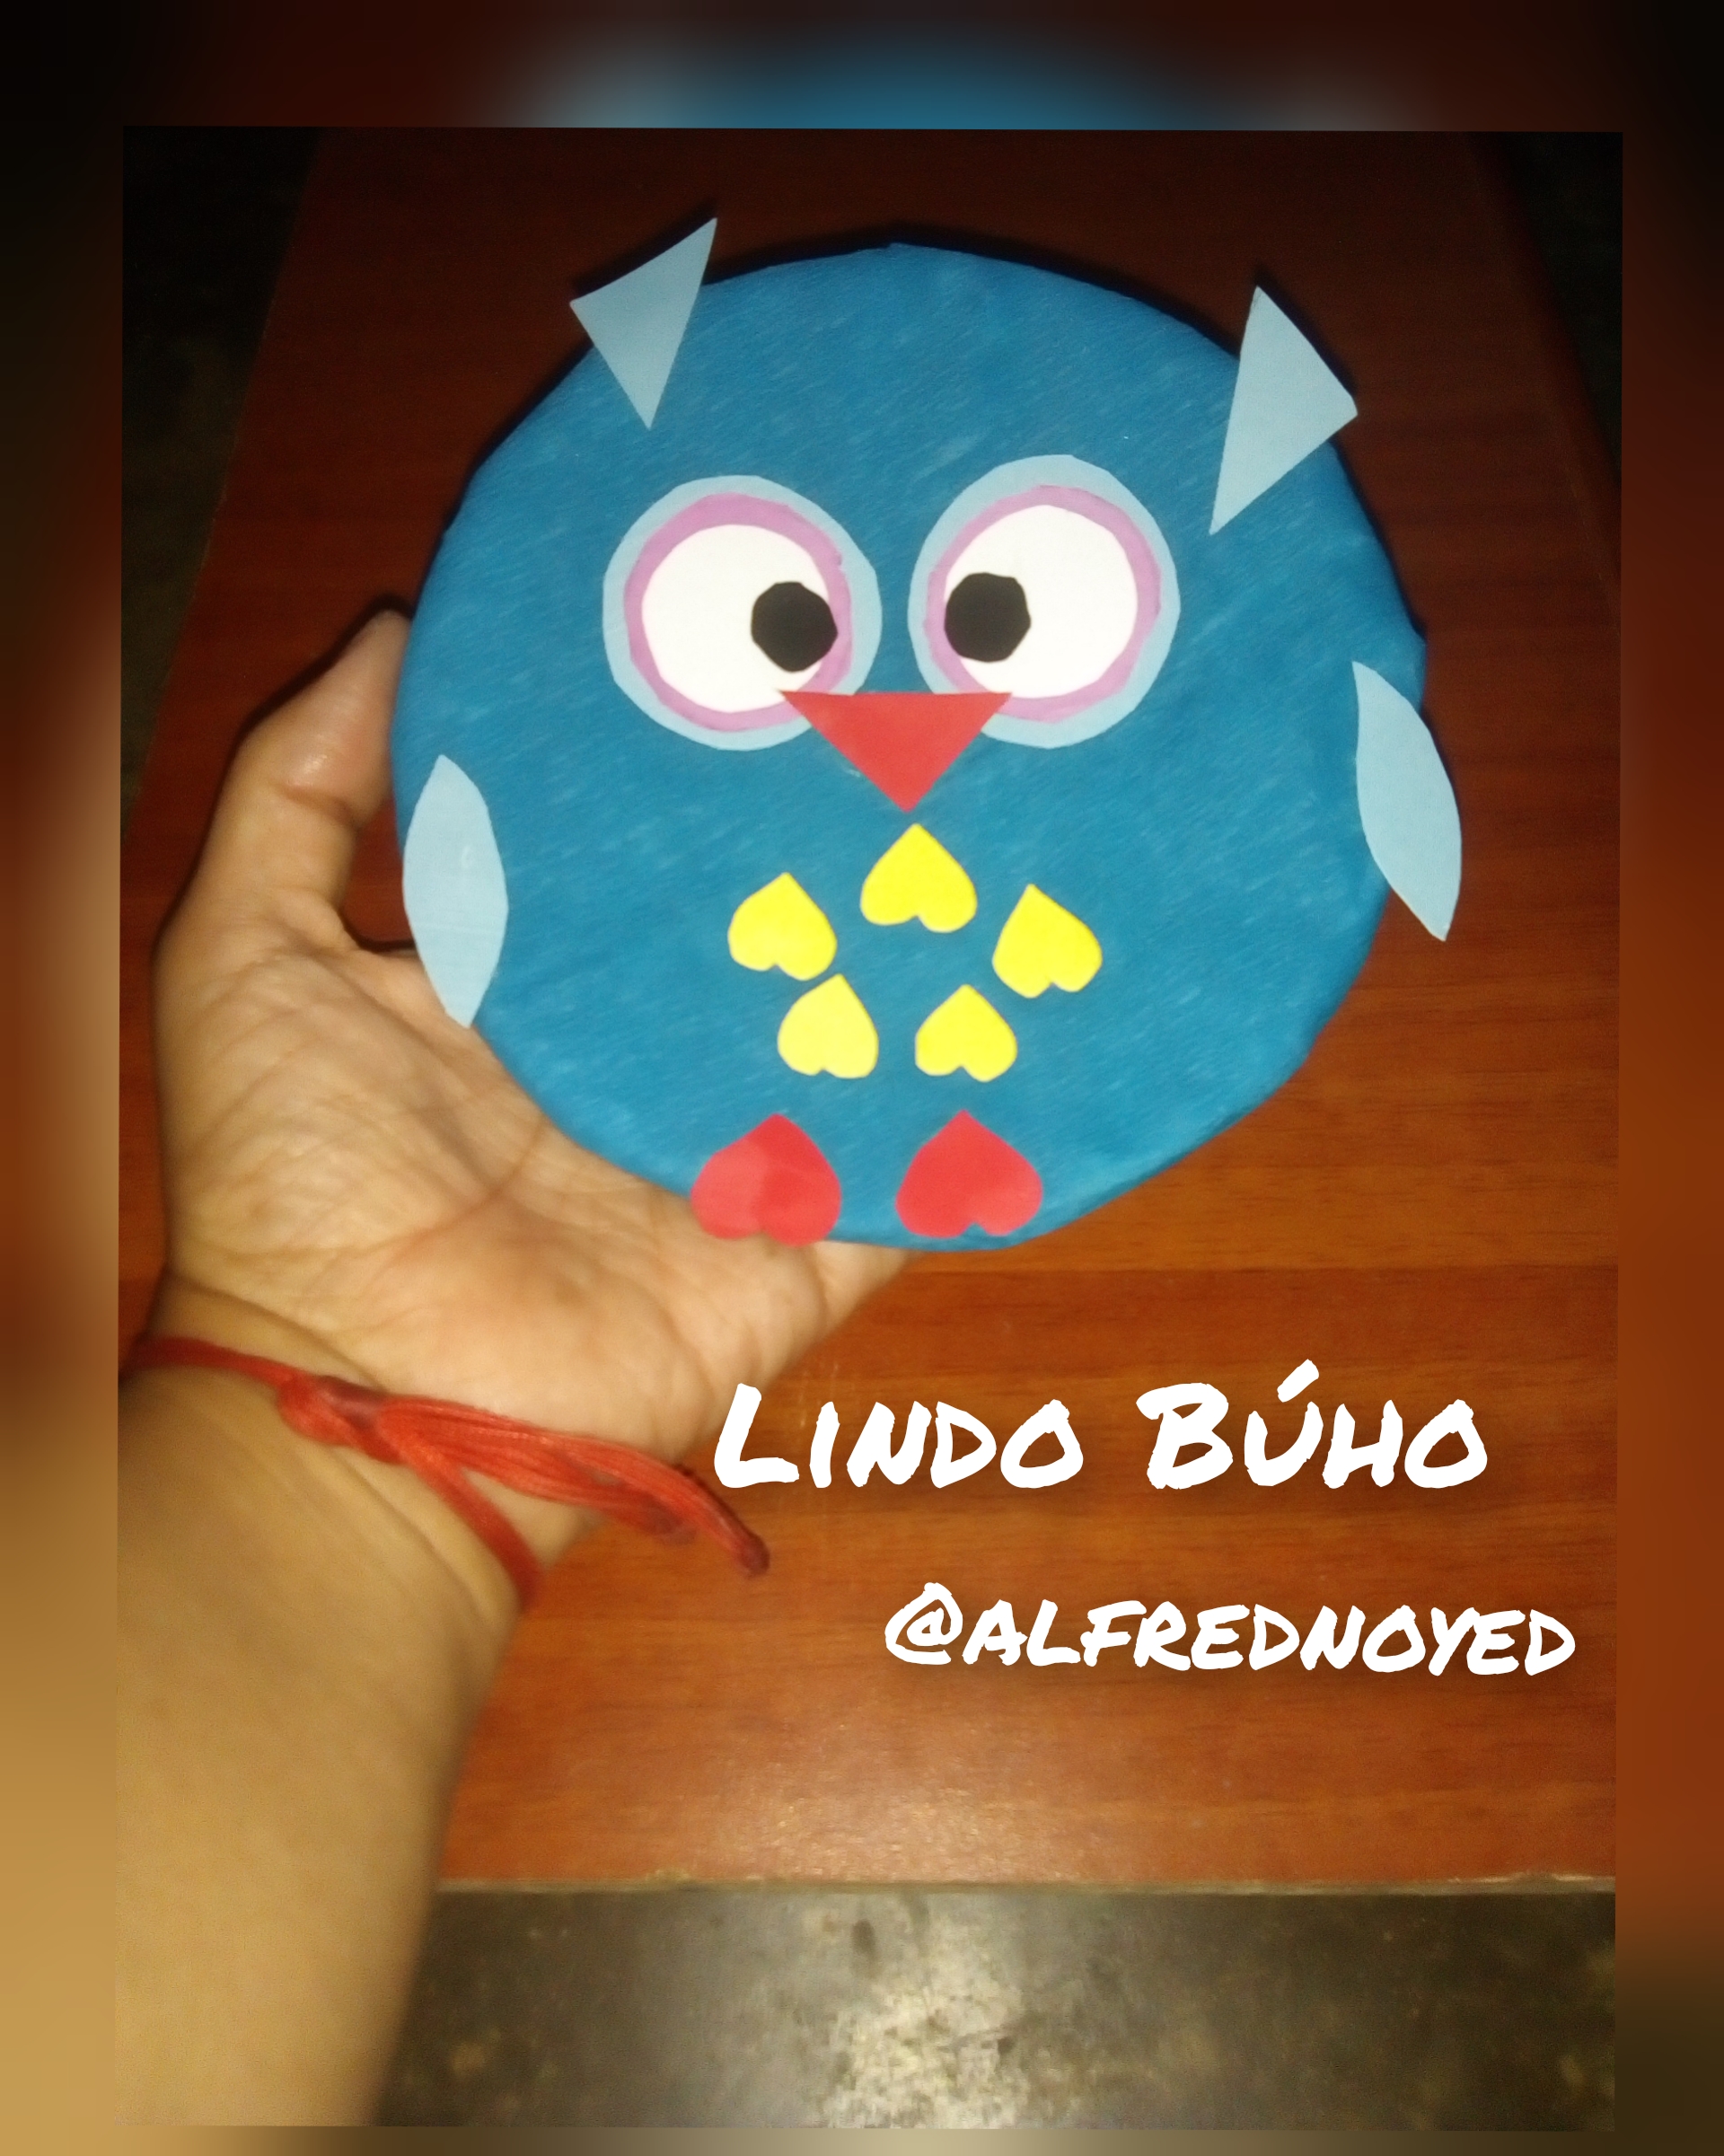 </center> ¡Buenas noches, Hivers! Espero que hayas tenido un buen día. En esta ocasión les traigo un tutorial sobre cómo hacer un lindo búho con material reciclado. >Good night, Hivers! I hope you had a nice day. This time I bring you a tutorial on how to make a cute owl with recycled material. Para esto necesitaremos >For this we will need 1 plato desechable papel crepé azul Cartulina roja, amarilla, blanca y celeste Foami negro Par de tijeras pegamento >1 disposable plate blue crepe paper Red, yellow, white and light blue cardboard Black foami Pair of scissors glue <center> 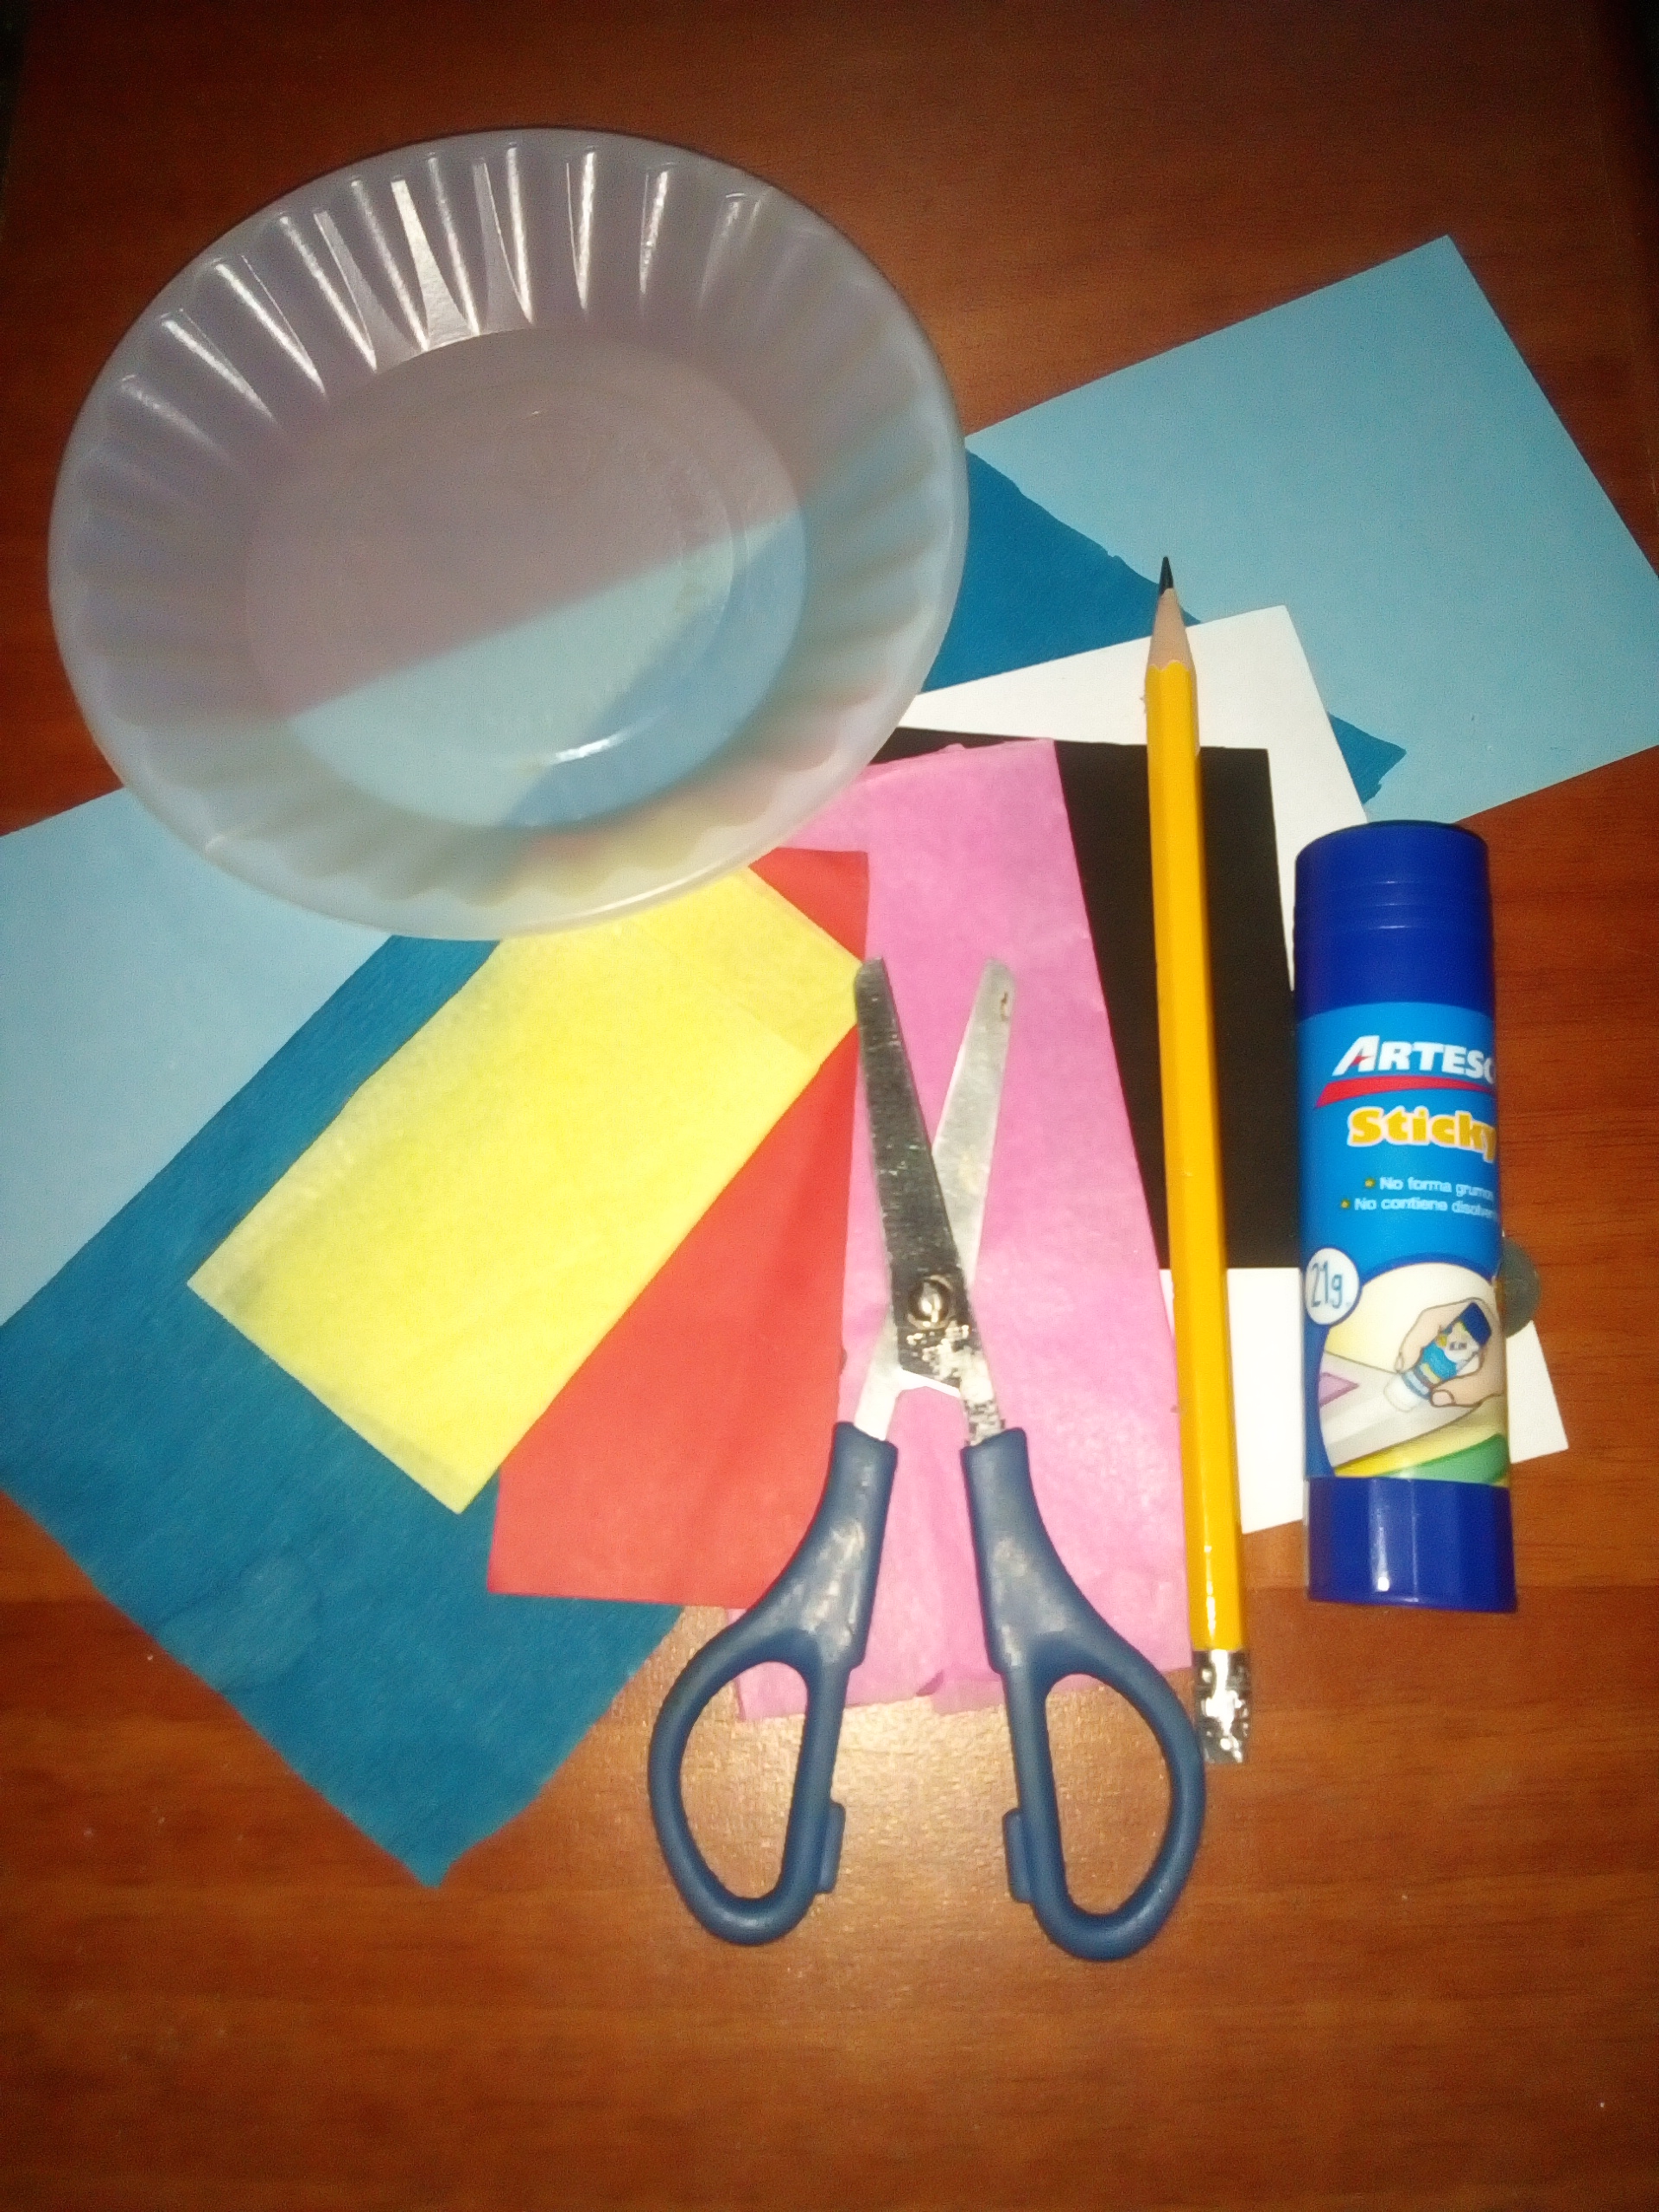 </center> Paso a paso / Step by Step corte el papel crepé y forre todo el plato. >cut out the crepe paper and line the entire plate. <center> 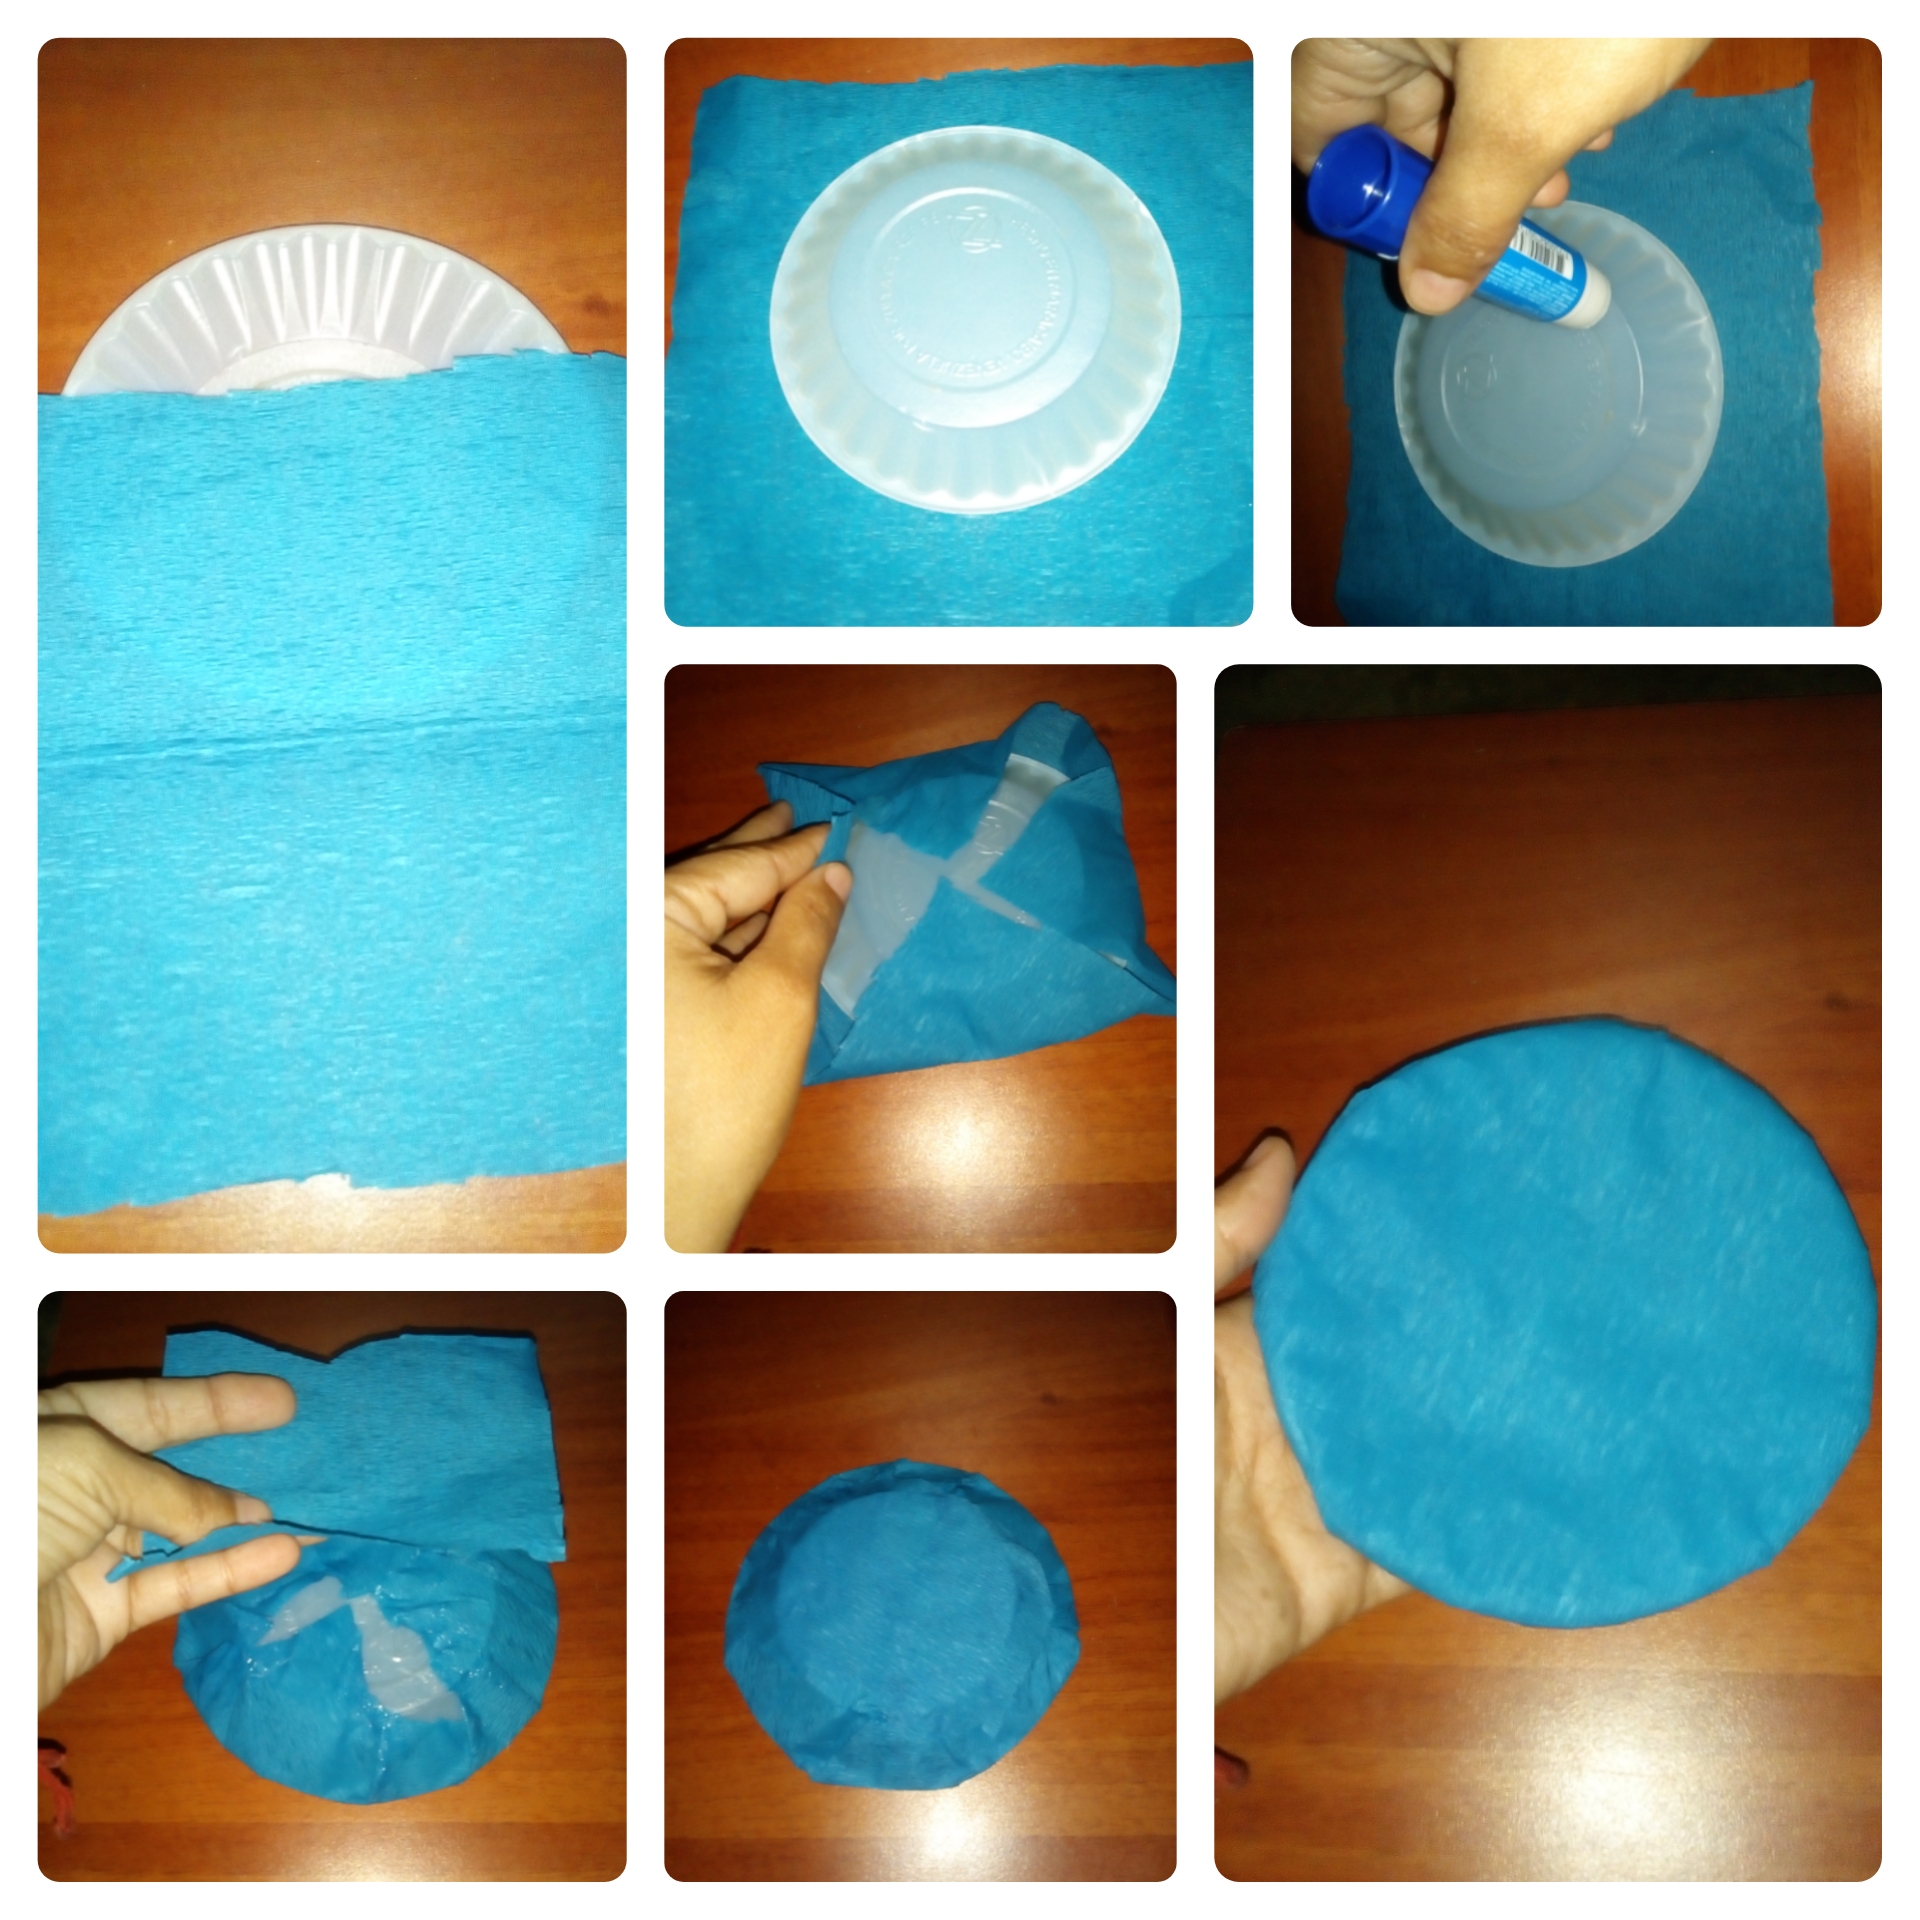 </center> luego en la cartulina vamos a dibujar 2 círculos por cada color y siempre más pequeños que el primero para formar los ojos, luego recortamos. >then on the cardboard we are going to draw 2 circles for each color and always smaller than the first to form the eyes, then we cut out. <center> 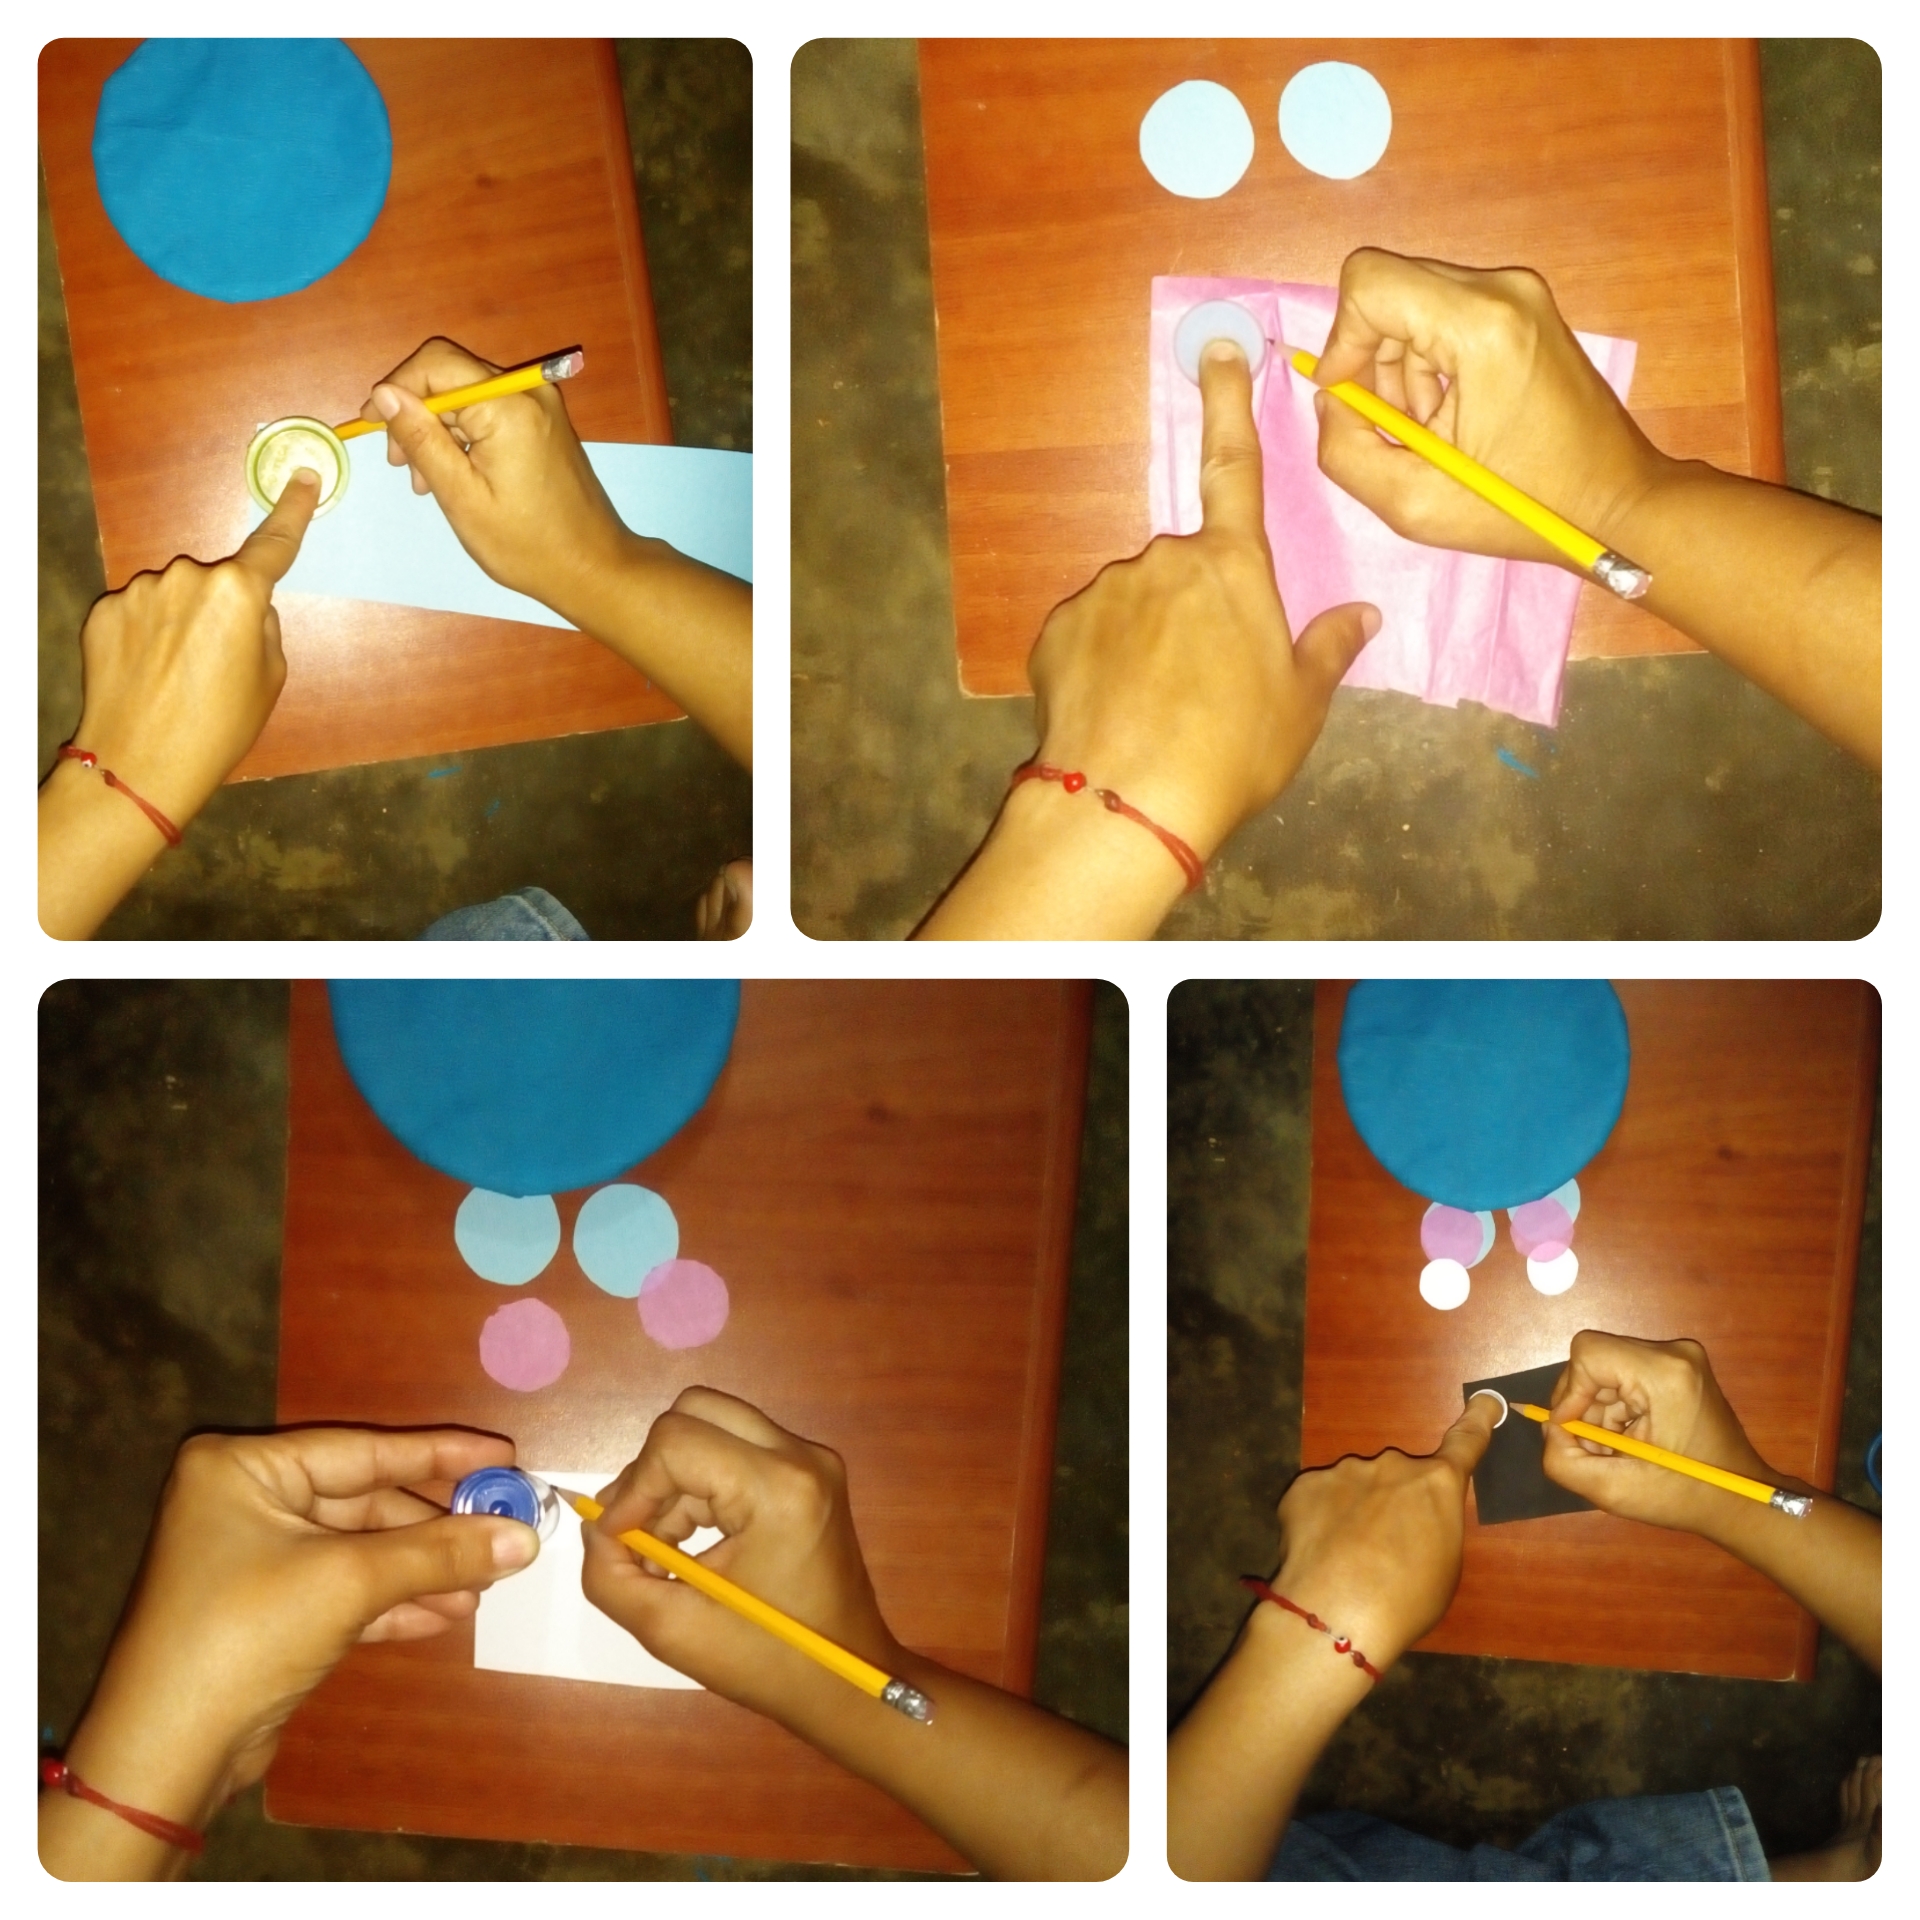 </center> <center> 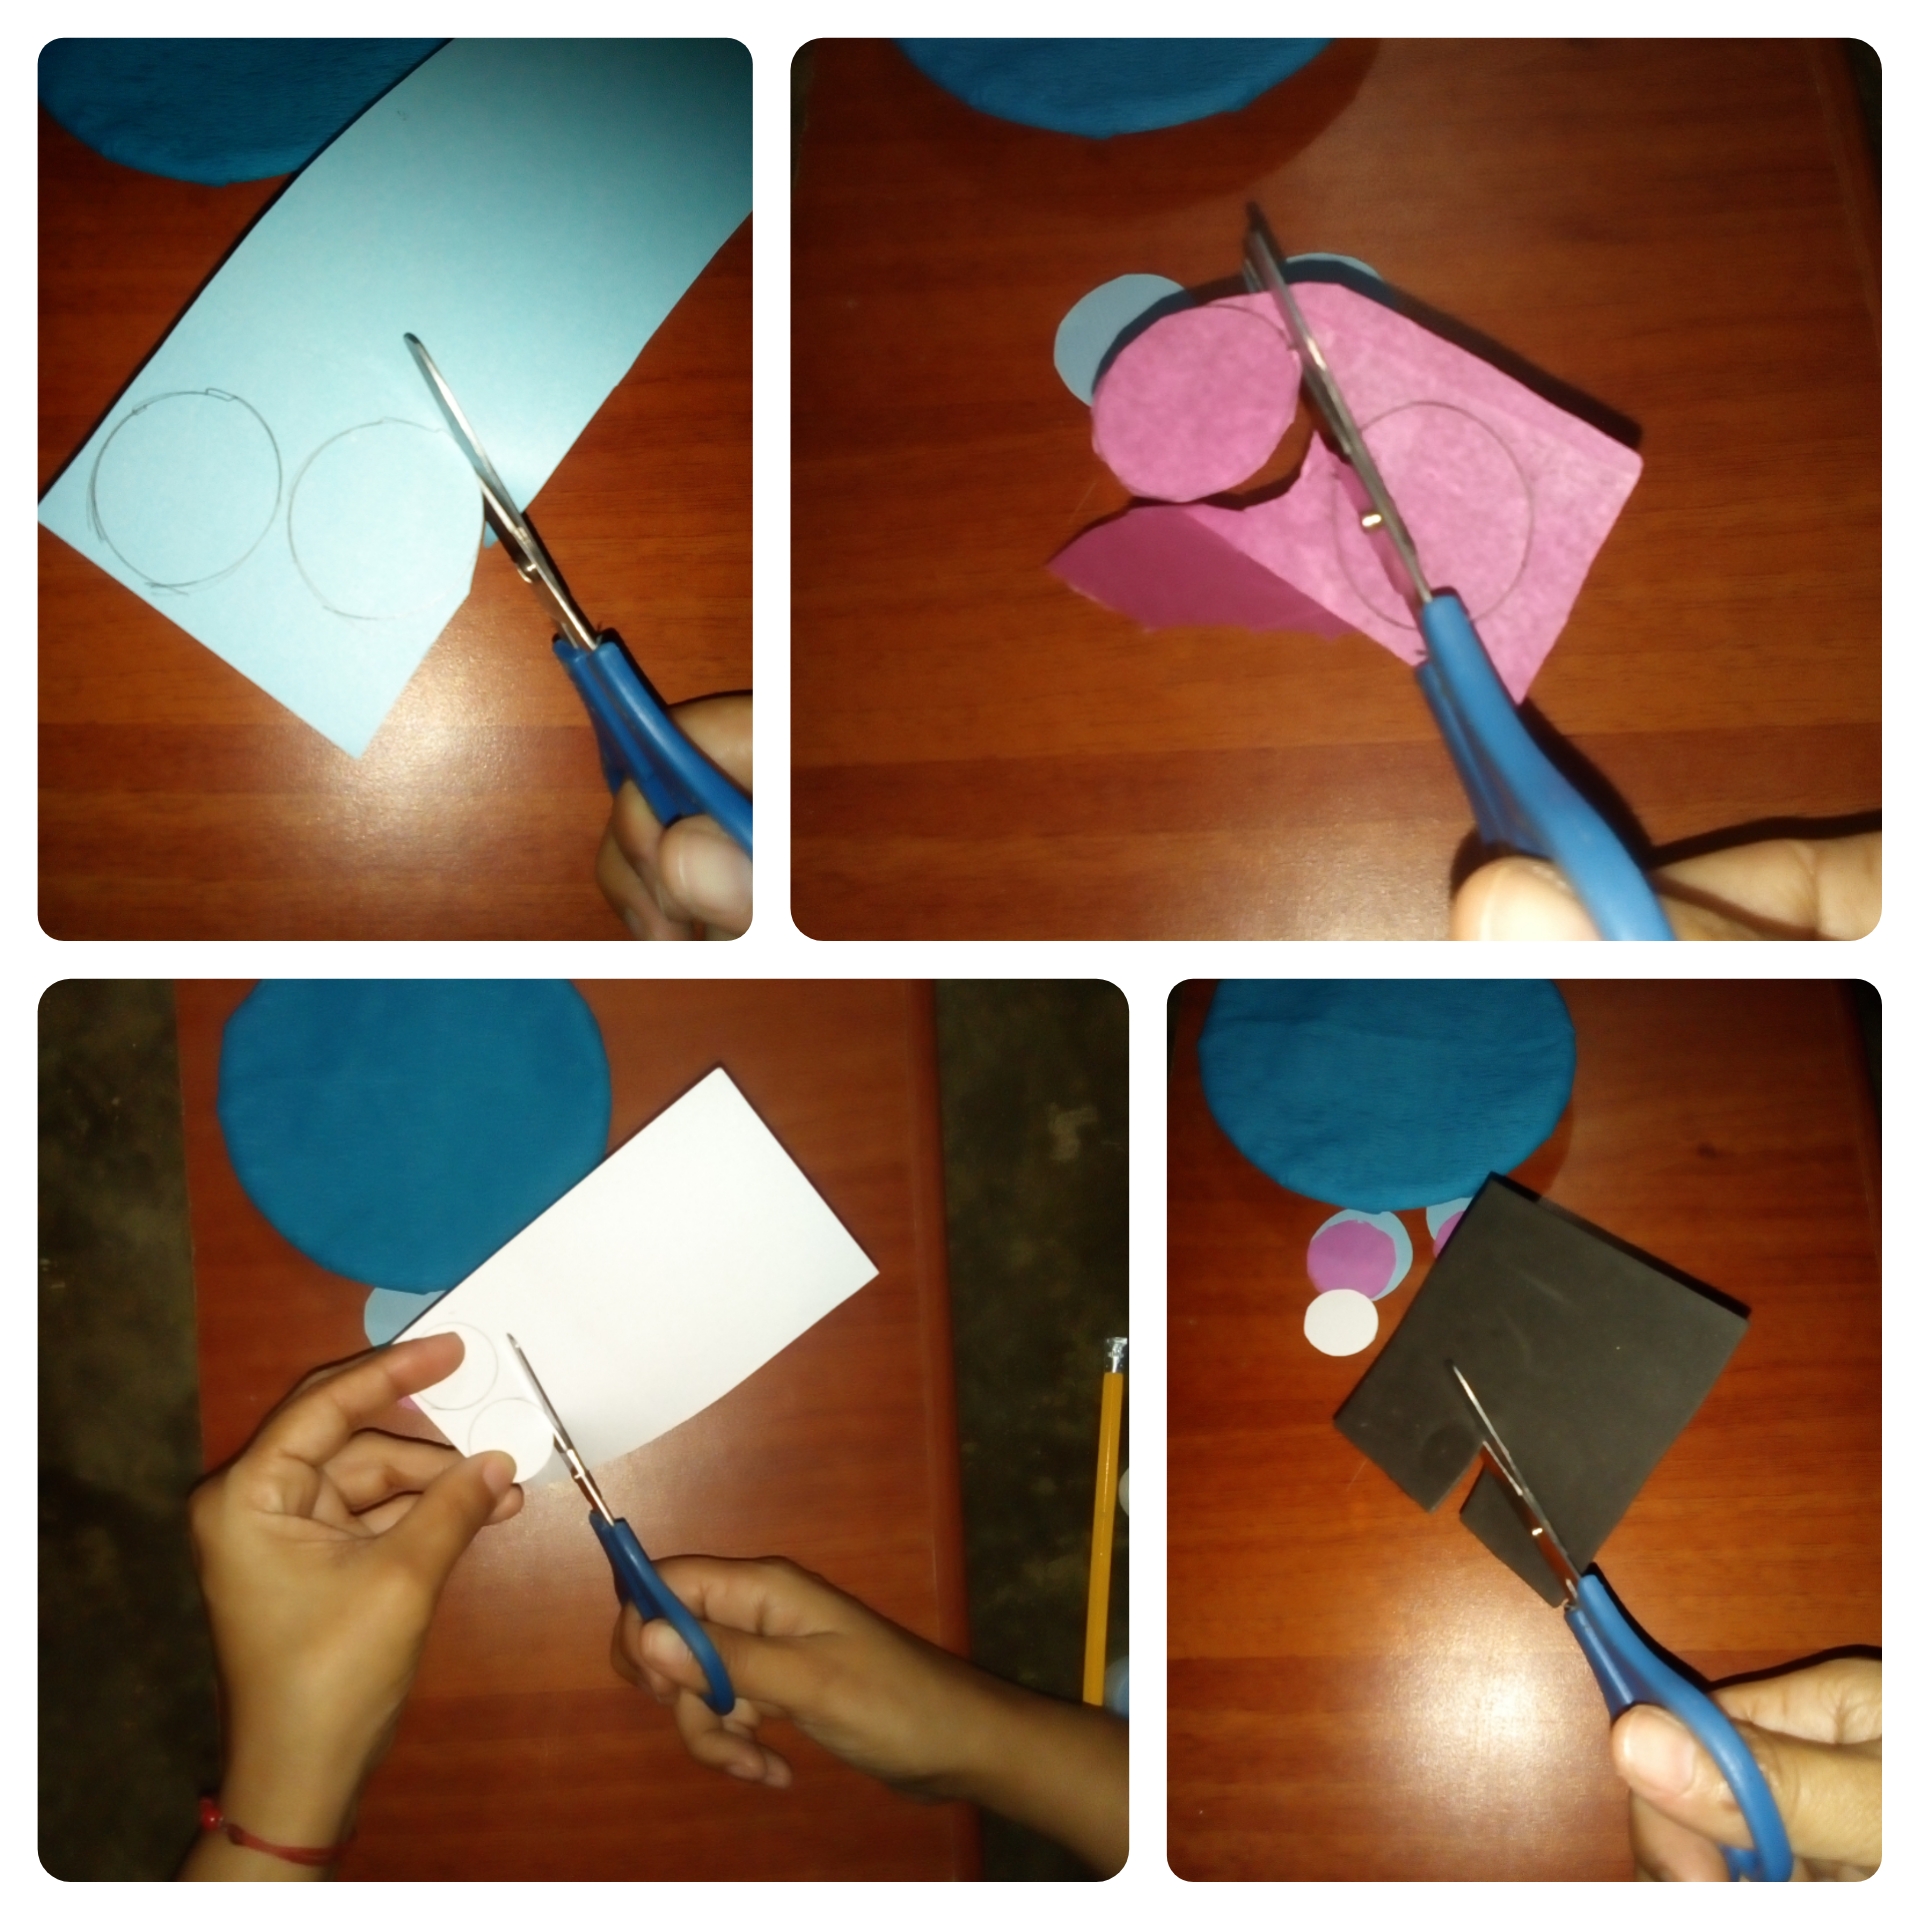 </center> <center> 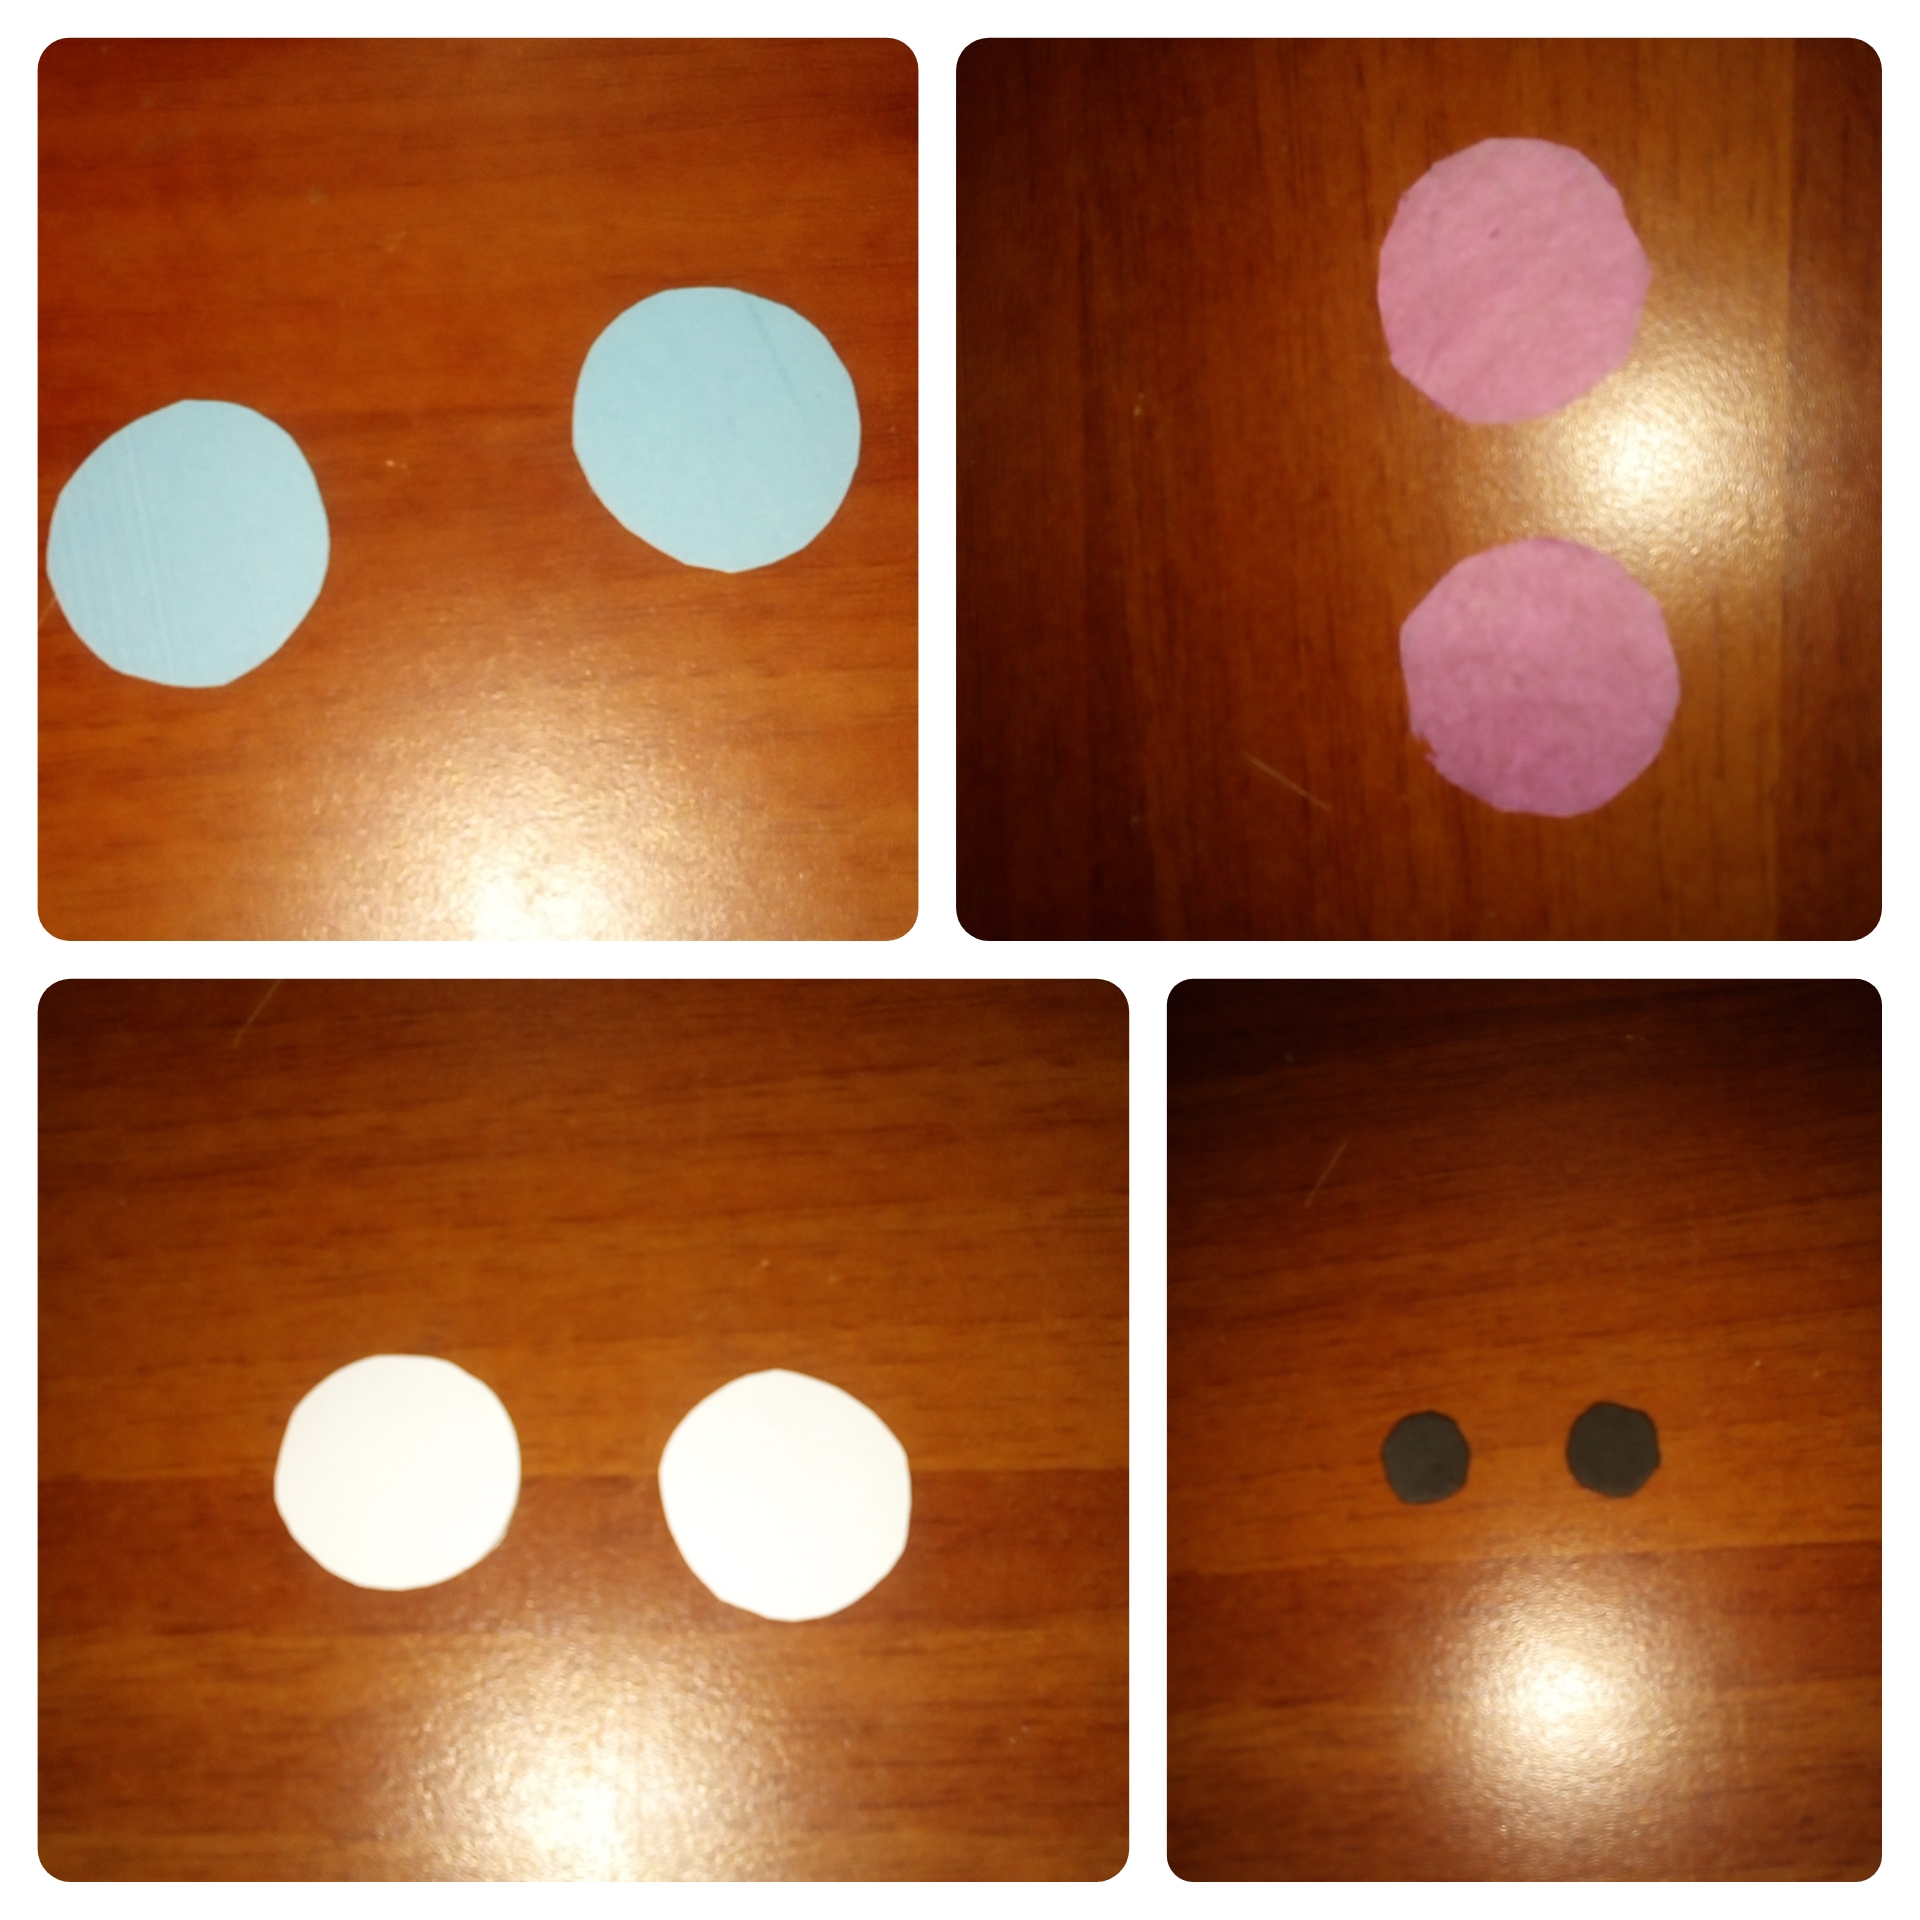 </center> luego cortamos 2 triángulos para las orejas. 2 óvalos para las alas. >then we cut 2 triangles for the ears. 2 ovals for the wings. <center> 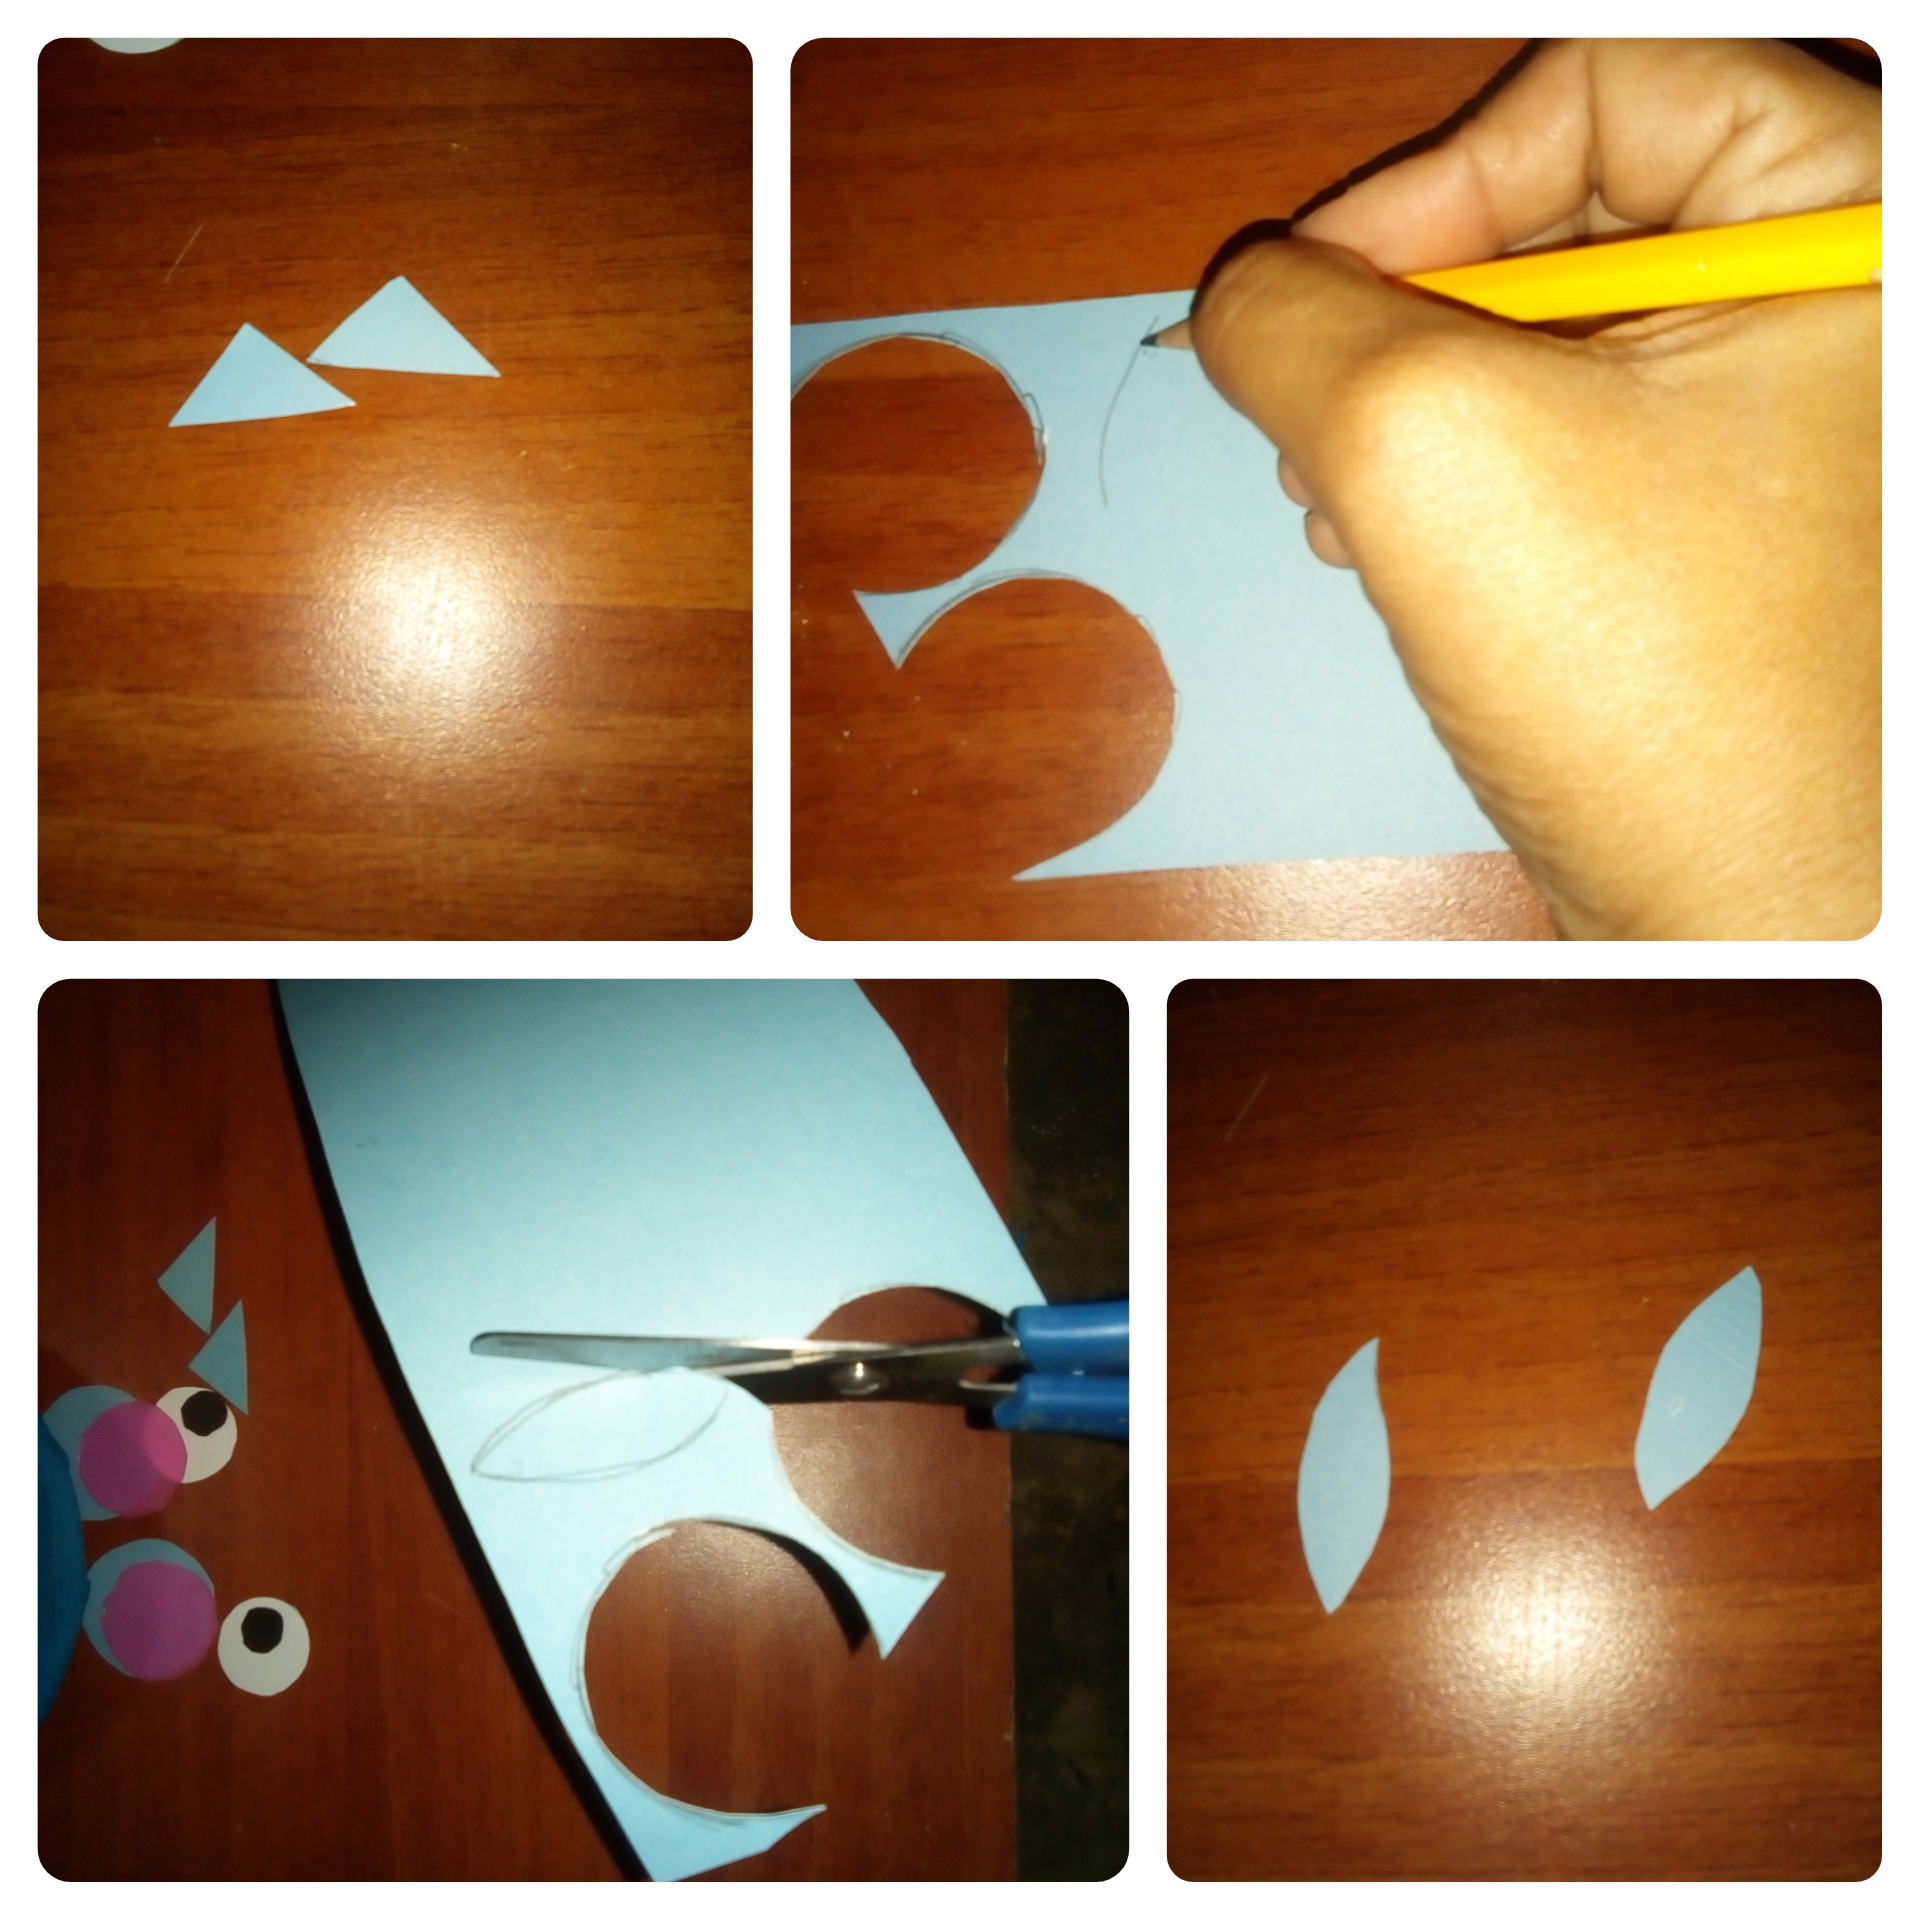 </center> luego dibujamos 5 corazones para hacer las plumas del pecho de un solo color. >then we draw 5 hearts to make the chest feathers of a single color. <center> 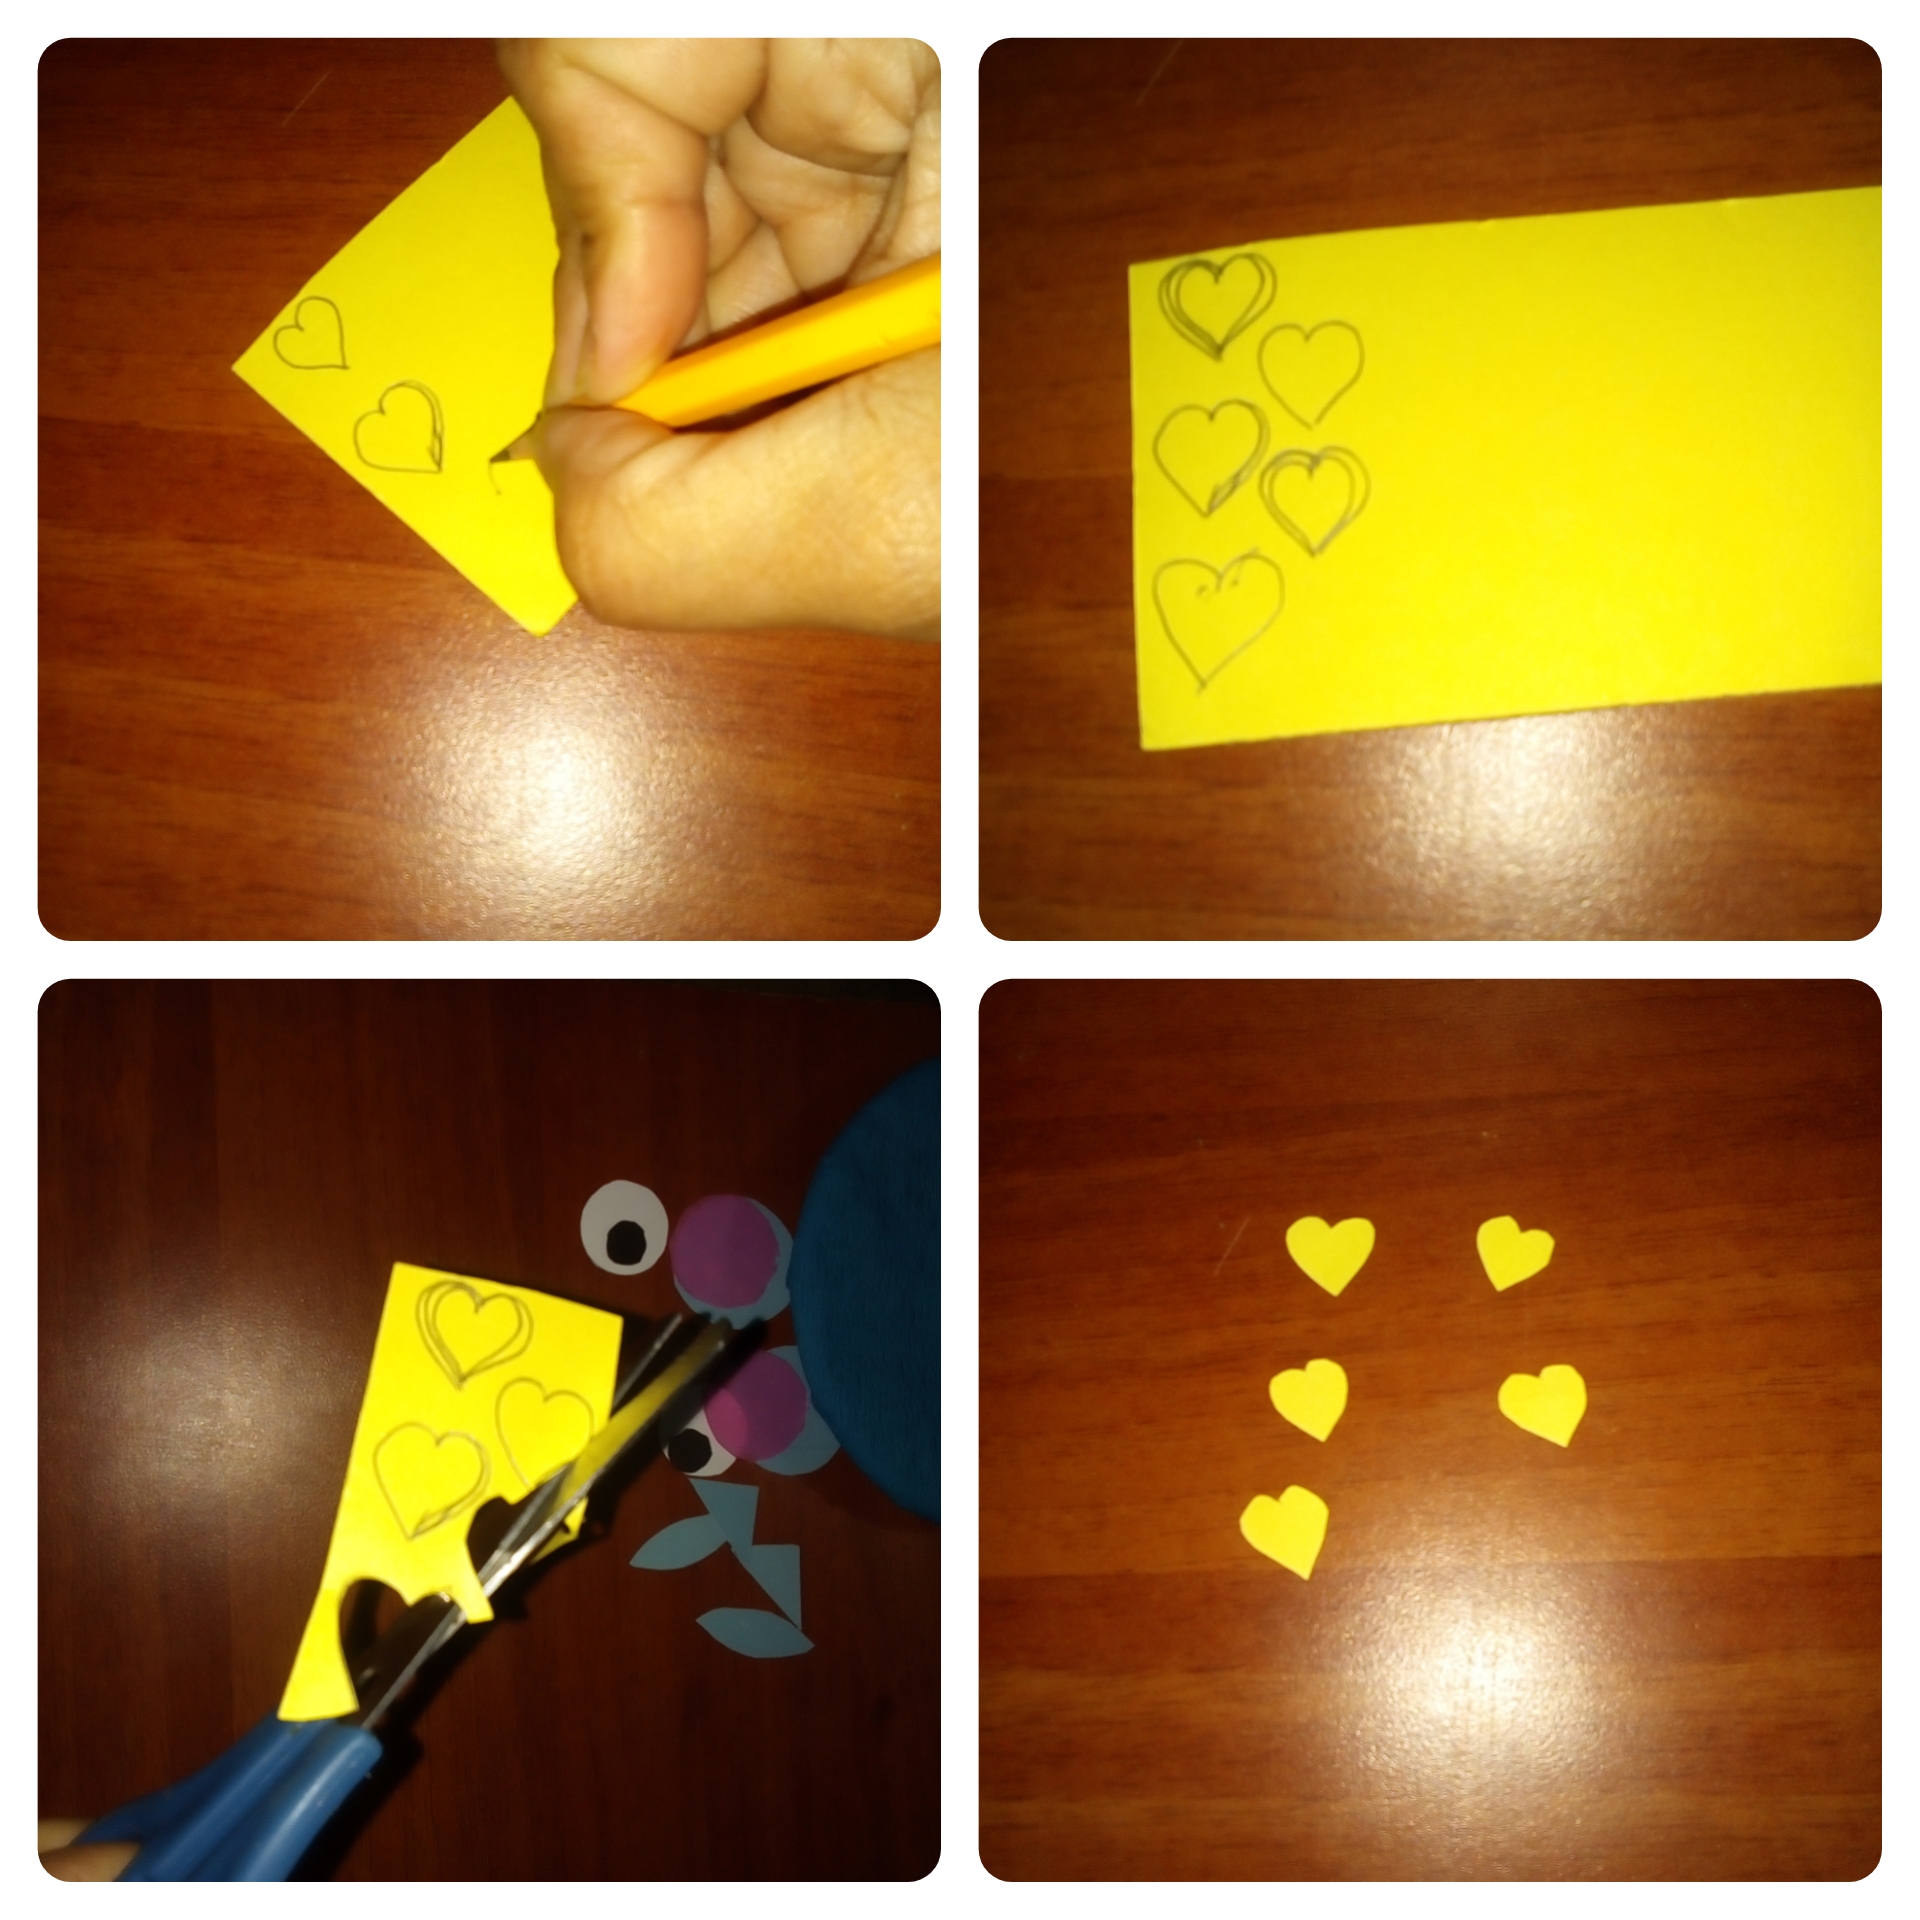 </center> luego cortamos 2 corazones más grandes de otro color para las piernas y un triángulo del mismo color para la nariz. >then we cut 2 larger hearts of another color for the legs and a triangle of the same color for the nose. <center> 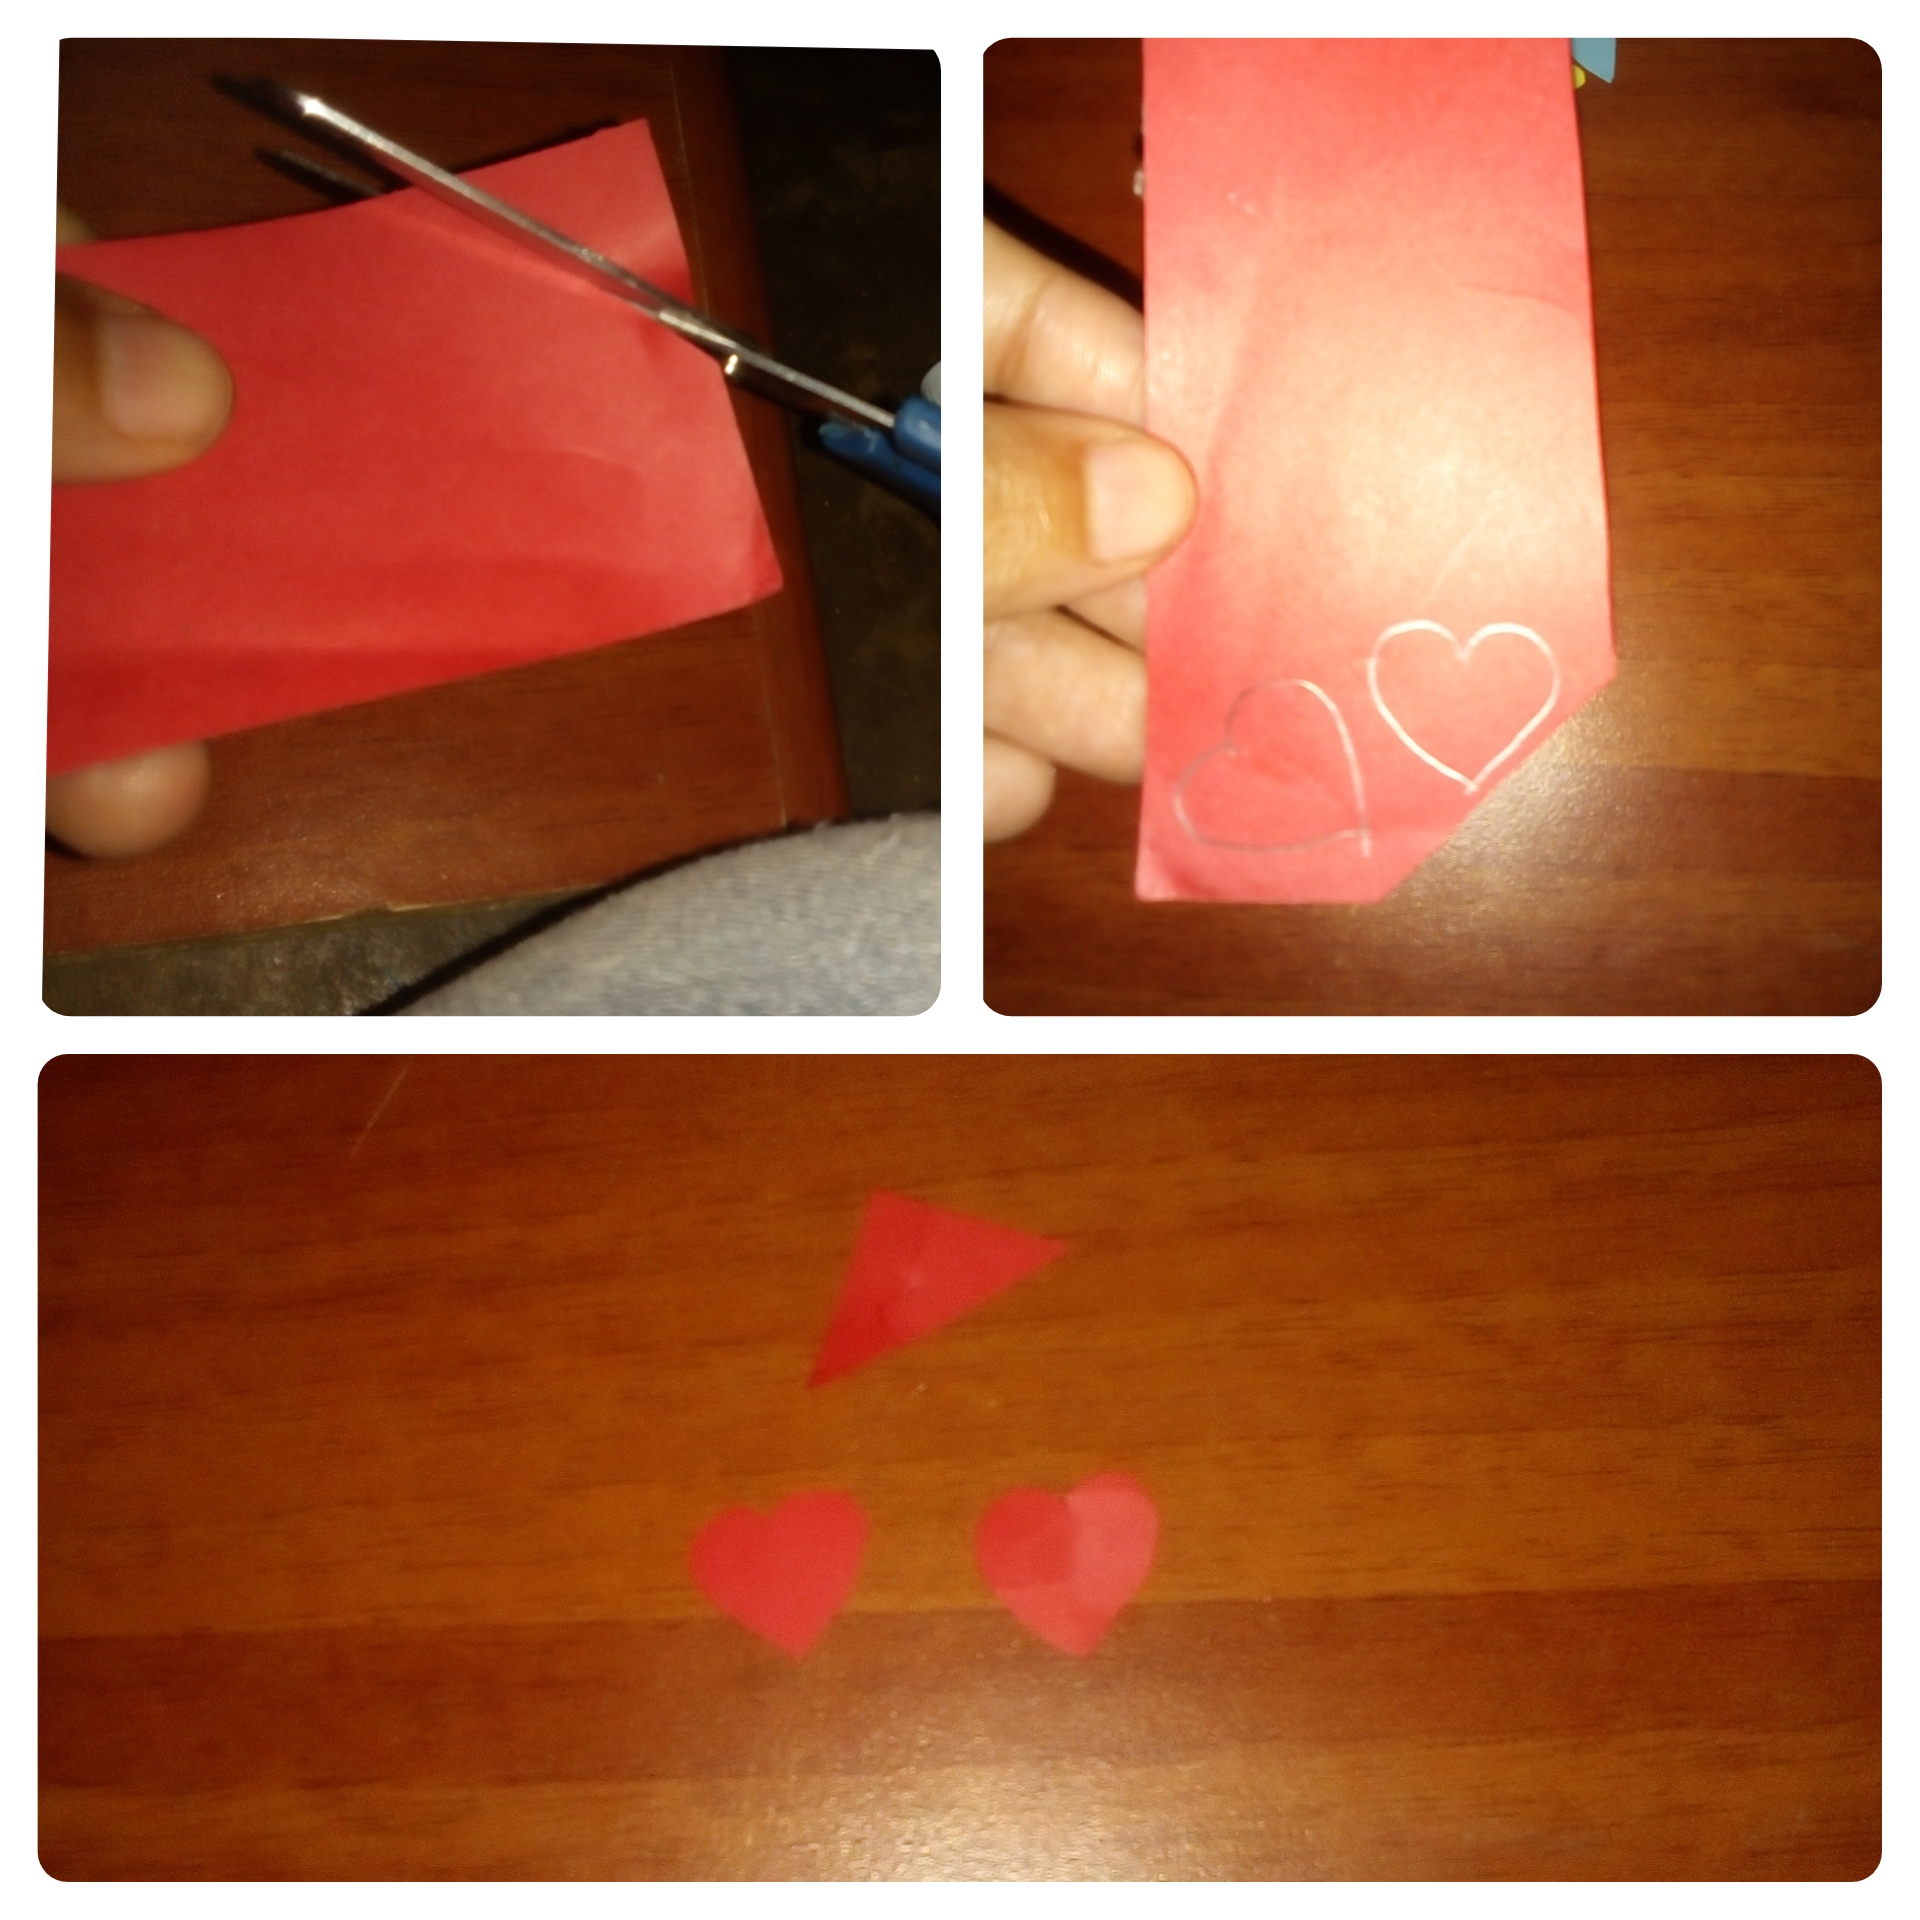 </center> Comencemos a armar nuestro búho. >Let's start putting together our owl. primero pegamos las orejas para que sean nuestras guías. >first we glue the ears to be our guides. <center> 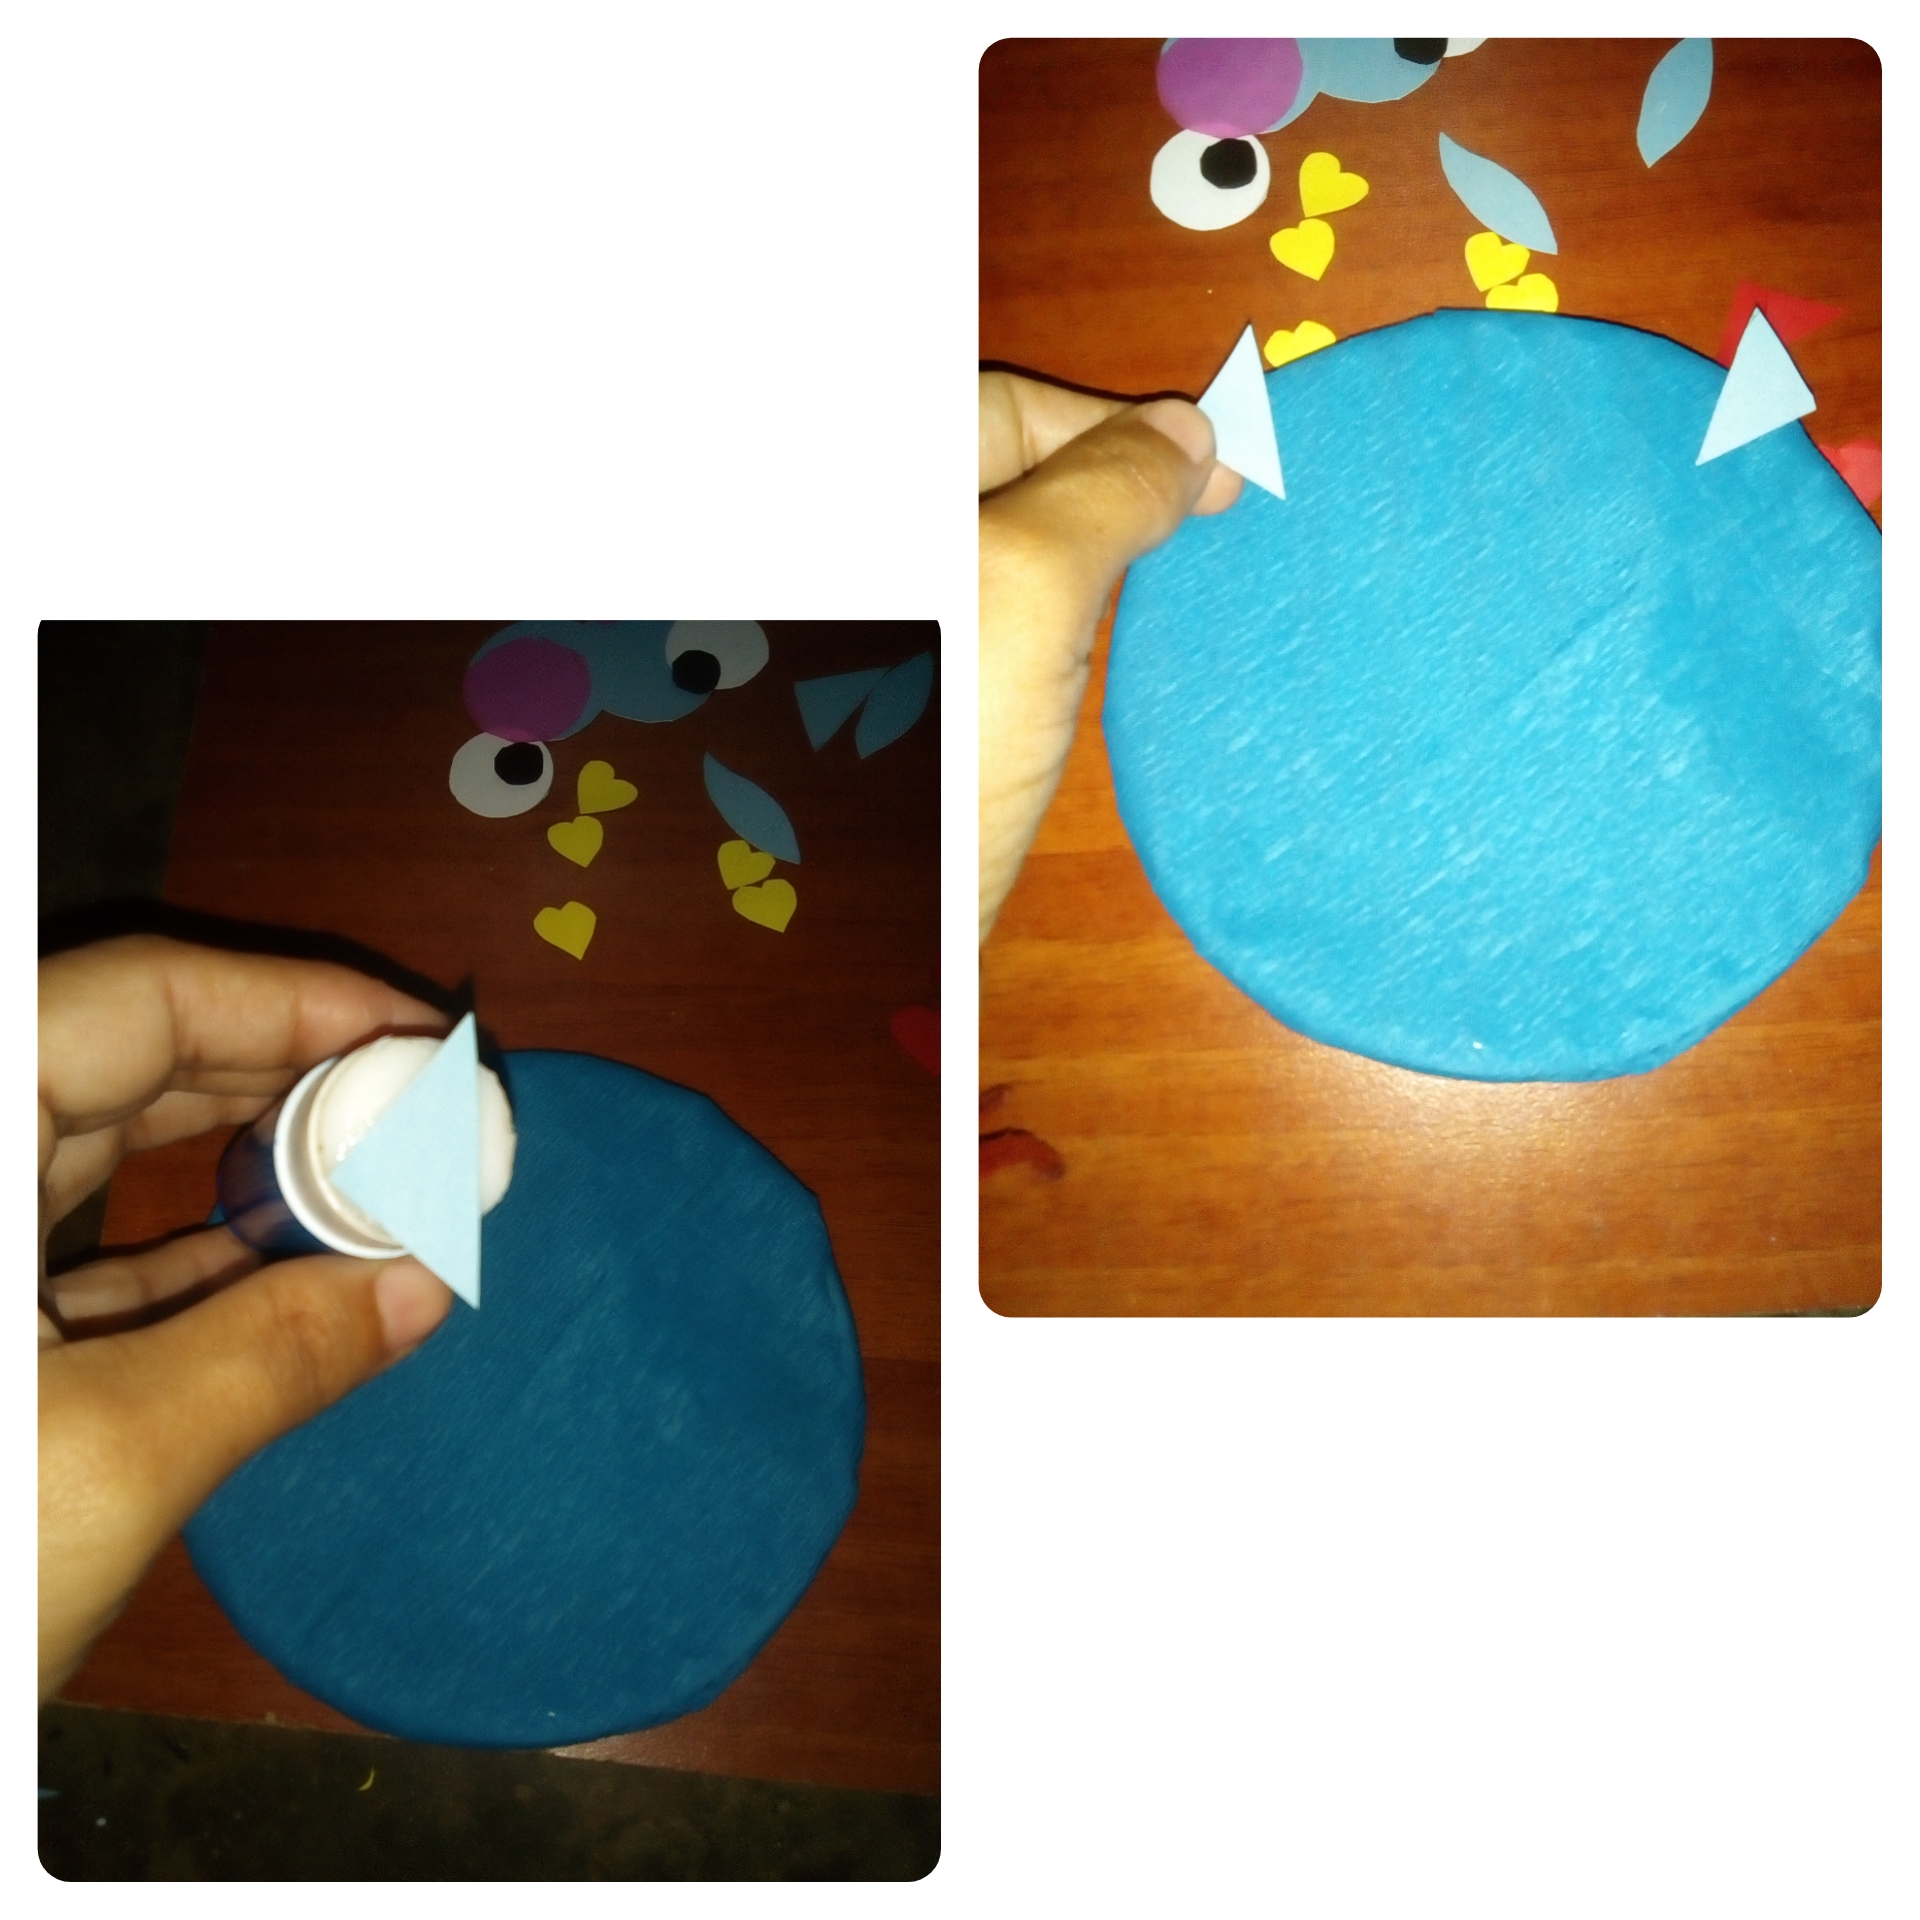 </center> luego ensamblamos los ojos pegando del círculo más grande al más pequeño y los pegamos a nuestro búho con una pequeña separación. >then we assemble the eyes by gluing from the largest to the smallest circle and we glue them to our owl with a small separation. <center> 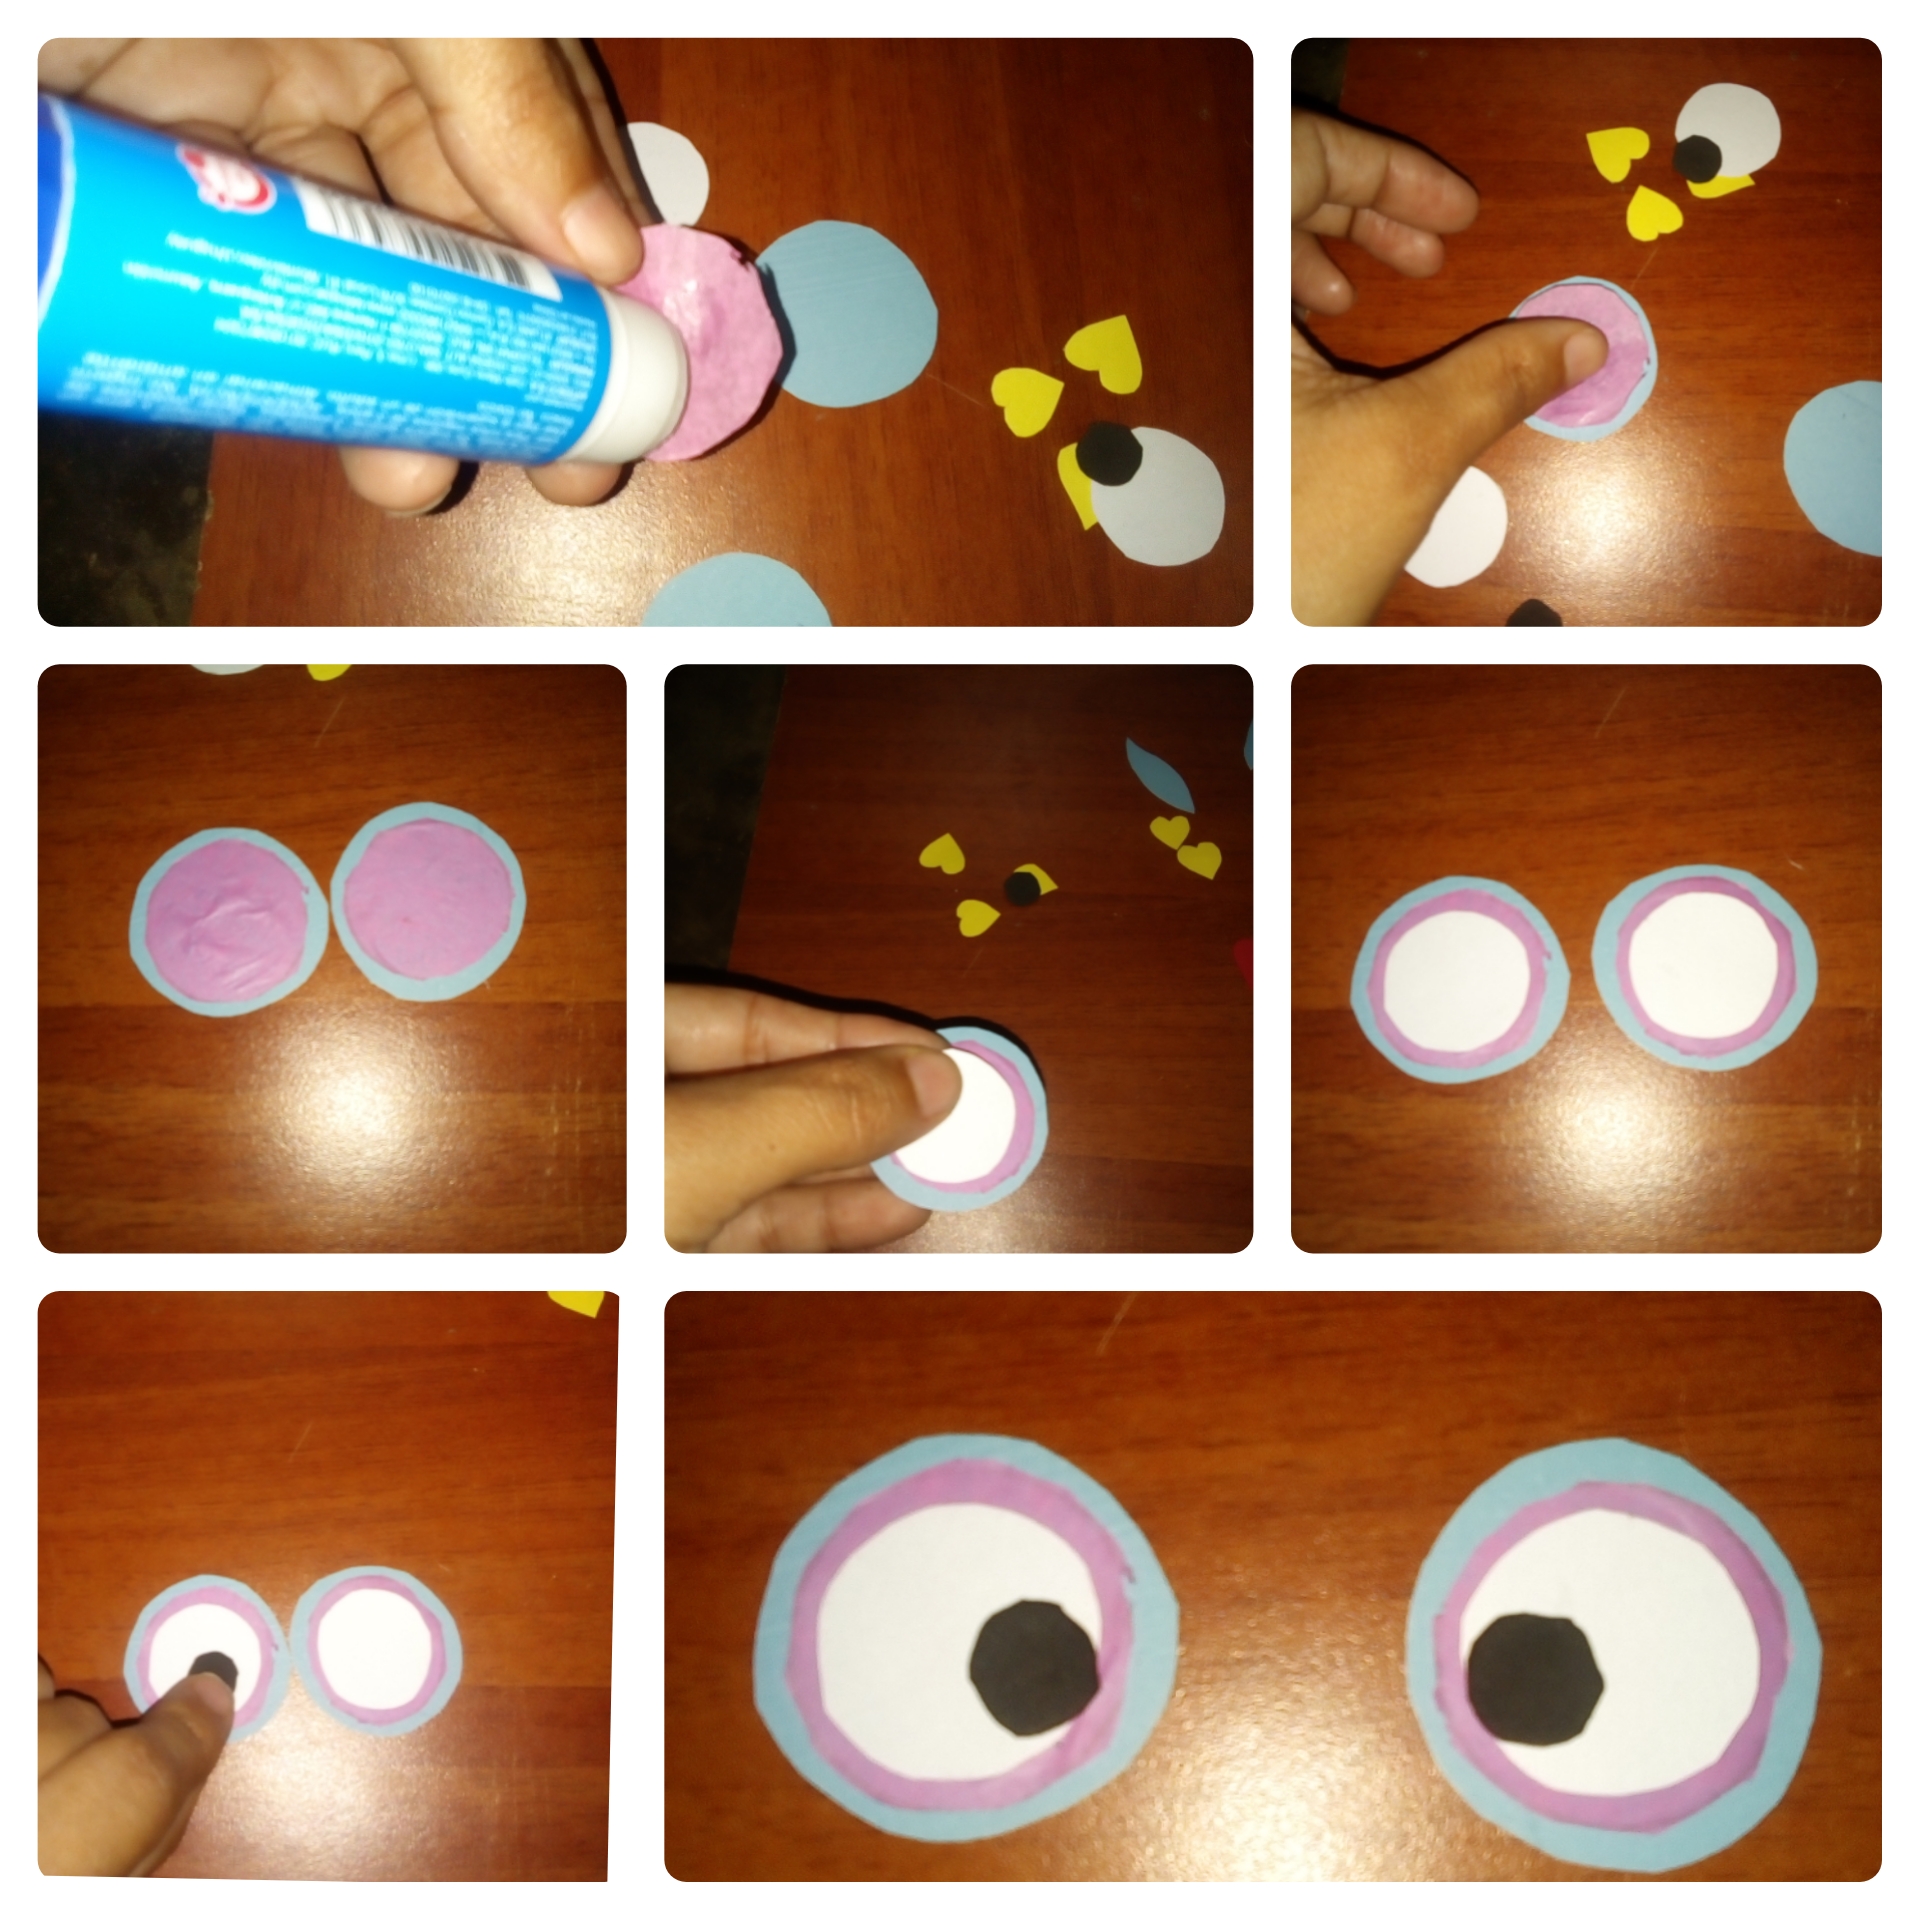 </center> luego pegamos la nariz. >then we glue the nose. <center> 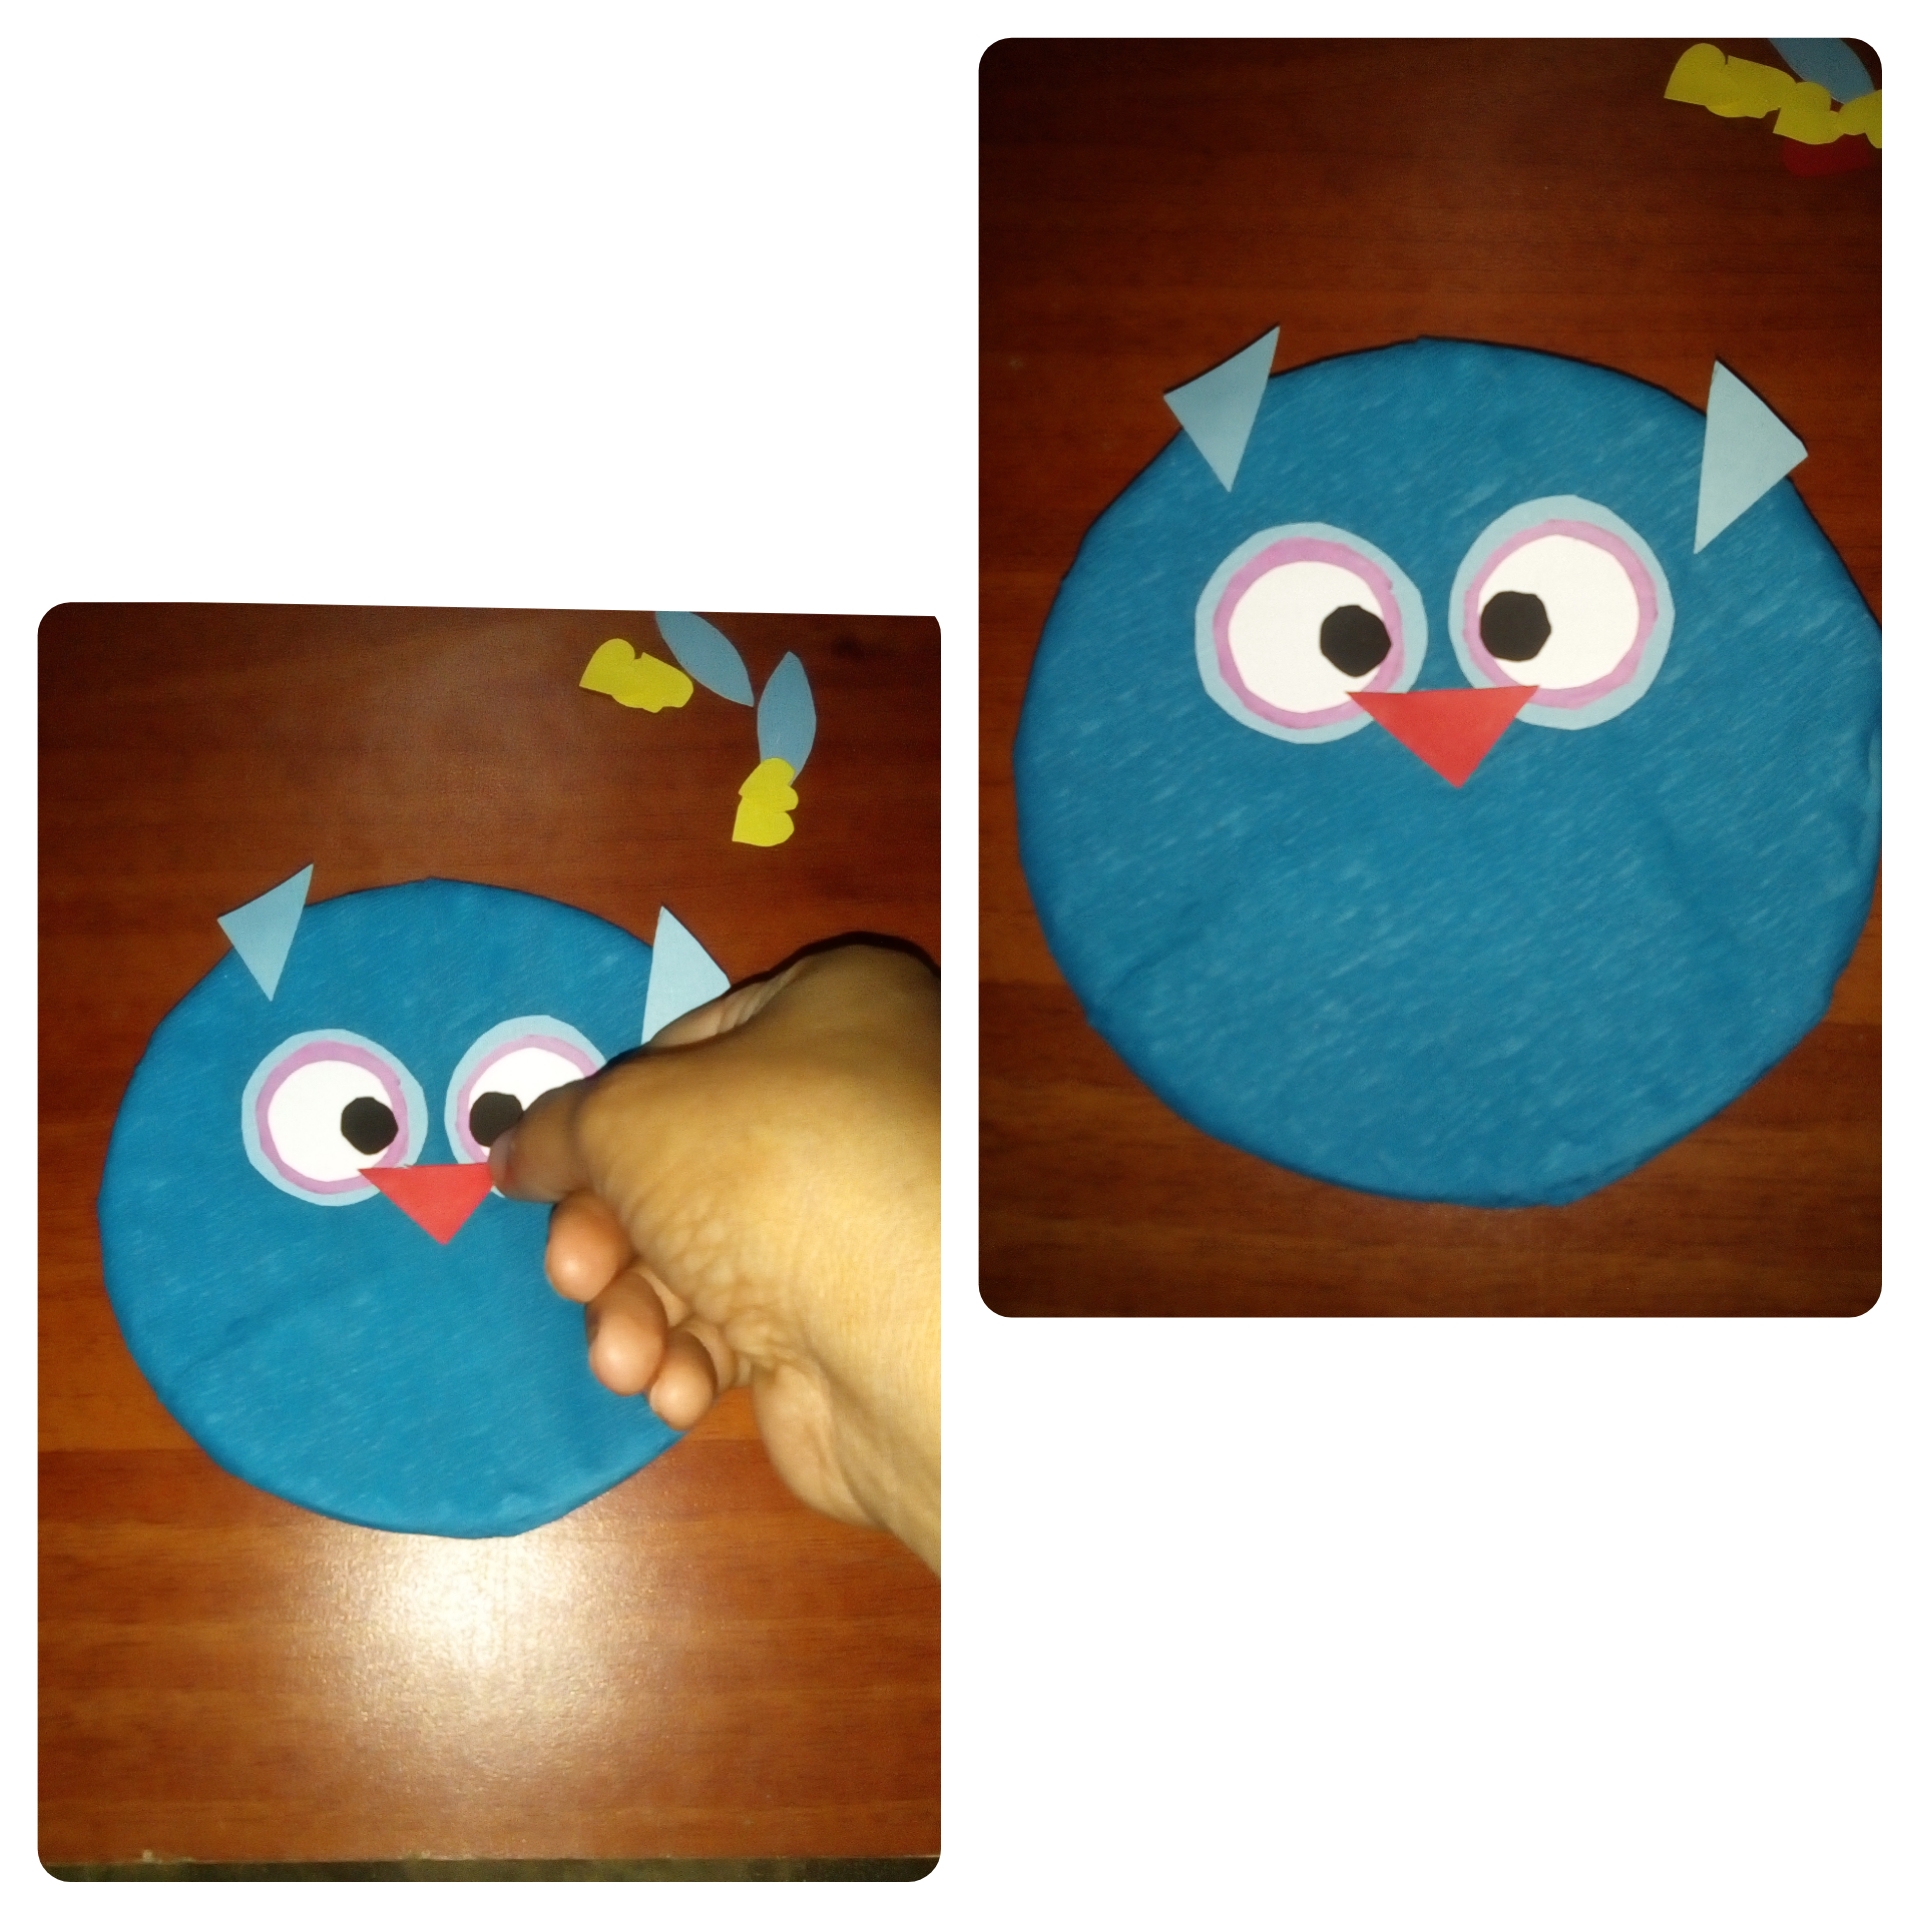 </center> luego pegamos las alas >then we glue the wings <center> 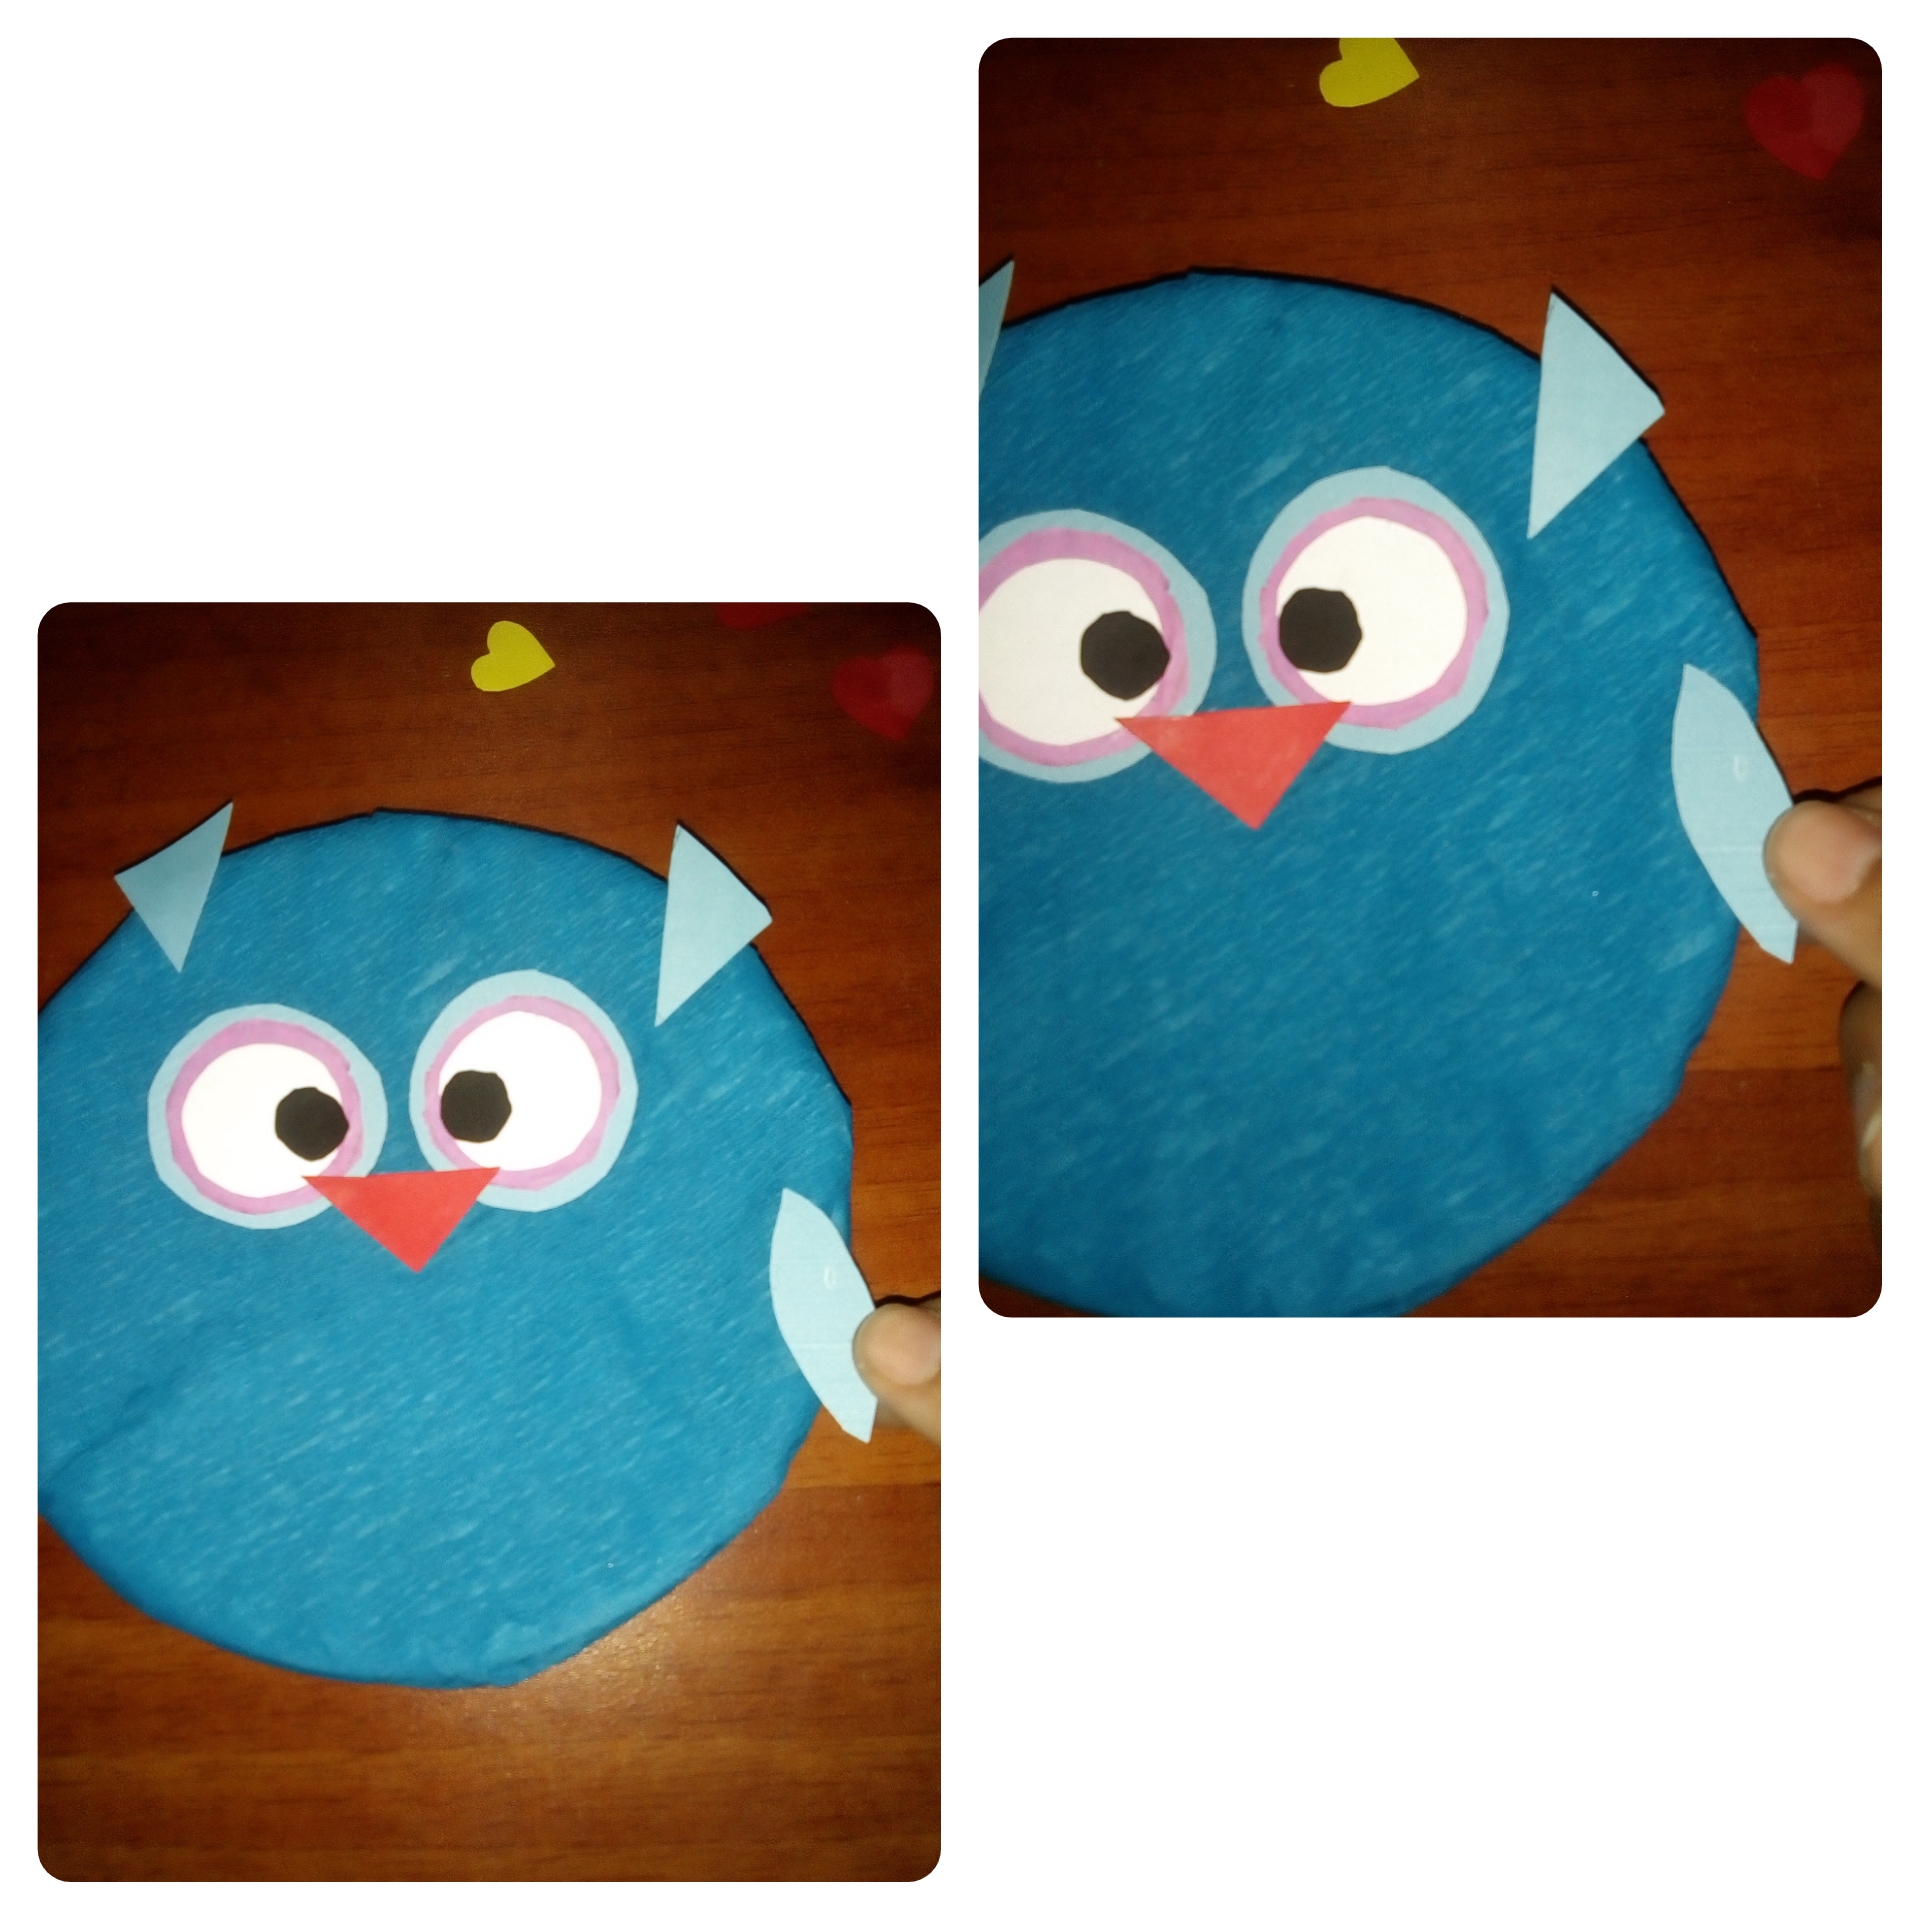 </center> Seguimos pegando los 5 corazones de abajo hacia arriba intercalados >We continue gluing the 5 hearts from bottom to top interspersed <center> 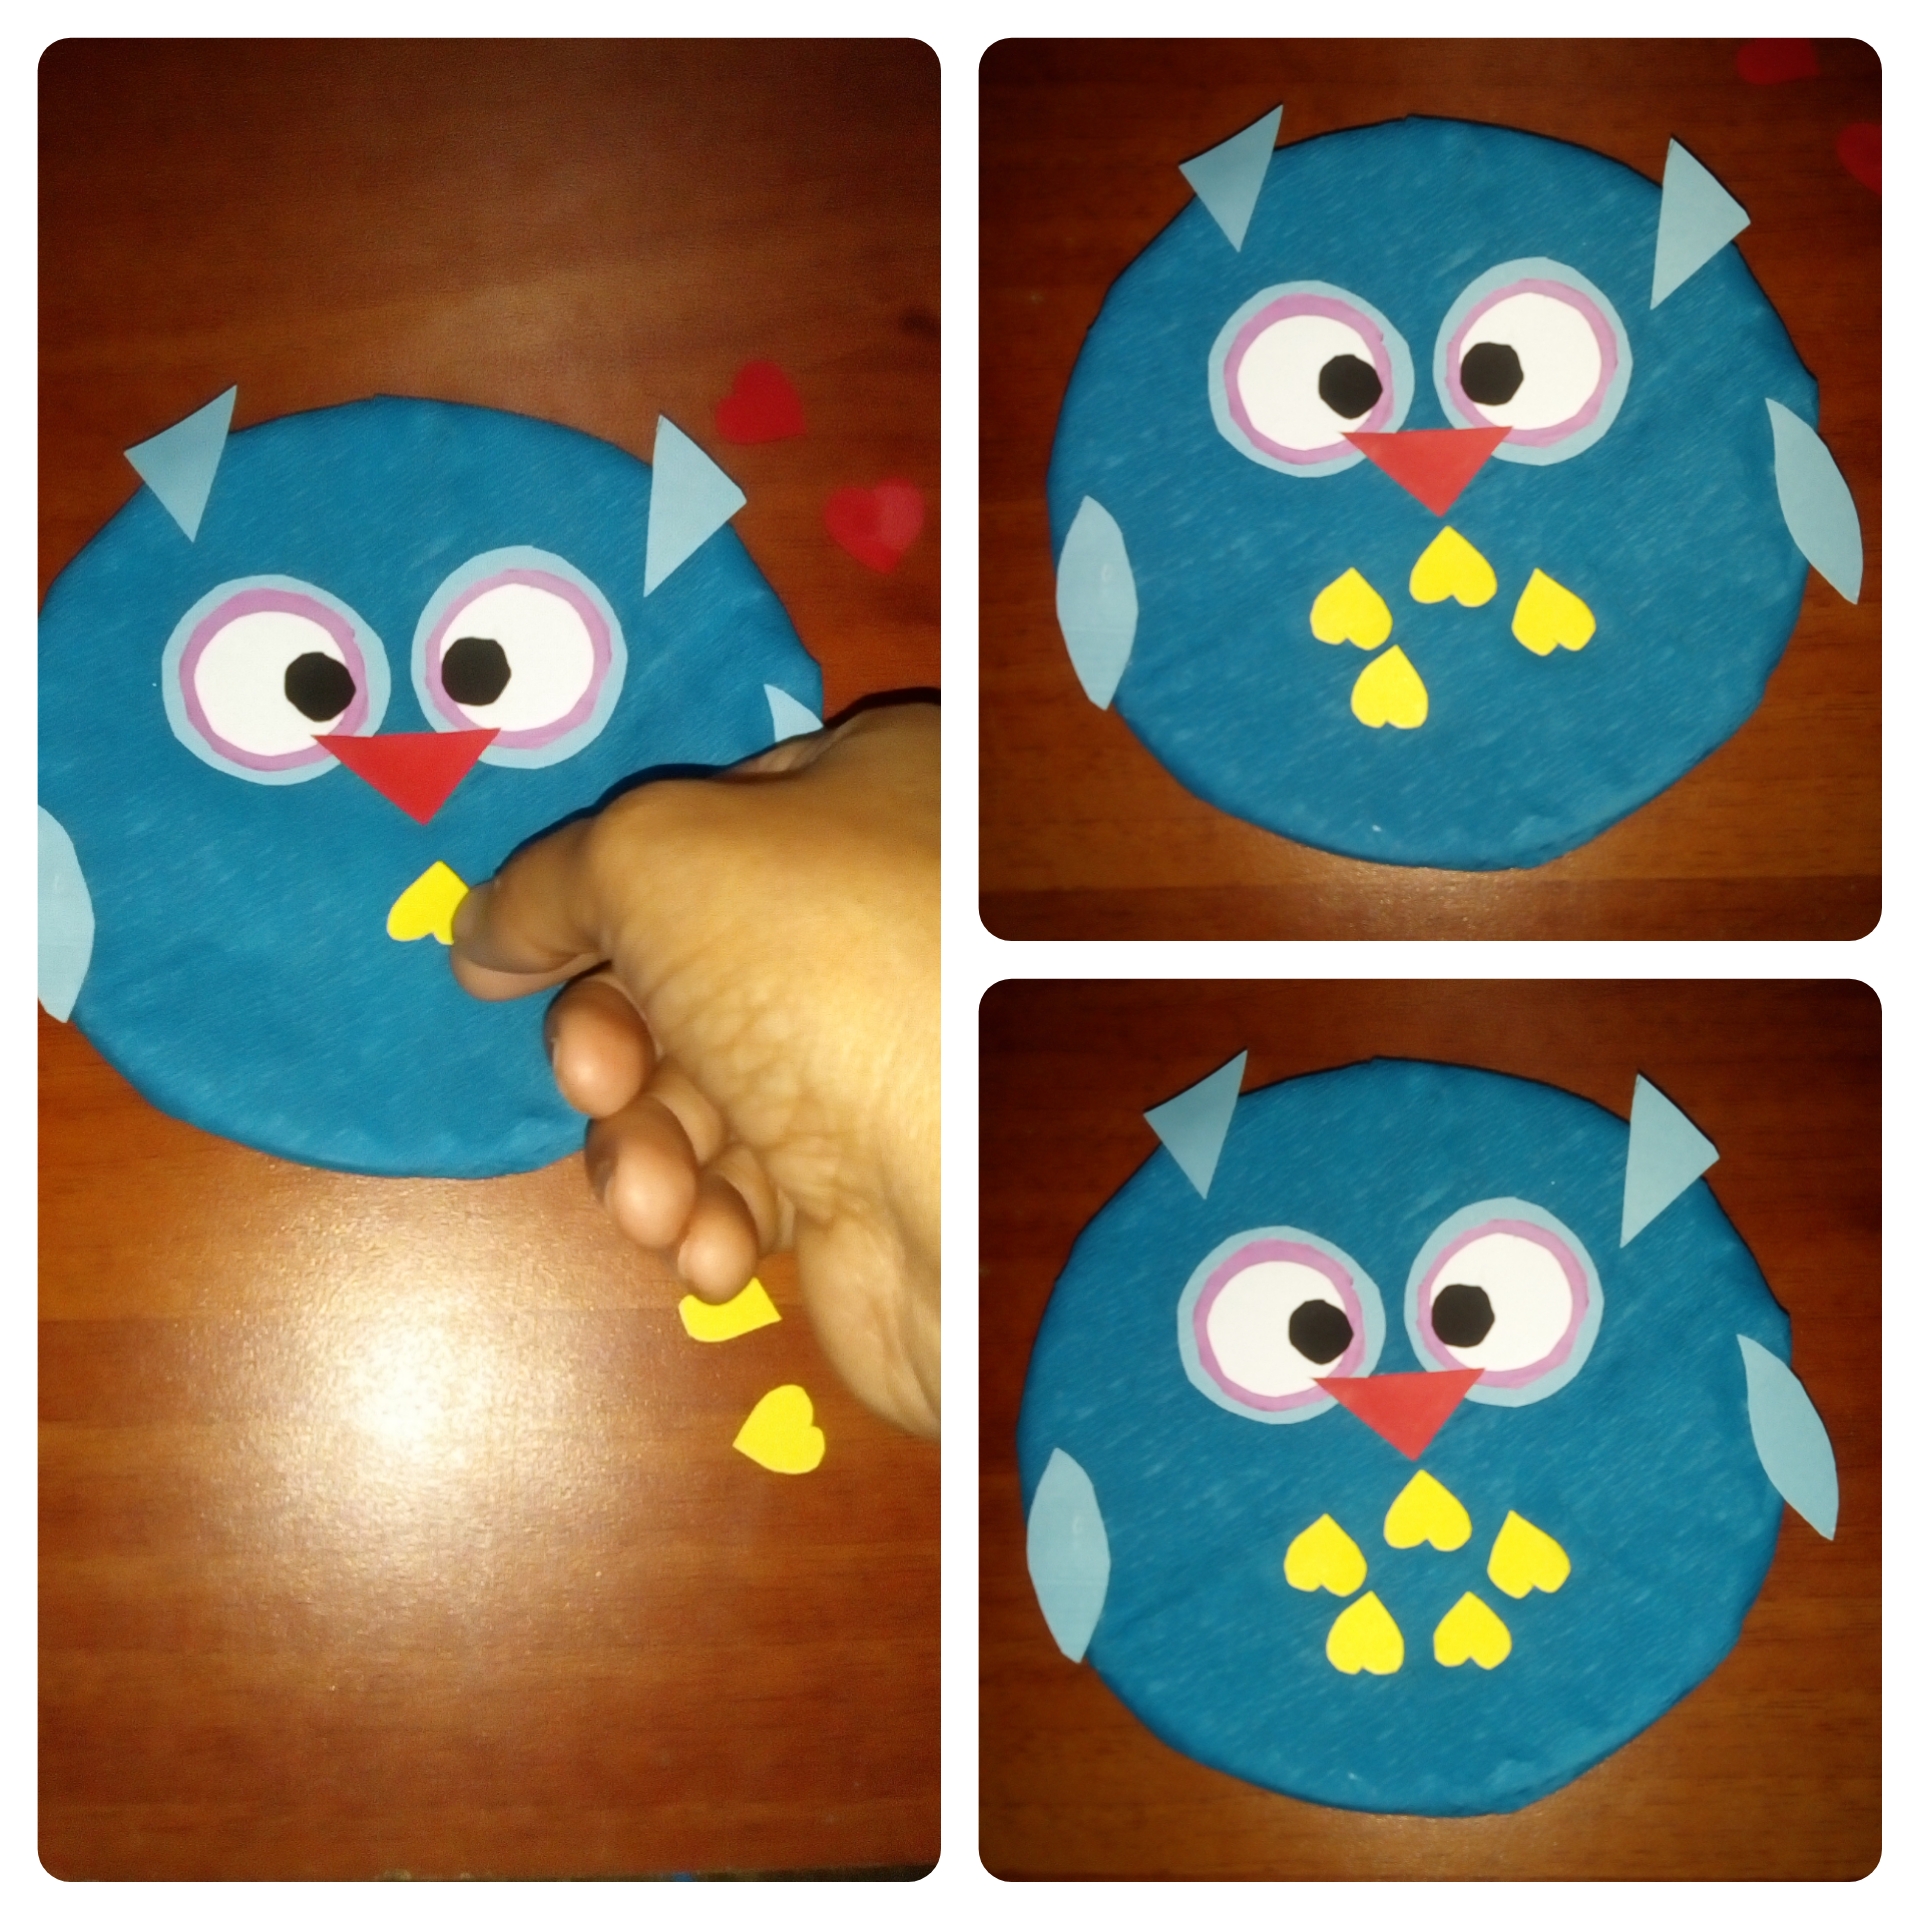 </center> Y para terminar pegamos las patas que son los 2 corazones más grandes y también las pegamos de abajo hacia arriba. >And to finish we glue the legs that are the 2 largest hearts and we also glue them from the bottom up. <center> 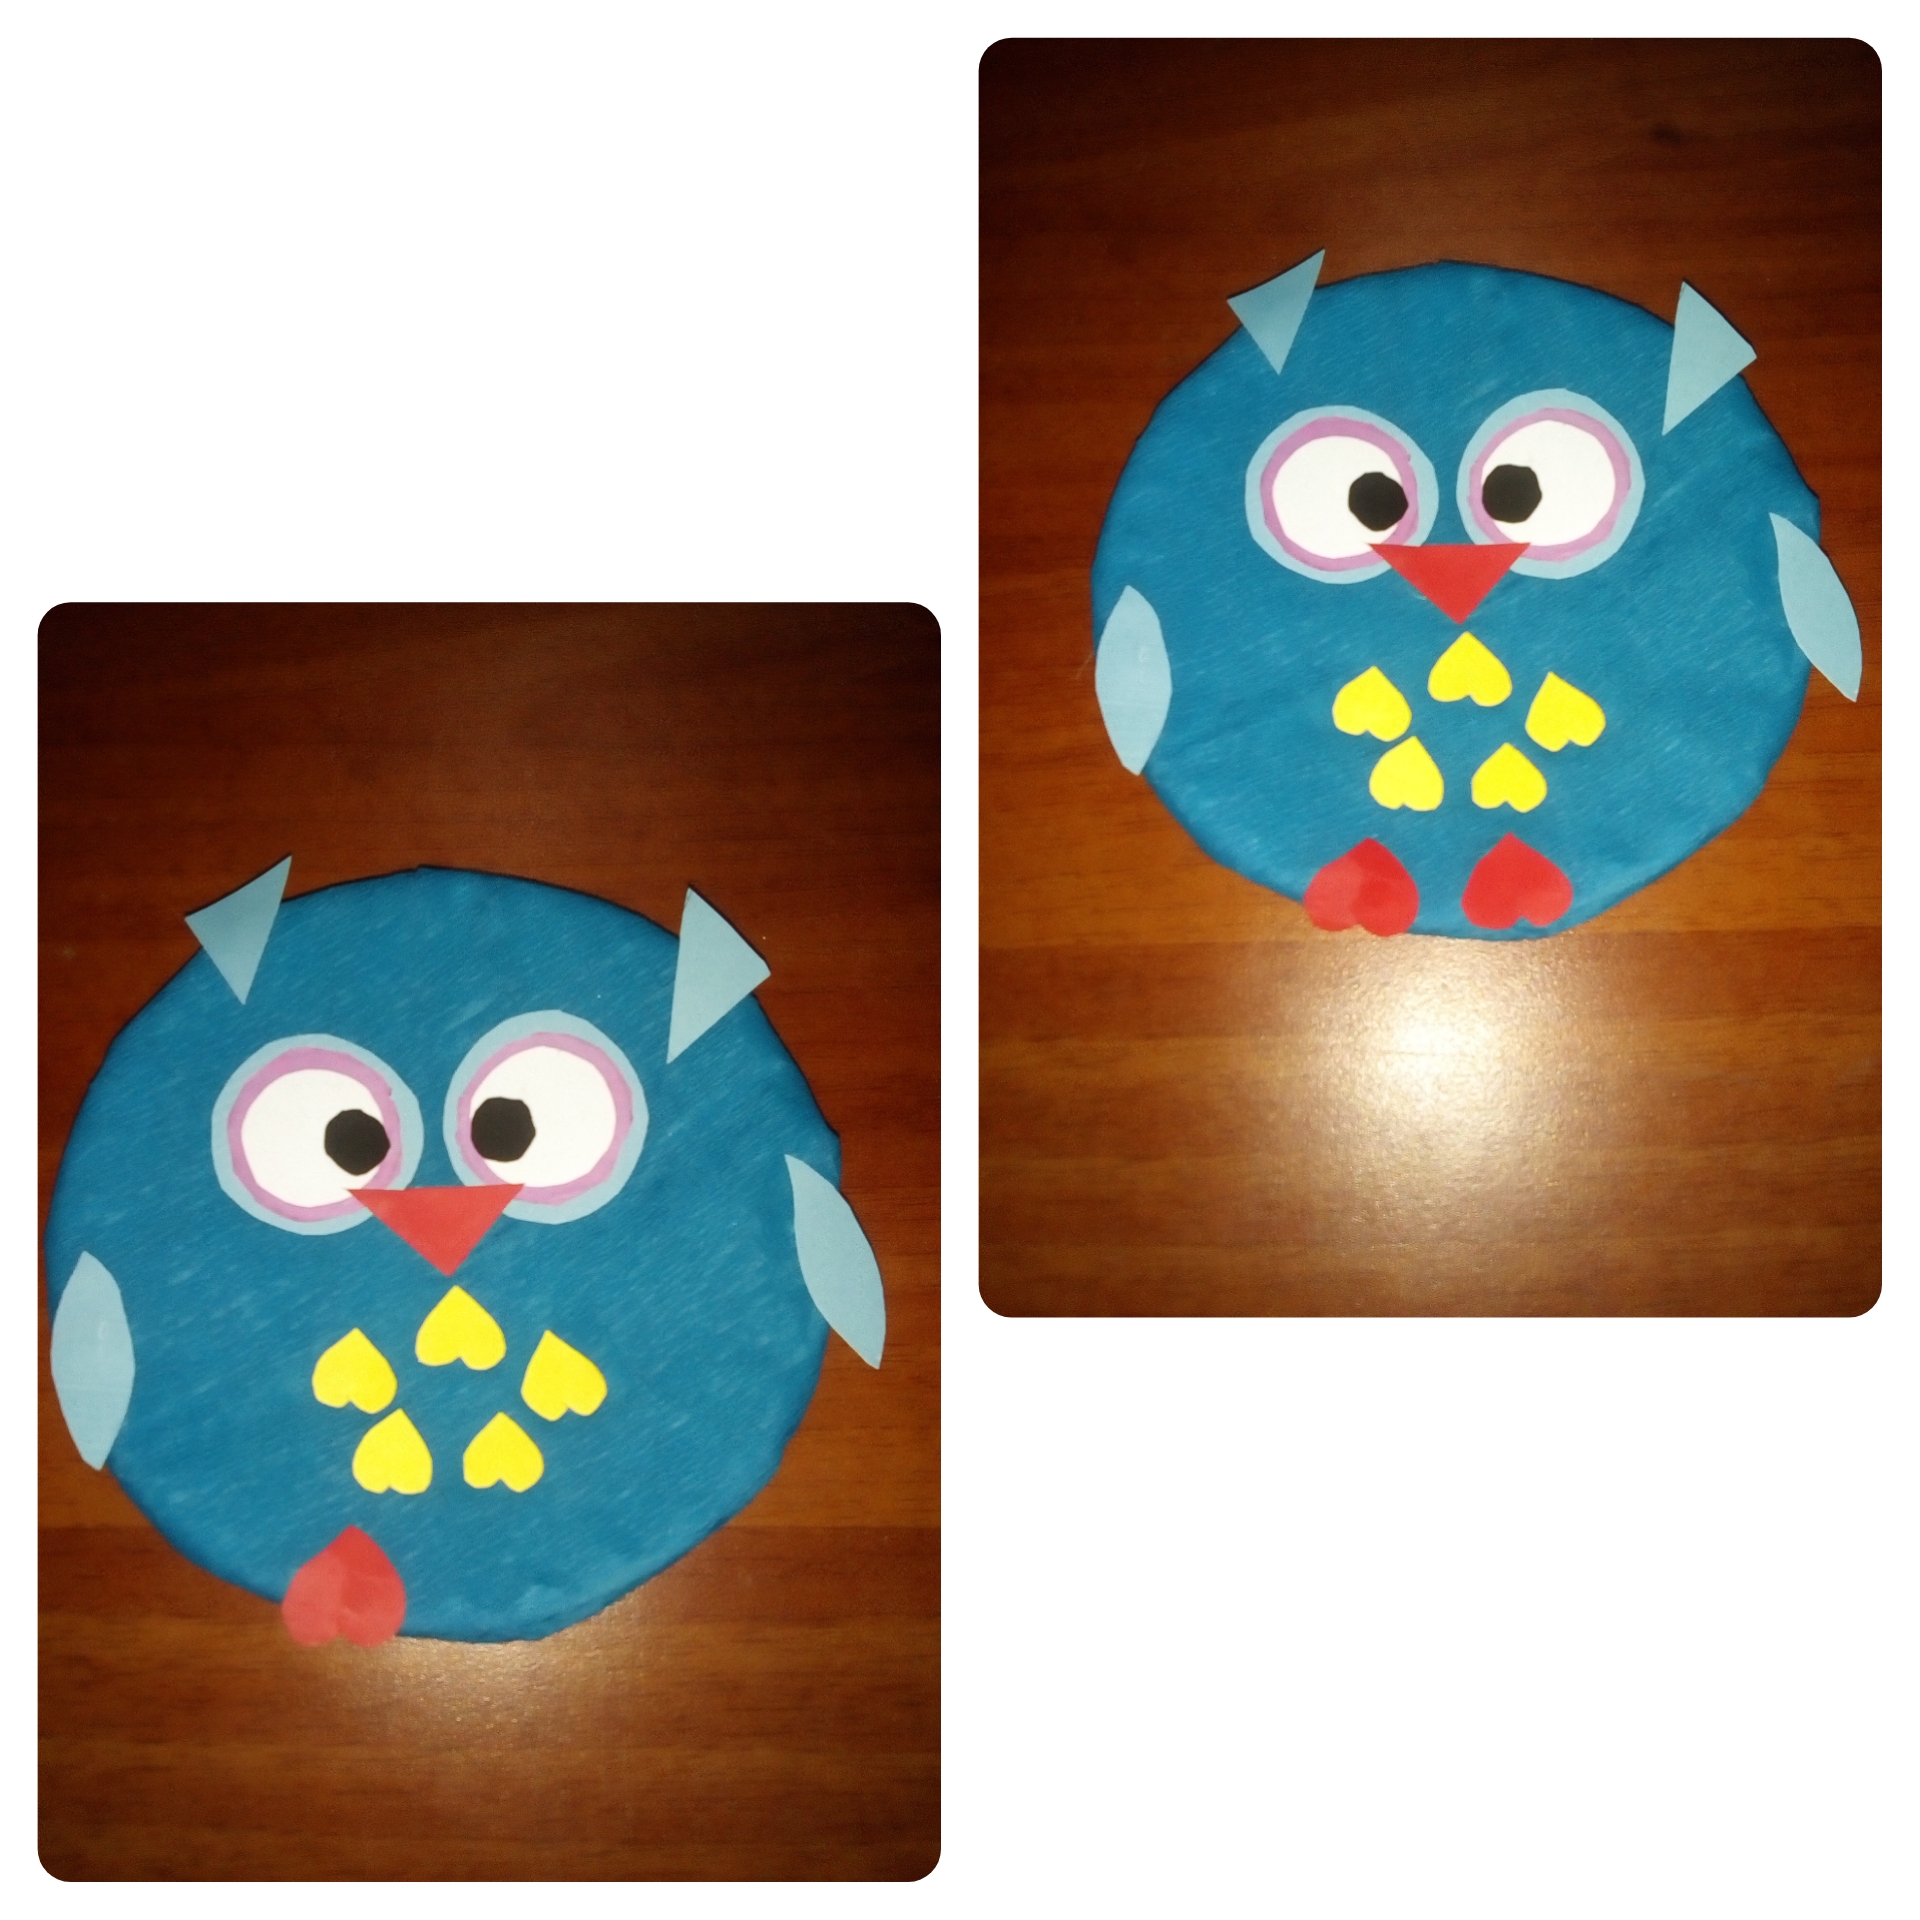 </center> y listo, tenemos nuestro lindo búho. >and voila, we have our cute owl. <center> 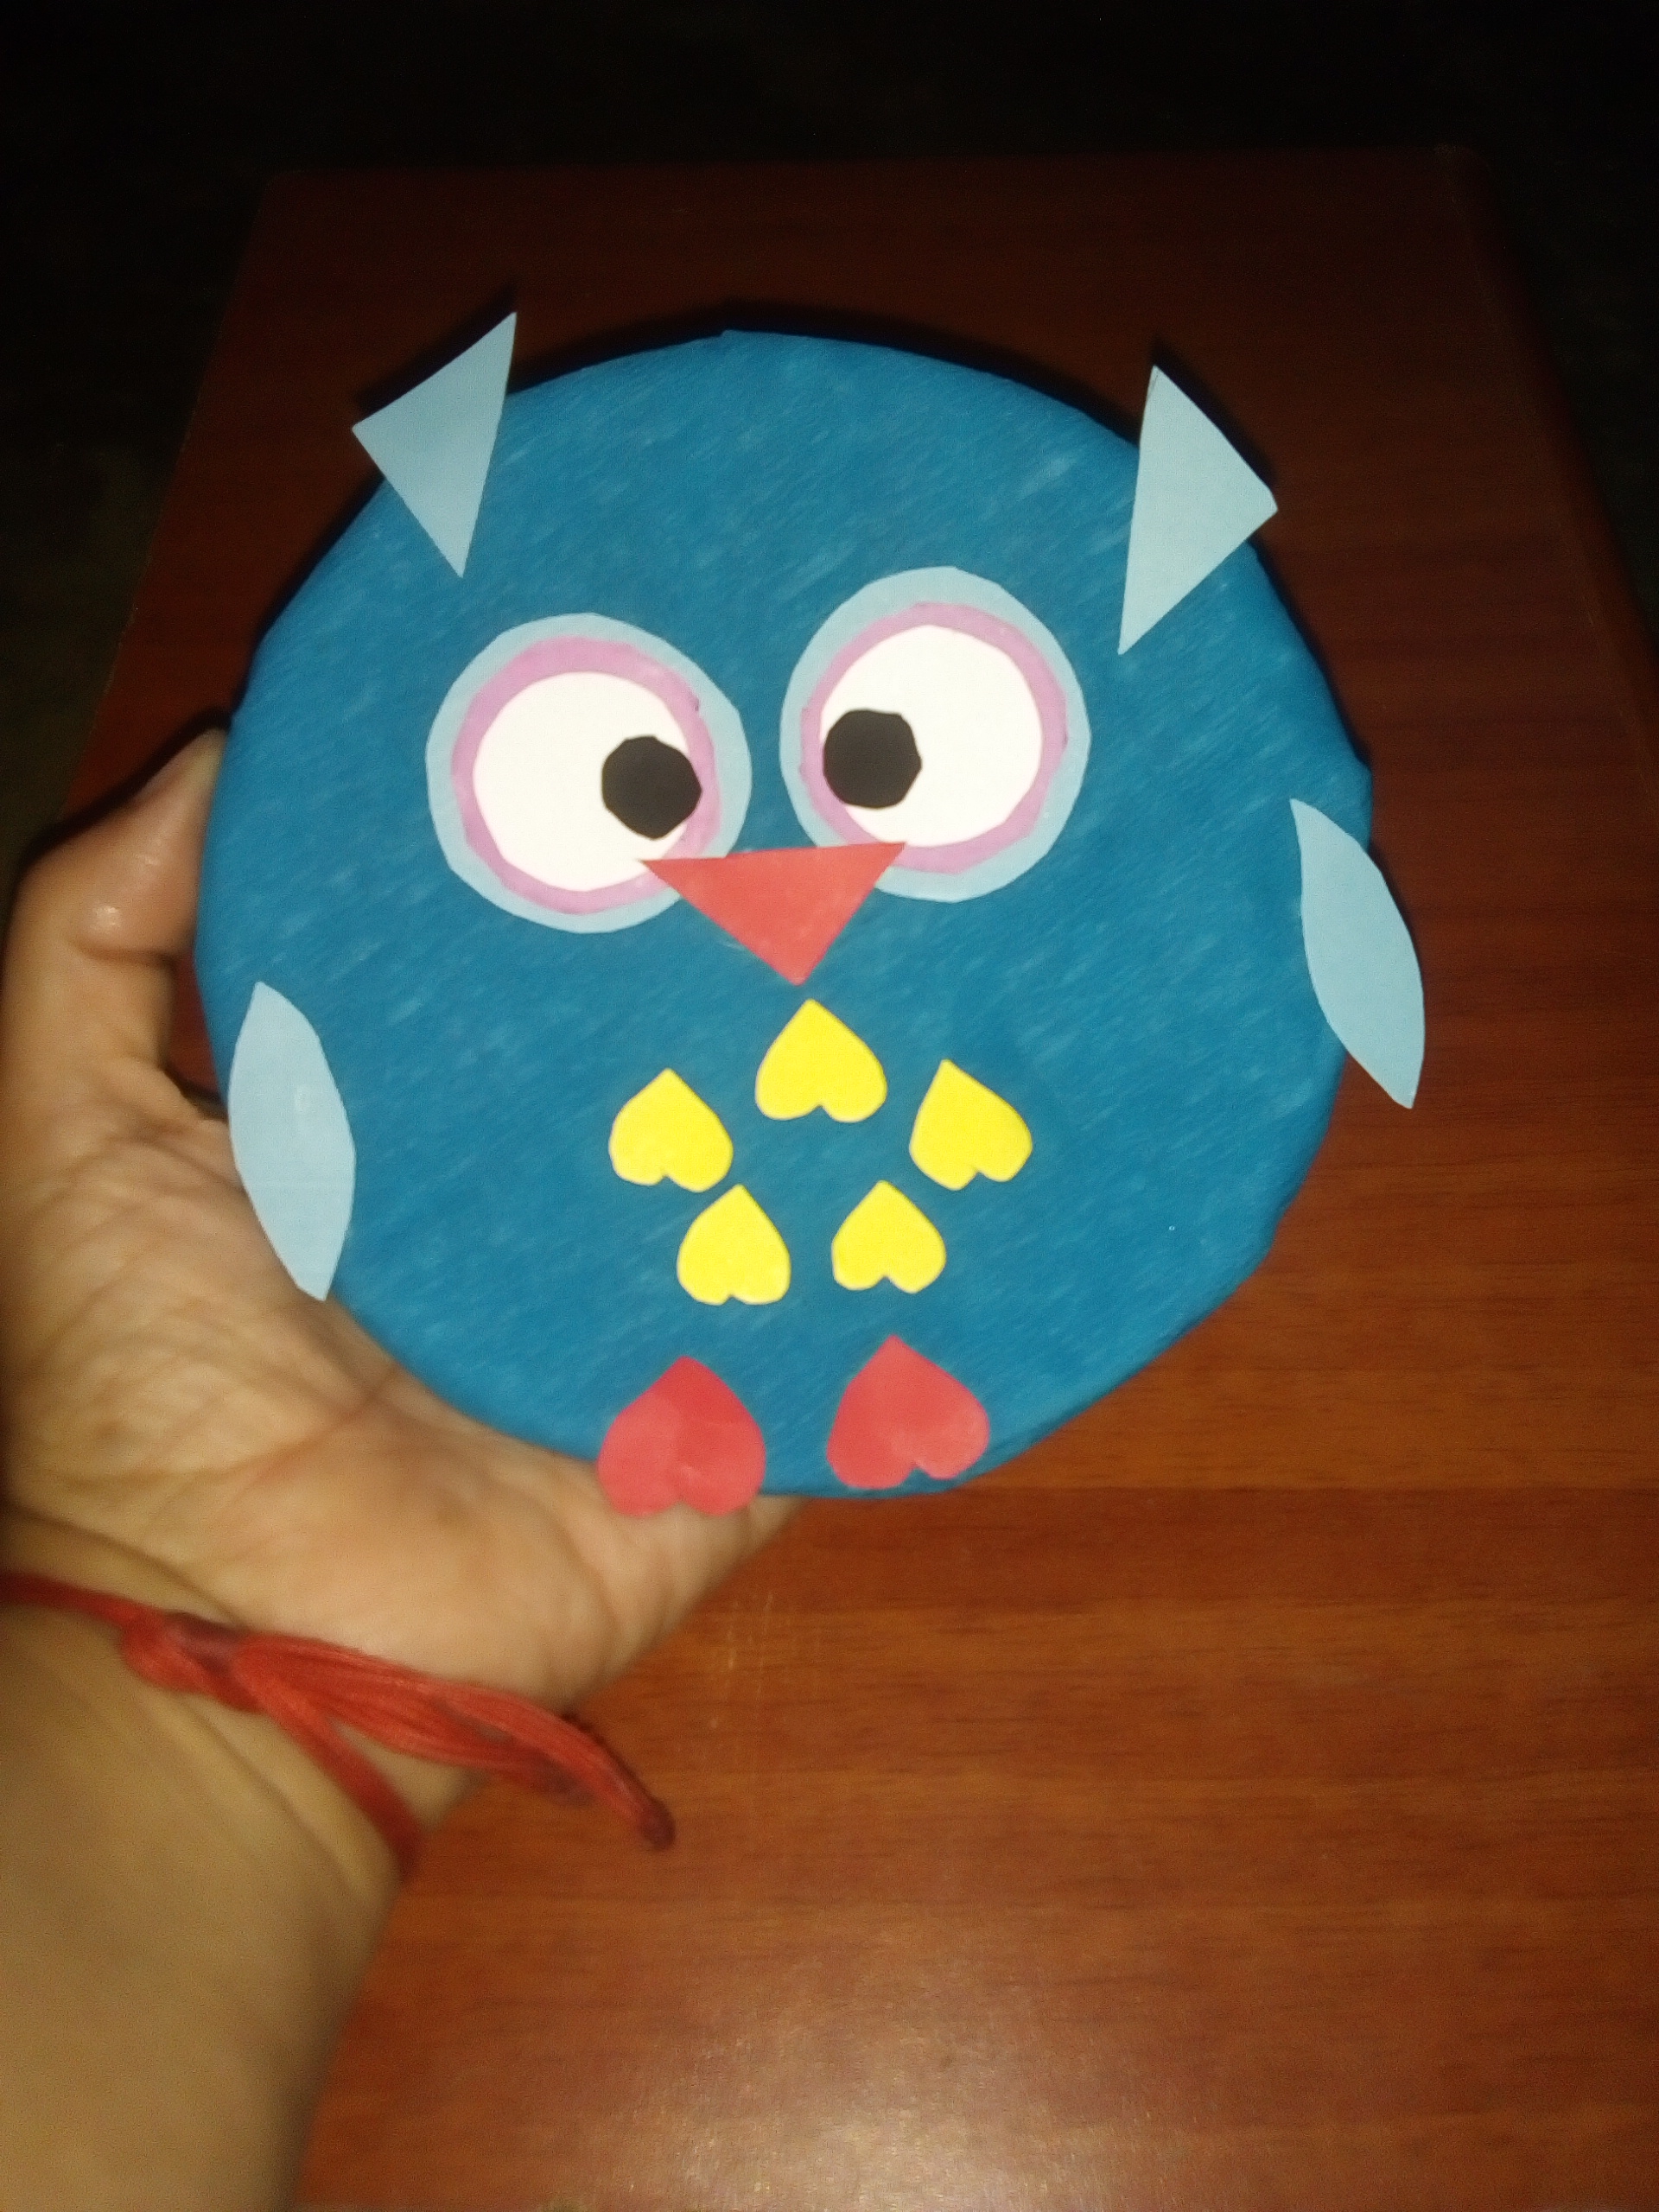 </center> # <i>Gracias por visitar mi blog, nos vemos en mi siguiente post. @alfrednoyed</i> > Thanks for visiting my blog, see you in my next post. @alfrednoyed </div>
👍 gangstalking, basterundco, snath, zugs, eforucom, supu, unpopular, rutablockchain, moisesmcardona, nogriv, finanzasid, danielvehe, enmy, dorada, karii, vaneaventuras, malvyconejero, lunasilver, angelik, leonellaforever, jossduarte, marynessc, bellarulox, stk-g, kimberlynv, antoniarhuiz, chrismartinez, elvigia, yisusgtr, jesscbrl, yenncanela, rant85, naty16, jjmarquez, keisy, maleidamarcano, mariolbi, jesus68, delilhavores, berlissanoja, rodrikun17, vicvperezdelara, angelescats, jennynas, ambarvegas, jossavendano, graciadegenios, yolimarag, rosa4r, jtkl12, kenialorena, machf, aularjavier, alejandria12, reymoya95, dorisp, enmymente, alejandroxg, gabygonz, issymarie2, evev, quijotezco, tibaire, care1869, izzieperez, leonelysmb, isaale, paolazun, yohadice, argeh, strangex, eimy7, milamarkn, duneskya, jomarbym, ayleenr, hexagono6, maykk, soychalbed, alvaradofran, makeup.byidy, gabstar, yllentv, vidayaventura, neilamarcano, enmaoro, ubaldonet, yeceniacarolina, eve66, samic, kattyart, zuly63, aguilaazul7777, leydil, aricaroo, cloris, leynedayana, yooerlyn, hivebuzz, steemitboard, lizanomadsoul, manncpt, gaottantacinque, cribbio, gasaeightyfive,