Linux-curious? How to start being a nerd, with pictures [TUTORIAL]
computing·@anarcotech·
0.000 HBDLinux-curious? How to start being a nerd, with pictures [TUTORIAL]
 <h1>Let's turn you into a proper geek... Learn how to create your very first Linux distribution installation, without the need for a safety net!</h1> This tutorial is going to show you how to install a virtual Linux environment on your Windows PC (or Mac) in under 5 minutes. By the end of it, you will be well on your way to complete nerdiness, and are unlikely to ever return. We are going to install a Virtual environment, with its own Linux operating system INSIDE of your present one. <h2>STEP 1: Install a VM CLIENT</h2> There are lots of VM (short for Virtual Machine) clients. For this very simple step-by-step tutorial, that even my Dad could follow, I am going to encourage you to look at <a href="https://virtualbox.org">Virtualbox </a> which makes it dead easy to get started. Visit the virtualbox downloads page <a href="https://virtualbox.org/wiki/downloads">here </a> .png) If you're using Windows, click on the Windows Hosts link. If you're on Mac, click on the OS X Hosts link. This will get you the latest version of Virtual Box. <b><hr>NOTE: Some Windows antivirus programmes completely fuck the installation up, causing it to not work. It's a pain to undo. My advice is DISABLE YOUR ANTIVIRUS PROGRAMME before running setup. Yes, I know this is scary, but you probably aren't going to get some global-ransomware-colon-invading-nastiness-disease in the few minutes you're turned off! <hr></b> I'm using Windoze 10 here. It will be very similar on other operating system flavours. Make sure it downloads, then run the application. <center> 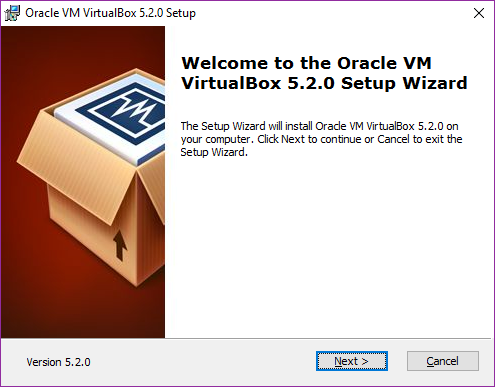.png) *clickety click NEXT*</center> <center> 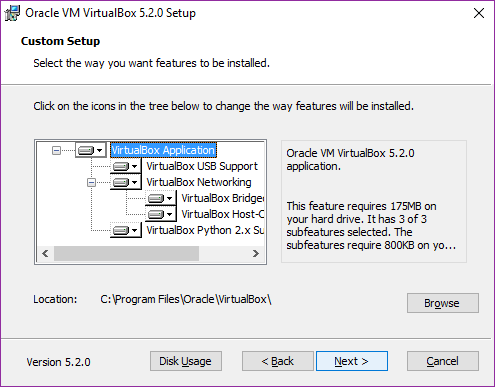.png) *Ah, just do the default....click NEXT*</center> <center> 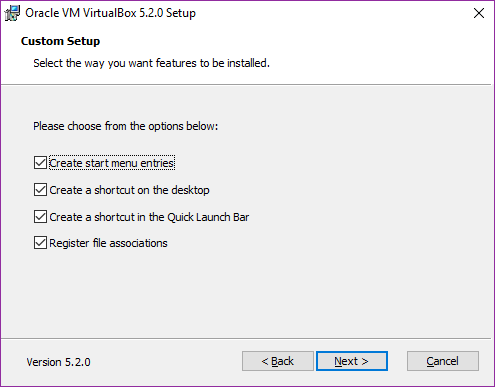.png) *Choose what you want, but default is good...click NEXT again*</center> <center> 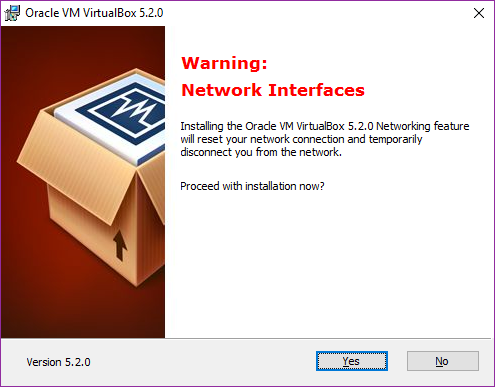.png) *Danger danger Will Robinson...you're about to lose net connection for a little while. Make sure if you've still got your porn on, that you realise you're going to drop off, but only briefly!!!*</center> <center> 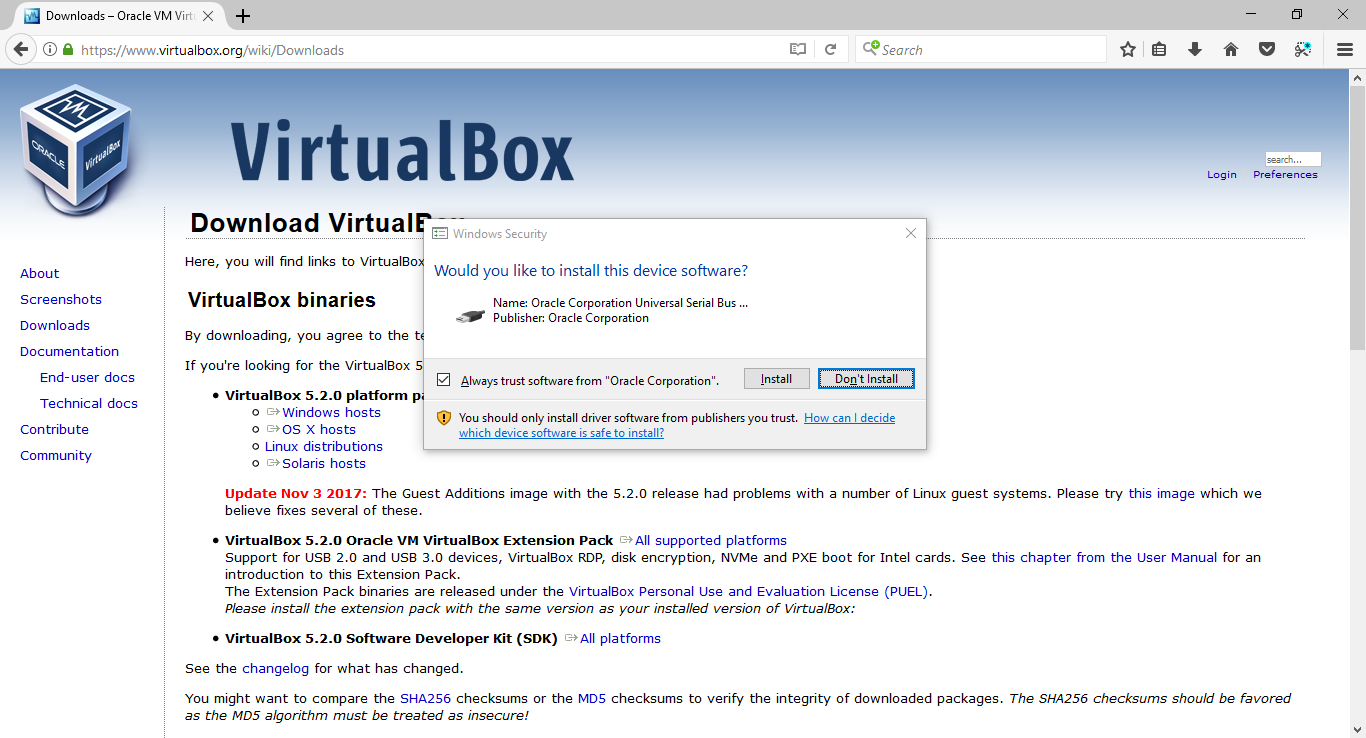.png) *You're going to get asked if you really really want to install the software from Oracle. Yes, otherwise why are you doing it....duh???*</center> <center> 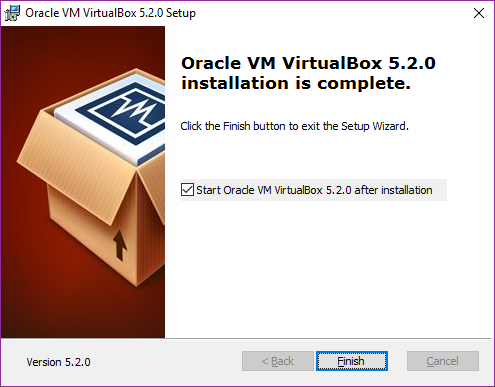.png) *Yay, finished installing. See, wasn't so scary was it?*</center> So if you want to get started straight away, leave the START VM VIRTUAL MACHINE box ticked, click FINISH and off we go.... <hr> <h2>STEP 2: Now, we need to choose which flavour of Linux you want to run. </h2> On running VirtualBox, you will be presented with a window that shows you the virtual machines you have installed. To begin with, it's empty, because you haven't created any yet, of course. 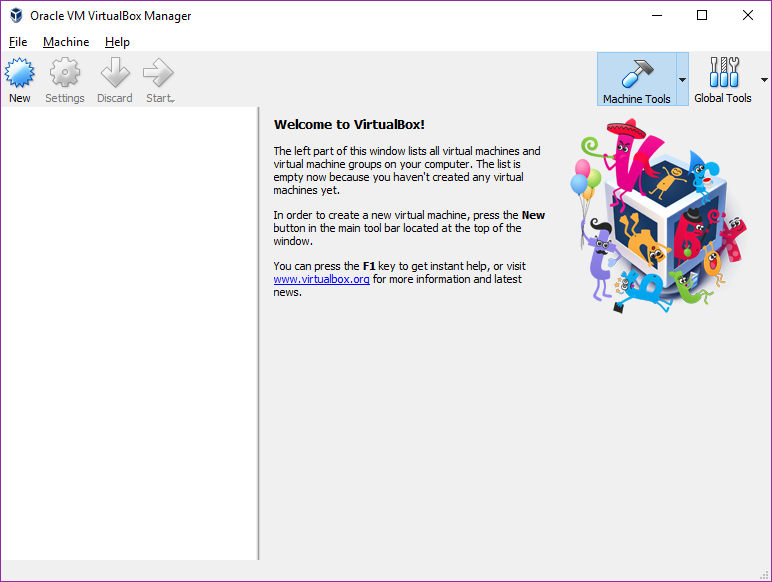.png) Let's get going then. Start by clicking NEW in the top left hand corner. <center> 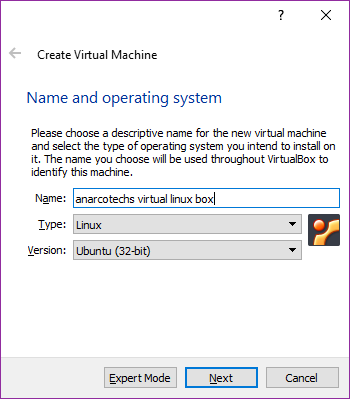.png) *A box pops up asking you for a description for your new box, and to select the kind of install you want. For this tutorial, I'm going to select the type as LINUX and the version as UBUNTU (32bit)*</center> <center> 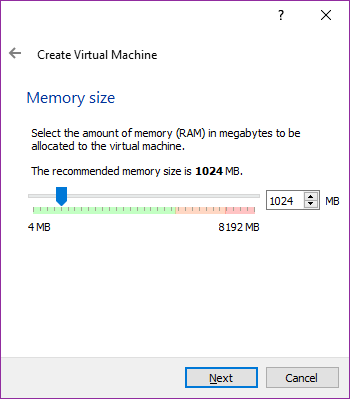 *Now, you will be asked to choose the amount of RAM to allocate to it. Don't go bonkers and allocate it all, or your host operating system will run worse than a Ford Ka. I'm running on an 8MB laptop, so I'm going to go with the recommended 1GB of RAM (which is 1024MB). Click NEXT when you're happy*</center> <center> 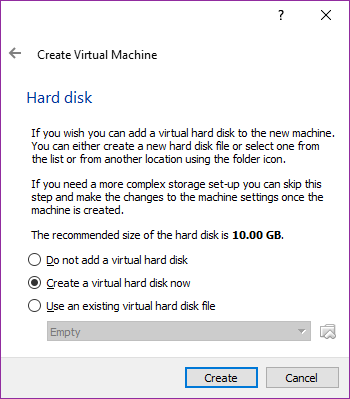 *You will be asked if you want to use a virtual hard disk. For newbies, the answer is yes, and for just testing out 10GB should be plenty for now. If in doubt, and you have the room, give yourself a little more, but again don't go bonkers with it. Click CREATE when you're ready*</center> <center> 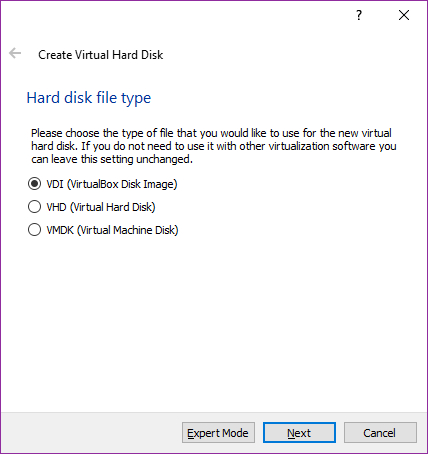 *New users...just leave the setting unchanged on Hard Disk Image and click NEXT*</center> <center> 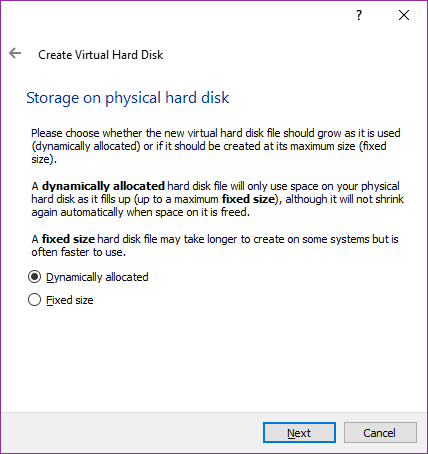 *Bloody hell, another question.... If you're new, and you've got a reasonable bit of space left on your computer (and you're not going to try to take over the world with your new linux distribution) then just choose Dynamically allocated and click NEXT*</center> <center> 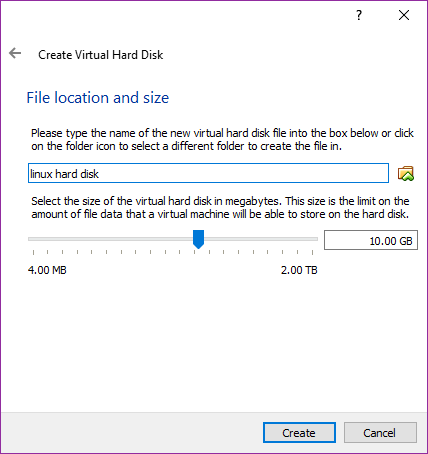 *Jesus, another question...Ok, just give your new virtual hard disk a name, and make sure it's set to the size you asked for to start with. Don't use up all your existing space!!! * </center> <center> 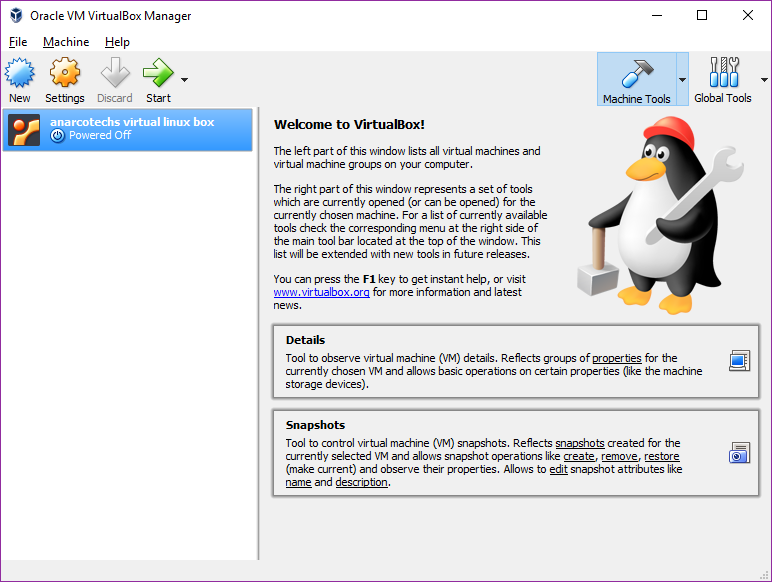 *Boom! It's done. You have now created your new linux distribution.*</center> For now, your new virtual machine is powered off. The next job is to power it on, then you can use it. <hr> <h3>More tutorials coming of how to get started with funky linux things, and other techie nerd stuff which will expand your mind, reduce your pulling power with women, and get you into real ale.</h3>
👍 anarcotech, pastbastard, minnowmentor, steeminganarchy, freebornangel, jkkim, xervantes, doc.hodes, remlaps2, lisa.palmer, remlaps1, steemitboard, bilbop, minnowsupport, zritex, banjo, pharesim, drotto, barrie, endaksi1, edrivegom, gomeravibz, jhermanbeans, steemprentice, khalilalfamahera, valth, lastminuteman, pomperipossa, numpypython, decibel, ilvacca, jhagi.bhai, gindor, whatamidoing, beng05, timbalabuch, qwasert, pusteblume, cryptohustler, gamerveda, nesbitt, bluchr, tradewonk, raymondspeaks, stephen.king989, taica, myday, joalvarez, kkugel2, alokalodipu, omar-hesham, kerdan, steemit-arabia, mhmegh, videogeek, mohamedmoussa, hesham-safwat, hany66, badol1994, thethreehugs,