DIGITAL ART TUTORIAL - How to paint LEGO Robin
art·@artwithflo·
0.000 HBDDIGITAL ART TUTORIAL - How to paint LEGO Robin
## Digital art tutorial - How to paint LEGO Robin step by step _A while back I saw the LEGO Batman movie and I thought it was pretty entertaining! My five year old daughter is a great fan, so I borrowed this little figurine. In this digital art tutorial I'll be showing you how to paint LEGO Robin with digital painting software and (preferably) a drawing tablet._  ### STEP 1 - Make a sketch The first step is of course to make a sketch! First a made a real rough sketch, trying to get the proportions right. Then I lowered the opacity of that sketch layer and made another, more detailed but still loose, sketch on top. 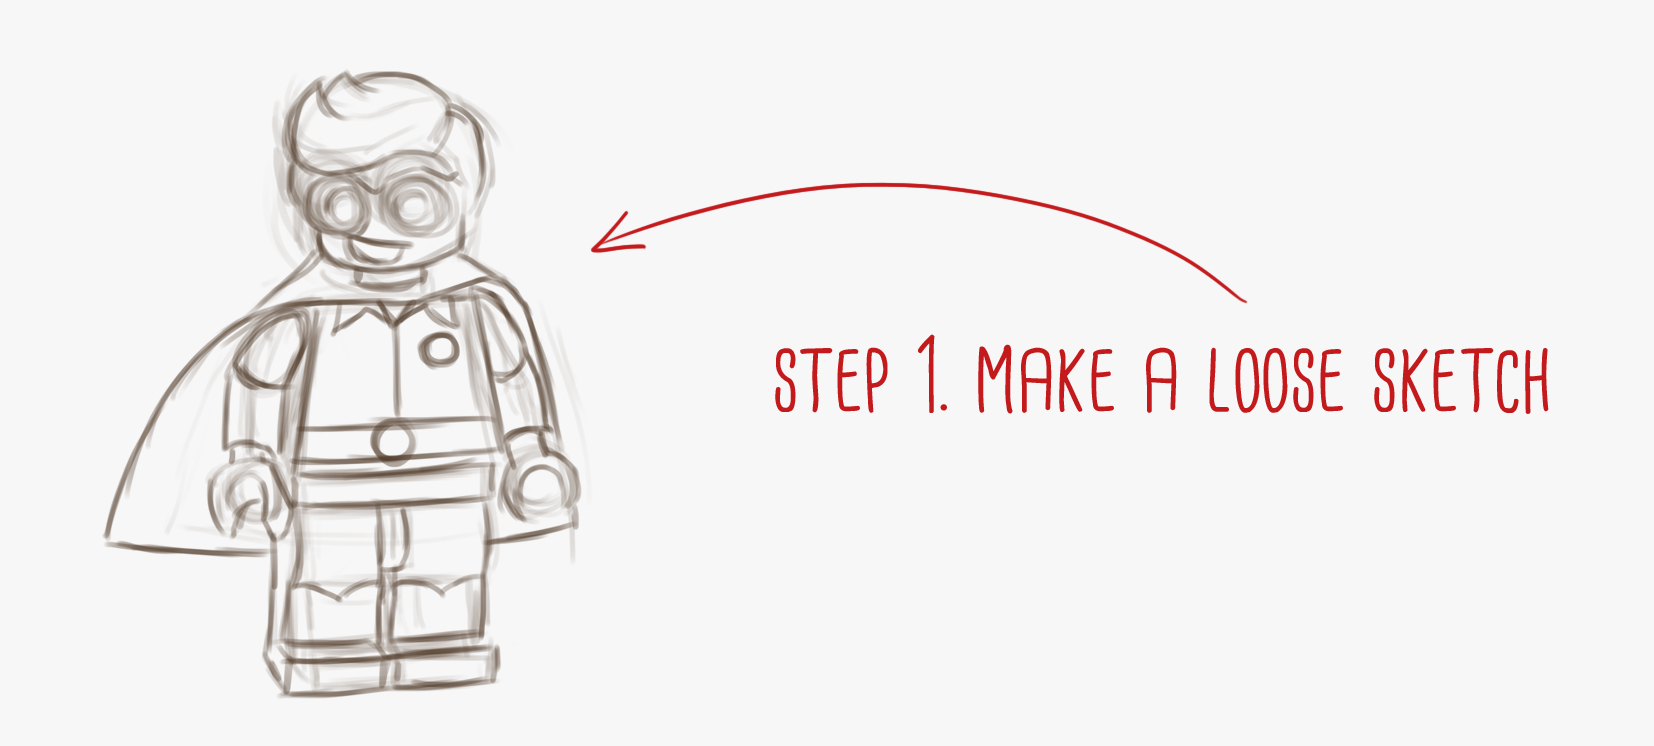 ### STEP 2 -Base colors The next step is to lay down the base colors of the suit and body of Robin. The sketch layer is still turned on at this point. I try using quite dark base tones. 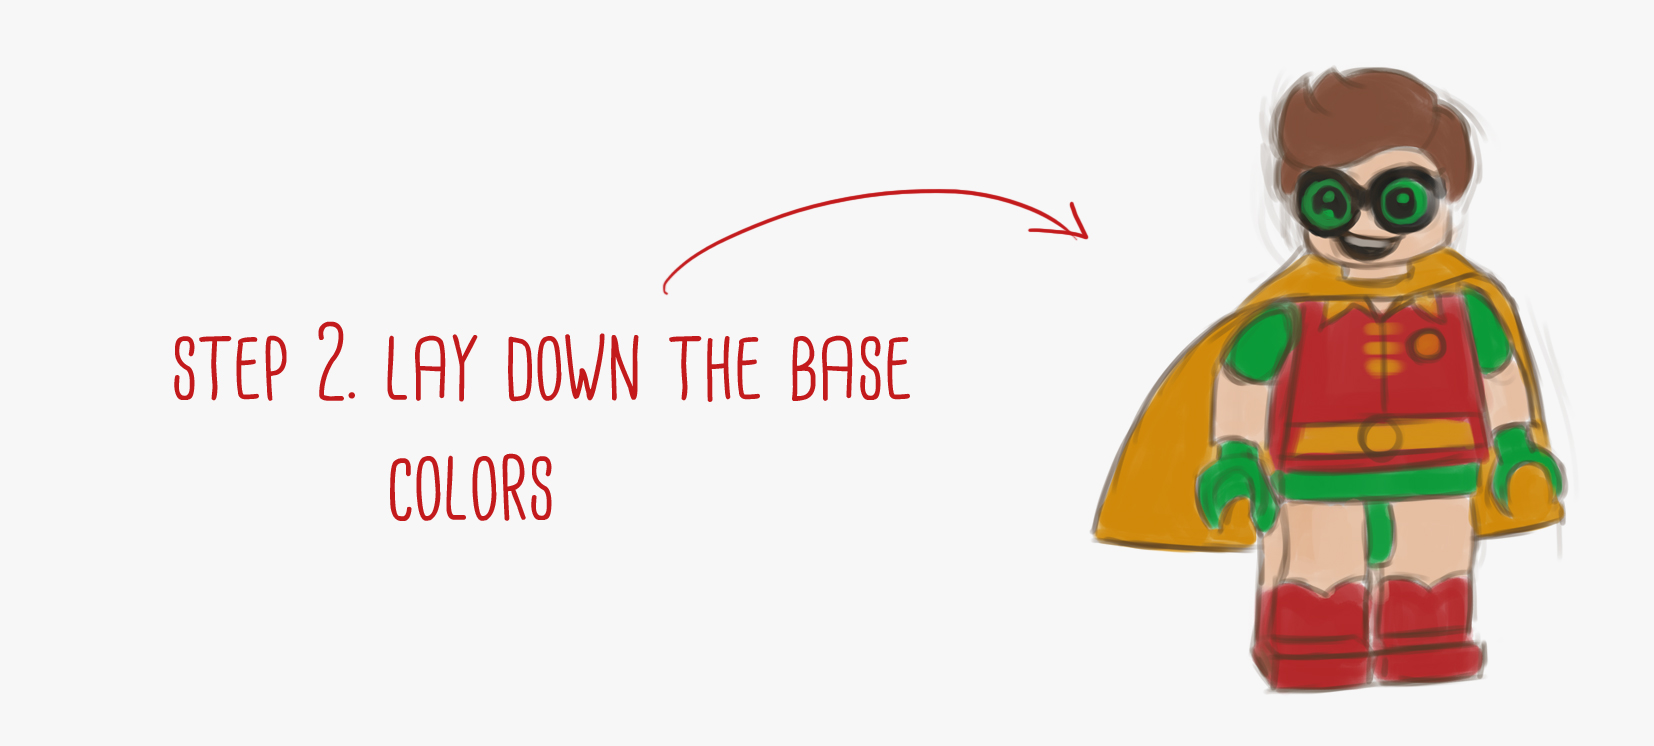 ### STEP 3 - Defining the shapes Now it's time to add more definition to the shapes. Add lights and shadows and add more color variation by using an Overlay layer. The opacity of the sketch layer is turned down to about 20%. 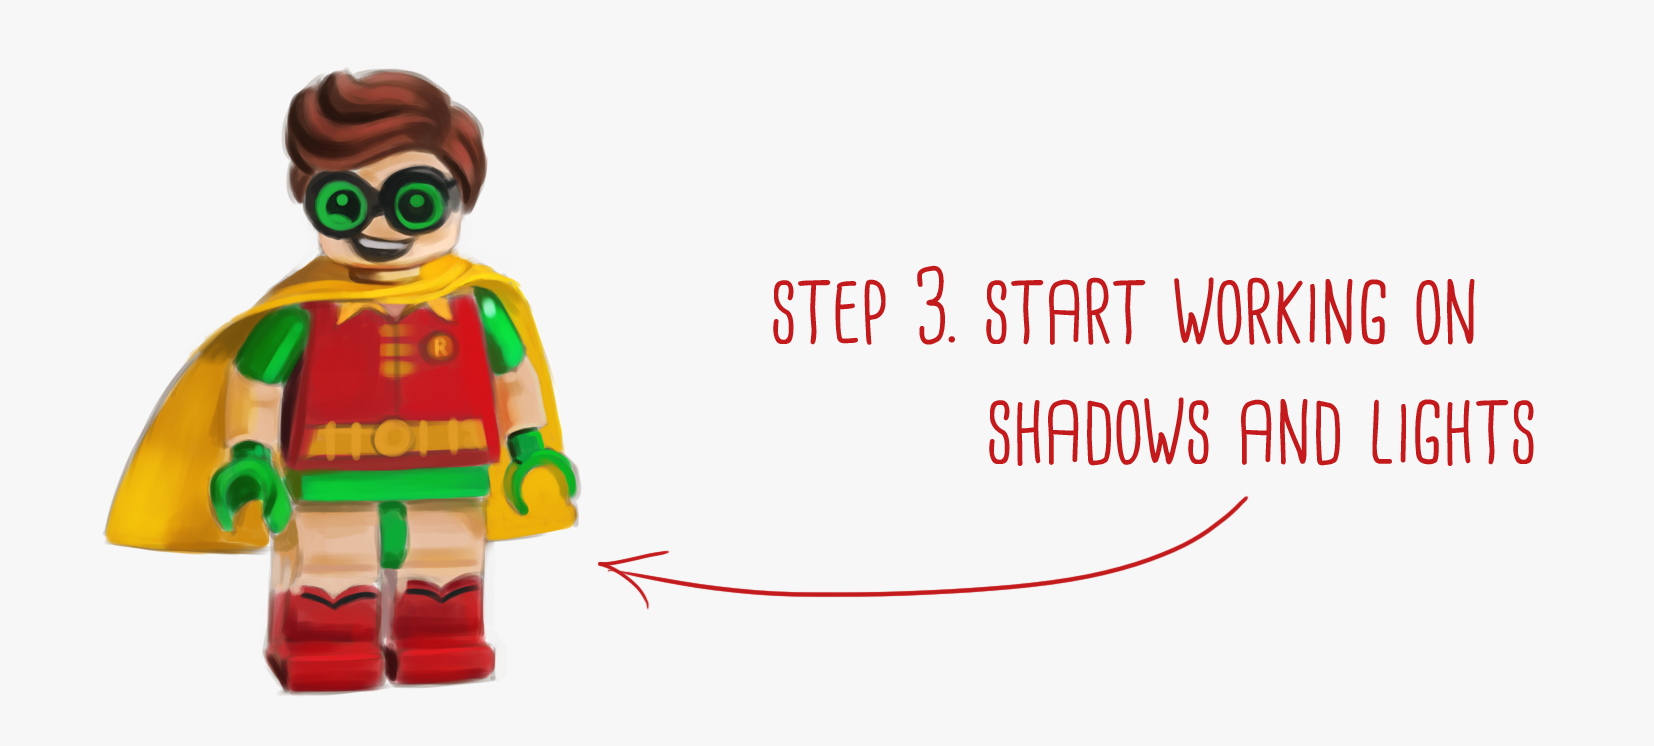 ### STEP 4 - Detailing and sharp edges The next step is to start refining the details. I used the selection tool to make sharp edges, for instance for the goggles and the eyes. If you make a selection, you can only paint **inside** the selection. I mostly used the polygonal lasso tool and the elliptical selection tool.  ### STEP 5 - Final details and drop shadow In this part of the process I fix mistakes, add shiny highlights and paint the texture of the cape. Keep working on the details until you are satisfied. 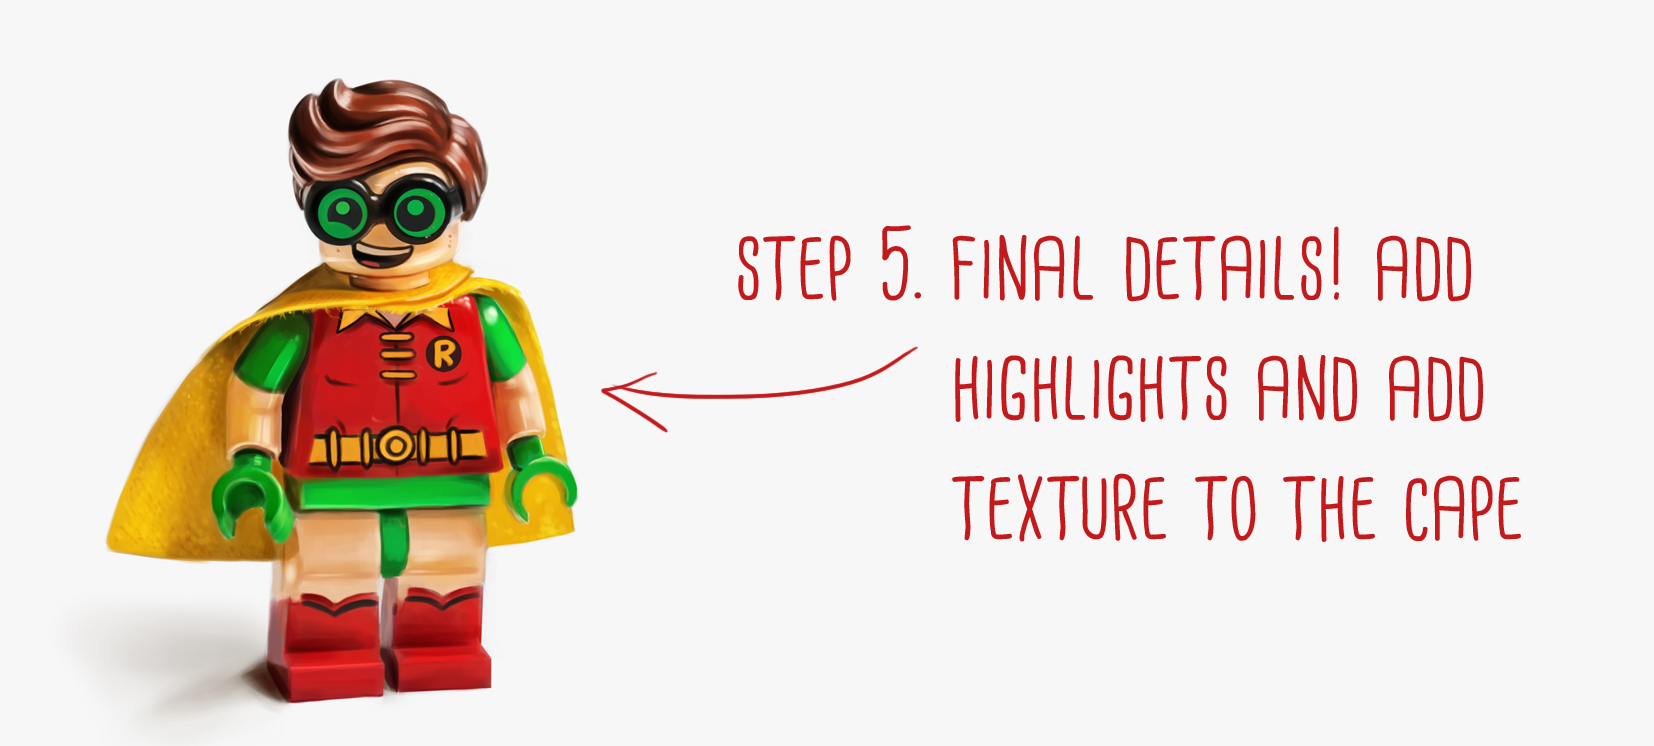 Wanna paint LEGO Robin too?! Be sure to show me your final result and tag me in your post. Here are all the little Robins in a row 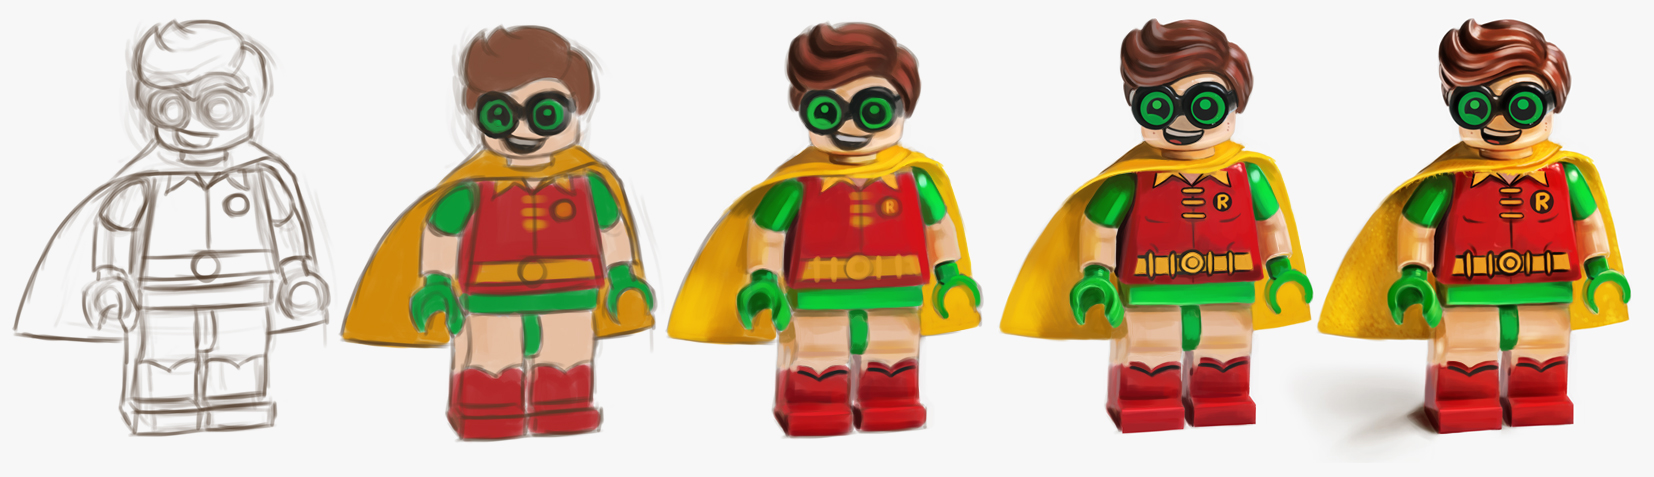 ## Have fun practicing and be sure to share your work once you're done! _Follow my account for digital art tutorials every week!_