How to fix a broken door bin with UV resin
hiveaustralia·@bearone·
5.558 HBDHow to fix a broken door bin with UV resin
Work season ended for me around April. Much to my resignation, cold weather and polyester resin just don't work well together. I need at least 15 degrees celcius to work with polyester resin, anything less, I found, took forever to cure, not to mention I'm out there freezing my arse off as I wait for each layer to set. But I was still in the zone. I wanted to keep working with crystals and keep creating, so my solution was UV RESIN. While polyester resin needs heat to cure, UV resin needs UV light to cure. Polyester resin is suitable for large scale work/casting - think orgonites. UV resin is best used for smaller, thinner resin pieces. This is because the UV light needs to go through the resin to begin the curing process. I know this because I was making Black Tourmaline & Shungite earrings, and because the UV light couldn't go through the crystals the earrings didn't cure properly. I had to flip it, apply more resin then cure the underside. # Now to the door bin.... We've had this fridge around 10 years now. I love this fridge. This fridge has moved 3 times with us and the power saving on is it awesome. I have had stand offs over this fridge because my husband thinks it's too small now that there's three of us (he's right, but lets not tell him that!). Bottom line here is, I'm not letting this fridge go until it totally dies on us. Imagine my (not surprise) when I put the milk back in the door bin and this chunk dropped. I've been expecting it. The fact that it only just happened now, is testament to how awesome this fridge is :D Straight away, the semi forgotten bottle of UV resin popped in my mind... This is how you fix it.... (You could probably apply this method to any plastics that need fixing - within reason!) # You will need! 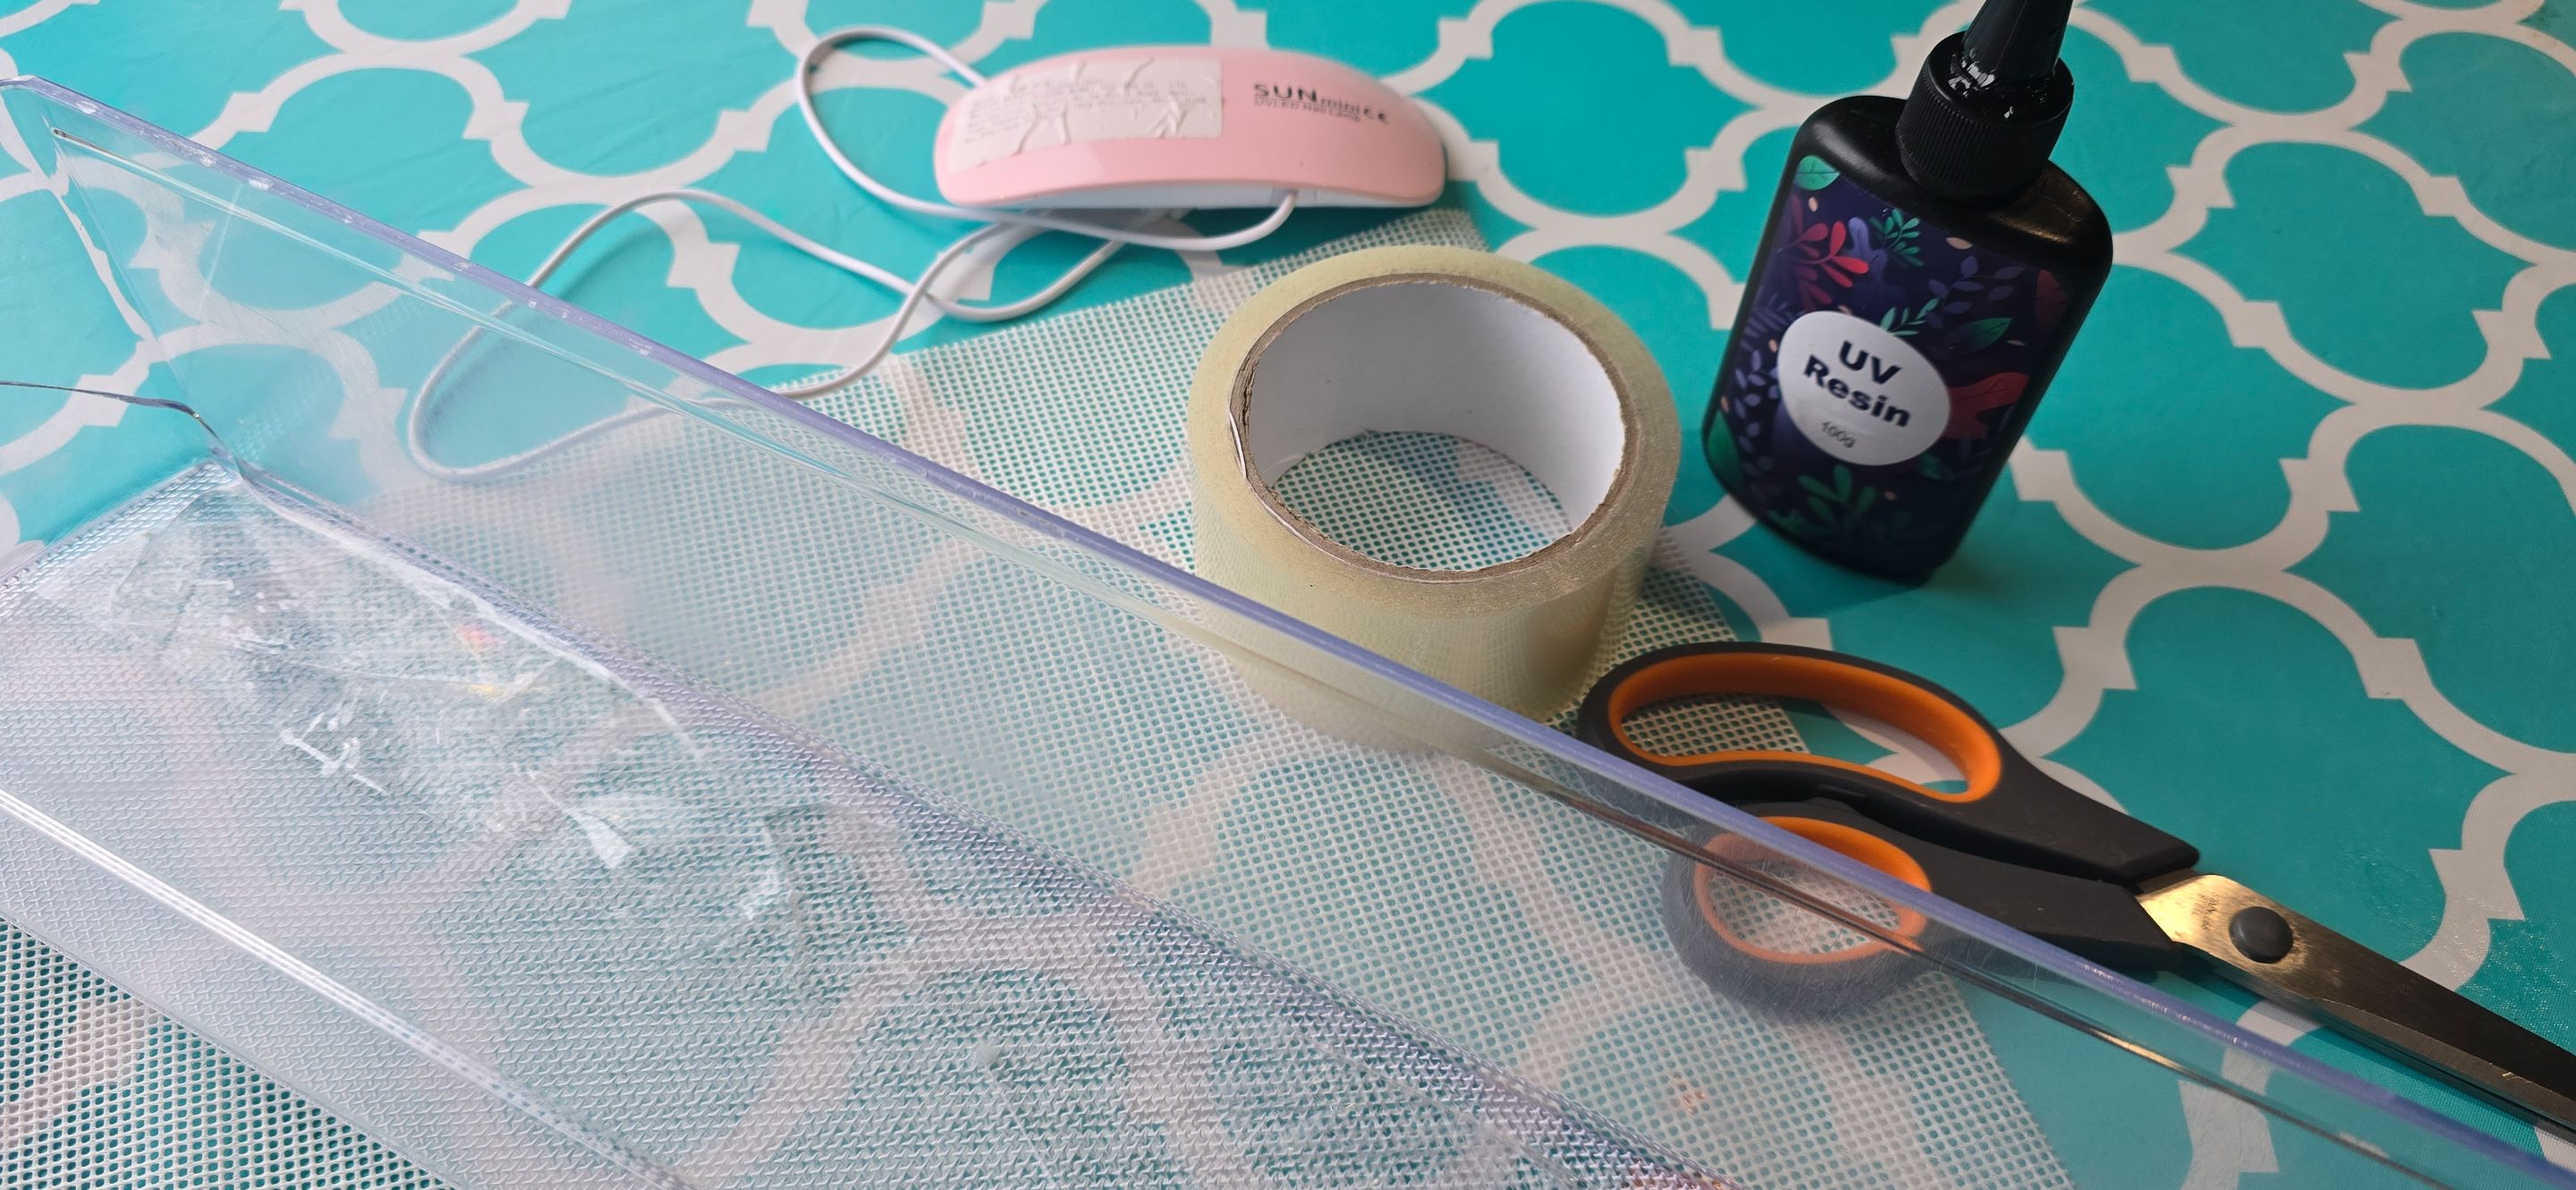 UV Resin UV Resin lamp or torch Gloves Tape (I'm using packing tape) Toothpick or BBQ stick * Carefully remove the door bin. If you cant skip to #2. * Wash and dry the door bin. * Tape the underside of the door bin - only where it's needed. This is to keep the pieces in place when you pour the resin in. 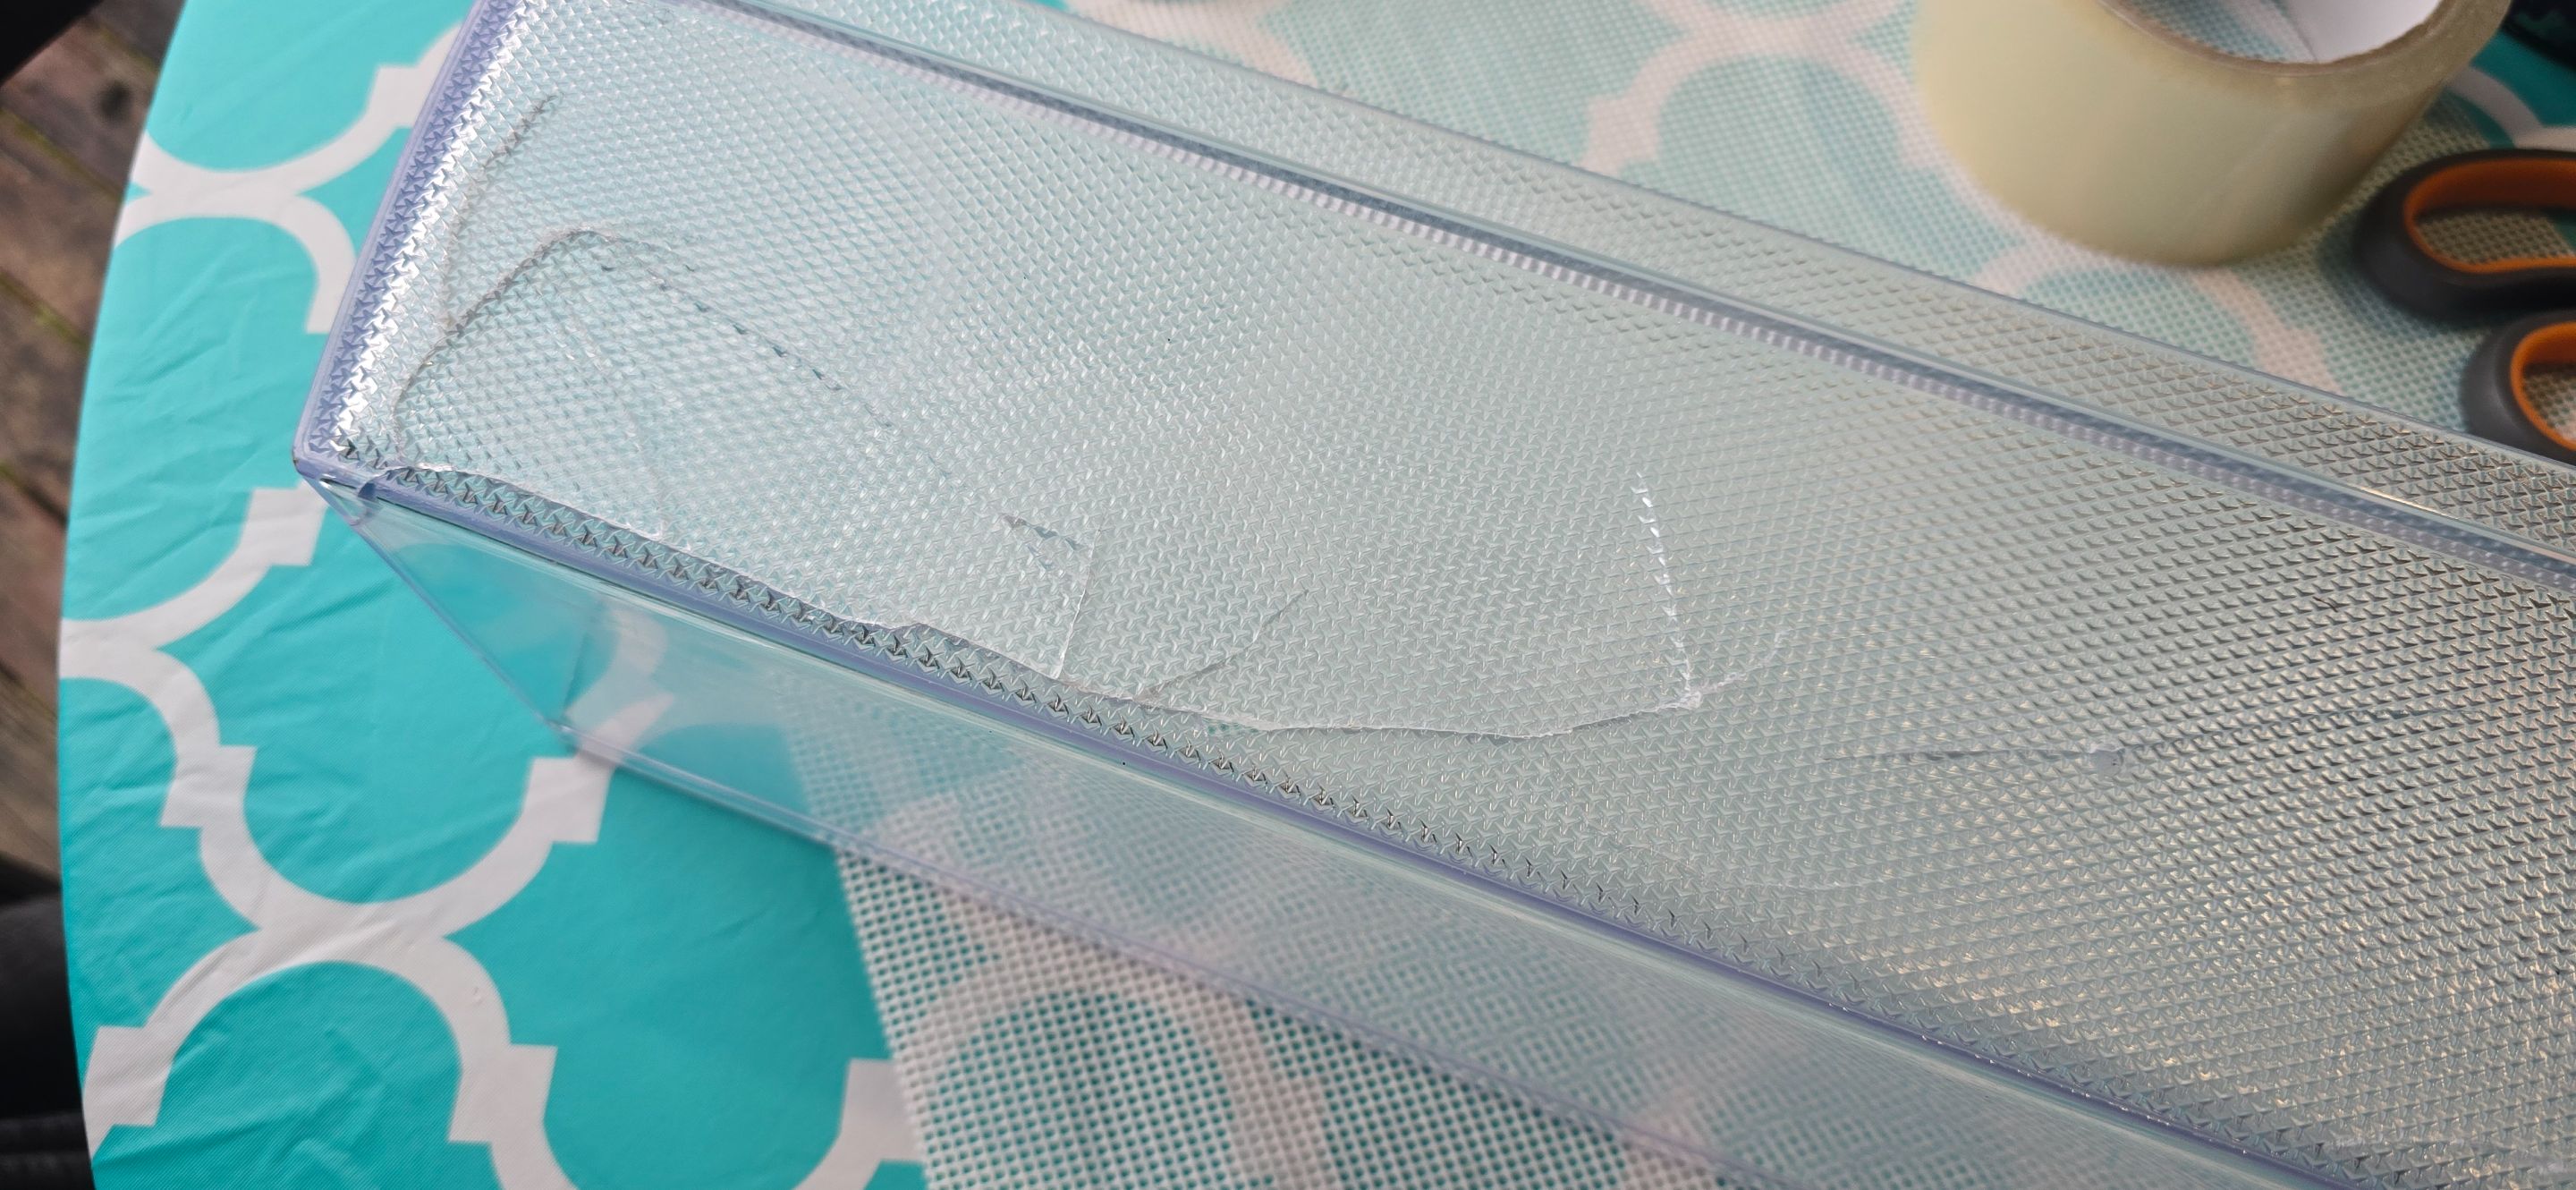 * Carefully put the pieces back in place. If there's no pieces that's ok, resin can fix that too, as long as you placed the tape where it's meant to be you're good! * Pour the resin carefully along the cracks and follow through with a toothpick along the cracks. If you're missing pieces, just pour the resin in the gap (on top of the tape) and let that level out naturally. 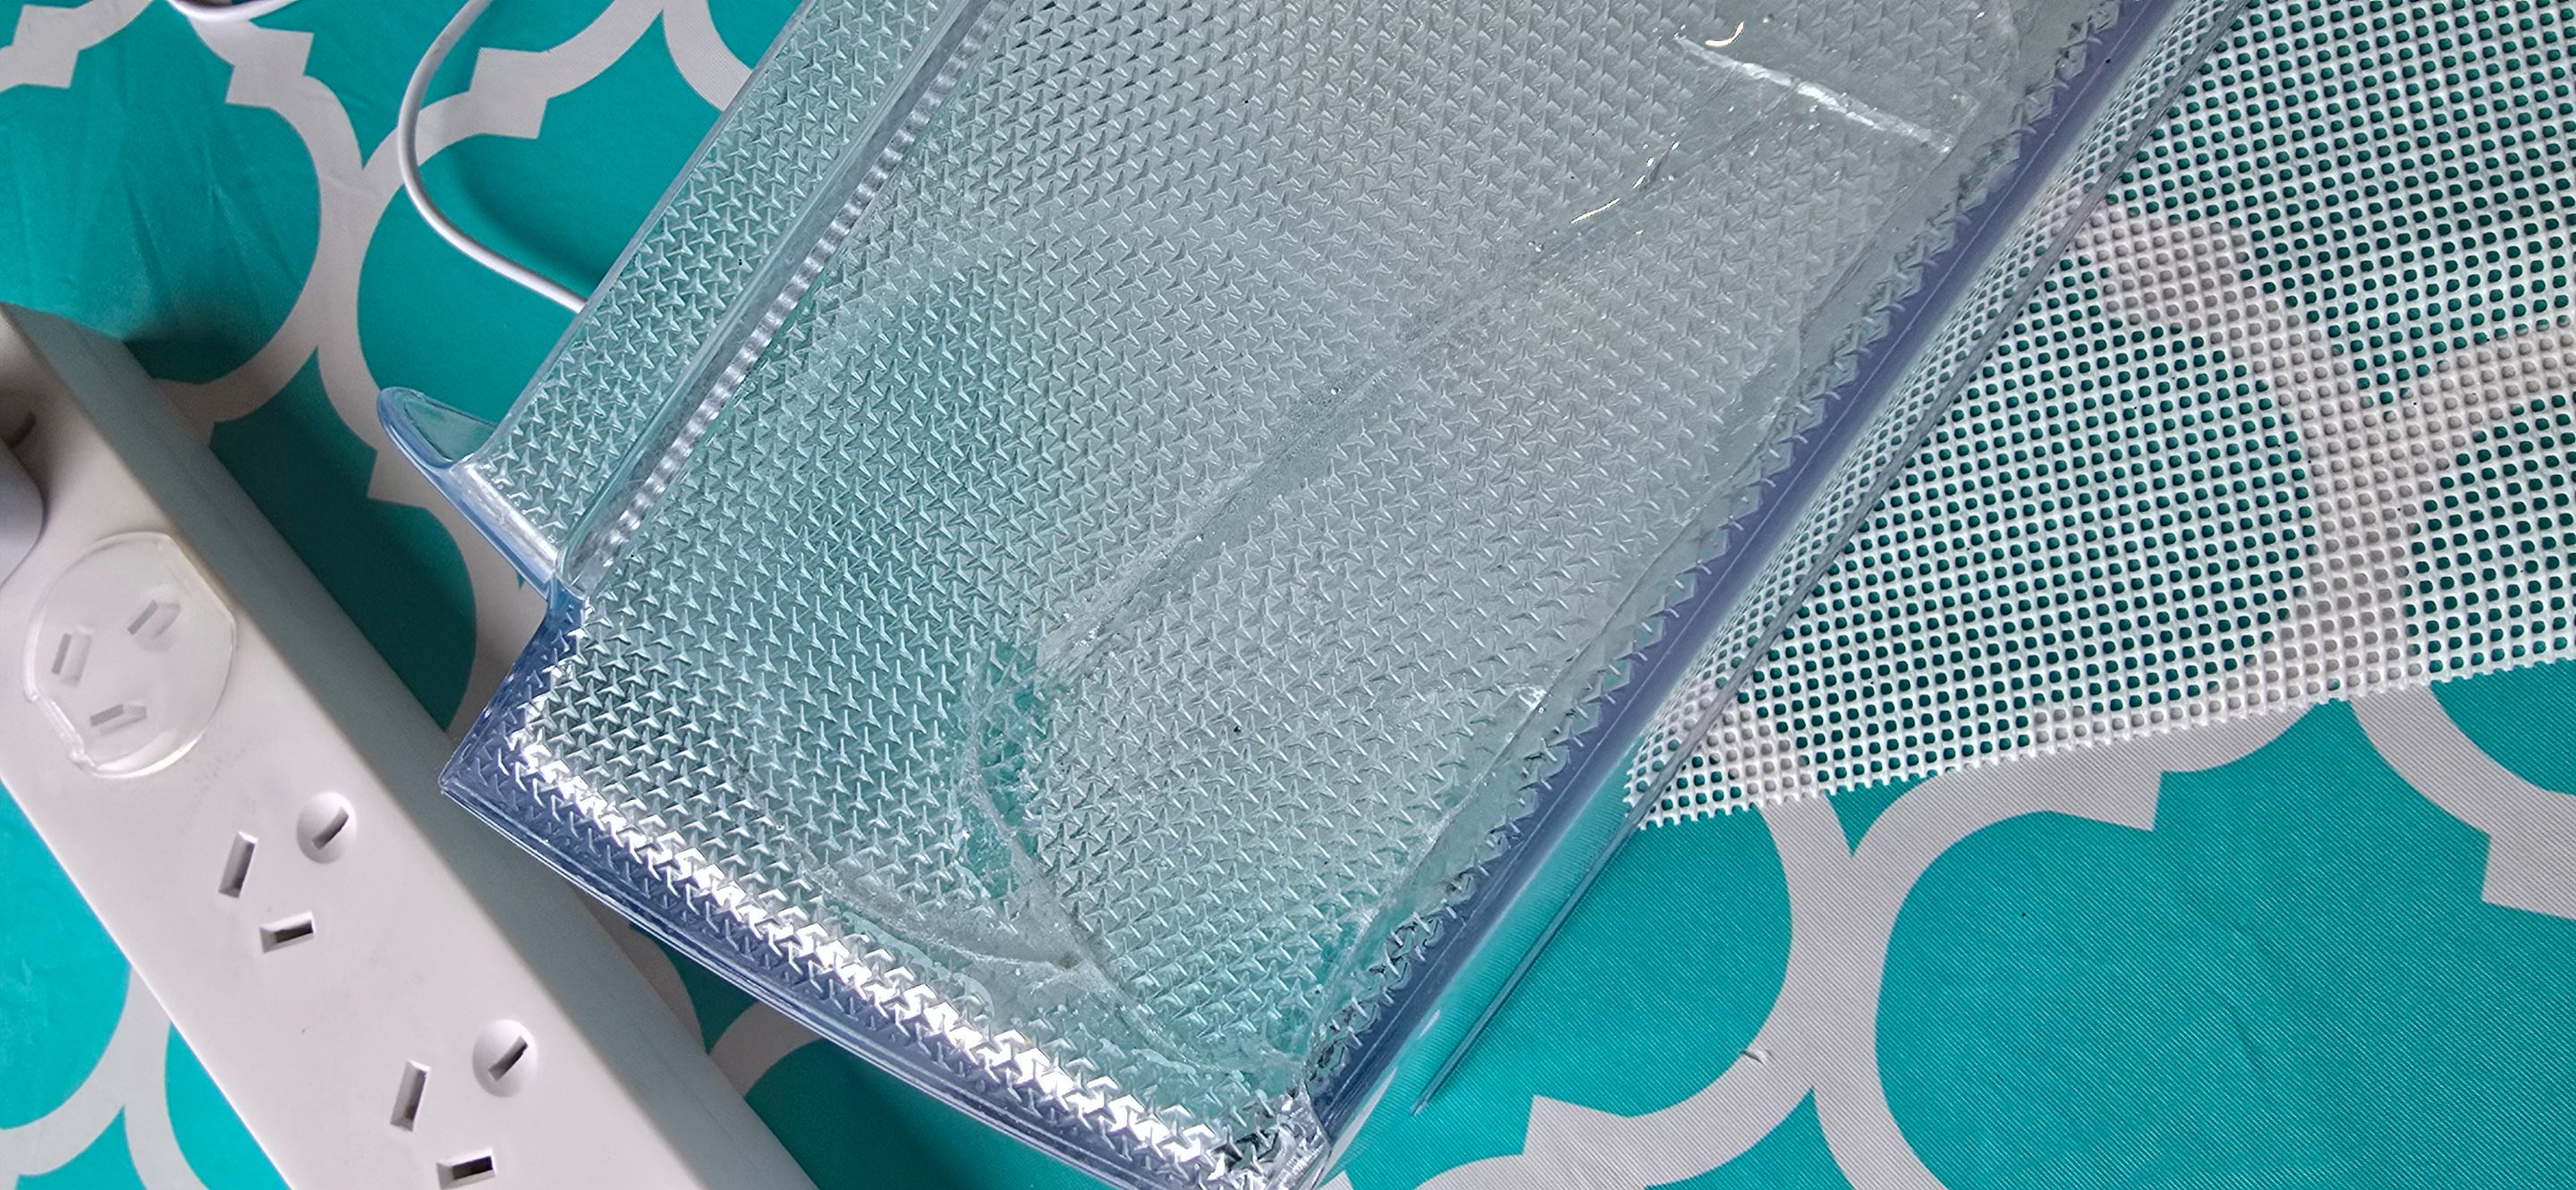 * Once the resin is on, shine the UV light on it to cure it. This takes 5 minutes max - not even. That's the beauty of UV resin. When in doubt though, just touch the resin. If it's tacky it needs more light. 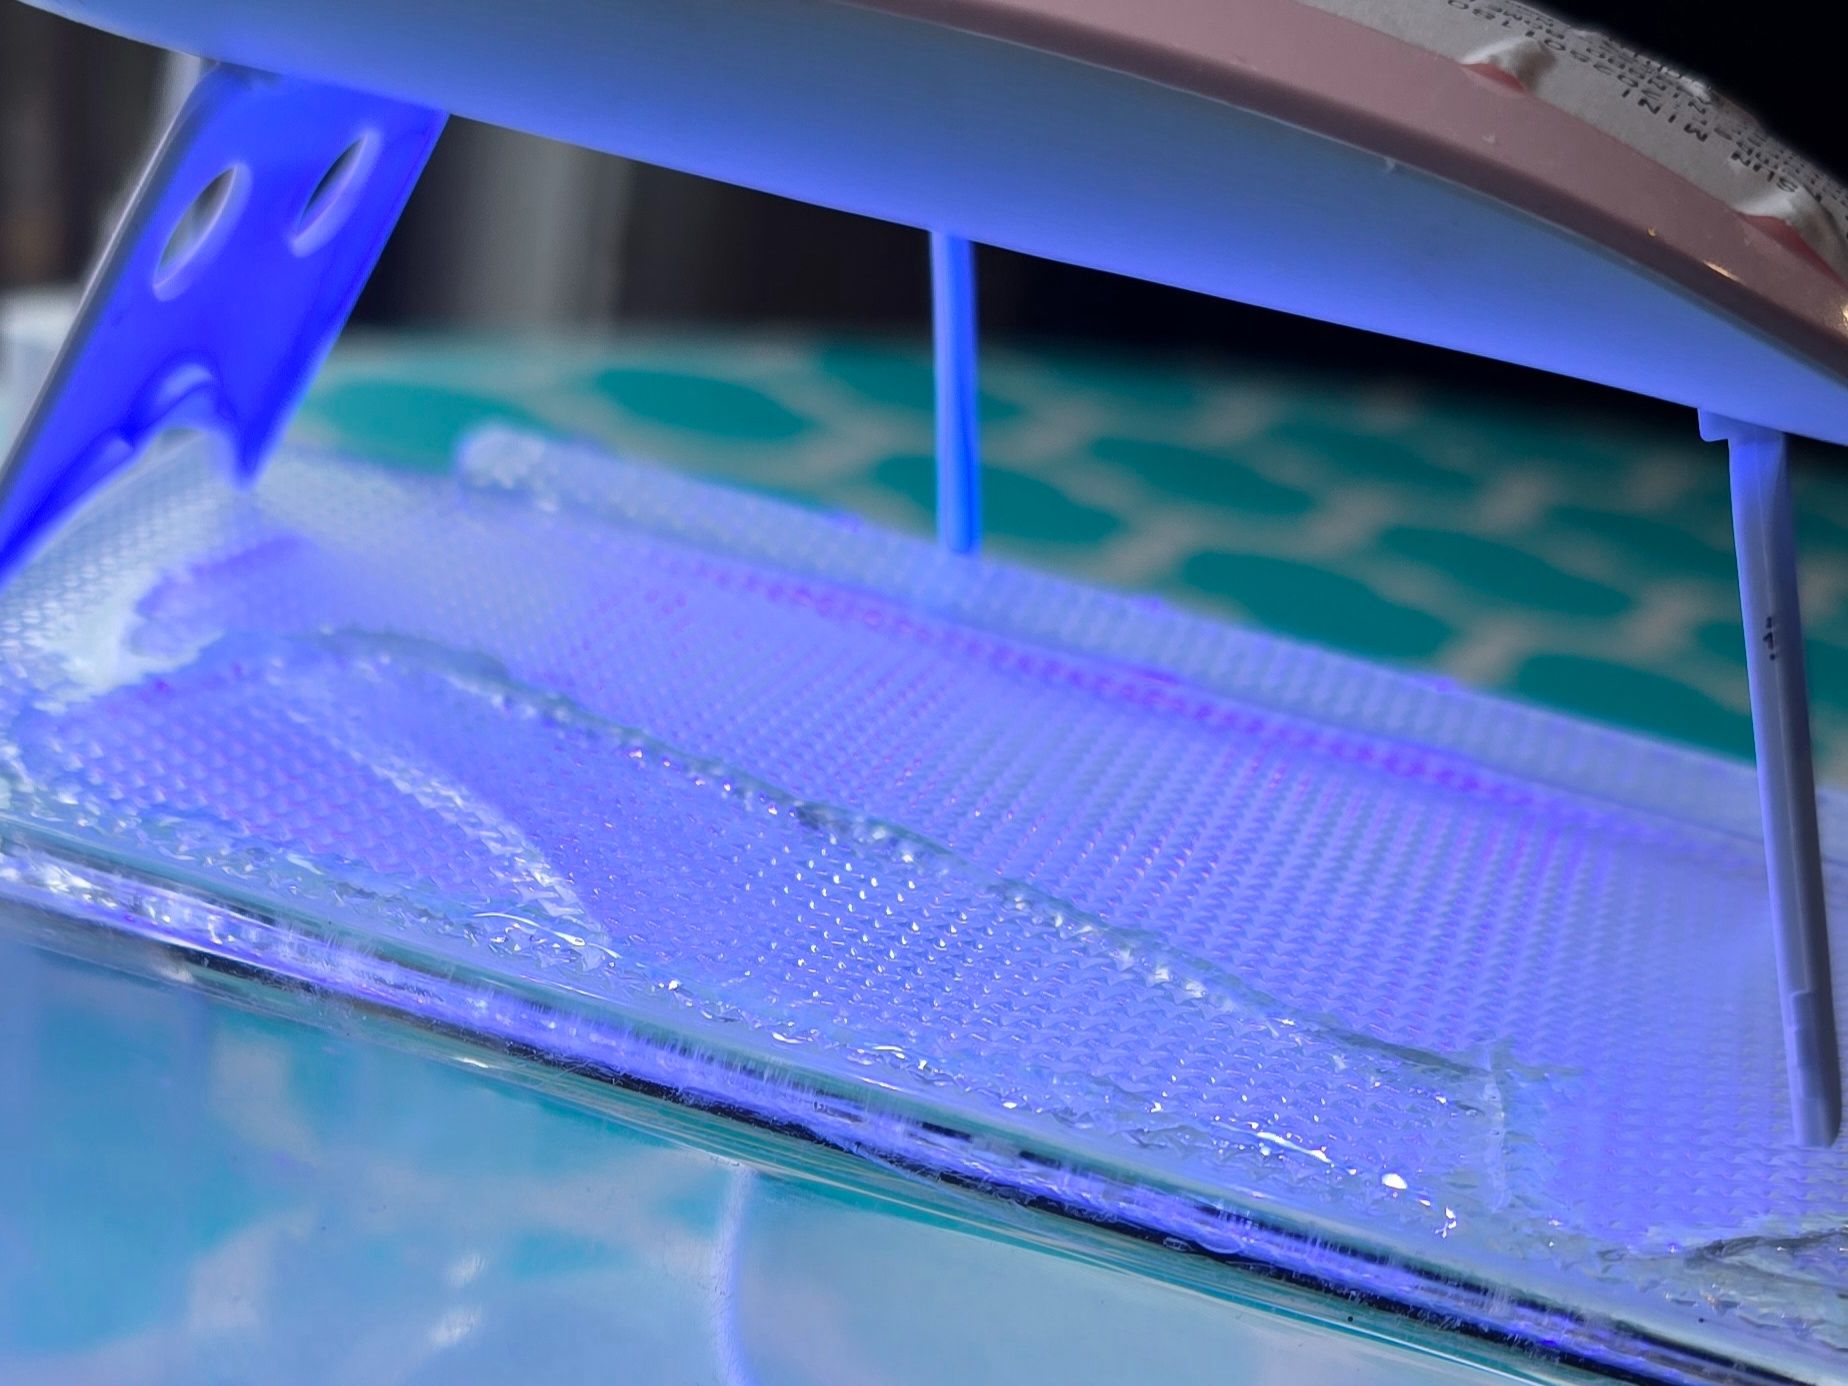 And done!! After curing with the lamp, I placed the door bin in front of a well lit window and let the sun cure it for a few hours before I put it back in the fridge. This is it in place with 4 litres of water on it :D 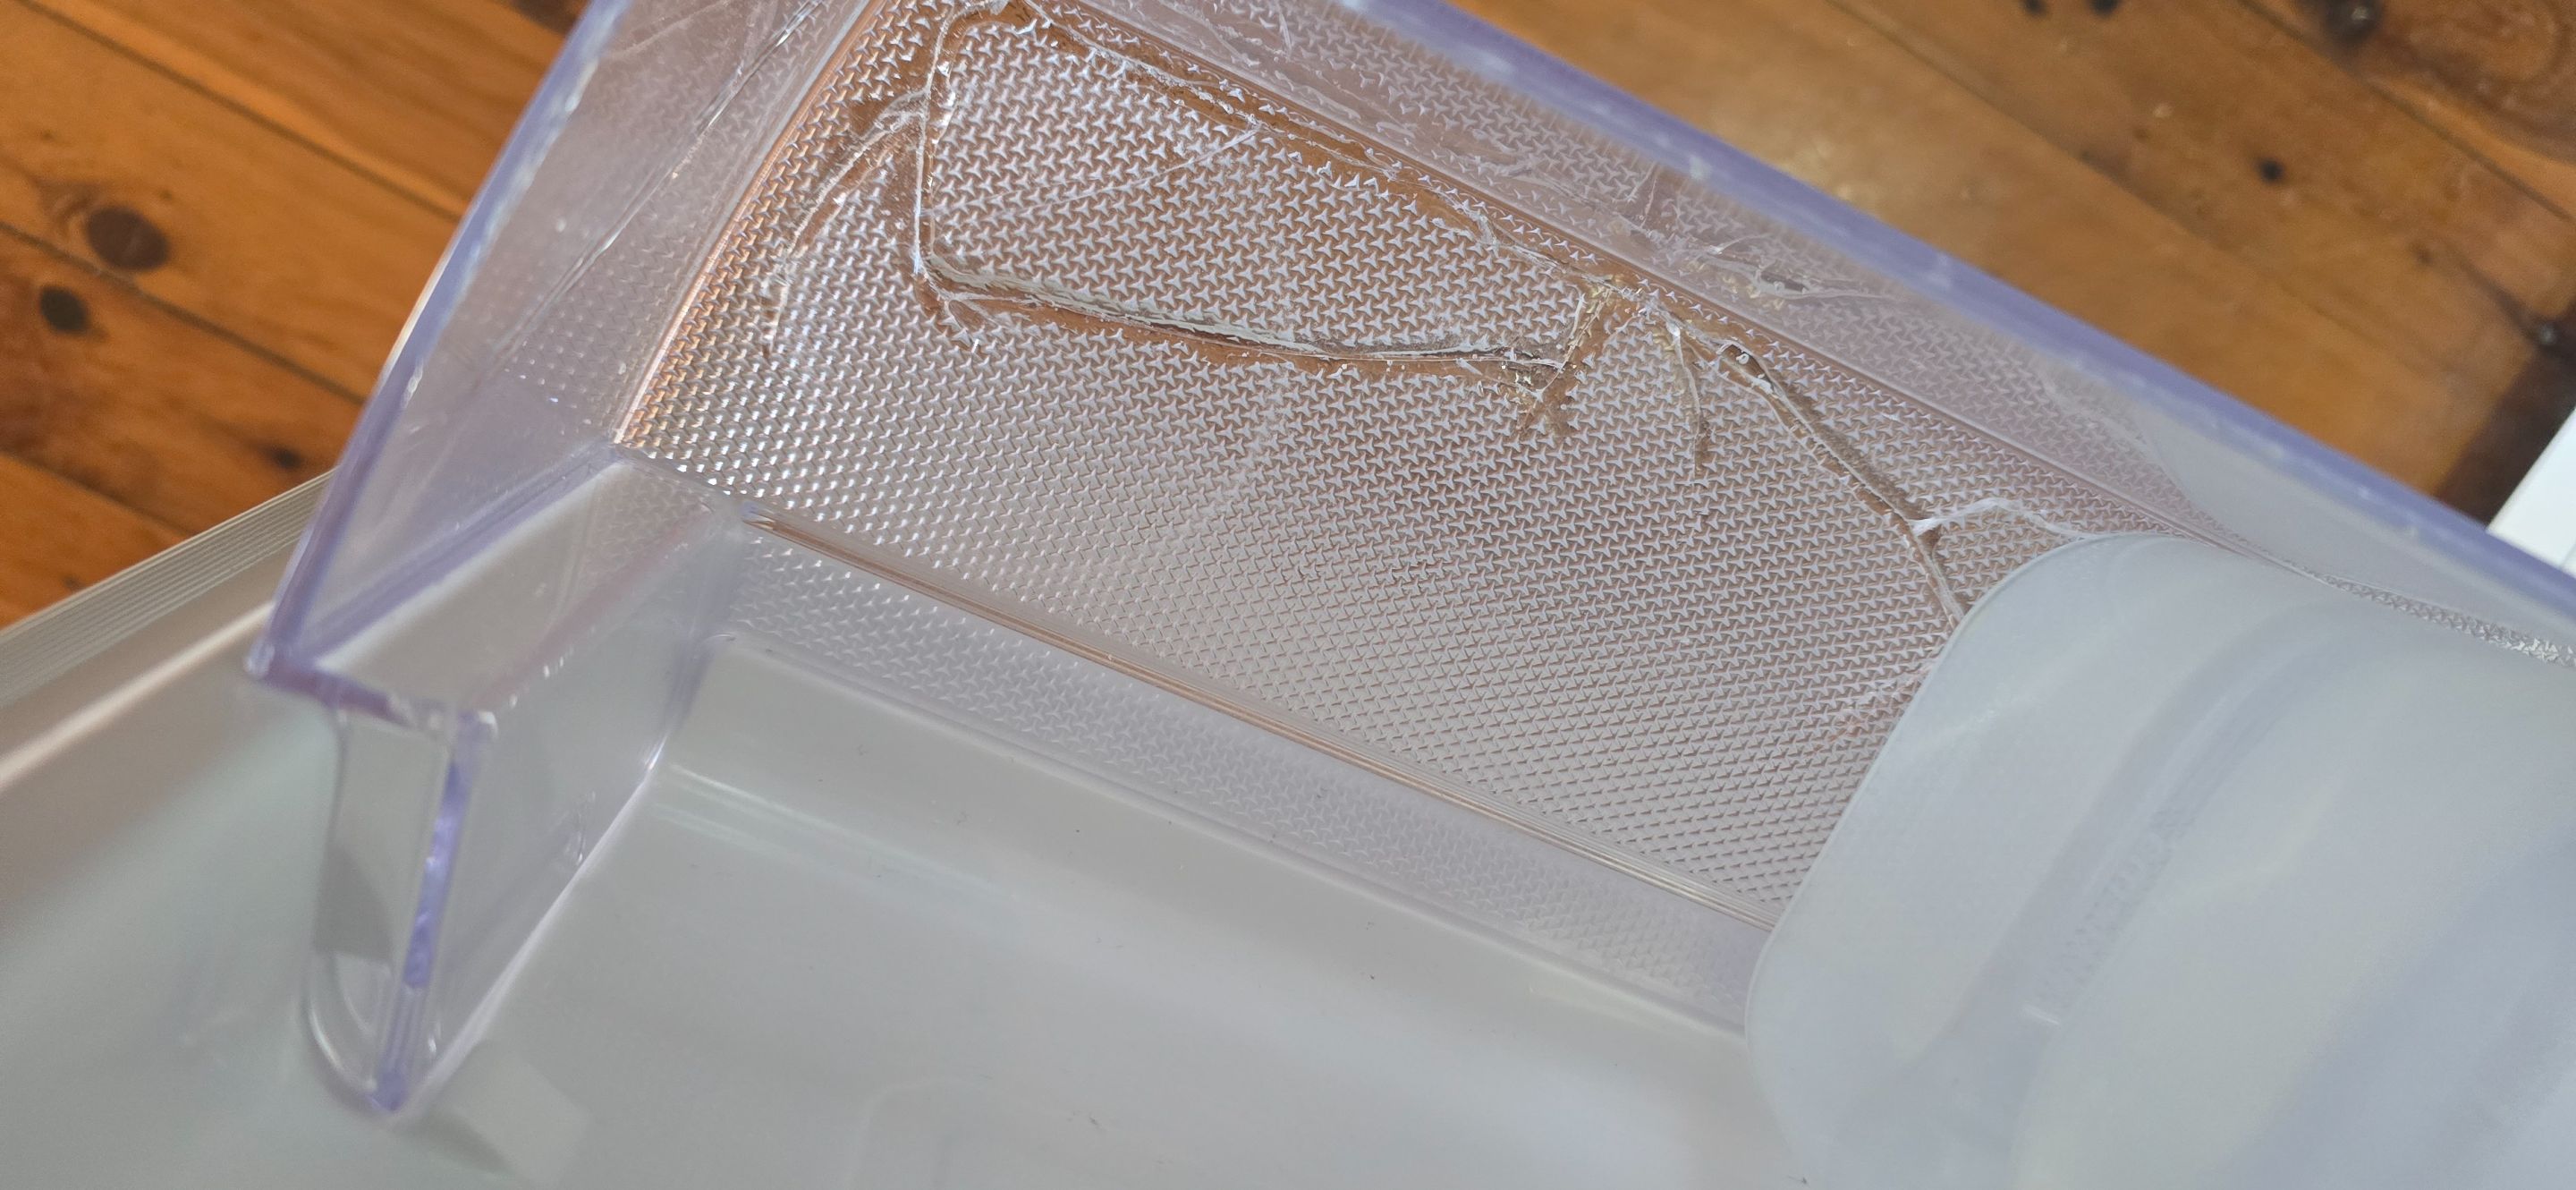 # A few notes.. 1) If you're working in front of a window (like I was) keep in mind that the UV from the window will start curing the resin. I totally forgot hence the lumpy finish. 2) IF you forget like I did and end up with lumps. It's OK, its not the prettiest but it doesn't affect anything. All the bottles still sit nicely in the bin and doesn't wobble. 3) It's totally up to you if you want to follow the cracks with more resin once the tape is off. I inspected it and I didn't feel the need to reinforce it. 4) The tape... IF you take that tape off and find sticky residue, try acetone and you should be good! 5) Where to buy UV resin? TEMU is where I got mine. I got a cheap bundle that included the UV light. For my fellow preppers out there. Might want to add UV resin & light in your bugout bags ;) I know I've added it to mine. https://images.hive.blog/DQmXrGvNyaKMqdEPRNRP6EAwhKNpGJd5HYNfp6V7hMftUQ6/hiveaustralia-banner-bearone.png
👍 isnochys, steem.observer, buggedout, mutu, elritze, scooter77, minismallholding, steemph.davao, o2rs2015, steemph.negros, iyanpol12, rgau1985, senstless, remindme.bot, vairon, electronico, glimpsytips.dex, lakawero, buildaminnow, izzydawn, filthywhale, realtreebivvy, life-relearnt, pornwhale, cheaperwhale, dirtywhale, wetten, phoxinus, drowningwhale, cheapestwhale, cheapwhale, contco, yarsb21, rdstm1985, mrsquiggle, bella.bear, immarojas, steemph.manila, myprecious, czera, annazsarinacruz, bitcoinman, fat-elvis, dwingsworld, rye05, vgholdingsllc, dixiesilverminer, steembasicincome, sbi2, sbi3, joeyarnoldvn, anikys3reasure, tdas0, sbi-tokens, qwertm, tub3r0, mattclarke, teamaustralia, steemusa, gohenry, michael561, tbnfl4sun, arrliinn, dougbudlong, homeedders, letusbuyhive, crystalhuman, emsenn0, bearone, divinekids, missdeli, dfinney, goodcontentbot, gamer00, davidtron, bulliontools, pbock, saffisara, steemph, avesa, venusascending, bipolar, handofzara, silversaver888, filosof103, cloh76, whaleph, gaottantacinque, cribbio, gasaeightyfive, cryptoshots.nft, keys-defender, karina.gpt, crypto-shots, marcocasario, cryptoshots.play, cryptoshotsdoom, hive-defender, homestead-guru, luvabi, asbonclz, rollingthunder, balvinder294, kerrislravenhill, buttcoins, silviabeneforti, tattoodjay, mcgi.cares, smokinglems, christybliss, hiro-hive, mfontom, gen-quimba, diyhub, arita992, deepu7, sabrinah, desro, welshstacker,