Confeccionando una cortina con pliegues.//Making a pleated curtain.[Esp~Eng]
hive-127911·@bet1977·
2.663 HBDConfeccionando una cortina con pliegues.//Making a pleated curtain.[Esp~Eng]
<center> 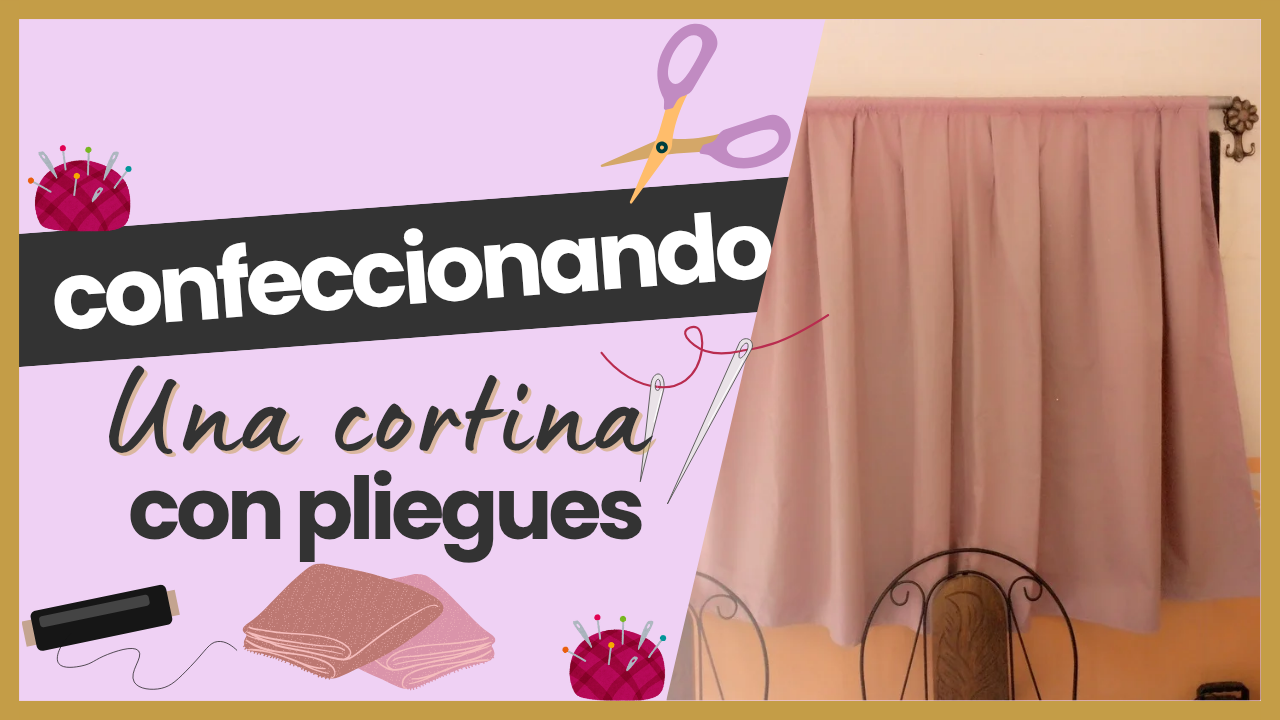 </center> # <div class ="text-justify">Hola, hermosa comunidad de Needlework Monday:Espero que se encuentren muy bien en esta hermosa noche. Les envío un fuerte saludo y un abrazo virtual. Hoy quiero compartir con ustedes un proyecto que me ha tenido ocupada y emocionada: la confección de una cortina para ventana.Desde hace tiempo, he estado reflexionando sobre la importancia de las cortinas en la decoración de un hogar. No solo cumplen una función práctica al proporcionar privacidad y controlar la luz, sino que también pueden transformar por completo el ambiente de una habitación. Sin embargo, debo confesar que al principio no quería comprometerme a hacer esta cortina. La razón principal es que, como muchos de ustedes saben, trabajar con telas puede ser un desafío; a menudo hay que lidiar con múltiples capas y diferentes tipos de materiales.En esta ocasión, se trataba de un pedido de una clienta muy recurrente, a quien aprecio mucho. Ella siempre ha confiado en mí para sus proyectos de costura, y no quería decepcionarla. Después de pensarlo detenidamente, decidí que era hora de aceptar el reto y comprometerme a realizar la cortina.Opté por un diseño que no solo fuera funcional, sino que también aportara un toque de elegancia al espacio. Cada paso, desde el corte hasta la costura, fue una oportunidad para aprender y mejorar mis habilidades.</div> # > Hello, beautiful Needlework Monday community: I hope you are all well on this beautiful evening. I send you warm regards and a virtual hug. Today I want to share with you a project that has kept me busy and excited: making a window curtain. For some time now, I've been reflecting on the importance of curtains in home decor. Not only do they serve a practical function by providing privacy and controlling light, but they can also completely transform the feel of a room. However, I must confess that at first I didn't want to commit to making this curtain. The main reason is that, as many of you know, working with fabric can be challenging; you often have to deal with multiple layers and different types of materials. This time, it was a request from a very frequent client, whom I care deeply about. She has always trusted me with her sewing projects, and I didn't want to let her down. After careful consideration, I decided it was time to take on the challenge and commit to making the curtain. I opted for a design that would not only be functional but also add a touch of elegance to the space. Every step, from cutting to sewing, was an opportunity to learn and improve my skills. <div class ="text-justify">En mi experiencia en confección, me he encontrado con varios obstáculos al trabajar con grandes cantidades de tela. Uno de los mayores desafíos es medir y cortar los lados de manera precisa. A menudo, las telas vienen mal cortadas de la tienda, lo que me obliga a nivelar el cuadrado para asegurarme de que mi trabajo quede bien hecho.En esta ocasión, la clienta quería que la cortina no fuera completamente lisa. Para darle una solución adecuada a su solicitud, le expliqué que, aunque deseaba un efecto de cortinas arruchadas, esto generalmente requiere una mayor cantidad de tela en el ancho. Al colocar la tela en la ventana, se logra ese efecto voluminoso, pero ella no contaba con suficiente material, especialmente porque también quería dos cortinas.Entonces, se me ocurrió una alternativa: le propuse hacer pliegues, similar a los que se utilizan en las faldas. De esta manera, la cortina no solo tendría un acabado más bonito, sino que también se adaptaría a la cantidad de tela disponible. Además, como la cortina era para el cuarto de su hija, pensé que este diseño le daría un toque especial y encantador al espacio.Le aseguré que no se preocupara, que la cortina iba a quedar hermosa. Esta experiencia me recordó la importancia de la comunicación con el cliente y de encontrar soluciones creativas a los desafíos que se presentan en el camino.</div> # > In my dressmaking experience, I've encountered several obstacles when working with large quantities of fabric. One of the biggest challenges is measuring and cutting the sides accurately. Often, fabrics come from the store incorrectly cut, forcing me to level the square to ensure my work is done correctly. On this occasion, the client wanted the curtain to be more than plain. To provide an appropriate solution to her request, I explained that although she desired a ruched curtain effect, this generally requires a larger amount of fabric across the width. Draping the fabric across the window achieves that voluminous effect, but she didn't have enough material, especially since she also wanted two curtains. So, I came up with an alternative: I suggested using pleats, similar to those used on skirts. This way, the curtain would not only have a more beautiful finish but would also adapt to the amount of fabric available. Plus, since the curtain was for her daughter's room, I thought this design would add a special and charming touch to the space. I assured her not to worry, that the curtain would be beautiful. This experience reminded me of the importance of communicating with the client and finding creative solutions to challenges that arise along the way. # <center> 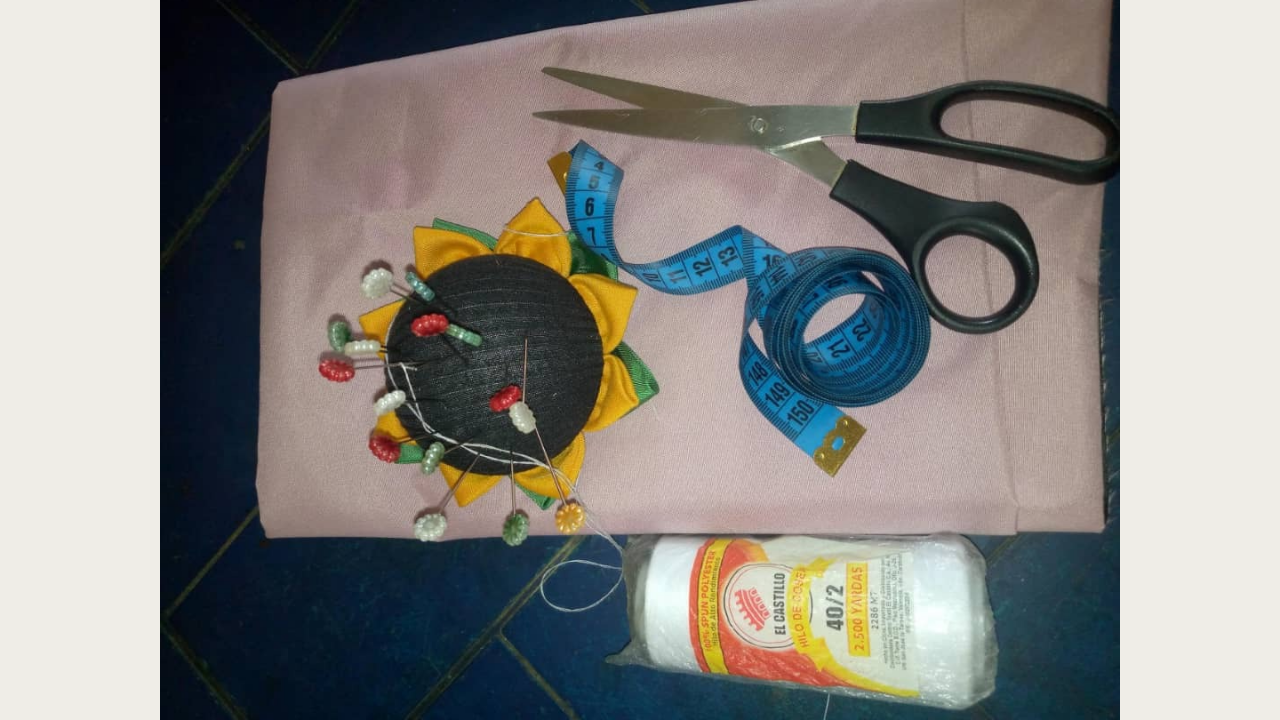 </center> # # <sub><center>(Materiales:)||(Materials:)</center></sub> # * Tela luminisada * Tijeras * Hilo * Un metro * Alfileres * Máquina de coser # >* Luminescent fabric >* Scissors >* Thread >* One meter >* Pins >* Sewing machine # <sub><center>(Procedimiento:)||(Procedure:)</center></sub> # <center> 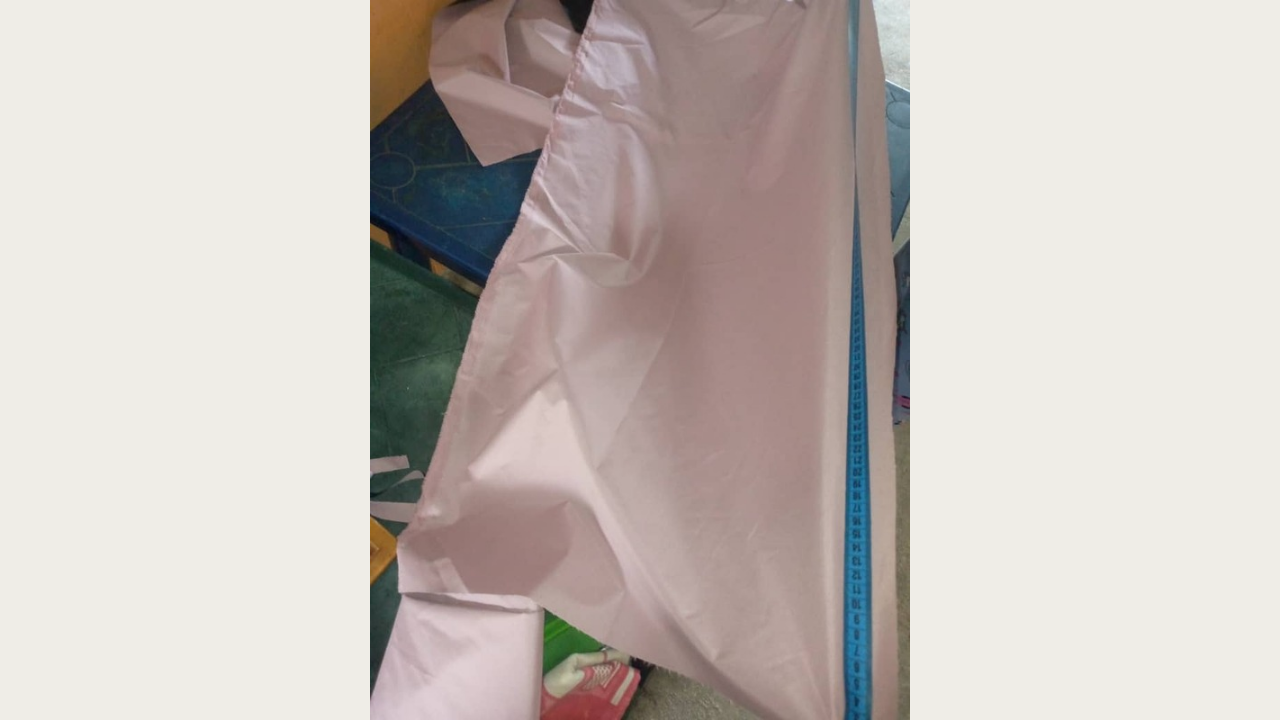 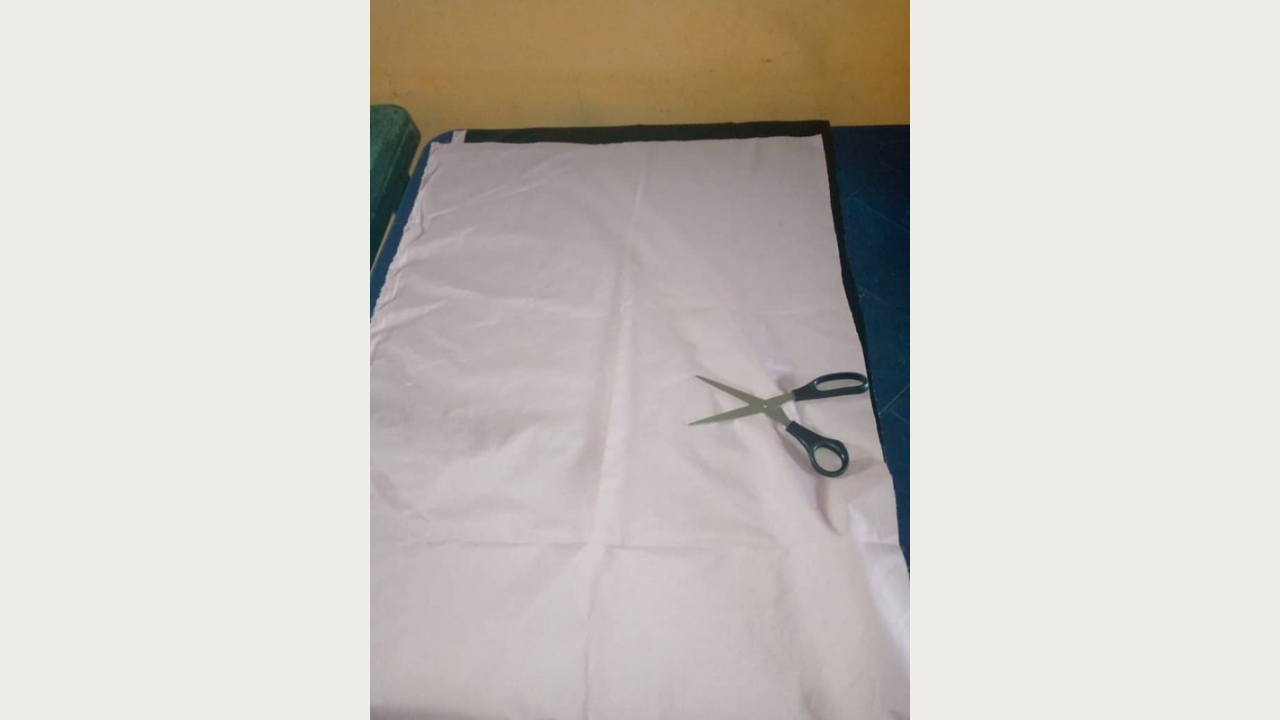 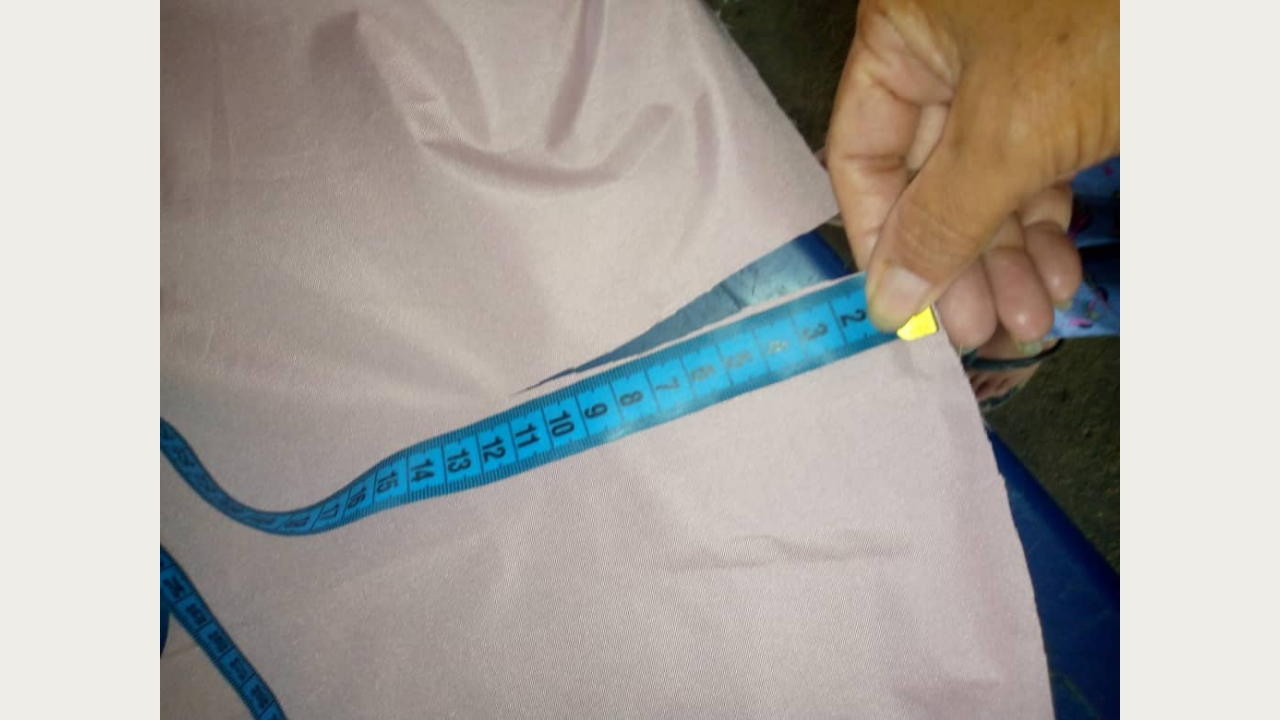 </center> # * #### Paso nro 1 <div class ="text-justify">Para dar inicio al proyecto, comencé preparando la tela, un paso fundamental antes de medir y cortar. Para facilitar el proceso, utilicé dos mesas, lo que me permitió extender la tela a lo largo y tener una mejor visión de lo que iba a cortar.Procedí a cortar la tela para una ventana de dimensiones 1,20 m por 1 m. Además, corté la parte donde irá el tubo, utilizando una medida de 1,20 m por 11 cm de ancho. Como mencioné anteriormente, a veces la tela viene mal cortada, y en esta ocasión no fue la excepción. Tuve que hacer algunos ajustes para remediar esto, así que corté un poco más de tela para nivelar todo adecuadamente.Mientras realizaba este proceso, no pude evitar pensar en el desperdicio de tela que esto conlleva. Es un recordatorio constante de la importancia de trabajar con precisión y de planificar bien cada corte para minimizar el desperdicio. A pesar de los desafíos, siempre trato de ver el lado positivo.</div> > * #### Paso nro 1 > To kick off the project, I began by preparing the fabric, a fundamental step before measuring and cutting. To make the process easier, I used two tables, which allowed me to lay the fabric out lengthwise and have a better view of what I was going to cut. I proceeded to cut the fabric for a window measuring 1.20 m by 1 m. I also cut the section where the tube will go, using a measurement of 1.20 m by 11 cm wide. As I mentioned earlier, sometimes fabric comes cut incorrectly, and this time was no exception. I had to make some adjustments to remedy this, so I cut a little more fabric to even everything out properly. While going through this process, I couldn't help but think about the fabric waste this entails. It's a constant reminder of the importance of working precisely and planning each cut well to minimize waste. Despite the challenges, I always try to look on the bright side. --- <center> 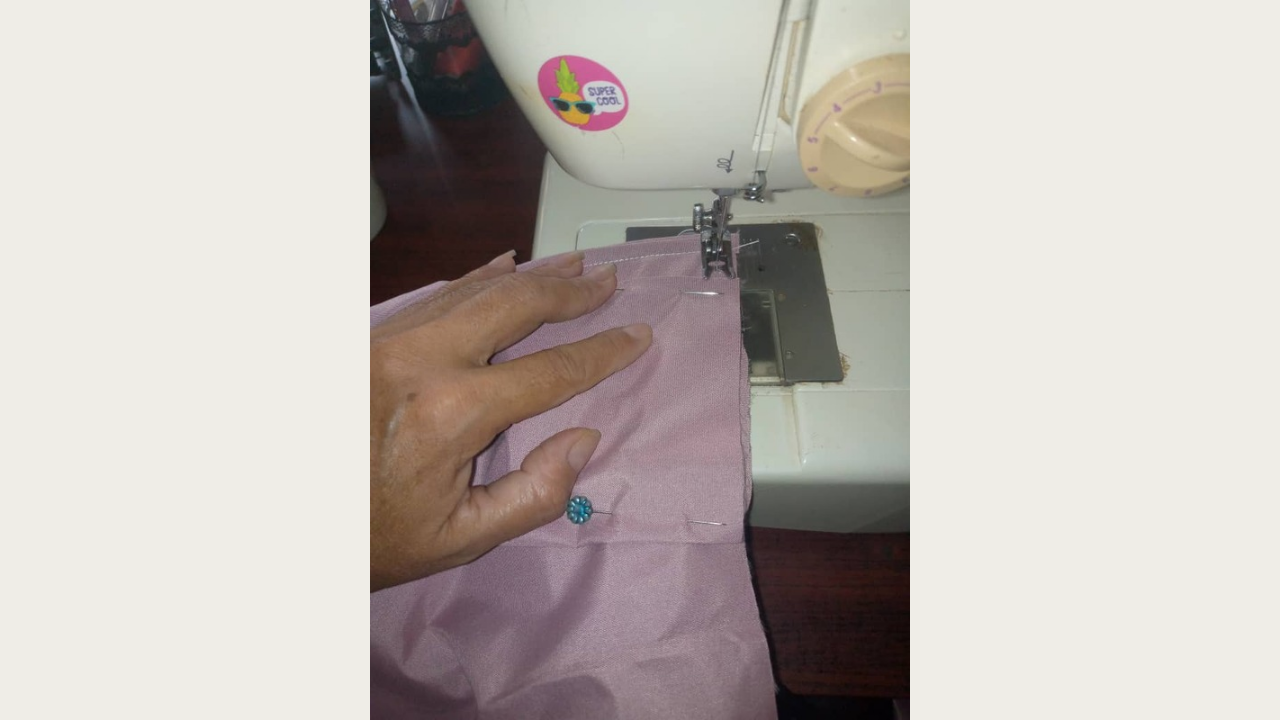 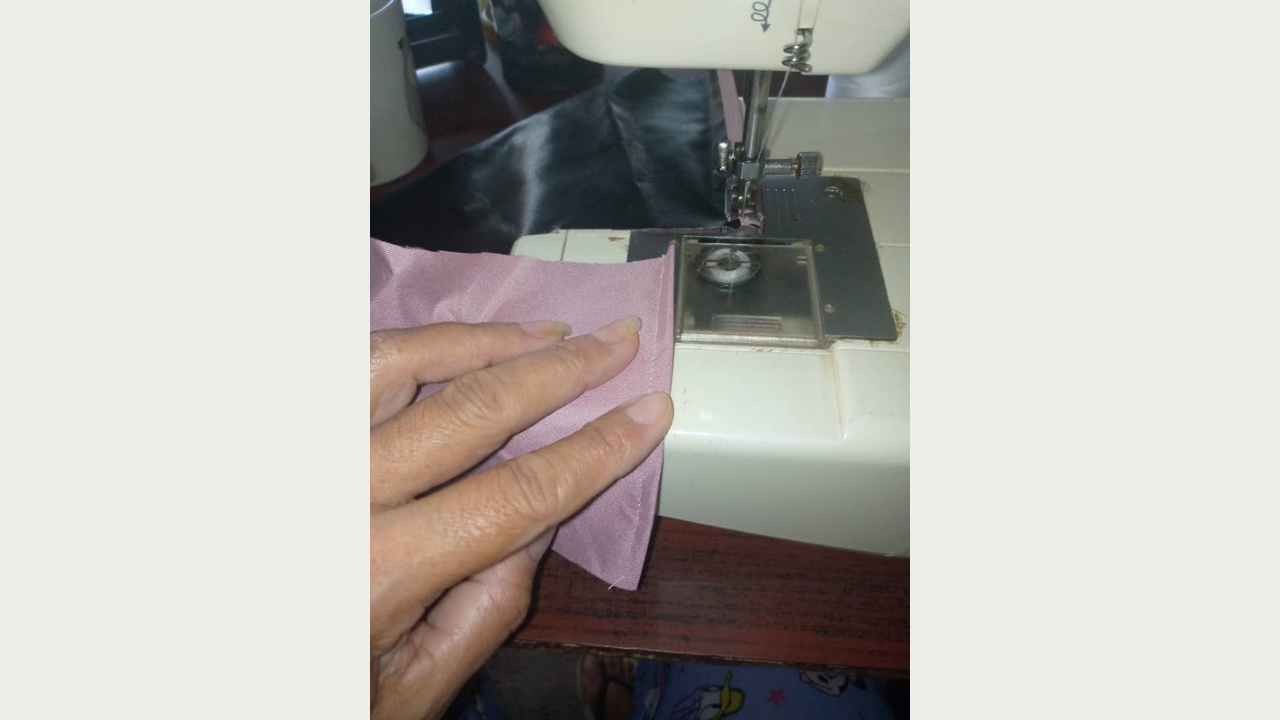 </center> # * #### Paso nro 2 <div class ="text-justify">Ahora voy a comenzar a coser la cortina. Primero, me enfocaré en la parte donde irá el tubo de la cortina. Comencé cosiendo los laterales de esta sección, asegurándome de que quedara bien ajustada y lista para soportar el peso de la cortina.Una vez que terminé con la parte del tubo, procedí a cortar los laterales de la cortina. Este paso es crucial, ya que me permitirá unirla correctamente con la sección del tubo. Después de esto, pasé a coser los ruedos, lo que le dará un acabado limpio y profesional.Aunque ya tengo la estructura básica de la cortina, aún no hemos terminado. Hay varios detalles que debo considerar antes de que el proyecto esté completo. Cada paso es importante para asegurar que el producto final sea de alta calidad y cumpla con las expectativas de mi clienta.</div> > * #### Paso nro 2 > Now I'm going to start sewing the curtain. First, I'll focus on the part where the curtain tube will go. I started by sewing the sides of this section, making sure it was tight and ready to support the weight of the curtain. Once I finished with the tube section, I proceeded to cut the sides of the curtain. This step is crucial, as it will allow me to properly join it to the tube section. After this, I moved on to sewing the hems, which will give it a clean and professional finish. Although I already have the basic structure of the curtain, we are not finished yet. There are several details I must consider before the project is complete. Each step is important to ensure the final product is of high quality and meets my client's expectations. --- <center> 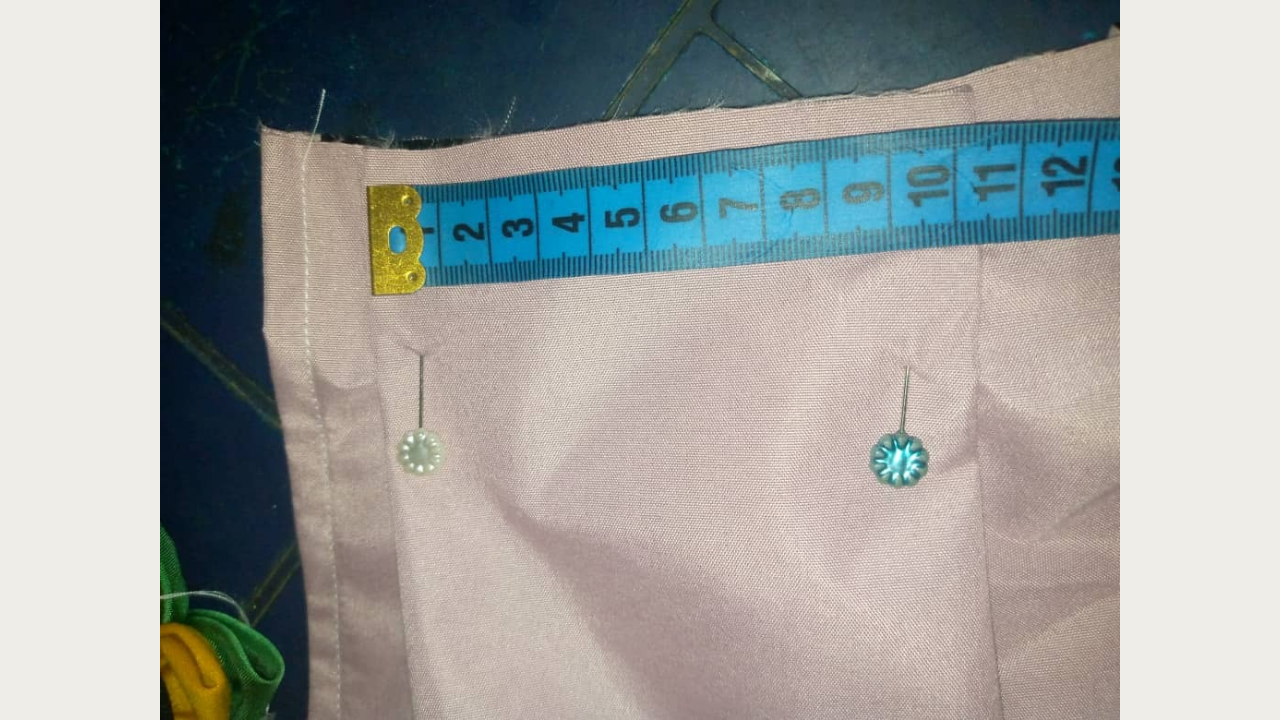 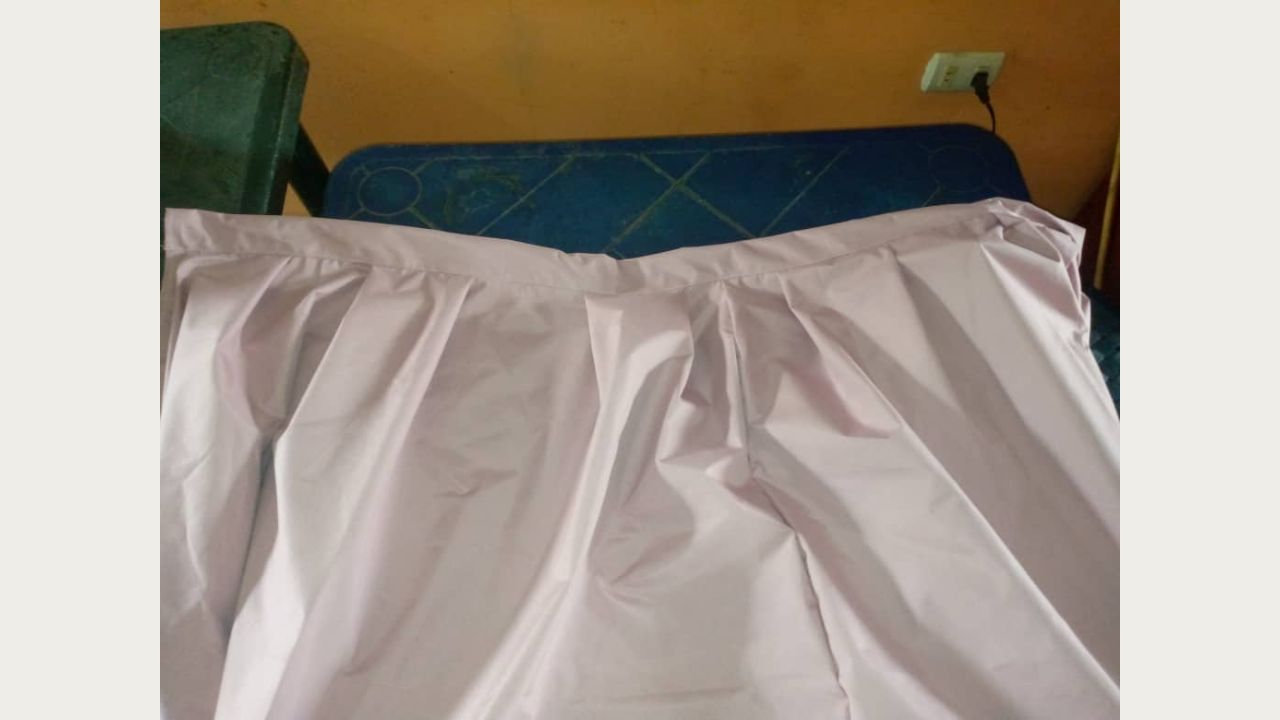 </center> # * #### Paso nro 3 <div class ="text-justify">Ahora voy a pasar a la parte en la que coseré los pliegues. Para esto, comencé haciendo un tachón de 3 cm. Utilicé alfileres para fijarlo en su lugar, asegurándome de que quedara bien sujeto. Luego, dejé un espacio de 10 cm antes de hacer el siguiente tachón, pero esta vez lo coloqué de manera inversa, de modo que ambos tachones se alternaran y se vieran equilibrados.Continué con esta misma secuencia, dejando nuevamente un espacio de 10 cm entre cada tachón. Este método no solo le da un aspecto más dinámico a la cortina, sino que también ayuda a crear un efecto visual atractivo y elegante. A medida que avanzaba, me aseguré de que cada pliegue estuviera bien alineado, lo que es clave para que el resultado final sea profesional.</div> > * #### Paso nro 3 > Now I'm going to move on to the part where I'll sew the pleats. For this, I started by making a 3cm stud. I used pins to secure it in place, making sure it was secure. Then, I left a 10cm gap before making the next stud, but this time I placed it in reverse, so that both studs alternated and looked balanced. I continued with this same sequence, again leaving a 10cm gap between each stud. This method not only gives the curtain a more dynamic look, but also helps create an attractive and elegant visual effect. As I progressed, I made sure each pleat was properly aligned, which is key to a professional-looking end result. --- # <sub><center>(Resultado final:)||(Bottom line:)</center></sub> # <div class ="text-justify">Por último, realicé algunas mejoras para finalizar la cortina. Antes de avisarle a mi clienta que estaba lista, decidí probarla en la ventana que tengo en la sala. La verdad es que se ve muy bonita, y la calidad de la tela, dentro de lo que cabe, es bastante buena.Espero que esta cortina sea de su agrado y estoy ansiosa por escuchar sus comentarios. Si tienen alguna otra idea o tips que puedan compartir, sería genial, ya que siempre es enriquecedor ayudarnos mutuamente.¡Gracias por acompañarme en este proceso y nos vemos en otra oportunidad!</div> # > Finally, I made a few improvements to finalize the curtain. Before letting my client know it was ready, I decided to test it on my living room window. It really looks very pretty, and the quality of the fabric, for the most part, is quite good. I hope you like this curtain and I'm eager to hear your comments. If you have any other ideas or tips you can share, that would be great, as it's always rewarding to help each other. Thank you for joining me in this process, and I'll see you another time! <center> 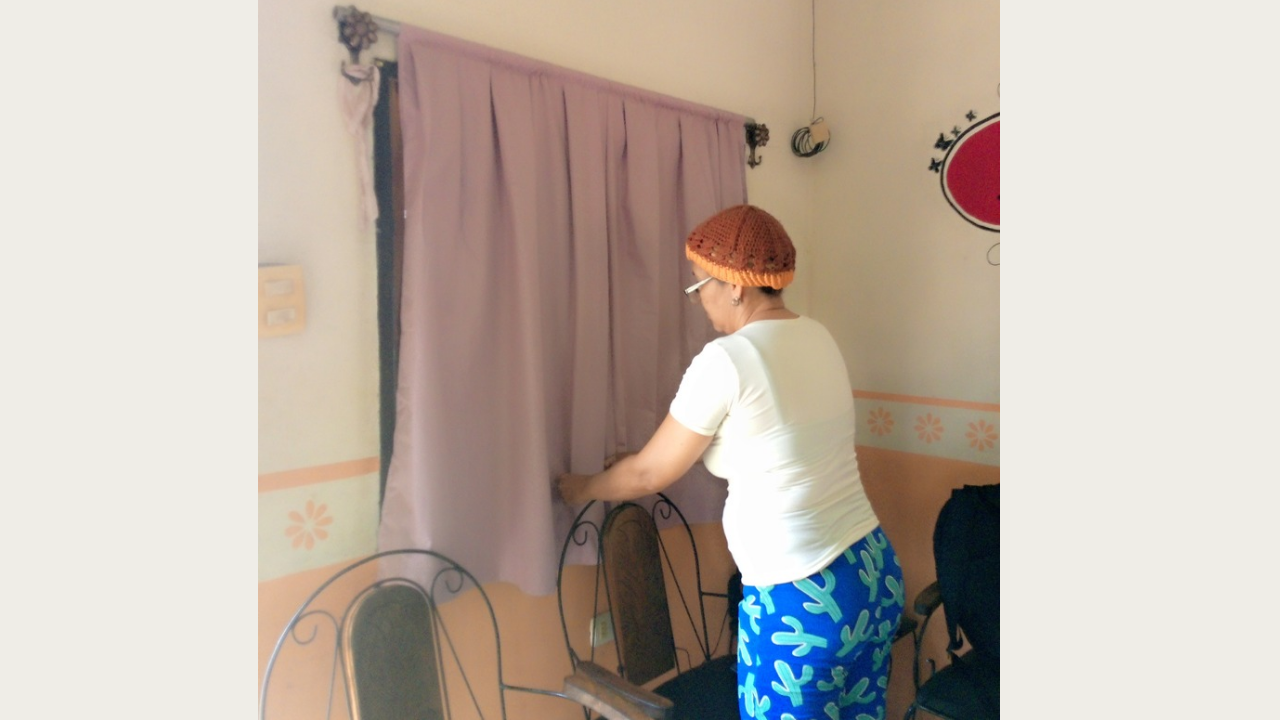 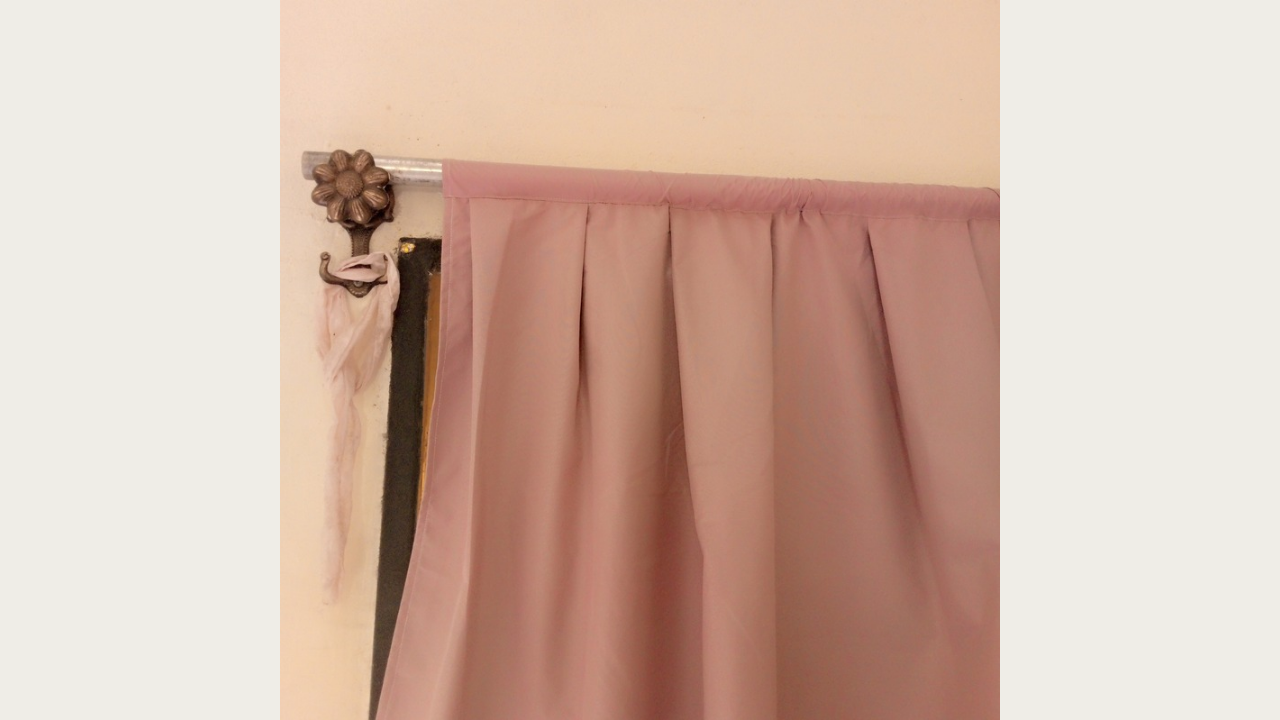 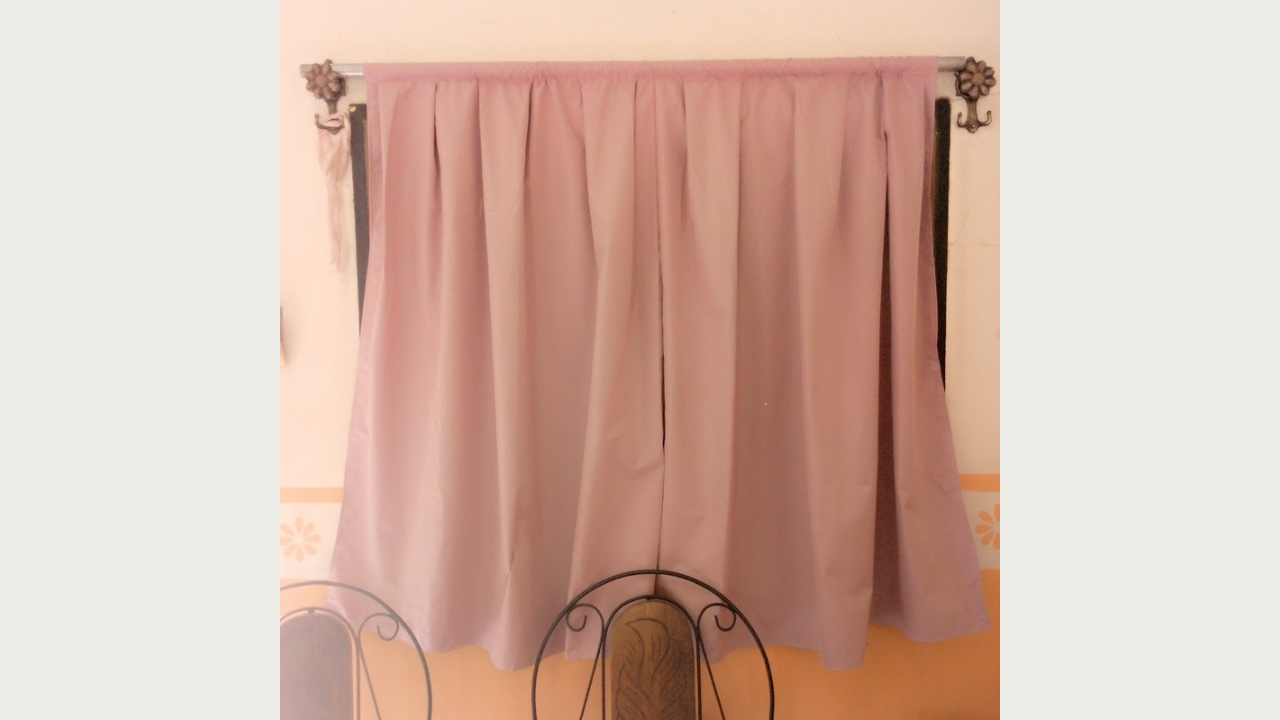 </center> <center></center> # # <center><sub>Las fotos presentadas en este blog son de mi autoría. Las imágenes han sido editadas utilizando Canva. Las fotografías fueron tomadas con mi celular Infinix hot 10. El contenido ha sido traducido con el traductor de Google.</sub></center> ><center><sub>The photos presented in this blog are my responsibility. The images have been edited using Canva. The photographs were taken with my Infinix hot 10 cell phone. The content has been translated with Google translator. </sub></center> #
👍 sommylove, stefany0720, anne002, razielmorales, diyhub, elizacheng, deepu7, arita992, sabrinah, ladyyunajay, desro, lrscarmen, dojeda, la-colmena, dechastre, bohemian.machine, ylich, numa26, arar5, iamsaray, frankrey11, curie, vadimlasca, hectgranate, henryconache, bonzopoe, felixjfarfan, yisusgtr, juliopalomo, juliocesar7, stimu, salvadorhr18, maximilianoflute, oswaldotorres, arzkyu97, el-panal, eliasseth, historiasamorlez, naturalbornk, sv94, ysp, lowlifevzla08, orquestausb, danielamilanesa, izulina, tiaene, c-venezuela, hbdpay, alaqrab, valth, dandesign86, mhel, pepskaram, sunsea, zipporah, c0wtschpotato, ikeror, eleazarvo, melor9, littlesorceress, dawnoner, epicdice, machan, steemdiamond, dodovietnam, crisch23, the-burn, humbe, rhemagames, joshglen, eliel, coindevil, sunisa, revo, amphlux, bartosz546, tomatom, adelepazani, yoghurt, jigstrike, leomarylm, vittoriozuccala, qberry, therising, ilovecryptopl, followjohngalt, hairgistix, proxy-pal, cryptofiloz, tokensink, delilhavores, palimanali, noalys, trippymane, newilluminati, balabambuz, psygambler, frankydoodle, samminator, diabolika, brutledge, kenadis, onestrong, fineartnow, irgendwo, superlotto, softa, minerthreat, marivic10, viruk, yaelg, cakemonster, witkowskipawel, kakakk, steemstorage, bluemaskman, aicoding, chris-uk, merit.ahama, mao317, rencongland, blingit, ghostlybg, baboz, clpacksperiment, ratel, kaylinart, cloh76, randomblock1, lemouth, tfeldman, cnfund, michelle.gent, steemiteducation, federacion45, arunava, aboutyourbiz, minnowbooster, stayoutoftherz, zyx066, torico, derekvonzarovich, myach, steveconnor, hijosdelhombre, photohunt, melvin7, greddyforce, me2selah, cheese4ead, mindblast, bflanagin, knightsunited, evagavilan2, hadrgames, whywhy, arunbiju969, davidbright, instamental, abdul-qudus, belug, justfavour, dashfit, rt395, bitrocker2020, empath, stickchumpion, minnowpowerup, angelina6688, stahlberg, ahmedsy, honeycup-waters, the.success.club, cosplay.hadr, badge-646464, albuslucimus, jaylatour, spearhead1976, minas-glory, hikergirl, astronerd, metroair, gmedley, dhimmel, zerotoone, pipiczech, investingpennies, garudi, onemedia, gordon92, hetty-rowan, steemvault, ambitiouslife, outtheshellvlog, petertag, kylealex, multifacetas, instagram-models, mowemu, ghastlygames, altleft, omarrojas, dendih, yozen, cryptosneeze, tawadak24, atexoras.pub, beffeater, callmesmile, kryptof, justyy, modernzorker, ohamdache, improv, princessmewmew, neumannsalva, lilianajimenez, steemboat-steve, marc-allaria, morey-lezama, talesfrmthecrypt, steem.services, palasatenea, luueetang, steemegg, steemean, endersong, hiveonboard, anafae, dcrops, johnny023, elgatoshawua, lukasbachofner, dune69, prostosun, felt.buzz, mulletwang, raj808, zmx, skippyza, carn, putu300, bscrypto, flyerchen, hansmast, javyeslava.photo, cliffagreen, steemcryptosicko, samks, edithbdraw, deveney, newtrailers, aicu, craw, death-and-taxes, limn, hubeyma, aries90, mariamor785, yixn, hotwing, azj26, vragolana, oasiskp2, jhymi, jacor, tristancarax, yadamaniart, boynashruddin, amberyooper, hhayweaver, gunthertopp, fnux, rocky1, thelordsharvest, meno, battebilly, mrsyria, irynochka, phgnomo, steem4all, bennettitalia, videosteemit, pandasquad, didic, frissonsteemit, cryptocoinkb, vietthuy, talentclub, armandosodano, double-negative, c3r34lk1ll3r, baltai, cherokee4life, mebonline, dtam, ambicrypto, hd-treasury, joycebuzz, thewobs94, soyernesto, boxcarblue, mobbs, sustainablyyours, zacherybinx, aidefr, cryptononymous, apon318, zipsardinia, sco, utube, foxyspirit, melbourneswest, jmjury, nateaguila, kristall97, tggr, quinnertronics, marinast, meritocracy, zanoz, failingforwards, phanty, subidu, altryx, mantis-tobaggon, henrietta27, treasuree, mugueto2022, sames, skycae, reizak, bil.prag, musicvoter2, arnilarn, marymi, traderhive, tabs1250, okluvmee, seinkalar, abu78, finkistinger, driptorchpress, russellstockley, jordangerder, onexel, schoolforsdg4, joeyarnoldvn, steemed-proxy, broncofan99, hopestylist, sportscontest, torkot, detlev, juancar347, enjar, decomoescribir, therealwolf, tazbaz, dejan.vuckovic, gabrielatravels, neneandy, positiveninja, movingman, doctor-cog-diss, merlin7, qwerrie, tiffin, mcsherriff, aichanbot, acgalarza, jijisaurart, prohive, gaboamc2393, smartsteem, ausbit.dev, cindynancy, tinyhousecryptos, chasmic-cosm, autobodhi, gloriaolar, hive-199963, lichtkunstfoto, kiemurainen, goblinknackers, acantoni, soyjoselopez, bushradio, ibt-survival, mproxima, sanderjansenart, primersion, reggaesteem, holovision.cash, mirteg, alejos7ven, shawnnft, ilovegames, jerrybanfield, lextenebris, smariam, bigtakosensei, randumb, nascimentoab, uche-nna, longer, thelogicaldude, hivelist, sevenoh-fiveoh, t0xicgh0st, hk-curation, wasined, ganjafarmer, oadissin, peaceandwar, thescubageek, yomismosoy, drifter1, prapanth, buttcoins, danile666, cordeta, bobydimitrov, aiziqi, mariusfebruary, alvin0617, ragnarhewins90, danaedwards, shinedojo, vegan.niinja, beerlover, marcoriccardi, kieranstone, minuetoacademy, vaultec, nfttunz, afifa, eric-boucher, nicole-st, esthersanchez, lk666, chrisdavidphoto, junebride, nwjordan, cyemela, orlandogonzalez, eustace-kidd, gaottantacinque, cribbio, gasaeightyfive, keys-defender, cryptoshots.nft, crypto-shots, marcocasario, karina.gpt, cryptoshots.play, cryptoshotsdoom, hive-defender, key-defender.shh, dutchchemist, balvinder294, bluefinstudios, m1alsan, joseluis91, cajiro, valerianis, opticus, waliphoto, middle-earthling, gamersclassified, wongi,