DIY// tutorial on how I made a sleeping mask and a drawstring bag
hive-130560·@bimpcy·
6.909 HBDDIY// tutorial on how I made a sleeping mask and a drawstring bag
# Hello everyone 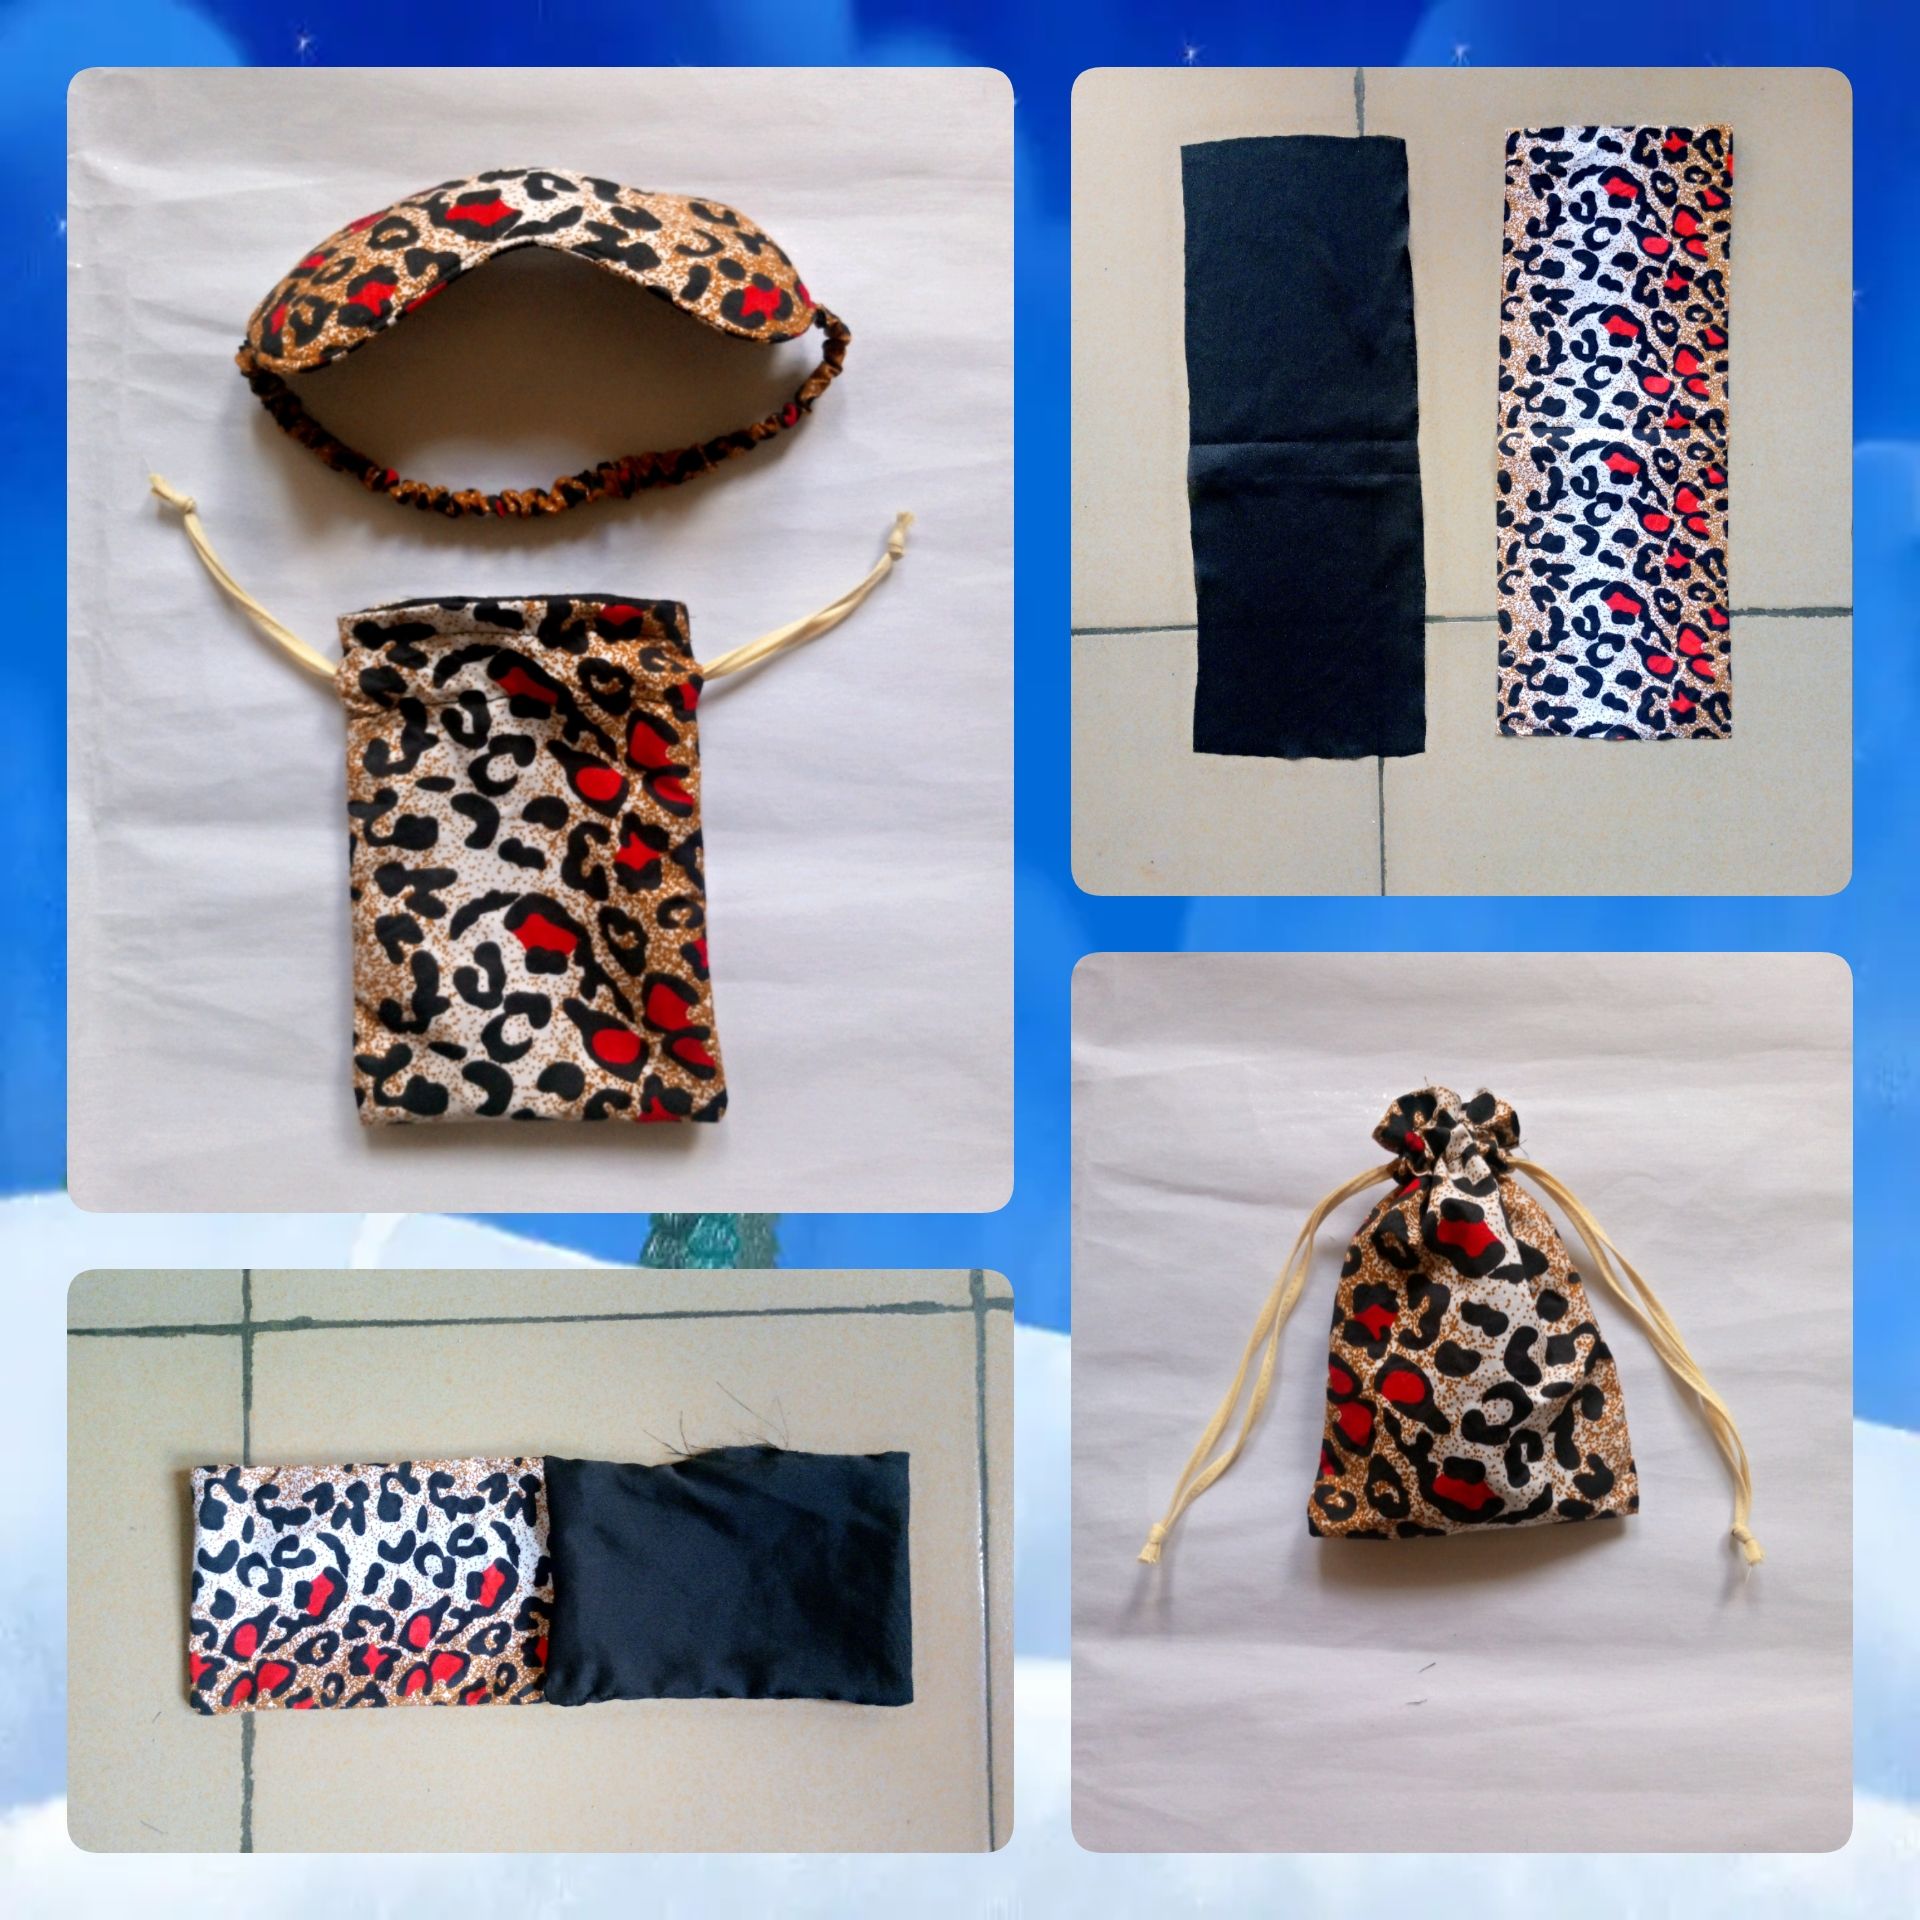 I bring you all warm greetings from this end and I hope you are doing great, it's a beginning of a new day and I wish you all greater achievement as we engage in our daily activities. It is with great pleasure that I bring to you today the making of this sleeping mask and a drawstring bag I made for myself from left over fabric, the drawstring bag is actually made for the safe keeping of the sleeping mask so as to prevent it from dirt and dust, you can see how nice they both look as a set and I know you will like and appreciate it. 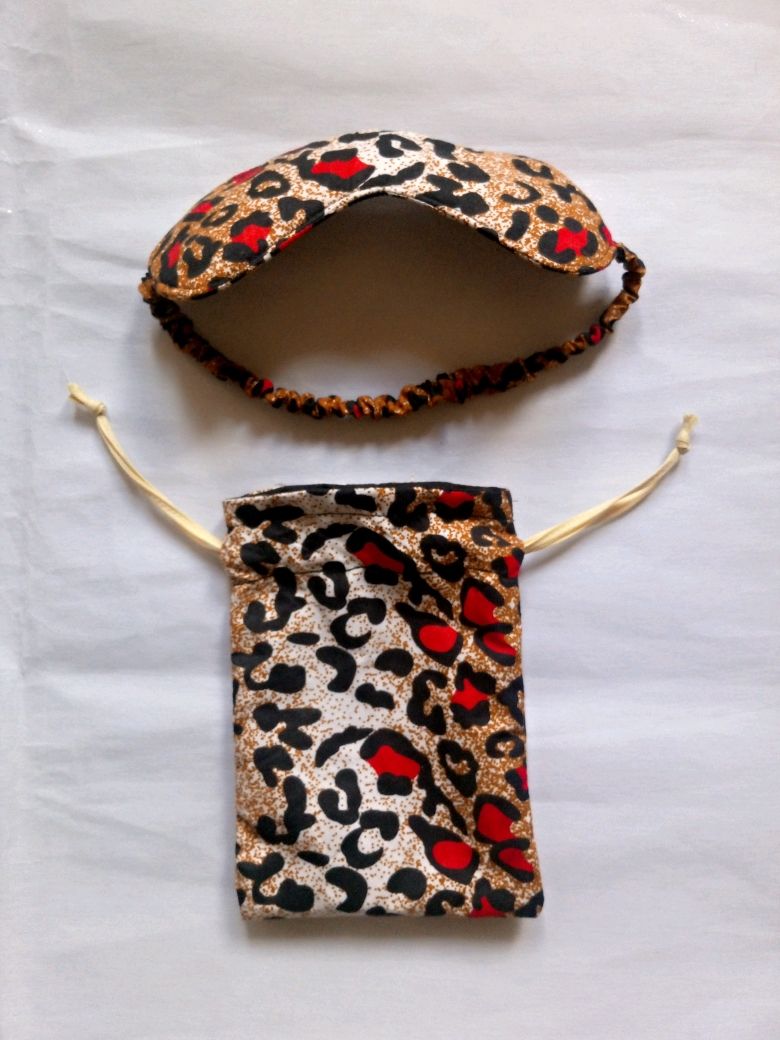 Just few days ago, I decided to make this sleeping mask for myself from pieces of left over fabric, I have been wanting to make one for myself before now but was all an error not until I came across a video online which helped me to achieve it successfully, it was made and the process was shared in my recent post, it was so nice and comfortable for sleeping and I really enjoyed it so much, this simple diy has save me the cost of buying from the store and I'm glad I was able to make it. 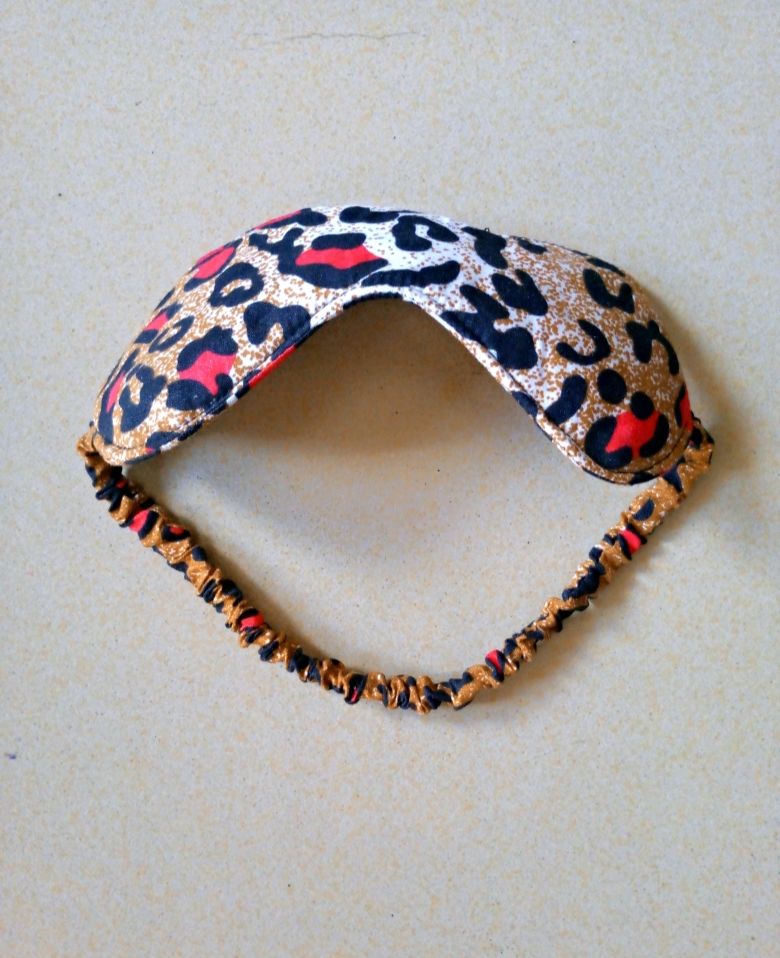 From the remaining pieces of fabric after I had made the sleeping mask, I decided to make a drawstring bag for the safe keeping of it from dust and dirt and I have a beautiful outcome.  # Join me as I take you through the cutting and sewing process From the remaining pieces of fabric, I measured and cut out 16 x 6" along side the lining. 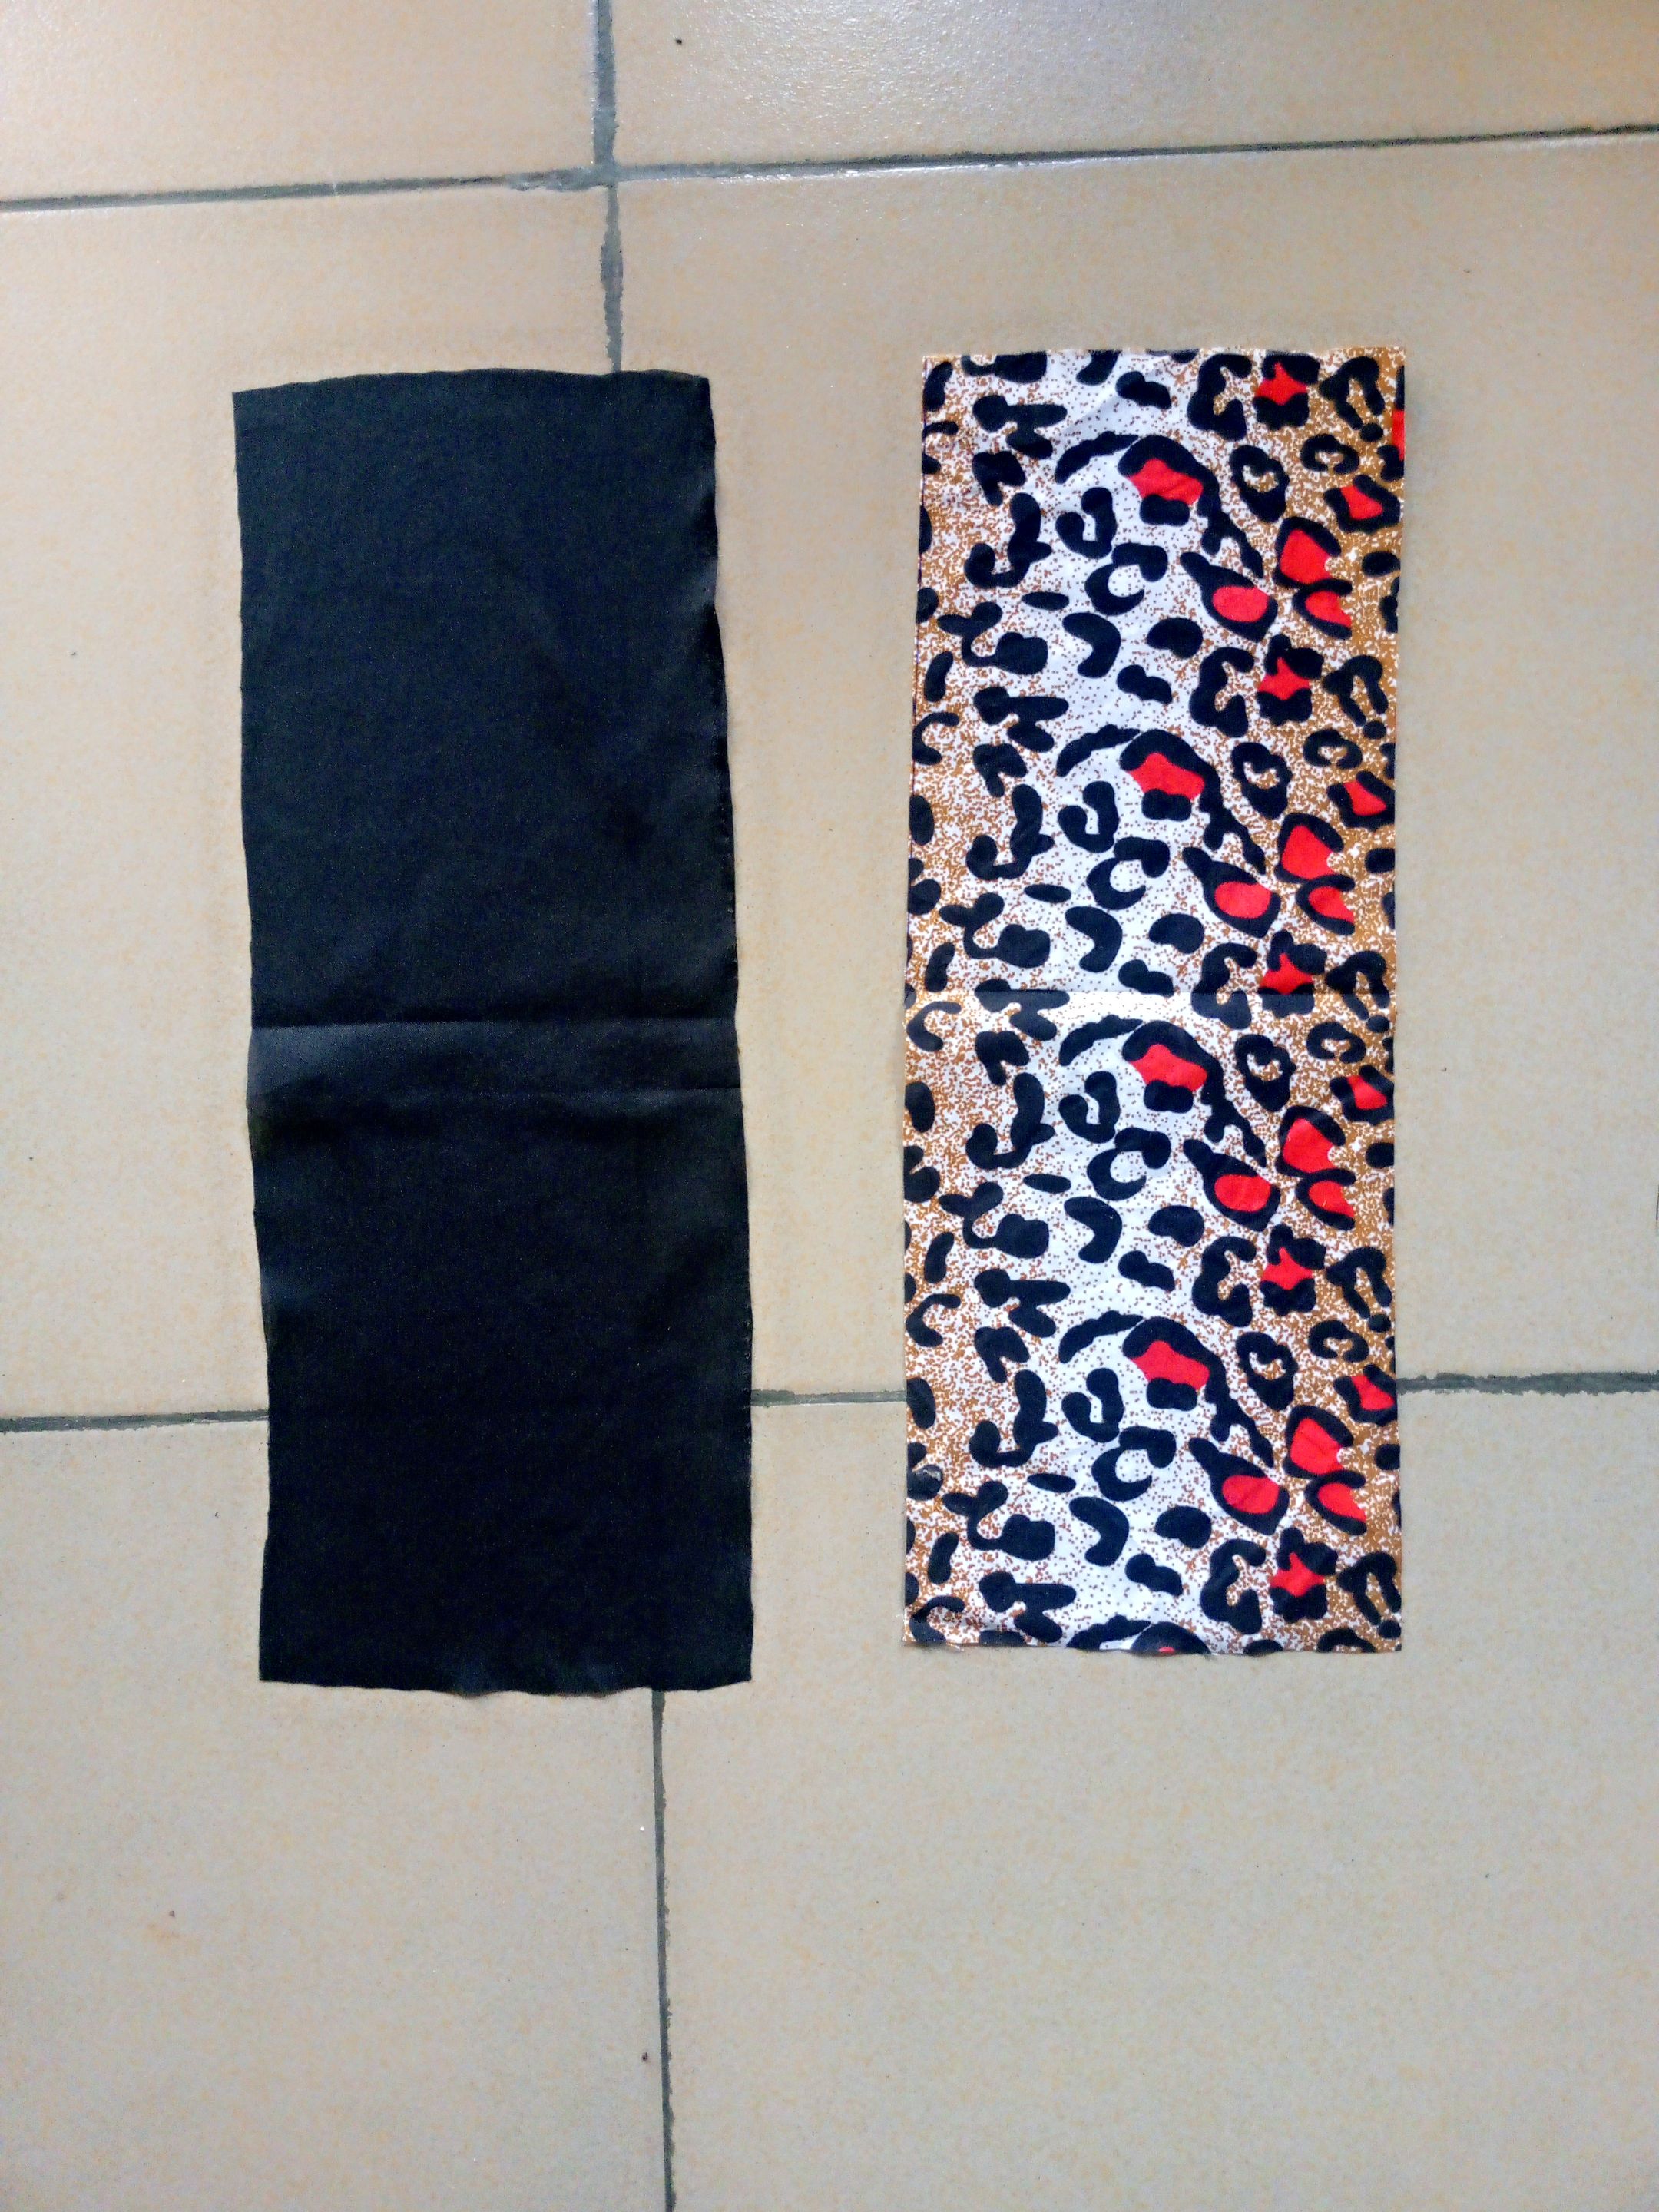 Both were folded in two while I sew on the lining on both sides leaving an opening at one side of it 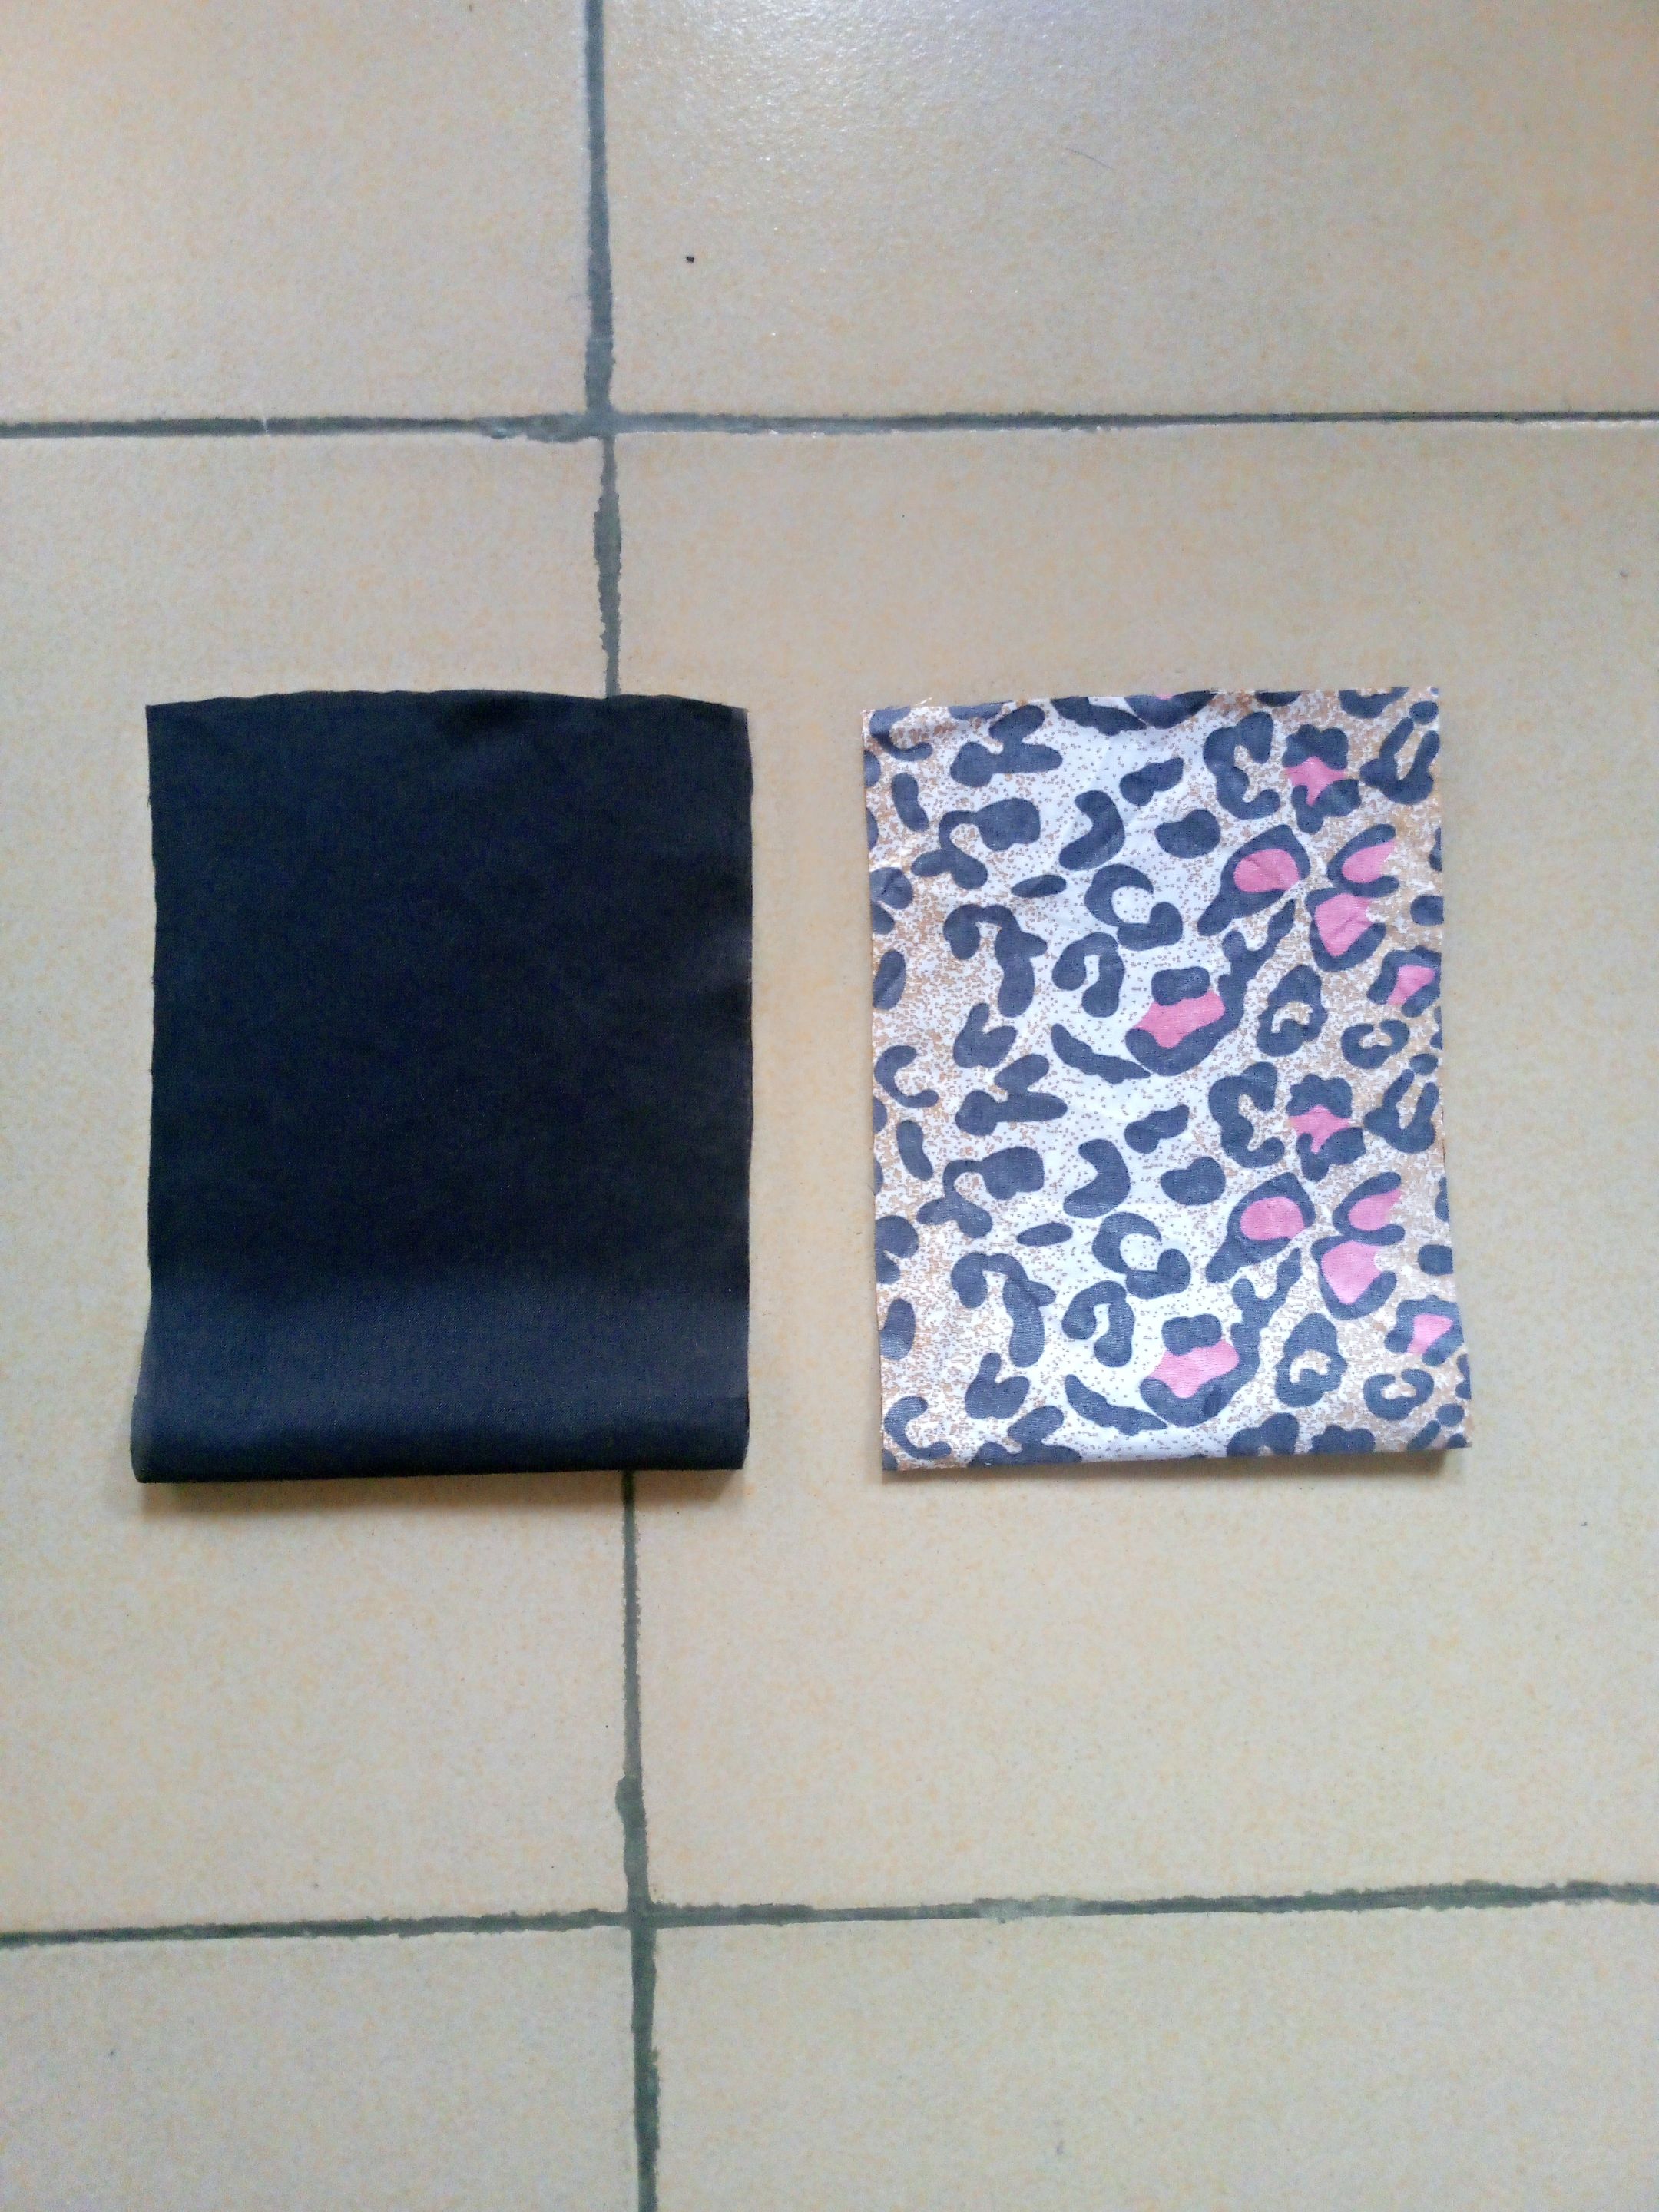 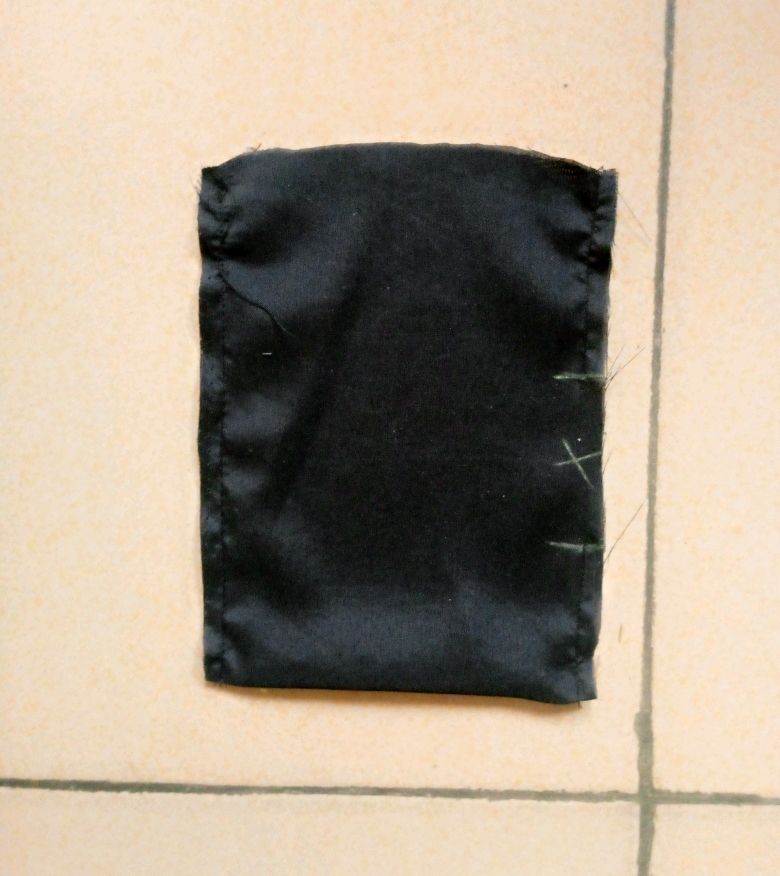 On the main fabric, I measured and marked 1" downward and ½" away from the 1" just as seen below and it was taken to the sewing machine where I sew on both sides leaving the space I marked.  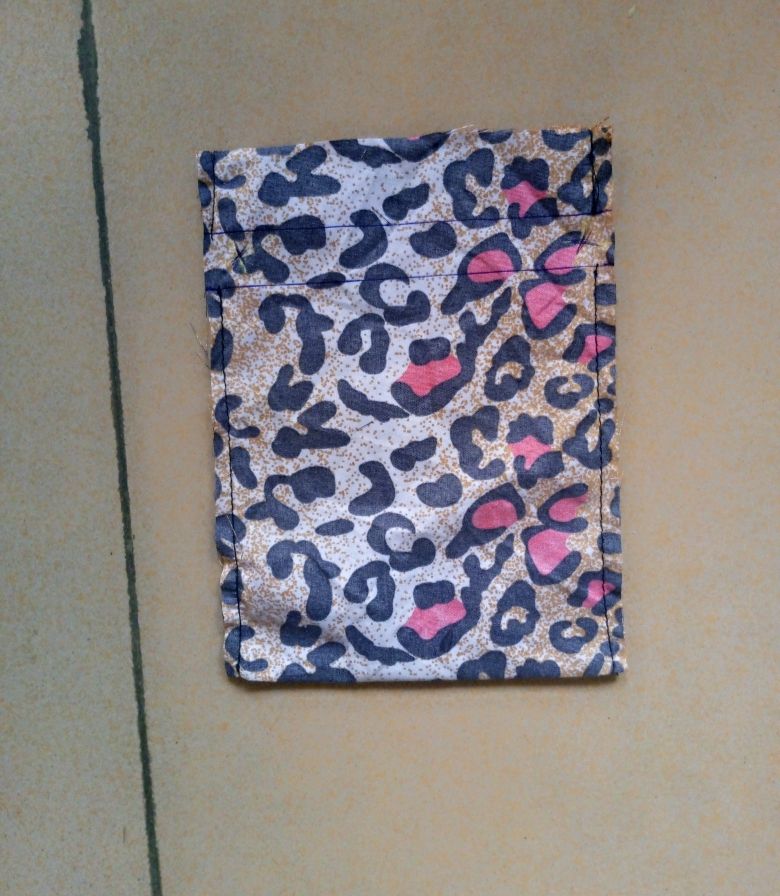 The lining was turned inside out to the right side and was inserted in the main fabric and was sewn round at the top 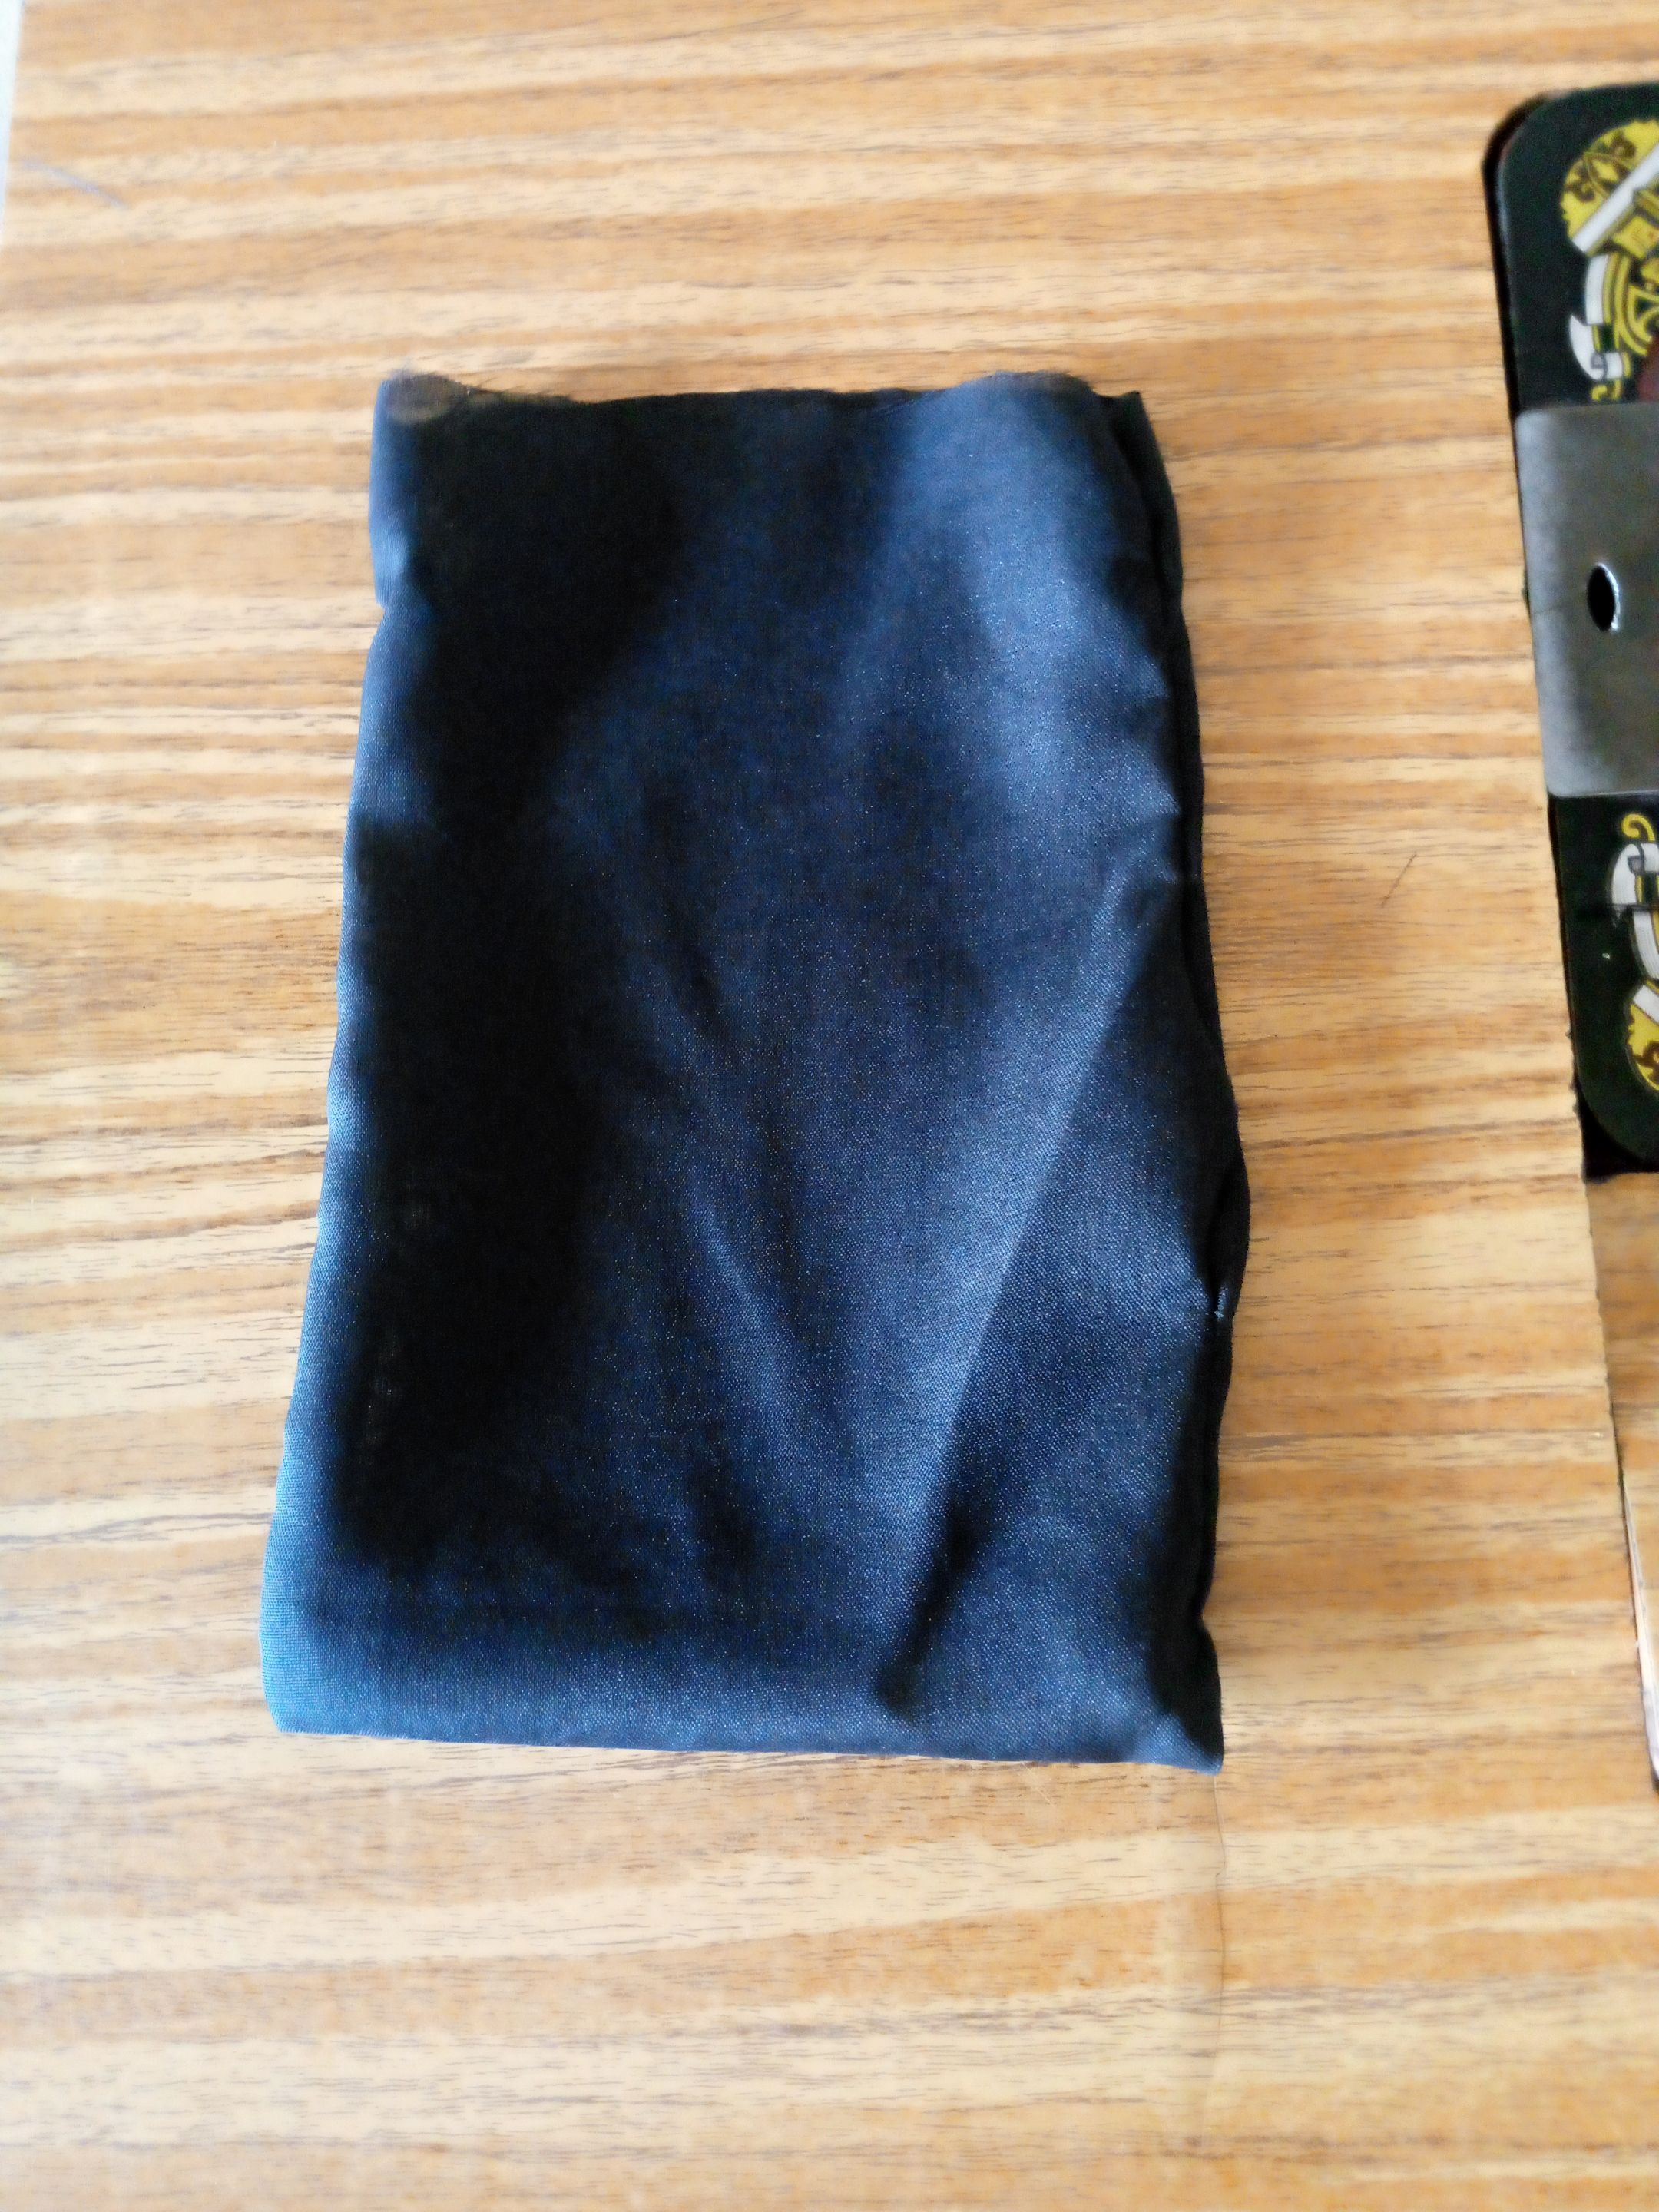 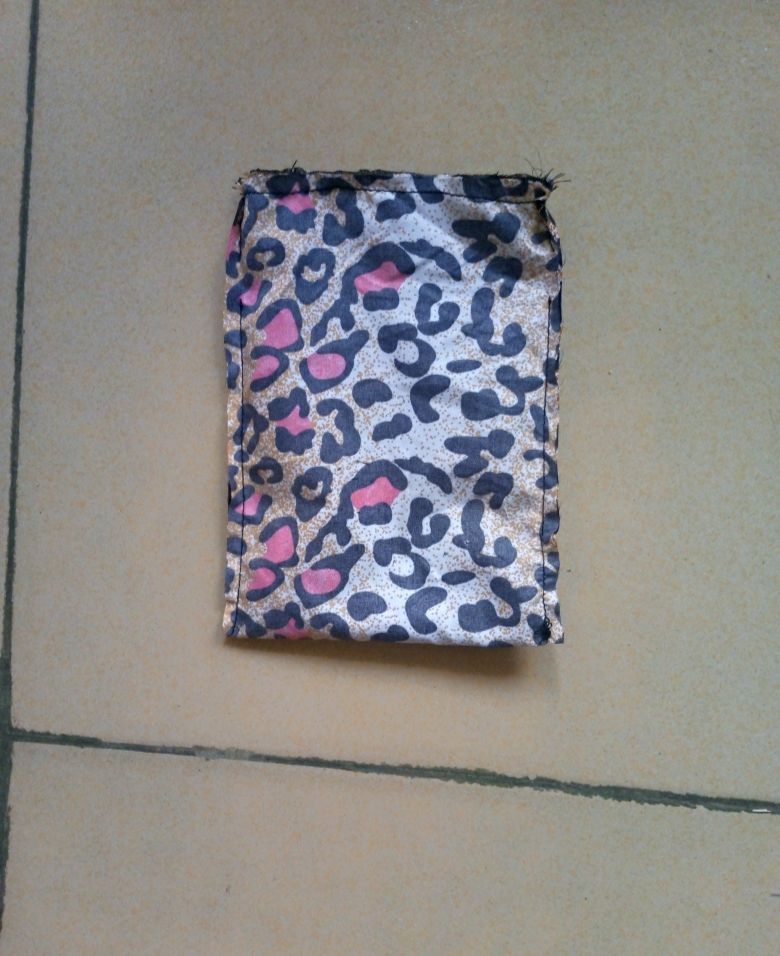 It was turned inside out through the opening on the lining and the opening was top stitched on 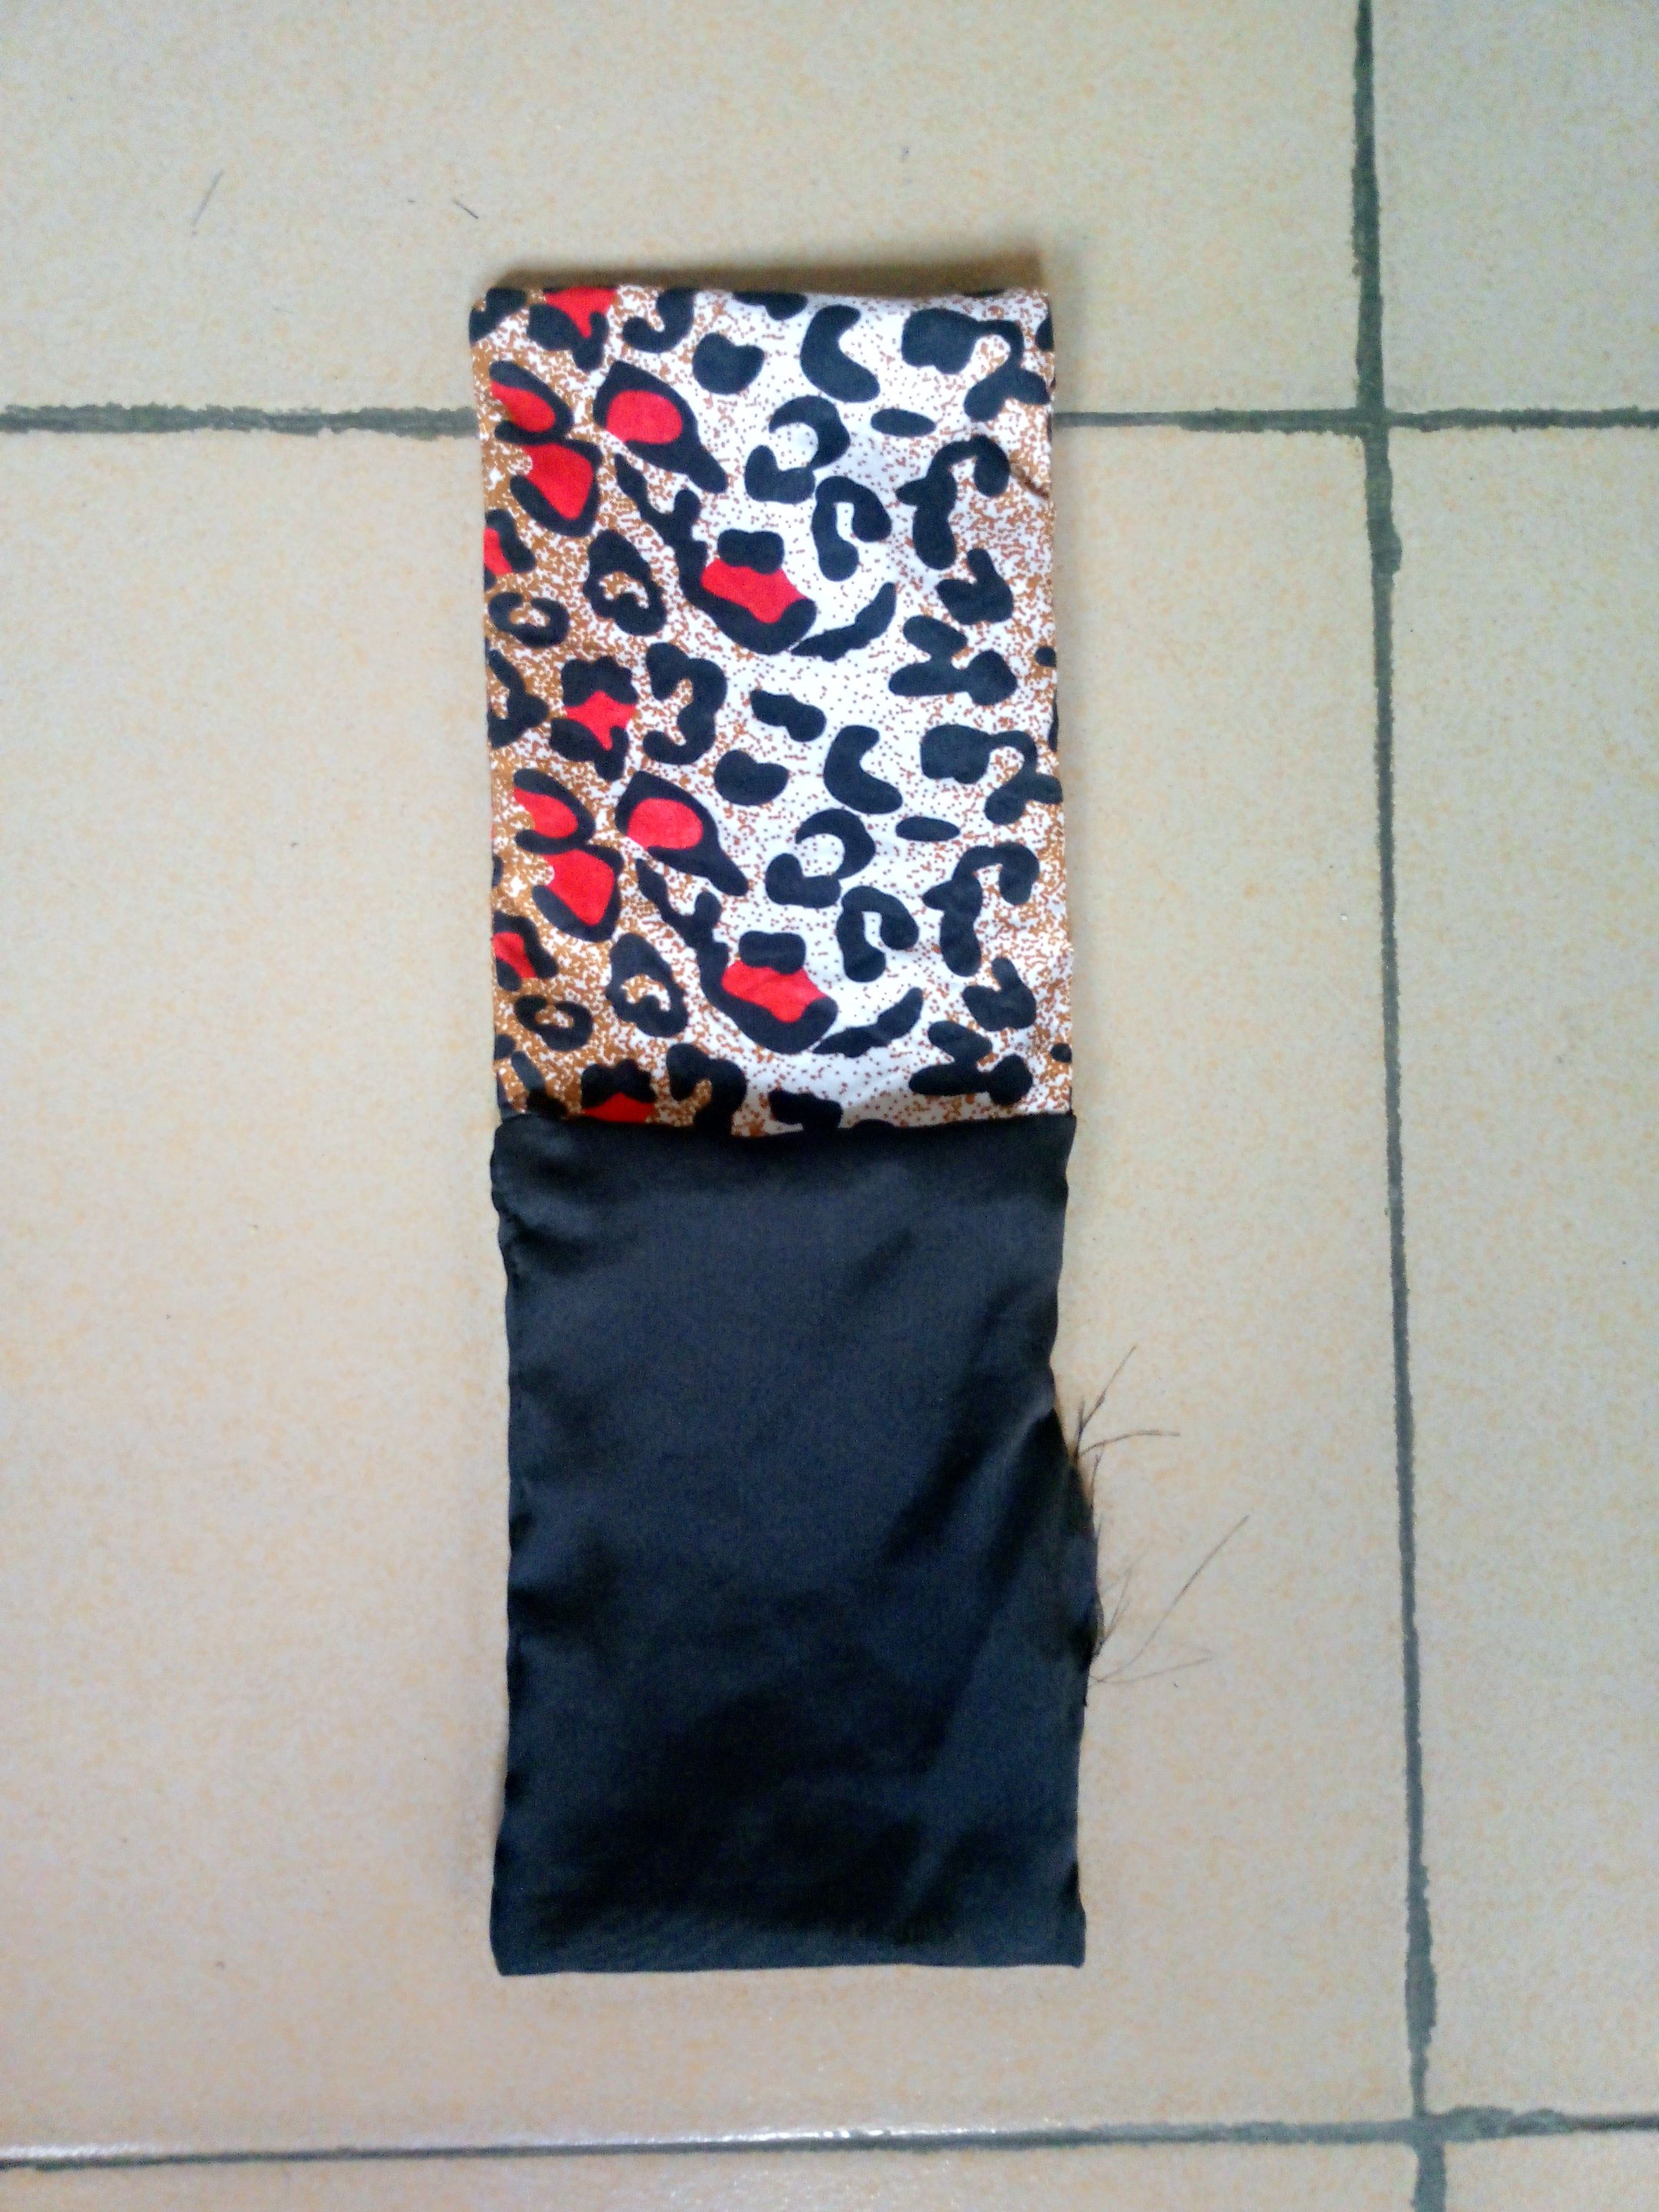 At the place I marked, I sew both lines round to make a loop at the top 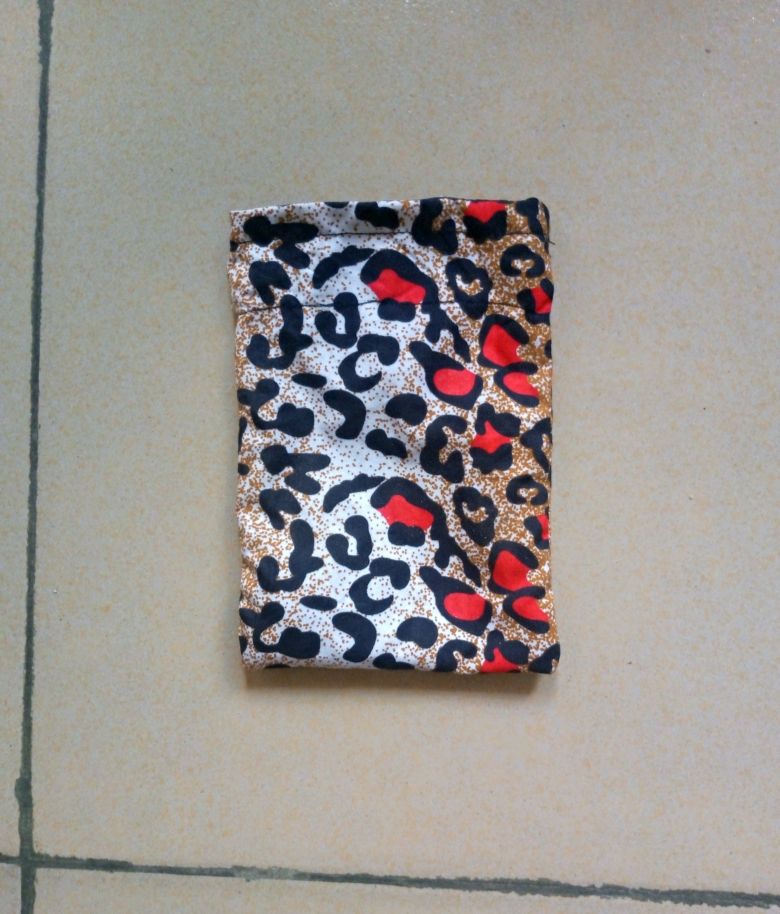 To make the rope, I cut out 18" of bias tape, it was folded in two and sewn together. 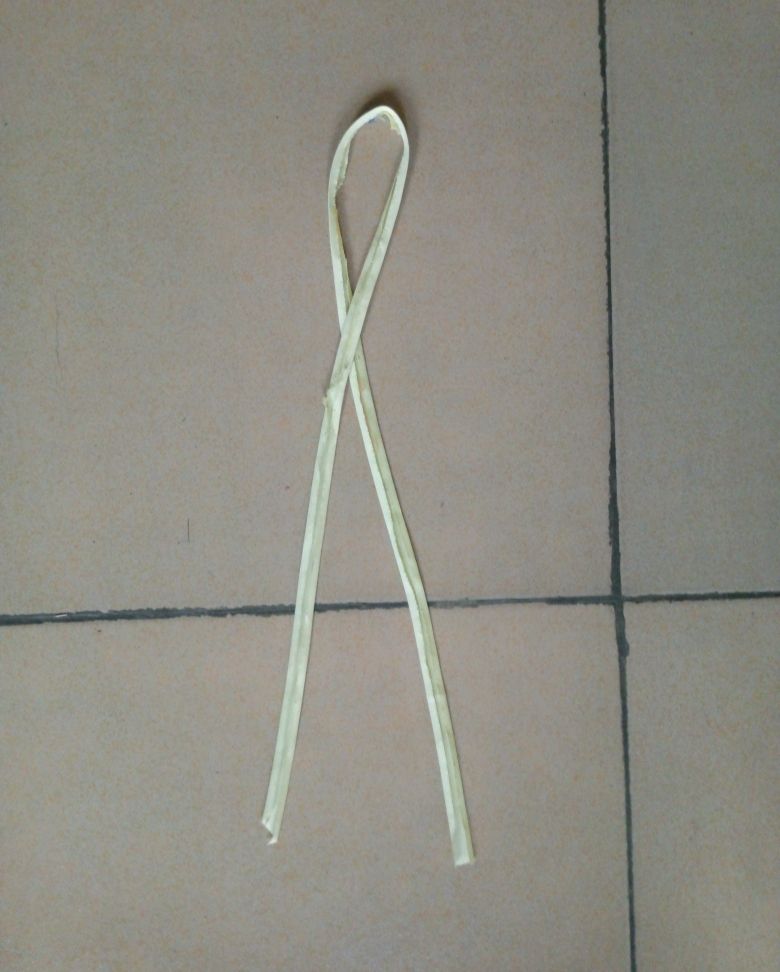 The long bias was cut into 2 to make the string for both sides 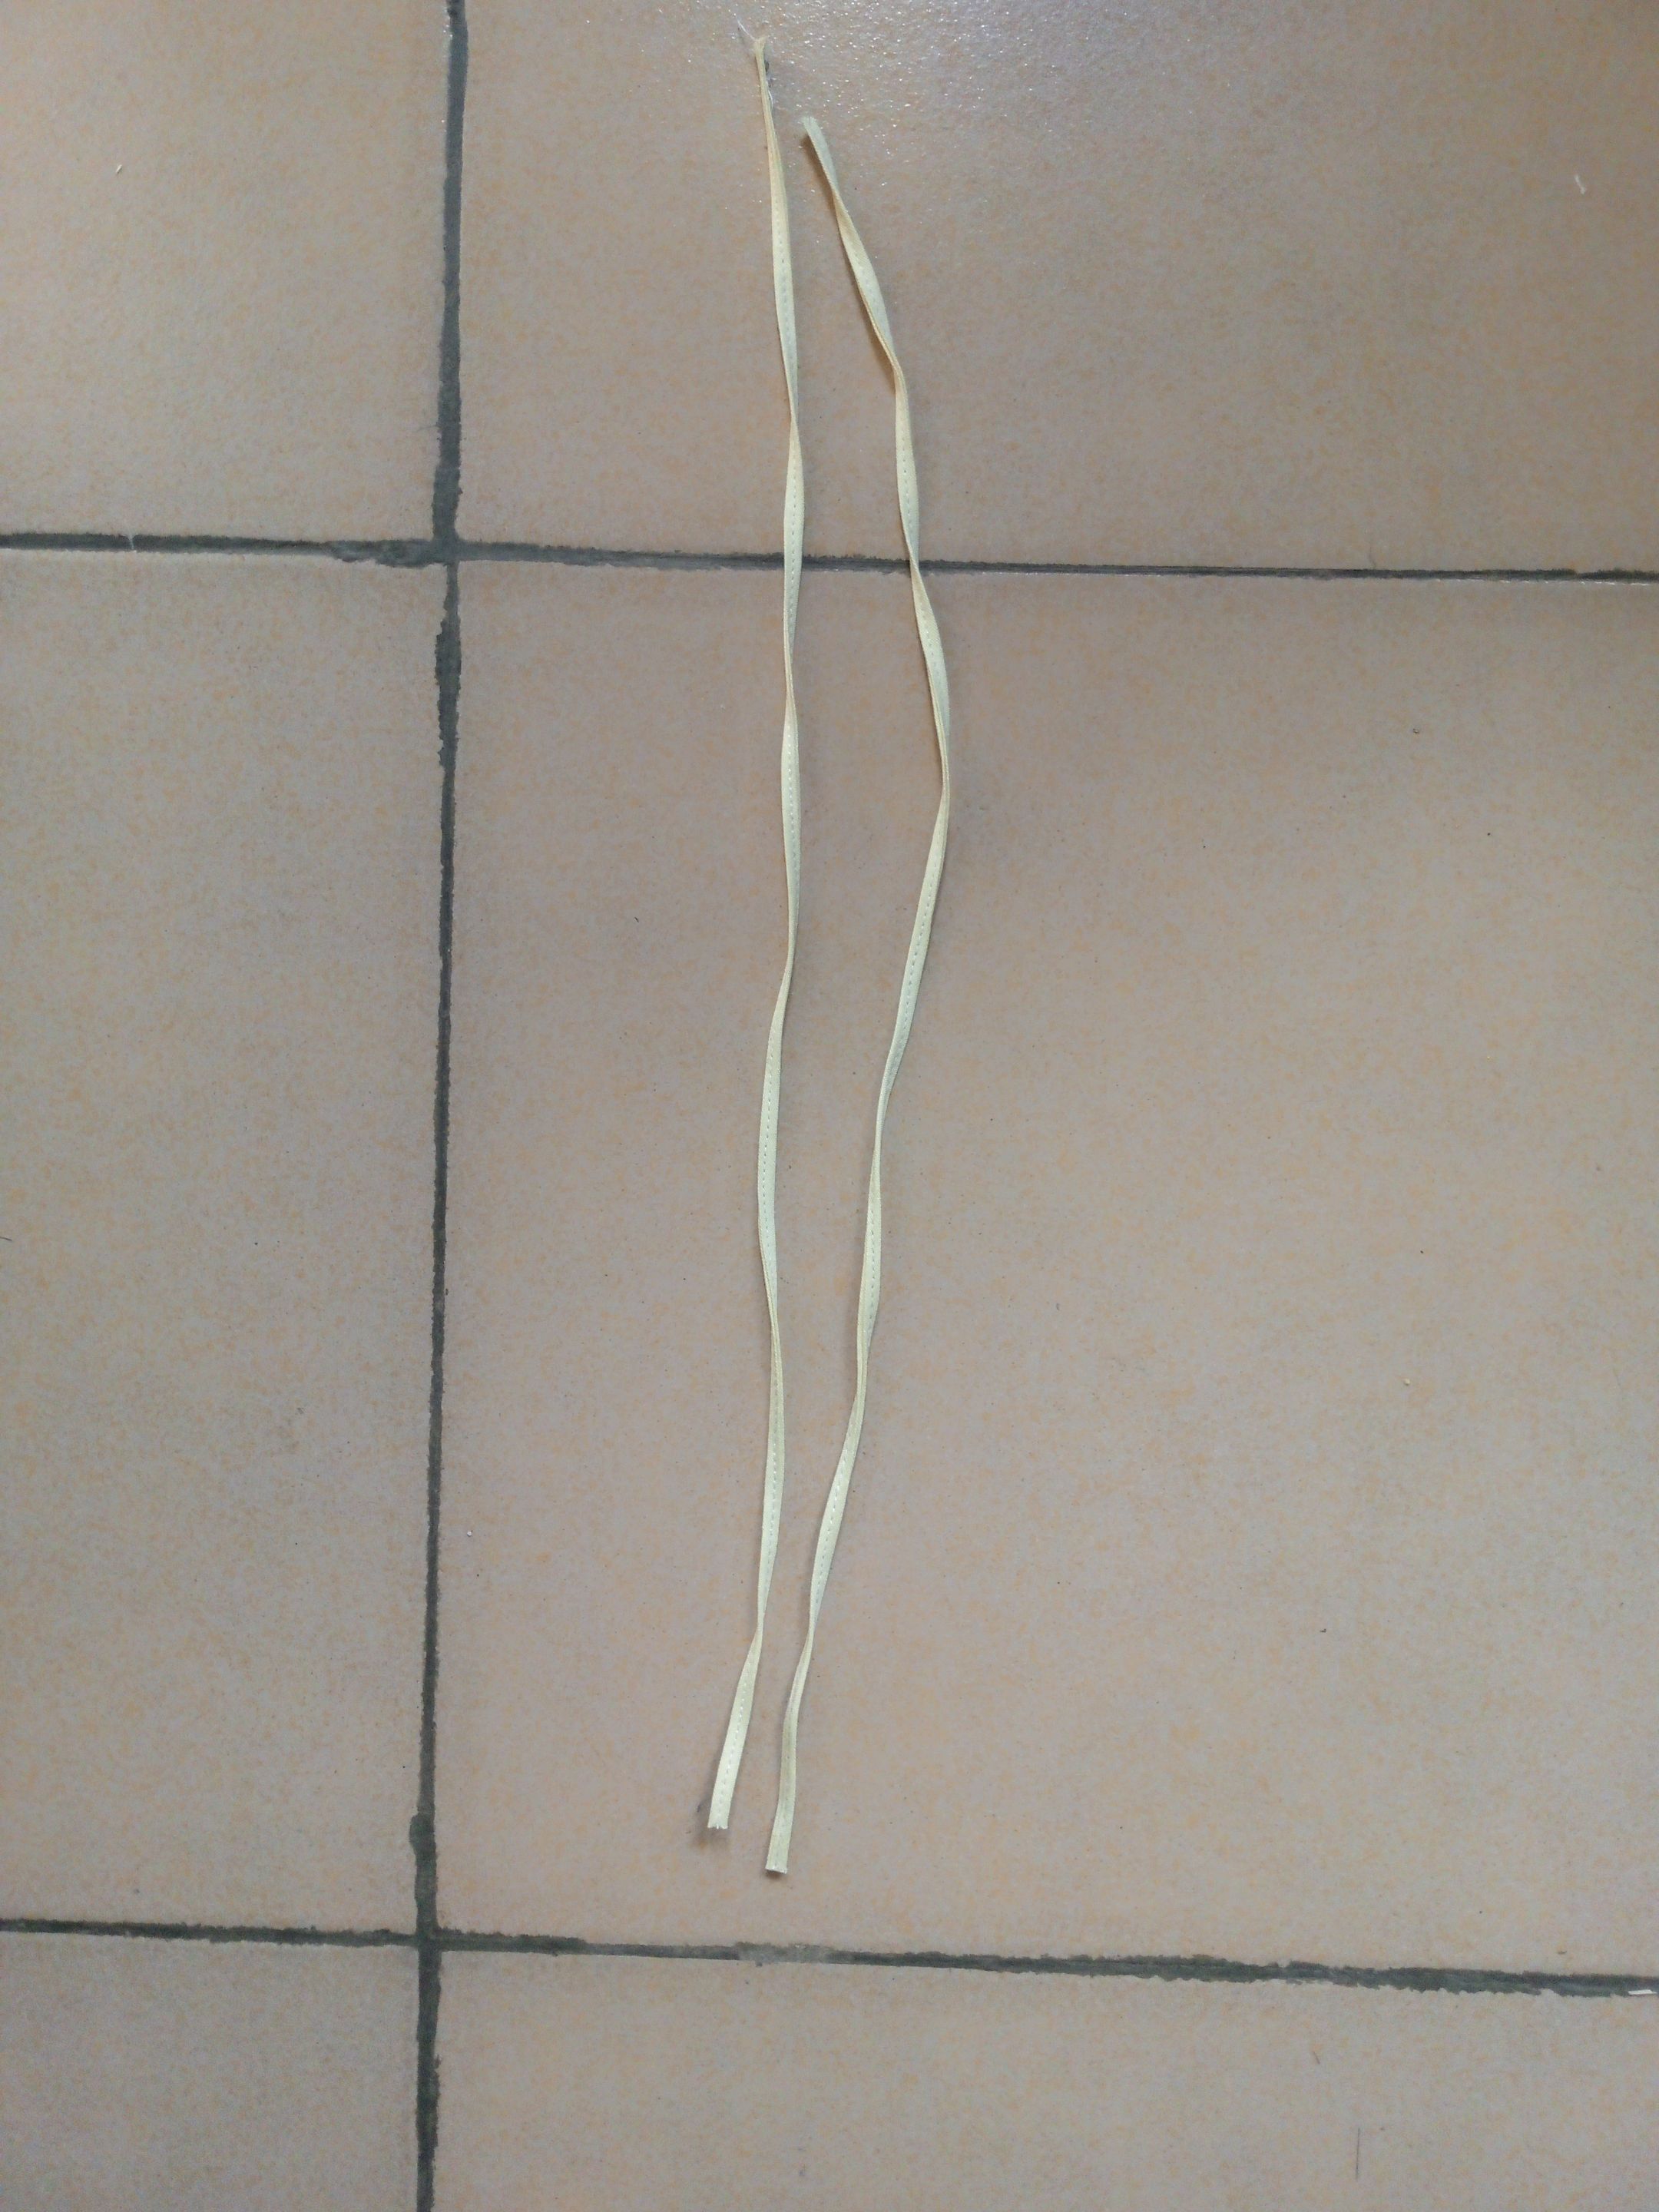 One of the bias was inserted to the loop and tied at the end 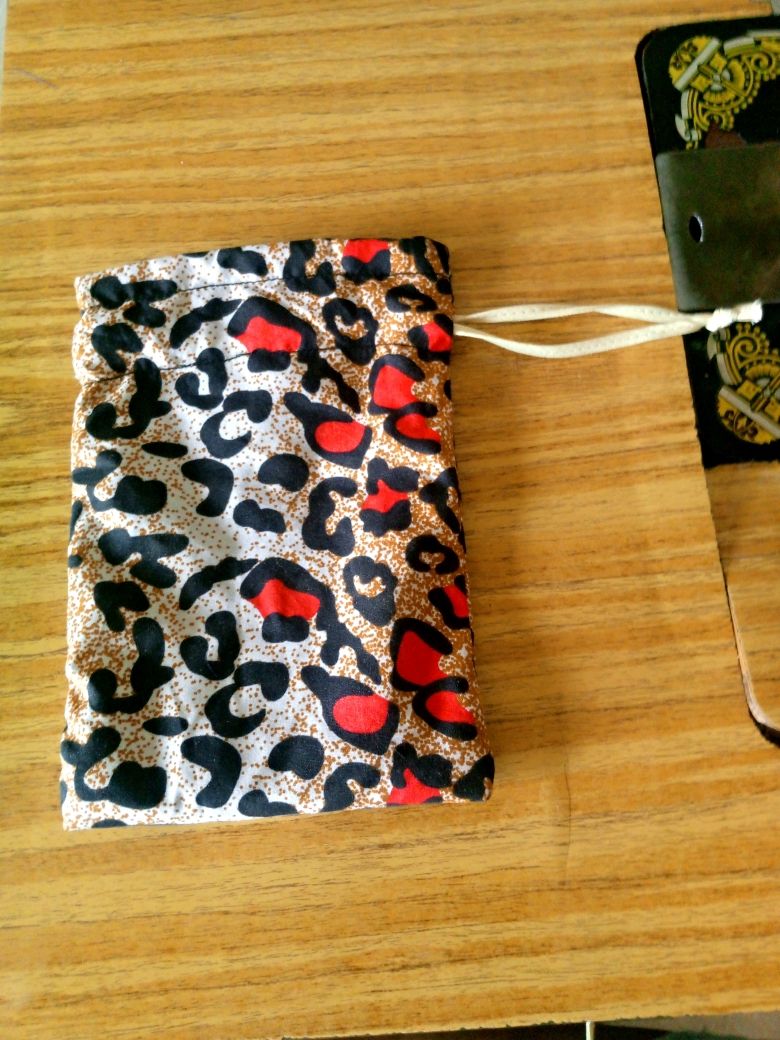 The other bias string was inserted through the other side and was tied at the end as well. 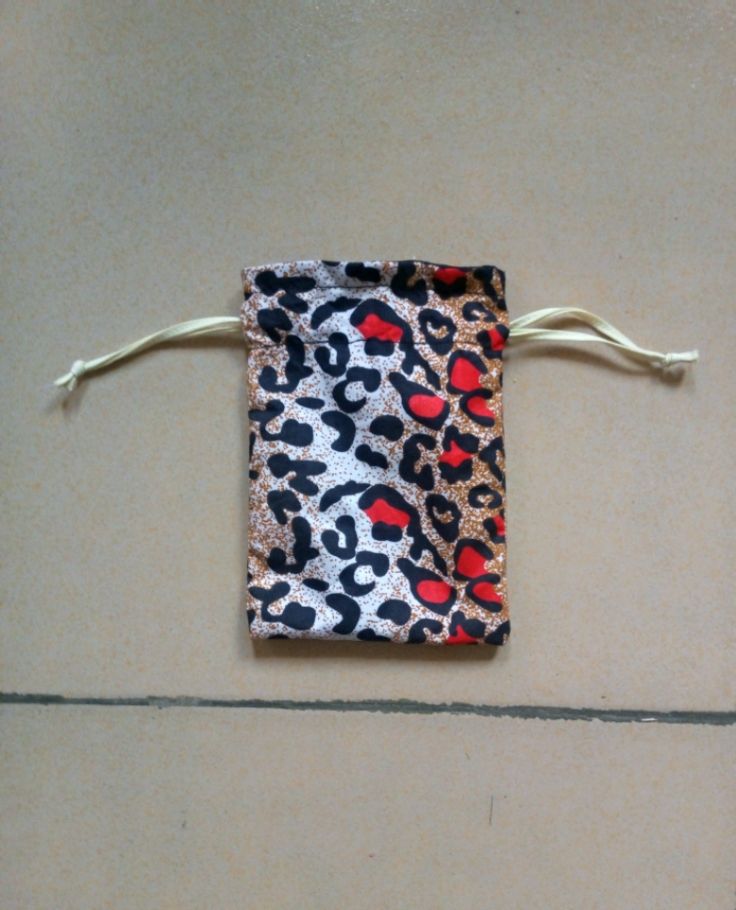 This is the final outcome of the matching drawstring bag I made with my sleeping mask.  The sleeping mask was put in the drawstring bag and you can see how beautiful and nice it looks.  # Thanks so much for your time, support, comment and encouragement. Until my next post, do have a great and productive day.
👍 garlet, digital-fortress, neoxian, waivio.curator, momogrow, akomoajong, mawit07, joedukeg, anikys3reasure, xawi, ifeoluwa88, ajongcrypto, everythingsmgirl, akomoajong1, marriakjozhegp, neoxian.alfa, mami.sheh7, brofund-ag, merit.ahama, memesupport, shopnilhasan, kilvnrex, moremoney28, abu78, ijelady, adeade123, toryfestus, mayor-001, man-alone, l337m45732, logicforce, hopestylist, curatingunicorn, diyhub, elizacheng, deepu7, diytube, arita992, sabrinah, ladyyunajay, stevenson7, desro, sodom, reachdreams, curangel, justinw, roelandp, grocko, tawadak24, gikitiki, shaka, bryan-imhoff, sustainablyyours, qsounds, jayna, diabolika, lenasveganliving, rocky1, drax, auleo, sco, cherryng, lemony-cricket, bertrayo, cryptictruth, azircon, louis88, tijntje, taldor, coloneljethro, remotehorst23, tashidelek, cmplxty, bflanagin, schlunior, gerdtrudroepke, nsfw-power, bdvoter, scubahead, littlesorceress, dawnoner, epicdice, phillarecette, babytarazkp, delilhavores, dpend.active, laruche, enilemor, altleft, betterdev, meritocracy, traderhive, aguamiel, josdelmi, lavista, sidalim88, blingit, liveofdalla, allentaylor, sabajfa, bluepark, callmesmile, jijisaurart, jloberiza, minas-glory, the-burn, scraptrader, astronerd, itz.inno, propolis.wiki, qiparosa, pharesim, abh12345, rishi556, dandesign86, greddyforce, thevil, dfacademy, giftgiver, nerdvana, gabilan55, mafia.wallet, nftmart, ramisey, h-e, thecouncil, seryi13, jessicaossom, rishi556.engine, anhdaden146, monster-one, walterjay, alphacore, sharelovenothate, horpey, sorin.cristescu, cadawg, satren, reversehitler88, foxon, bobaphet, yaraha, doctor-cog-diss, vida-blanca, altonos, milky-concrete, sophieandhenrik, wallvater, ssiena, mvanhauten, jelly-cz, druckado, mattbrown.art, dungeondog, ischmieregal, der.merlin, pit3r, y3ssi, thezyppi, t-nil, hive-bounty, jlsplatts, arka1, saboin, schlees, crimo, gloriaolar, voxmortis, tryskele, josepimpo, r0nny, mochilub, titly, juwon-btc, castri-ja, hivebuzz, lizanomadsoul, manncpt, crypticat, mballesteros, macoolette, lettinggotech, roozeec, lxsxl, bluefinstudios, equipodelta, historiasamorlez, deltacristiana, ang.spc, crealeniels, yusma21, hive-130560, mergusa88, eduard20, misticogama, hivediy, rcreationalgames, dari-s, galaxiavtuber, mv-curacion, hashkings, freed99, cryptoferyel, pleo1542, miketronnn, s3rg4, chechostreet, joseal2020, alicia2022, lightbruce17, hk-curation, gornat, midnight-studio, rondonshneezy, meanbees, geneleori, arcange, achimmertens, anasuleidy,