Into the Realm of the Drowned Queen - Willamette Abstraction Series
art·@carlgnash·
0.000 HBDInto the Realm of the Drowned Queen - Willamette Abstraction Series
<center> <a href="https://steemitimages.com/DQmU9Pgomy7f5Nuw3hFCBVHrXBCGBzCZkcXex9RWtDe6jmj/willamette%20abstract%20Temple%20of%20the%20Water%20Goddess%20embossed%202.jpg">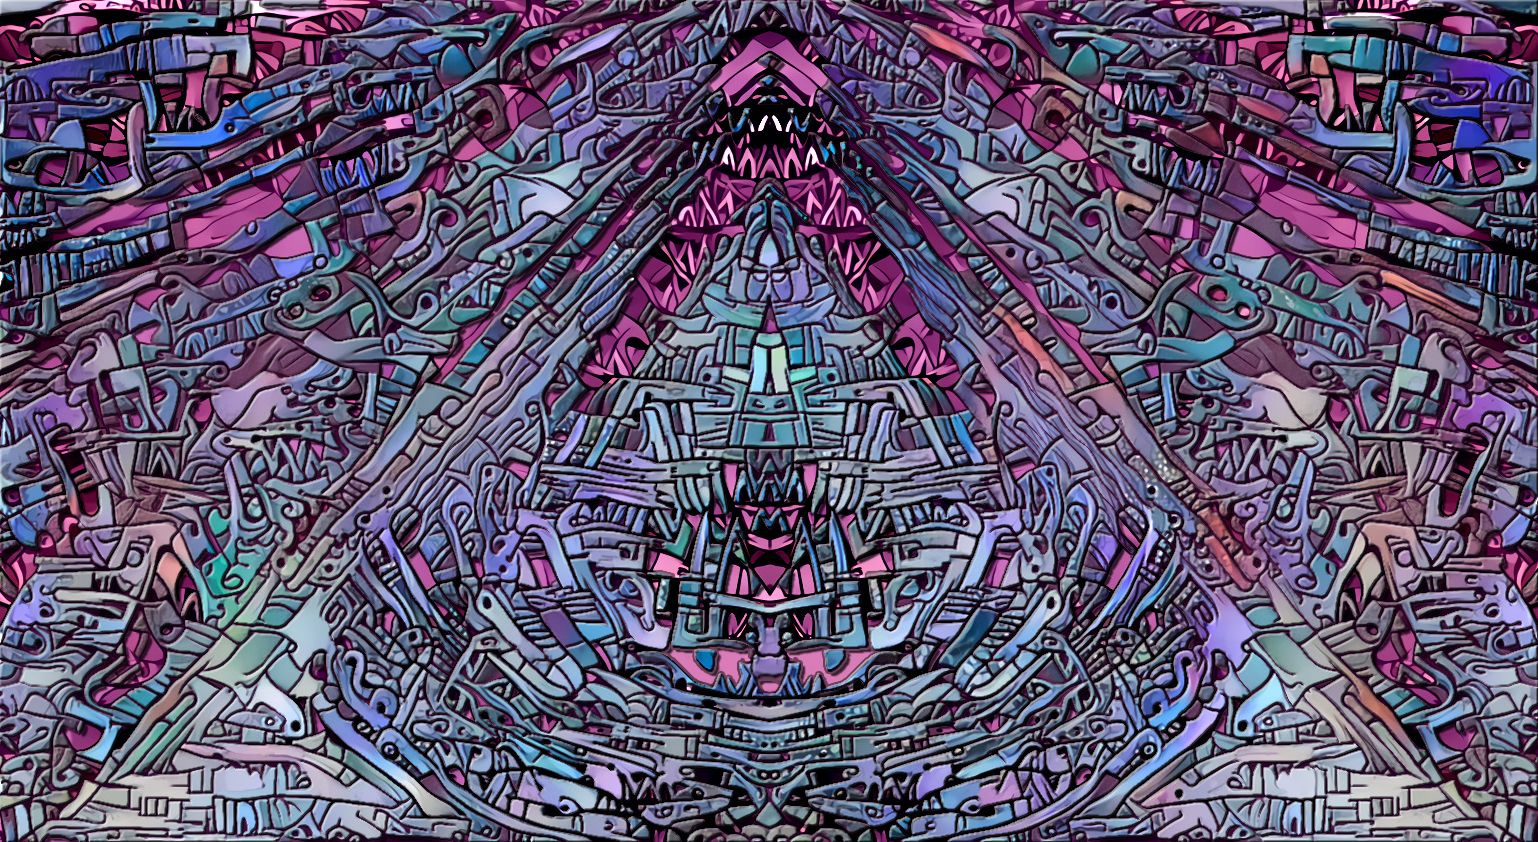</a> <h2><i>Pyramid of the Goddess </i></h2> </center> <table> <tr> <td> <h4> Every piece of art in this post started life as this macro shot of water ripples (right - my original photography). I <a href="https://steemit.com/art/@carlgnash/dreaming-of-the-willamette-deep-dream-generator-gallery-3">previously posted</a> about the process of creating the first abstraction from this image using the <a href="https://deepdreamgenerator.com">Deep Dream Generator</a>. </h4> </td> <td> https://steemitimages.com/DQmbUrwW6XBQAKYbW7U1YjupcnT6HfDJWvHLshnn8VufktT/image.png </td> </tr> <tr> <td> https://steemitimages.com/DQmfRURgt6X8zUWEntjENwUrkJbi4SY7xFc7bA1Nrn5vE3z/image.png </td> <td> <h4>For the series of art I am sharing today, I started with the first Willamette Abstraction image I created from the above ripples photograph (see <a href="https://steemit.com/art/@carlgnash/dreaming-of-the-willamette-deep-dream-generator-gallery-3">linked post</a>) and mirrored it four ways to get the next level of fun started (left).</h4> </td> </tr> </table> <h4>I cropped out a pyramid section from the bottom of the mirrored image and ran that through the Deep Dream Generator. The result was kind of cool but the AI had trouble with some sections that turned out a little blurry, and I wasn't happy with the large chunks of black either:</h4> 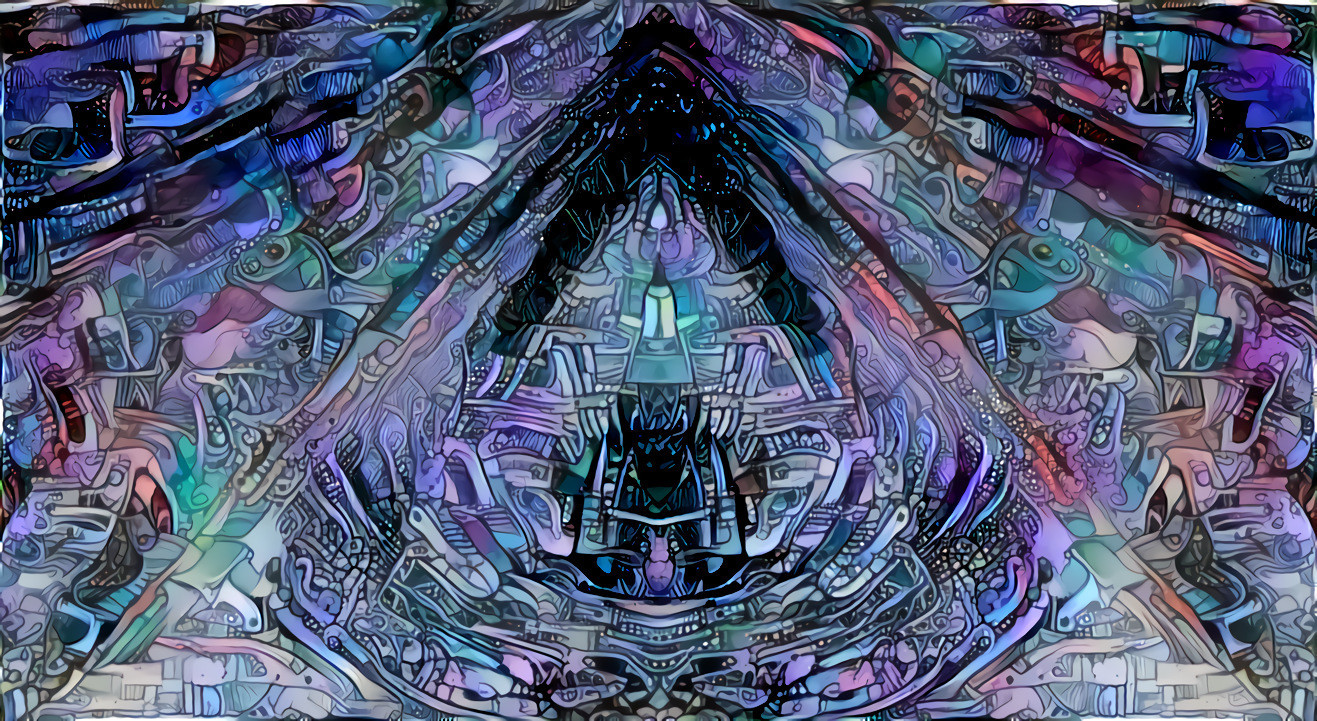 I use the "select color range" feature (at max fuzziness) to cut out the darkest sections of the dream pyramid layer and let the original mirrored abstraction show through in those places. This did not work perfectly so I went through and manually erased in places to make the cut out sections clean. I added a *stroke* effect to the dream pyramid layer so every cut out section had a nice defined 3px-wide outline. Here is a process pic as I am in the middle of cleaning up and expanding the cutout sections in the dream pyramid layer (here I have disabled the original mirrored abstraction layer AKA layer 1, and added a white background so I could see what I was doing better). 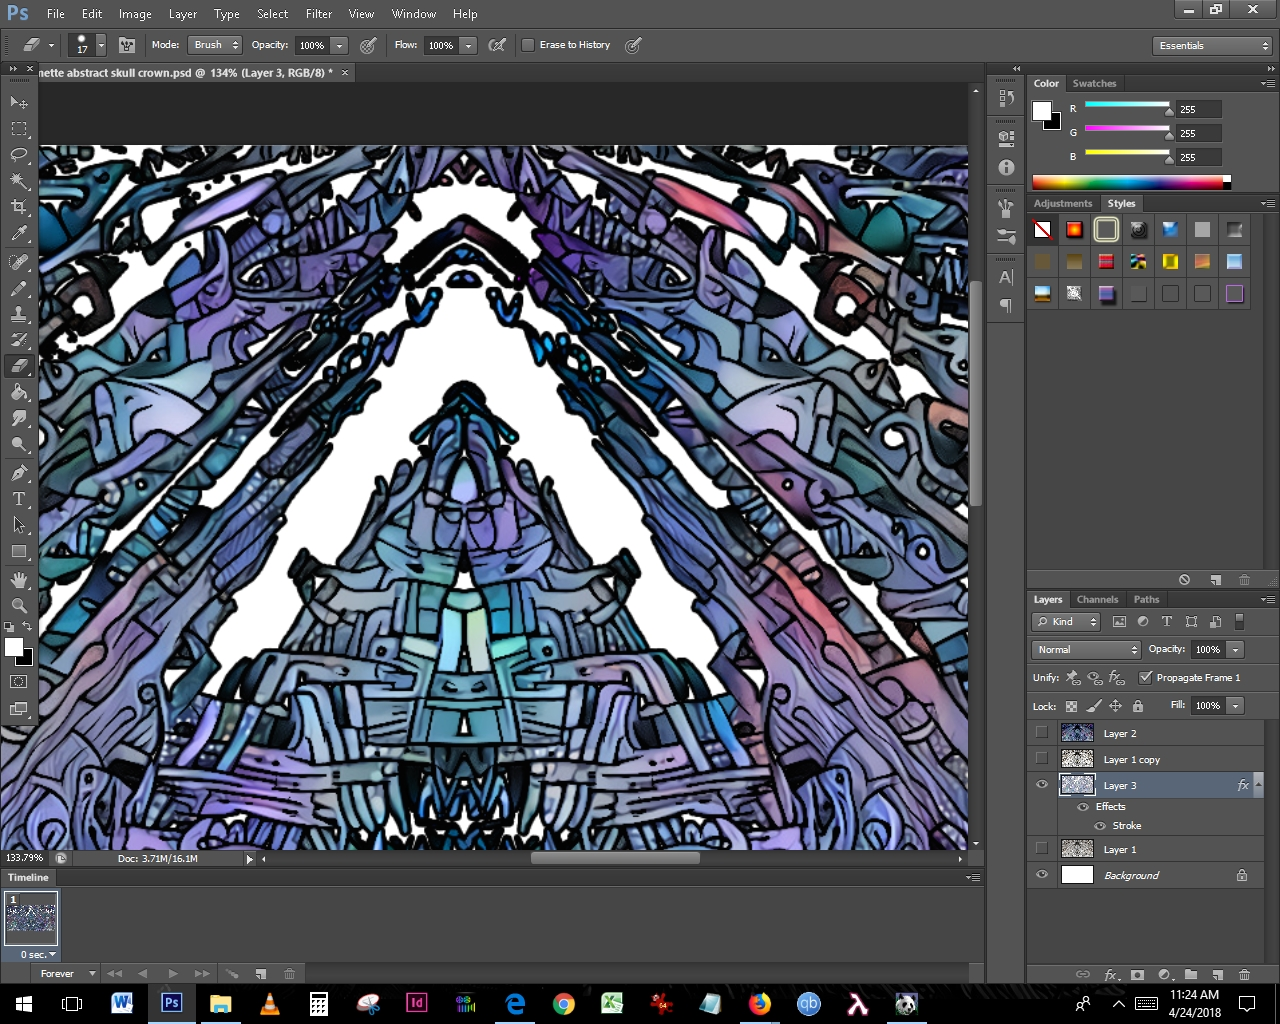 Below is a mid-process transparency of just the dream pyramid layer. This should give you a good idea of what I am talking about RE cutout sections - toggle between night mode and regular mode and you will see that sections of this image are transparent cutouts: 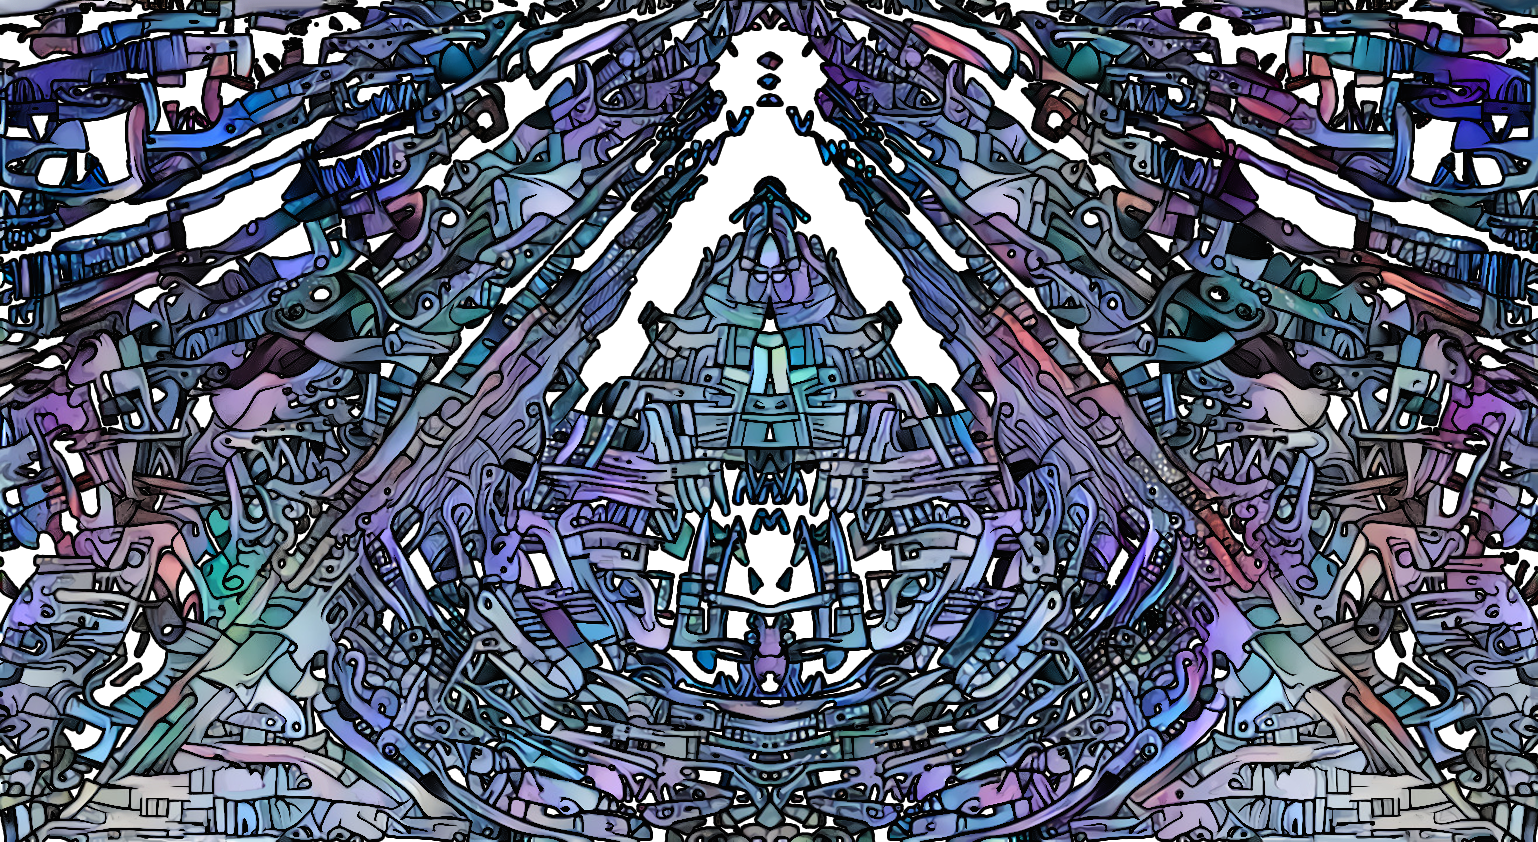 Below is a farther along mid-process shot with the abstraction layer showing through - you can see that compared with the final *Pyramid of the Goddess* image (post cover image above), the original abstraction layer is muted gray tones where it shows through (everywhere that is white in the transparency above). You can also see that there are still quite a lot of dark areas in this process pic that end up being removed from the final version:  Once I was satisfied with the sections I had cut out (and after a little PhotoShop painting and smudging to fix colors on both the dream layer and the original pyramid abstraction), I added *emboss* and *drop shadow* effects to the dream cutout layer to make it pop out from the lower layer. I manipulated the color balance of the bottom abstraction layer to get the nice purples and pinks et voila, I arrived at the *Pyramid of the Goddess* image (post cover image, above). For reference, here is a transparency (toggle night mode for full effect) of just the final cutout dream layer with the emboss, drop shadow and stroke effects (I ended up making the stroke outline 50% transparent to give it more complexity of depth): 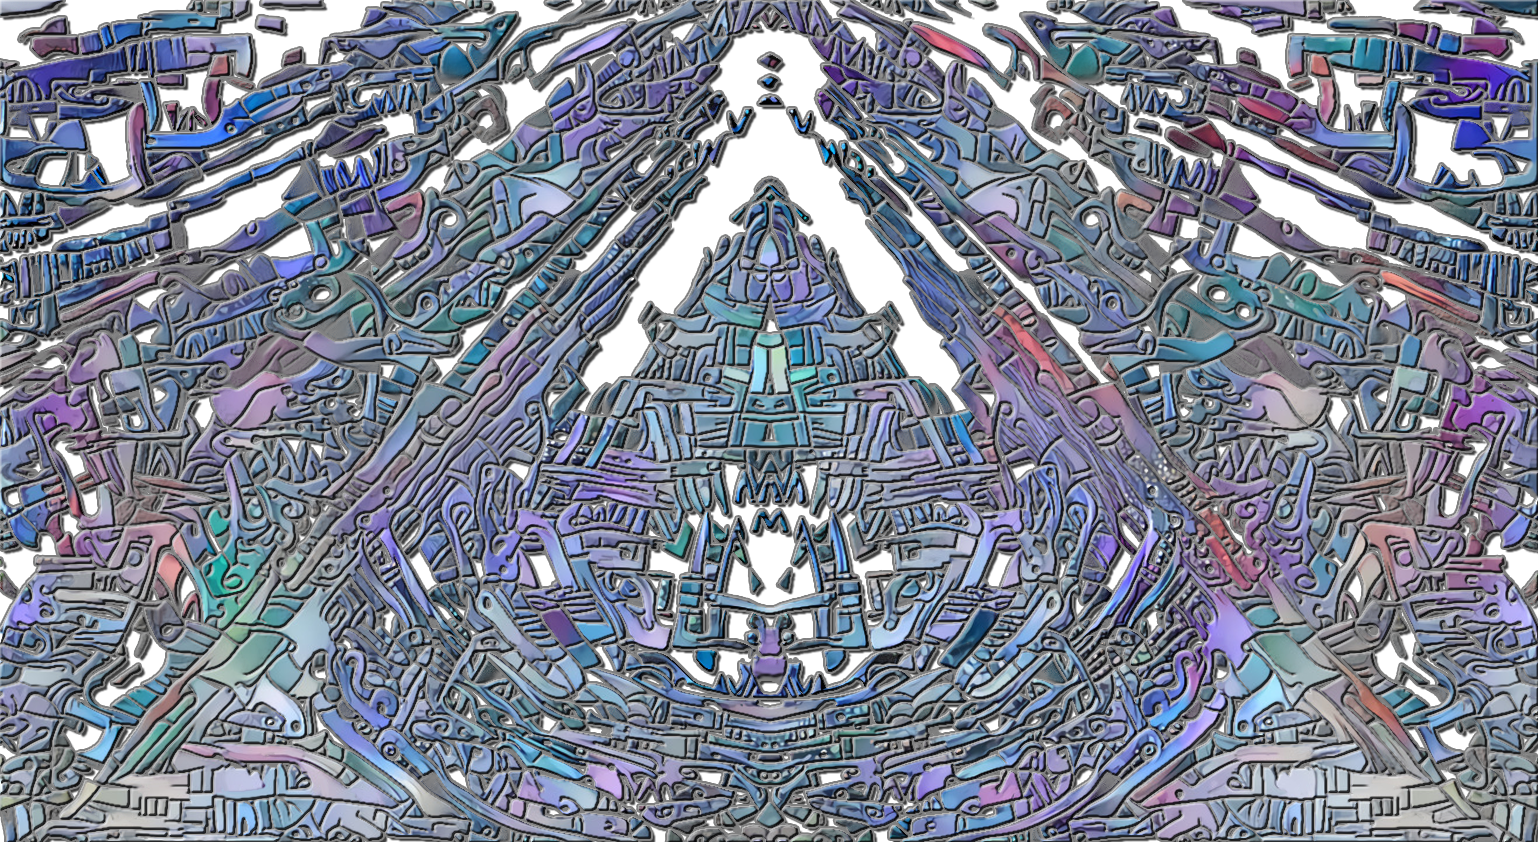 <h4>But was I done? Oh heck no ;) I mirrored the final product to create a diamond shaped design:</h4> 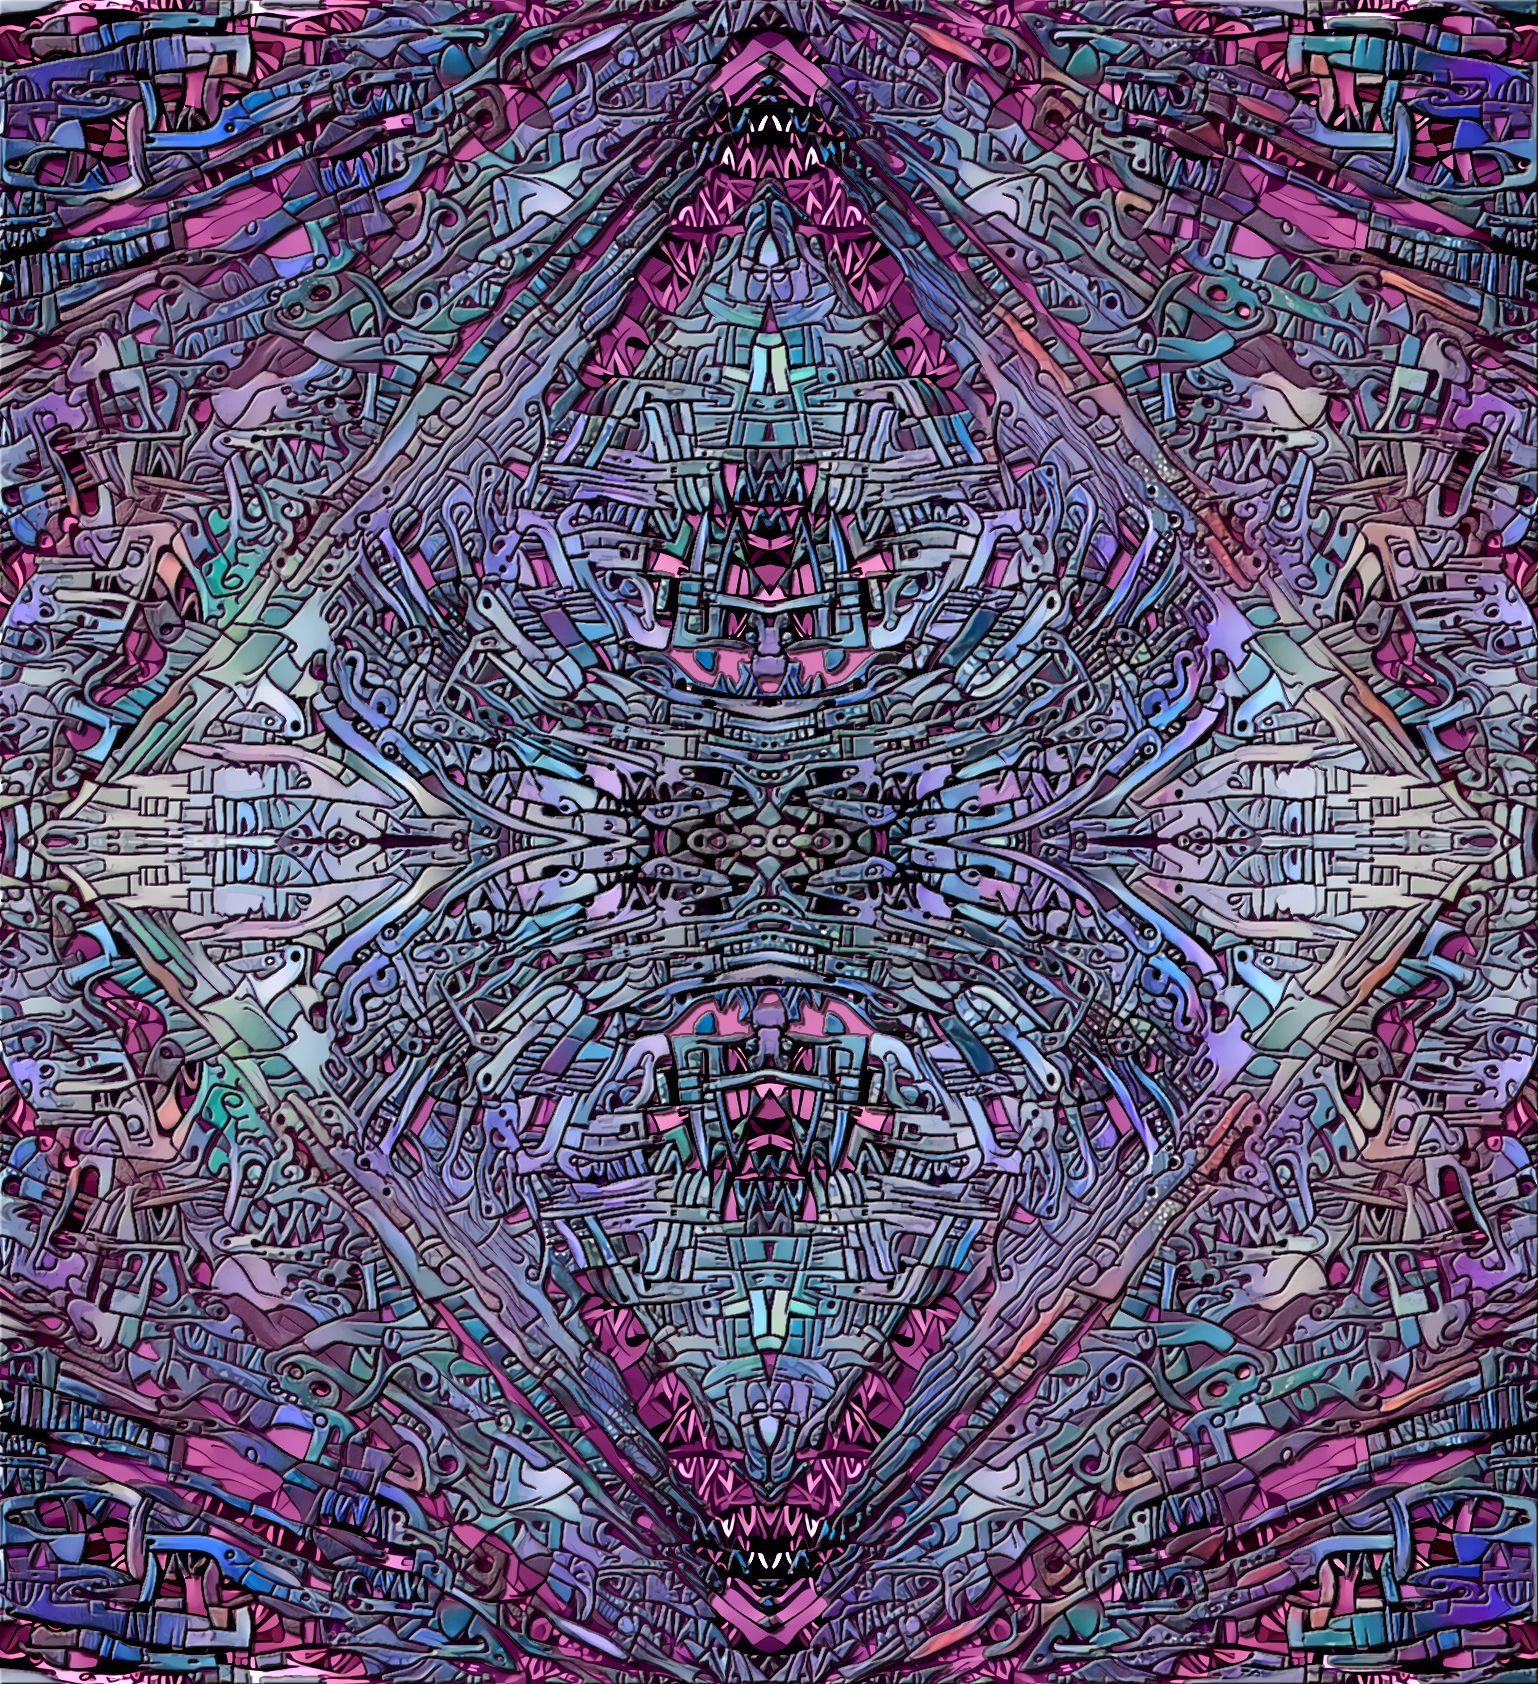 <h4>Then I rotated that and cropped out an interesting section - I really like this one! This "Temple Detail" also forms the basis for some of the derivations farther below:</h4> 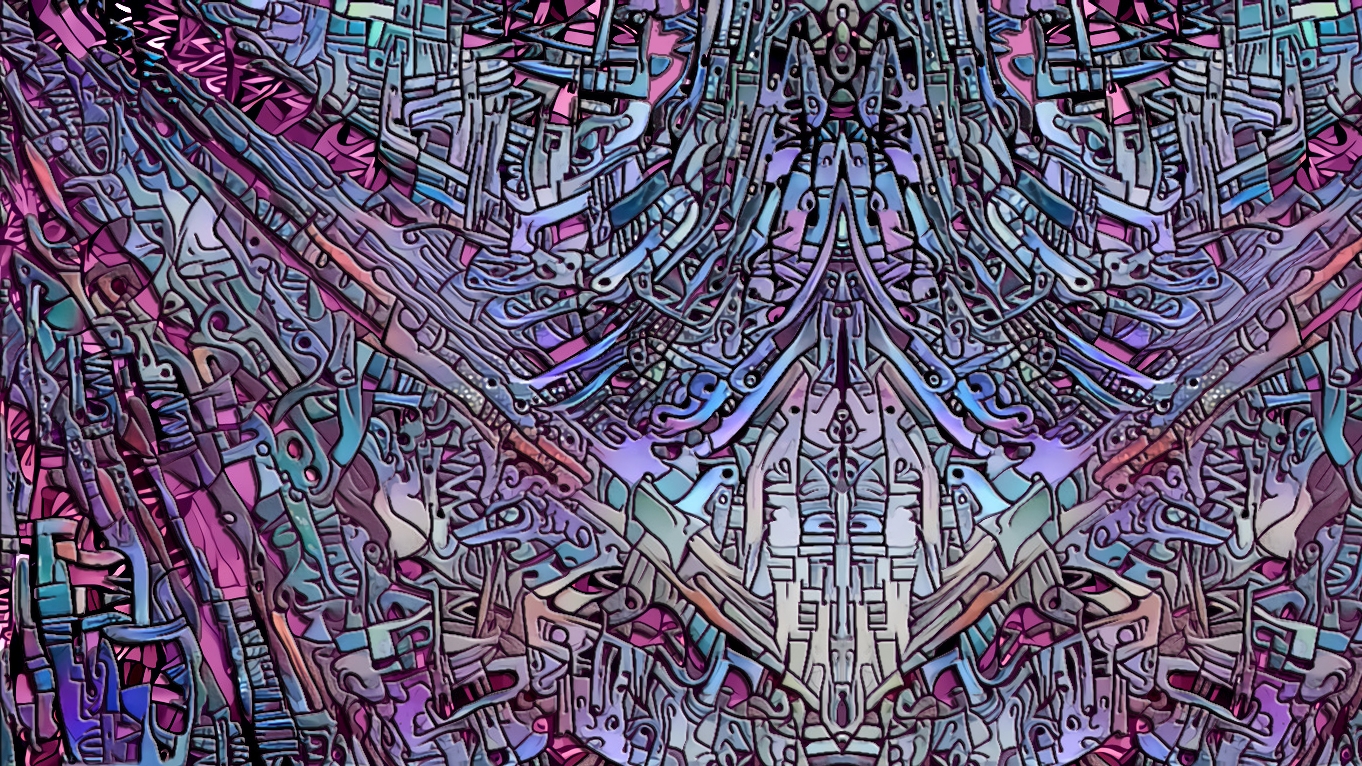 <center><h4><i>Temple Detail</i></h4></center> <h4>I also cropped out a vertical strip of the diamond mirrored version (rotated 90°):</h4> 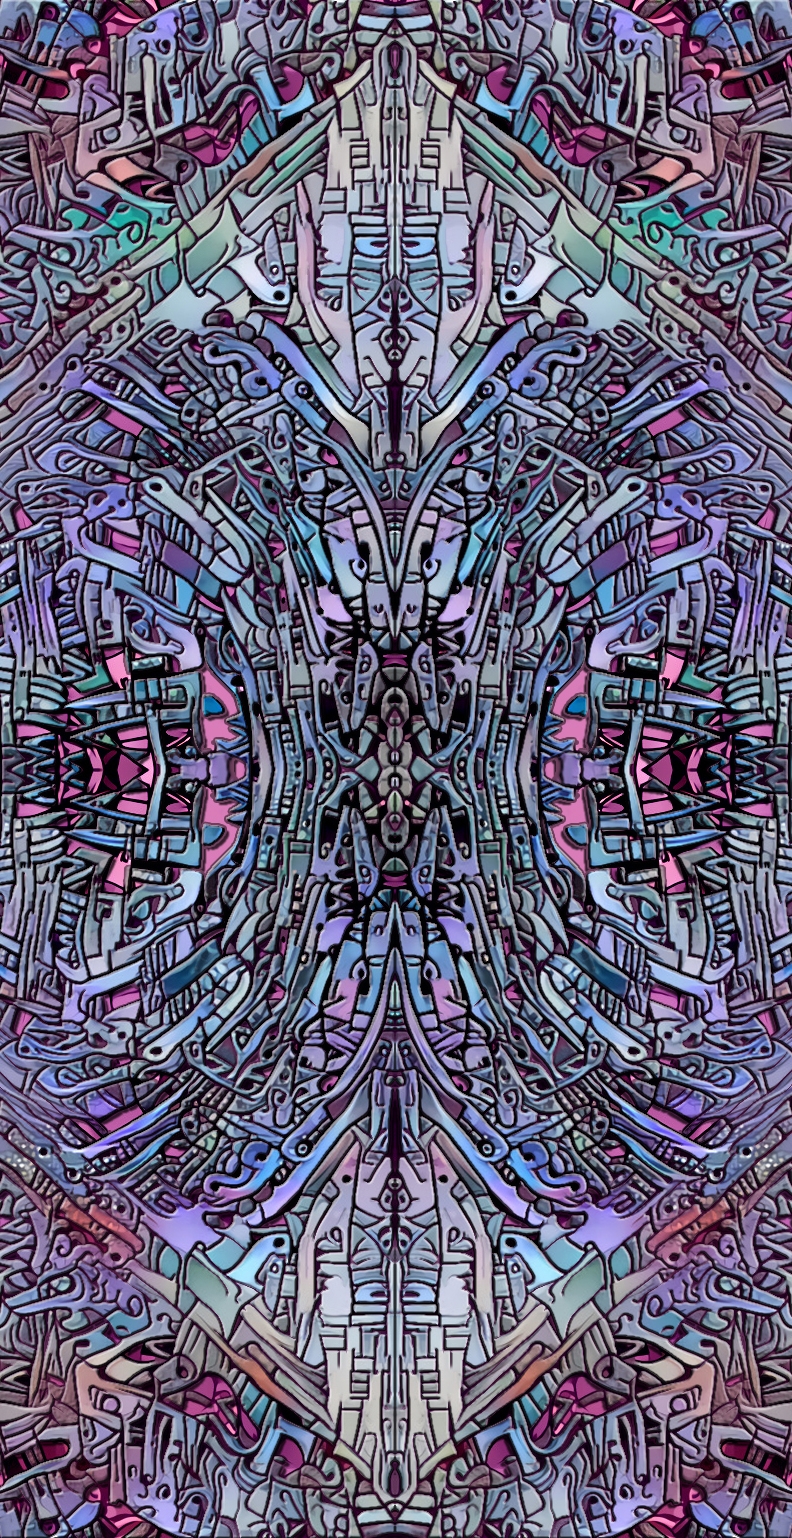 <h4>I made a four-way mirrored spawn from the Temple Detail (this one is relatively high res, click to embiggen):</h4> <a href="https://steemitimages.com/DQmXrJsJnztesVWTjnZqX44oo2vwNdNYLvmhTk5tCx3LaAk/Willamette%20Temple%20detail%20spawn.jpg">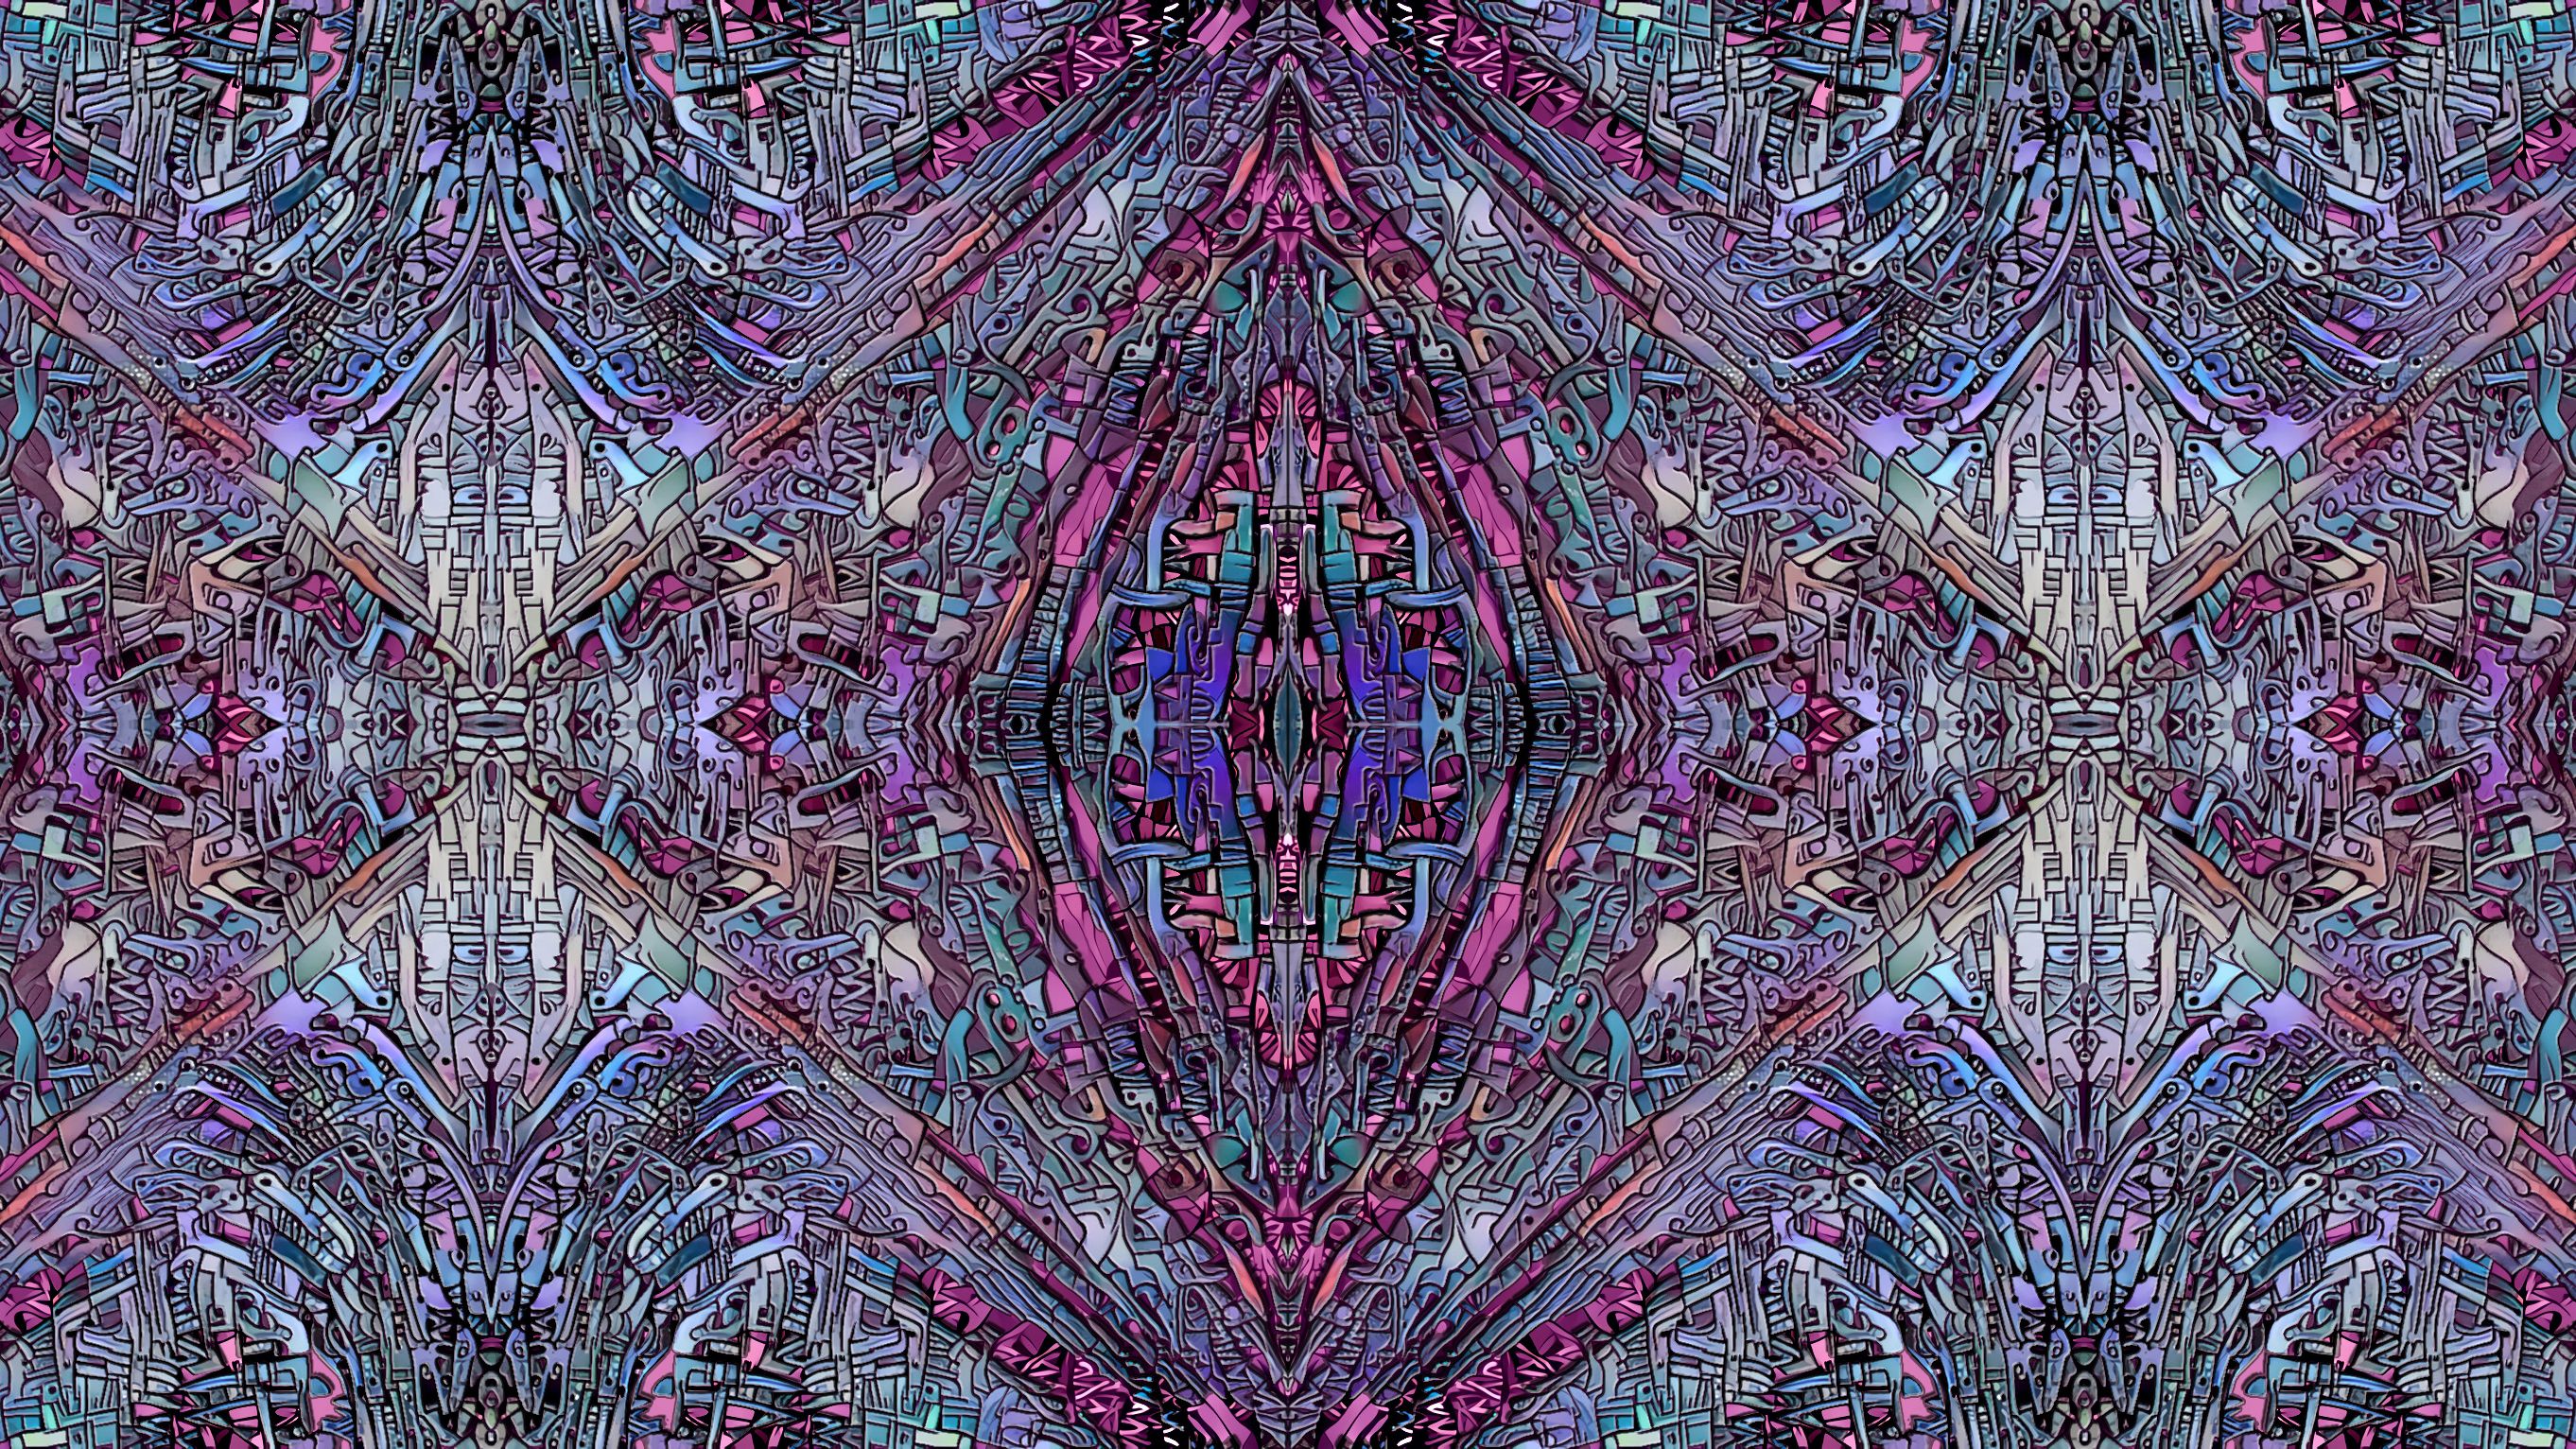</a> <h4>More rotations and cropping ensued using the mirrored spawn from the Temple Detail as base:</h4> 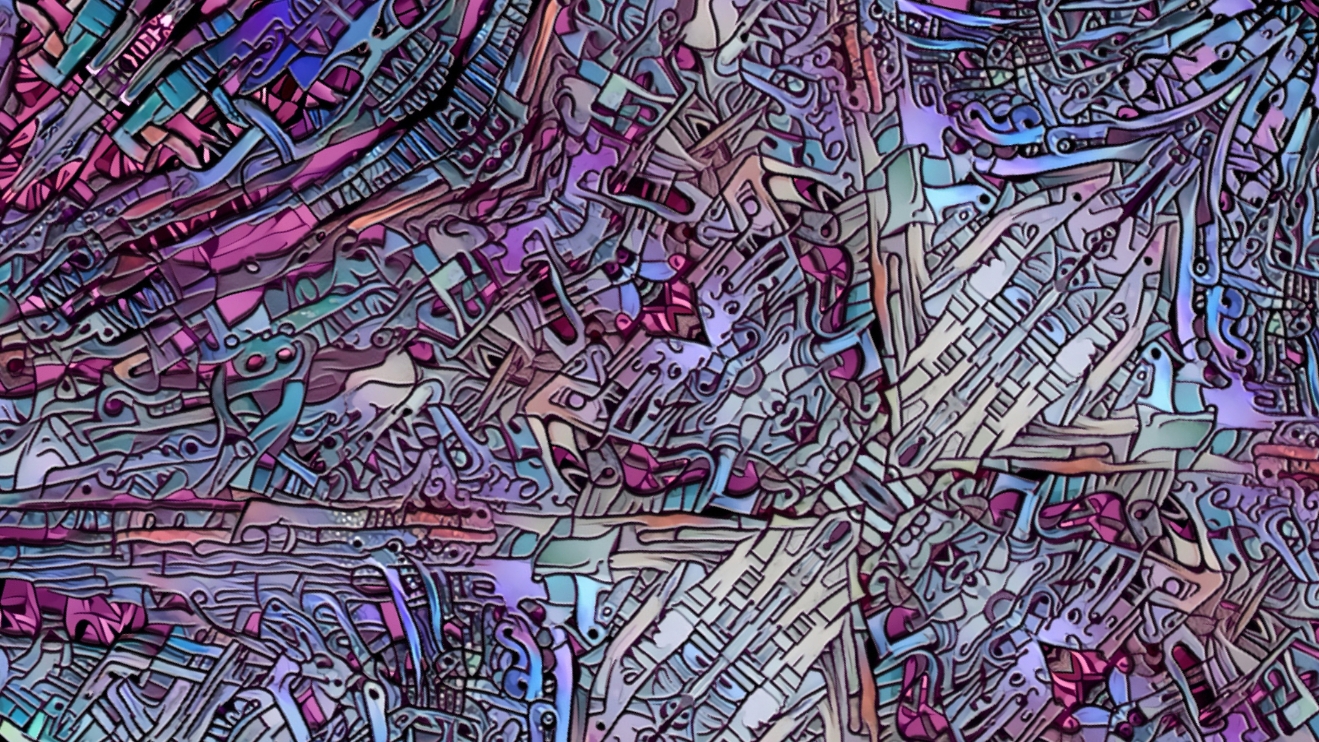 <a href="https://steemitimages.com/DQmSZ5CYDdDg5sCswRuSsN4TmA9CP4TzpDnvkvPcYEd7fJu/Willamette%20Temple%20detail%20stripmirror.jpg">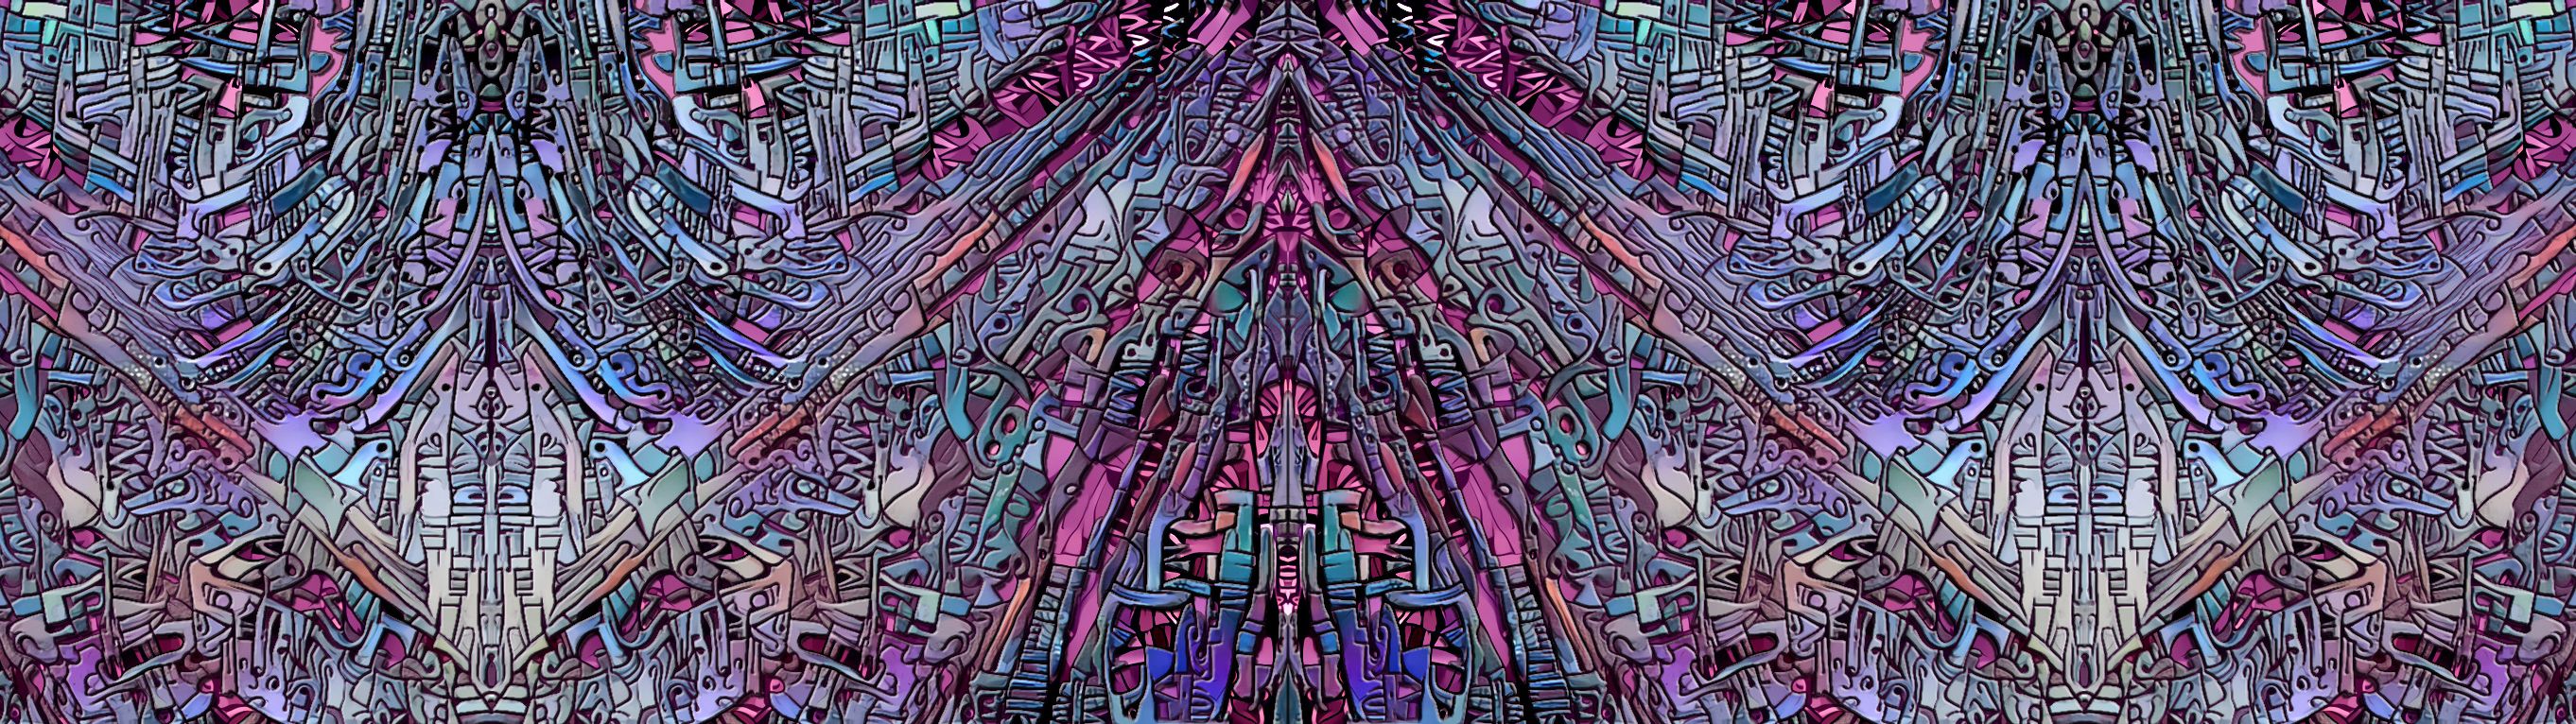</a> *Click to embiggen* <h4>Never one to rest on my laurels, I finally decided to take some of these new creations and run them back through the Deep Dream Generator, just for shits and giggles. Below is composite image made from the Temple Detail. I ran Temple Detail through the Deep Dream Generator and added that result as a layer over the original Temple Detail image. I used a layer mask to only reveal the new Deep Dream version in places (the more black and white and trippy-organic looking sections): </h4> 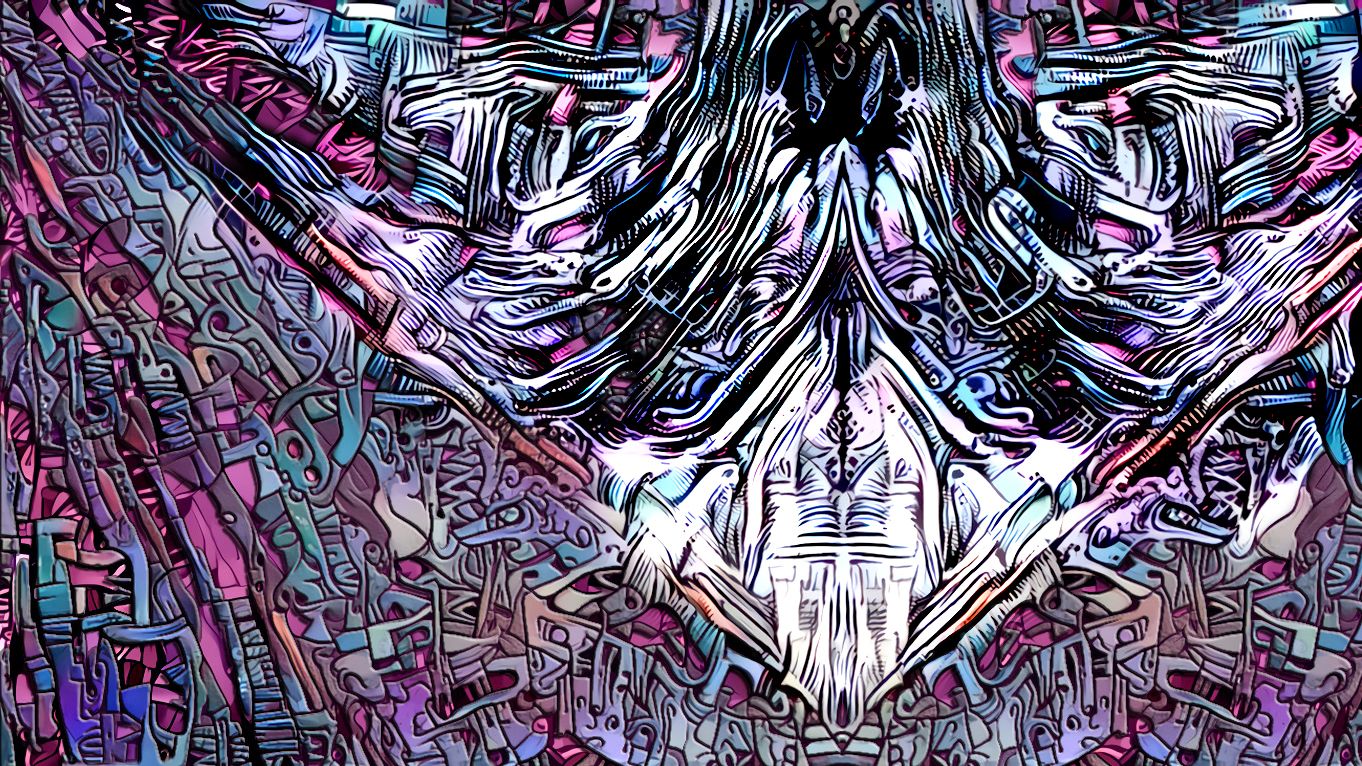 <center><h2><i>The Drowning Tree</i></h2></center>
👍 evilest-fiend, ameliabartlett, allbums, artisticscreech, jamesanity06, circlemotogp, freebornsociety, llfarms, roelandp, friendsofgondor, vachemorte, steembasicincome, st3llar, kimberlylane, edouard, amariespeaks, markangeltrueman, howtostartablog, fabiyamada, torico, theuxyeti, lynncoyle1, davemccoy, terminallyill, beeyou, simplymike, unleashpower, steemsearch, steem.curator, juliakponsford, abh12345, crimsonclad, discordiant, choogirl, kevinwong, ladiesofsteemit, ethandsmith, kennyvaldez, jrhughes, aro.steem, asrizalmustafa, gordon92, orballun, marxrab, smithbot, cryptkeeper17, morken, andimywapblog14, prydefoltz, yidneth, dmiton, dcj, anyer-quantum, scruffy23, amberyooper, lilyraabe, thenewalchemists, javicuesta, loreshapergames, ndbeledrifts, cstrimel, doctorcrypto, lapitzkaya, fedordar, zobenko, bridnyan, kolya.fomin, rpenkonin, marinasolv, stickchumpion, satishart, celestica, swedishdragon, your-nomad-soul, heretolisten, silentscreamer, misomaniac, alexc, haedre, twirble, snook, robyneggs,