Updating from Windows 10 to Windows 11
hive-111030·@caspermoeller89·
0.000 HBDUpdating from Windows 10 to Windows 11
At first glance, this may seem like a very easy thing to do. However, if your device is not compatible with due to hardware, it may be a bit more difficult. In this post I will go through some steps that is the official Microsoft way of updating with an older machine.  # Before anything else Make sure your device is **fully** up-to-date. For Windows 10, this means being on version 22H2. - To see this, type ``winver`` in your start menu, and run the command. 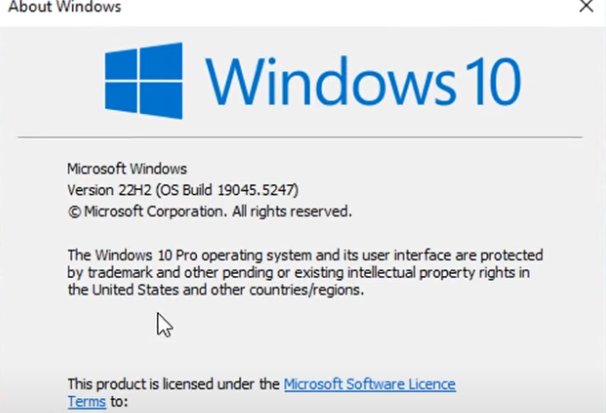 - *Optional* To make sure your machine is not supported to upgrade to Windows 11, proceed by right-click on the start-button and click "run". In the popup type in ``tpm.msc`` By doing this, you will get a window open, stating your machine isn't fit for Windows 11, as seen below.  # Step 2 If you want to keep your apps, programs etc you will have to open your command prompt as Administrator. Do this by searching for "cmd", right-click and rund as administrator. Then type in the command ``dism /online / get-intl`` This will display the language pack which is needed to keep your files. **Remember your setting!** ***NB!** You can also see this in your PC settings* ### Download Windows ISO file Now, head over and download the Windows 11 ISO file. You can do a Google search for "windows 11 download" and go to the Official Microsoft website. It should be the top result. Once there, scroll down as we do not want the Installation assistant or the Installation media. 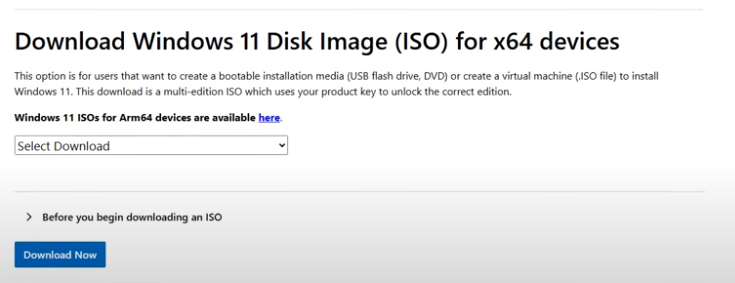 When you have selected the download version in the dropdown (there should only be one) proceed by clicking "Download now" This will, a bit surprisingly, **not** start your download. Instead you will have to select the language. **Choose the same one as you have installed as default.** 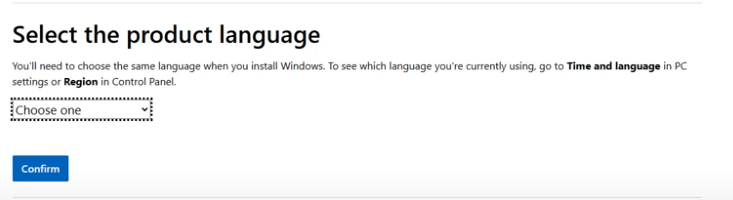 **PLEASE NOTE** If you have "en-GB" as language, you need to select "English International" in the dropdown and *not* "English (United States)". Otherwise you will not be able to keep your apps and programs. # Step 3 The technical part is adding a registry key which will allow upgrading with unsupported TPM or CPU. To do this, go to your start-menu and search for ``regedit``. Run as administrator. Once in here, navigate to HKEY_LOCAL_MACHINE -> SYSTEM -> Setup -> MoSetup 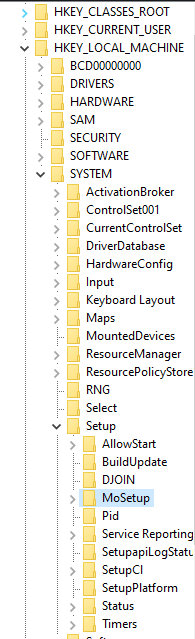 On the right-hand side you will see a larger window. Right-click and then add new -> DWORD-value (32-bit). Name: ``AllowUpgradesWithUnsupportedTOMOrCPU`` Double click this name and update the value data to ``1`` It will now look like this  # Step 4 Locate your downloaded ISO file and mount it. When this is done, you can see in the address bar which drive it's on (Mine was on ``D:``) Instead of clicking the setup you see once it's open, you **go to command prompt**. Open your start-menu and search for ``cmd`` and run as administrator. Change drive to the drive you have open (when you mounted the ISO file) Simply type in ``D:`` and hit enter (change letter if needed) To make sure you're in the right directory, type in ``dir`` and hit enter to see the content in the folder you're in. To start the setup process: in your command prompt type in ``setup.exe /Product Server /Compat IgnoreWarning /MigrateDrivers All`` This looks like it will install Windows Server, but it won't.  Since we are bypassing a few warnings etc, we will now be able to upgrade to Windows 11. **If you have selected the wrong language, you will see an option being greyed out** 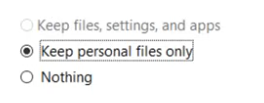 If you have done this on purpose, proceed. If you want to keep everything, it has to look like this (except this one is in danish) 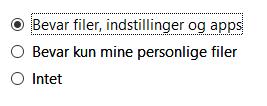 # Install All there is left to do now is installing the update. # ***PLEASE NOTE*** Since you are installing Windows 11 on unsupported hardware, Windows may or may not stop updates or otherwise make it difficult for you to have a fully smooth running PC. Personally I have not experienced any issues at the time of writing. This is how you install Windows 11 on unsupported hardware. #### *It is **entirely** up to you whether you want to or not* --- *Images in this post is a mix of AI generated (cover image) and screenshots from physical and Virtual PC.* ---
👍 gaottantacinque, cribbio, gasaeightyfive, brando28, keys-defender, cryptoshots.nft, marcocasario, crypto-shots, karina.gpt, hive-defender, key-defender.shh, dutchchemist, cryptoshots.play, cryptoshotsdoom, dab-vote, sbi2, caribdao, duo-curator, bitcoinman, dook4good, chaosmagic23, clubvote, hive-193566, mmonline, queasuluz, sommylove, offia66, markone85,