How to make an Animation II of the @appreciator Abstract Logo /Cómo realizar una Animación II del Logo Abstracto de @appreciator
hive-148441·@cetb2008·
0.000 HBD How to make an Animation II of the @appreciator Abstract Logo /Cómo realizar una Animación II del Logo Abstracto de @appreciator
<div class="text-justify"> Saludos querida comunidad hoy les traigo una animación del logo abstracto de Appreciator, el cual lo realice en post anteriores, si estás interesado en ver el diseño aqui te dejo el enlace [Logo](https://hive.blog/hive-148441/@cetb2008/diseno-abstracto-del-logo-de-appreciator). A continuación les presento los pasos. <br> >Greetings dear community today I bring you an animation of the abstract Appreciator logo, which I made in previous posts, if you are interested in seeing the design here I leave the link [Logo] (). Here are the steps. </div> <br> 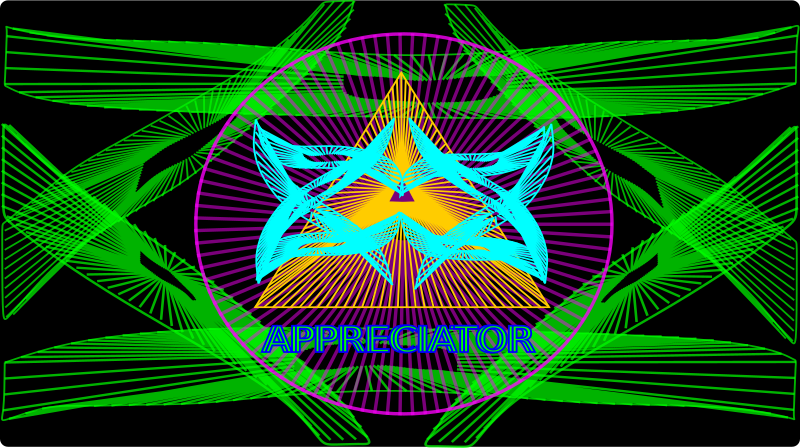 Esta es la animación. >This is the animation. 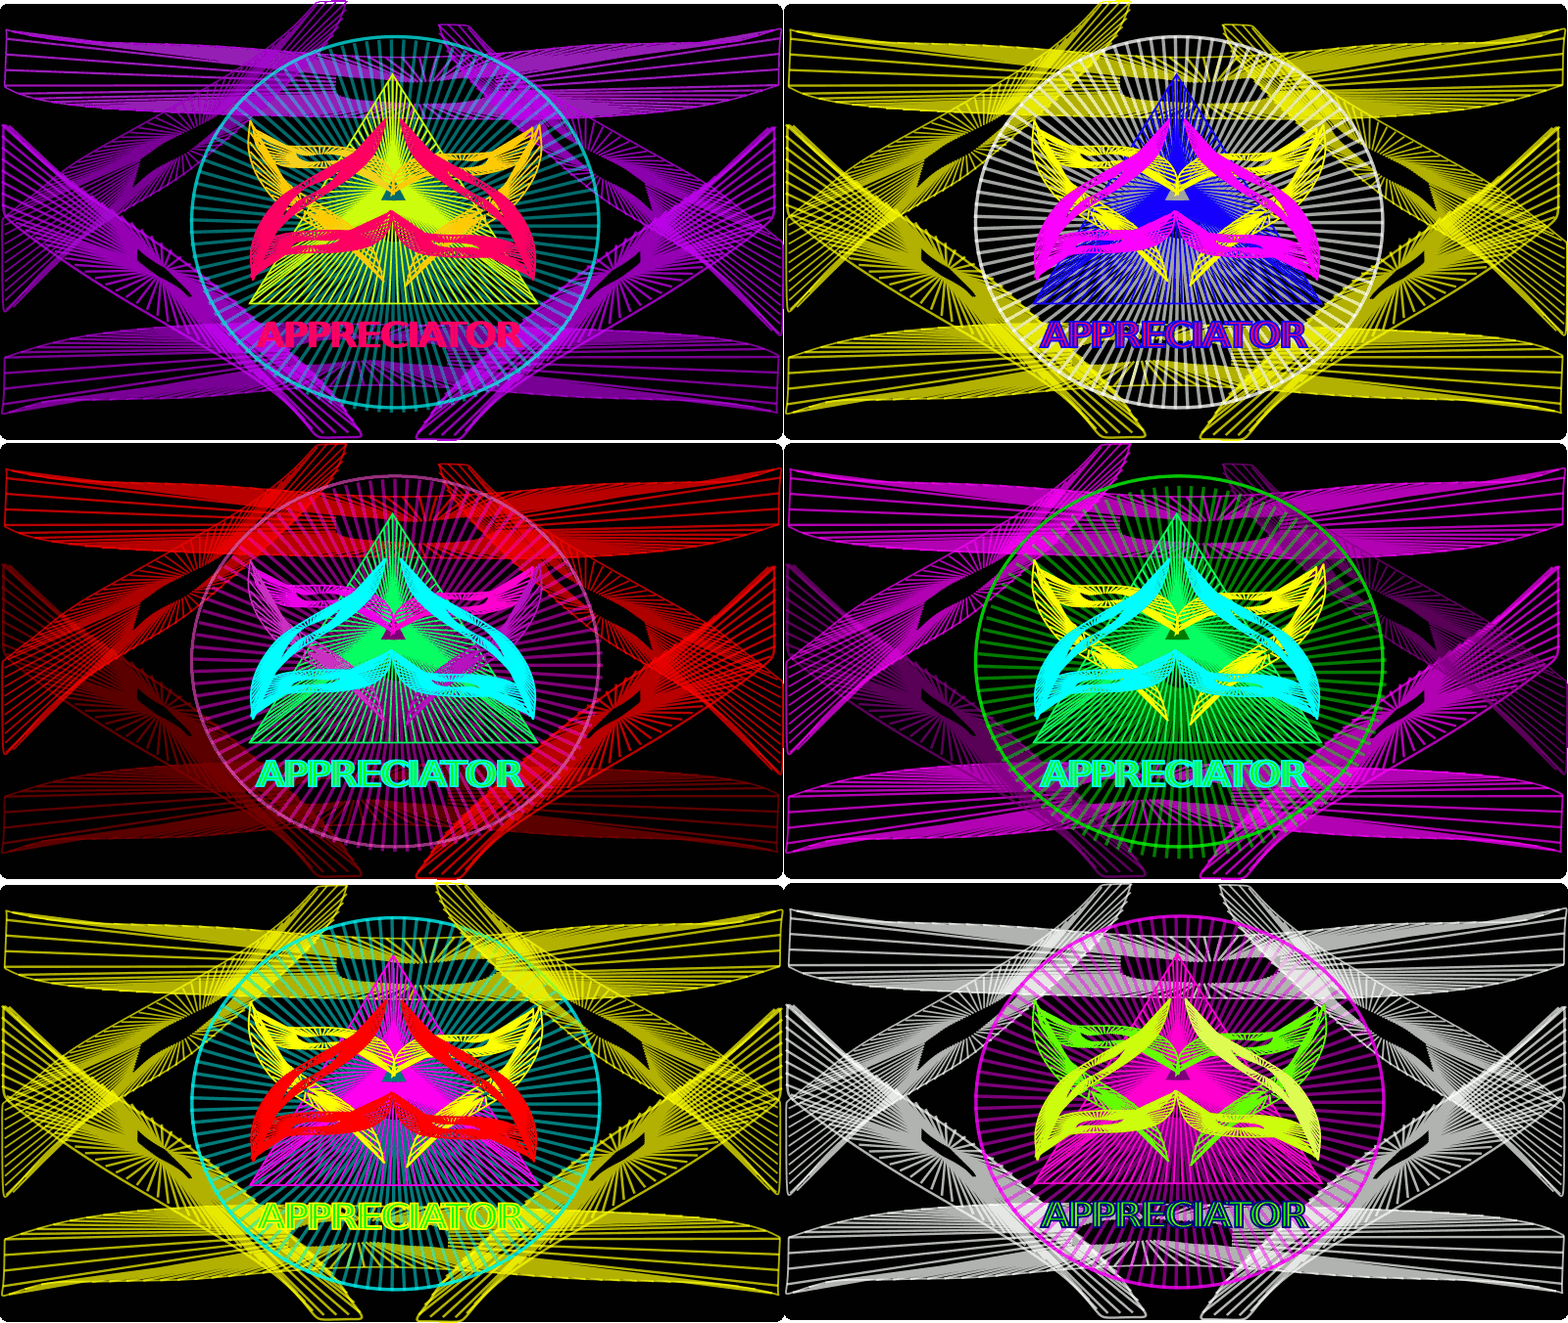 # Cómo realizar una Animación II del Logo Abstracto de @appreciator / How to make an Animation II of the @appreciator Abstract Logo # Paso 1: Para iniciar se va utilizar el logo abstracto que se había realizado anteriormente. ># Step 1: >To start, the abstract logo that had been made previously will be used. 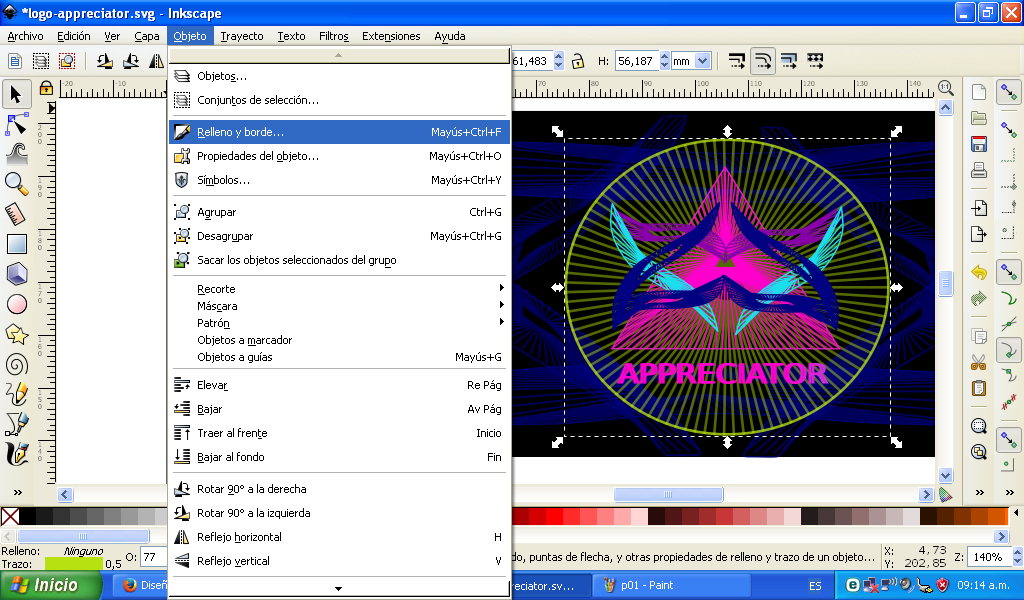 Se selecciona la figura y le damos clic en Objeto - Rellenos y Bordes. >The figure is selected and we click on Object - Fills and Borders. # Paso 2: Le damos clic en color de trazo y se selecciona el color de cada una de las partes del logo. ># Step 2: >We click on the stroke color and the color of each part of the logo is selected. 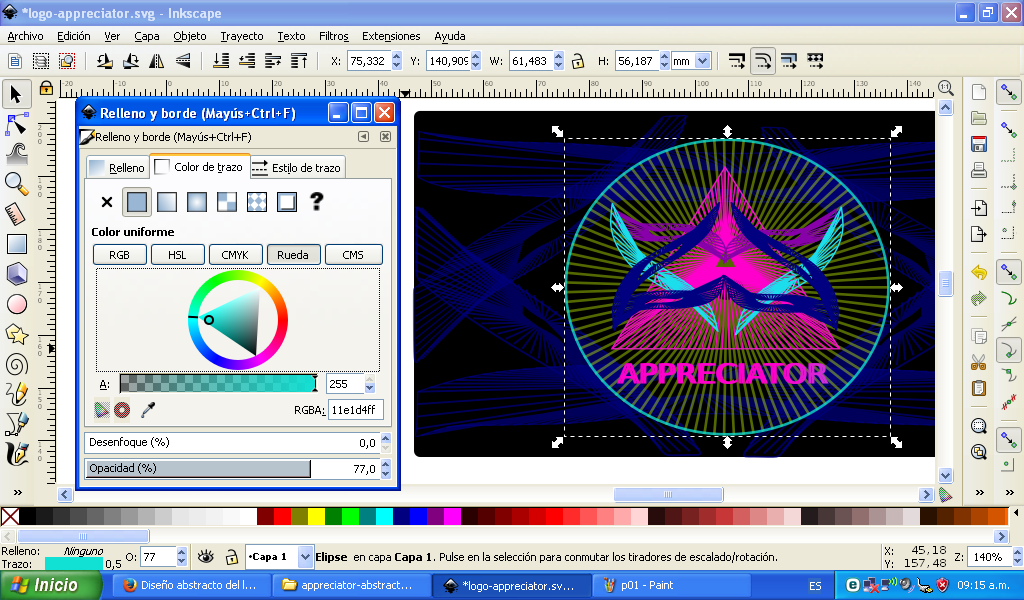 # Paso 3: Una vez listo lo exportamos y lo guardamos como primera imagen. ># Step 3: >Once ready we export it and save it as the first image. 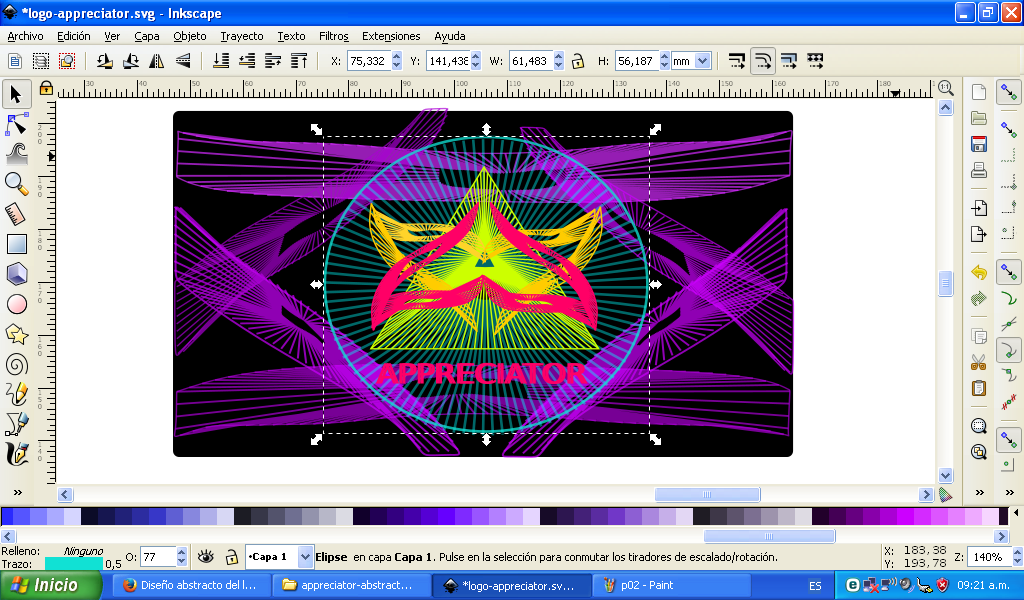 Una vez listo lo exportamos y lo guardamos como primera imagen. Luego cambiamos de color y así sucesivamente guardamos hasta 10 imagenes. Aqui estas son algunas de las imagenes editadas. >Once ready we export it and save it as the first image. Then we change color and so on we save up to 10 images. Here are some of the edited images. 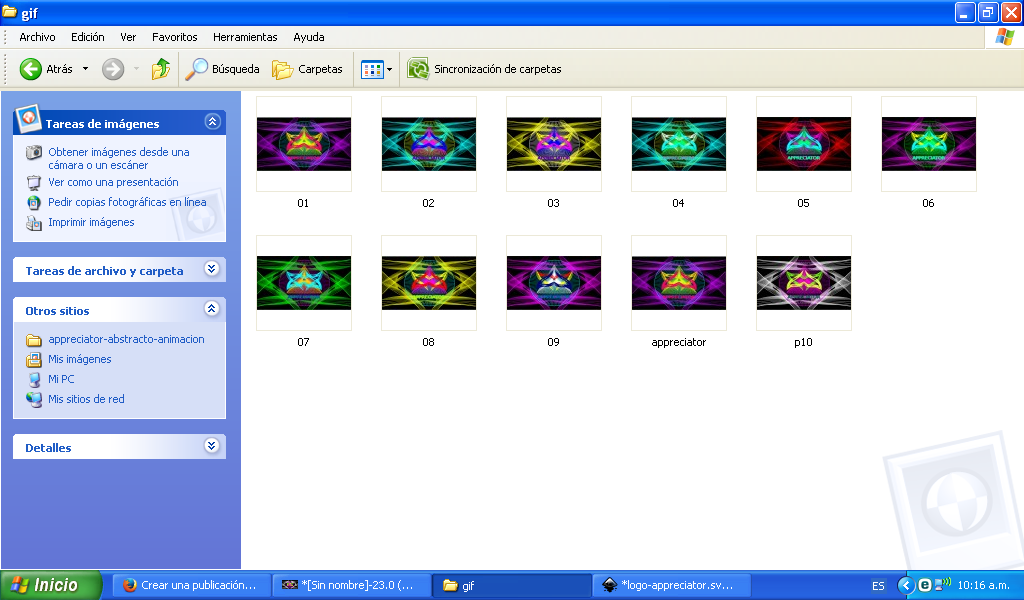 Guardamos todas las imagenes en una carpeta. >We keep all the images in a folder. # Paso 4: Abrimos el programa Gimp y le damos clic en la barra de menú Archivo - Abrir como capas. ># Step 4: >We open the Gimp program and click on the menu bar File - Open as layers. 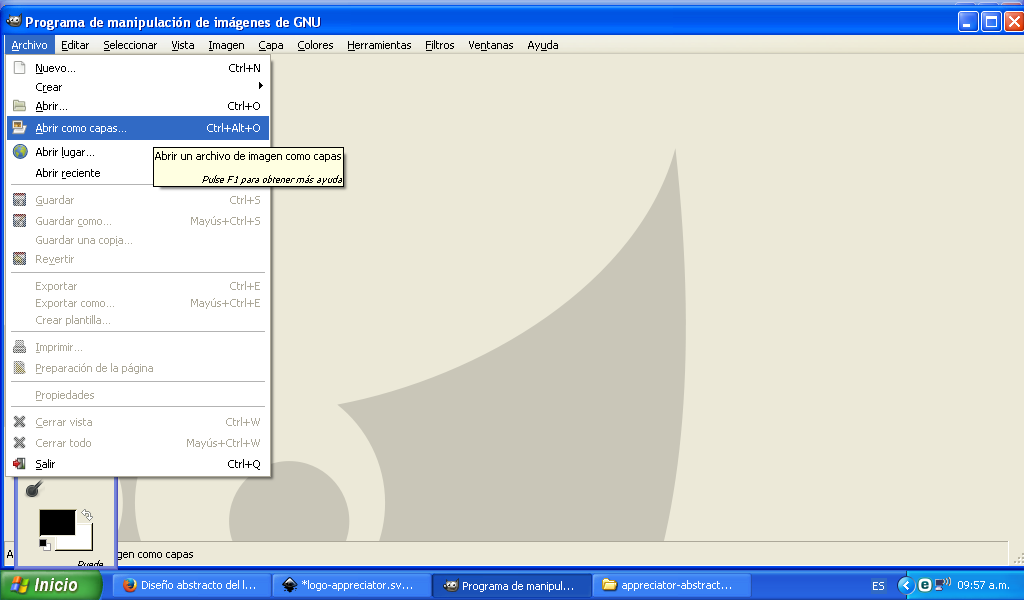 # Paso 5: Se selecciona todas las imagenes desde la ubicación en donde están guardadas. ># Step 5: >All images are selected from the location where they are saved. 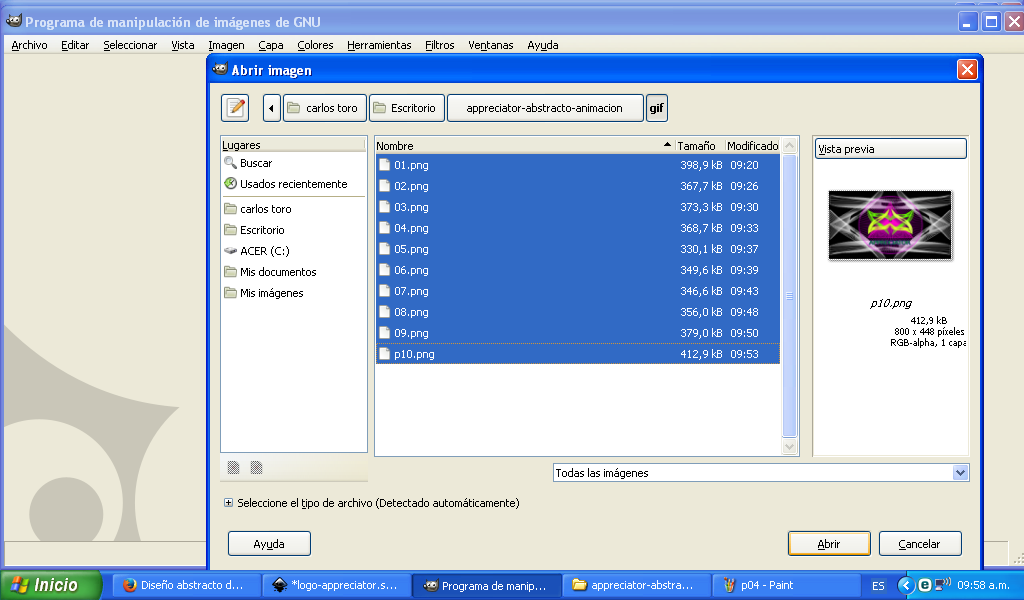 # Paso 6: Le damos clic en exportar como. ># Step 6: >We click on export as. 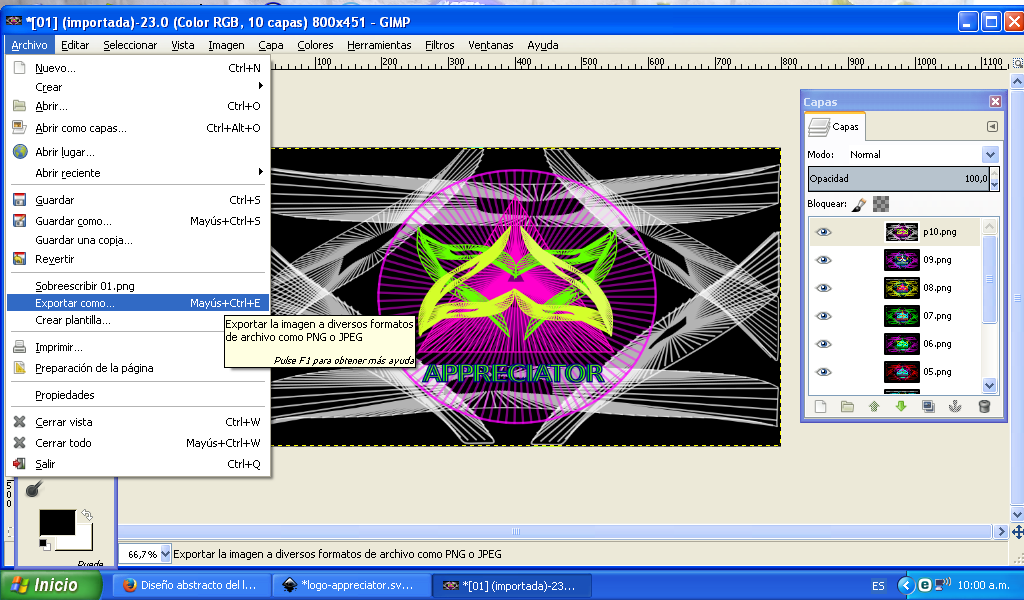 # Paso 7: Donde dice nombre le coloco appreciator.gif y en tipo de archivo se selecciona imagen gif. ># Step 7: >Where it says name I put appreciator.gif and in file type gif image is selected. 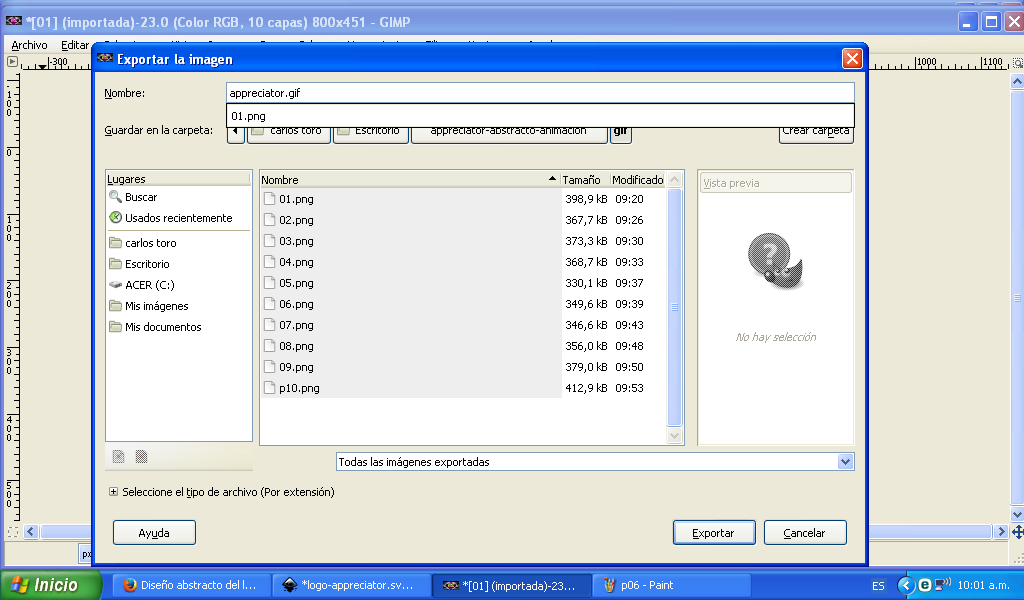 Tipo de archivo .gif >File type .gif 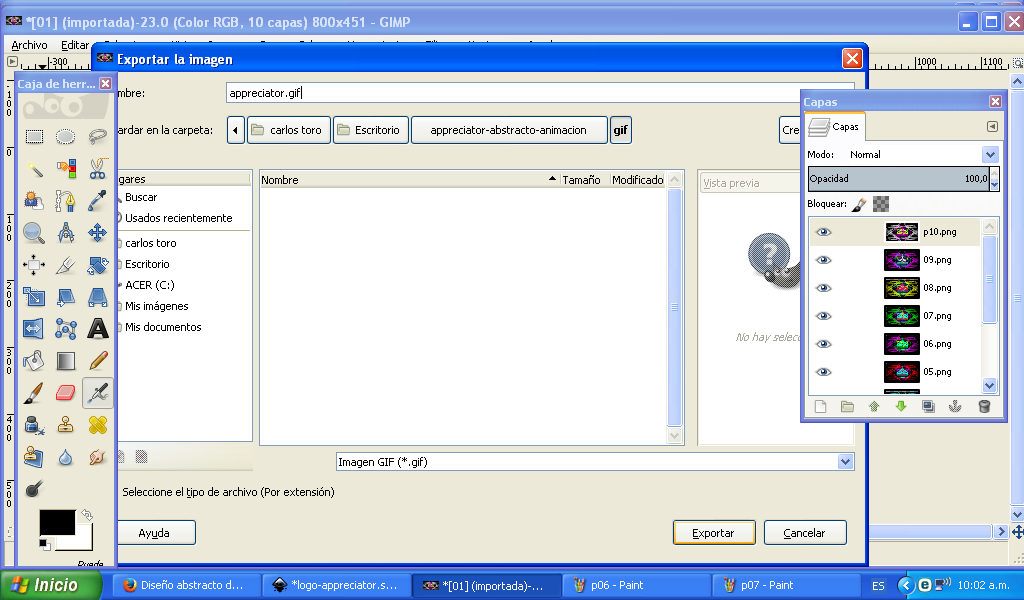 # Paso 8: Se marcan las opciones entrelazar, comentario gif, como animación , en retraso escribimos 1113, se selecciona un cuadro por capa, usar retrazo, usar residuo y le damos en exportar. ># Step 8: >The interlace options are marked, gif comment, as animation, in delay we write 1113, select one frame per layer, use delay, use residue and we give it to export. 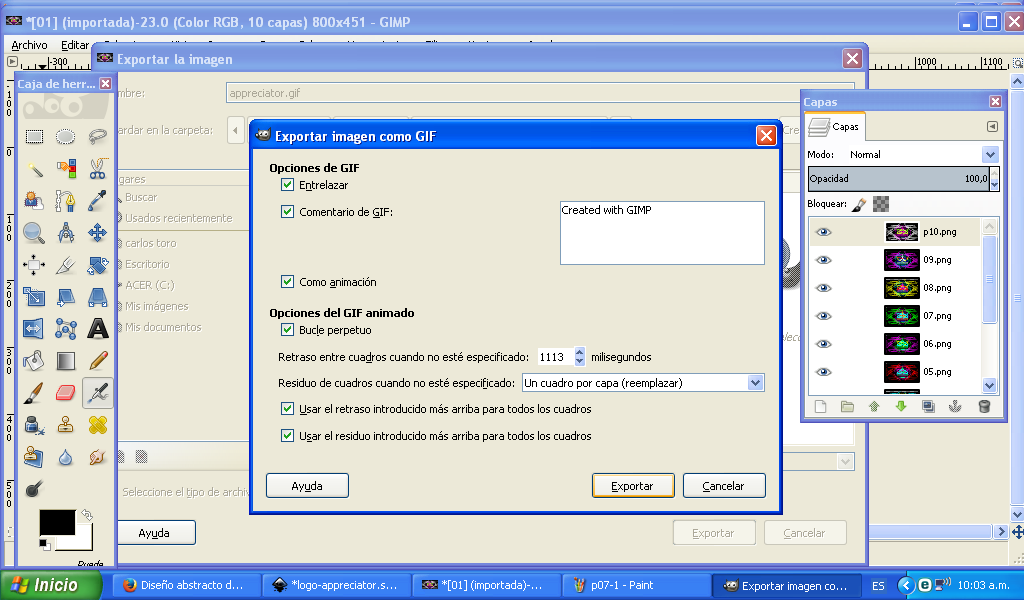 # Paso 9: Una vez aplicado el paso anterior obtenemos la siguiente animación. ># Step 9: >Once the previous step is applied we obtain the following animation.  Espero les haya gustado este tutorial, nos vemos en el próximo post. >I hope you liked this tutorial, see you in the next post. <br> <center>  </center>
👍 tonimontana.neo, toni.ccc, toni.pal, cetb2008, losapuntesdetux, pixelfan, plantfuljourney, delishtreats, russia-btc, organduo, isaria, clayboyn, swelker101, abitcoinskeptic, laputis, untersatz, investegg, spt-skillup, payroll, appreciator, miguelbaez, oblivioncubed, madefrance, gregorior, makhzar, luzrojasdg, ykroys, manujune,