Hongbao Fish Tanglong//Lantern Tutorial!
art·@christal·
0.000 HBDHongbao Fish Tanglong//Lantern Tutorial!
Hello Steemians! In this post today, I'm going to show y'all how to make a hongbao fish tanglong ( lantern ) for the upcoming Chinese New Year. 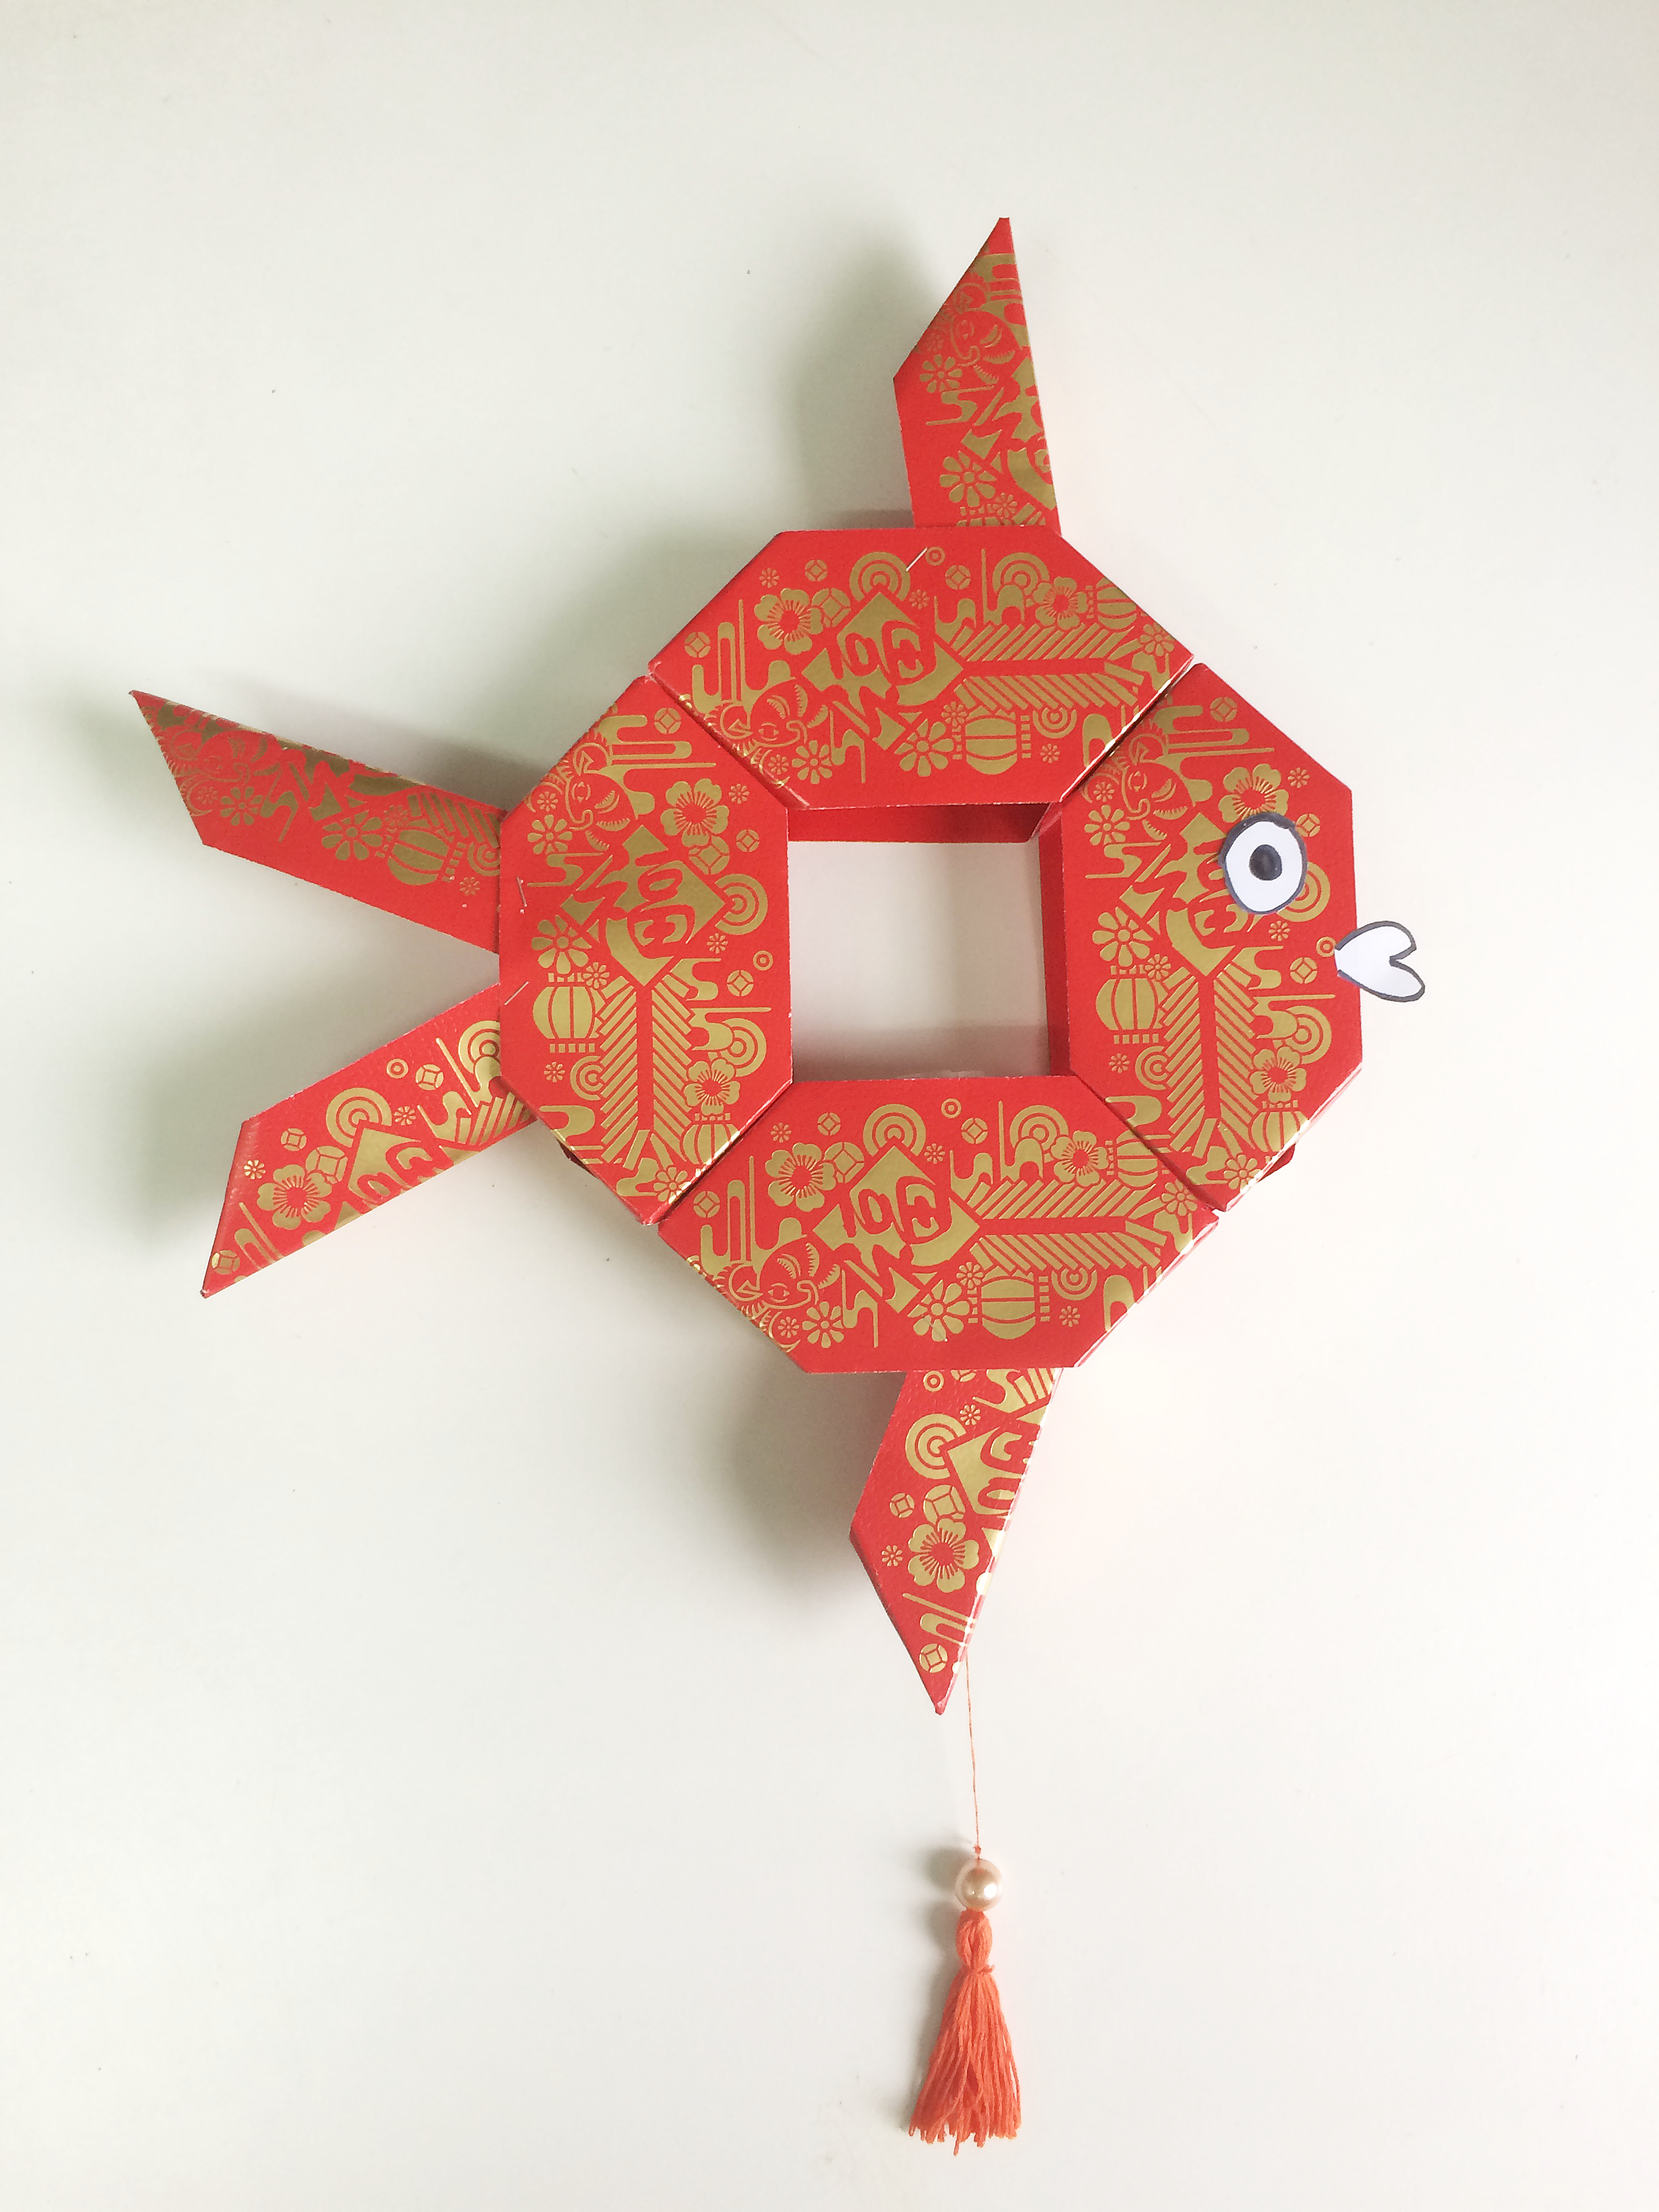 ___ ![IMG_7010[1].png](https://steemitimages.com/DQmQkcUqA6eHHxUs3VJzAJ9SNcEqRgaTuP1JAiP6ZBJkfpZ/IMG_7010%5B1%5D.png) **Materials** * 12 unused hongbao's or red paper * Embroidery thread, cardboard & beads ( to make the tassels ) * Stapler ___ **Steps to make the tassels**  1. Wrap the embroidery thread ( any colour you want ) on a piece of cardboard. ( 1st picture ) 2. The more the number of loops you make, the thicker your tassel will be. 3. Cut a short length of embroidery thread and thread it through the wrapped thread. ( 1st picture ) 4. Optional : I put a bead through the short length of thread so I can attach a string through the tassel. 5. Cut the bottom of the wrapped thread evenly and then centre the short length of thread and tie a knot. (2nd picture) 6. Next I took a needle and attached a string to put it on the tassel. ( 3rd picture ) 7. Optional : Add a bead to the vertical string. ( 3rd picture ) 8. Fold both ends of the tassel down and cut another short length of same colour thread to tie it around the tassel down from the top. ( 4th picture ) ___ **Steps to make Fish Tanglong ( Lantern )**  Fold down the 4 corners of the hongbao, do this with 8 hongbao packets. 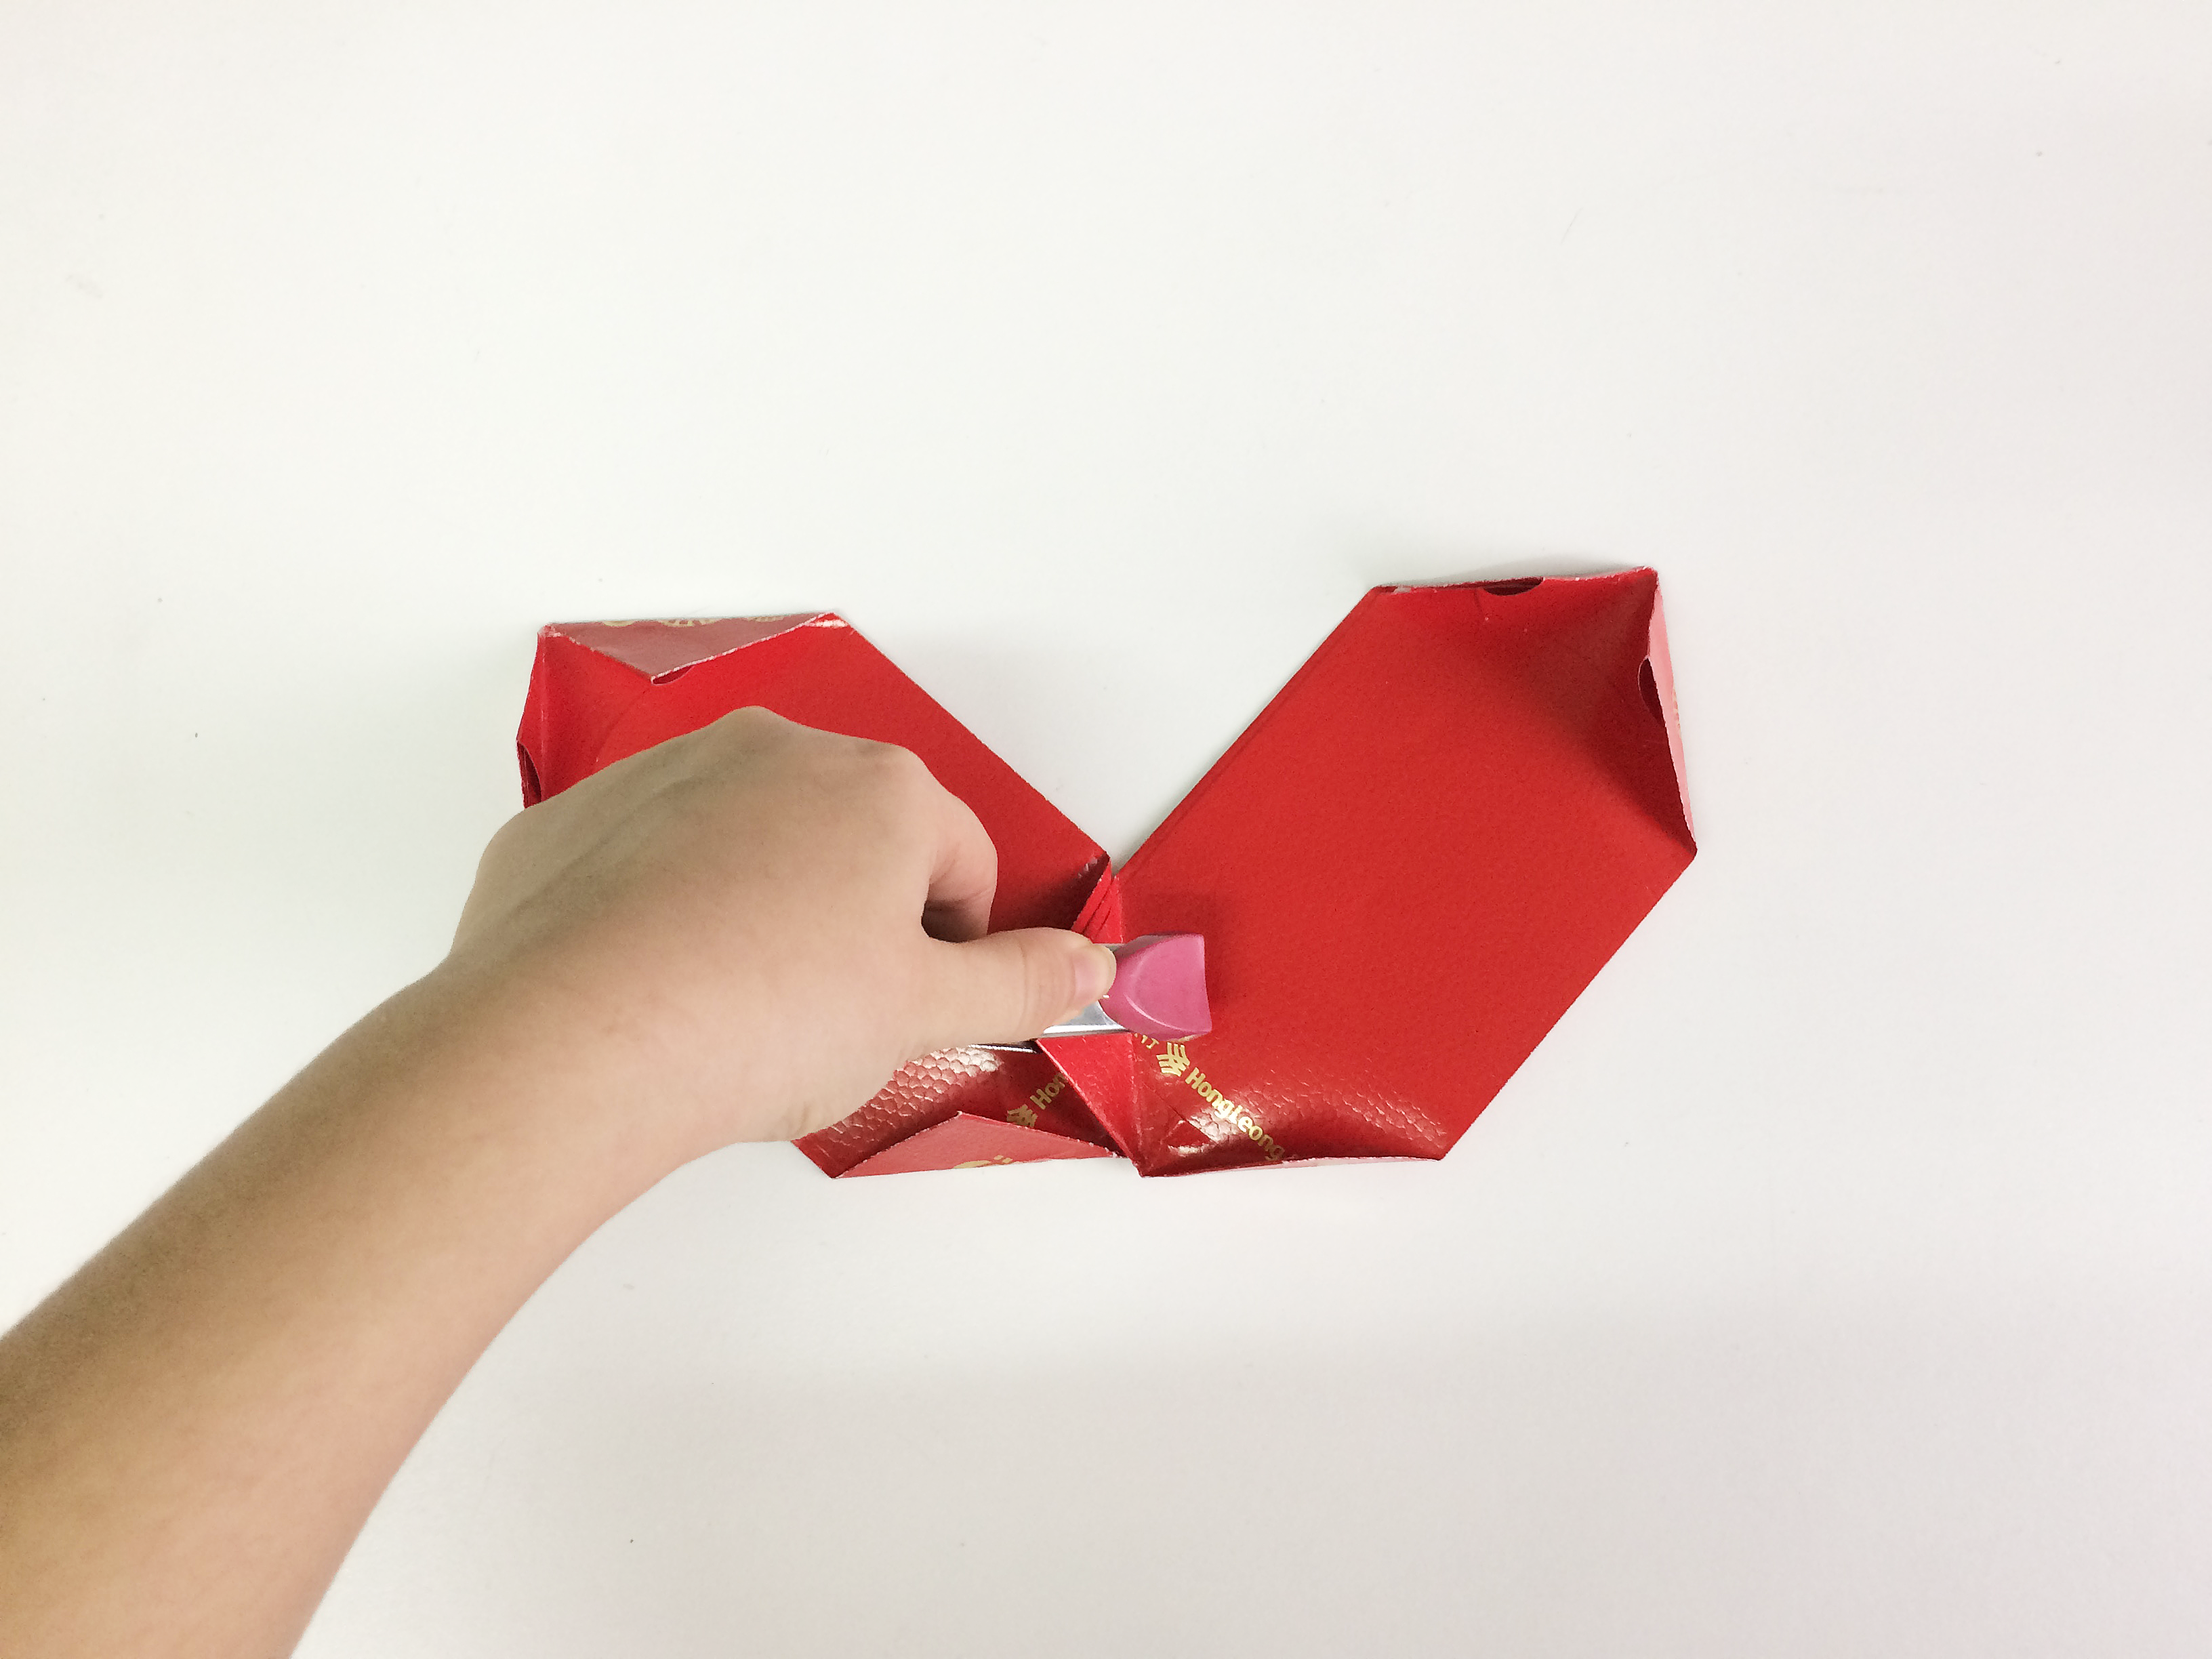 Next join two hongbao packets like pictured and staple them together. 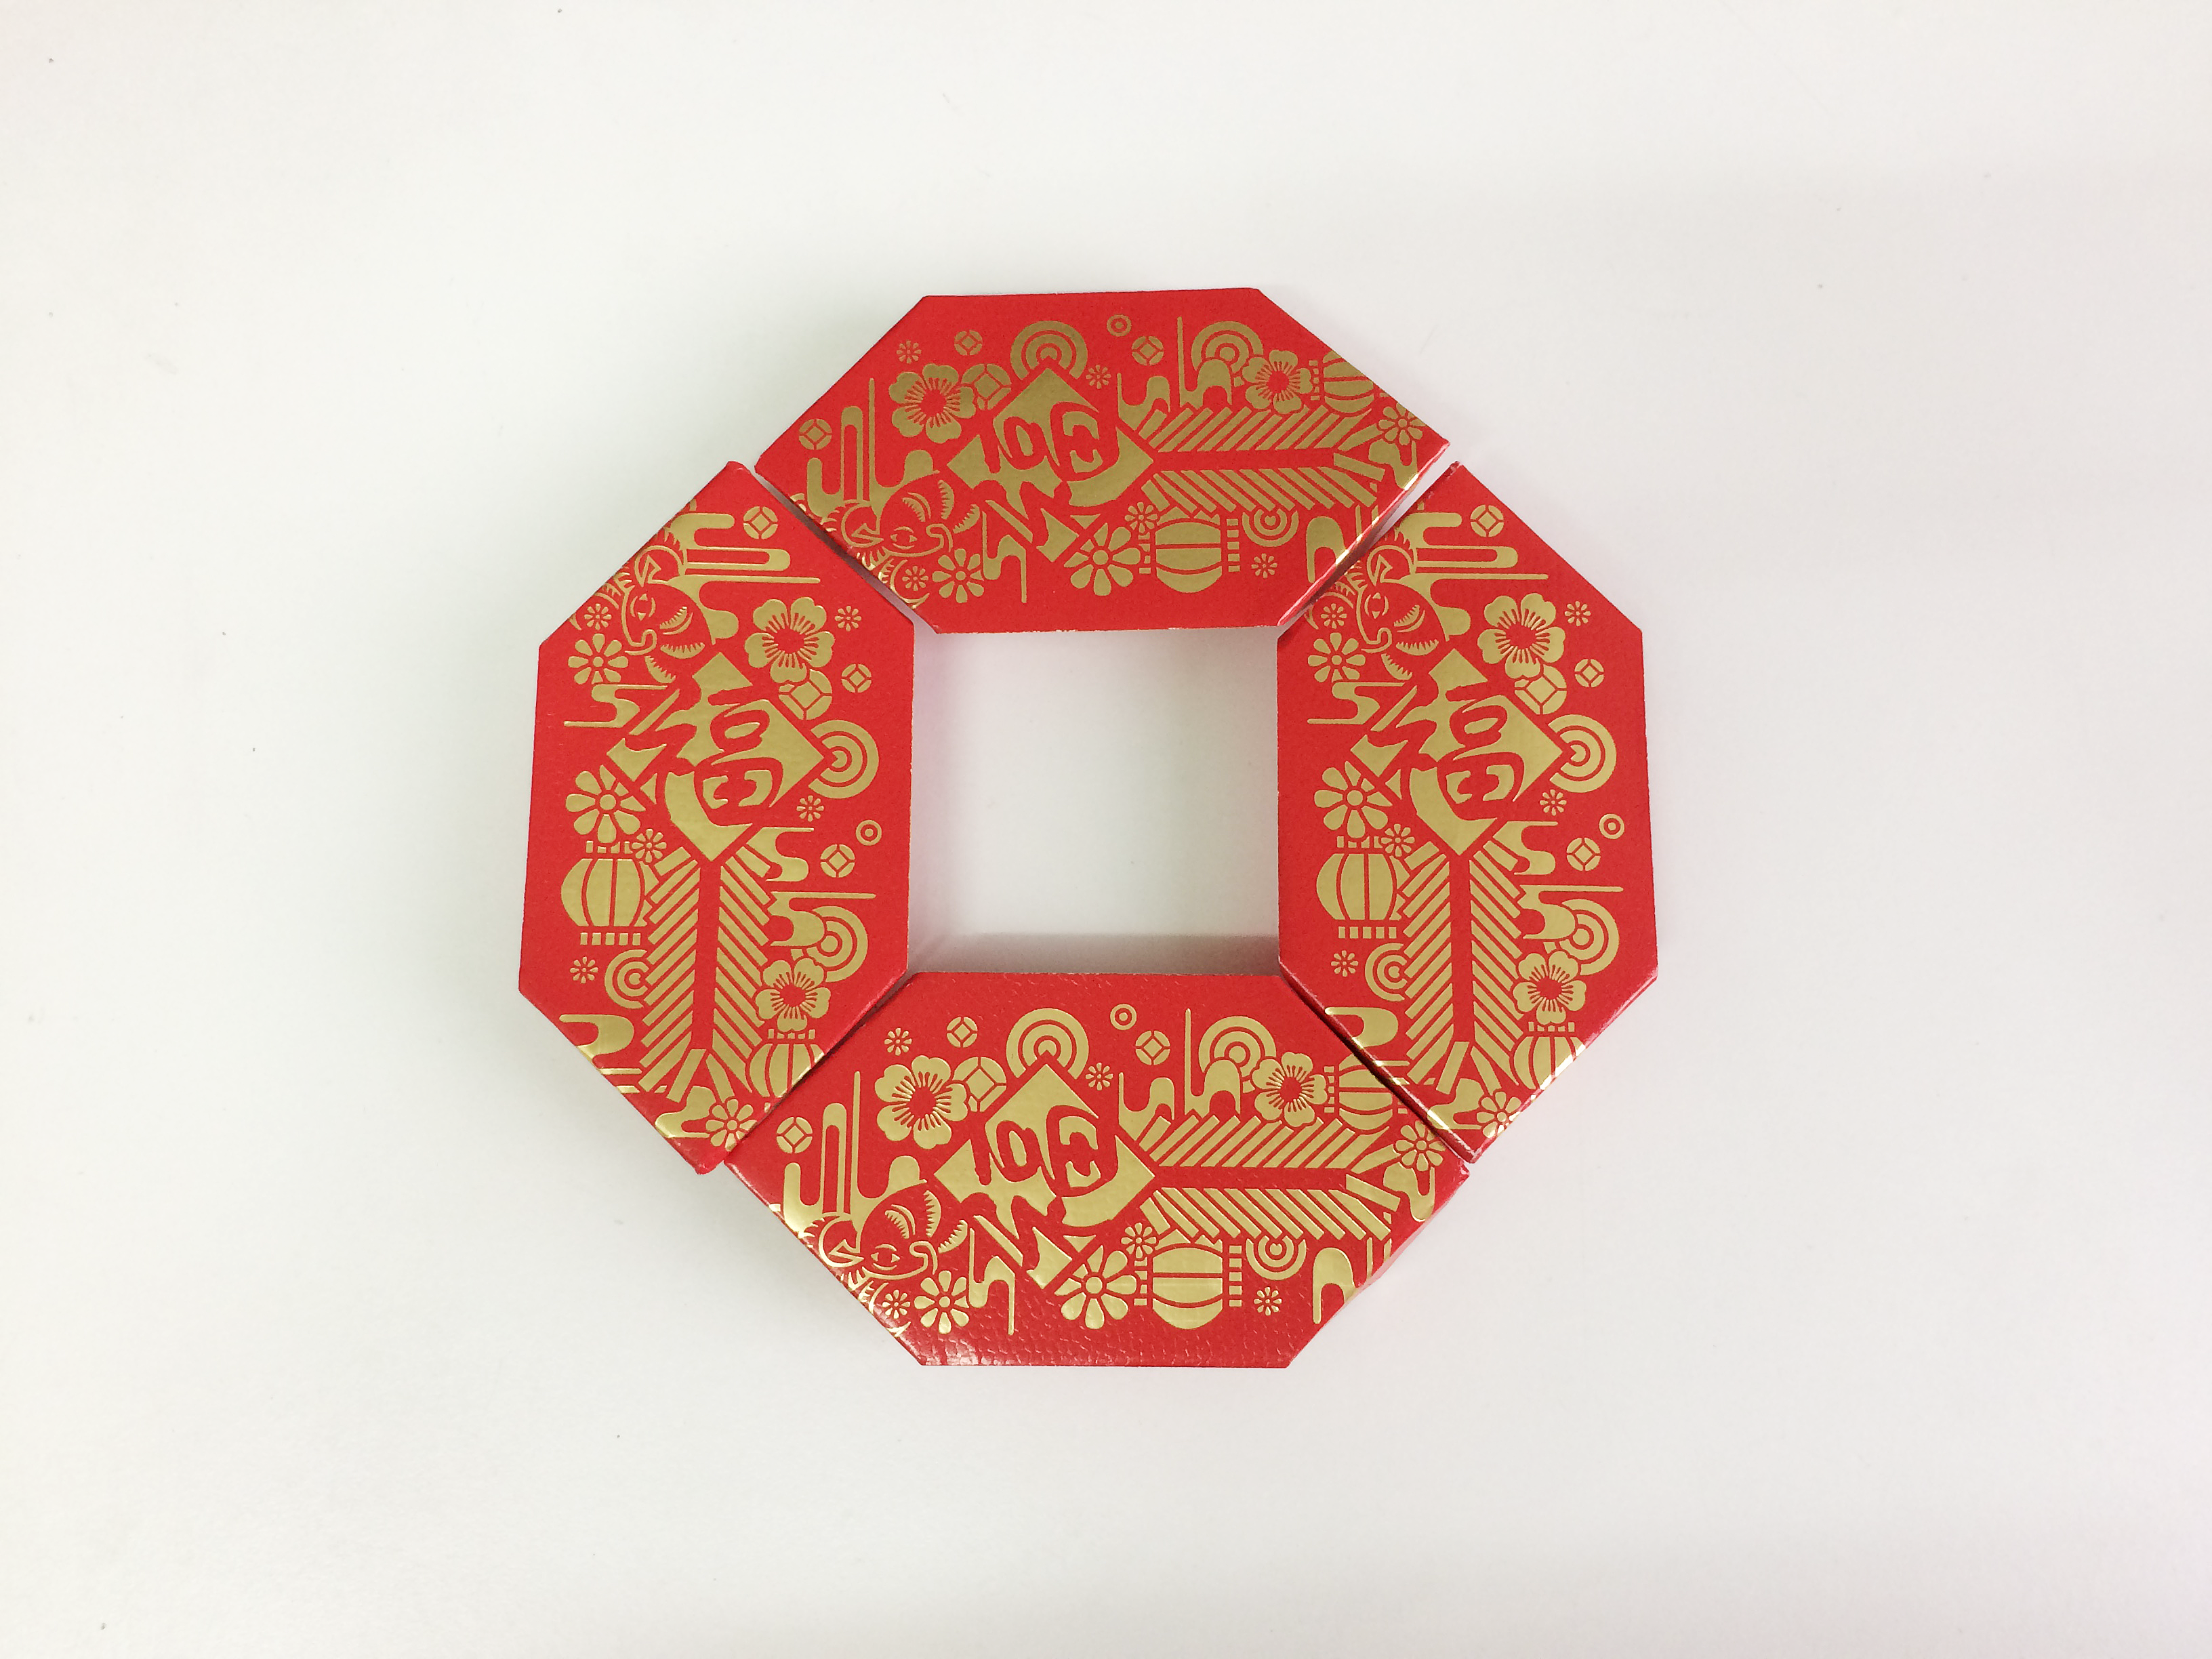 Join another two hongbao packets to make a coin shape as pictured and staple the corners together 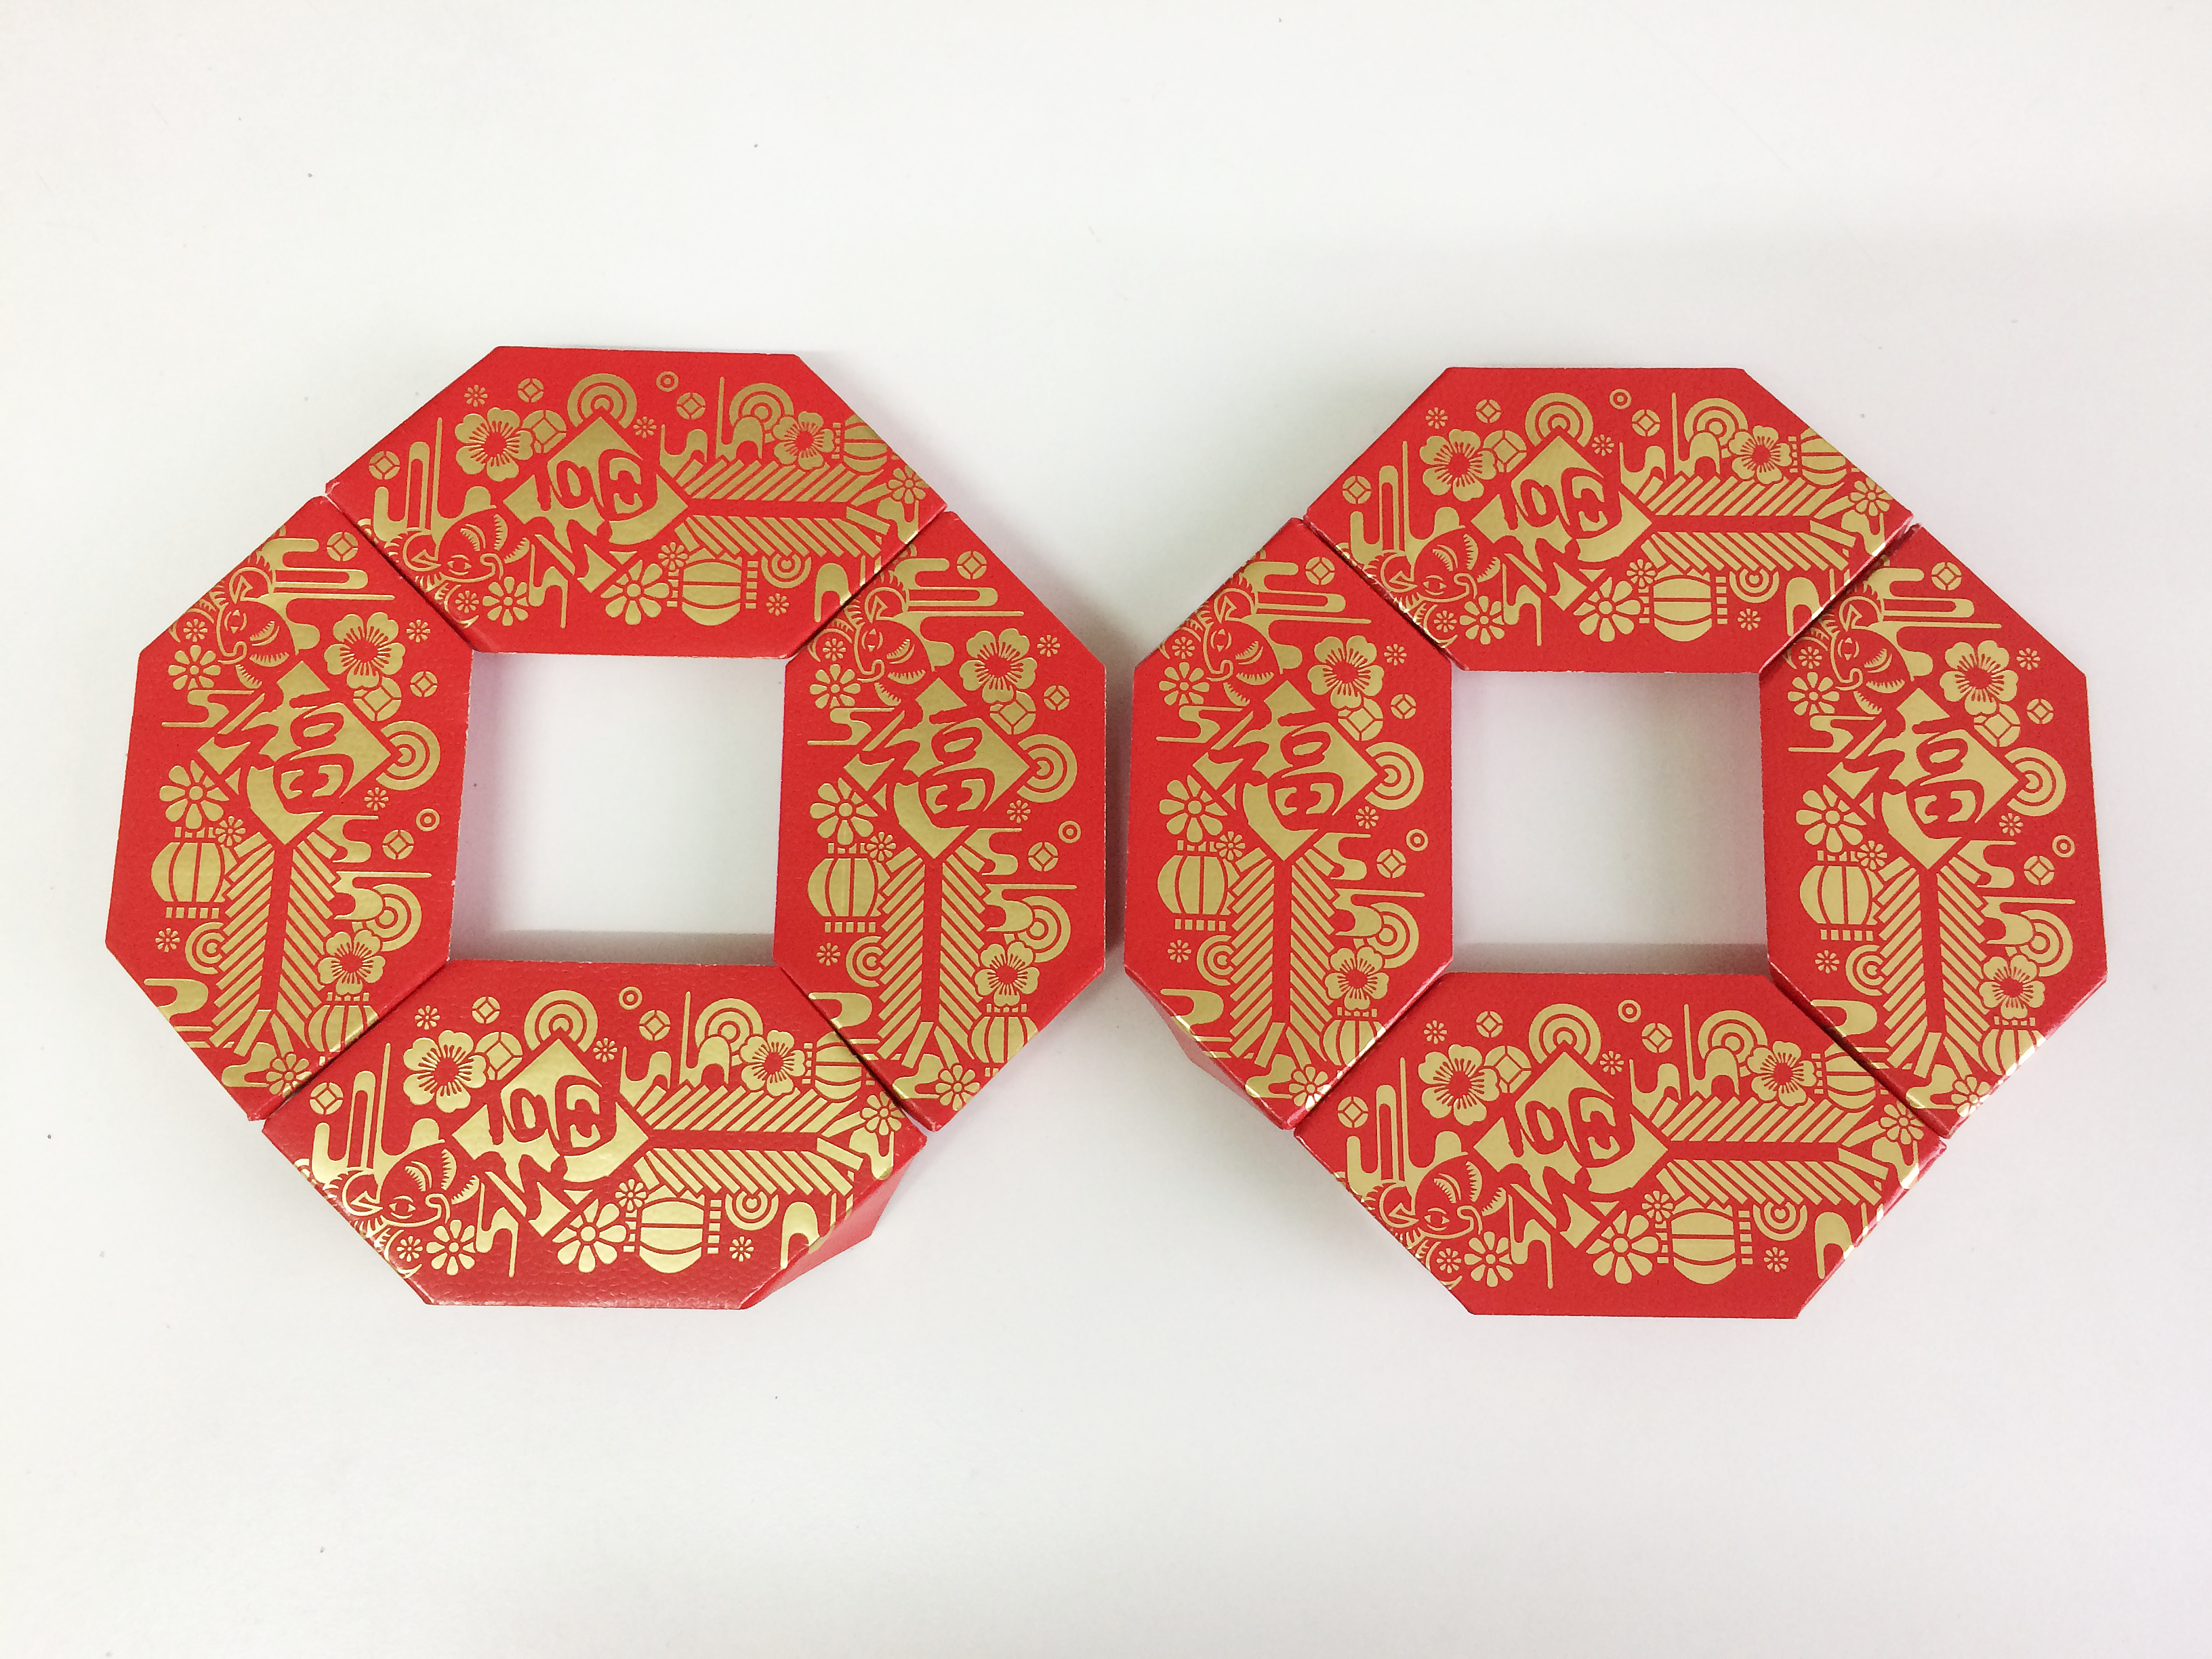 Make another coin shape with 4 more hongbao's 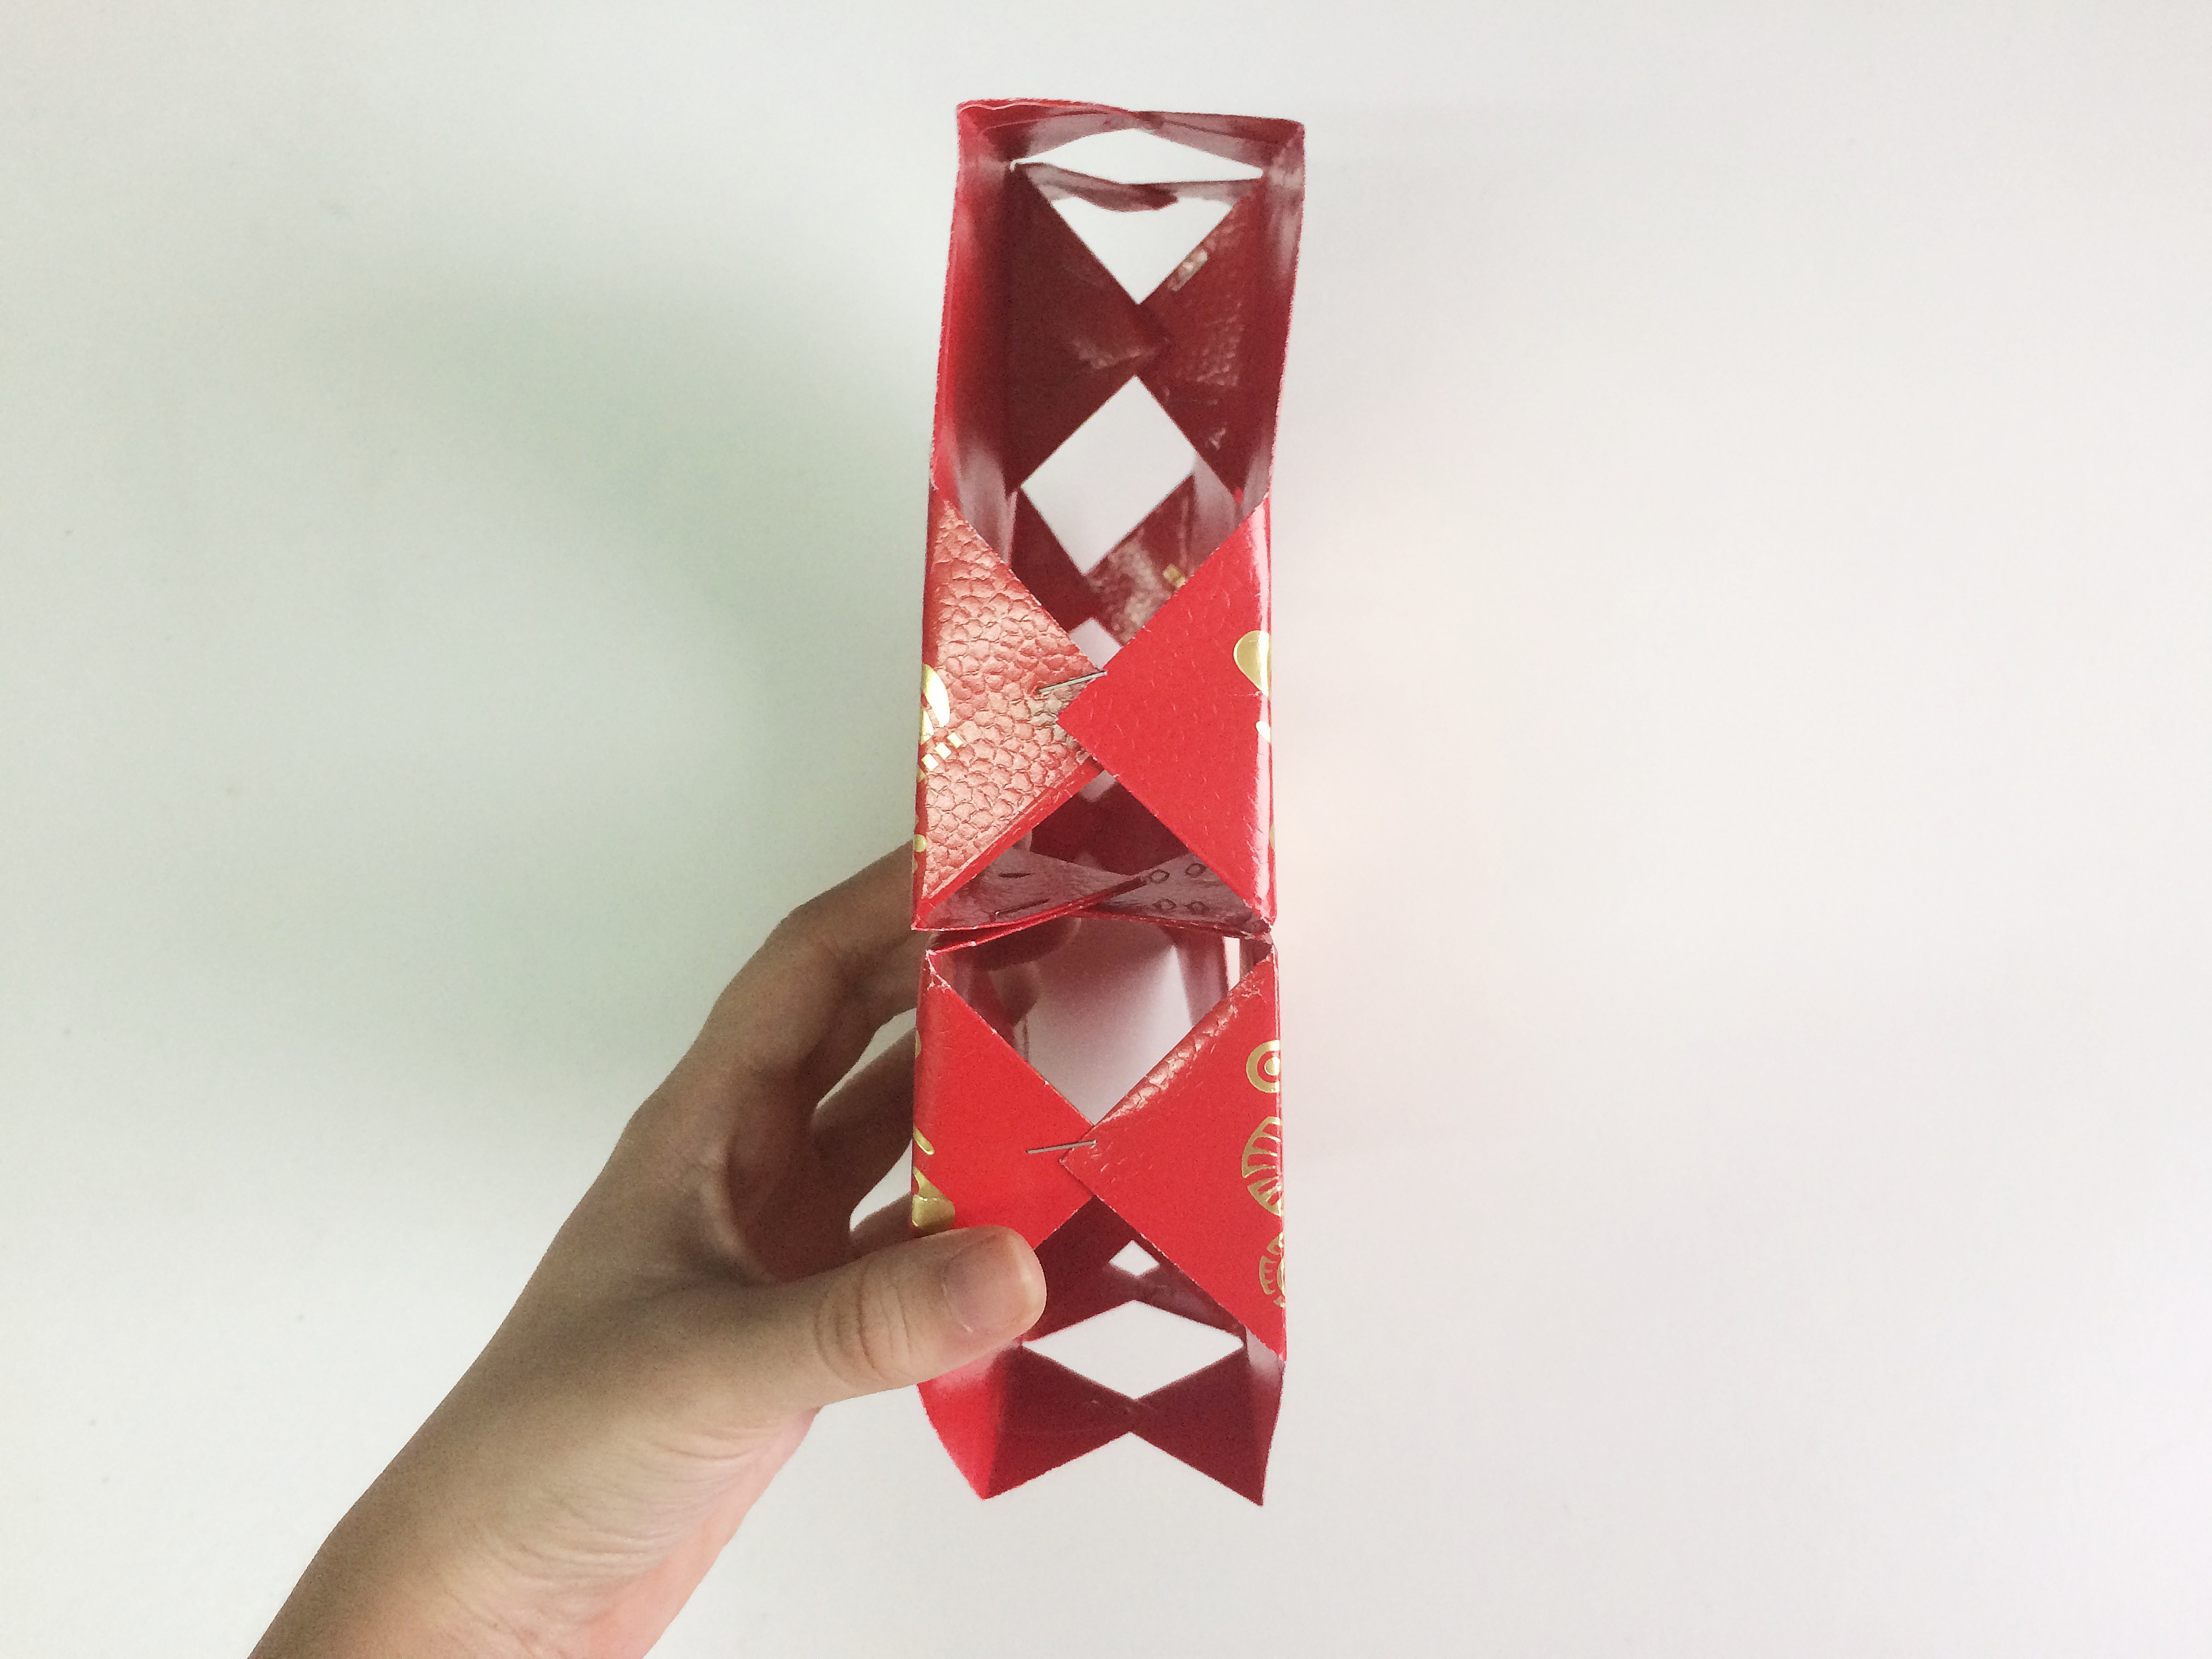 Join the 2 coin shape corners together and staple them. 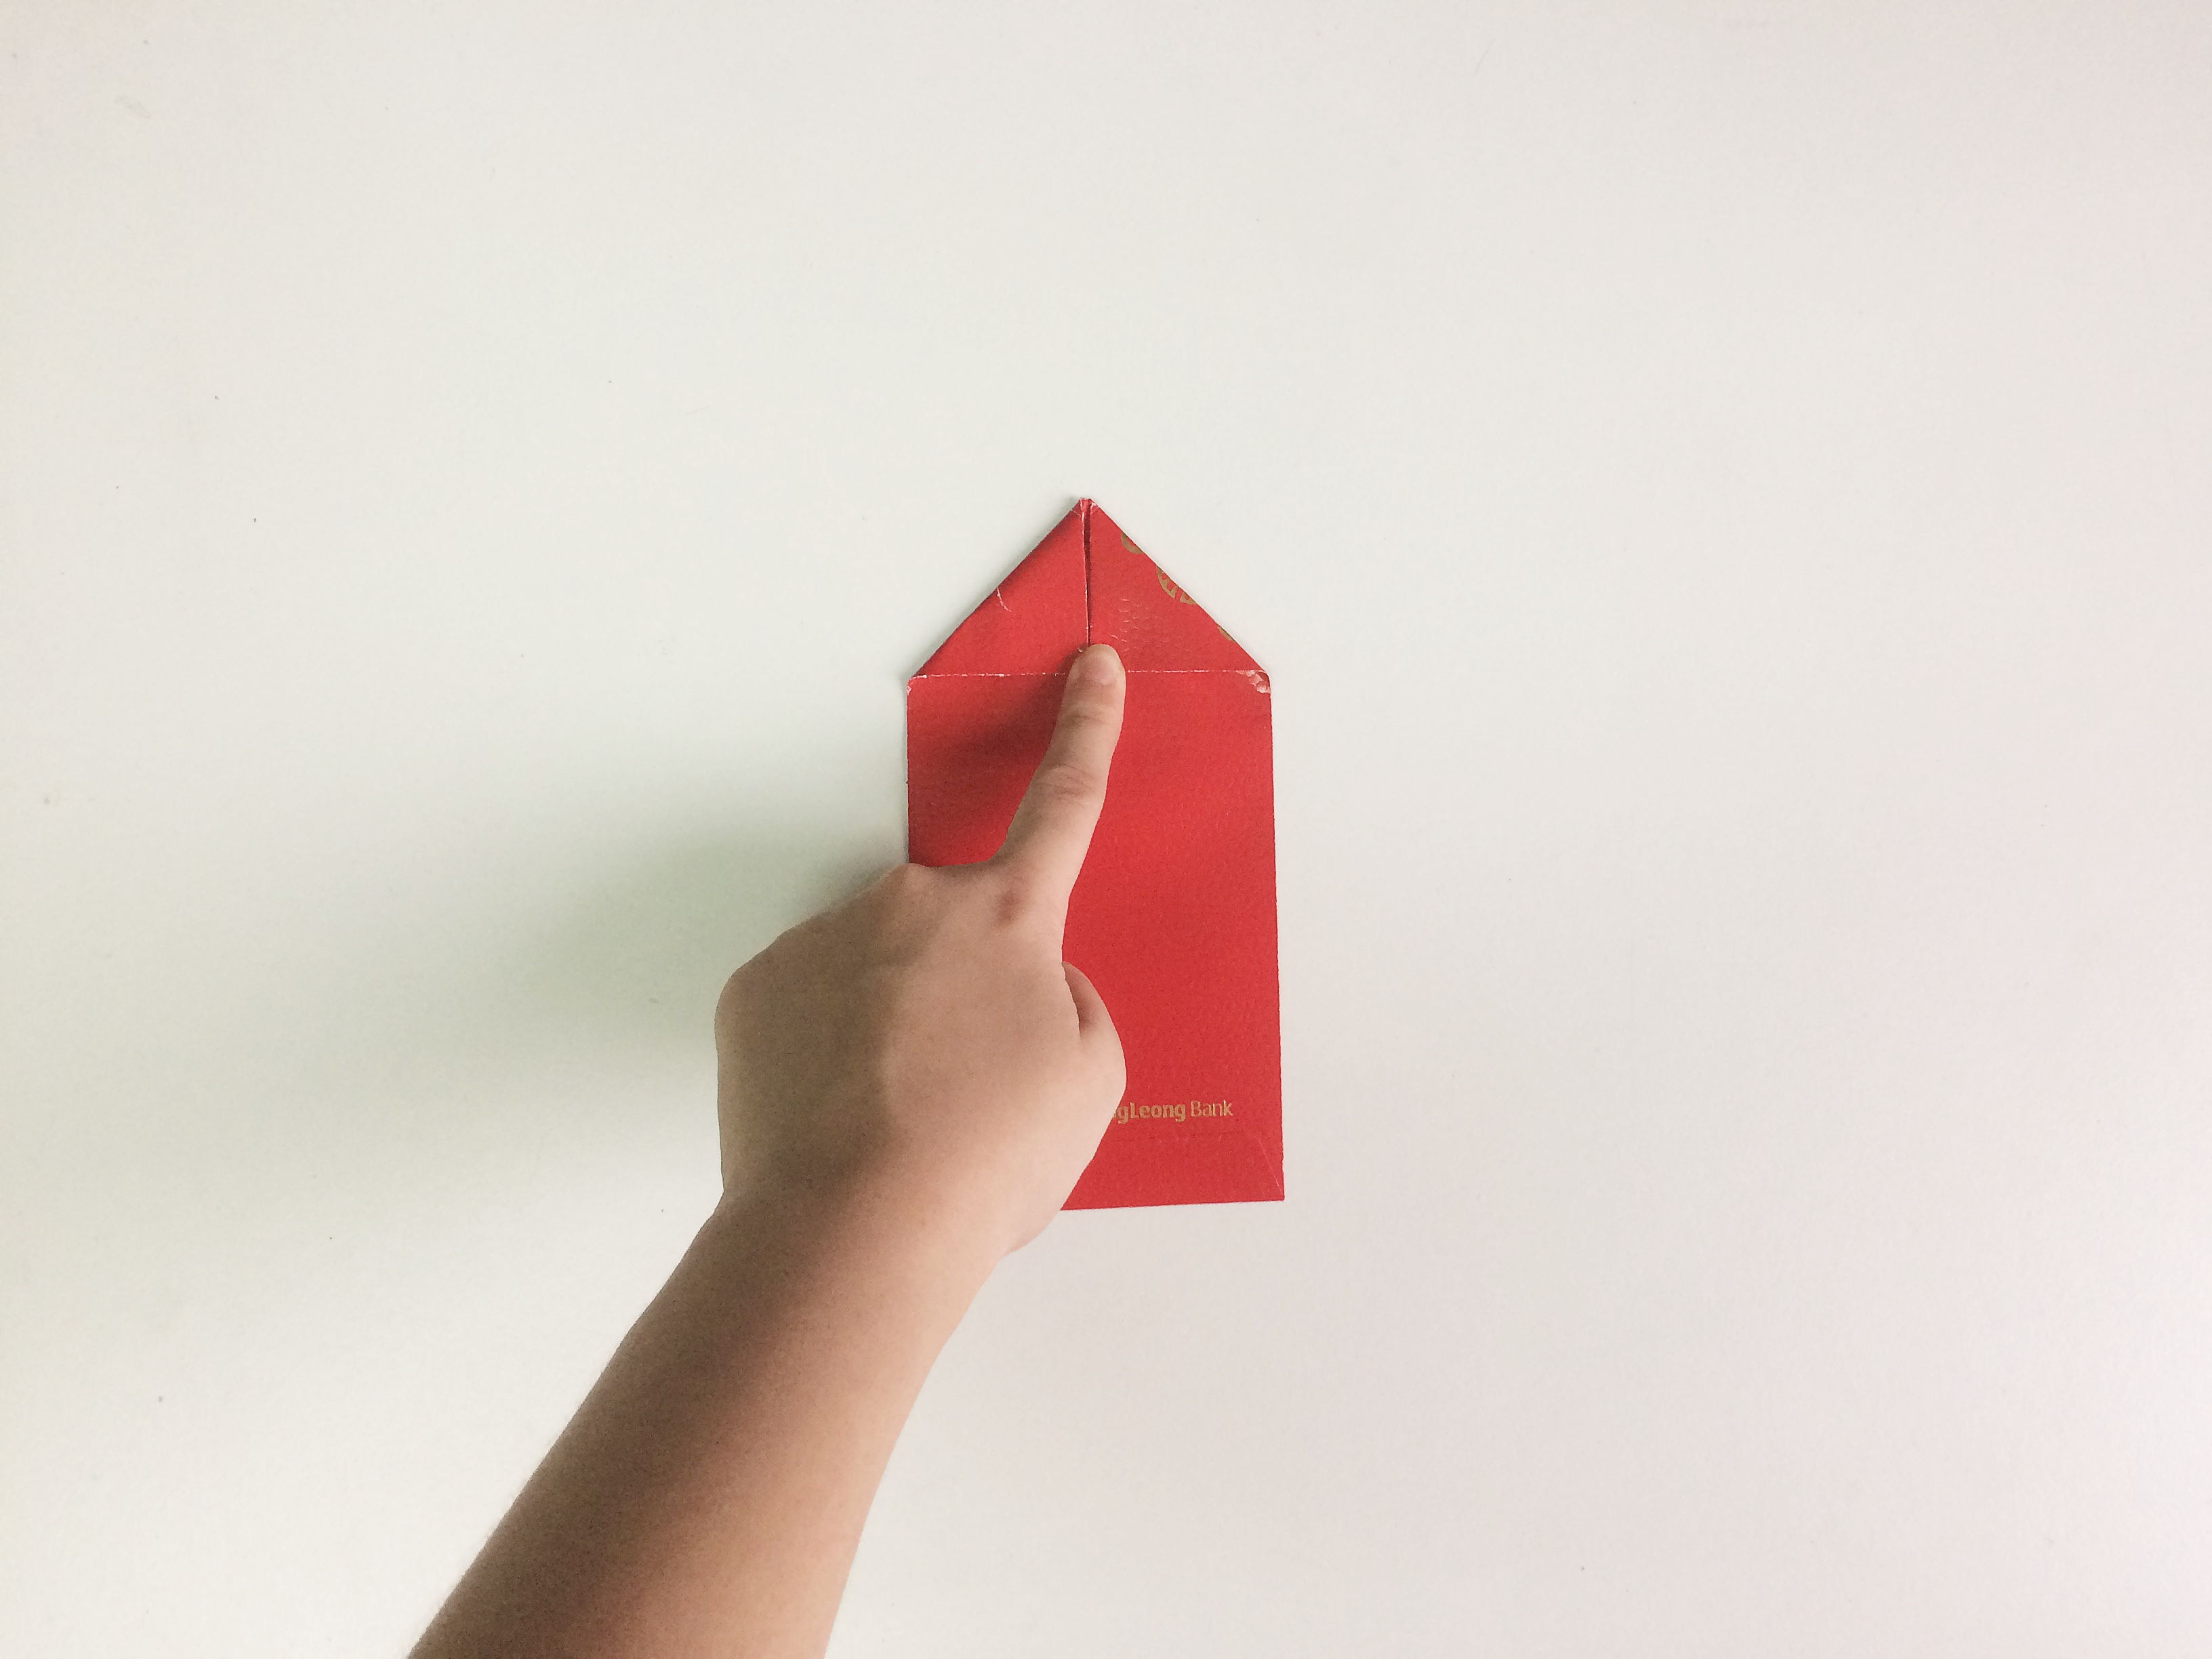 Next take another hongbao packet and overlap two corners and staple them as pictured. Do this with 4 hongbao packets 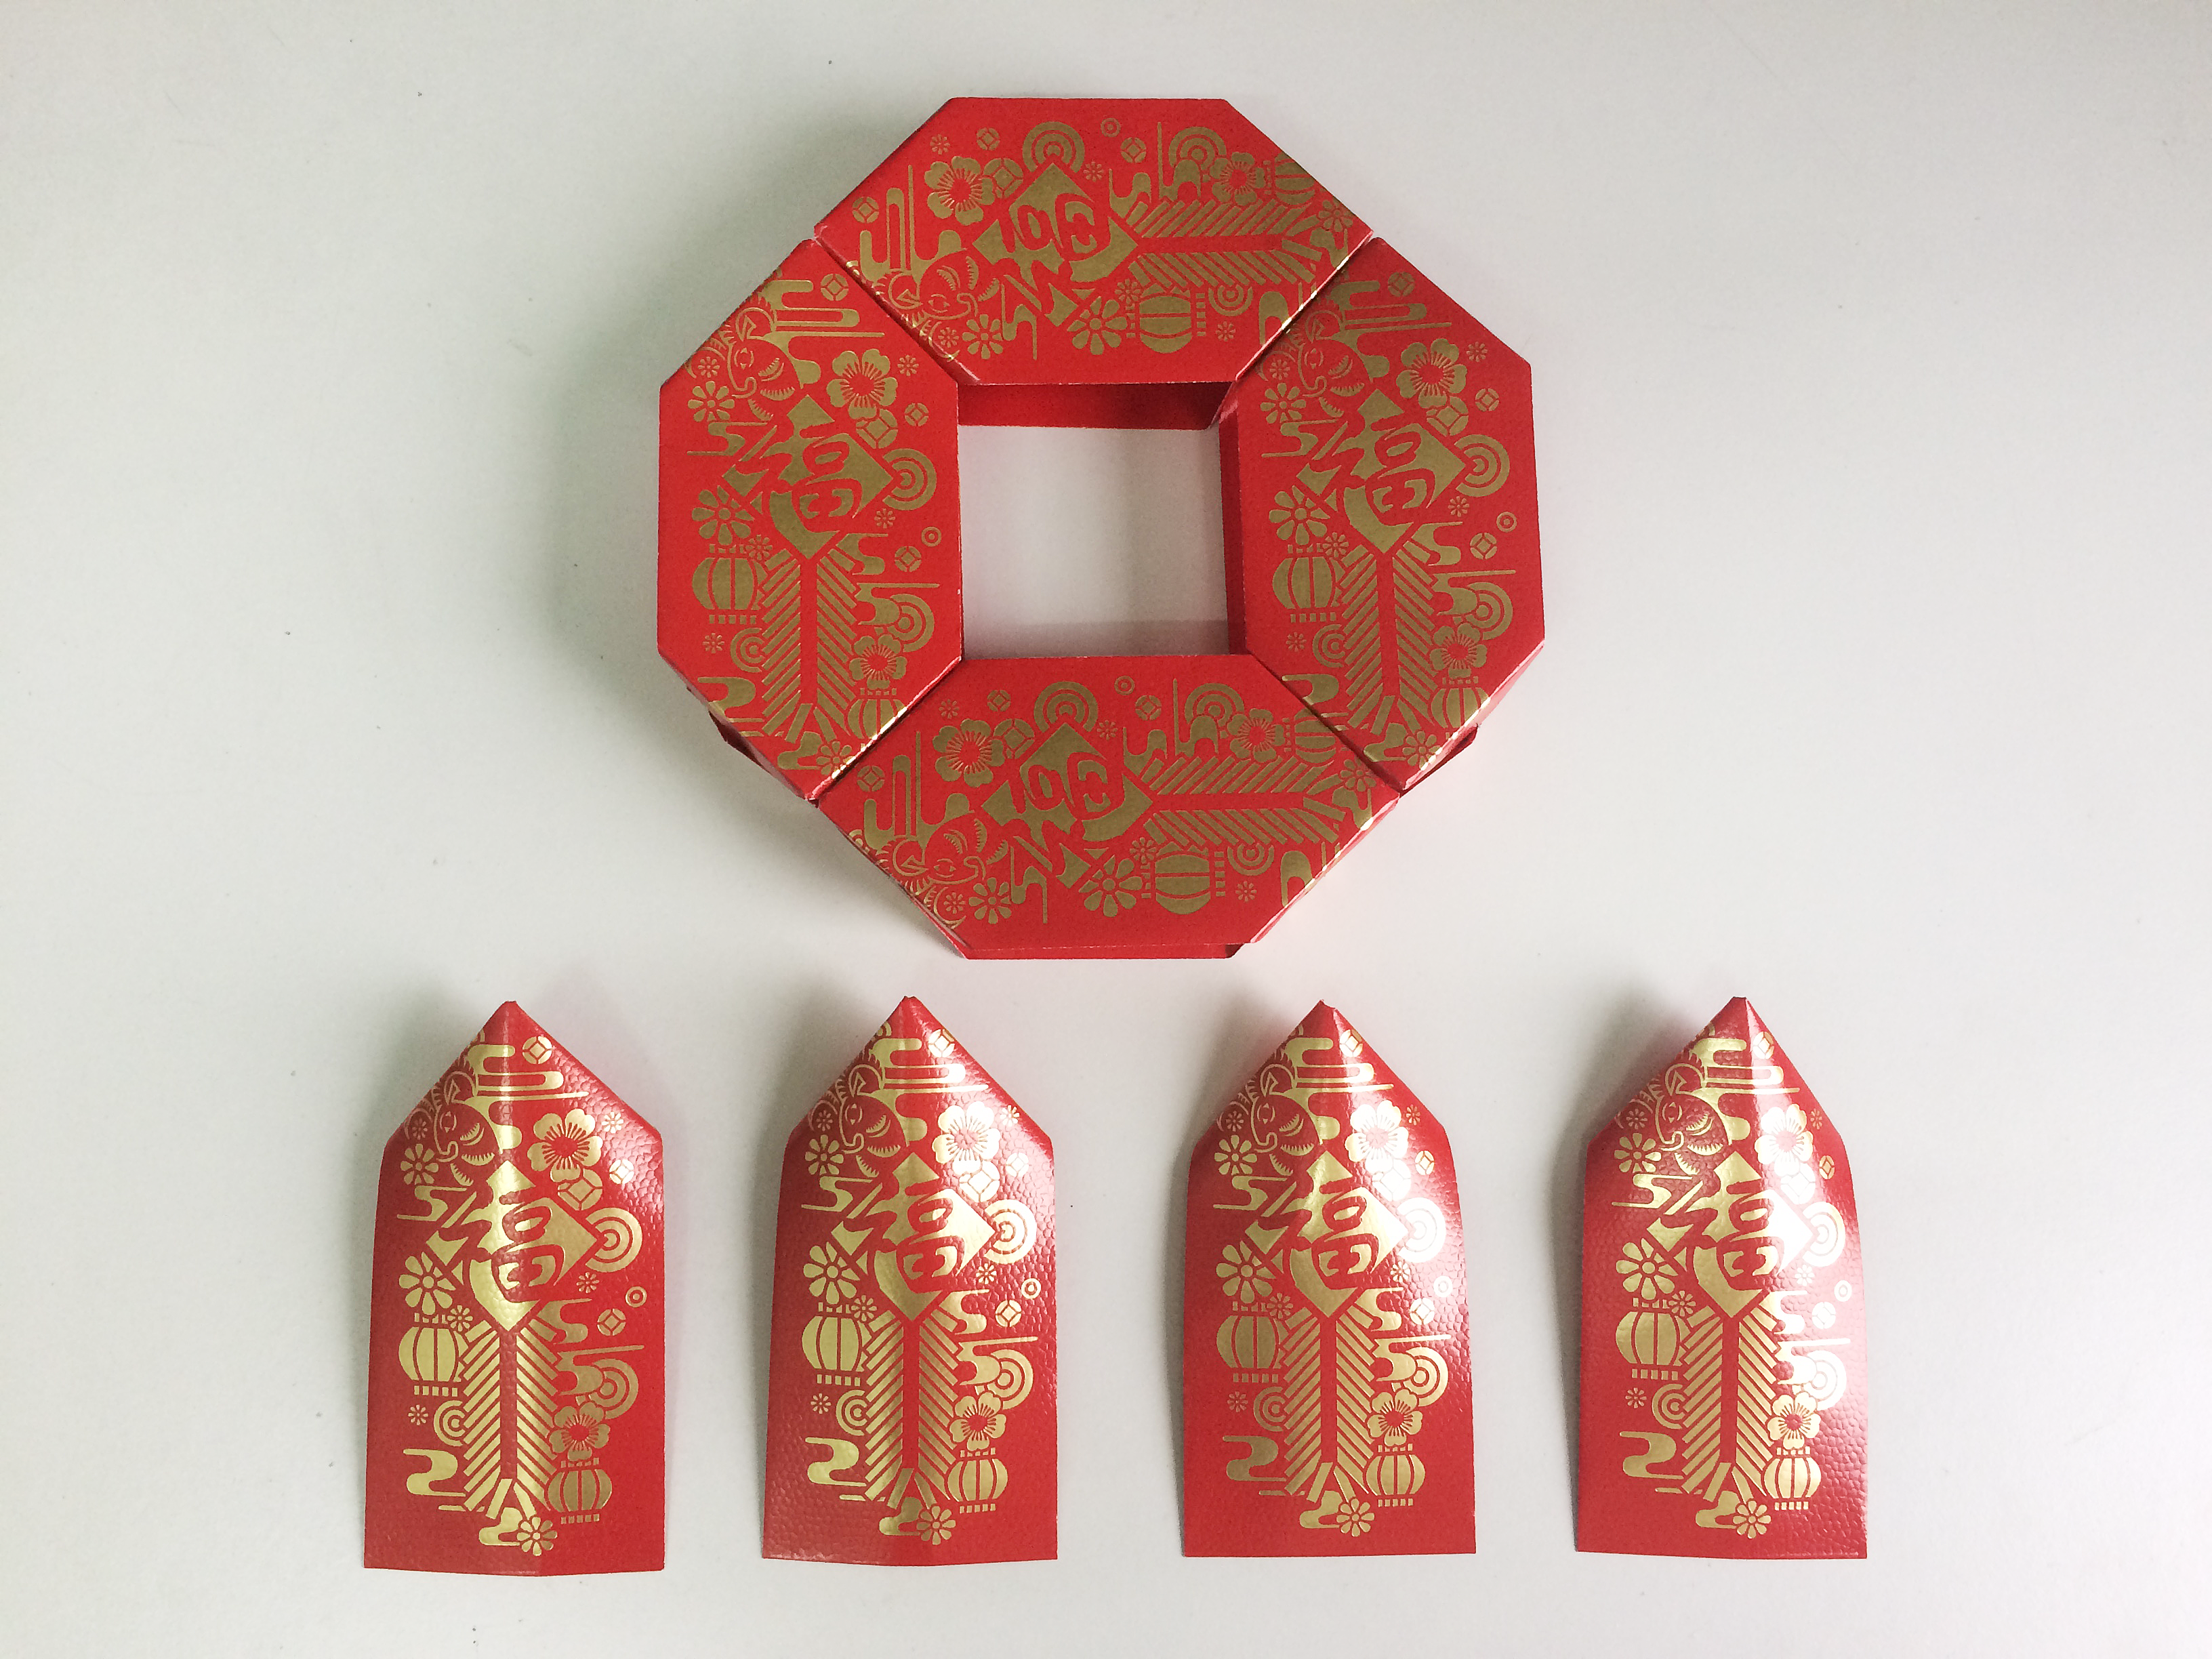 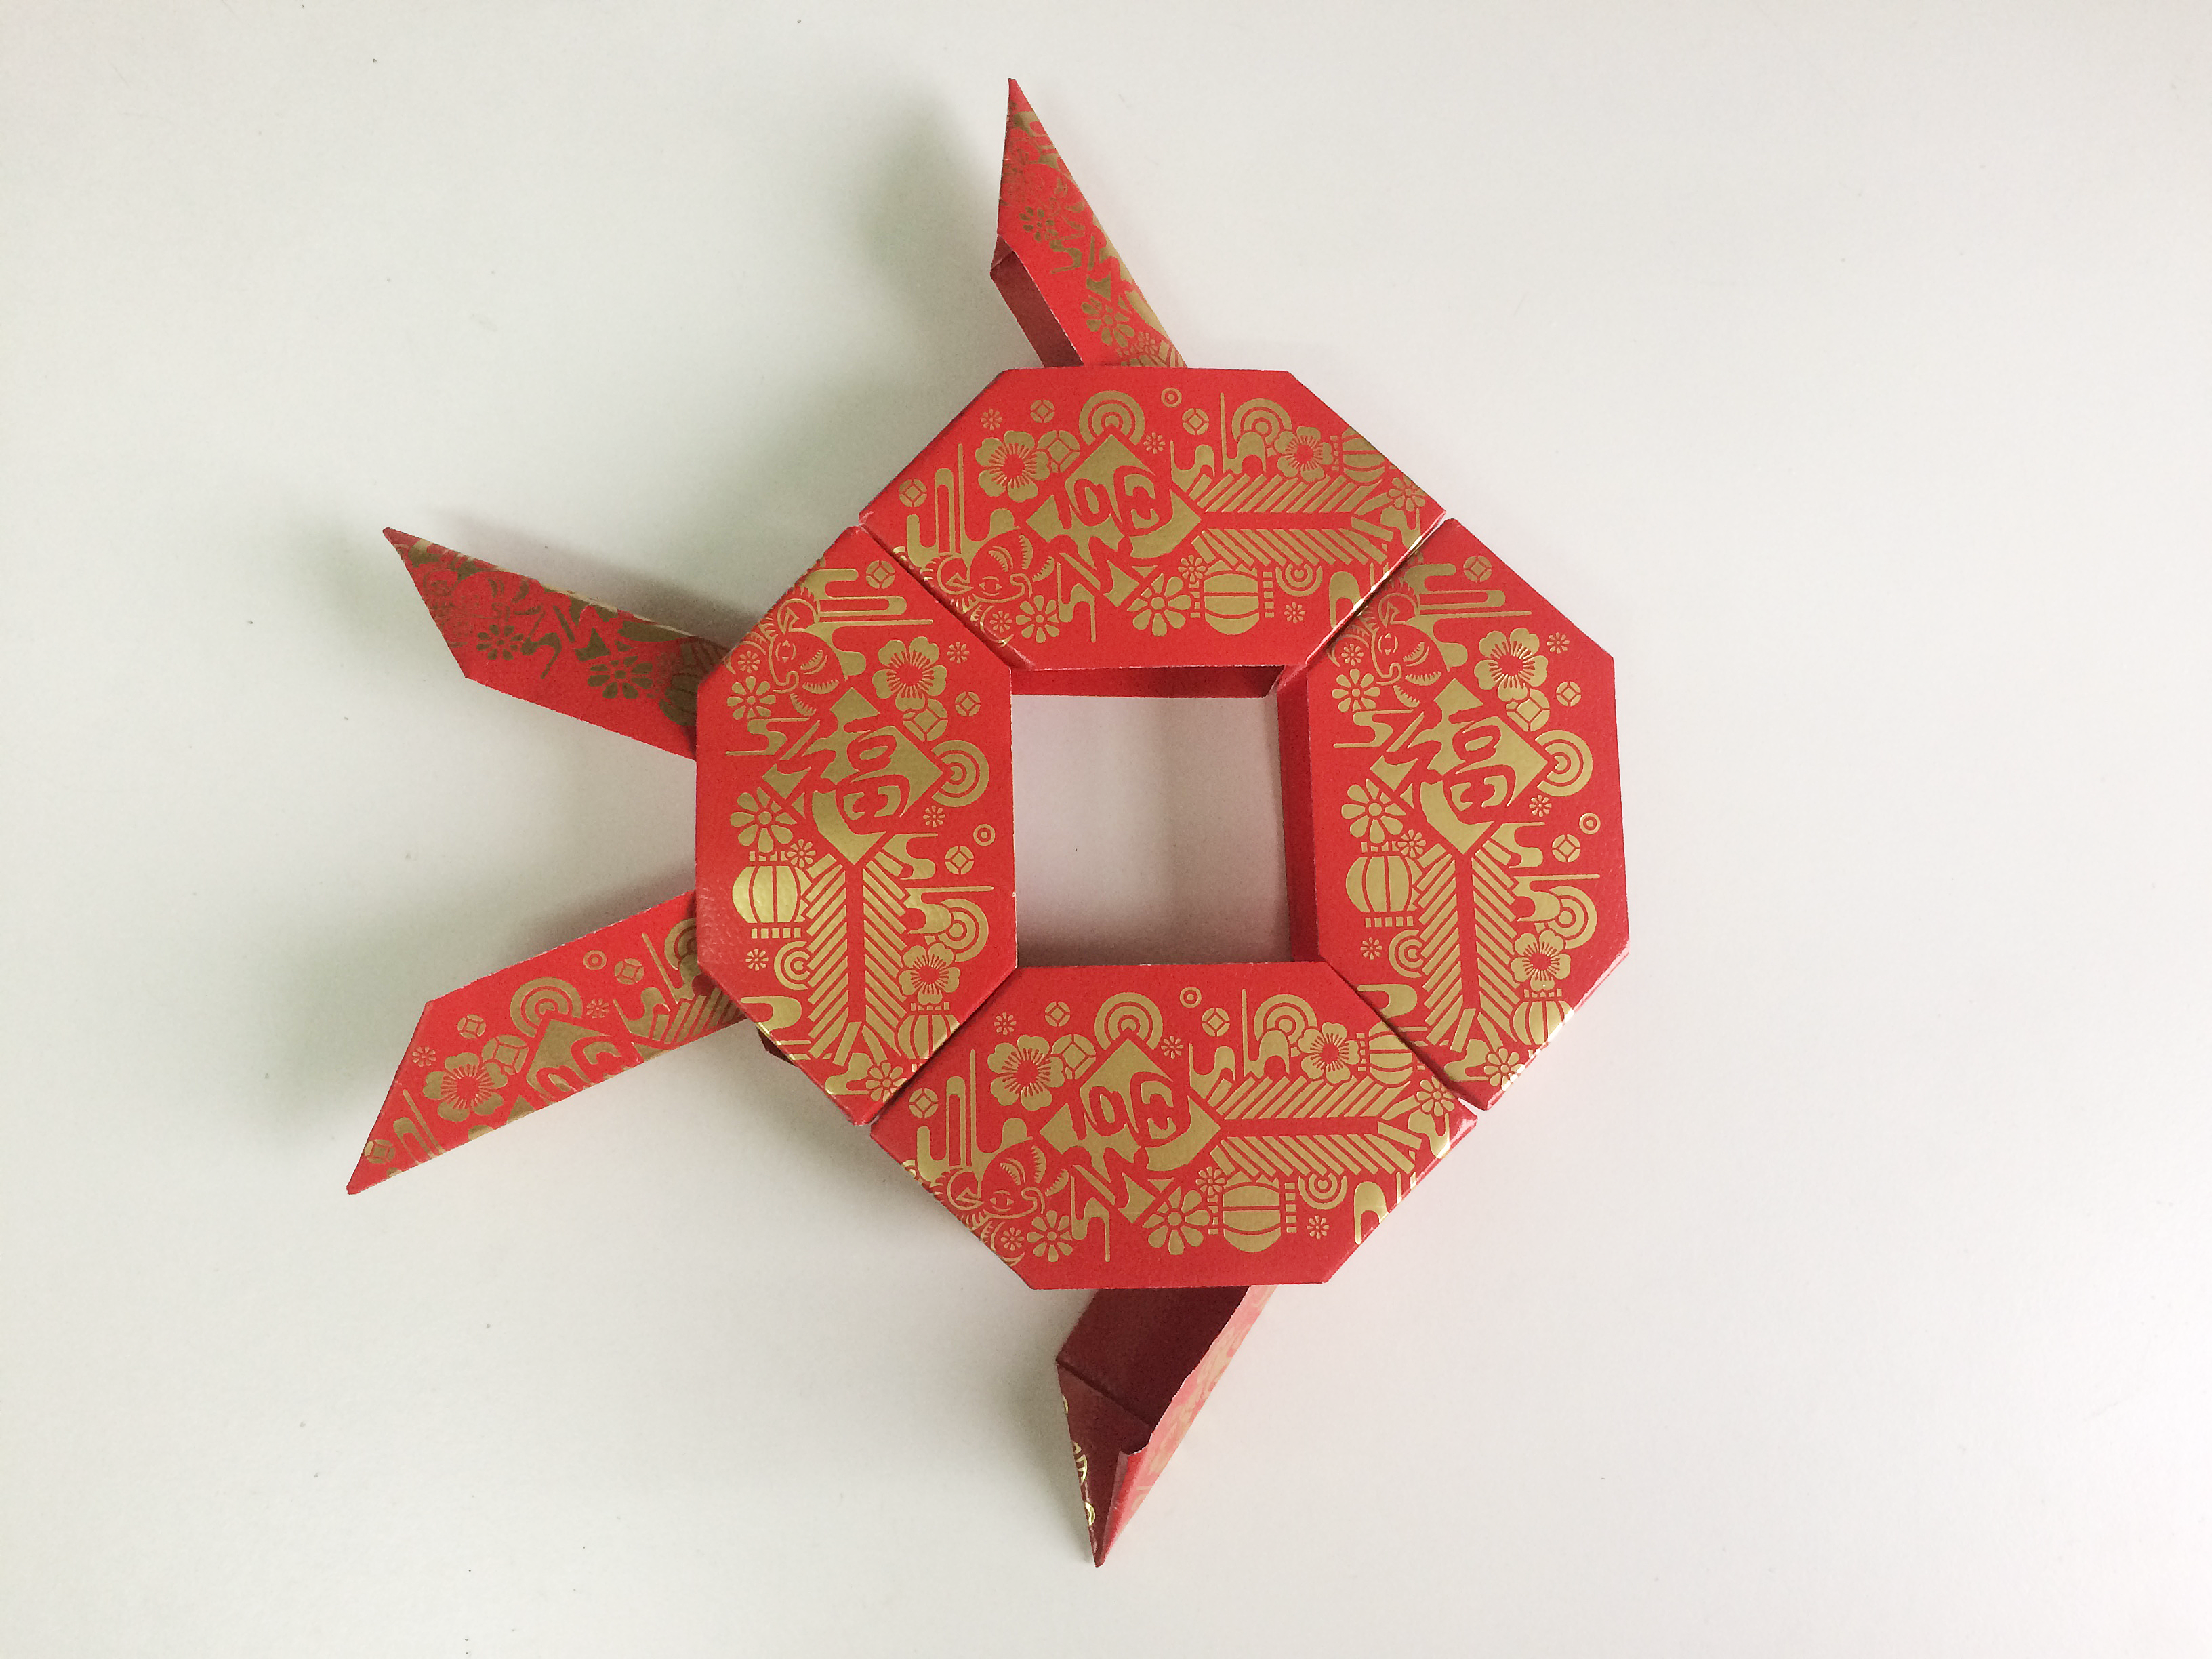 Place the four hongbao packets as pictured to form the fins and tail. Then staple them to the coin shape.  Add the tassel you created to the fish by stapling or using tape. If you want you can add an eye and a mouth to the fish ___ And you're done! Here's a picture of me and the fish I made. ![IMG_7131[1].png](https://steemitimages.com/DQmaR9grqPX6NVhTPcMD7P9A95aLRumdebm4EwtWUDNMwMV/IMG_7131%5B1%5D.png)