Setting up my IOTA Light Wallet for the very first time!
iota·@coininstant·
0.000 HBDSetting up my IOTA Light Wallet for the very first time!
### IOTA : Tangle Next Generation Network - Quantum Computing Proof!  ### Bitfinex announced Friday that it's exiting the US retail marketplace. This news came as a shocker to me as I purchased a few thousand IOTA on Bitfinex a while back, and have been auto lending them out for Mi. (Pun Intended) However the time has come start securing my IOTA funds by moving them out of Bitfinex, and into IOTA Wallets with keys that I control on my Mac. ### STEP ONE Download IOTA light wallet from GitHub! [https://github.com/iotaledger/wallet/releases](https://github.com/iotaledger/wallet/releases) I am using a Mac Sierra 10.12.5, so I just downloaded the dmg from the link above. ### STEP TWO Create your own secure 81 Character seed password for your IOTA Wallet. Your seed password has to be 81 characters long, must only contain the letters of the Alphabet "ABCDEFGHIJKLMNOPQRSTUVWXYZ9" and the number 9. The best way to create your seed password is to have Python run a program from your terminal to create a random one for you. Python should be pre-installed on your OSX, but if it is not I would suggest installing it with Homebrew. To create your python program open up a text editor, I used Text Wrangler, and copy the code below and paste it into you text editor. Save the file on your Desktop and name it nick-seed-generator.py for this example. ---------------------- import random n = "ABCDEFGHIJKLMNOPQRSTUVWXYZ9" count = 0 m = [] while count < 81: m.append(n[random.randint(0,len(n)-1)]) count+=1 m = ''.join(c for c in m) print(m) ---------------------- ### STEP THREE Open up your terminal application and change directories into your desktop. This step is important because you have to be in the same directory as the python (.py) before you can run it. Type the command below: cd Desktop  ### STEP FOUR Now that you are in the desktop directory simply run the file nick-seed-generator.py by typing the line of code below: python nick-seed-generator.py 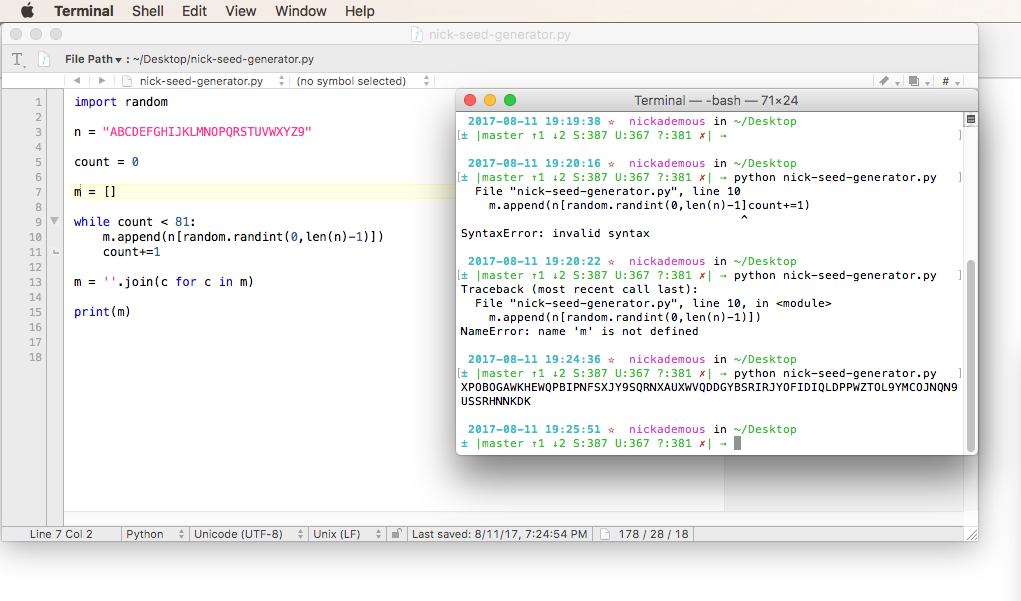 It will now create your own secret random seed like the example one in the image above. ### STEP FIVE Install The IOTA Light Wallet on your Mac just like you would any application. Drag and drop the folder into your applications folder to install. Once the program is installed just click the icon in applications to launch. When the program opens for the first time you will have the option to run a full node or a light node. 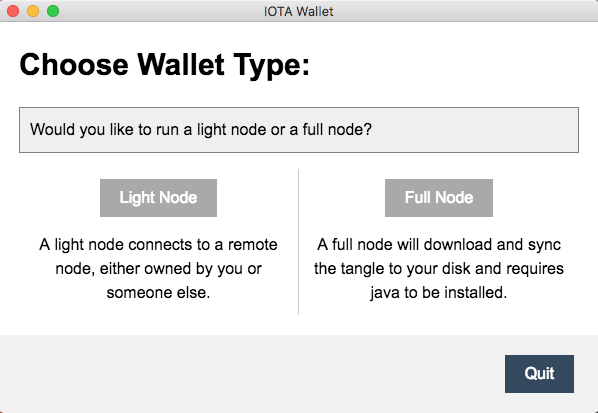 ### Next I was prompted to select a Light Node, for this example I selected Bitfinex as my host and clicked start!  Once you have your Light Node Host selected the wallet login screen will appear. Now you can paste the seed (that you created in step 2) into the prompt and login. See image below. 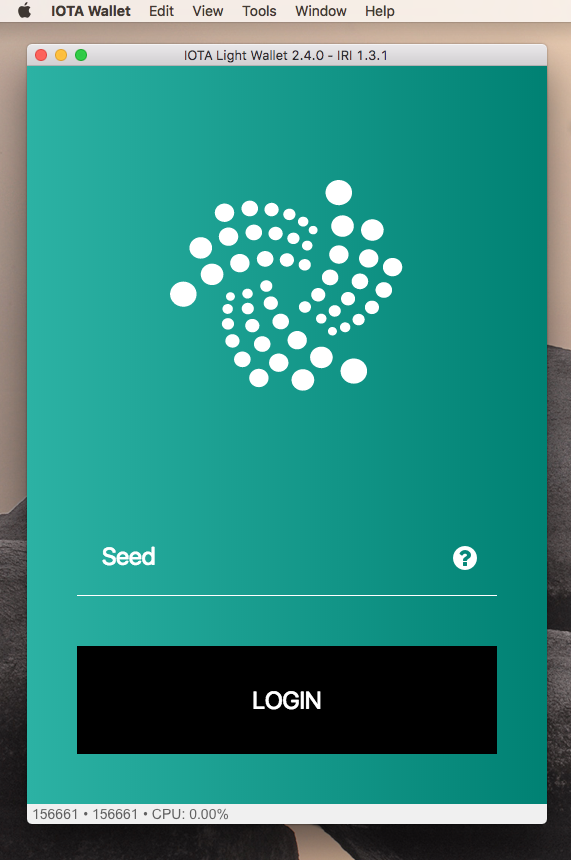 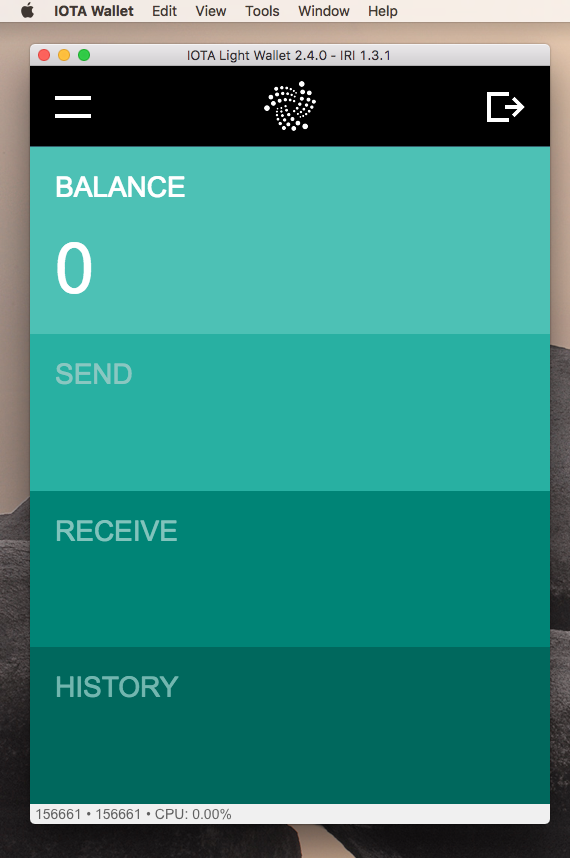 ### STEP SIX Now for the fun part, attaching to the Tangle! To fund your Iota Wallet click on the RECEIVE tab in the wallet to generate a wallet address. 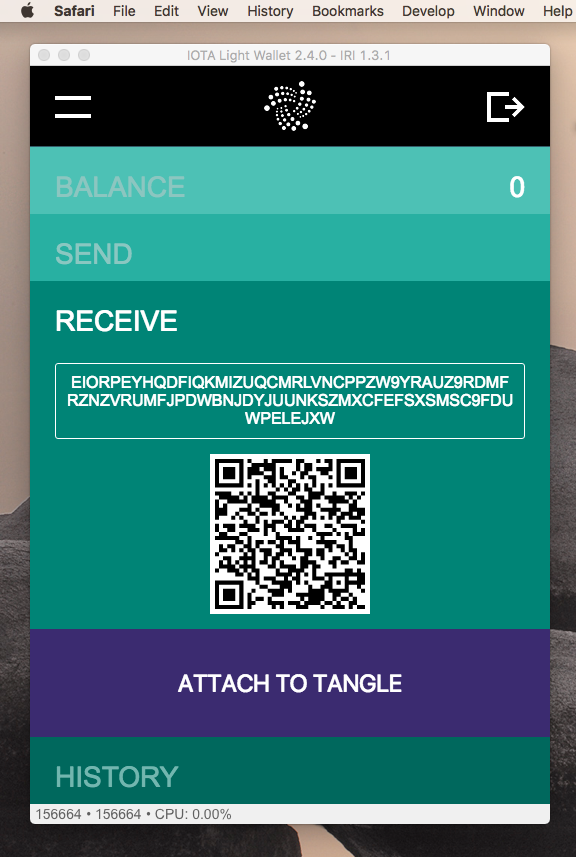 ### Next click attach to Tangle. 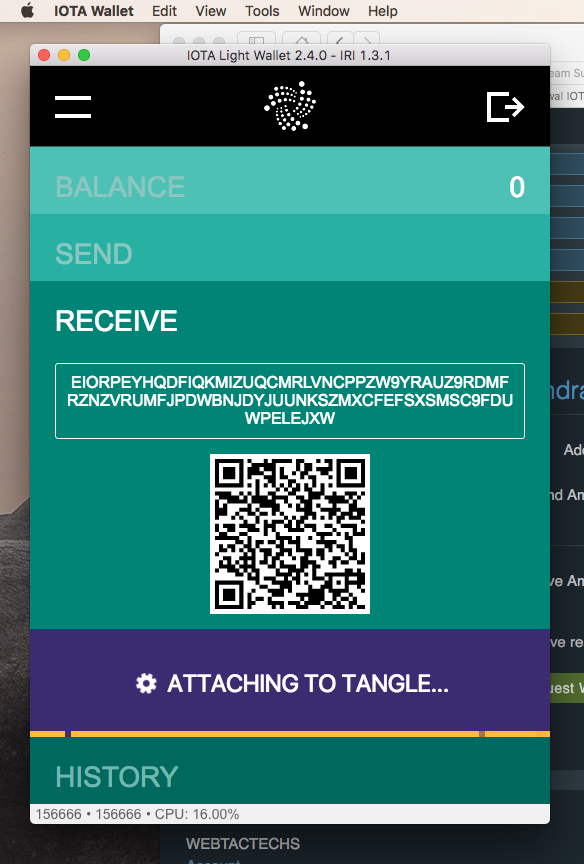 ### STEP SEVEN Once Attached you are ready to send the IOTA to your address right from your exchange, i.e. Bitfinex. 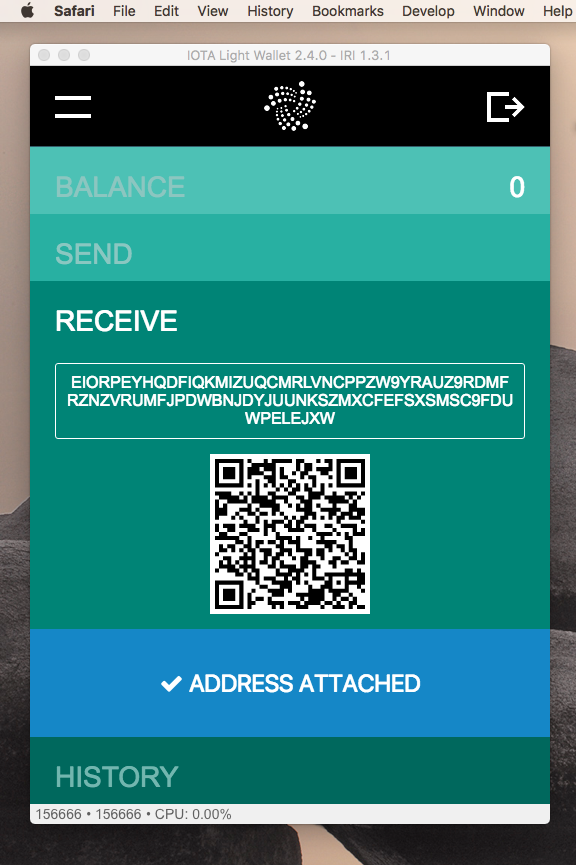 ### For my very first IOTA transaction I sent 50 IOTA! For my next transaction I will create another receive address right from within the same wallet, attach to the Tangle and repeat the process. 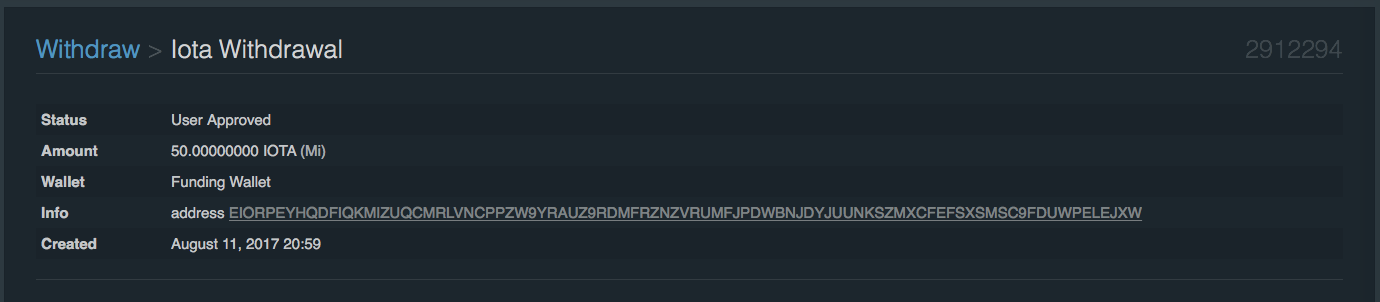  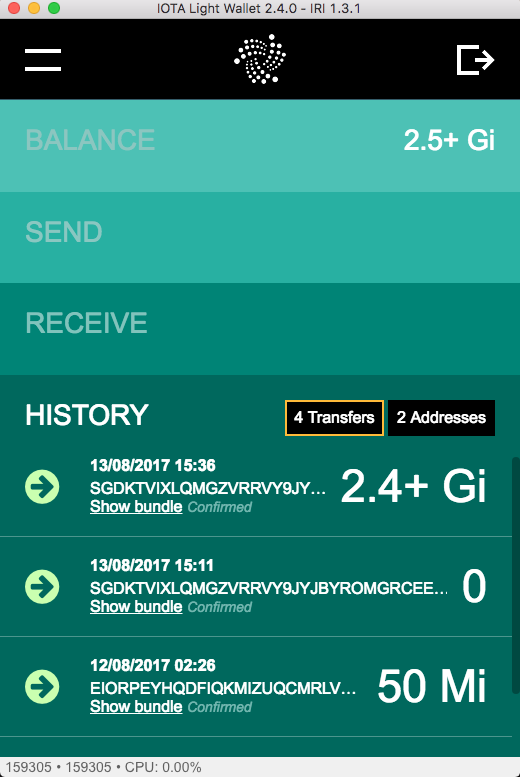 After installing and working with the IOTA Light Wallet I am very impressed with everything I have seen so far, and am really excited to keep learning more about this new digital currency. If you find this blog post helpful, please up-vote and follow me @coininstant for more cryptocurrency posts like this in the future.
👍 justinschwalm, firstsomali, uzdyaeva1983, sim88, me-we, kdtkaren, funkit, cristinaonmaui, mattandcristina, cosminblaga, borban, alexandra2000, coininstant, honusurf, steffenix, proctologic, piyushkansal, blazing, cyclope, brothermic, maulida, nicolaepavelean, a-alice, rmaxhuni, oksanasemenova, khairulmuammar, hadimemories, erickpinos, klen.civil, slempase, ahlawat, flatrider, amri, steemitsportsbet, bleujay, farhannaqvi7, azissuloh, prashantahlawat, tika.chibi, jtavassol, sportschallenge, ivan96, hustletoparadise, paradise, benjy87, rehan12, hanivaz,