Homebrewing 101: Part 1 - Brew day
beer·@costopher·
0.000 HBDHomebrewing 101: Part 1 - Brew day
I love beer. I really do and there's nothing more interesting or rewarding that brewing your own. Today I started another batch and I'm going to document its progress. This is going to be a light summer beer and all the ingredients will be for a 23 Litres batch (5 gallons or 40 pints). First things first; what do you need? I'm going to talk about entry level home brewing, so no specialised equipment or brewing from scratch. 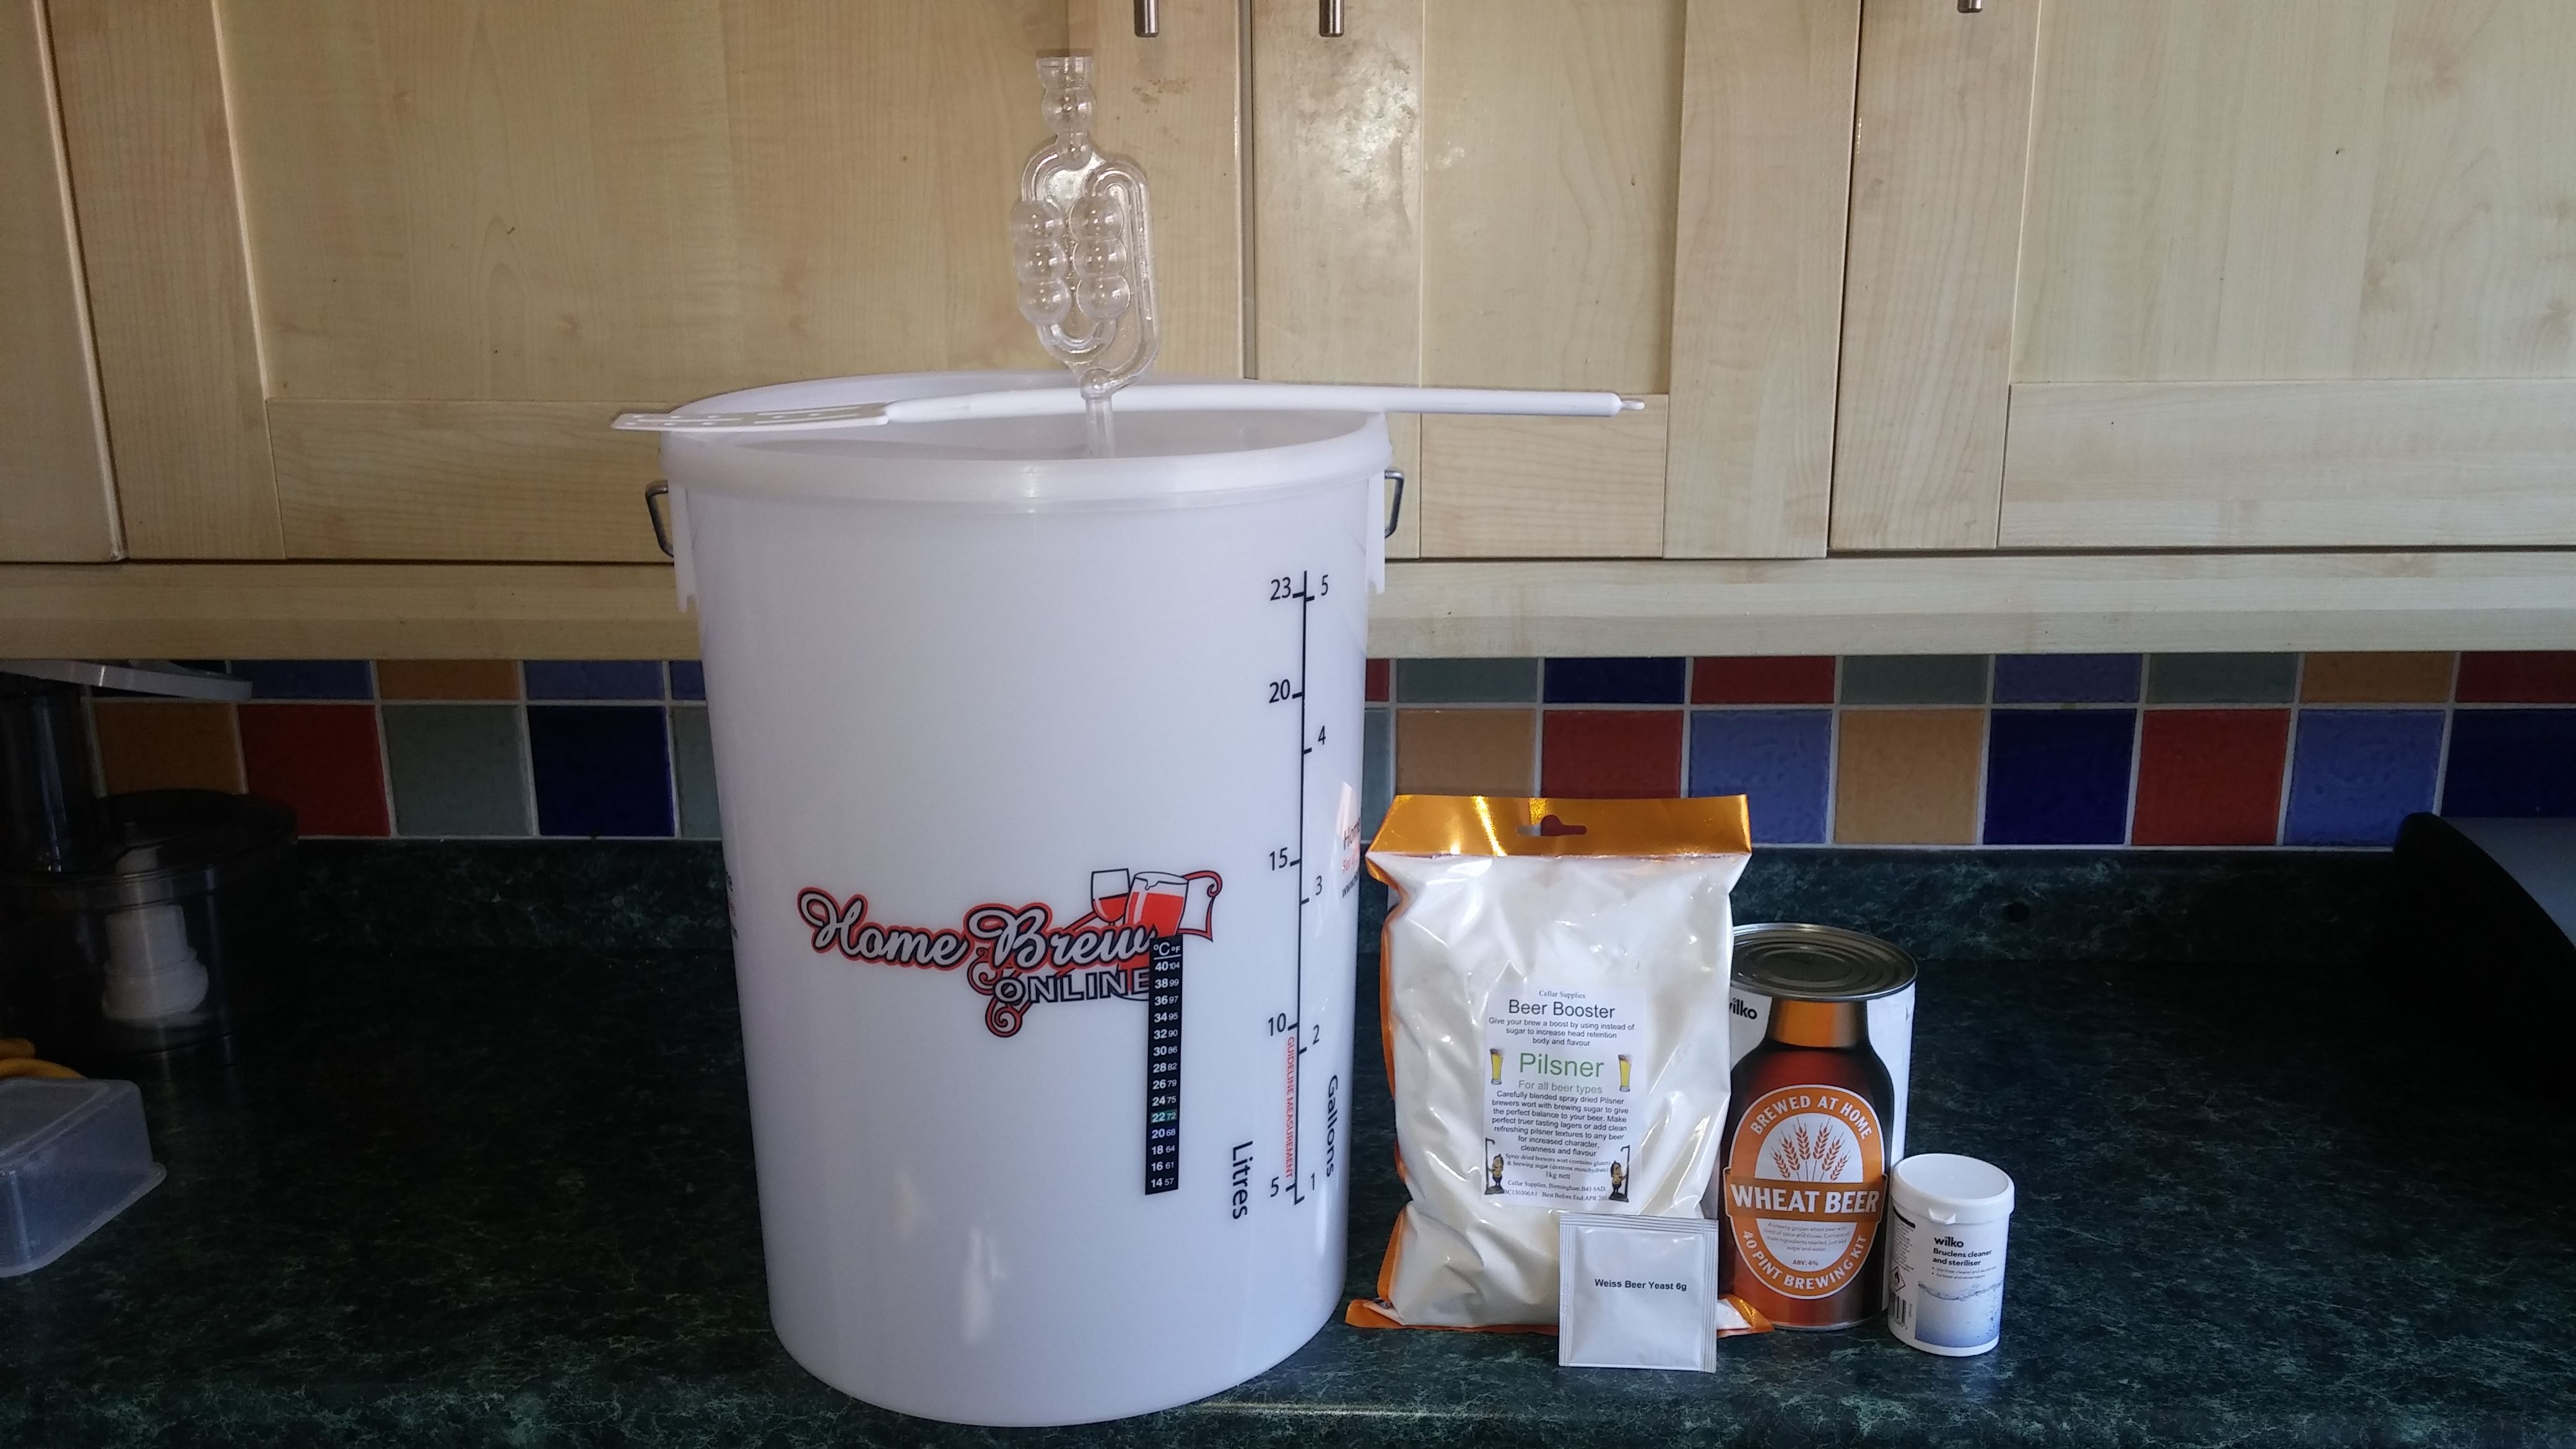 You need a fermenting vessel, which, in my case, is a fancy word for a bucket with a lid and a hole where the air lock goes in. Then you'll need some grain extract. I chose a Wheat Beer kit as I find it is the best base for playing around with; it's also cheap and cheerful. The kit contains a tin of wheat and malt extract and a sachet of yeast. Yeast is the star when it comes to beer so we need to feed it. Yeast will eat the sugars in the malt extract and convert it into alcohol, but the malt extract doesn't contain enough sugar so we need to add some extra, 1 kg for this size batch. Normally I use brewing sugar or spray malt for this purpose but today I went for spray dried brewers wort, this is supposed to give a better head retention, flavour and it's perfect for light beers. Don't use cooking sugar, that will give your beer a cidery taste. The most important thing is to sanitise everything, we all know cleanliness is next to godliness. I'm using a powdered cleaner and steriliser. Just follow the dosing instructions, and give a bath to all the equipment you're going to use. Splash it on the outside of the bucket as well and pay close attention to the mouth. It needs about 5-10 minutes to work so during that time I put my extract tin in boiling water to make it more runny.  Now that everything is sanitised we can move on to the next step which is adding the ingredients to the clean bucket. It's easier if your sugar goes in first. It is counter intuitive but using cold water dissolves brewing sugar a lot better than hot water. Mix the sugar up with a small amount of water and mix it until all lumps are gone. 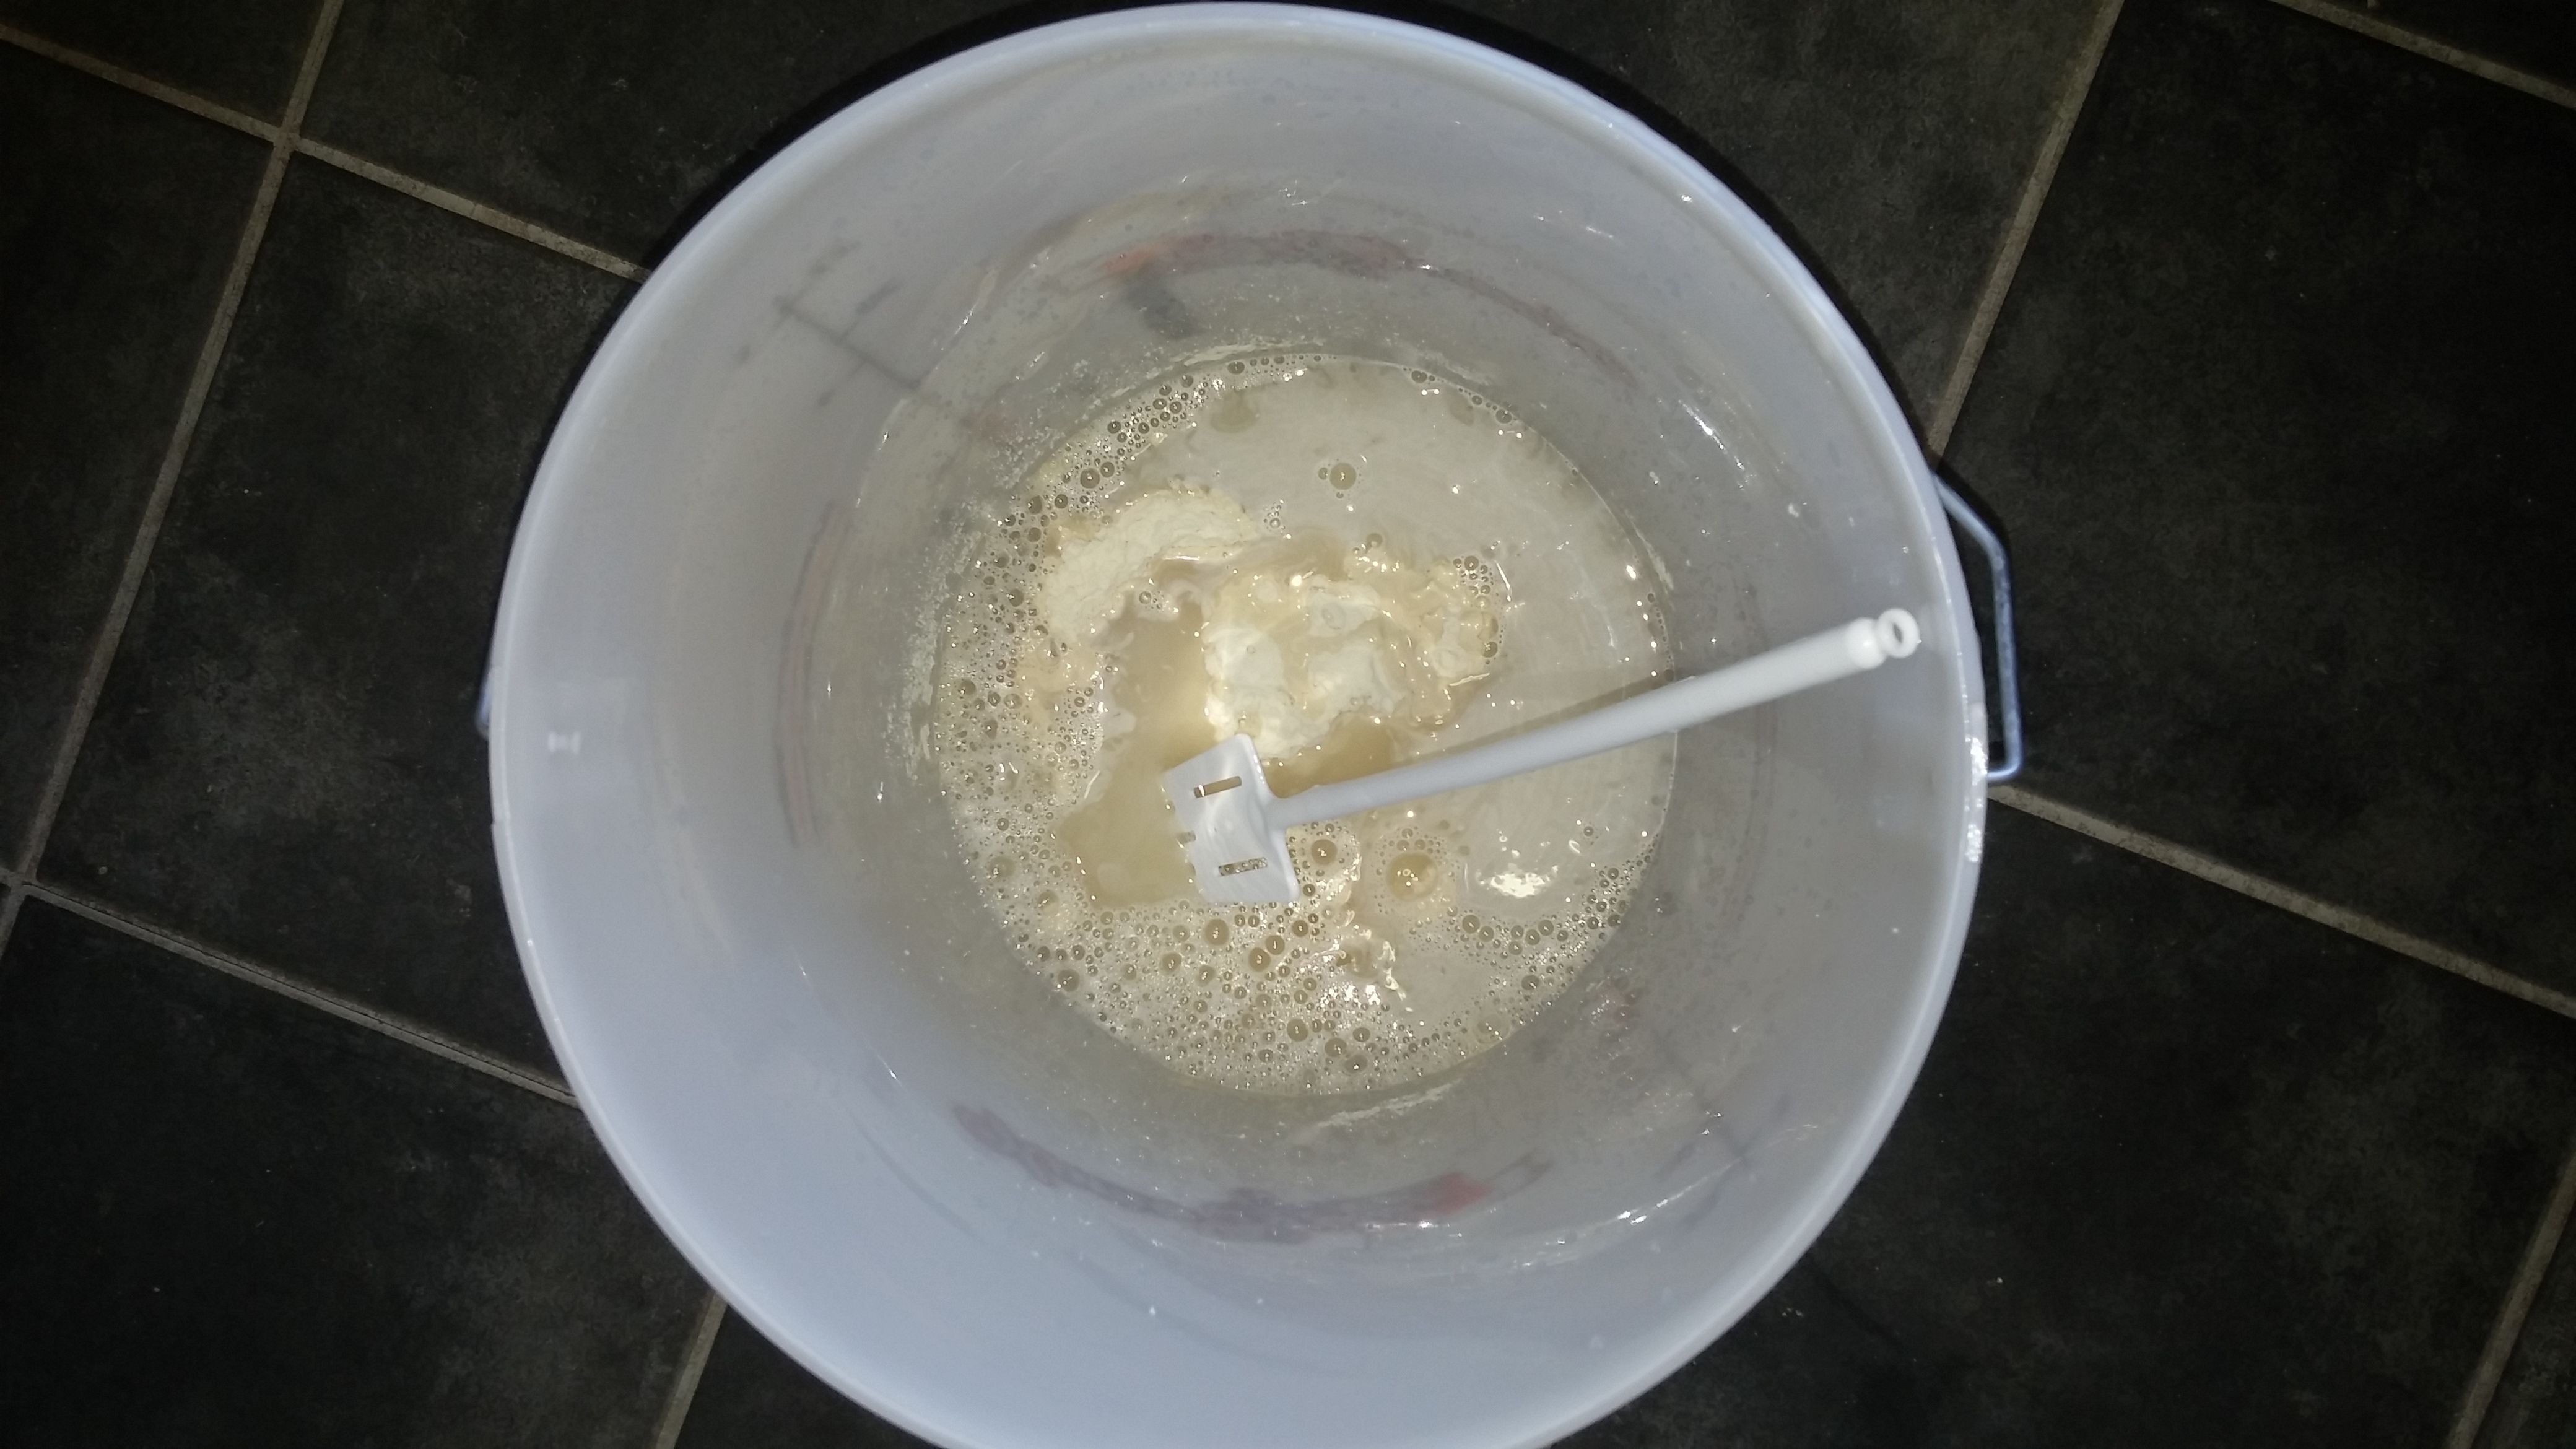 Then add the extract.  After everything is mixed well again, fill it up with water to the 23L line. You want to use hot and cold water as well, the target temperature depends on the type of yeast you're using. For mine, the recommended pitching(adding of the yeast) temperature is between 18 and 20 degrees C. I have a stick on thermometer on my bucket to help me with that. Before adding the yeast it's helpful if you check the gravity of the wort. The water, sugar and malt extract is called the wort and the gravity is the amount of sugars in the solution. This can be checked with a hydrometer, it's the glass thing you can see floating in the pic. This step isn't required but it will help a lot if you run into troubles later on. I have an initial gravity reading of 1040. This should give me a beer of about 4% ABV, if you would like a stronger one, you need to add more sugar or use less water.  Now that I checked my gravity and I know my temperature is in the range for my yeast, I'll open the sachet and chuck it in. 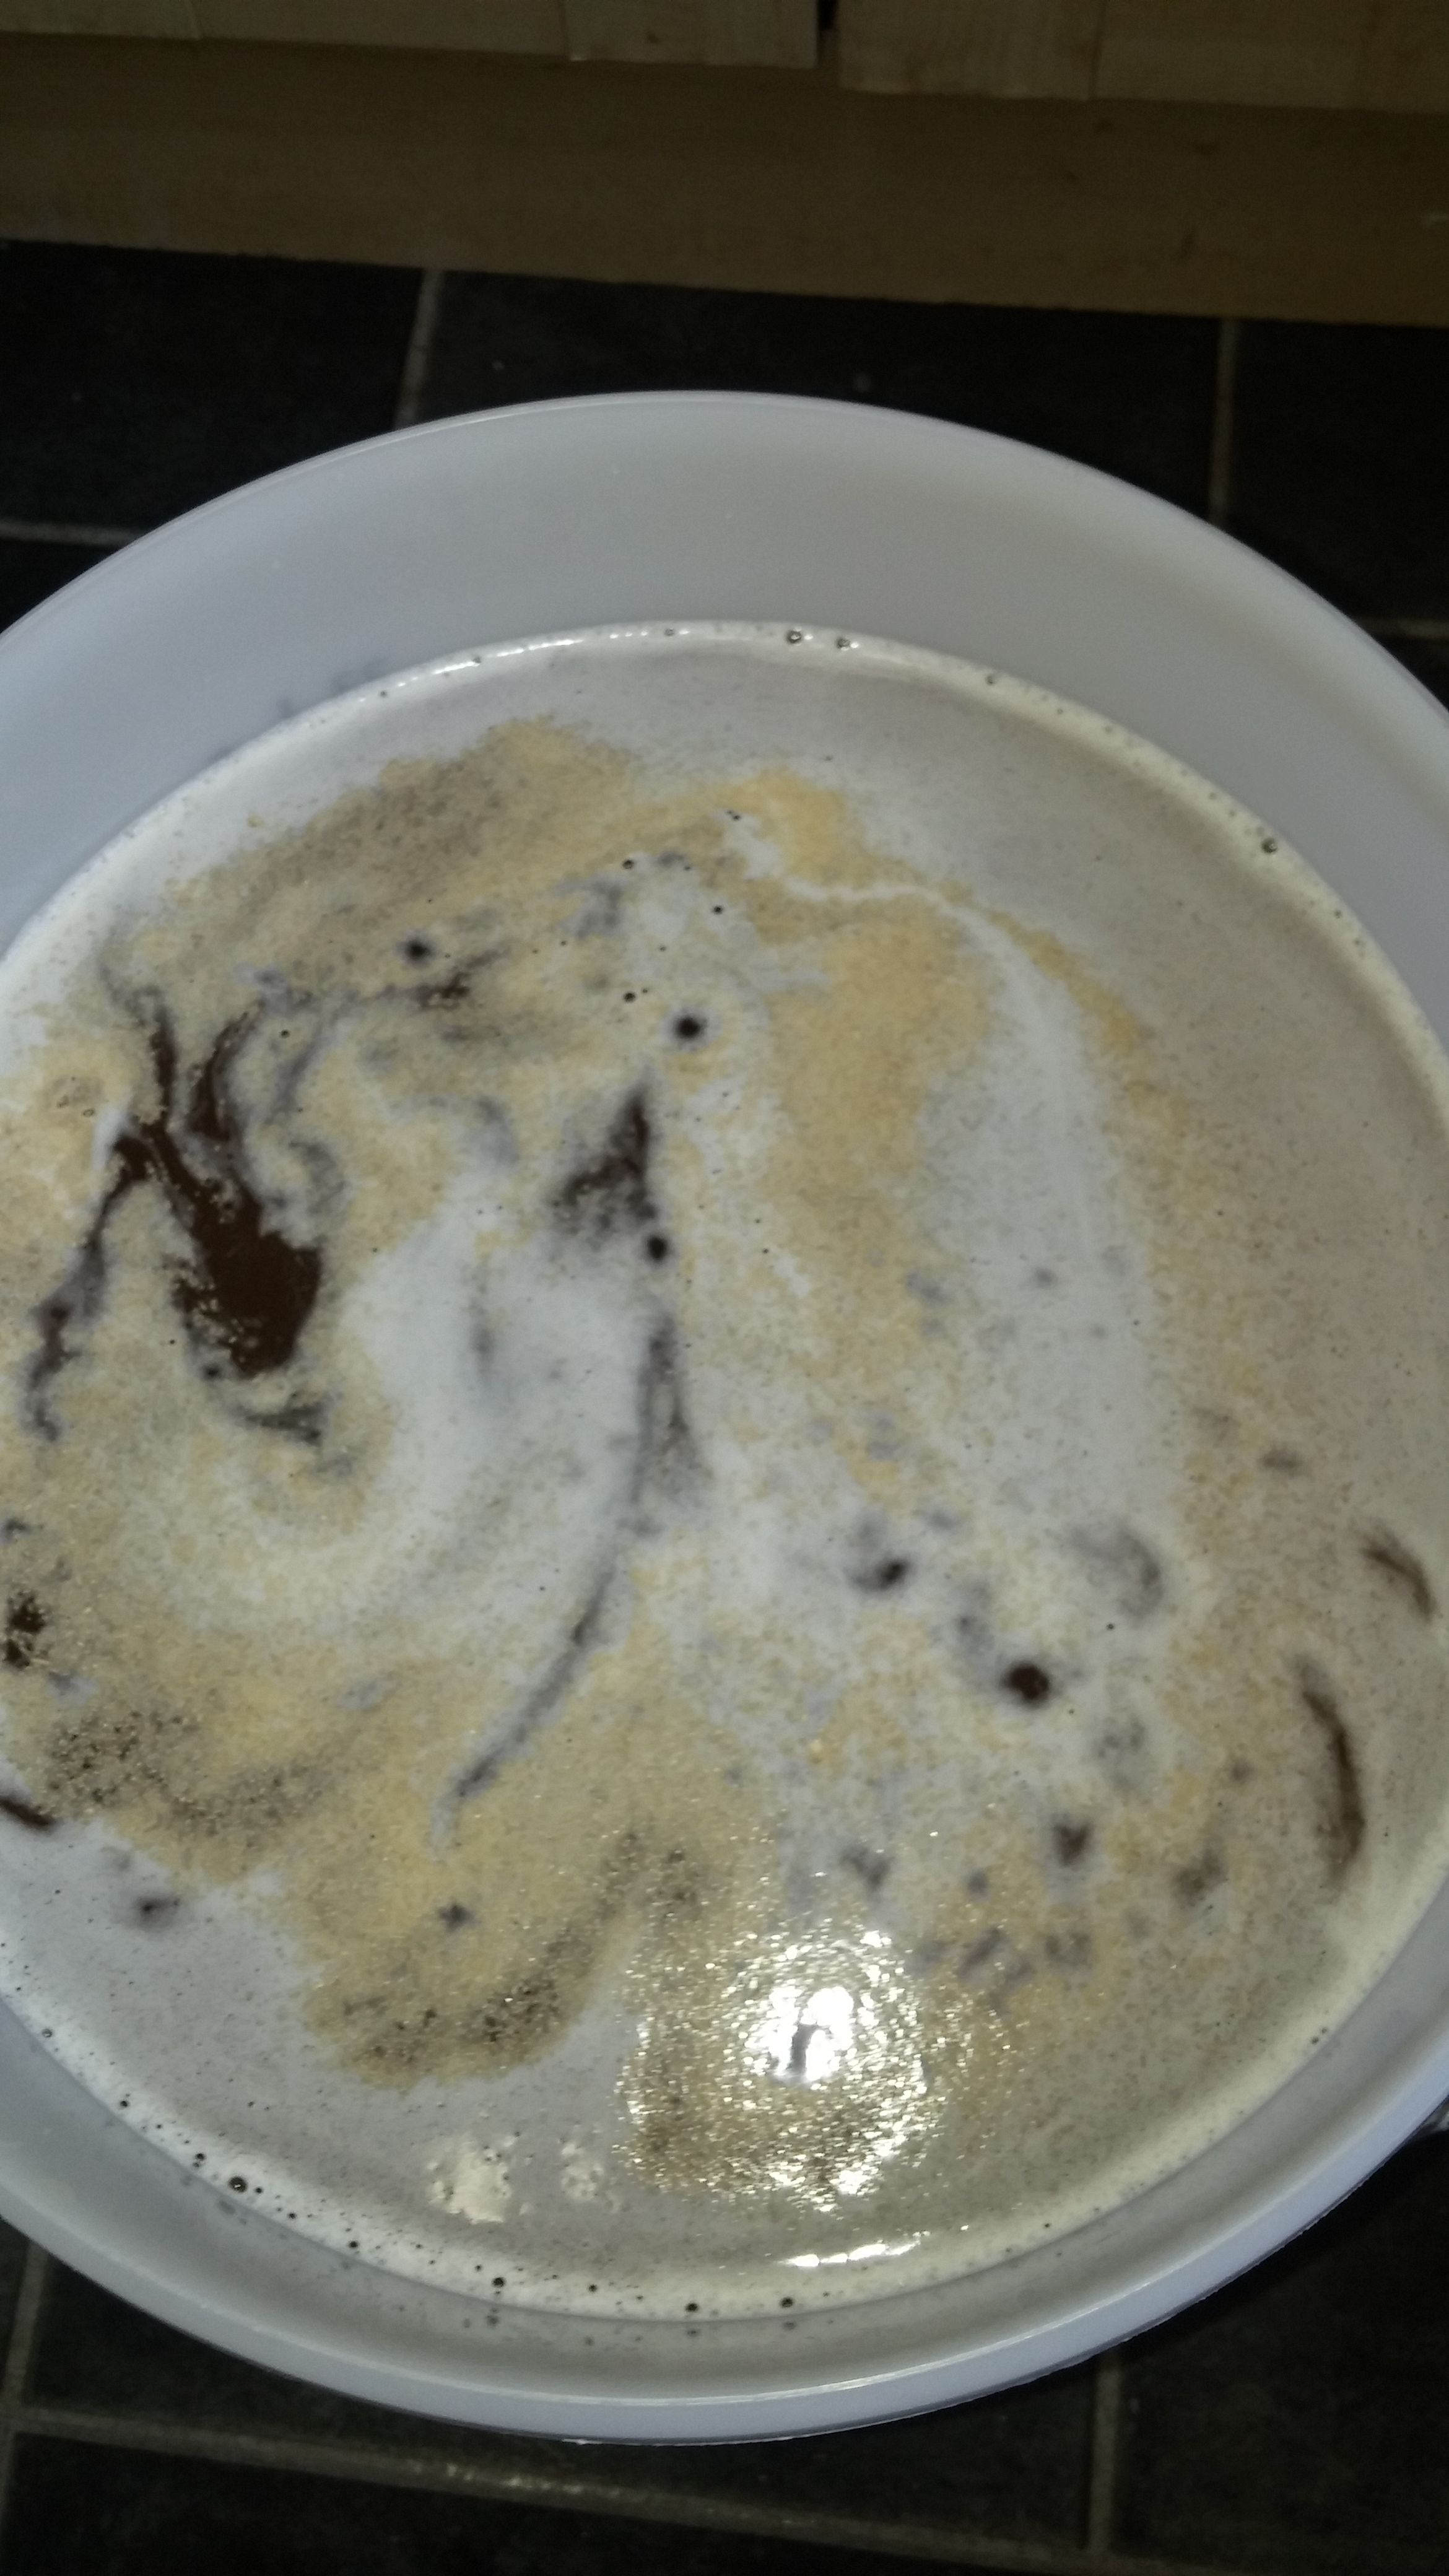 The yellowy brown stuff floating on top is the dried yeast. You don't want to just let it float, you want everything to be mixed well again. Besides sugar, yeast also needs oxygen in order to start breeding so a good mix is required here. Try to mix vigorously for a few minutes, pushing as much oxygen in as you can. And this is it for the first stage. Put the lid on tightly, from this point on you don't want any oxygen getting in and spoiling your beer. Put your airlock in, you want to fill the airlock with sanitiser or alcohol so nothing can get in your beer and contaminate it. Then you put the bucket in a dark place, ideally you'd want a place where temperatures don't fluctuate too much. I'm using my Harry Potter room, or under the stairs cupboard as it's commonly referred as. You can see I've got an earlier batch all bottled up and maturing in there as well. 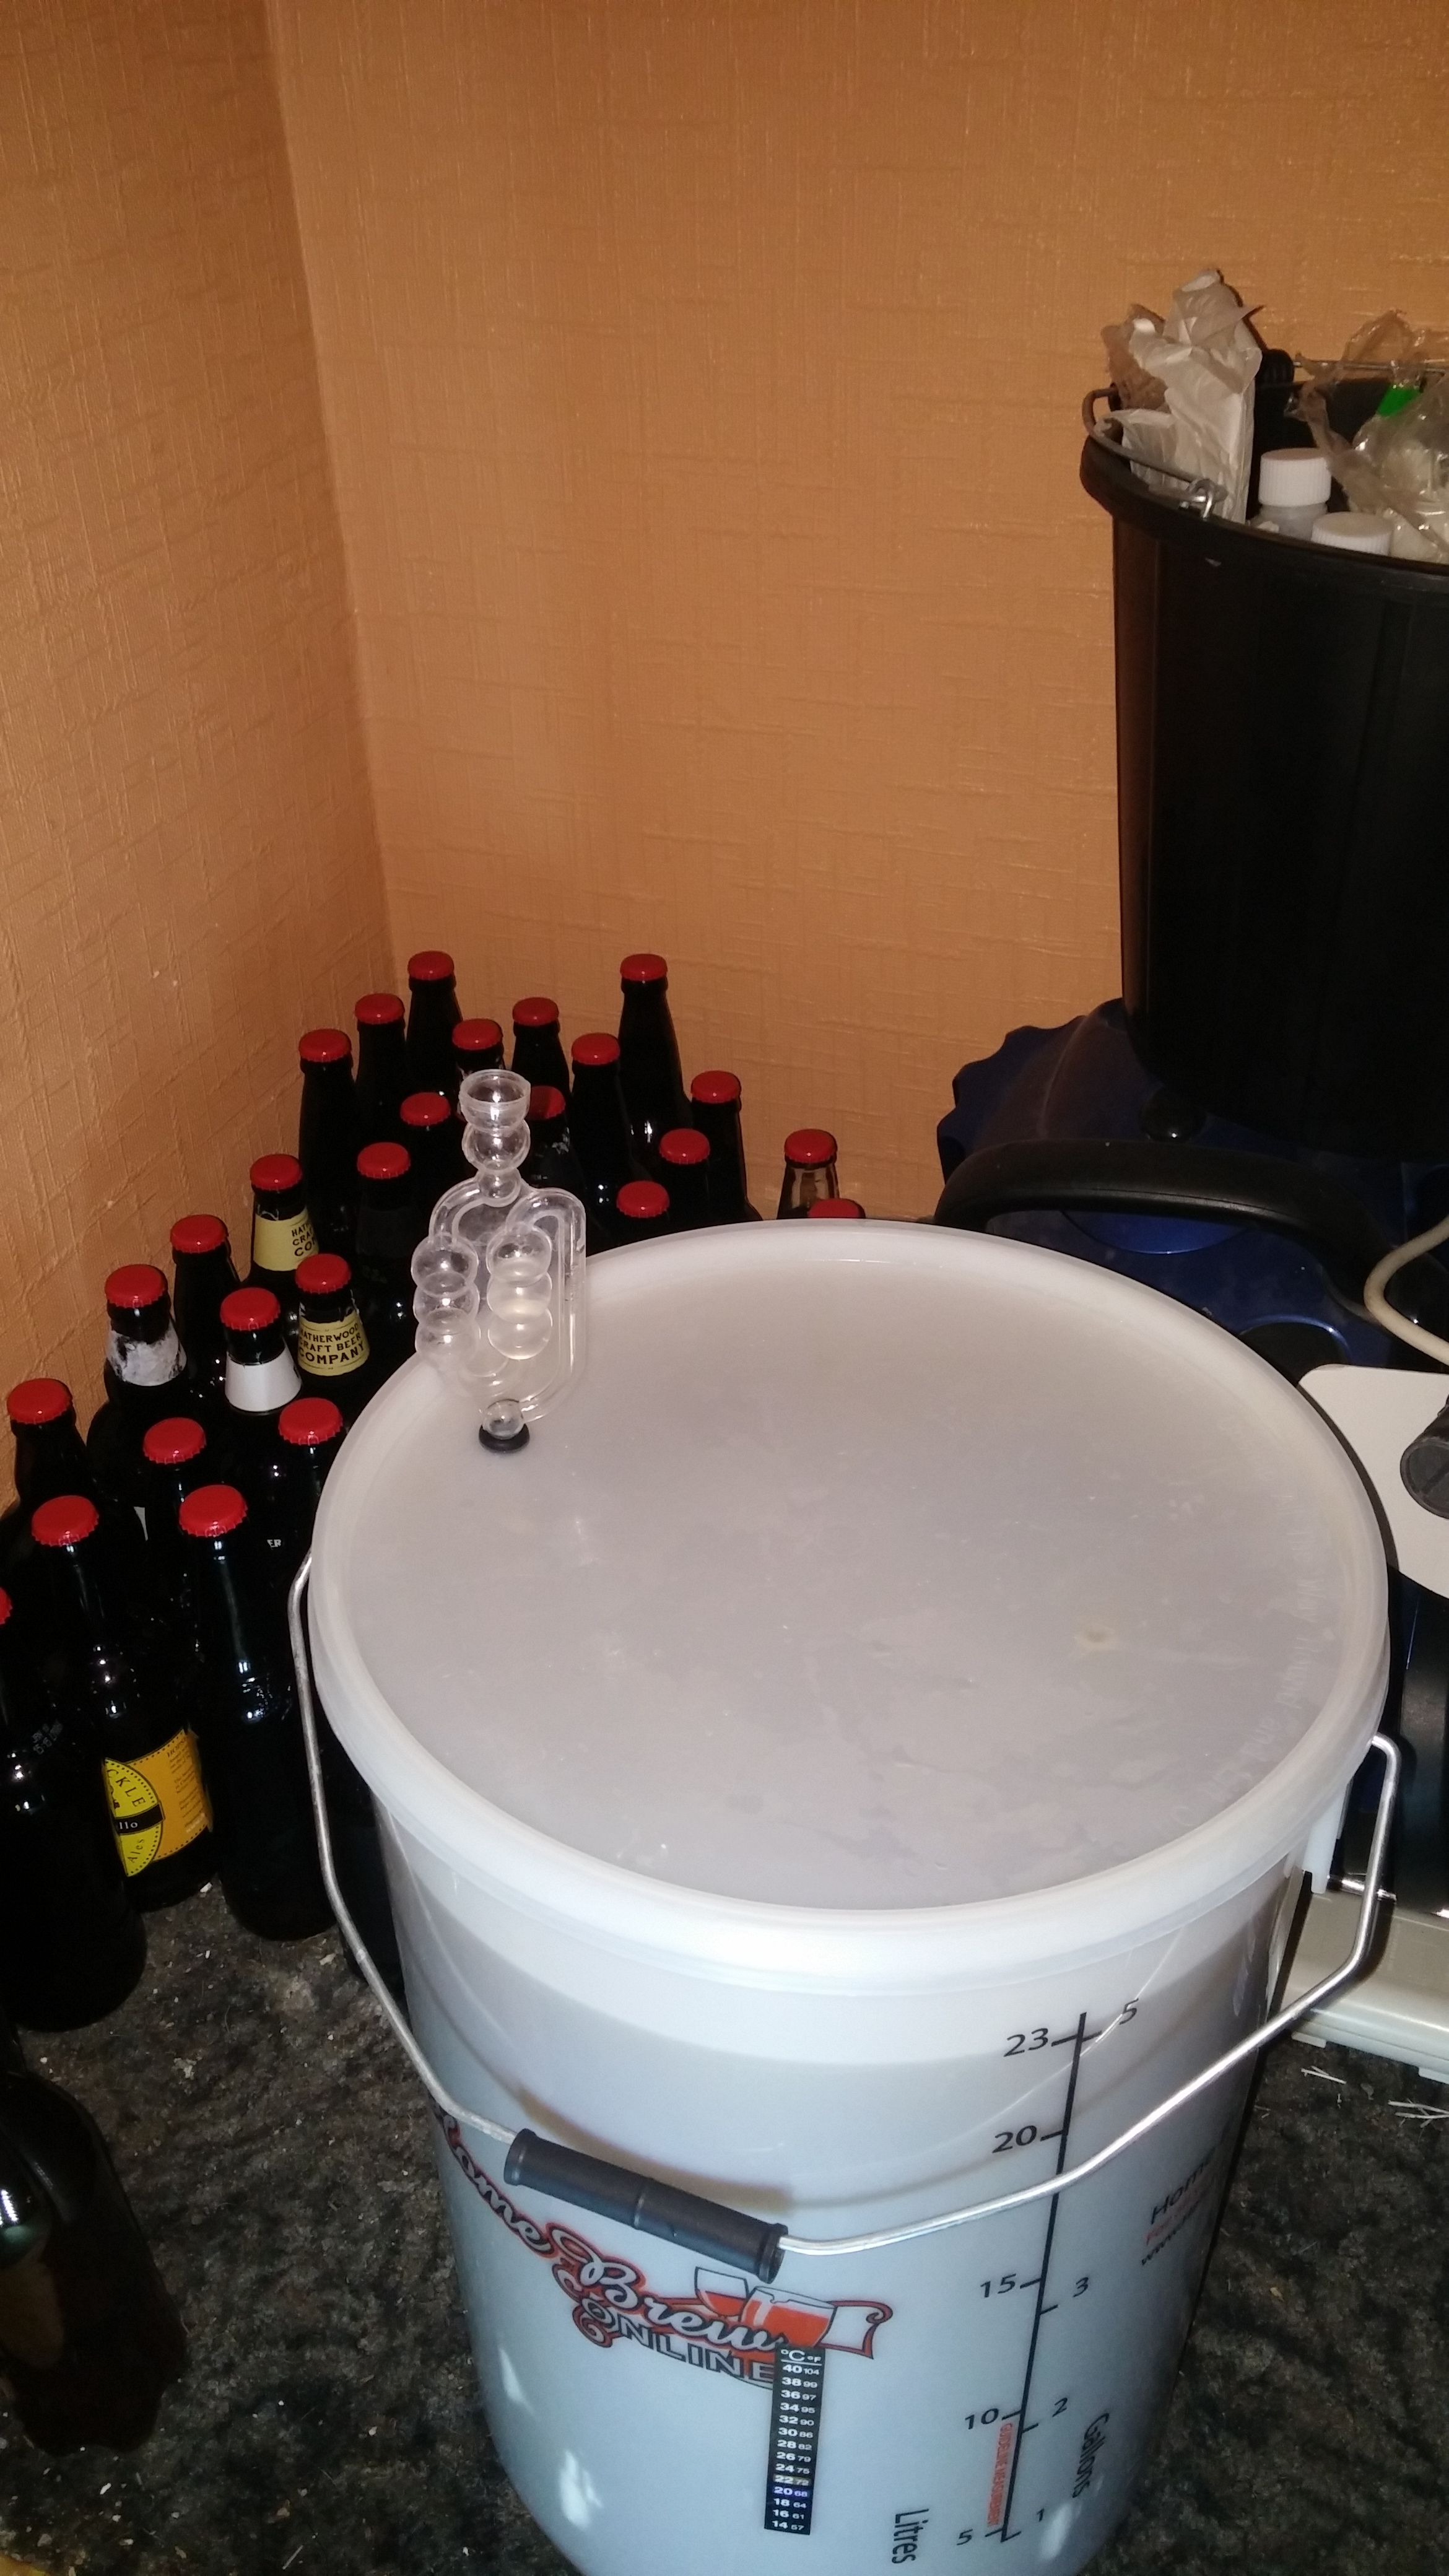 From now on, it's a waiting game. I will keep updating you on the progress and the next steps. Thanks for following this article so far, I plan do some giveaways once it's finished! Cheers PS: @buzzbeergeek and @beers I'd like to make you an offer you can't refuse; at least I wouldn't be able to refuse it. How would you feel about reviewing a couple of my previous beers? These are true small batch hand made beers and all that yada yada. Basically they're delicious and I'd like a more informed opinion and some healthy criticism on them. Thanks
👍 costopher, heatherrose, aevin21, dinescutudor, calinconst, celsius100, carolkean, minnowsupport, banjo, goldgoatsnguns, buzzbeergeek, randowhale, anwarabdullah, thewineman, hansenator, khairul5577, slugnoid, juanmiguelsalas, tomekkk, vanderict, acidyo, roelandp, renat242, pharesim, cosmo.crator, jordanpetrov, markslm, kingscrown, ihashfury, fminerten, inv, fmooo, steempty, bitcoinsig, micheal2025, lovleacloud, minneapplematt, rubenalexander, kiddarko, alittlebitofme, luey, janus27, brakan, shantamcbain, toniponi,