Tutorial: Creando y disfrutando de mi creación. Hermoso amanecer.// Tutorial: Creating and enjoying my creation. Beautiful sunrise.
hive-148441·@creacioneslelys·
0.000 HBDTutorial: Creando y disfrutando de mi creación. Hermoso amanecer.// Tutorial: Creating and enjoying my creation. Beautiful sunrise.
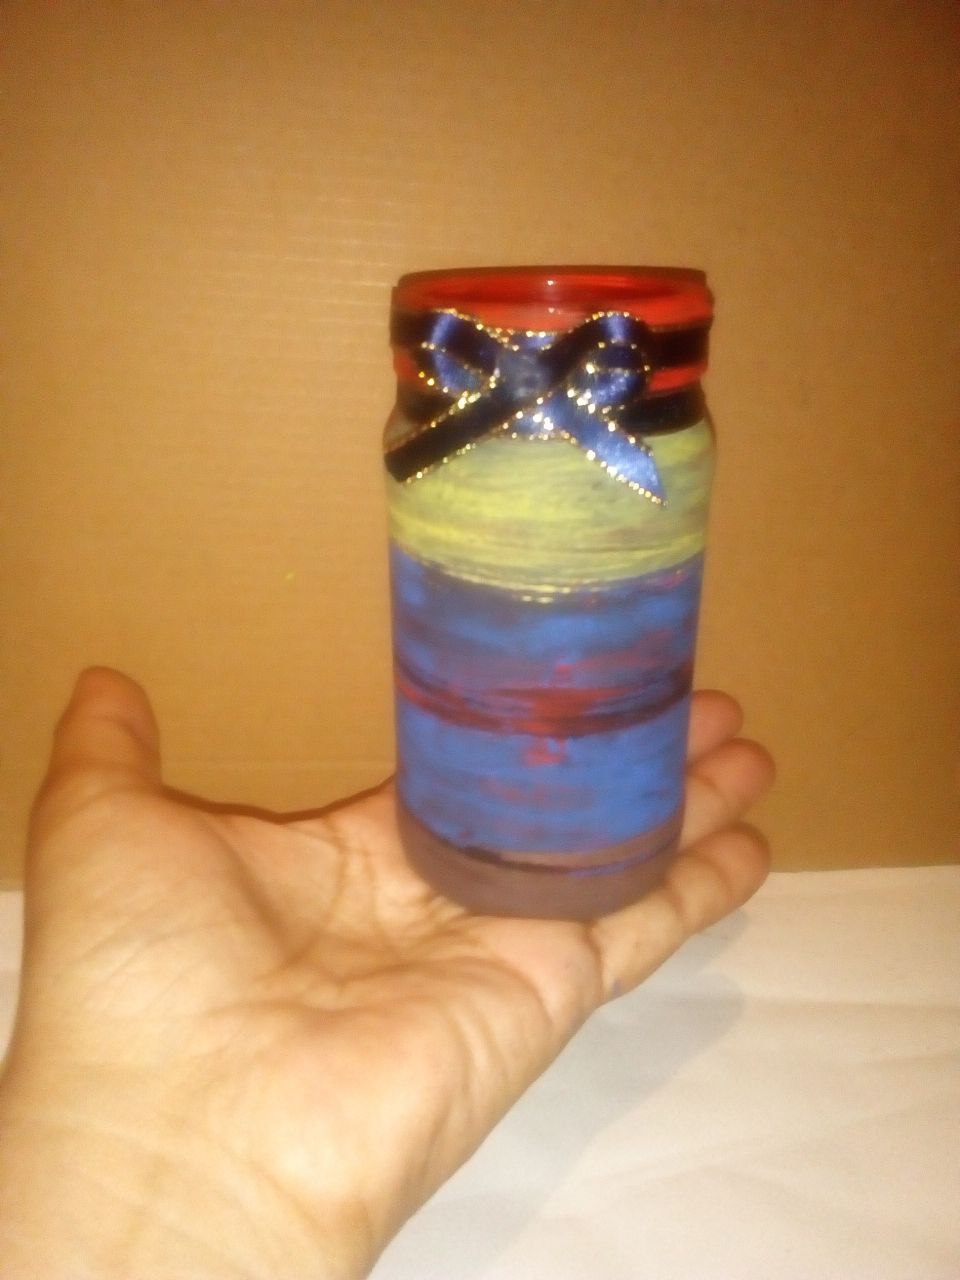 <div class="text-justify"> <div class="pull-left"> ### <center> Spanish </center> Hola! Mucho se habla de ser creativos o no. Para serlo basta con poner en marcha cualquiera de los proyectos que nos imaginemos. Con la practica estos irán mejorando e iremos incorporando nuevos elementos y detalles. En estos días he pensado mucho sobre lo que es tal definición. En lo personal opino que para crear debemos estar motivados: gusto o necesidad. La mayoría de las veces creamos por necesidad. Sin embargo existen circunstancias en la vida que nos inspiran, emocionan y nos llenan la cabeza de buenas ideas. Para el día de hoy quiero mostrarles una idea que surgió de manera repentina. Espero que les agrade el resultado tanto como a mi. Yo disfruto muchísimo de los proyectos que realizo, he sentido apego por varios de ellos y trato de mantenerlos cerca de mi. **MATERIALES: Frasco de vidrio. Hilo pabilo. Cinta adhesiva. Tijeras. Pinturas al frío. Pincel. Cinta de raso color azul con dorado. Pegamento.** 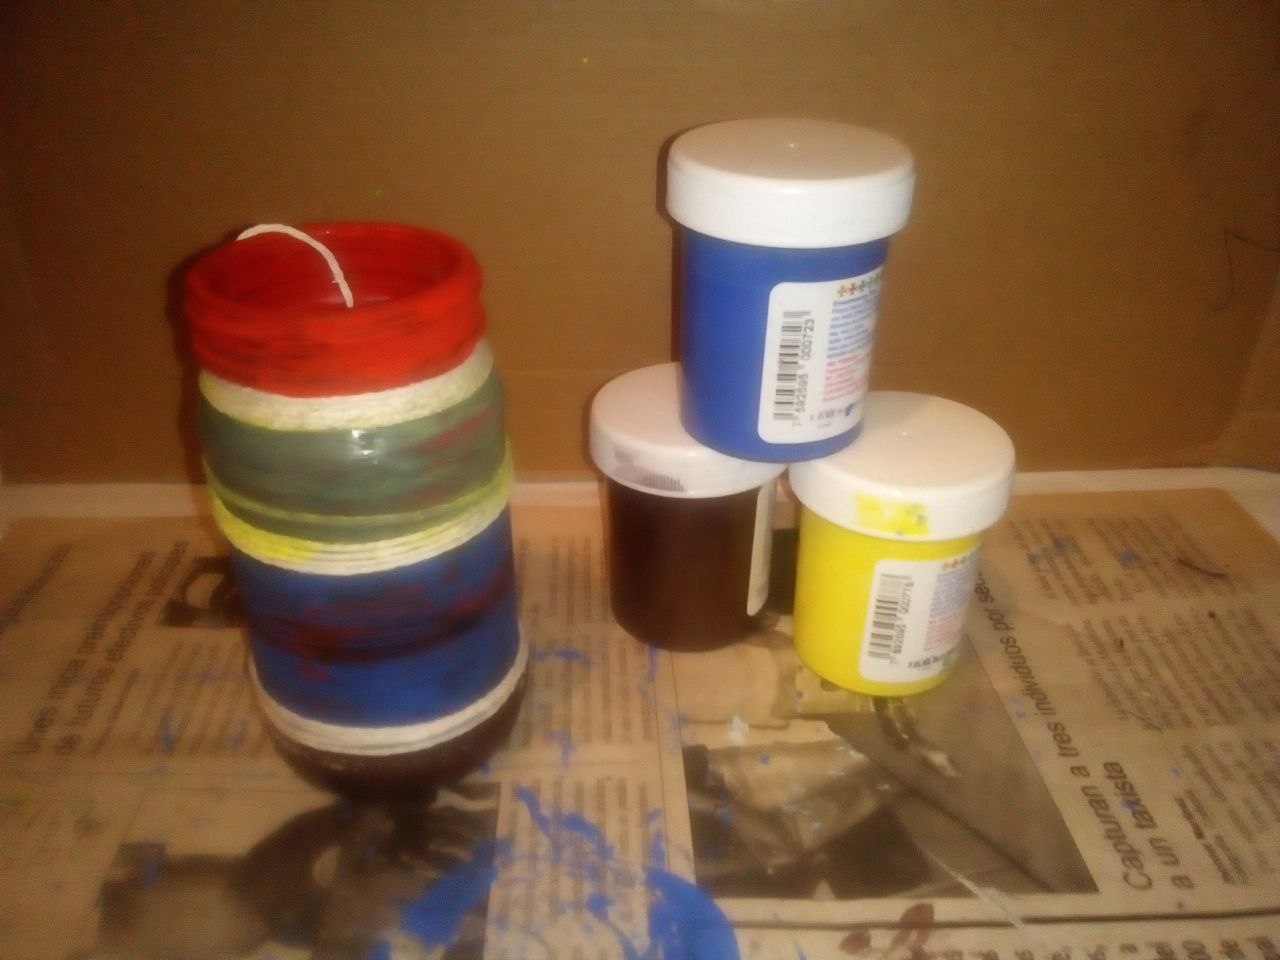 <center>**DECORANDO UN FRASCO DE VIDRIO**</center> 🌀Empezamos seleccionando el frasco. Lo lavamos y secamos muy bien. 🌀Pintamos con el color de nuestra preferencia. Yo elegí el rojo porque me encanta. Hice una sola base de color rojo. 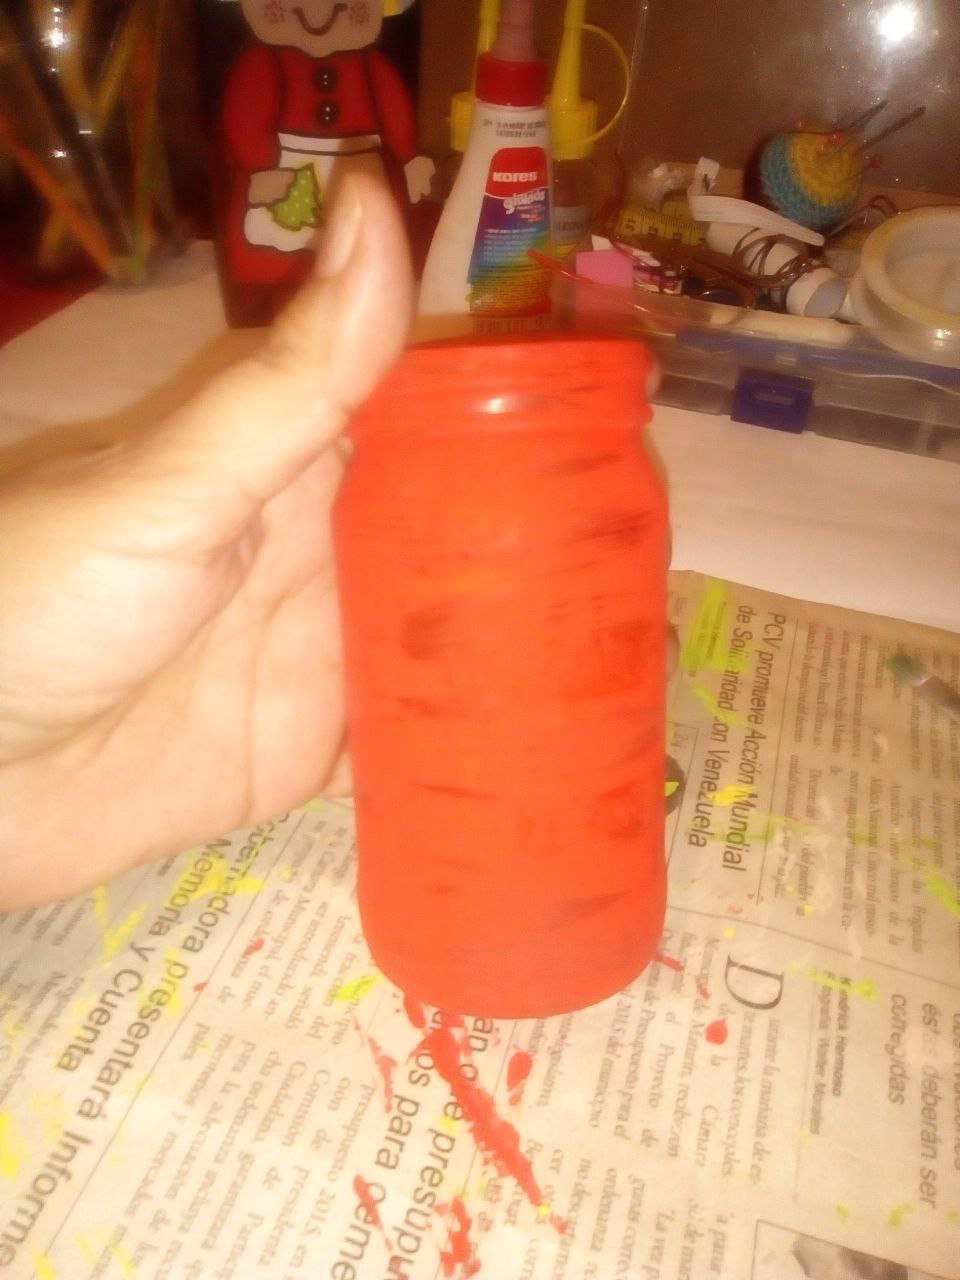 🔴Tomaremos el hilo pabilo, de color blanco en mi caso, puede ser de cualquier color. Con el hilo vamos a enrollar de manera tal que cubra en partes el espacio del frasco de vidrio. 🔴Sujetamos ambos extremos del hilo (empezando y terminando de enrollar) con un pedacito de cinta adhesiva transparente. 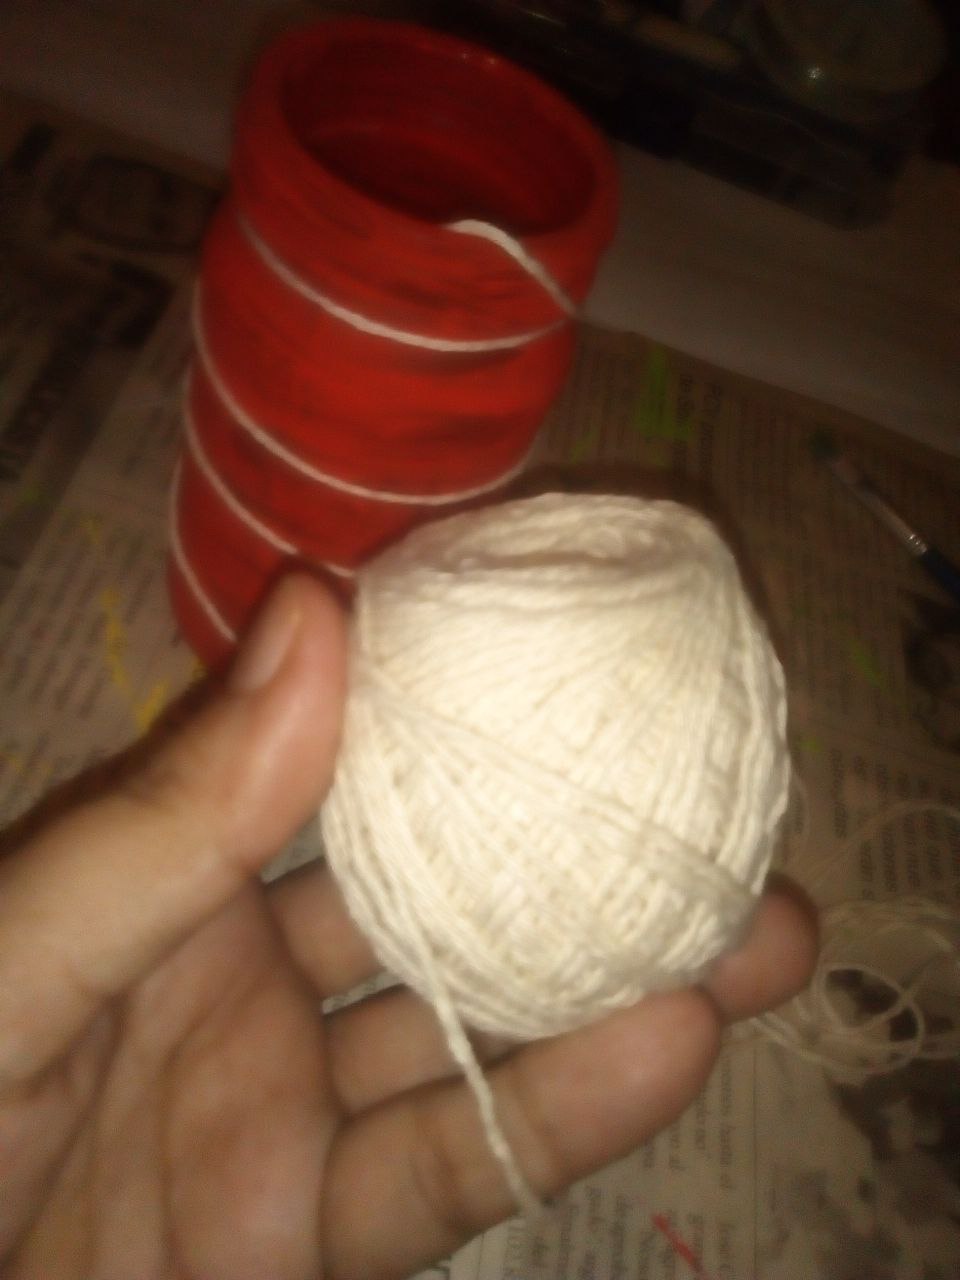 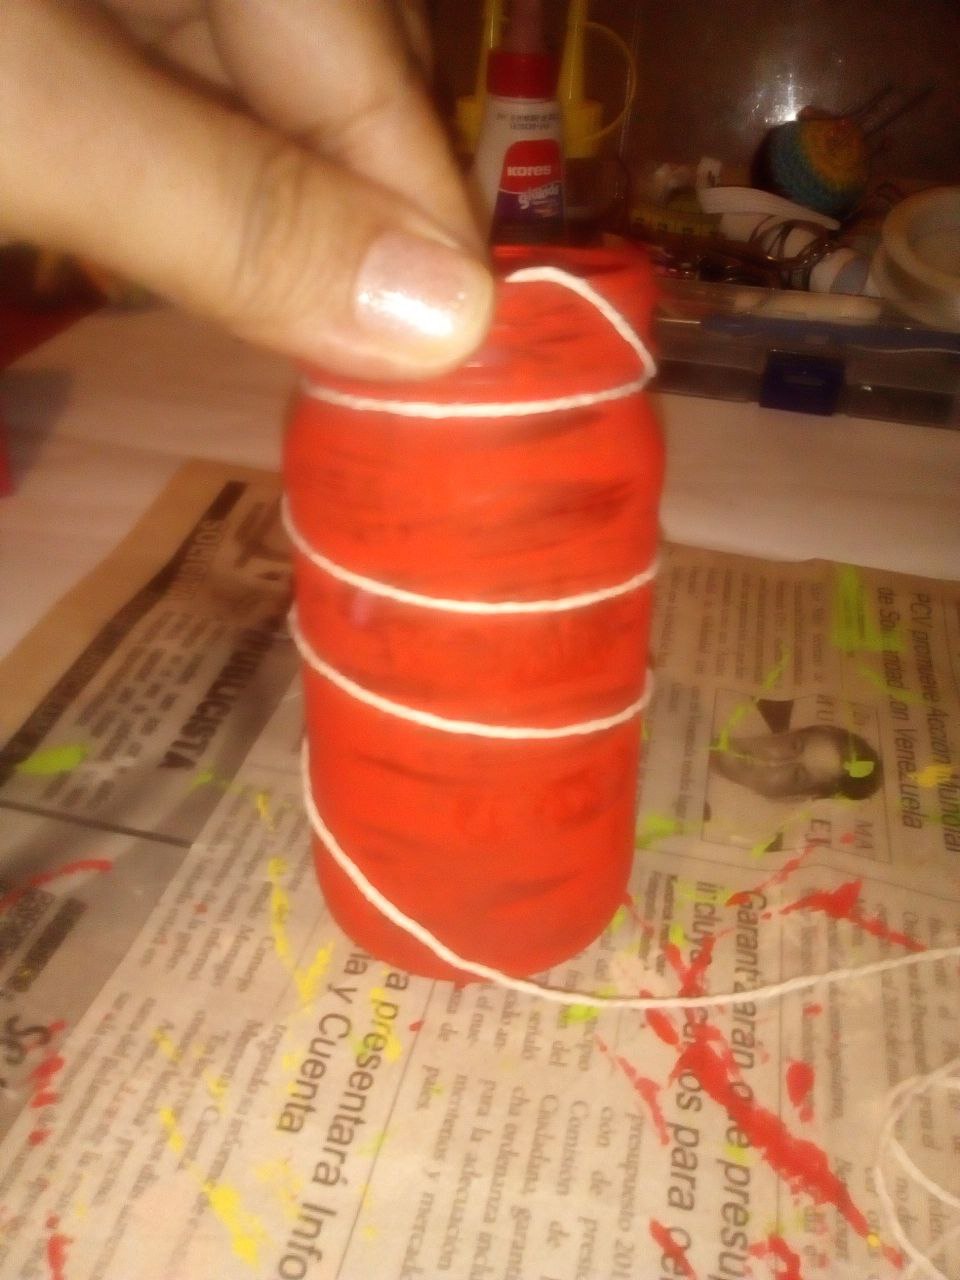 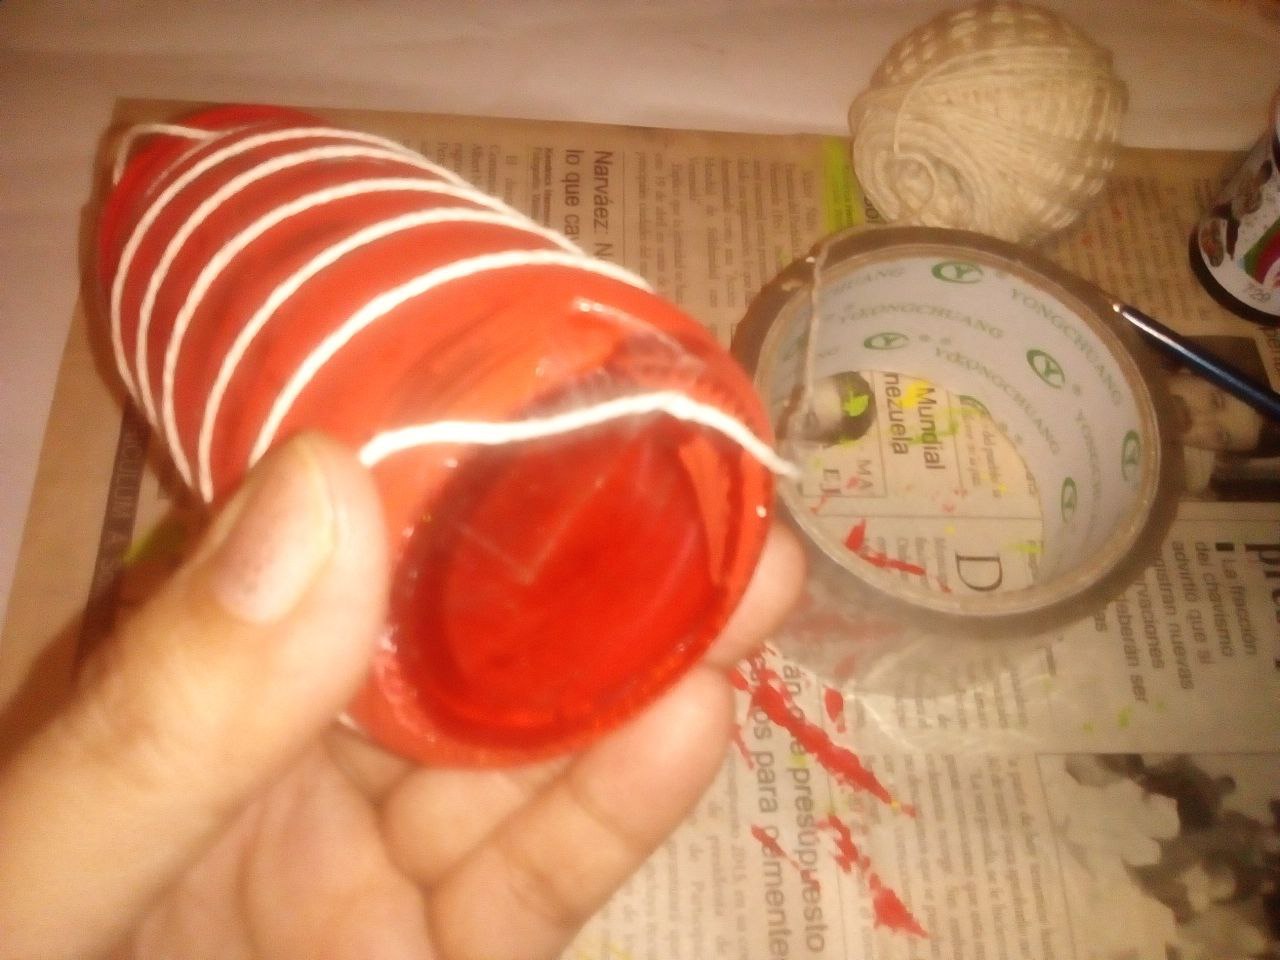 ❇️Elegimos un color diferente al de la base y cubrimos el frasco en su totalidad, pasando la brocha o pincel por encima del hilo pabilo. Dejaremos secar muy bien. ❇️Una vez bien seco retiraremos el hilo pabilo.  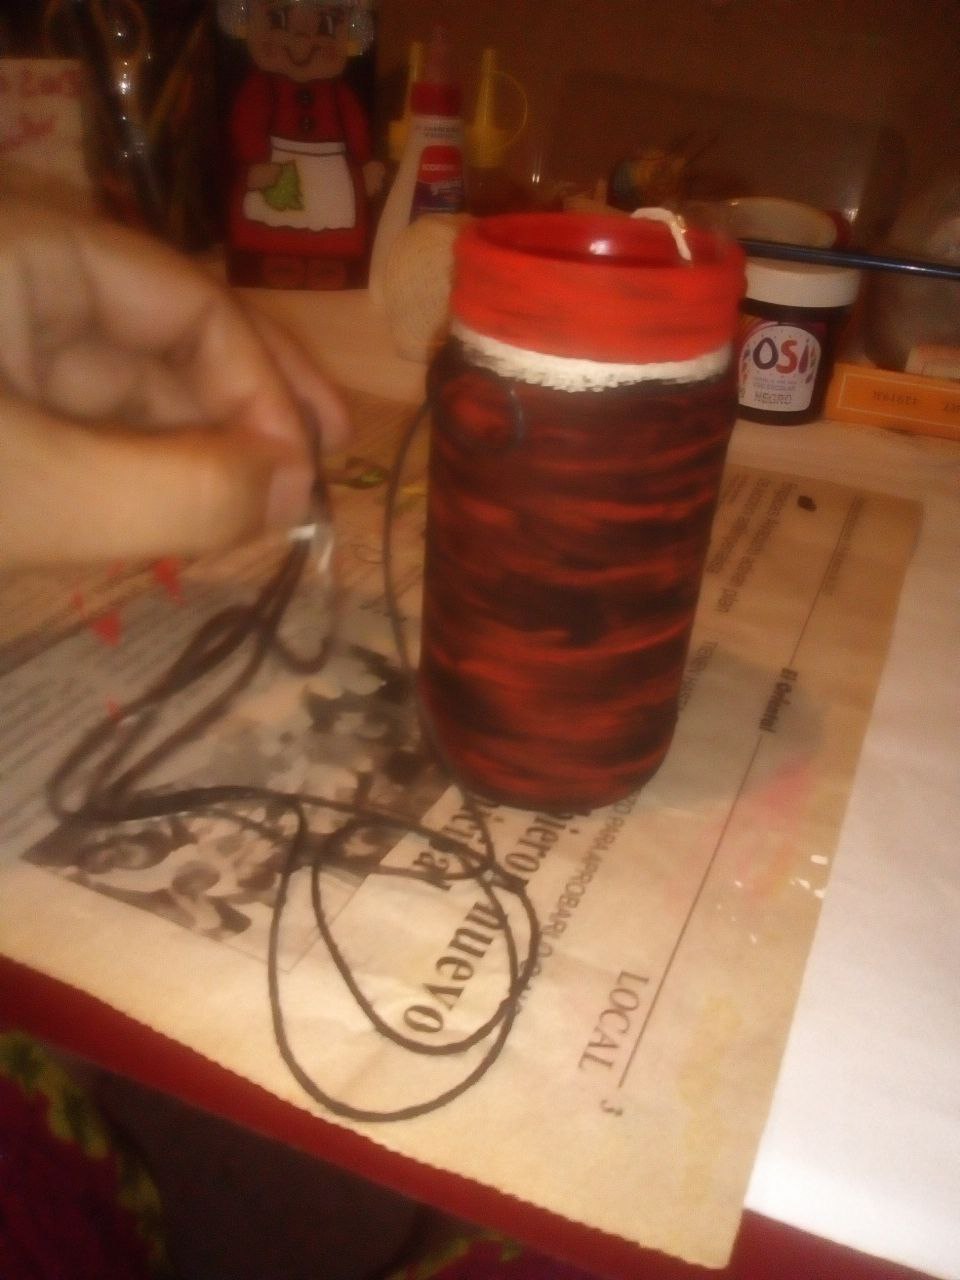  ✳️Si es tu gusto haces unas vueltas mas de hilos en diferentes proporciones. Pintas nuevamente con un color diferente a los dos anteriores. Déjalo secar muy bien. ✳️Retira cuidadosamente el hilo. Puedes continuar el proceso hasta lograr la combinación o mezcla de colores que mas te agraden. ✳️Decora con la cinta de raso azul. Hice un lazo pequeno y lo peqgue sobre la cinta. 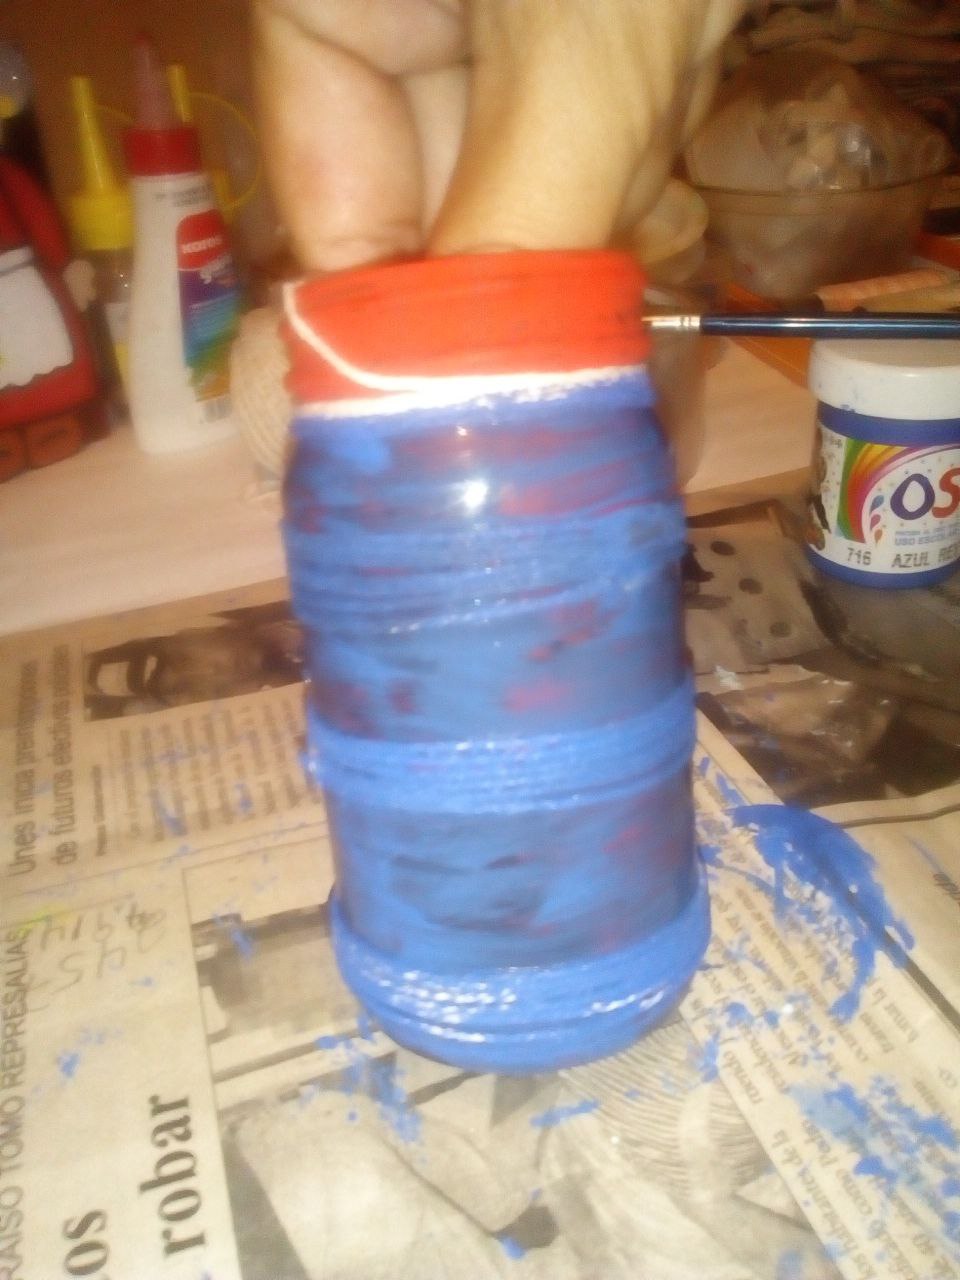  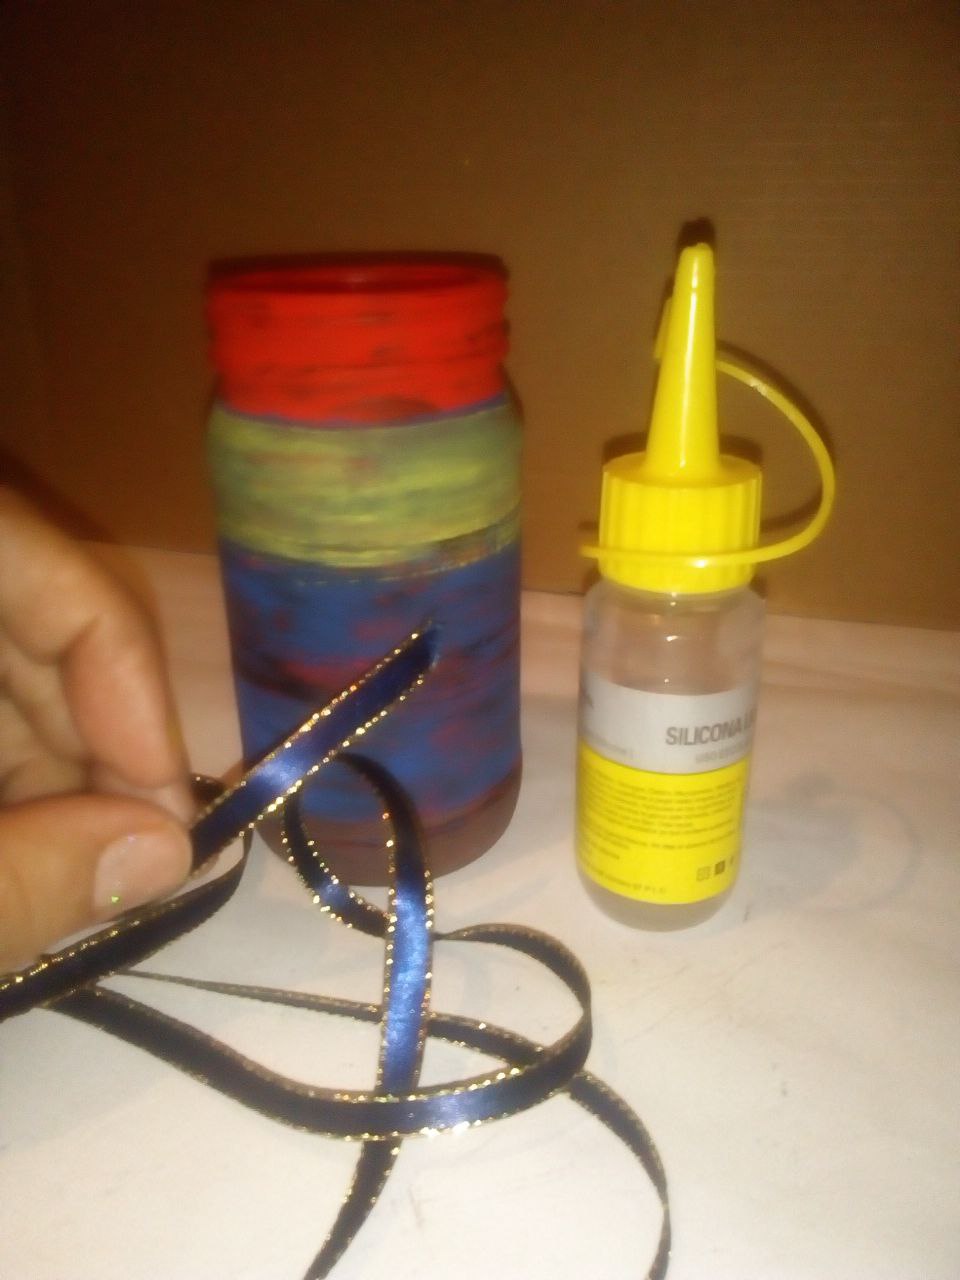 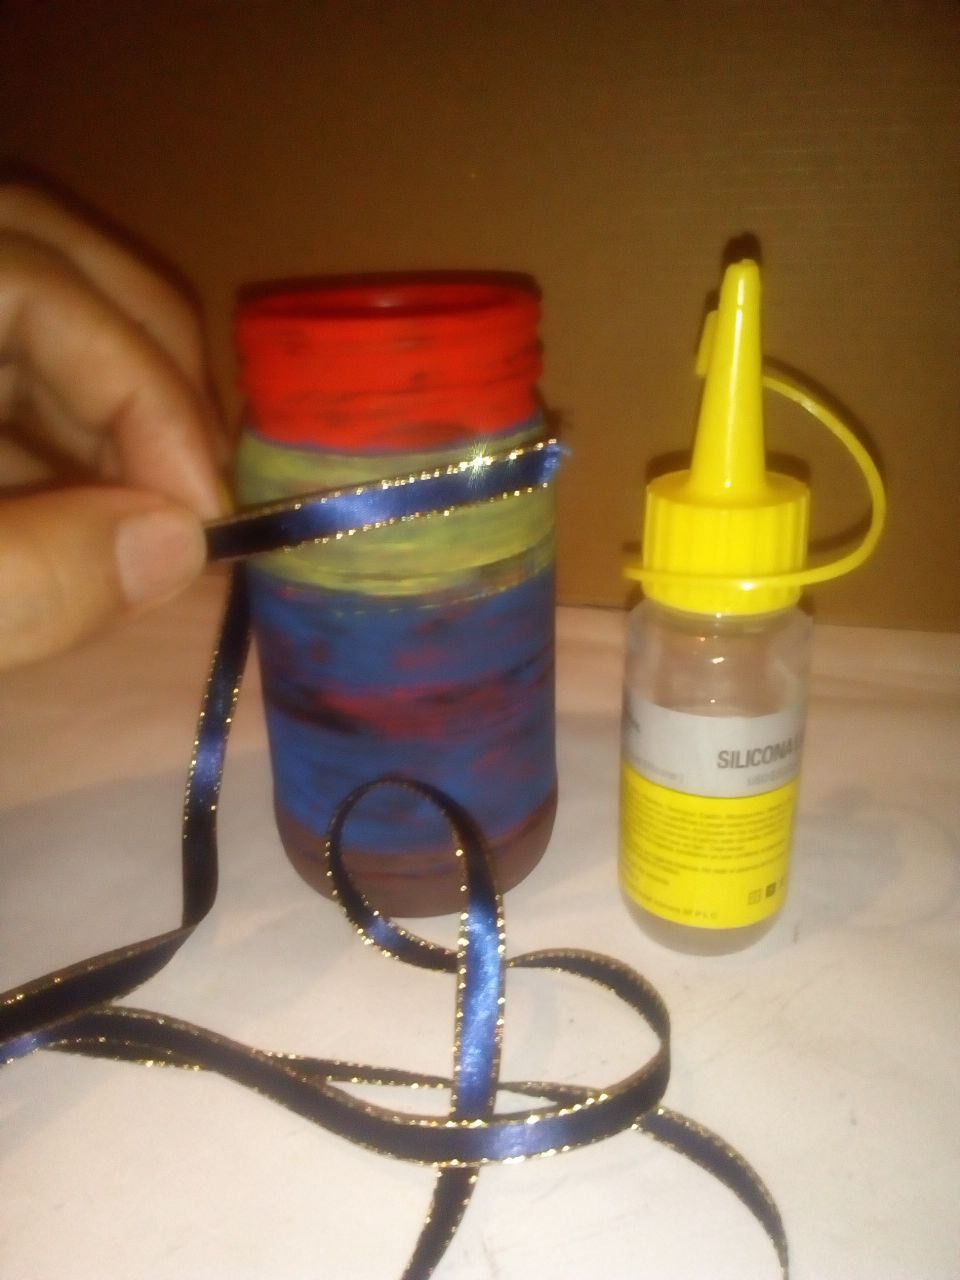 ✴️Estoy encantada con el resultado. Conserve el color rojo al inicio del frasco para comparar los cambios. En realidad esta precioso. En este frasco podemos guardar los objetos que tengamos por allí mal acomodados, en mi caso guardare los alfileres o imperdibles, que por ser tan pequeños se me pueden extraviar. 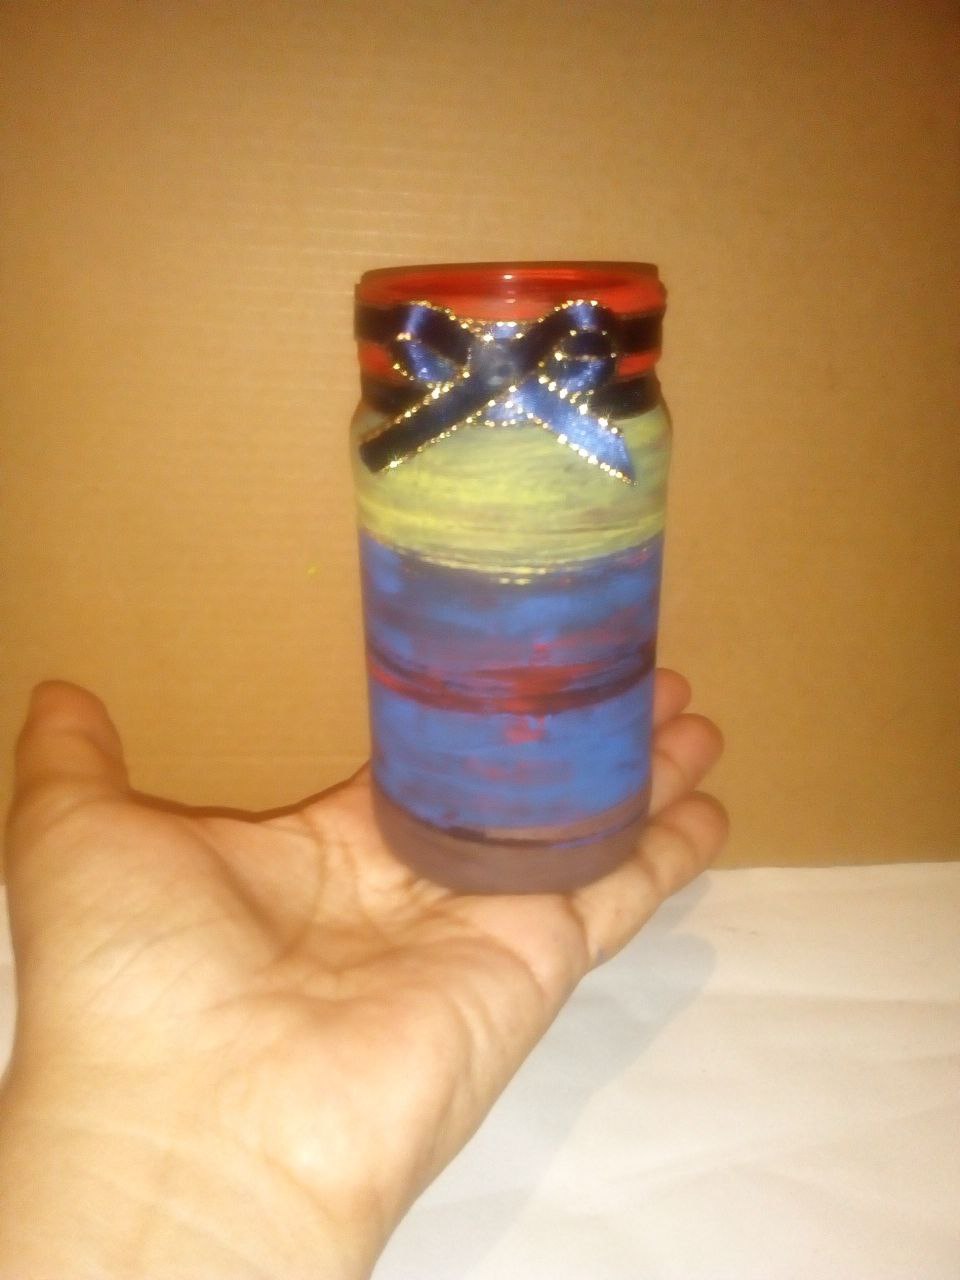 **Atrévete a crear. Ponle color a tus ideas. Si te lo puedes imaginar lo puedes lograr. Este es un aporte de @creacioneslelys para ti.** Fotos de mi propiedad tomadas con mi telefono Nokia1. Edite con Polish, InCollage y Canva. Uso siempre traductor de Google. </div> <div class="pull-right"> ### <center> English </center> Hi! Much is said about being creative or not. To be it, it is enough to start any of the projects that we imagine. With practice these will improve and we will incorporate new elements and details. These days I have thought a lot about what such a definition is. Personally, I think that to create we must be motivated: taste or need. Most of the time we create out of necessity. However, there are circumstances in life that inspire us, excite us and fill our heads with good ideas. For today I want to show you an idea that came up suddenly. I hope you like the result as much as I do. I really enjoy the projects I do, I have felt attached to several of them and I try to keep them close to me. **MATERIALS: Glass bottle. Wick thread. Scotch tape. Pair of scissors. Cold paints. Brush. Blue satin ribbon with gold. Glue.** 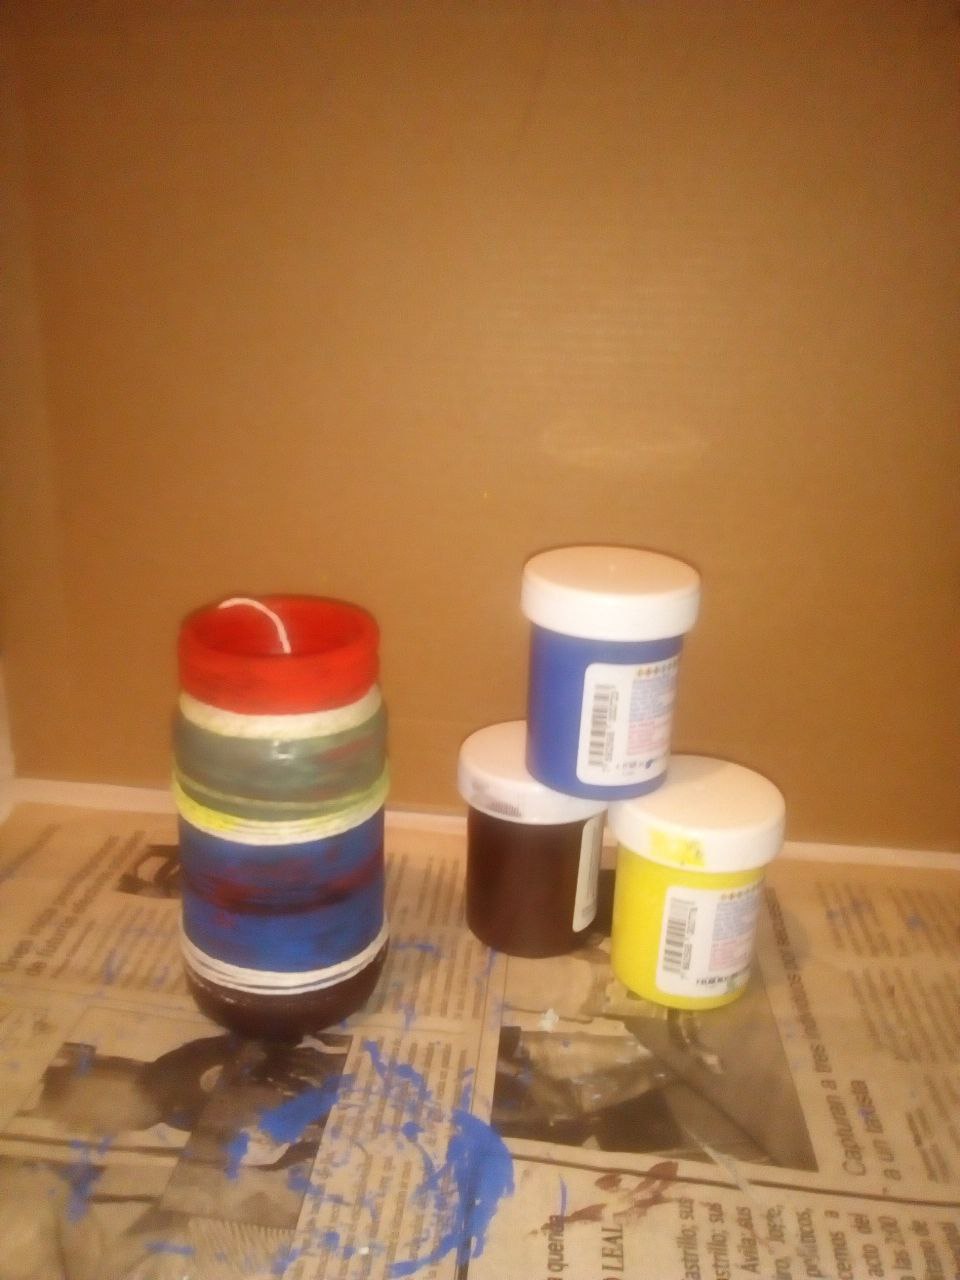 <center> **DECORATING A GLASS JAR** </center> 🌀We start by selecting the bottle. We wash and dry it very well. 🌀 We paint with the color of our preference. I chose red because I love it. I made a single red base.  🔴We will take the wick thread, white in my case, it can be any color. With the thread we are going to roll in such a way that it covers in parts the space of the glass jar. 🔴We hold both ends of the thread (starting and ending winding) with a piece of transparent adhesive tape.    ❇️We choose a different color from the base and cover the bottle in its entirety, passing the brush over the wick thread. We will let it dry very well. ❇️Once dry we will remove the wick thread.    ✳️If you like, make a few more turns of threads in different proportions. You paint again with a different color than the previous two. Let it dry very well. ✳️ Carefully remove the thread. You can continue the process until you achieve the combination or mixture of colors that you like the most. ✳️ Decorate with the blue satin ribbon. I made a small bow and glued it over the ribbon.     ✴️ I am delighted with the result. Keep the color red at the beginning of the bottle to compare the changes. It's actually beautiful. In this jar we can keep the objects that we have there badly arranged, in my case I will keep the pins or safety pins, which because they are so small they can be lost.  **Dare to create. Color your ideas. If you can imagine it, you can achieve it. This is a contribution from @creacioneslelys for you.** Photos of my property taken with my Nokia1 phone. Edit with Polish, InCollage, and Canva. I always use Google translator. </div>