DIY: Original and Practical pencil holder with tin and pebbles !! // DIY: Original y Práctico portalápices con lata y piedritas!! 🐟🐳by Danhyelita24
hive-148441·@danhyelita24·
0.000 HBDDIY: Original and Practical pencil holder with tin and pebbles !! // DIY: Original y Práctico portalápices con lata y piedritas!! 🐟🐳by Danhyelita24
🌀🐟🐳🐋🐠🦀🐡🌀🐟🐳🐋🐠🦀🐡 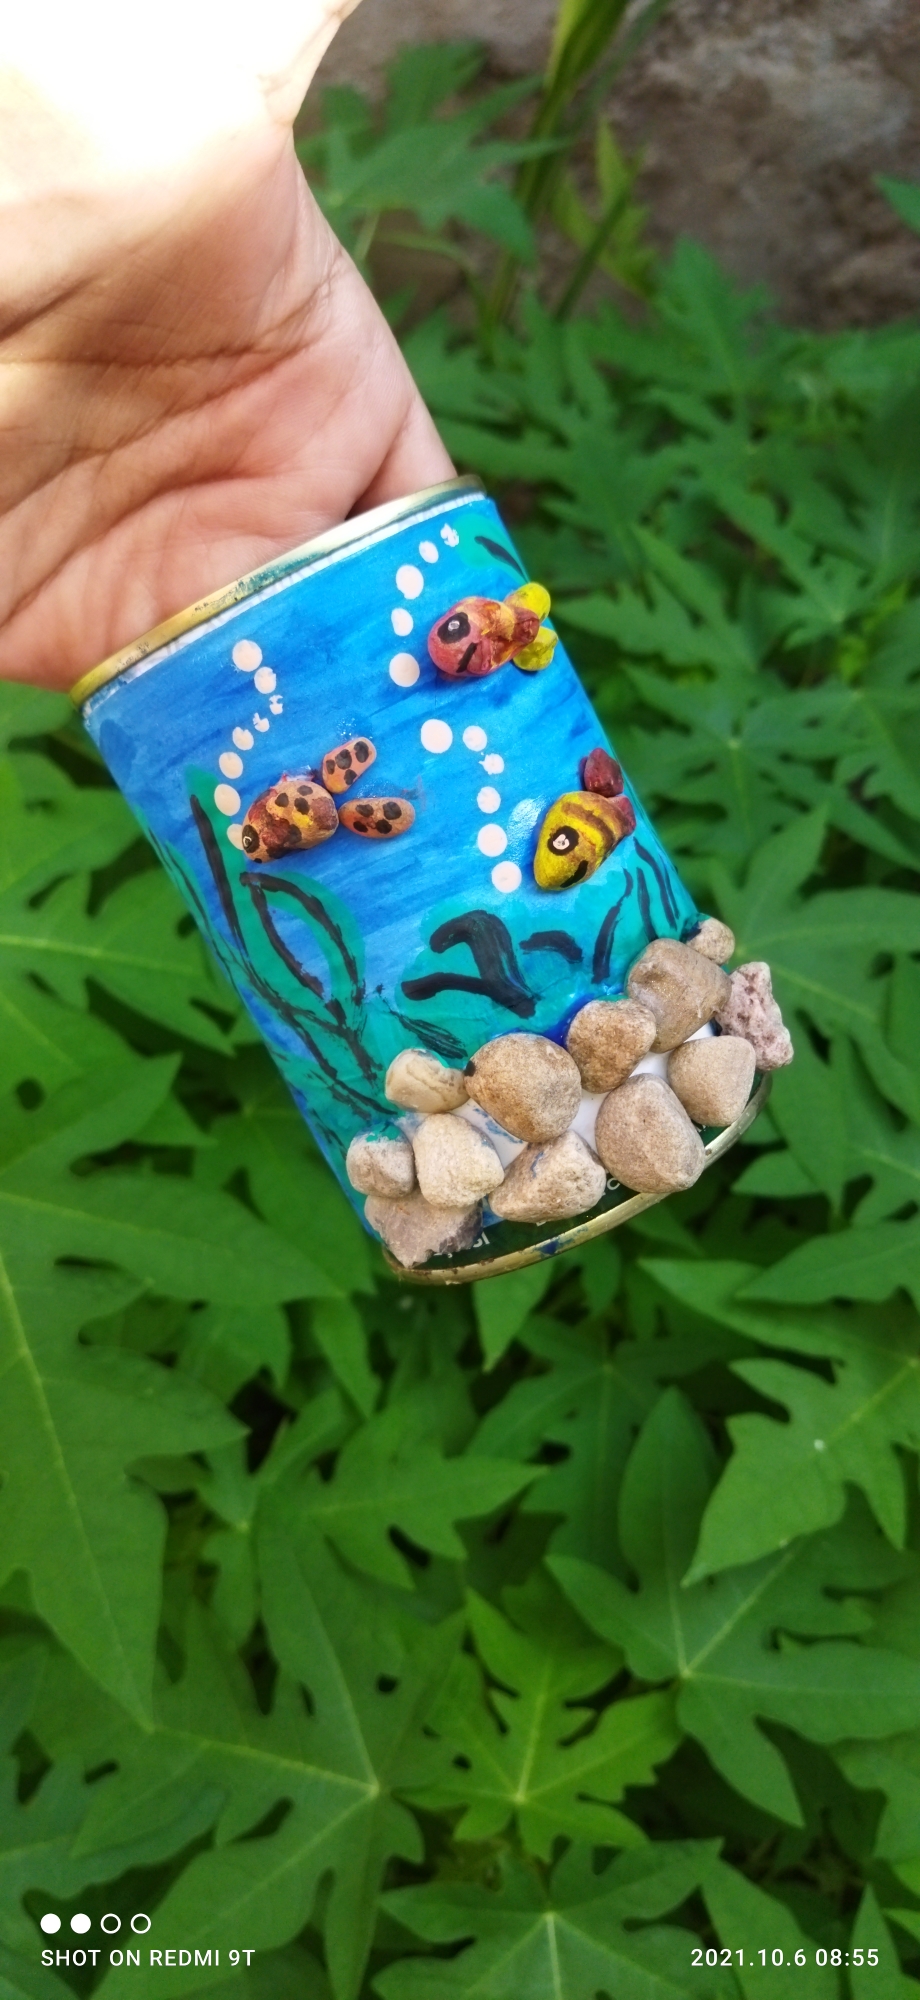 🌀🐟🐳🐋🐠🦀🐡🌀🐟🐳🐋🐠🦀🐡 <Center>***Friends, it is a pleasure to be able to share once again with you in this wonderful community. Today I bring you a very creative and practical craft where we can put our imagination to fly and create charming designs.***</Center> <Center>Amigos que gusto poder compartir una vez más con ustedes en esta maravillosa comunidad. Hoy les traígo una manualidad muy creativa y práctica dónde podemos poner la imaginación a volar y crear diseños encantadores.</Center> 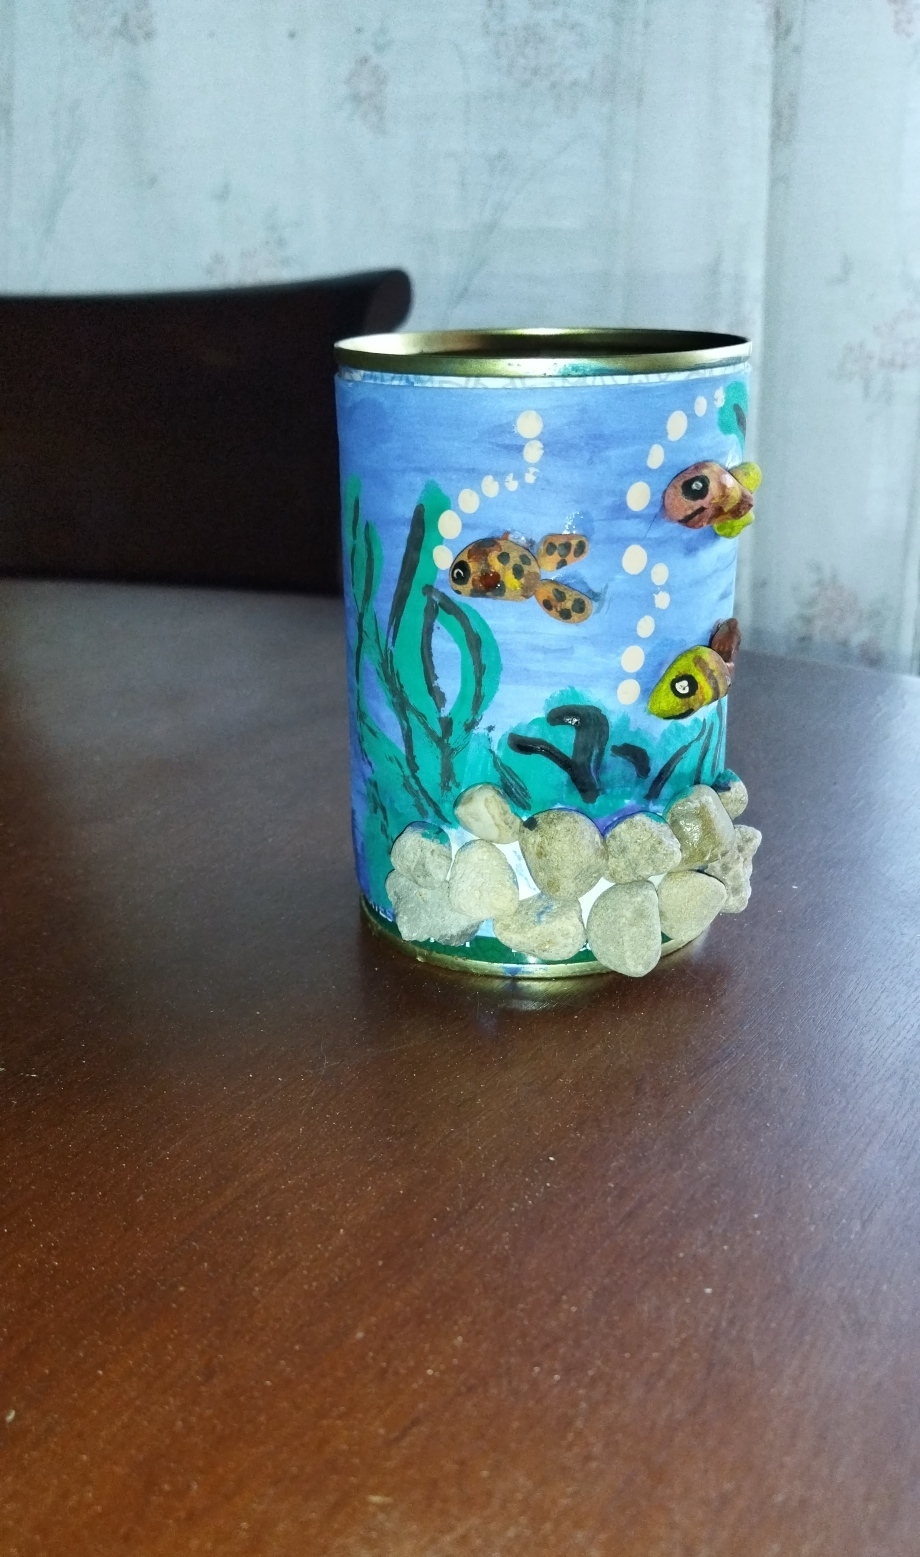 <Center>***It is a pencil holder made with a tin and pebbles, elements that we can easily find at home and with which we can create decorative and useful elements, thus giving them a second chance of useful life.***</Center> <Center>Se trata de un portalápices elaborado con una lata y piedritas, elementos que fácilmente podemos encontrar en casa y con los cuales podemos crear elementos decorativos y útiles, dando así una segunda oportunidad de vida útil a los mismos.<Center> 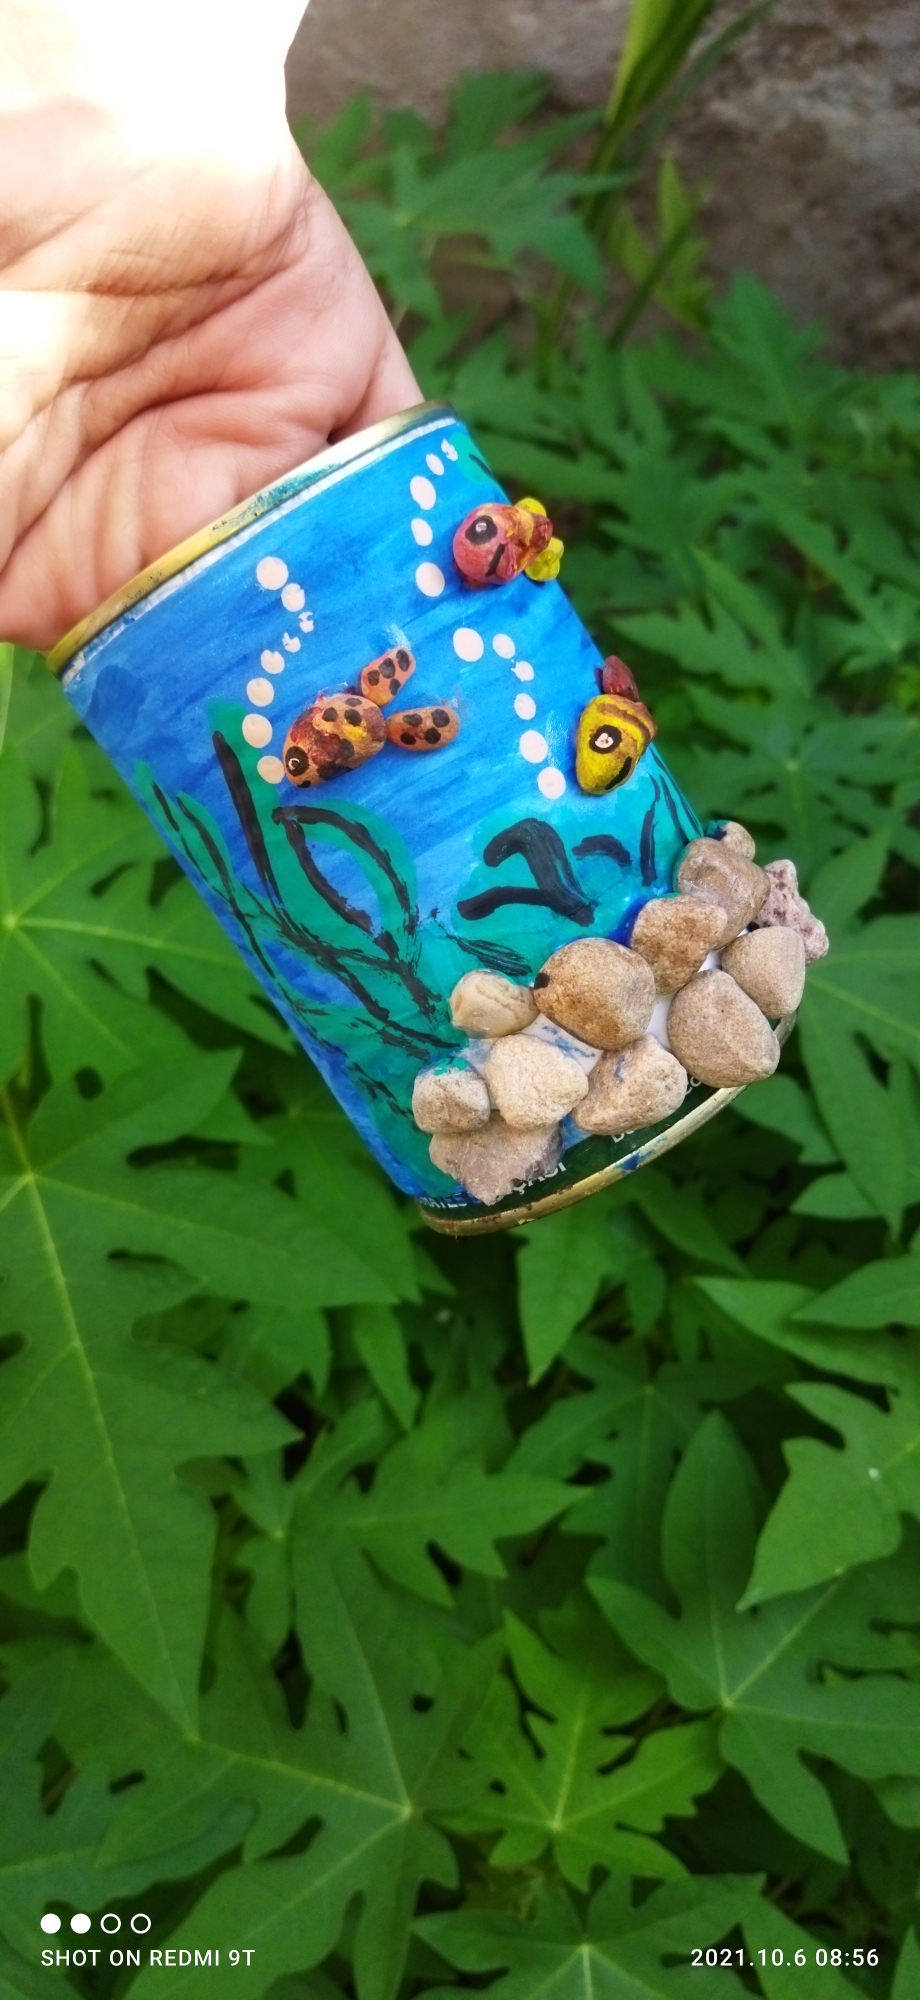 <Center>***For its realization the materials used were: Aluminum can, river stones, paints, white glue and brushes.***</Center> <Center>Para su realización los materiales utilizados fueron: Lata de aluminio, piedras de río, pinturas, pega blanca y pinceles.</Center> 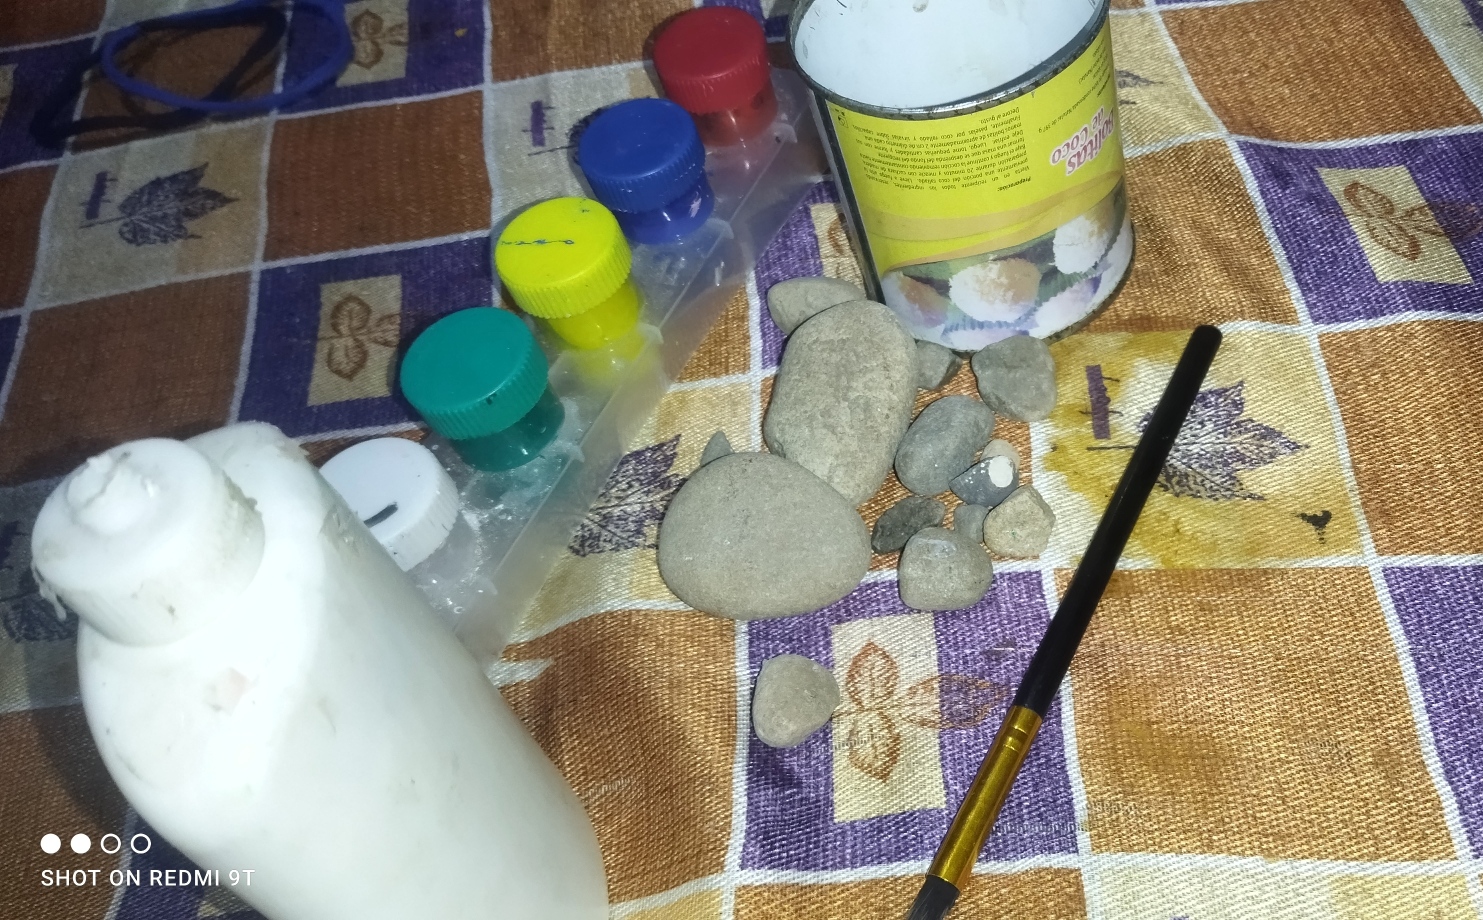 <Center>***📝STEP BY STEP📝***</Center> <Center>📝PASO A PASO📝</Center> <Center>***First we take the can and clean it well, covering it with a piece of Bond paper. I proceeded to glue the Rio pebbles to the bottom edge of the can with the white glue.📌***</Center> <Center>En primer lugar tomamos la lata y limpiamos bien, cubriéndola con un trozo de papel Bond. Procedí a pegar con el pegamento blanco las piedritas del Río en el borde inferior de la lata.</Center> 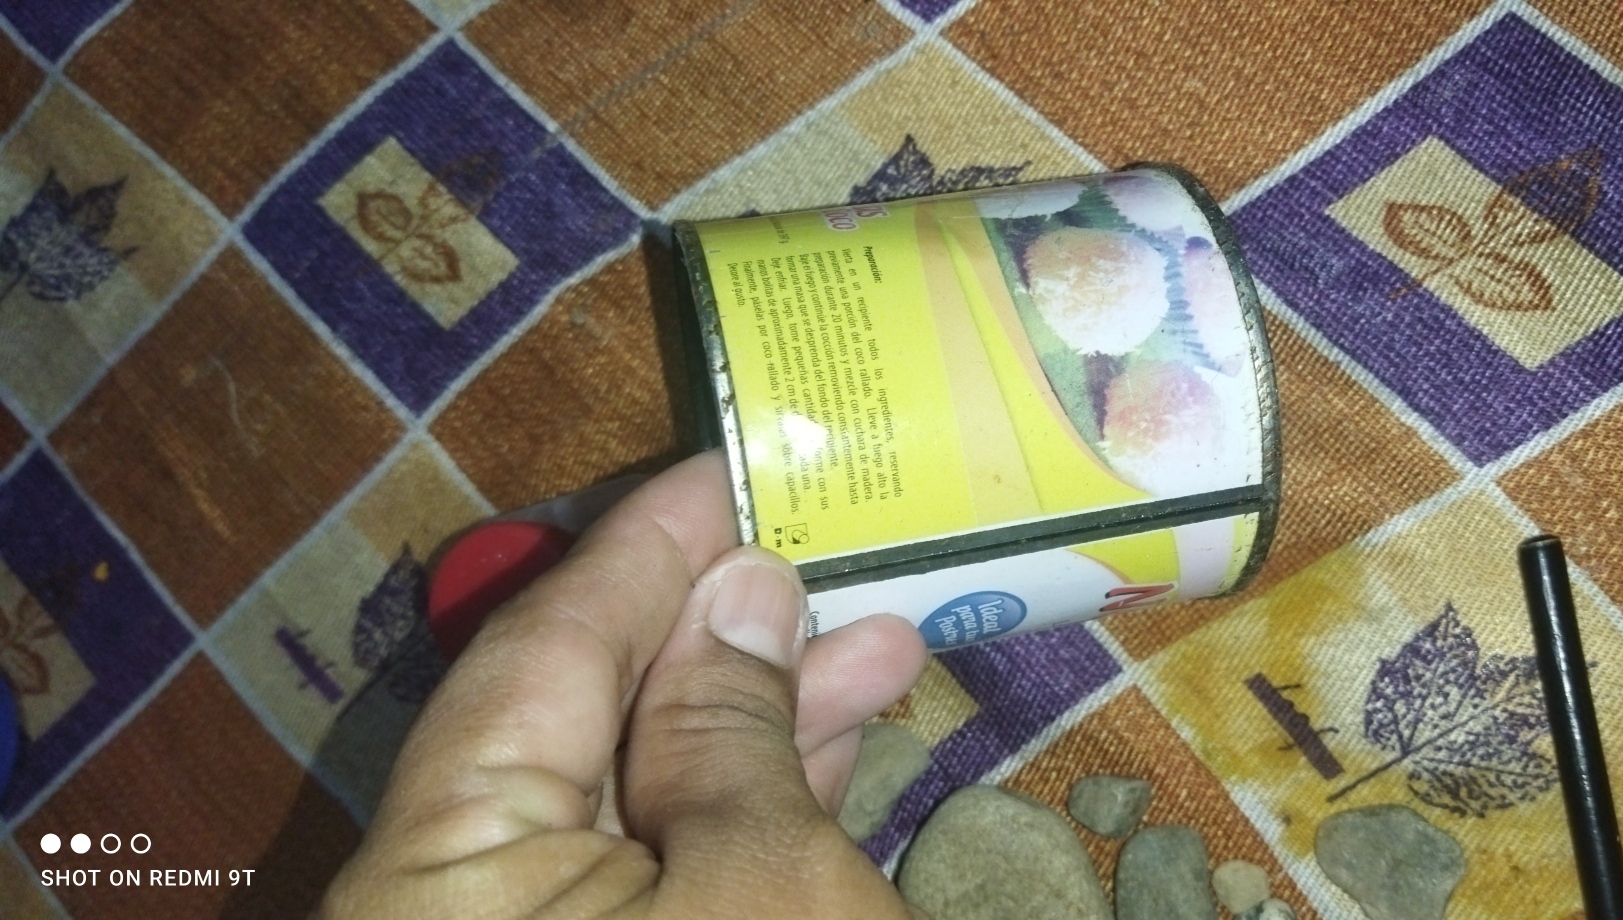 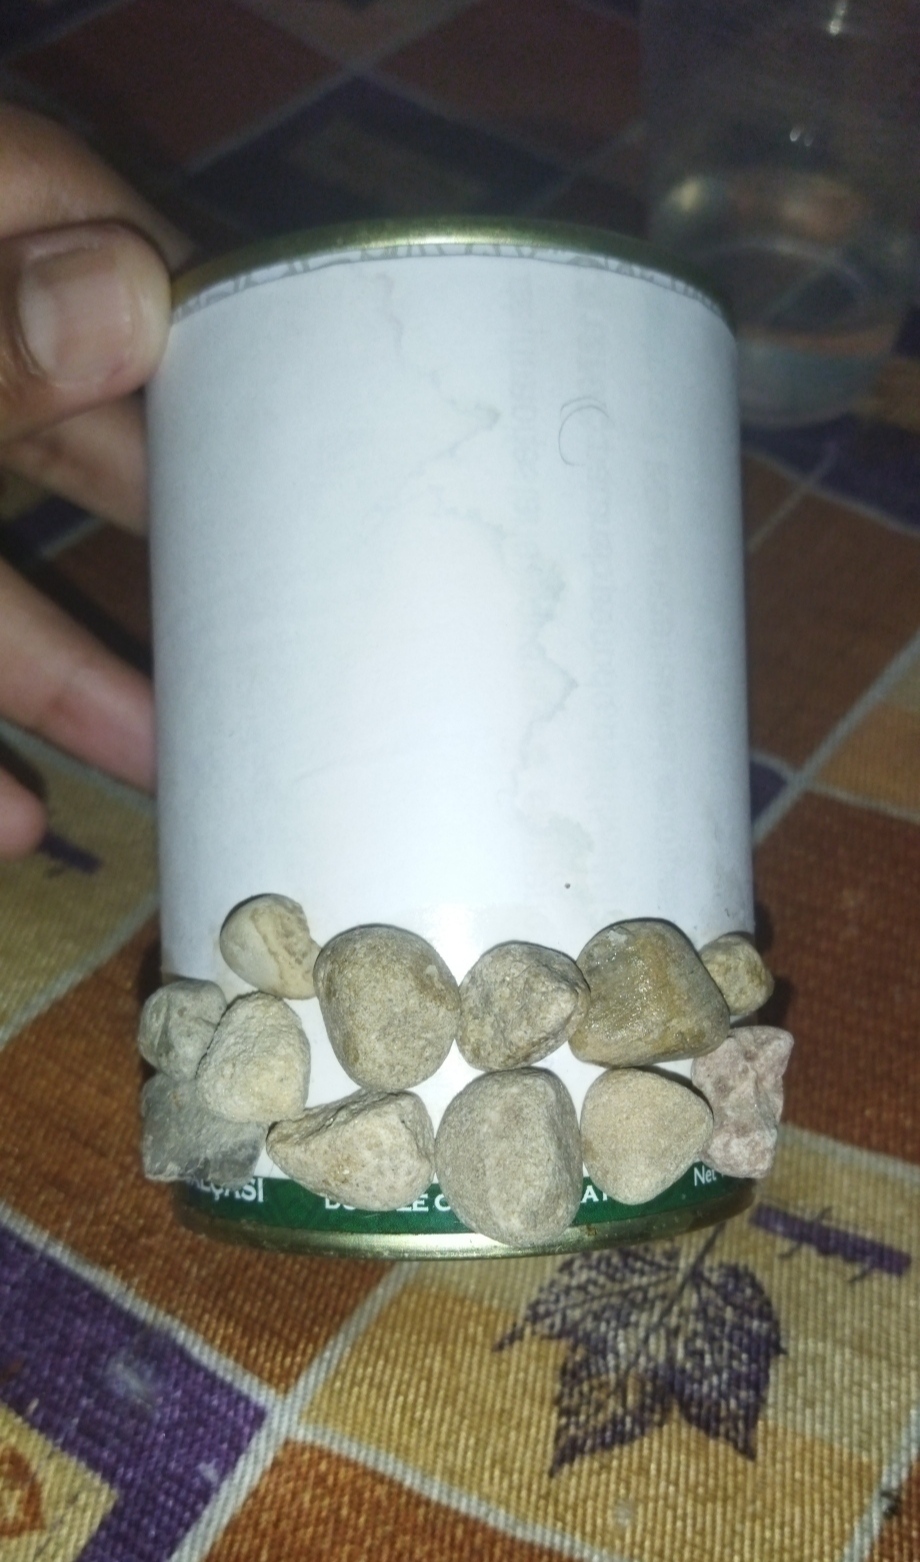 <Center>***Once the glue has dried, we are going to paint the rest of the can with blue tones.📌***</Center> <Center>Una vez secado el pegamento vamos a pintar con tonos azules todo el resto de la lata.</Center> 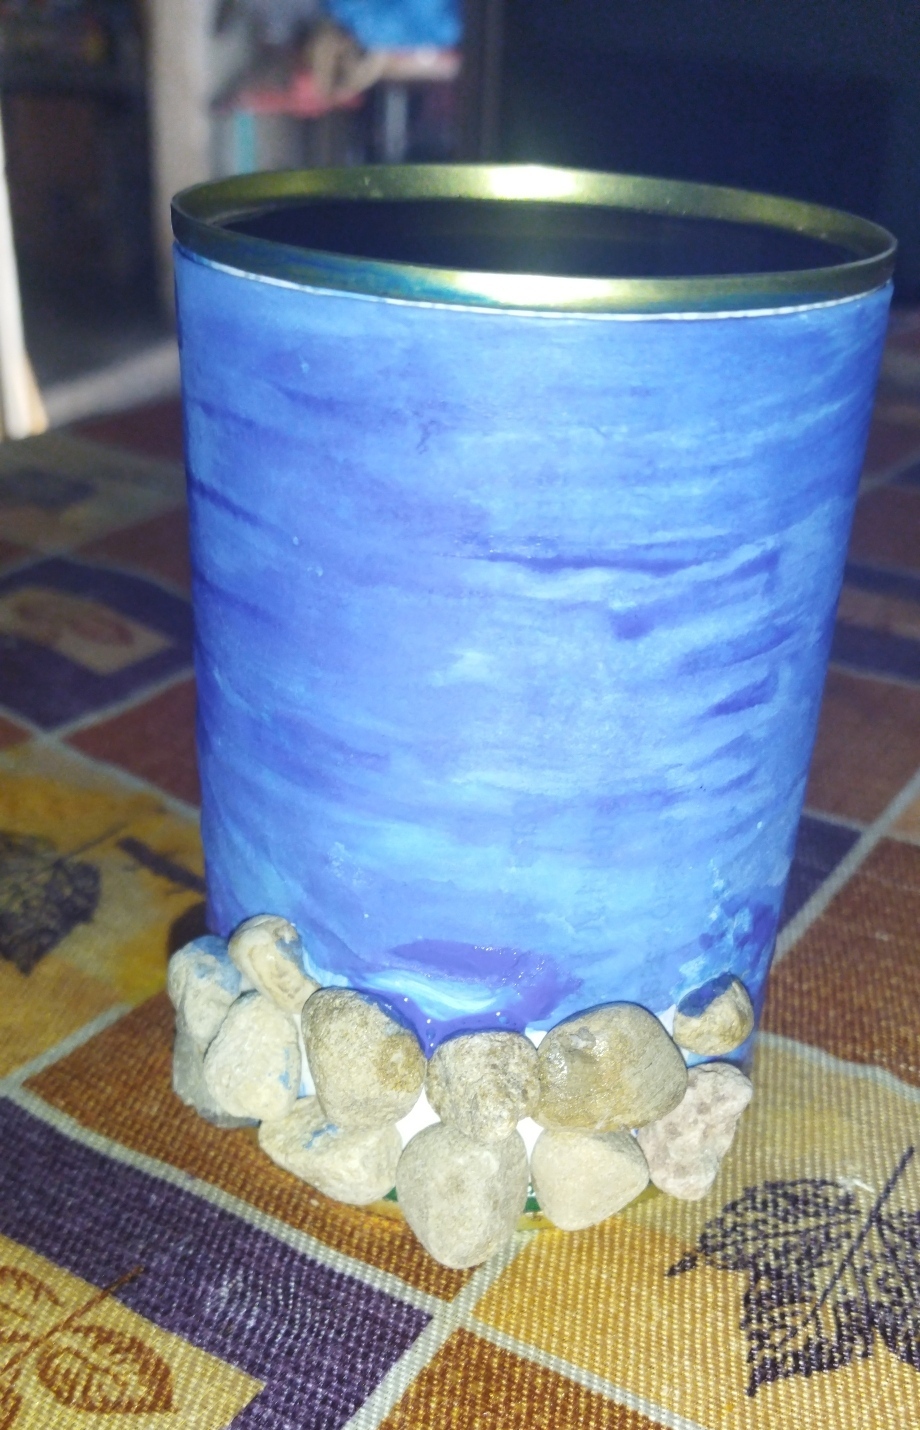 <Center>***We are going to place small pebbles to form the shape of the little fish. We paint the little fish in the desired way and in the tones that we want.📌***</Center> <Center>Vamos a colocar pequeñas piedritas para formar la forma de los pececitos.</Center> <Center>Pintamos los pececitos de la manera deseada y en los tonos que queramos.</Center> 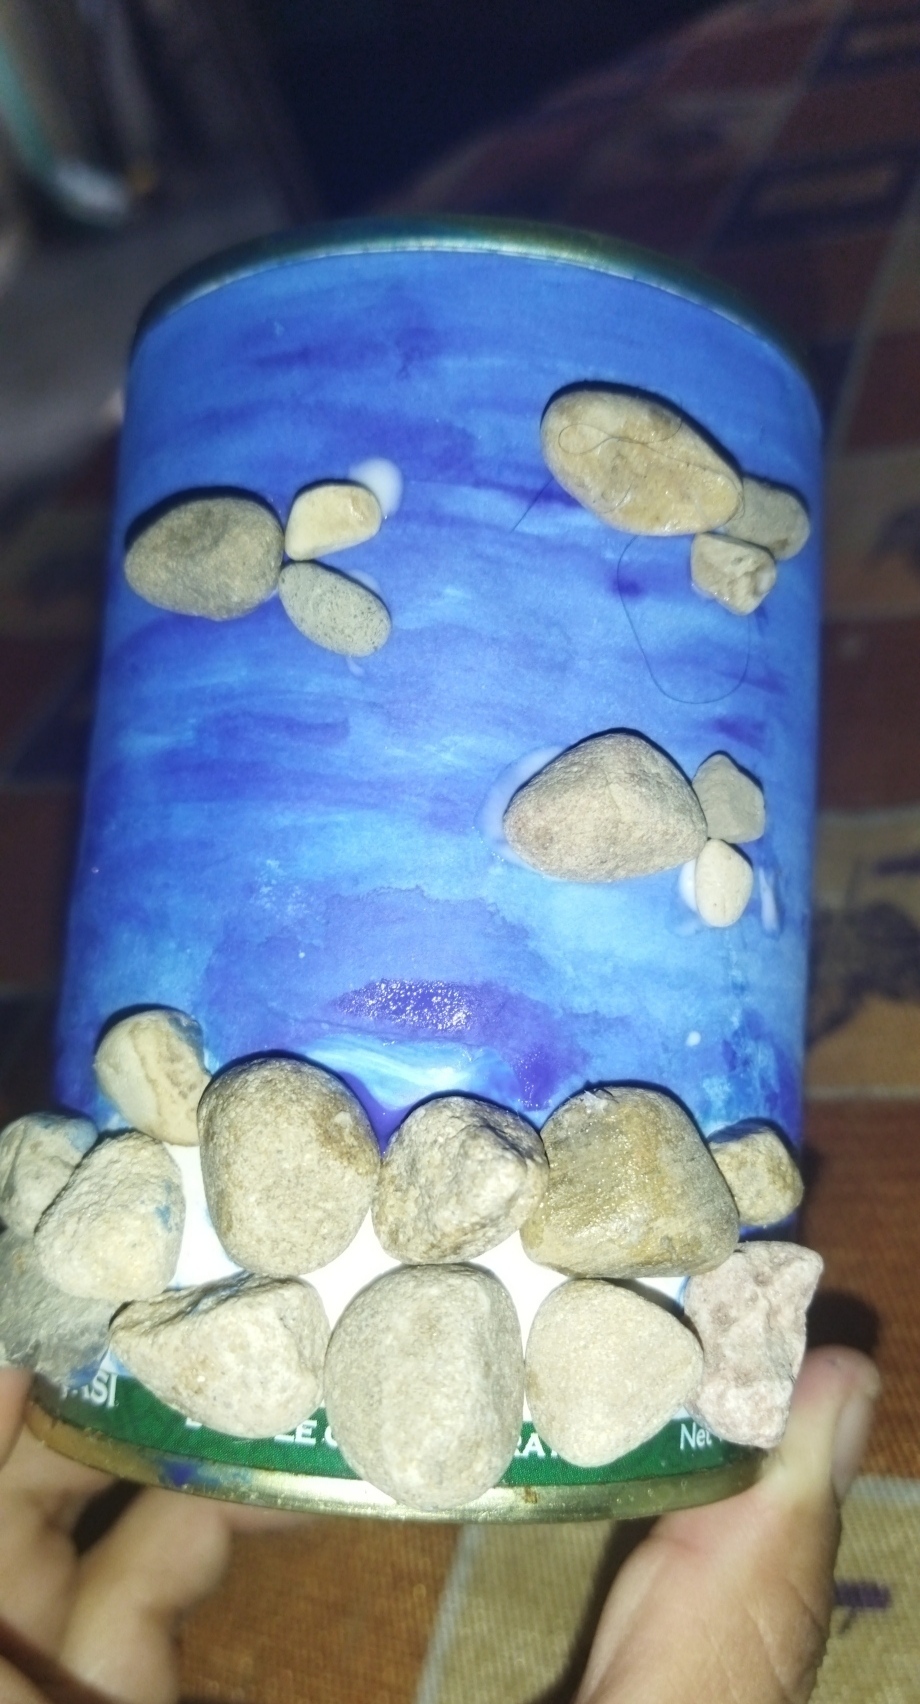 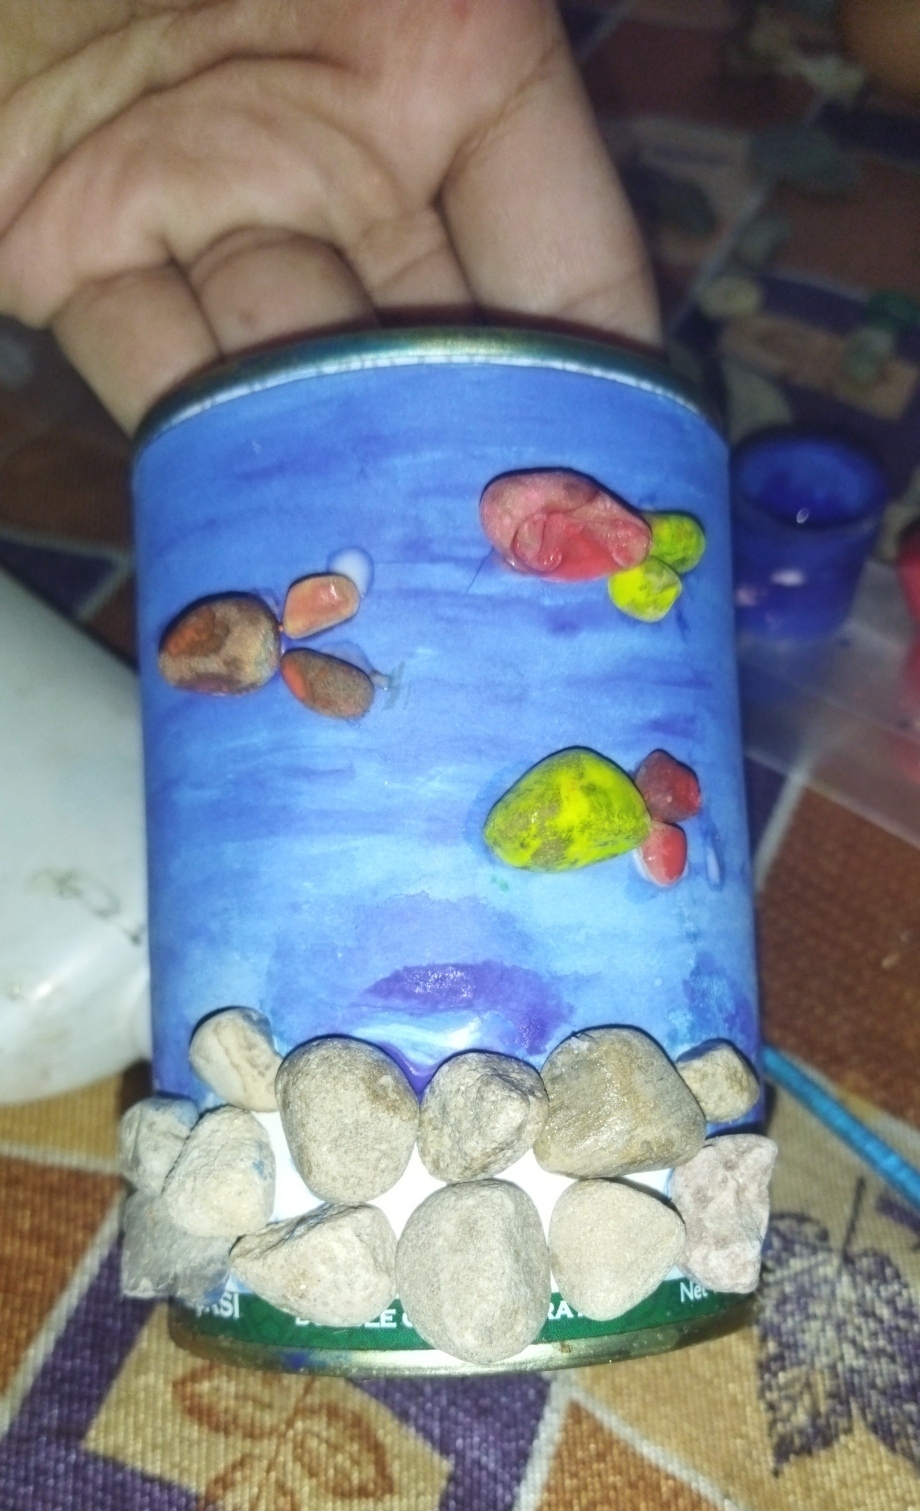 <Center>***At the ends of the lower pebbles we are going to paint algae species in green to give this scene a marine sensation.📌***</Center> <Center>En los extremos de las piedritas inferiores vamos a pintar en tono verde especies de algas para darle una sensación marina a esta escena.</Center> 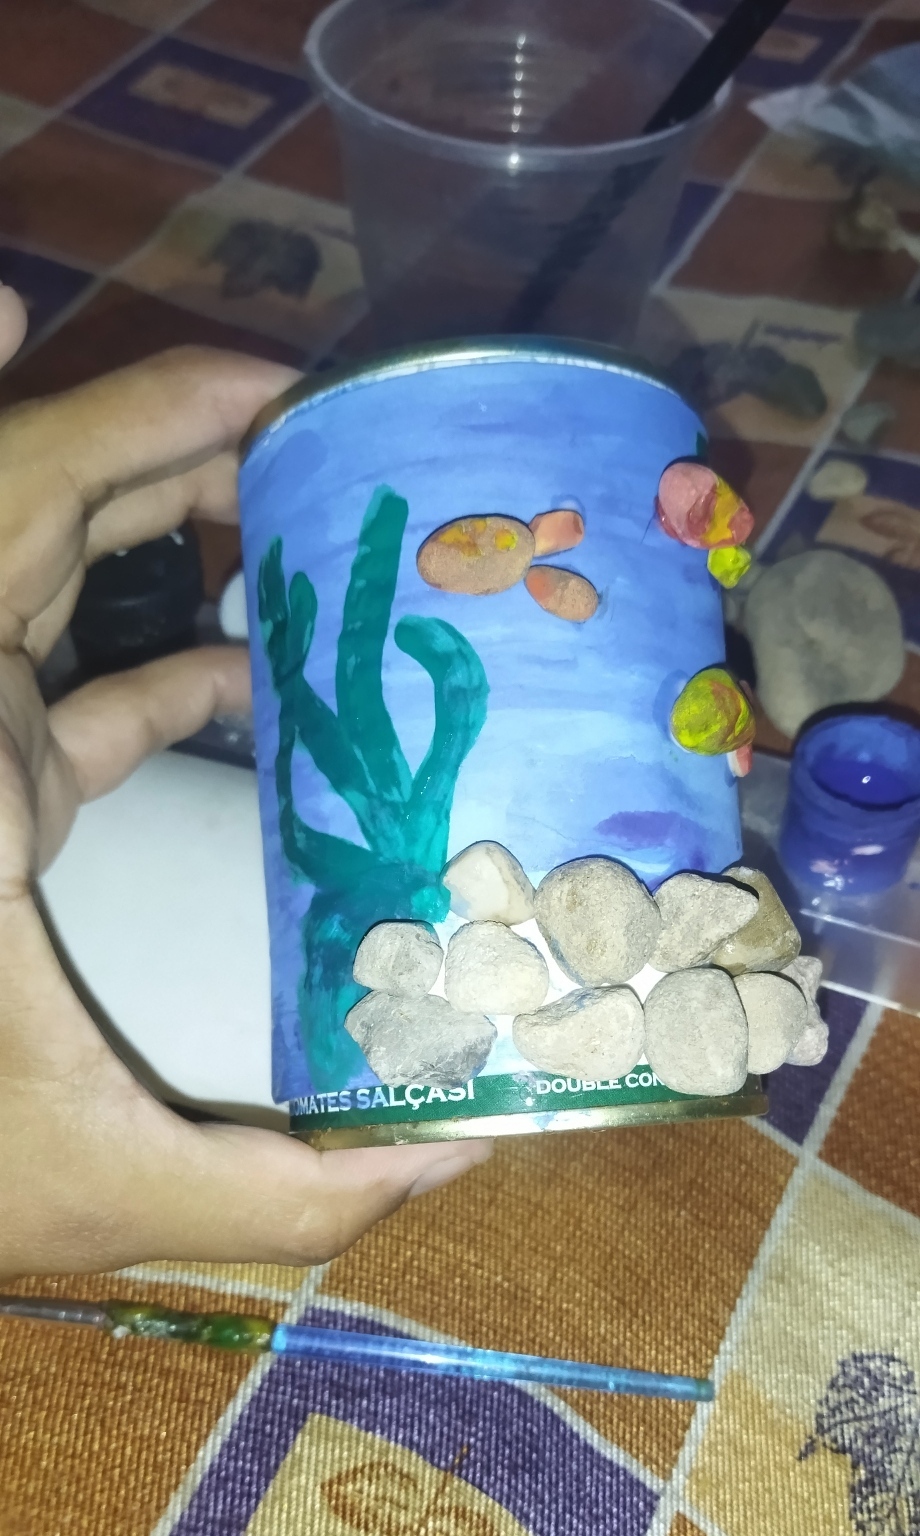 <Center>***And as decorative elements in white tones or we draw small dots to give the sensation of bubbles from the sea and thus we have finished this practical pencil holder, which is perfect for organizing our desks.📌***</Center> <Center>Y como elementos decorativos en tonos blanco o dibujamos pequeños puntitos para dar la sensación de burbujas del mar y así tenemos finalizado este práctico portalápices, que viene perfecto para la organización de nuestros escritorios.</Center> 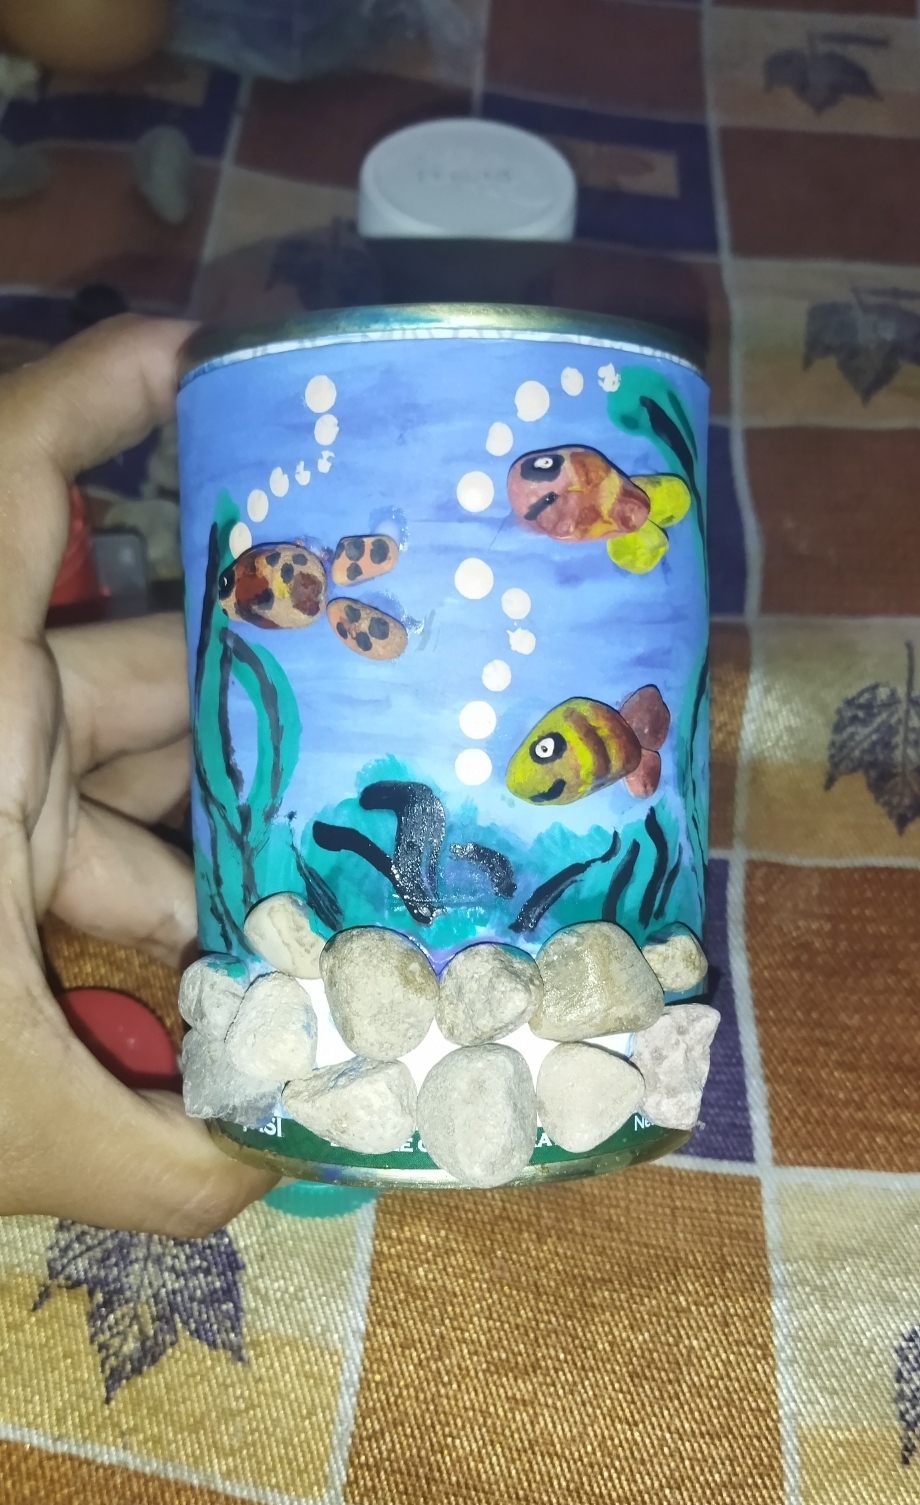 <Center>***Wishing that this post has been to your liking and that you put this idea into practice, I say goodbye until the next opportunity, see you later.📌***</Center> <Center>Deseando que este post haya sido de tu agrado y pongas en práctica esta idea me despido hasta una próxima oportunidad hasta luego.</Center> 🌀🐟🐳🐋🐠🦀🐡🌀🐟🐳🐋🐠🦀🐡 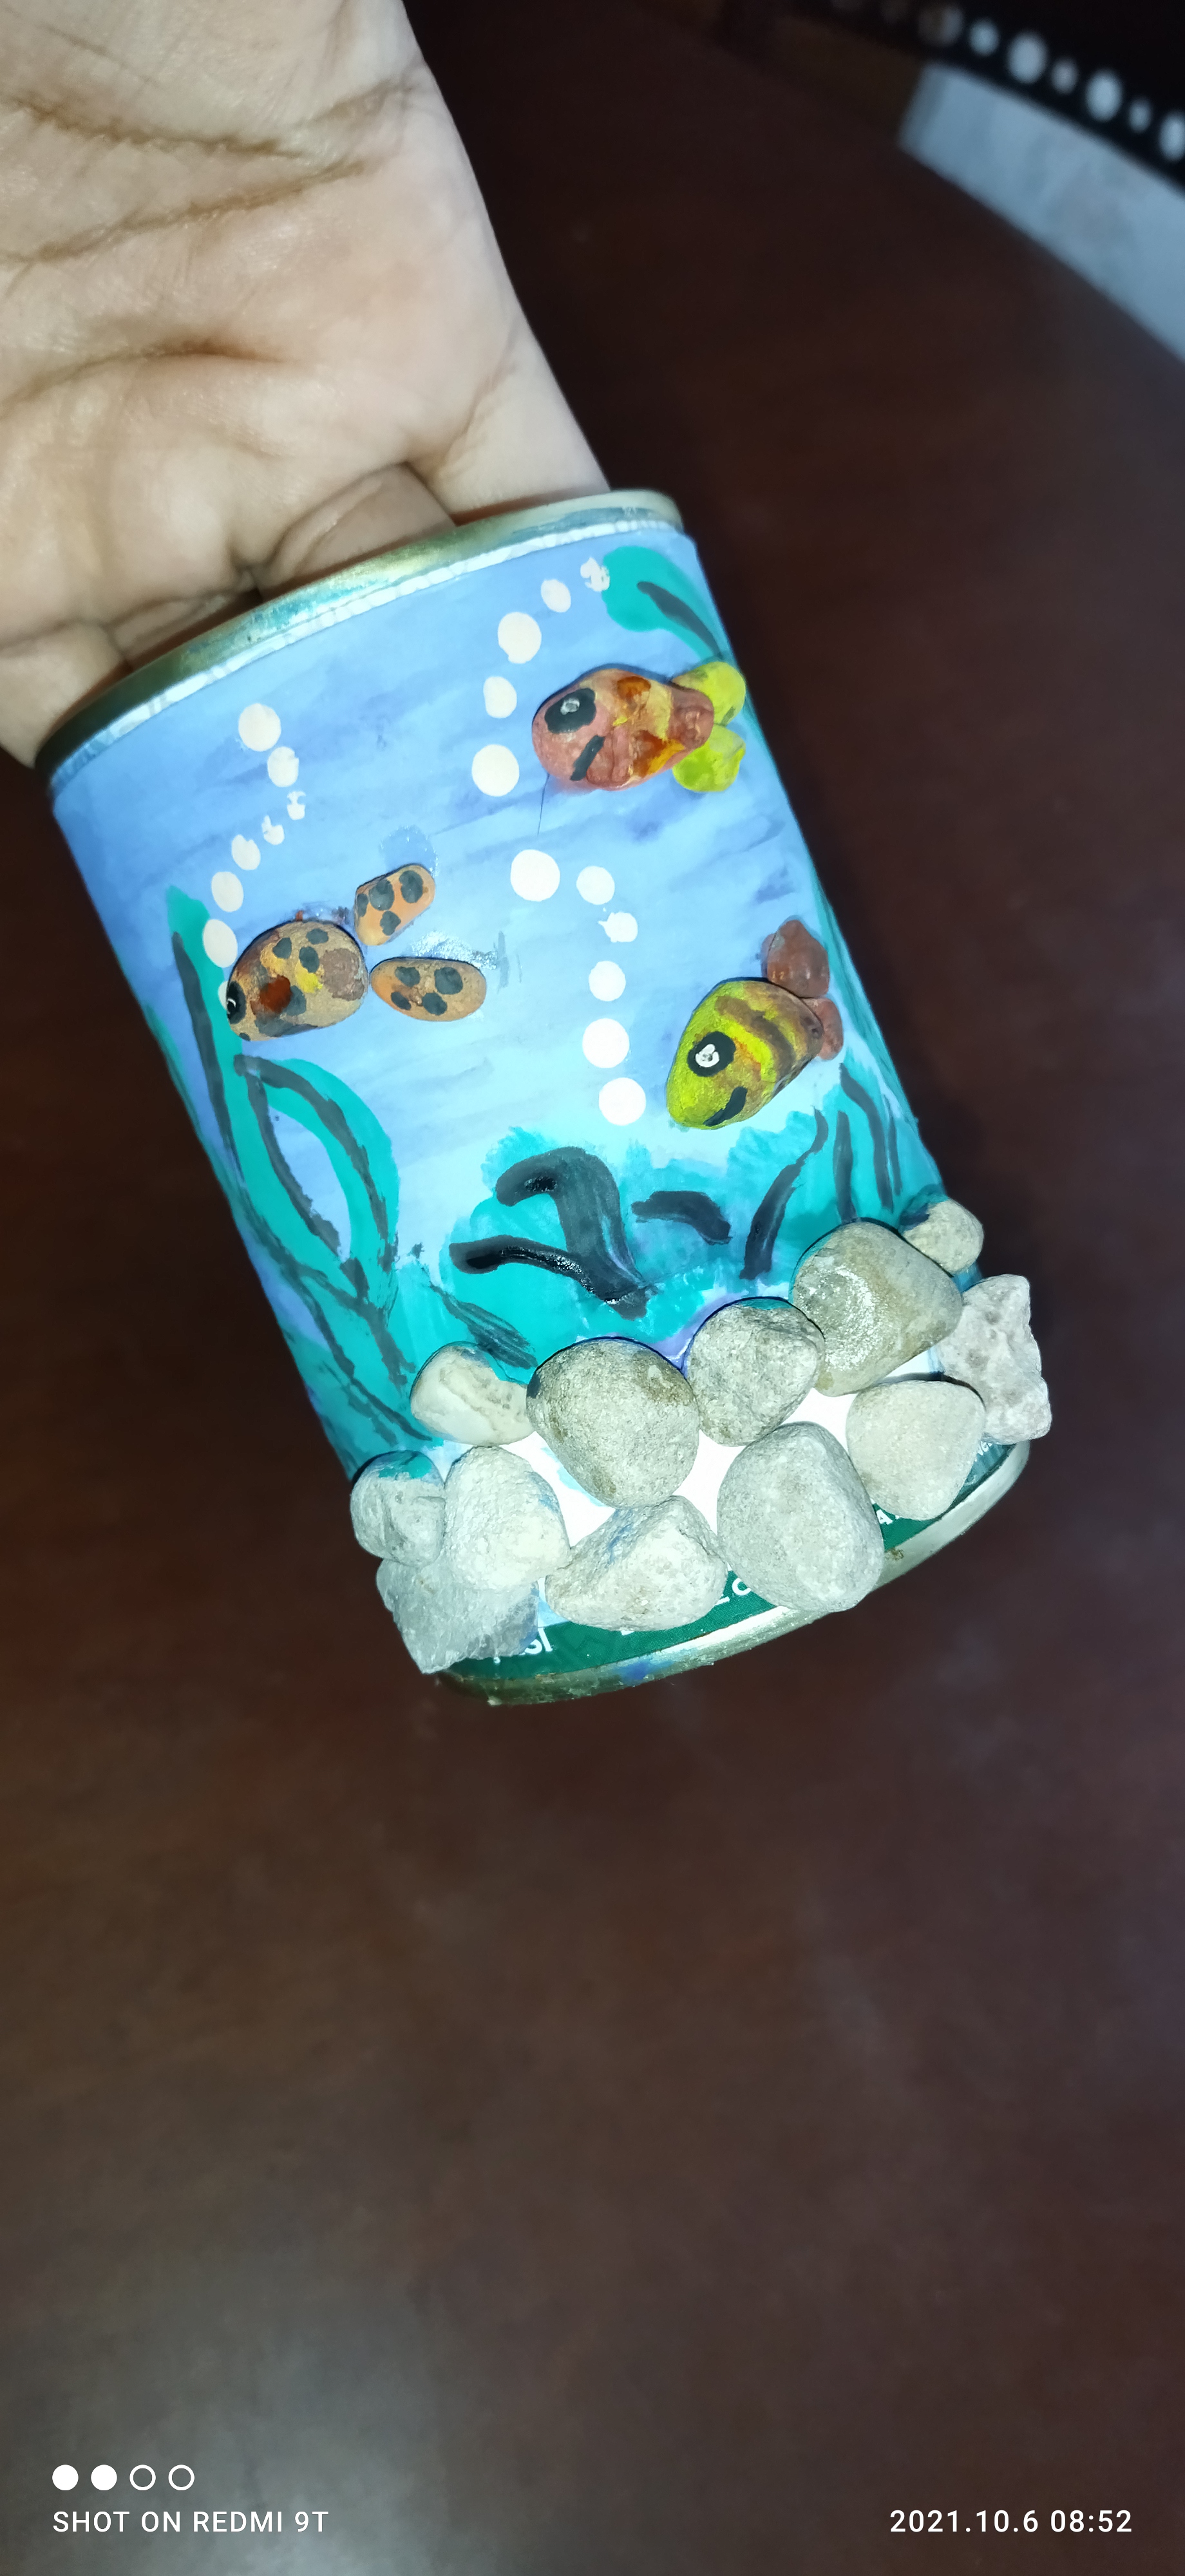 🌀🐟🐳🐋🐠🦀🐡🌀🐟🐳🐋🐠🦀🐡