Vivo Y91 LCD Replacement
hive-174578·@dashand·
0.000 HBDVivo Y91 LCD Replacement
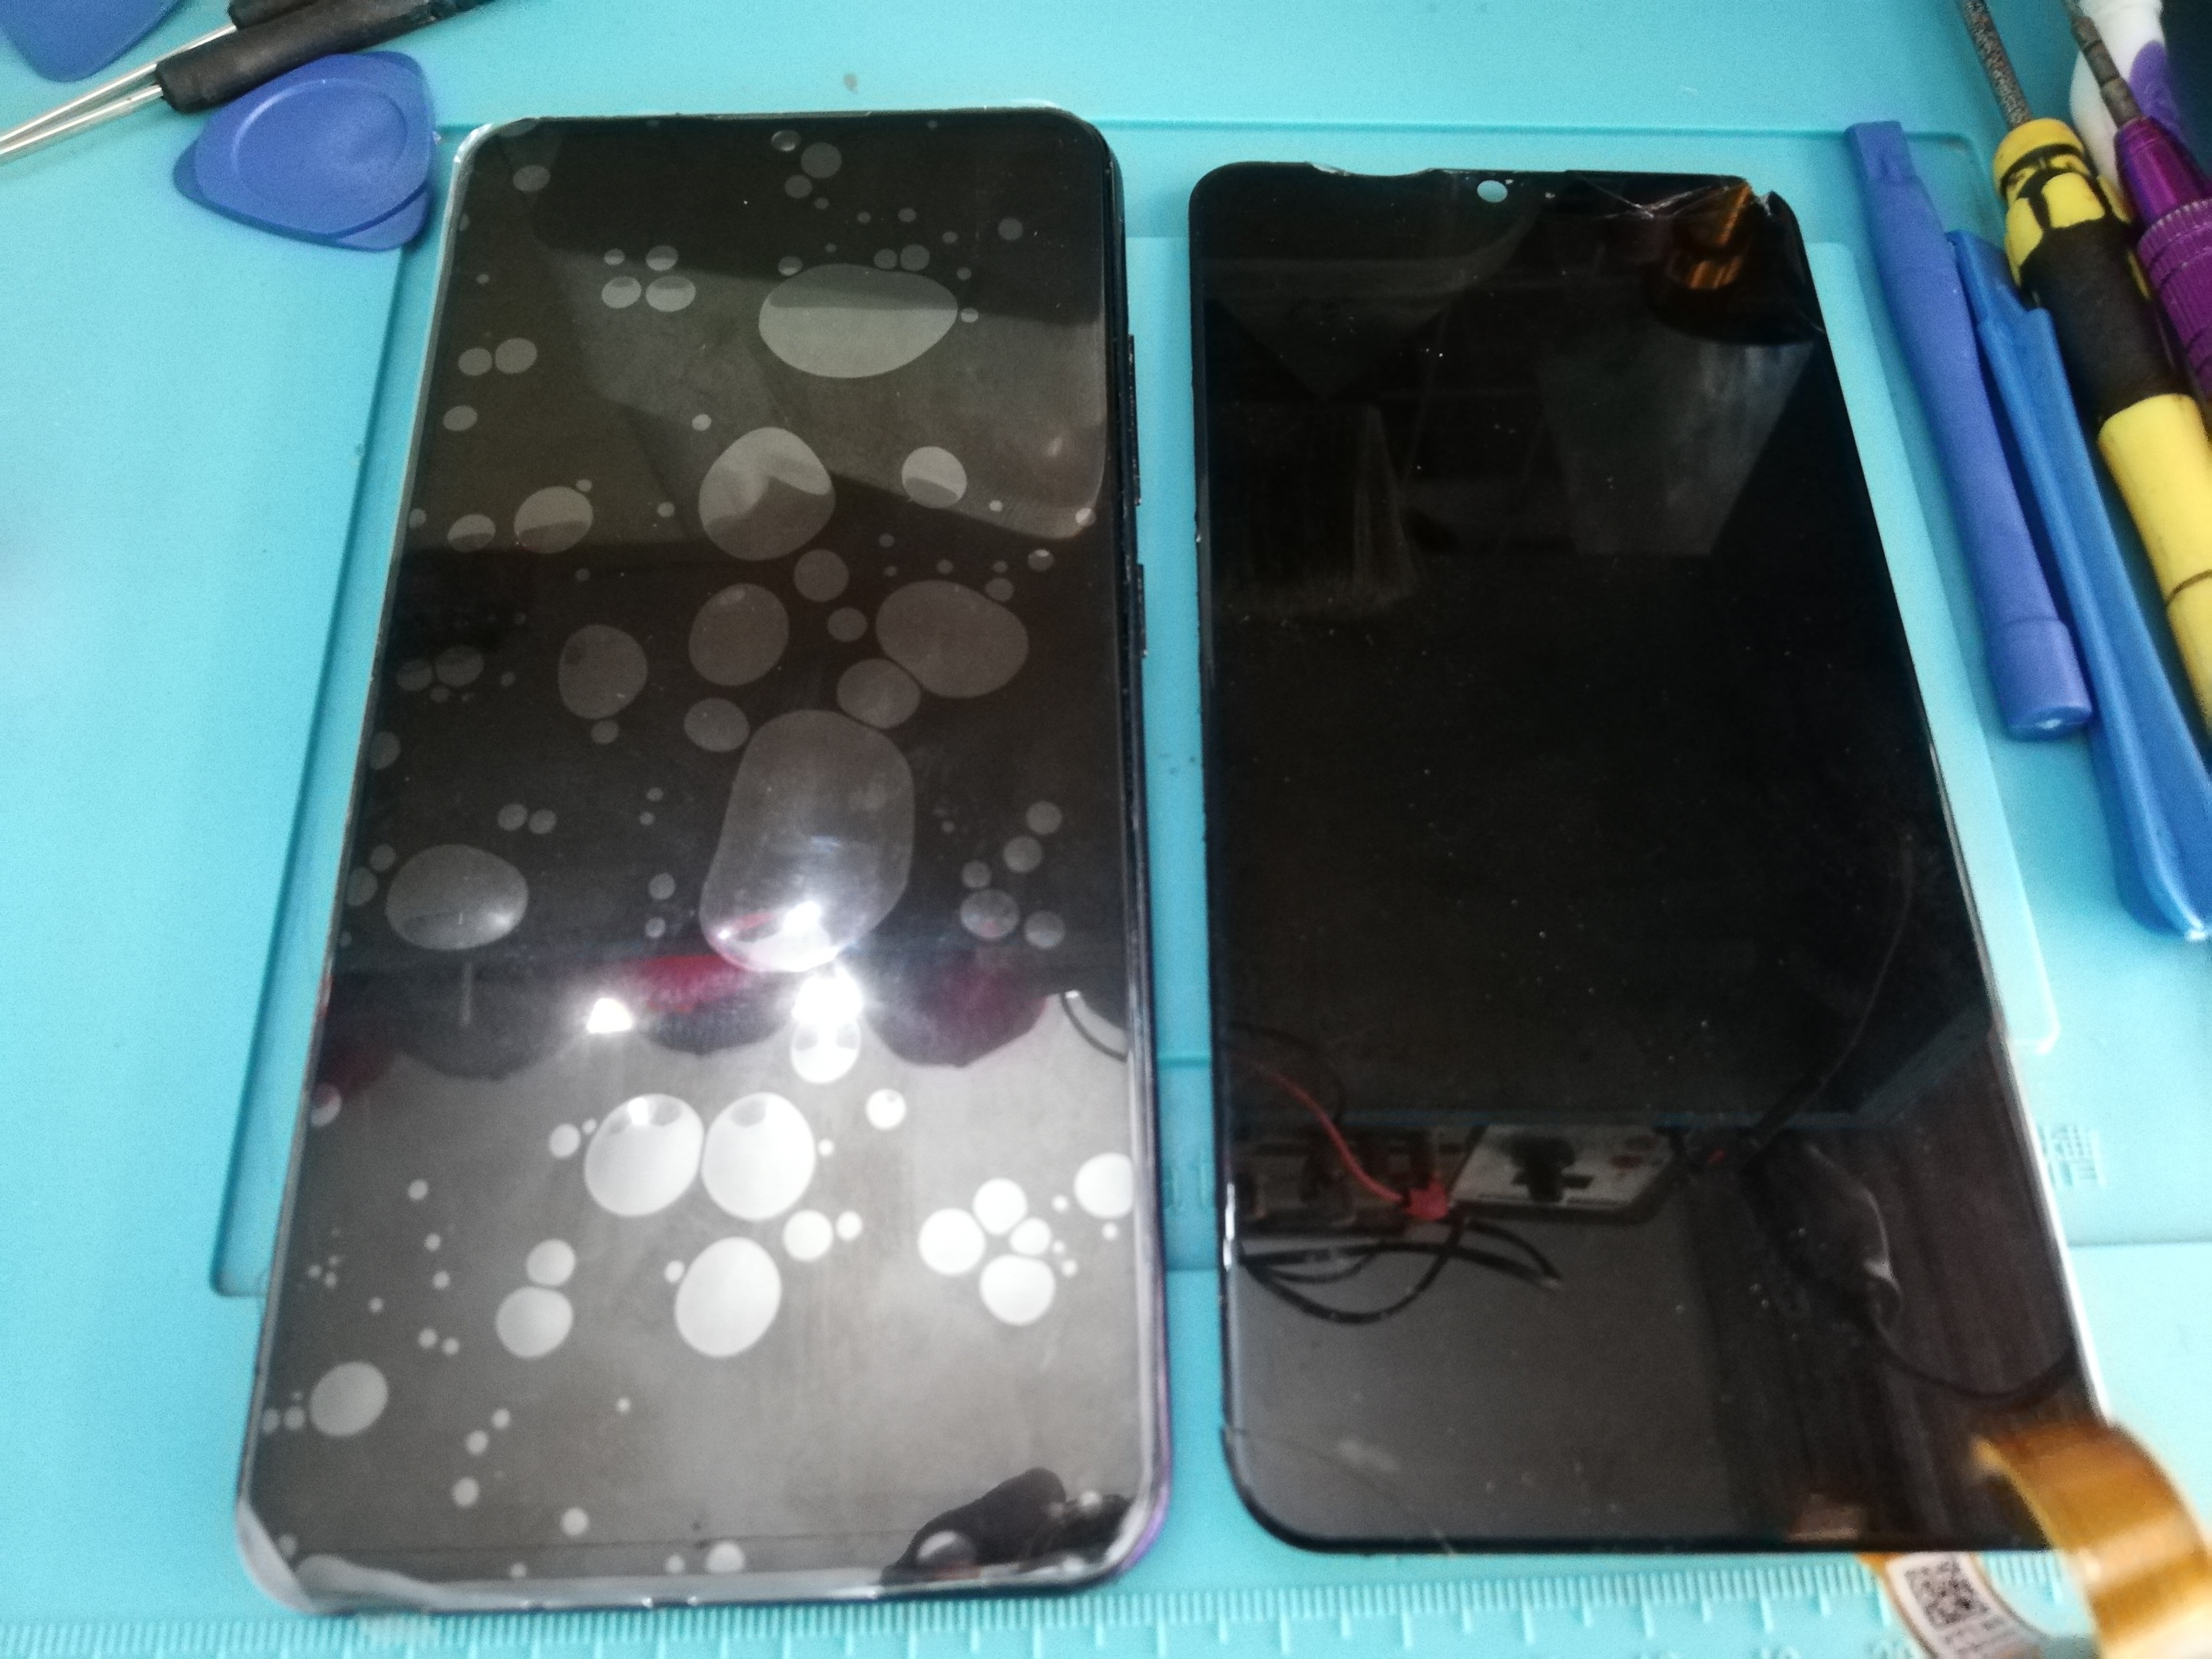 ____ #### **Problem** The procedure can Fix Broken LCD, Broken touch screen, and ghost touch, buy as set LCD with Touchscreen combo, i recommend to buy on the reliable and original product to avoid further damage to your device. ____ #### **Tools Needed** <div class="pull-right"><img src="https://files.peakd.com/file/peakd-hive/dashand/43QmJviU-IMG_20200608_140854.jpg" /></div> - Tweezer - Screw + 1.5 - Plastic picks - Sim Ejector - Glue t900s - Vivo Y91 Brand new LCD ____ #### **Procedure** - **Fully turn off the phone then remove the sim tray by sim ejector tool.** 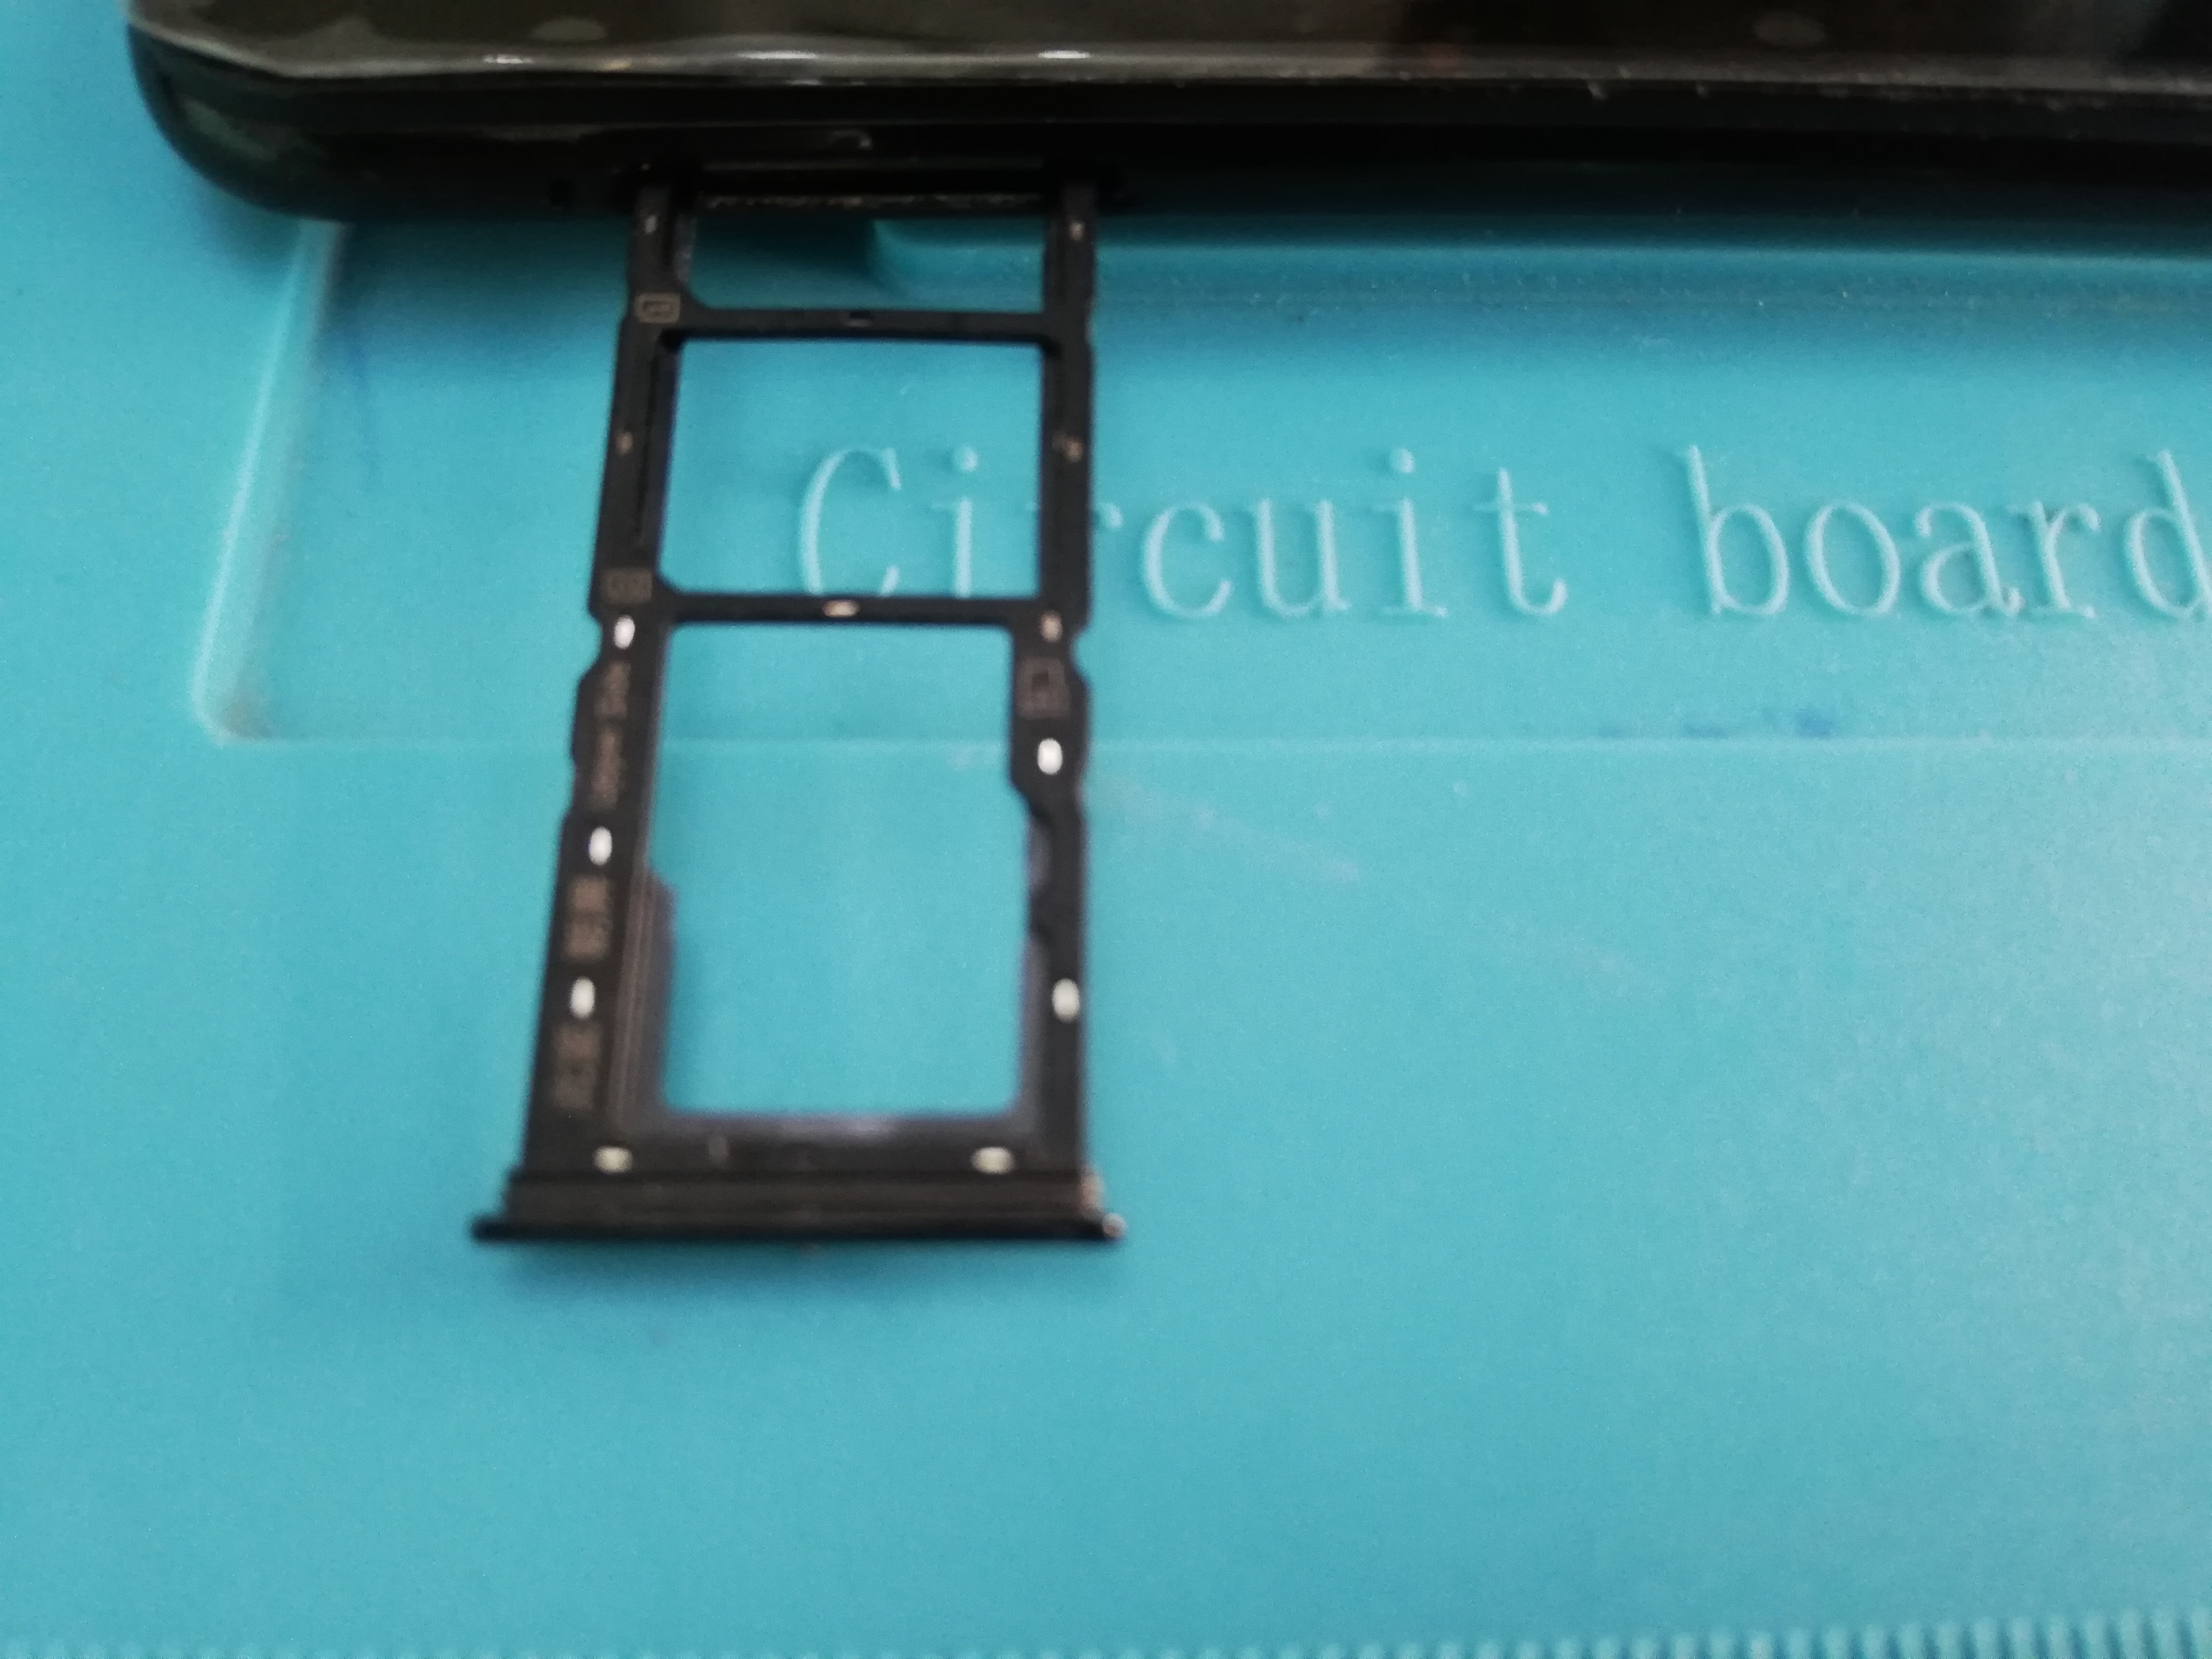 ---- - **Remove the back cover, take care of the Fingerprint scanner flex, then remove the screws of the metal plate by the Screw + 1.5 tools.** 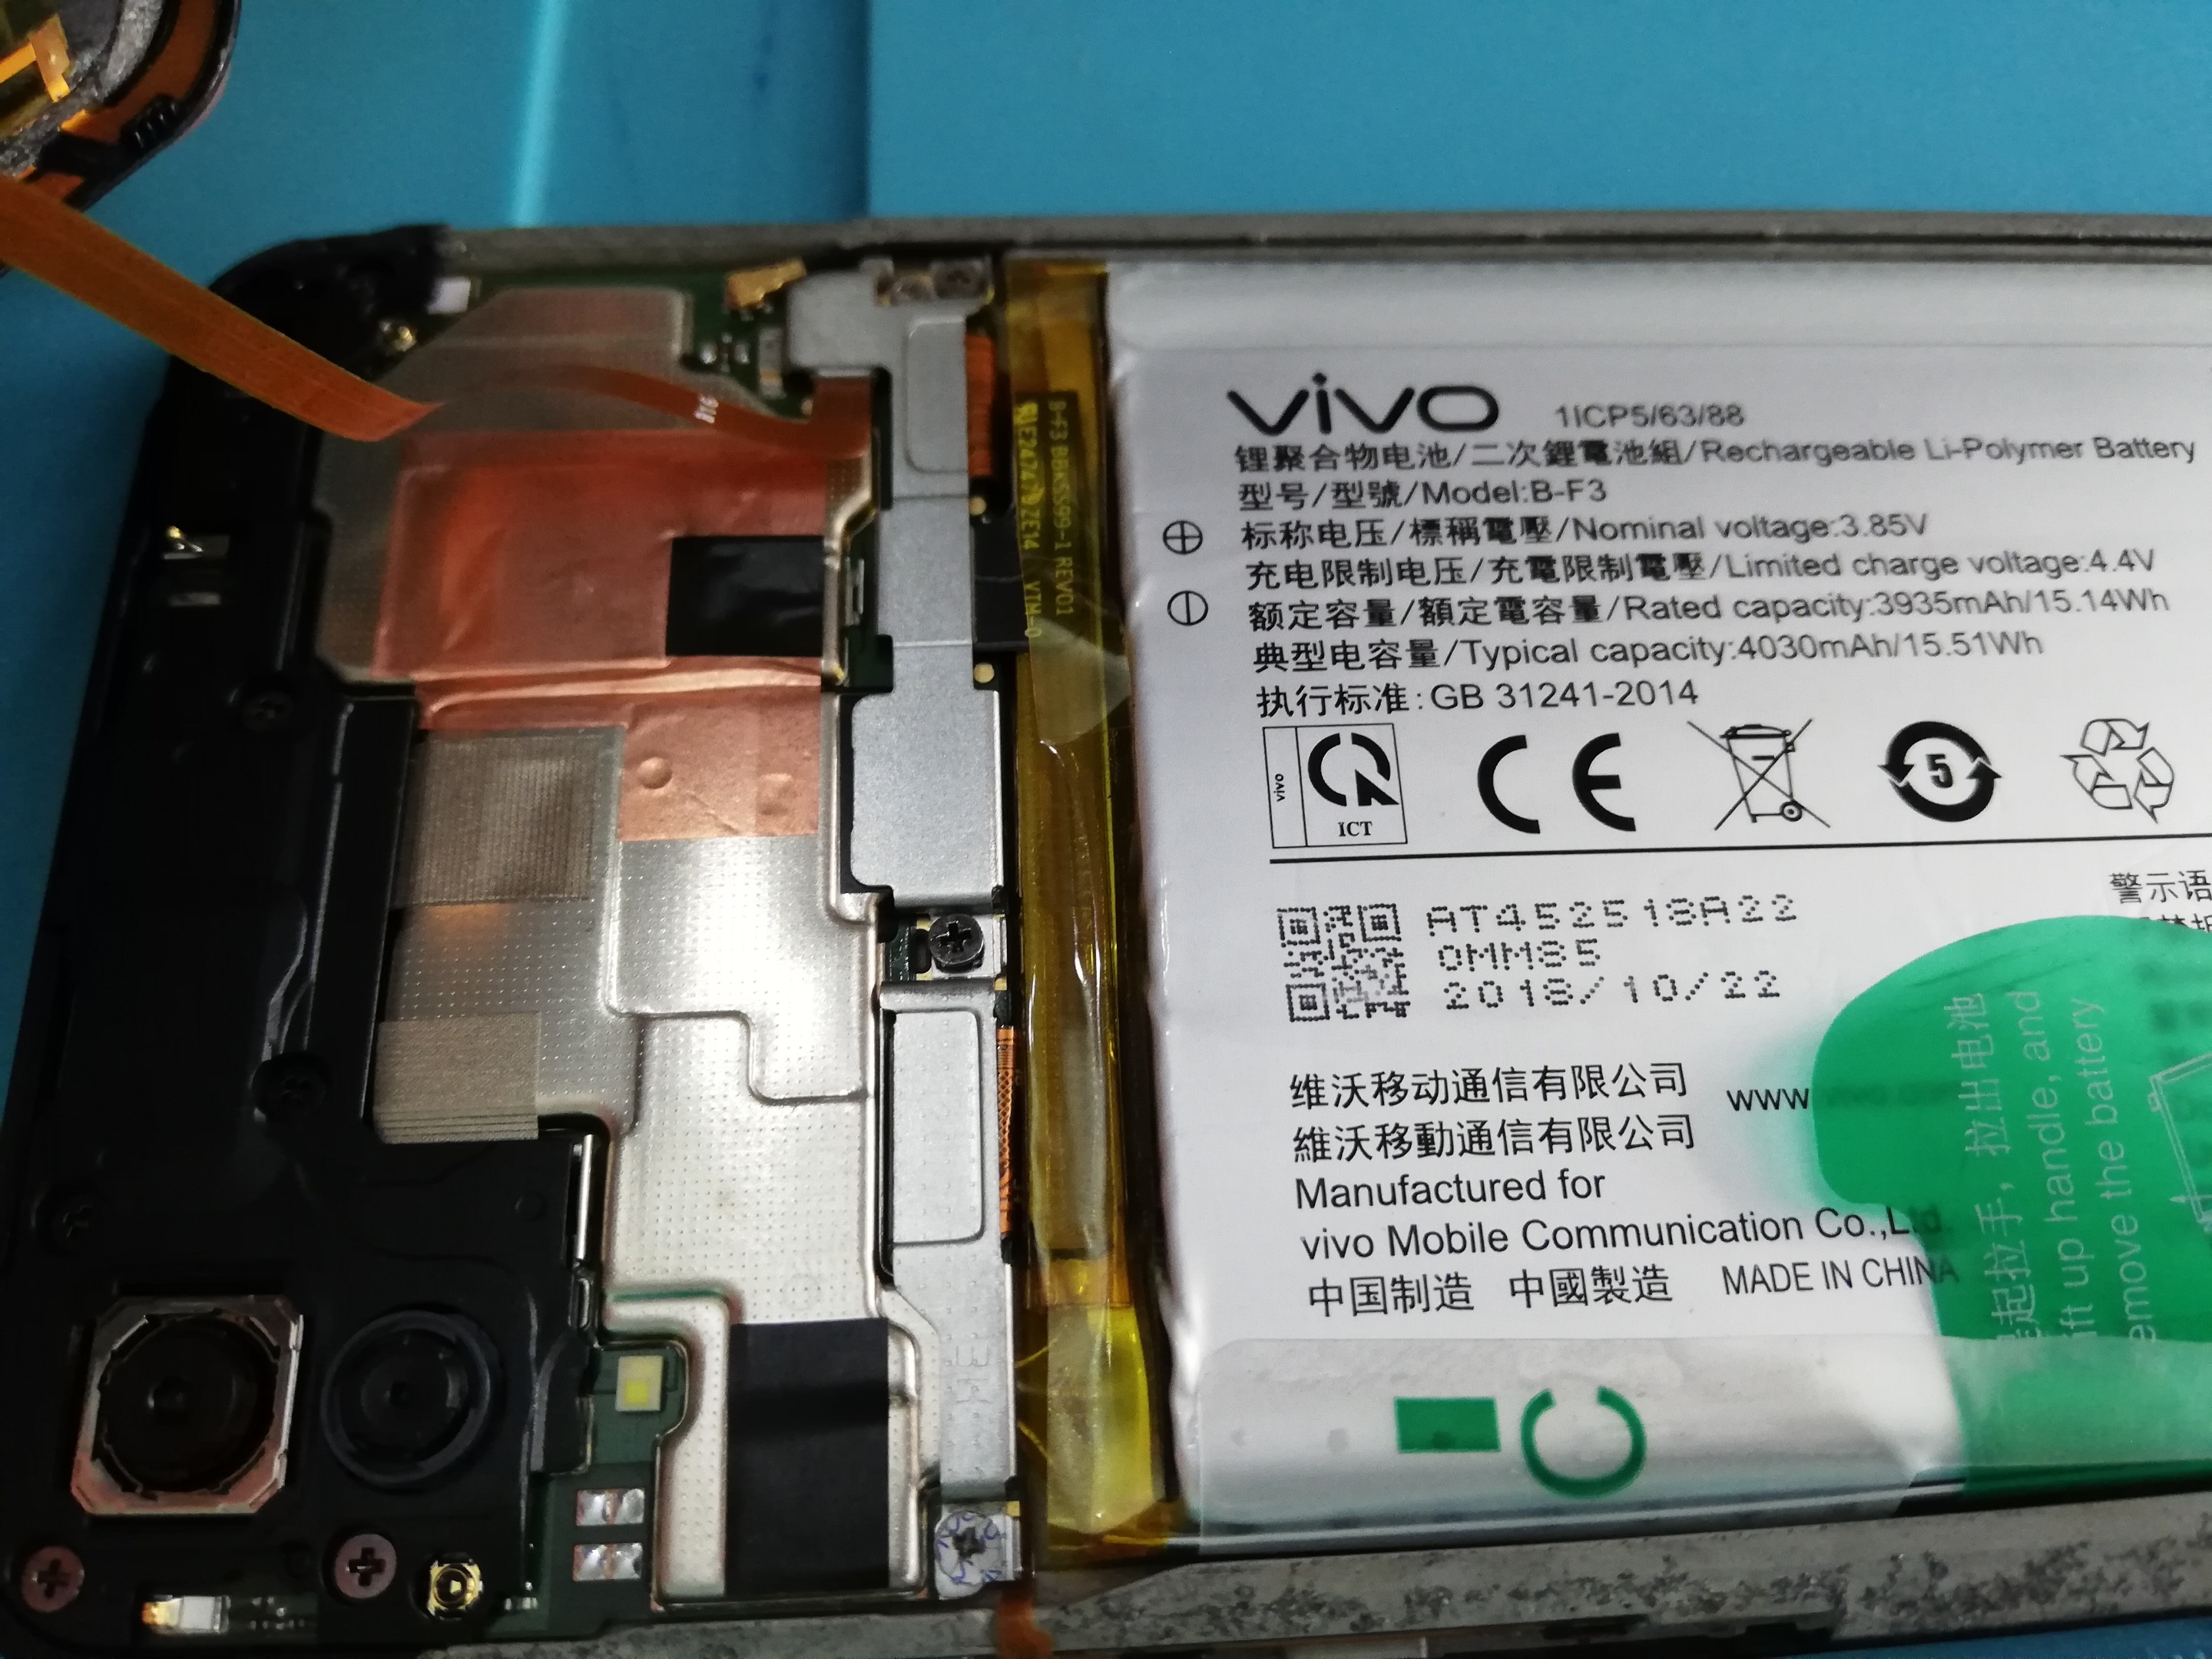 ____ - **Remove the metal plate with the tweezer tool.** 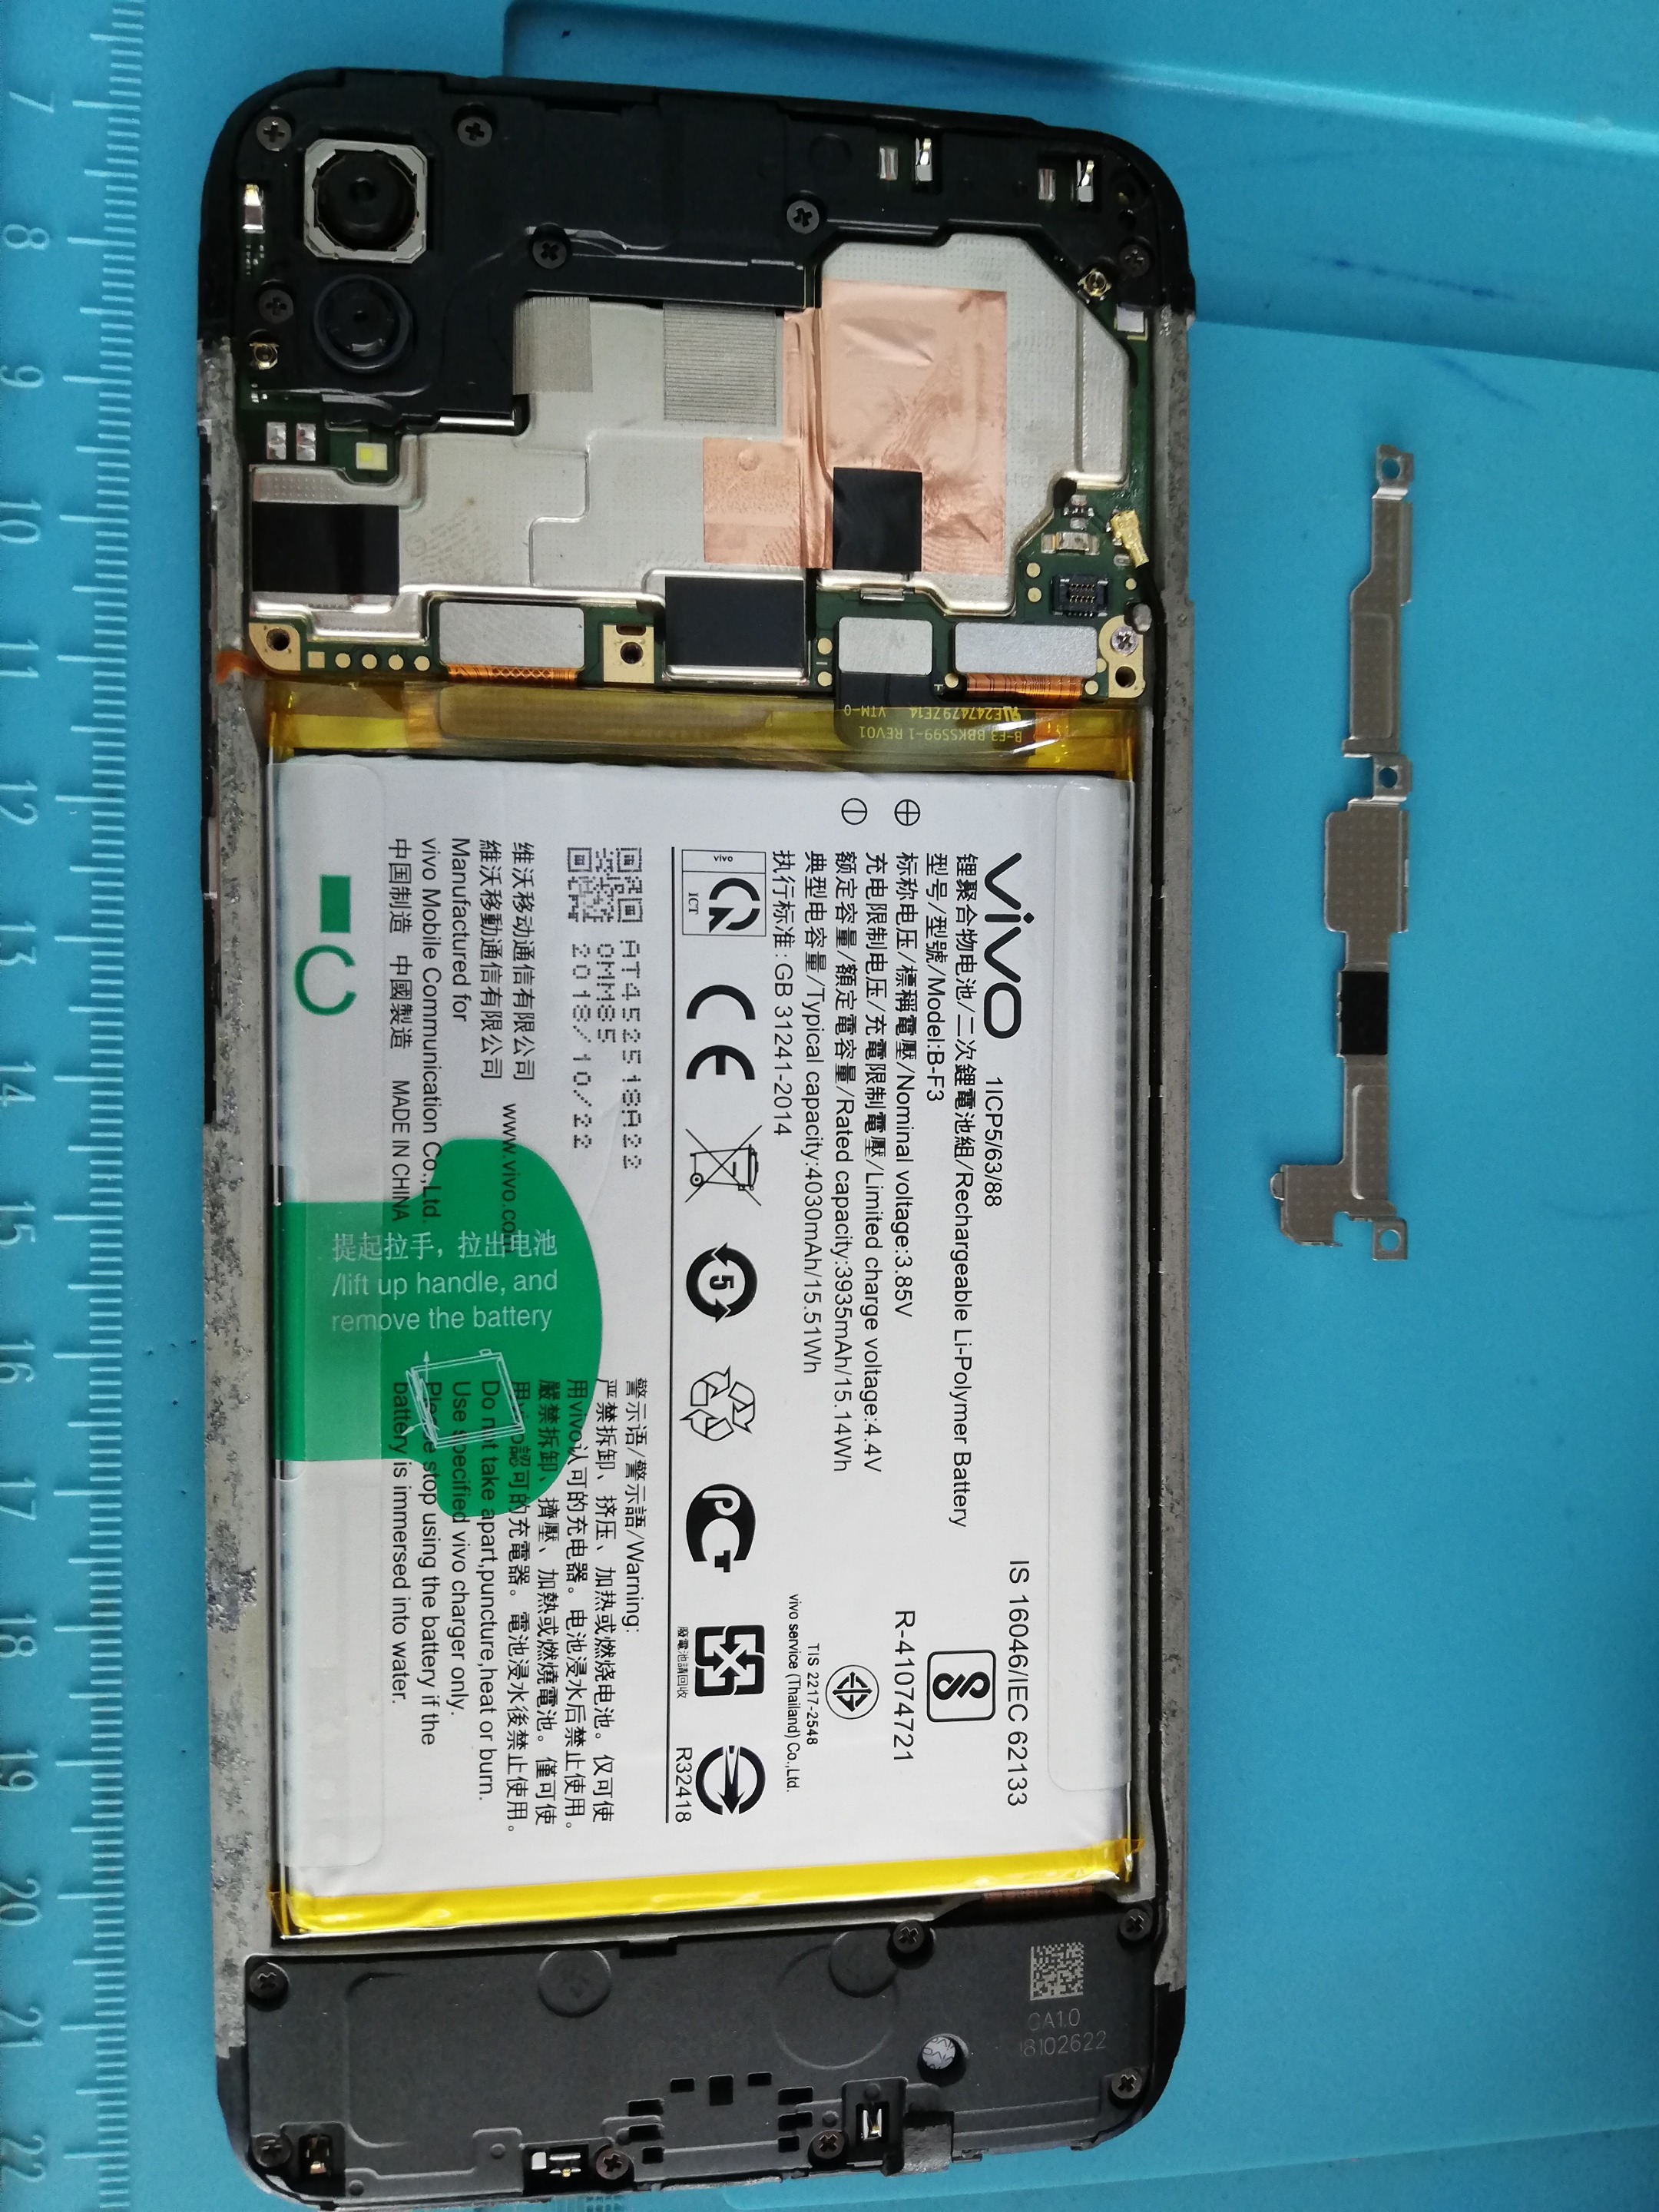 ____ - **Remove the connectors by the plastic pick tool.** 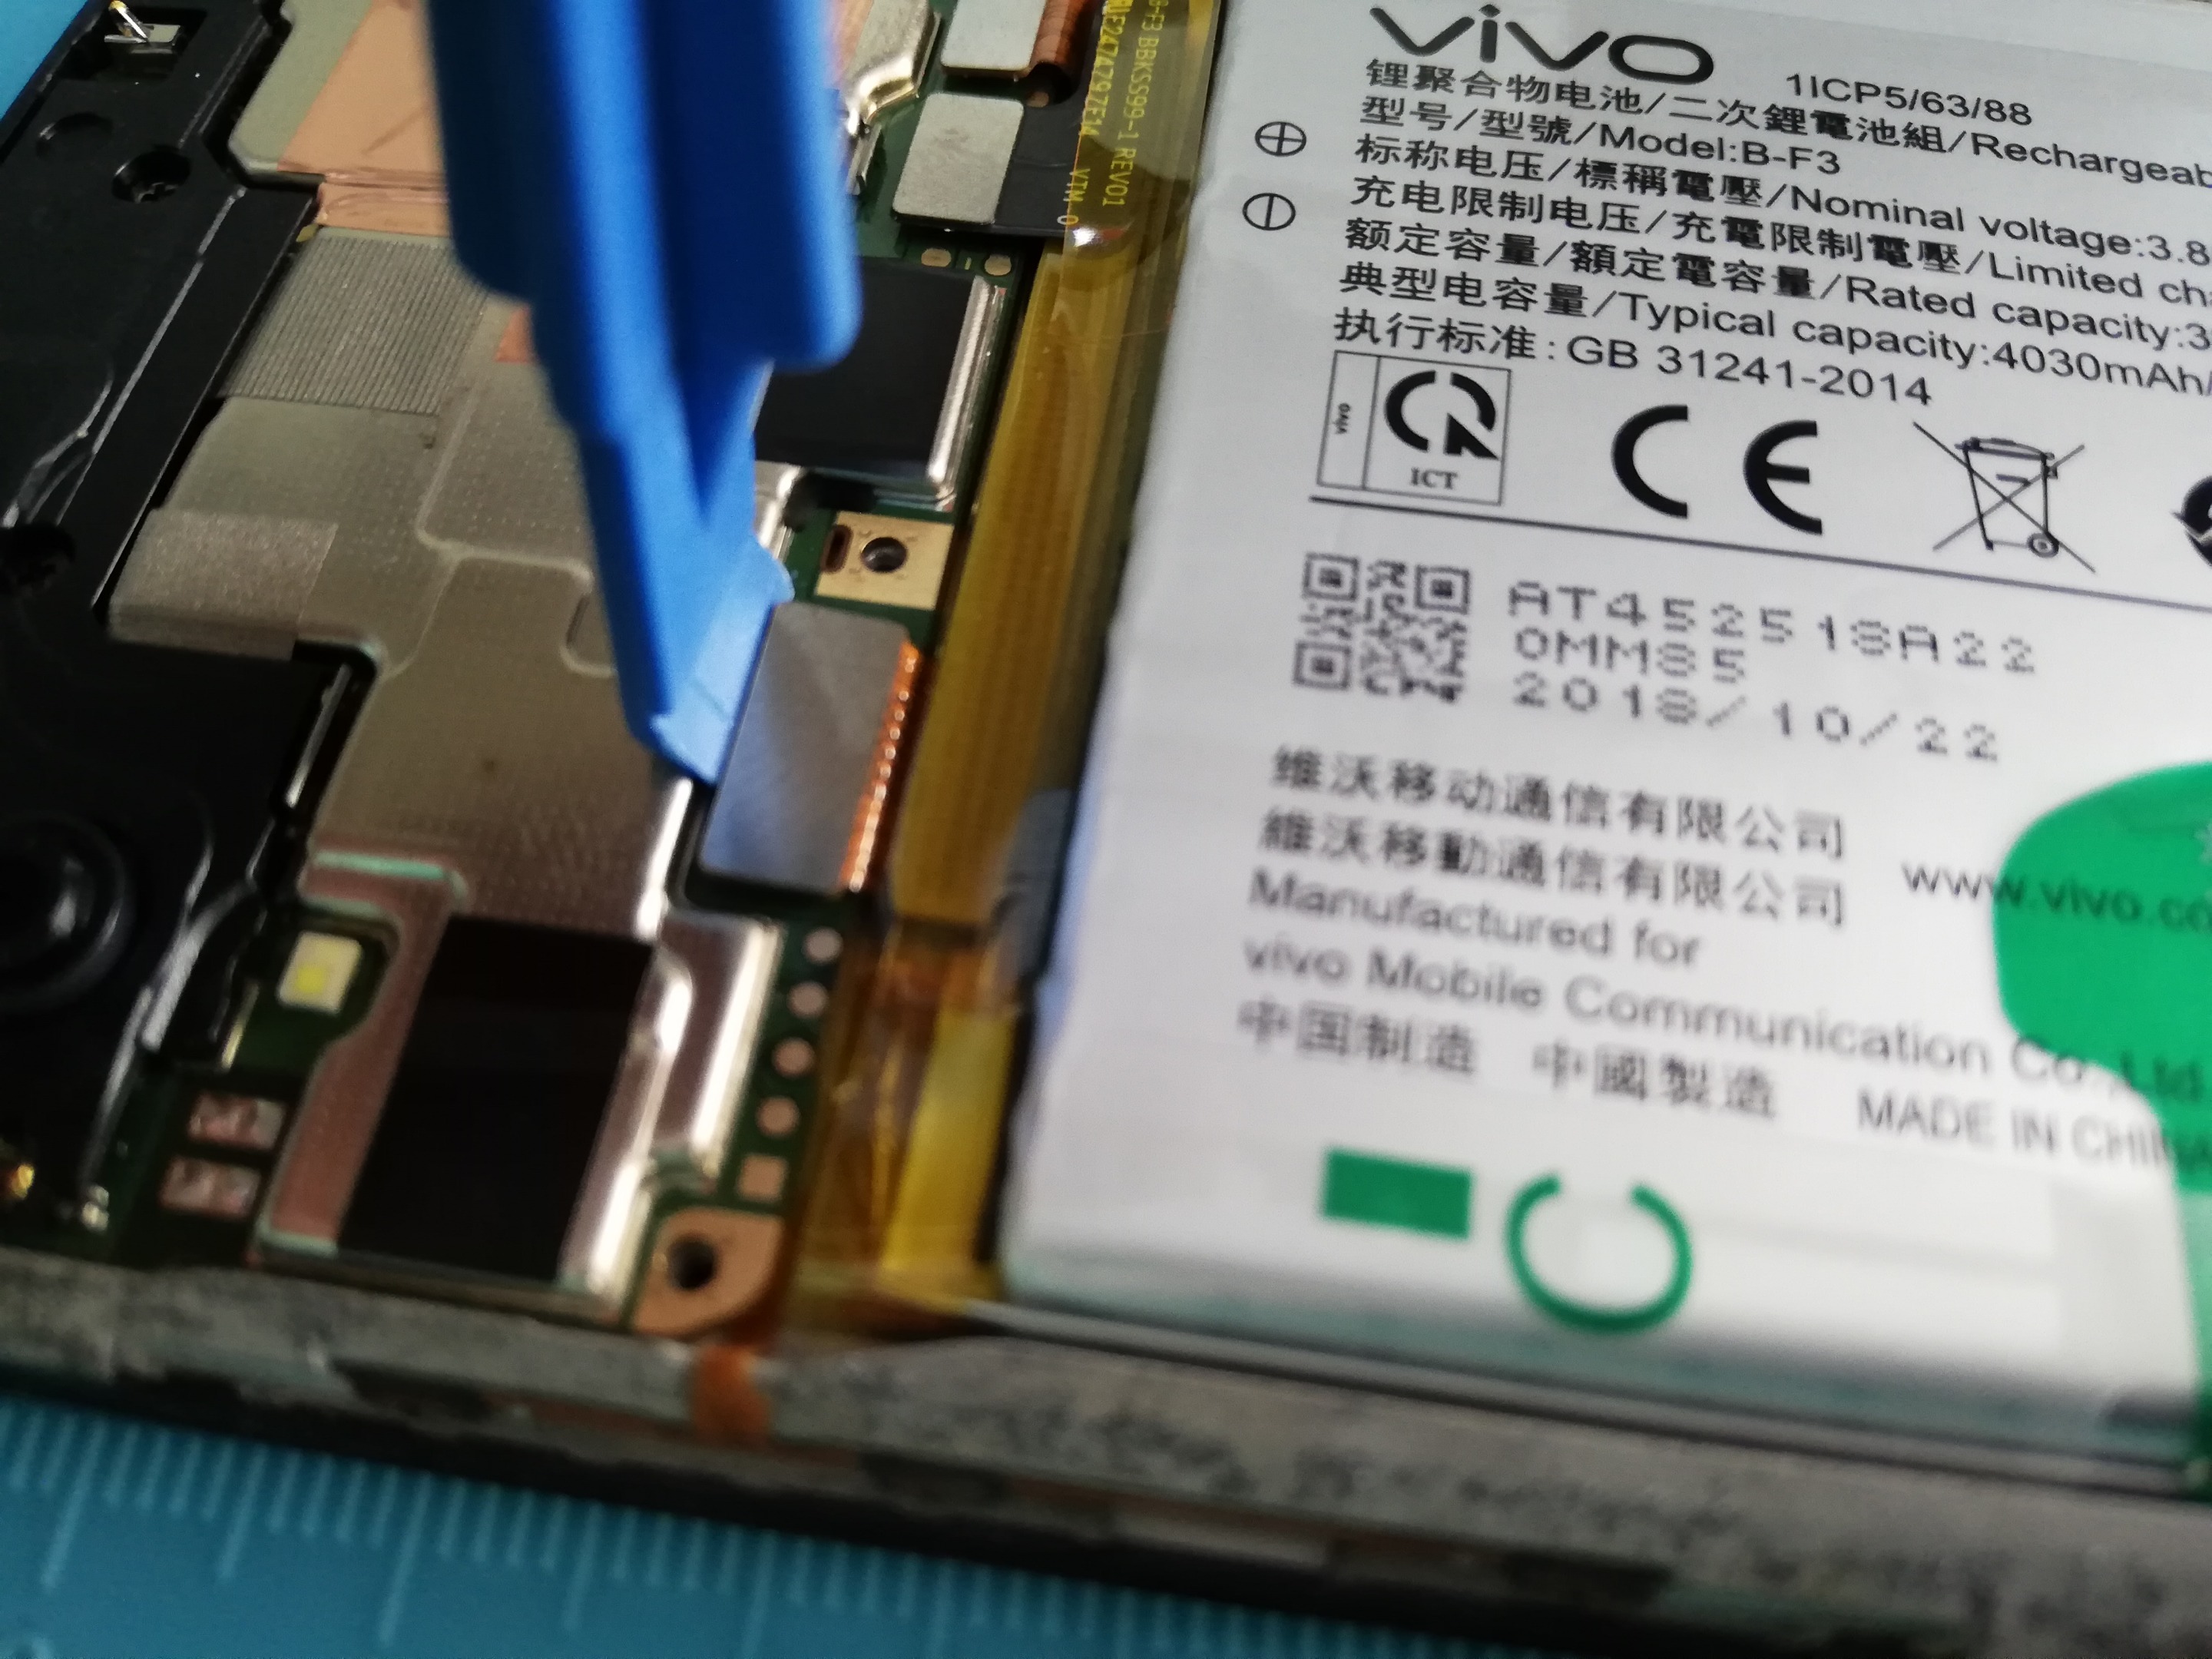 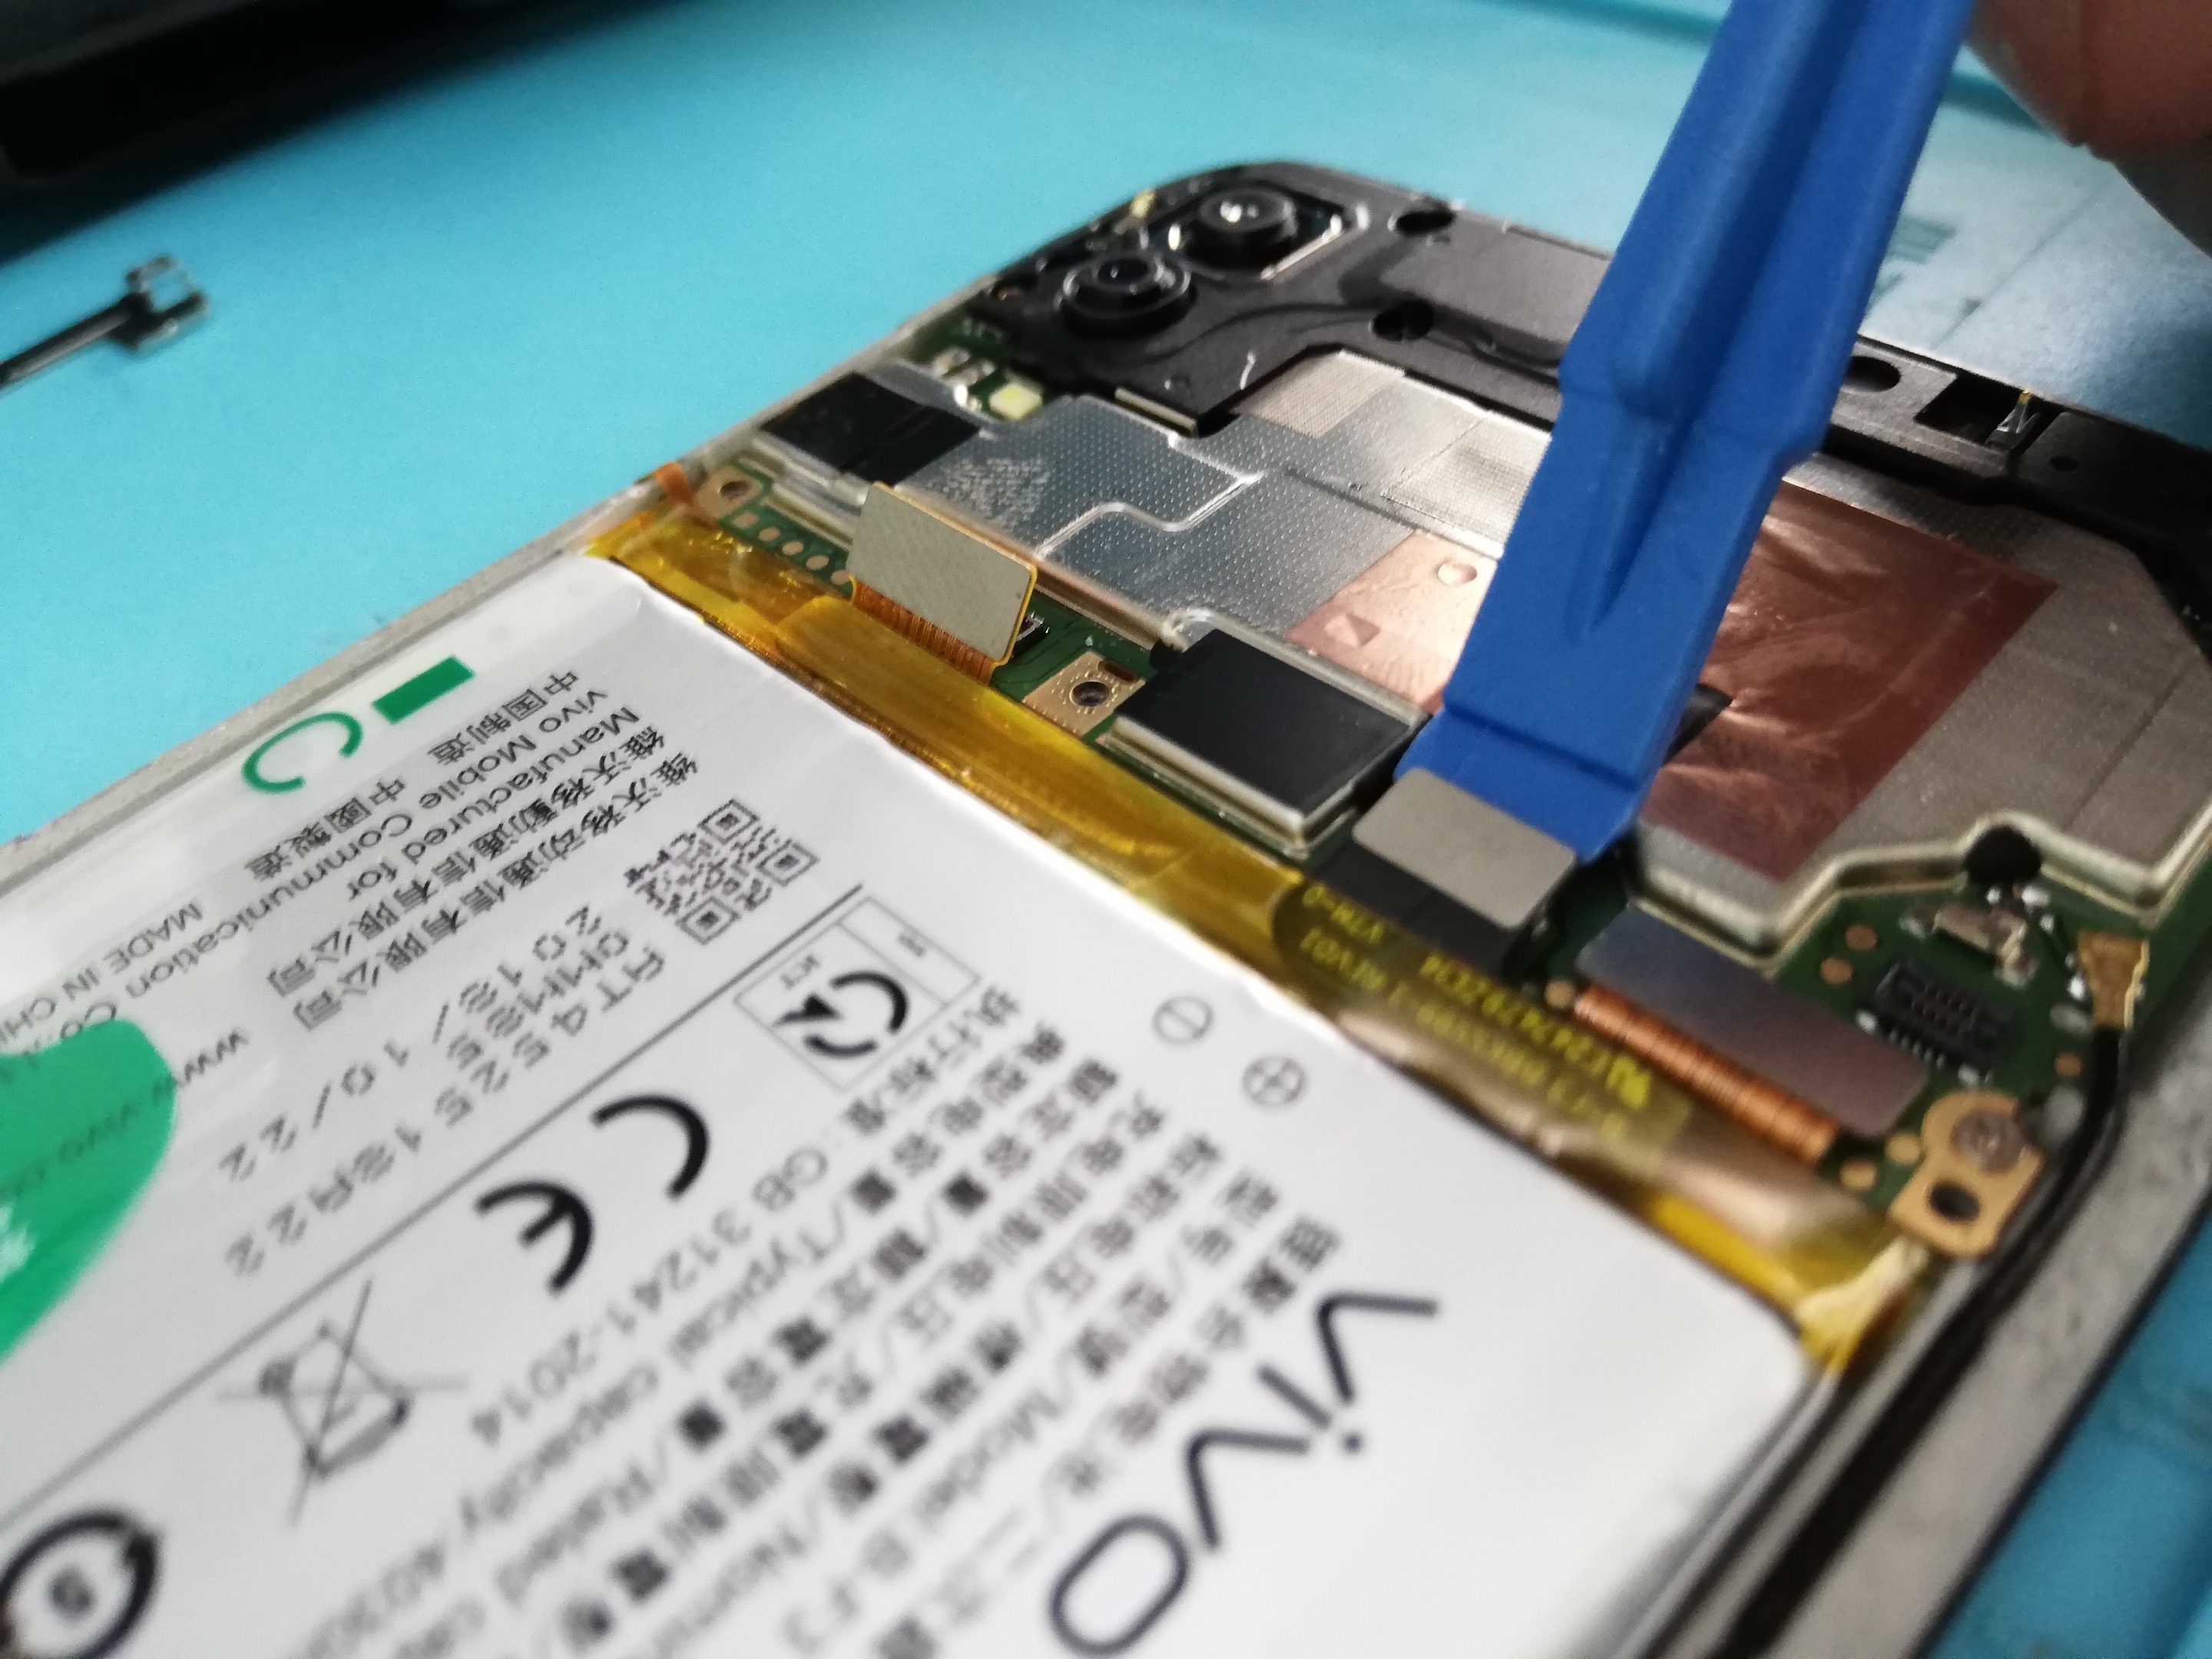  ____ - **Carefully Remove the battery there is adhesive underneath force that must be applied.** 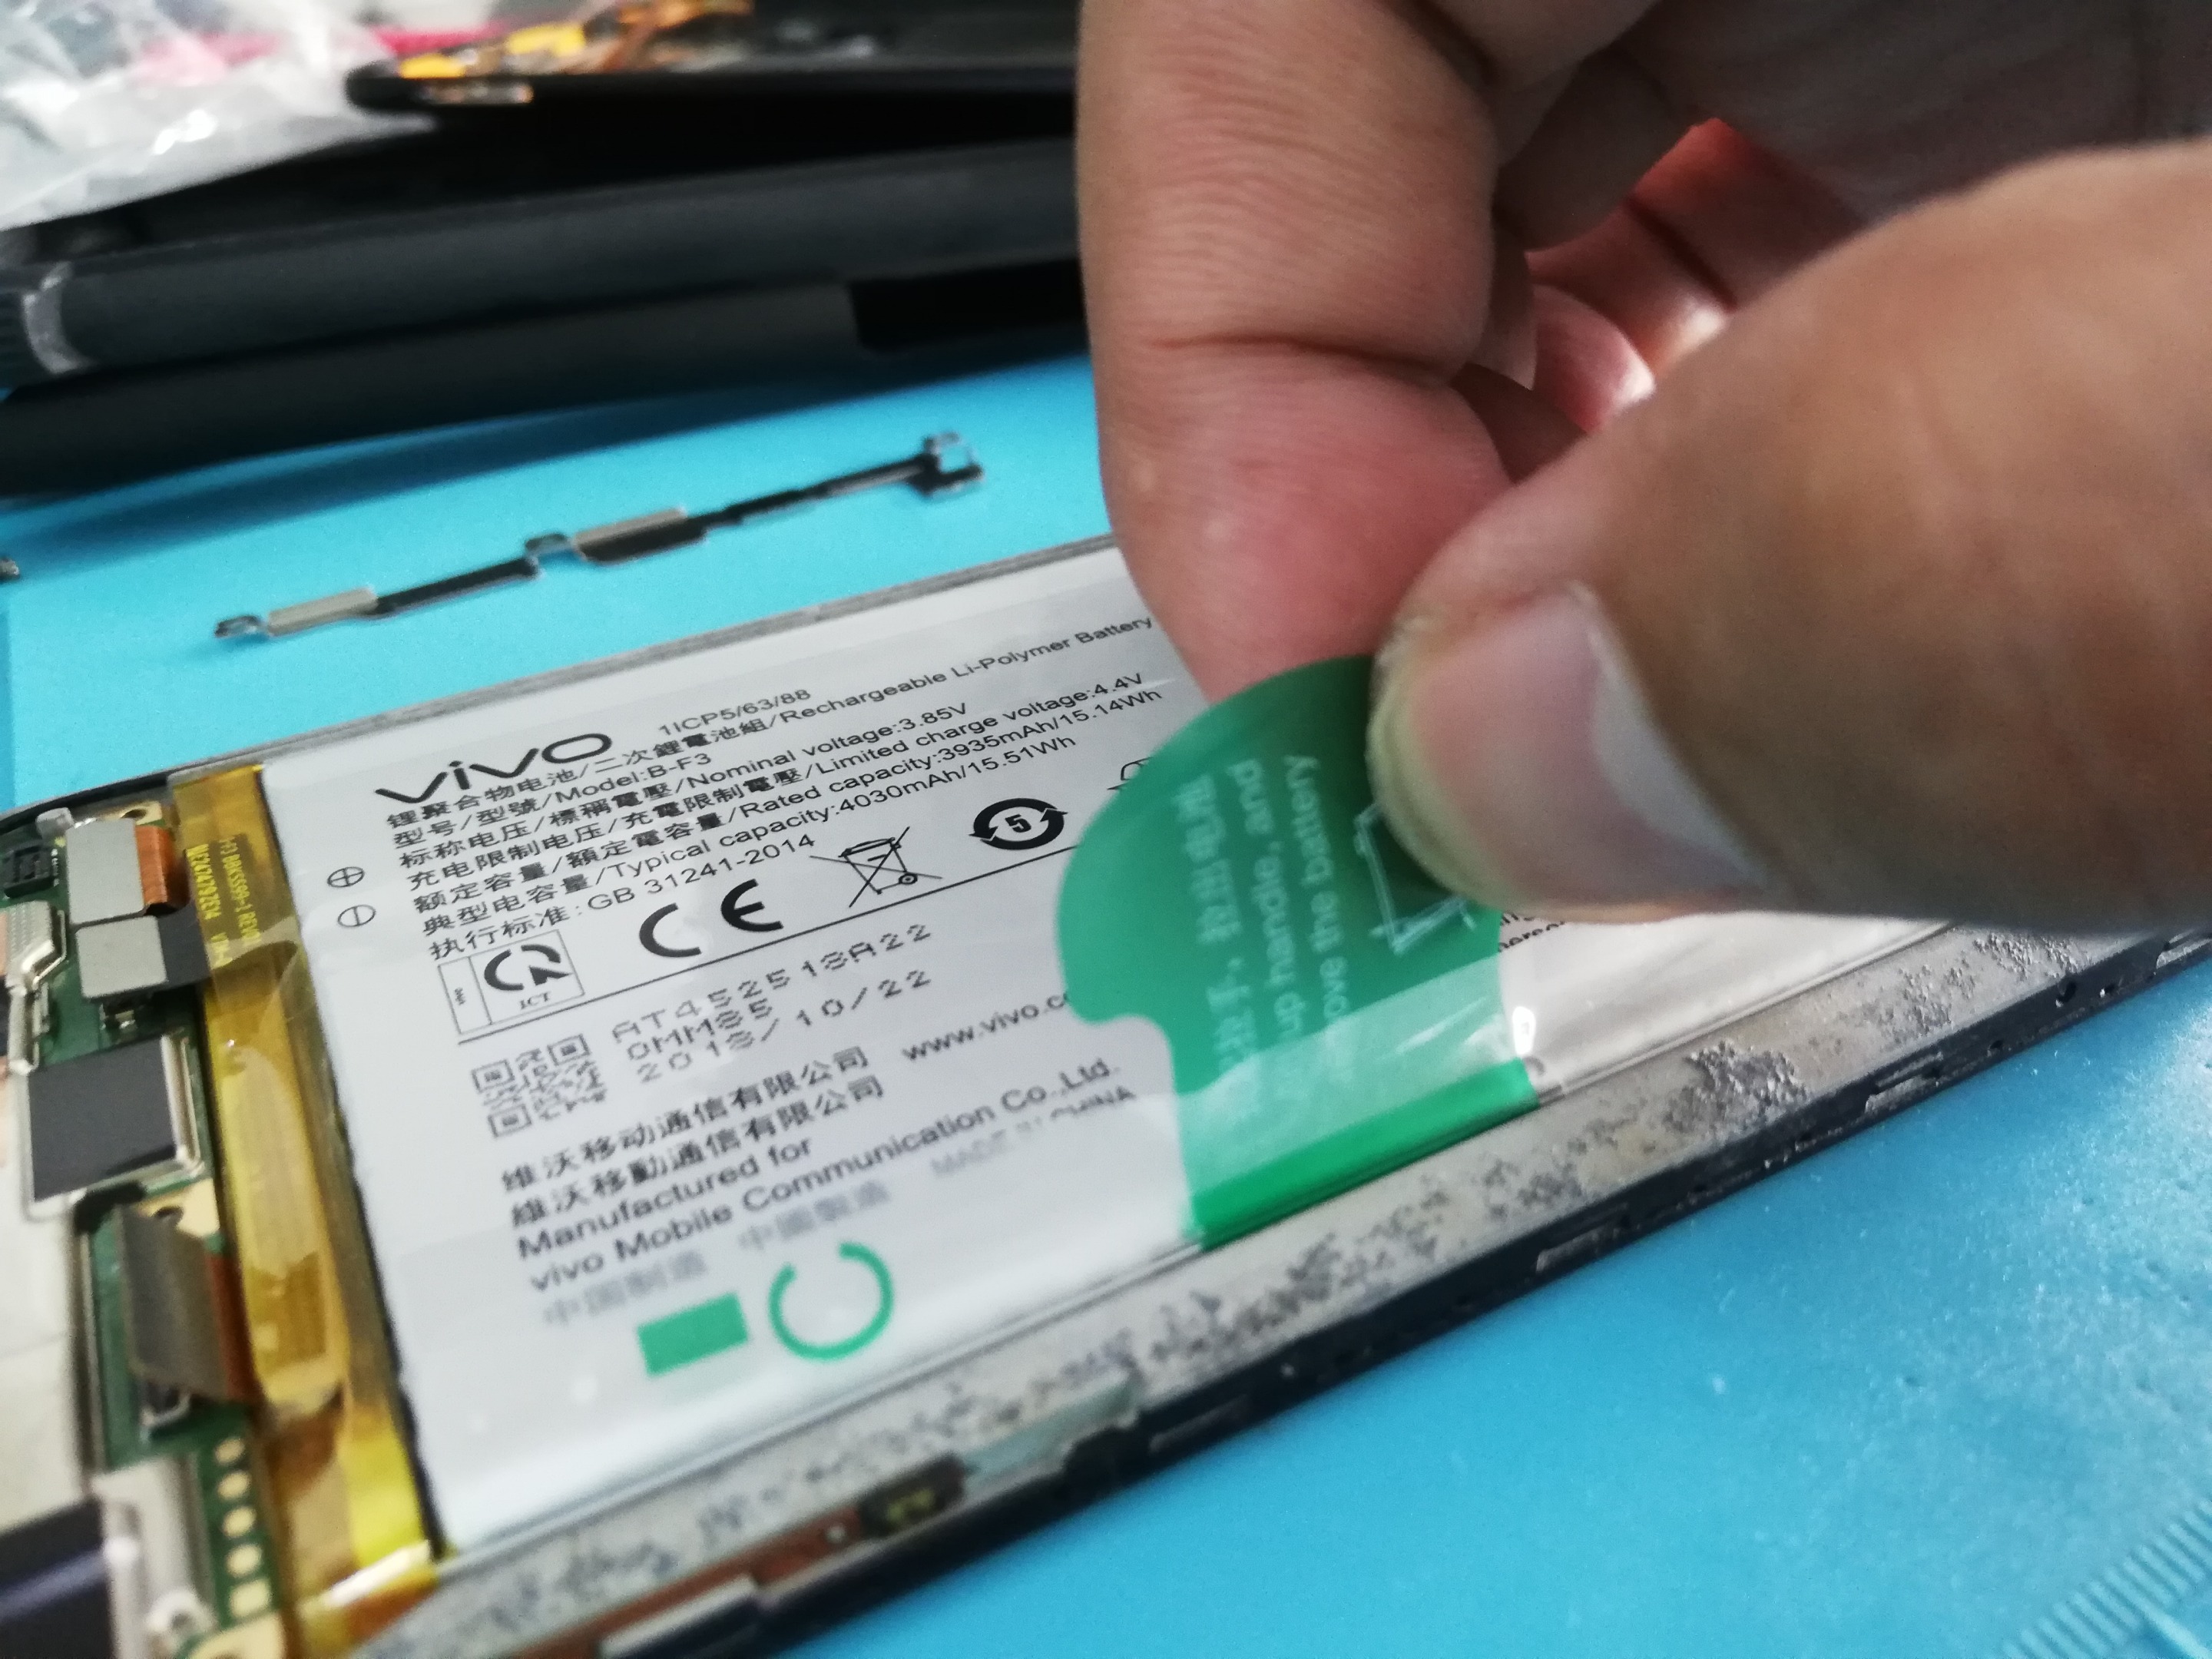 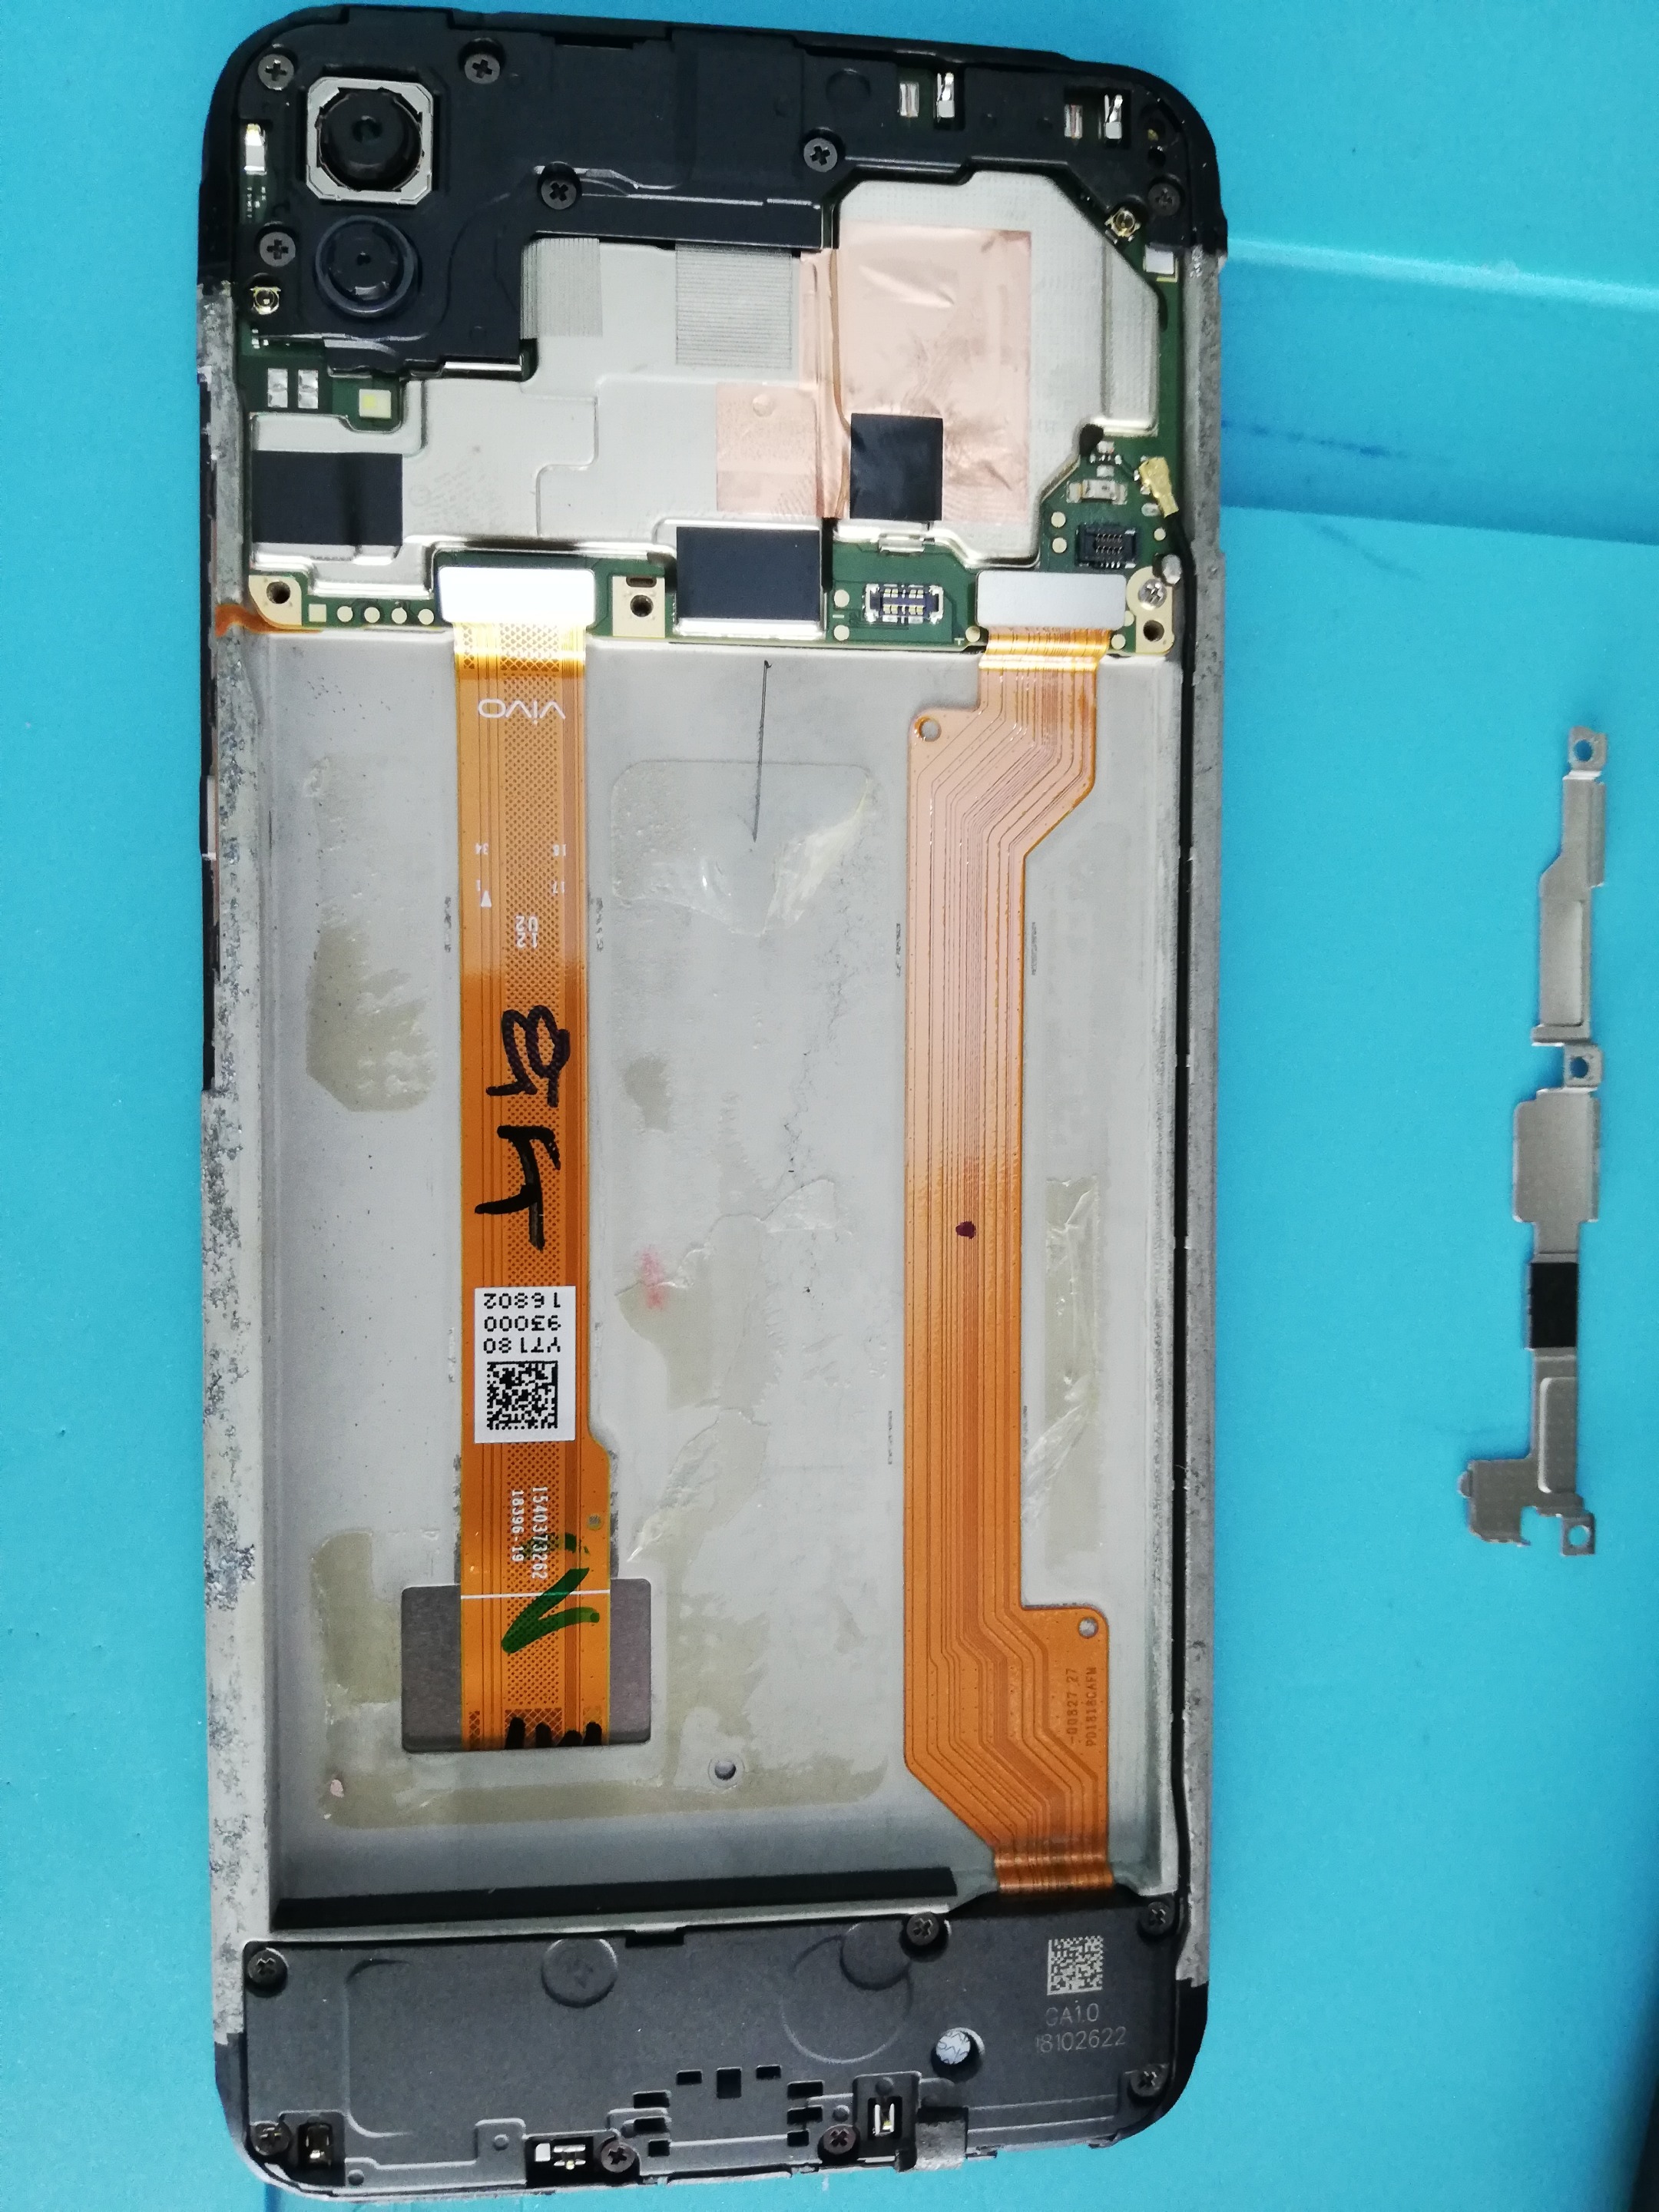 ____ - **Carefully Remove the LCD Frame by plastic pick tool.** 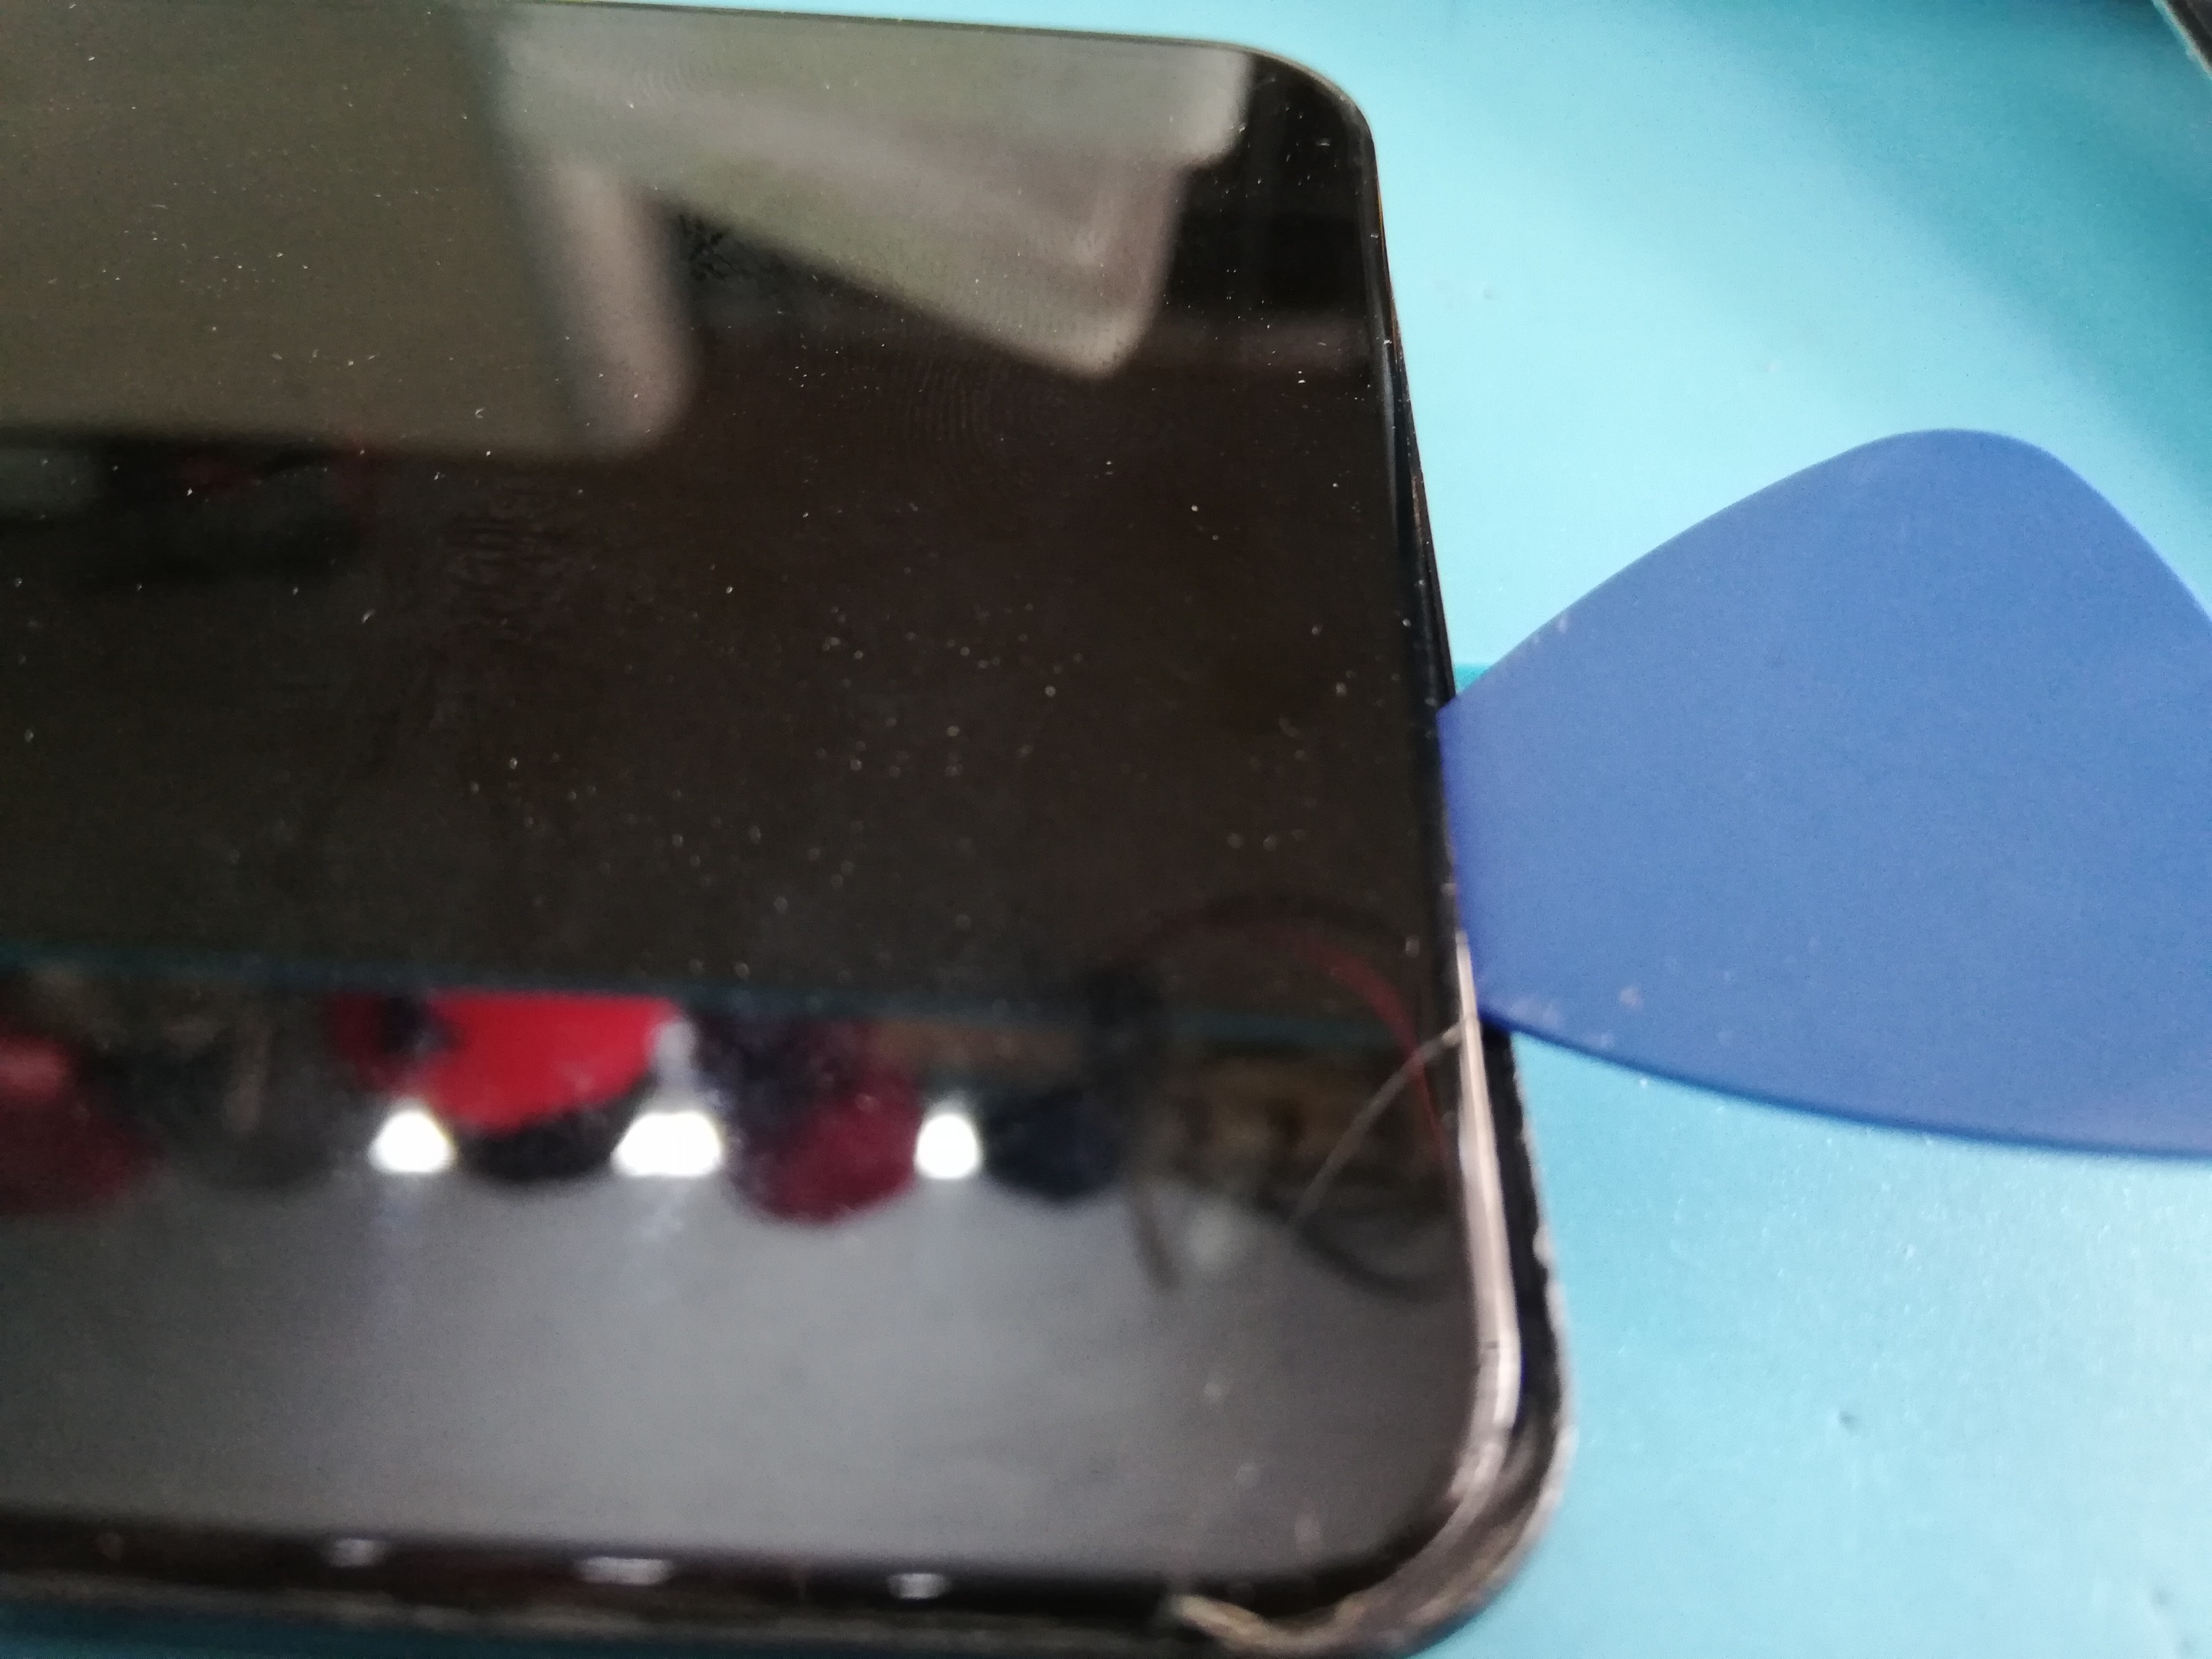  ____ - **Remove the earpiece grill, then transfer it to the new LCD.** 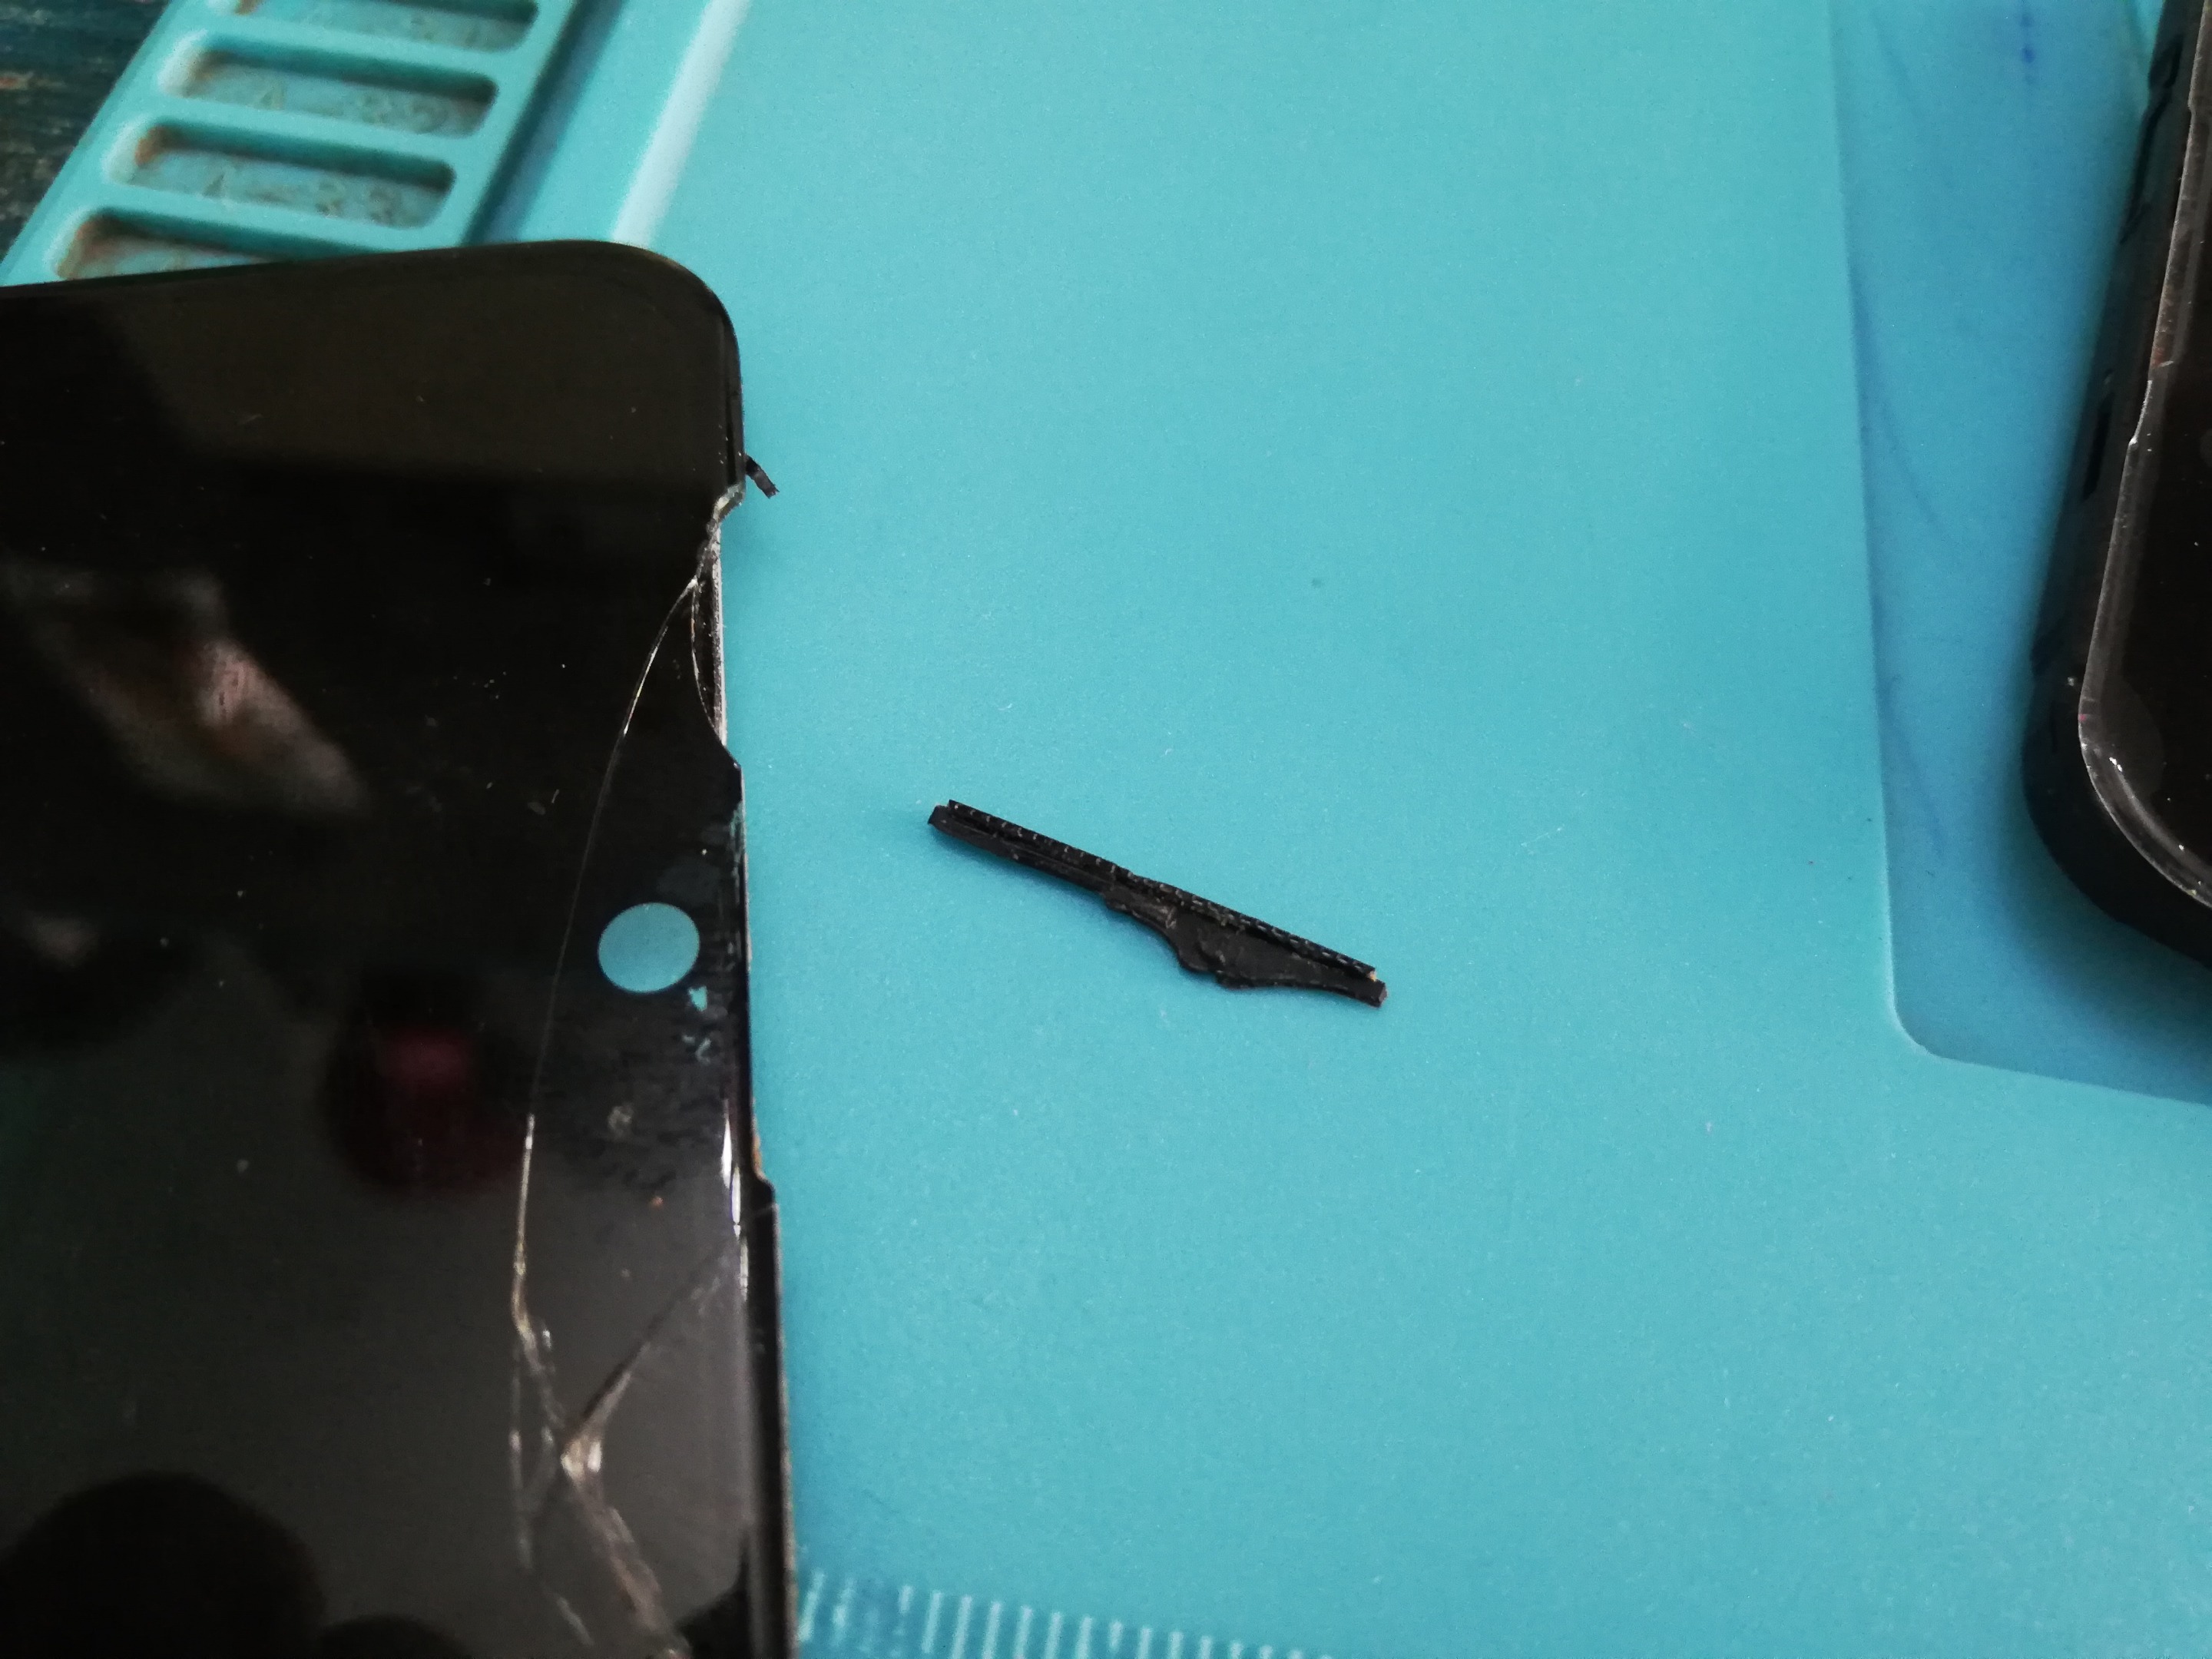 - **Put the new LCD use the Glue t900s and let it dry for 30 minutes.** 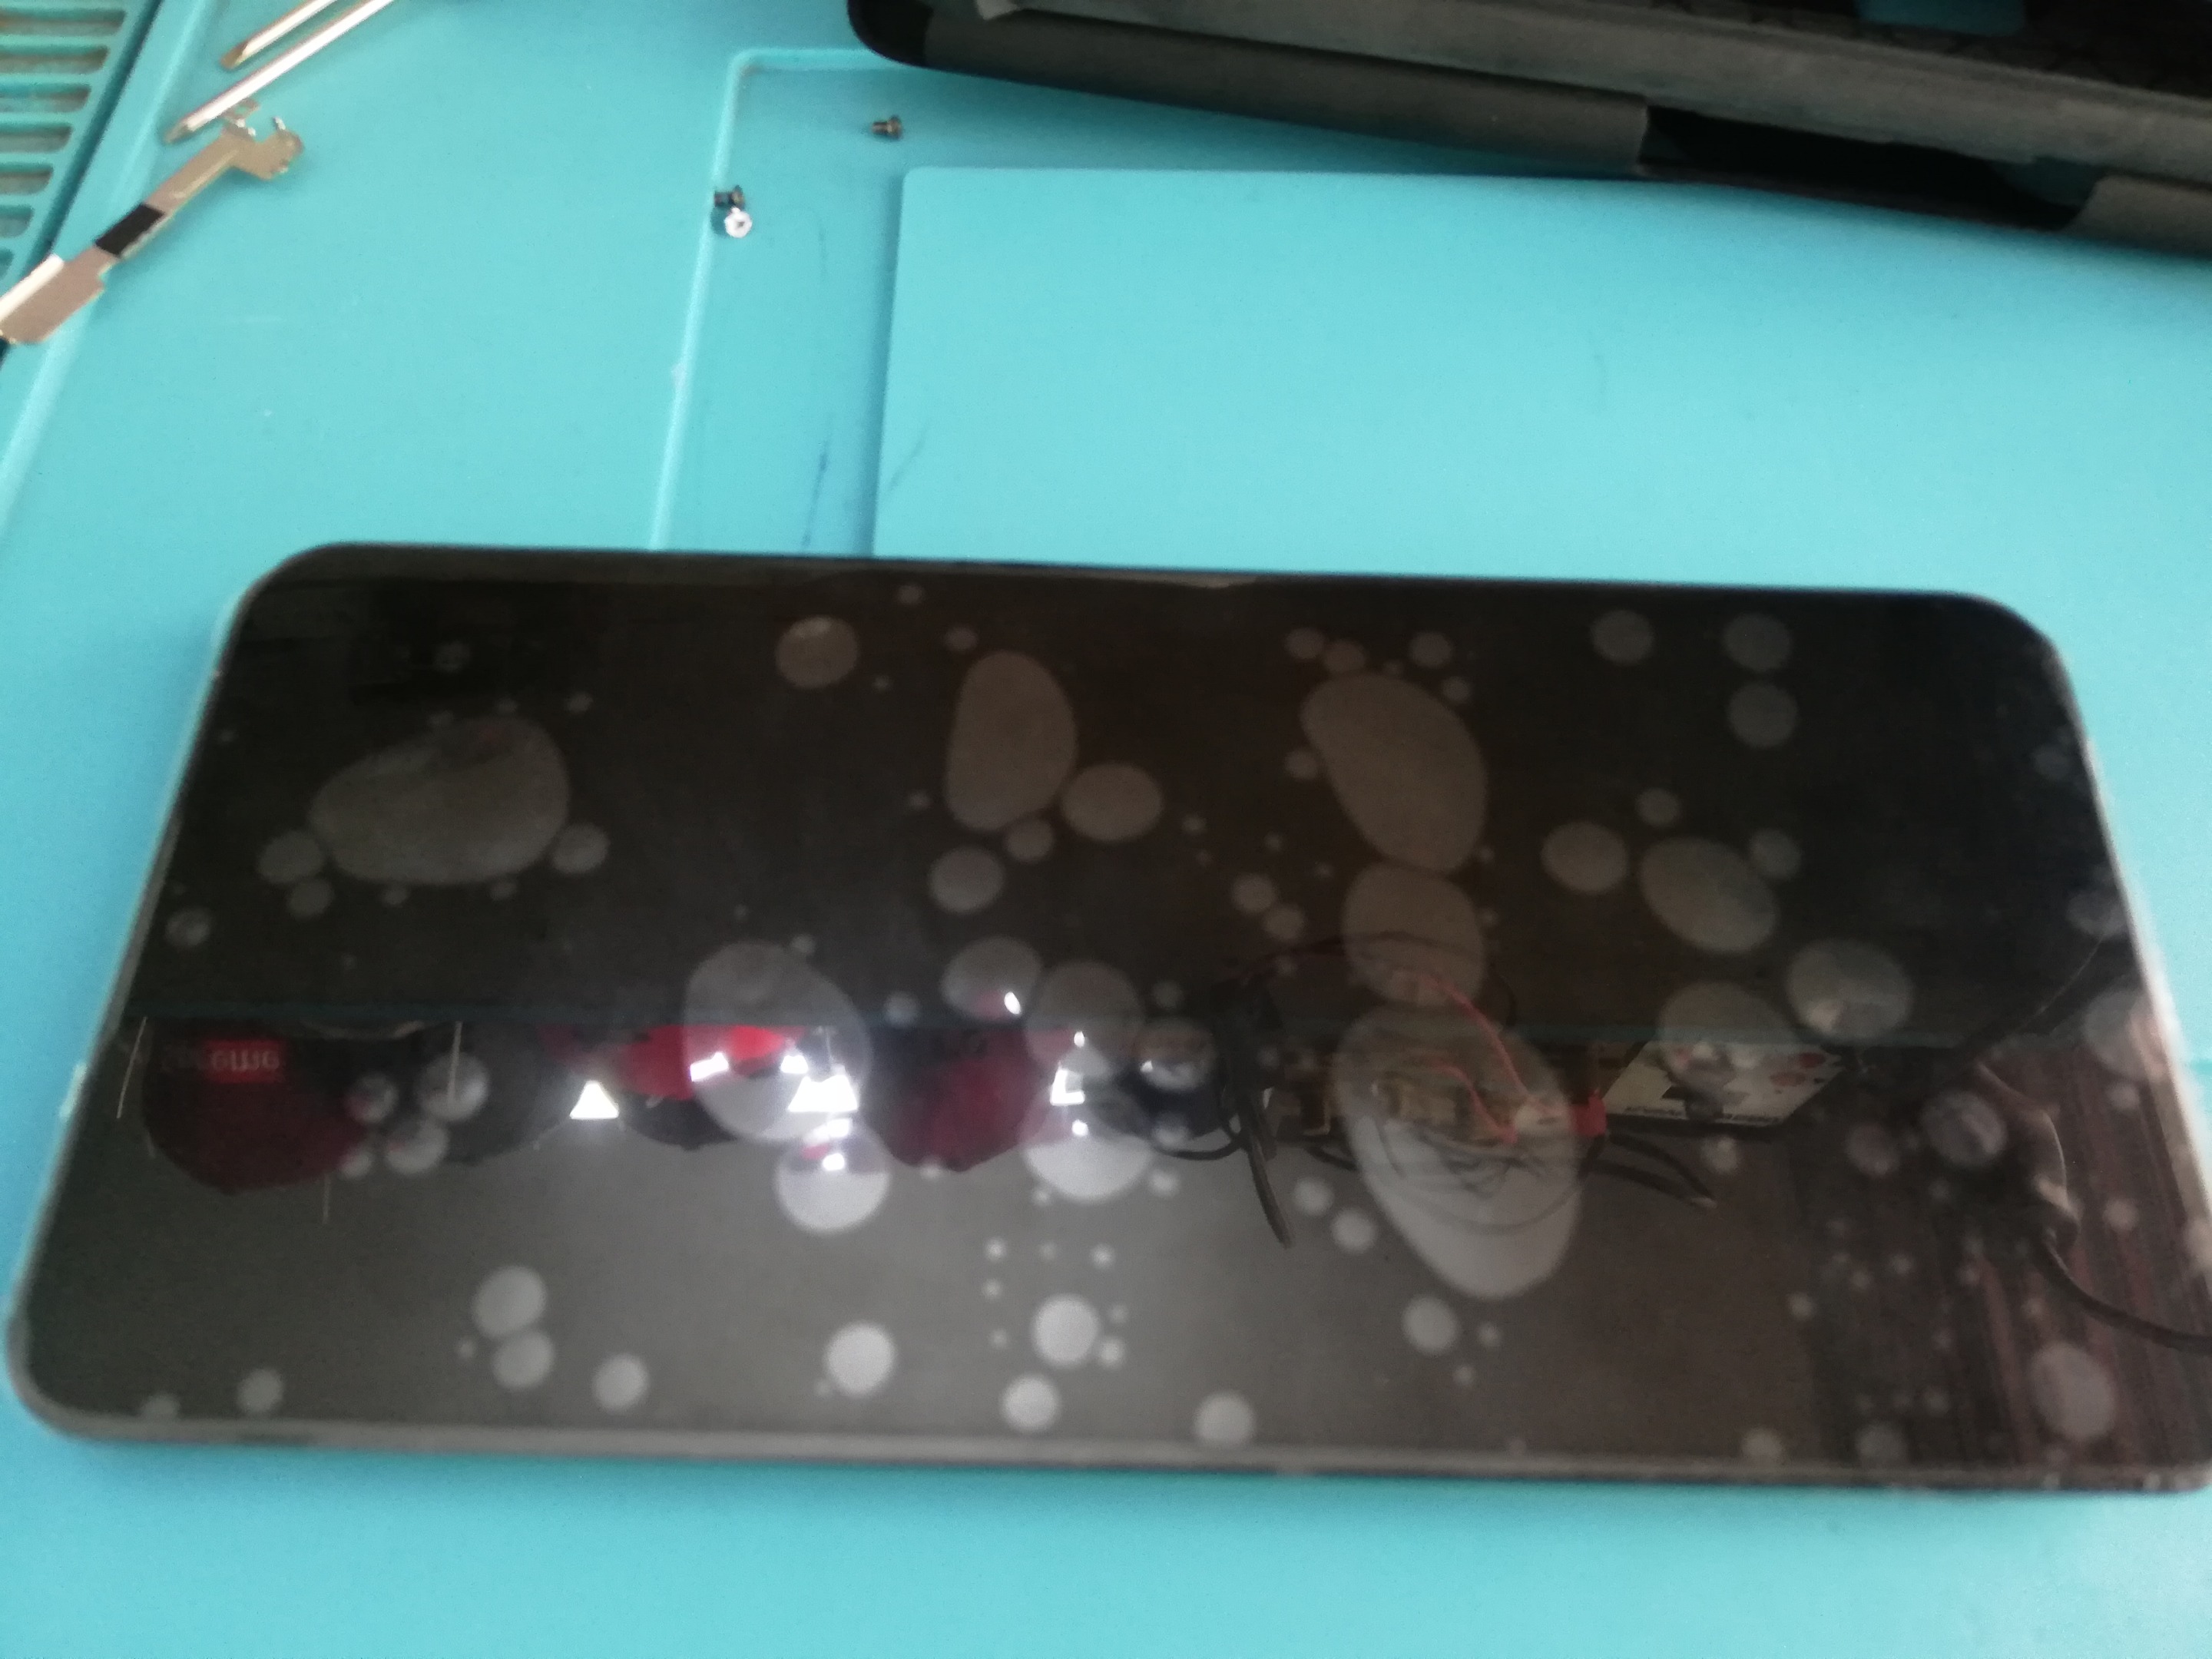 ____ - **Assemble it back and enjoy the new LCD.**  ____ <b>WARNING:</b> This is done by a technician, I am not responsible for any damage to your device if there is a hidden defect prior to the problem. ---- <center>Stay Tuned @dashand</center>
👍 tonimontana, limka, stemd, diosarich, iyanpol12, sarimanok, vxc.stem, laissez-faire, romeskie, hiveph, hivephilippines, themanualbot, bloghound, bearone, monkeypattycake, appleskie, markjason, steemph.manila, guruvaj, jazzhero, adamada, steemph.uae, coarebabes, bestofph, enilemor, arrliinn, pingcess, divinekids, pinas, partitura.stem, elkaos, jemzem, minnowshares, sgbonus, judyannegamis, honeycombs, themarshann, czera, dashand, godlovermel25, gohenry, rachelleignacio, iameden, juanvegetarian, gratefulvibes, truconspiracy, paradise-found, frostyamber, sunnylife, shirleynpenalosa, mhm-philippines, joelagbo, cheese4ead, tinyhousecryptos, macoolette, zephalexia, trafalgar, raindrop, traf, bimguide, steemph.cebu, yuslindwi, jamiz, leryam12, jenesa, namranna, pizzanniza, nikkabomb, cyyy1998, glennamayjumaoas, jonnahmatias1016, francesgardose, georgie84, geeyang15, leebaong, thisisruby, jason04, hloody, votingpower, abdulmatin69, mowemu, peterpanpan, gingerninja, chunnorris, agentzero, saifulanwar, maaz23, sorenkierkegaard, dizzyapple, cordeta, brusd, honeyletsgo, cheesom, ligarayk, kayegrasya, axel-blaze, aceh.point, frankydoodle, slefesteem, gunthertopp, pjmisa, hillaryaa, mercy11, tedzwhistle, reyarobo, xsasj, iamqueenlevita, janicemars, shoganaii, mirnasahara, davids-tales, loydjayme25, photohunter3, photohunter5, starzy, rasty.demecillo, sawi, ai1love, jackobeat, aljunecastro, kahawenz, blackelephant, kyanzieuno, mojacko, angoujkalis, waraira777, joshuafootball, vikas612, meppij, anneporter, jesuscasalesson, doodleman, carlitojoshua, ihal0001, zackarie, juecoree, legendarryll, junebride, josejirafa, parth7878, bellatravelph, marysent, thinkingmind, christianyocte, raquelita, cruisin, myword, yggdrasil.laguna, gitplait, tykee, kamchore, bala41288, lhen18, photodashph, fherdz, elitogold, hivebuzz, steemitboard,