Instructions for creating master node for social send coin
socialsend·@edx·
0.000 HBDInstructions for creating master node for social send coin
Hi guys We are going to learn to create masternode for Social Send coin. Social Send coin was created from Piex coin ( formerly pie coin) after the developers decided to abandon the chain due to an unscruplous exchange which led to loss of their coins. It is the first coin which has social sending intergrated in it implies you can send money through facebook and twitter - now how cool is that ! You need exactly 6250 coins from cryptopia.co.nz to build a master node . Masternode returns are good approx 200 % a year. We will use vultr.com to create a masternode Register yourself at vultr using the link below :- https://www.vultr.com/?ref=7224873 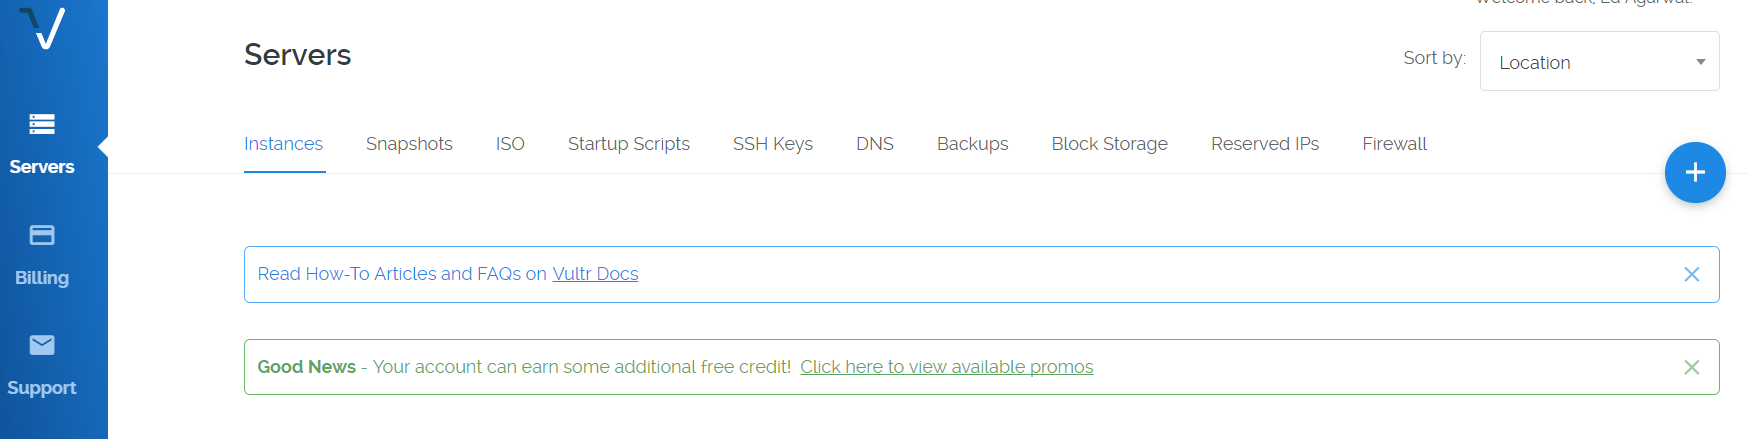 Hit on the (+) button ( deploy new server ) Choose server location as the nearest country to your place 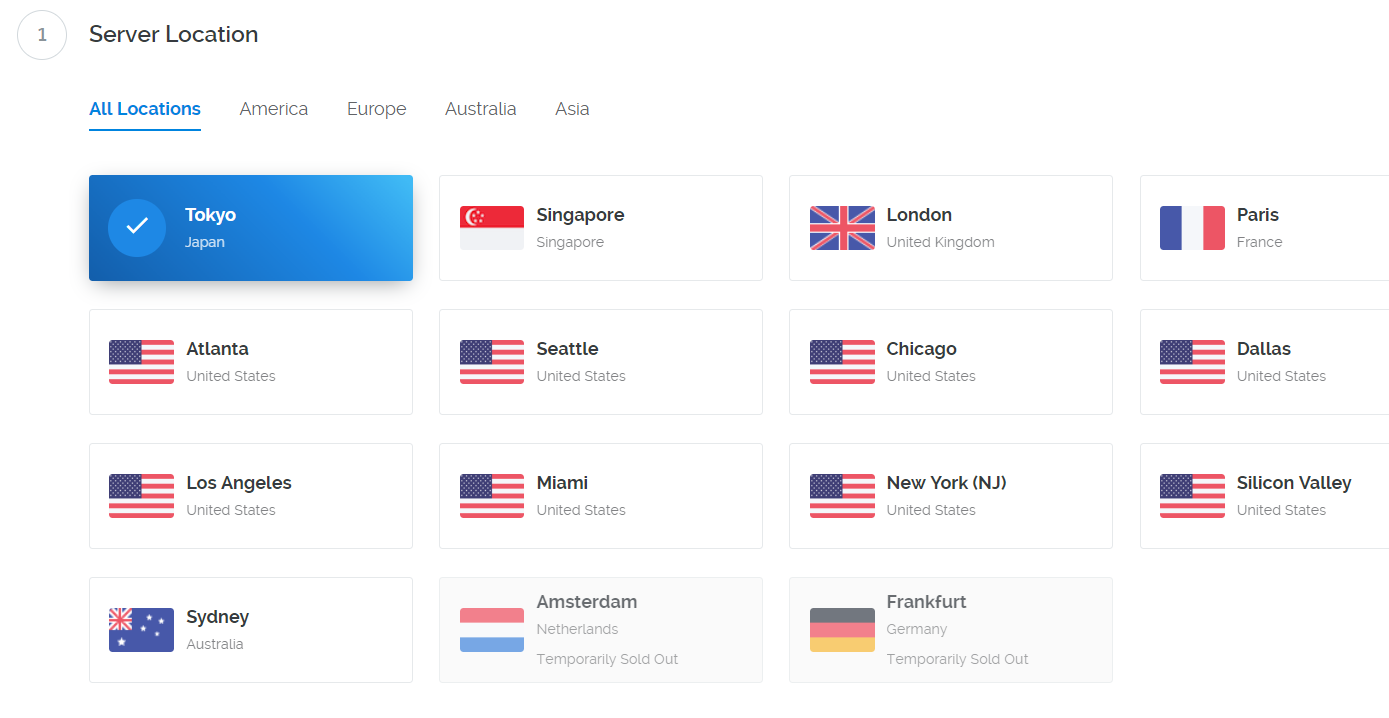 Choose UBUNTU 14.04 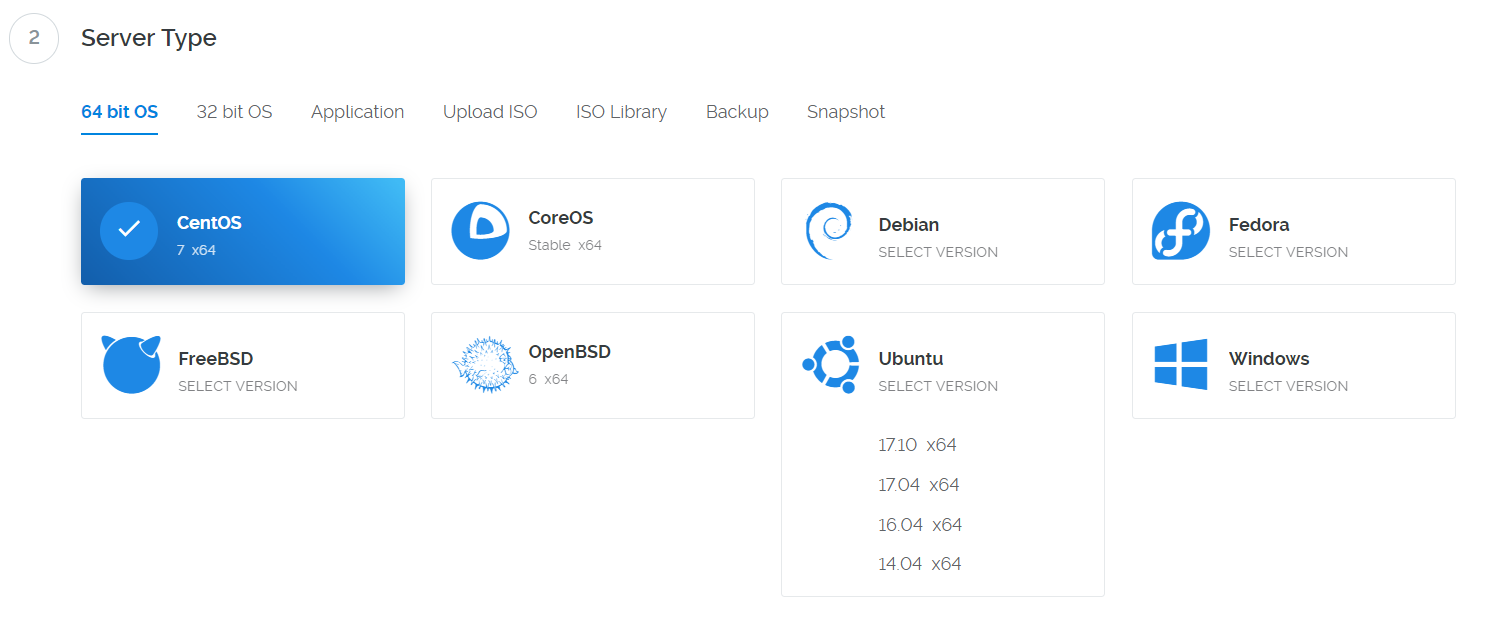 Choose the 5 $ per month server option . 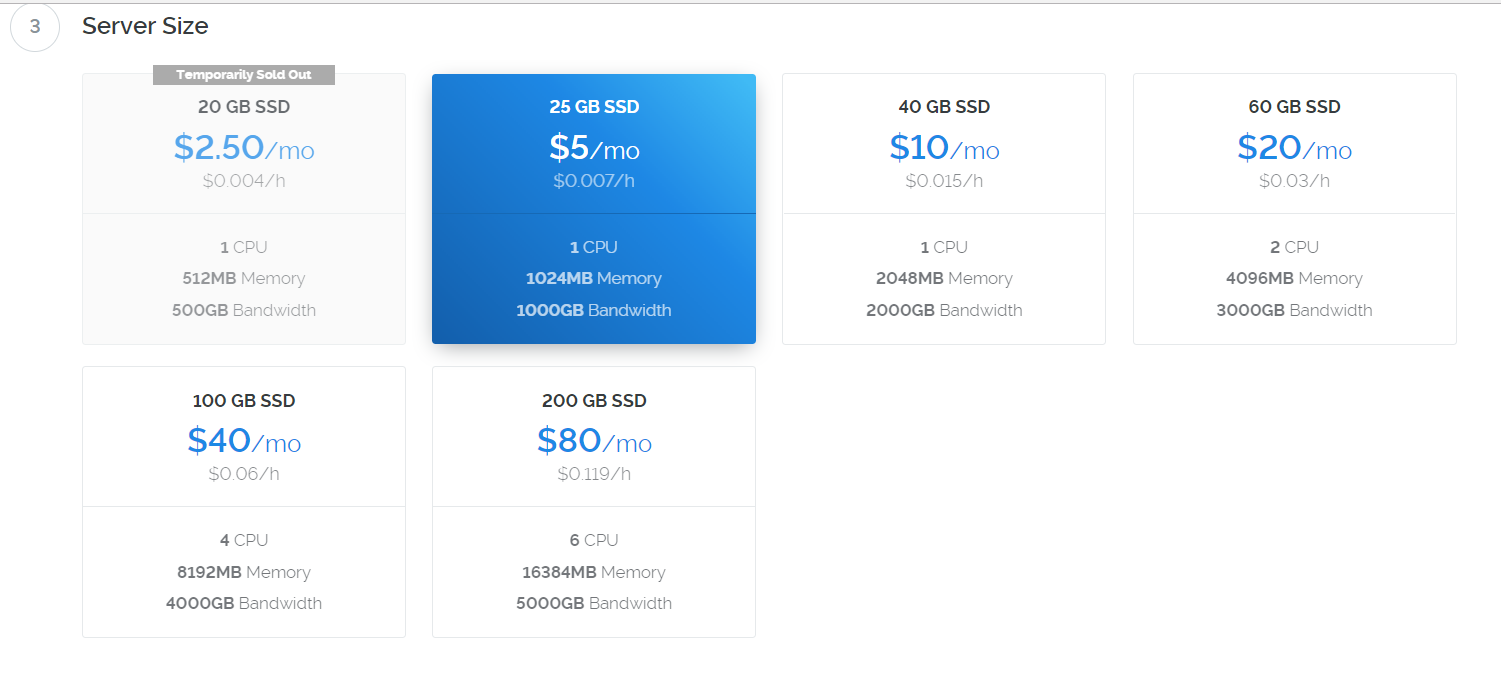 Give a host name of your choice and hit deploy now . 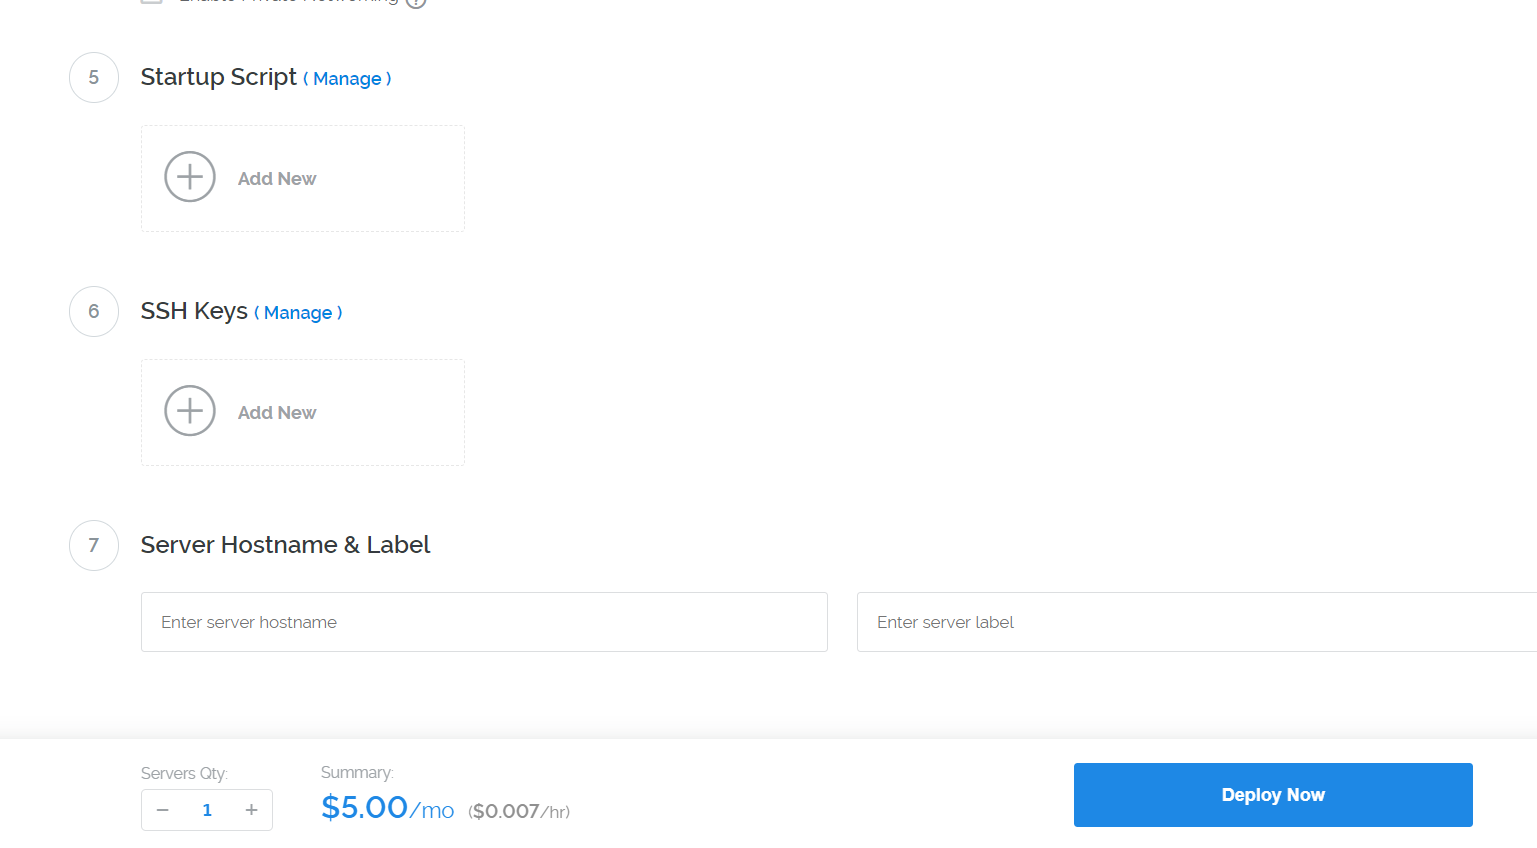 Wait for server to get deployed. Once done open putty . 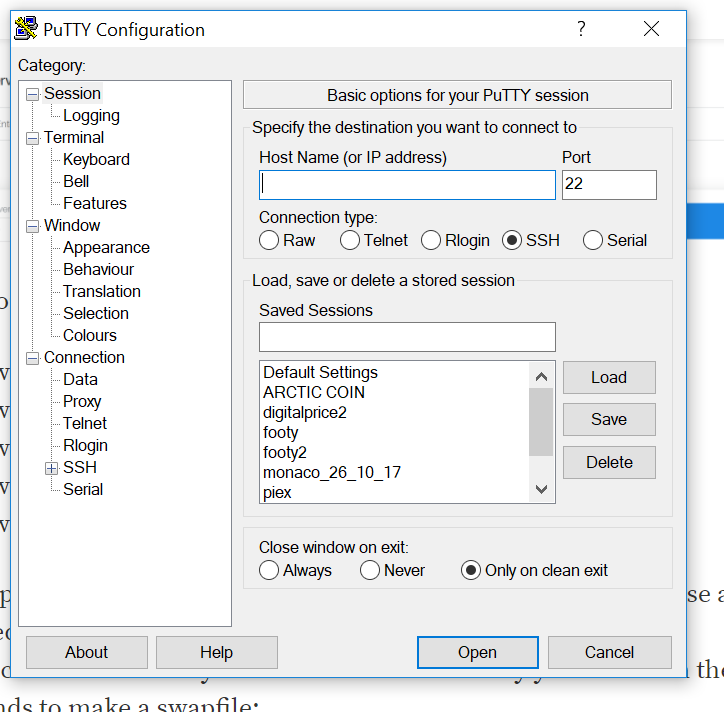 Put your IP addresss in host name of putty from vultr  Once done hit Open 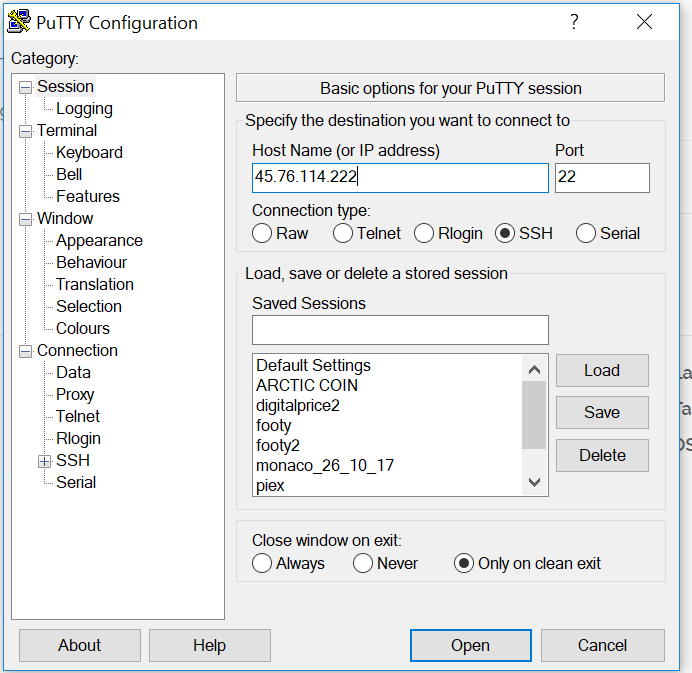 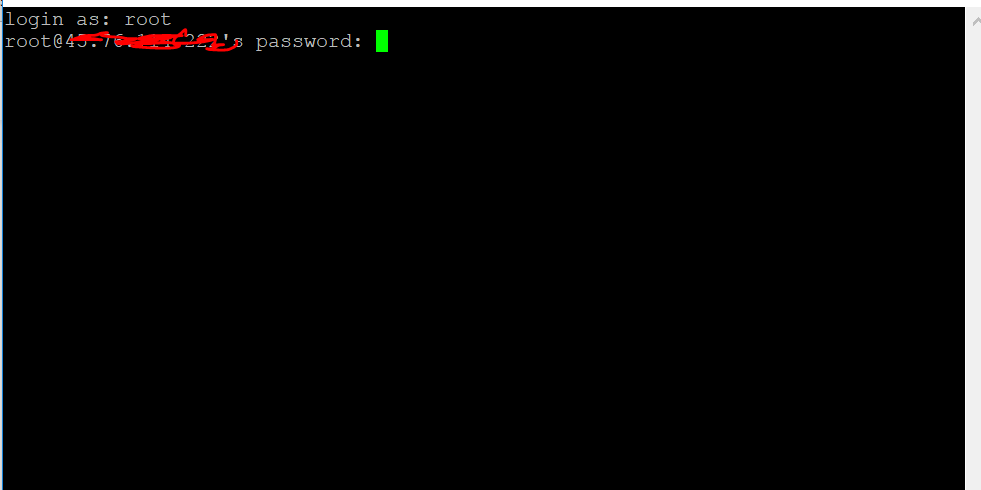 How putty works is you need to use RIGHT CLICK to PASTE. so copy password from vultr and right click 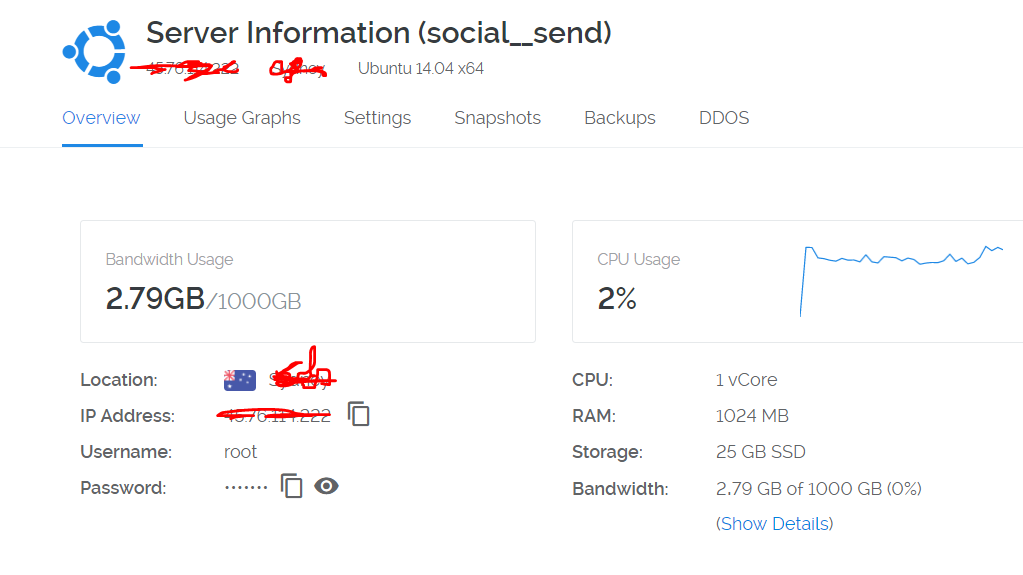 Now for rest of the linux script follow the instructions below just keep copying and pasting ( by using right click) sudo ufw allow OpenSSH sudo ufw allow 51474 sudo ufw default deny incoming sudo ufw default allow outgoing sudo ufw enable The swap drivemakes space on your hard drive that the server can use as simulated extra RAM. By the way, the free command shows you how much free memory you have.Run these commands to make a swapfile: sudo dd if=/dev/zero of=/var/swap.img bs=1024k count=1000 sudo mkswap /var/swap.img sudo swapon /var/swap.img sudo chmod 0600 /var/swap.img sudo chown root:root /var/swap.img sudo nano /etc/fstab Append the following line to the end of the file: /var/swap.img none swap sw 0 0 Press ctrl+X . It will prompt you to save the file with a Y/N . Hit Y sudo apt-get install build-essential libtool autotools-dev automake pkg-config libssl-dev libevent-dev bsdmainutils sudo apt-get install libboost-system-dev libboost-filesystem-dev libboost-chrono-dev libboost-program-options-dev libboost-test-dev libboost-thread-dev sudo apt-get install software-properties-common sudo add-apt-repository ppa:bitcoin/bitcoin sudo apt-get update sudo apt-get install git sudo apt-get install libdb4.8-dev libdb4.8++-dev sudo apt-get install libminiupnpc-dev sudo dpkg --add-architecture i386 sudo apt-get update sudo apt-get install libc6:i386 libncurses5:i386 libstdc++6:i386 sudo git clone https://github.com/SocialSend/SocialSend cd SocialSend sudo chmod +x autogen.sh sudo chmod +x share/genbuild.sh sudo chmod 755 src/leveldb/build_detect_platform ./autogen.sh ./configure make make install make directory. mkdir ~/.send cd ~/.send nano ~/.send/send.conf #input rpcuser=UserName rpcpassword=Password rpcallowip=127.0.0.1 #end 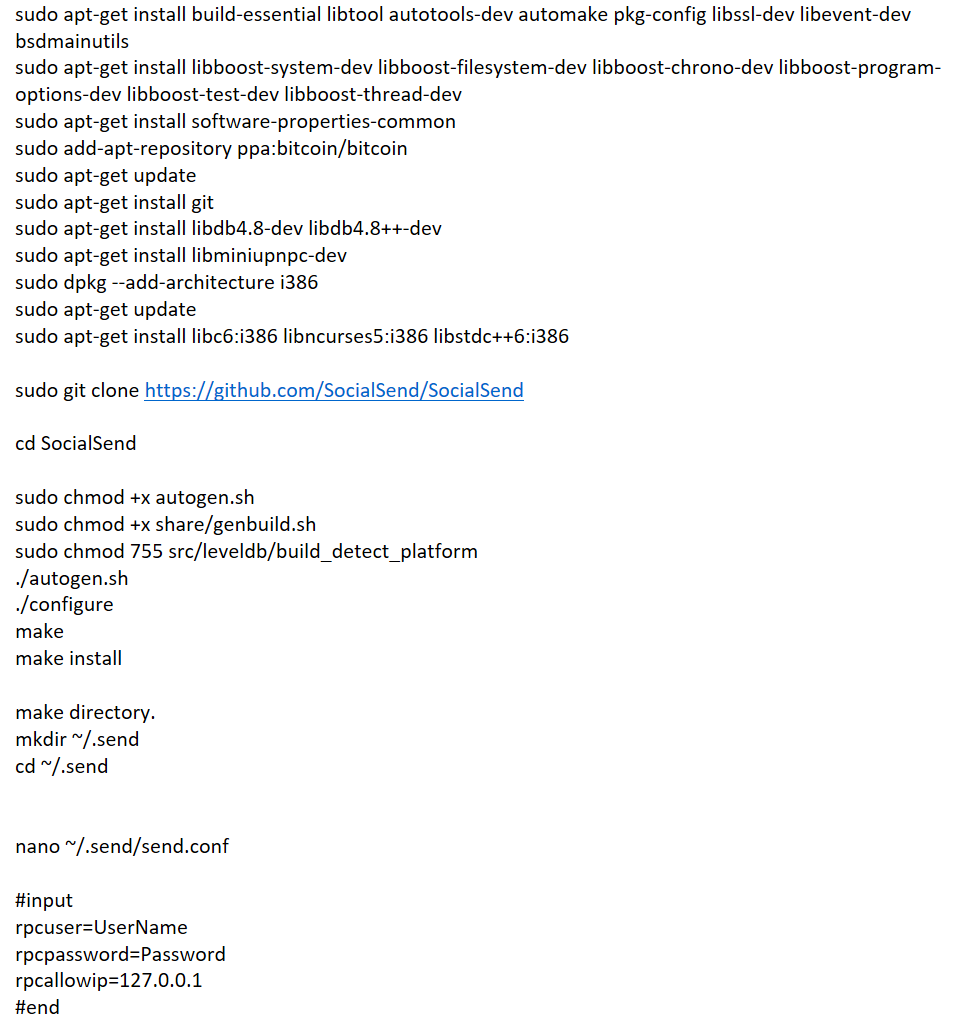 Hit Ctrl+X, It will prompt you to save the file with Y/N . Hit Y 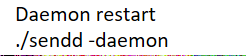 Start the server ./sendd -daemon It would say server successfully started Next step is to create a new address for masternode Create wallet-address ./send-cli getaccountaddress MN You will get an address , use ctrl+c to copy the address and send exactly 6250 coins to this address from your cryptopia account Create priv-key for masternode (genkey) ./send-cli masternode genkey Note this on your notepad Create masternode transaction (TXID) ./send-cli masternode outputs Note this on your notepad Stop the send server ./send-cli stop Open the wallet configuration file with the below command nano ~/.send/send.conf Now copy paste the format below - #input staking=1 rpcuser=UserName (retain what you put earlier rpcpassword=Password( retain what you put earlier) rpcallowip=127.0.0.1 listen=1 server=1 daemon=1 logtimestamps=1 maxconnections=256 masternode=1 externalip= VPS-IPaddr (from vultr):53472 bind=127.0.0.1 masternodeprivkey=MasternodePrivkey ( which you got earlier and saved in ur notepad) masternodeaddr=127.0.0.1:53472 #end Hit ctrl +X and press Y when done Open the masternode configuration file nano ~/.send/masternode.conf mn1 127.0.0.1:53472 (genkey) (txid) (0 or 1) The 0 or 1 is what you get at the end of the TXID Hit Ctrl+X and press Y when done Now restart the server ./sendd -daemon check the status of your masternode ./send-cli masternode status If it shows "1" all good ! You can always check your balance using ./send-cli getbalance after 2-3 days , if it has increased you are doing good with the masternode