Solar Power as an Alternative Source of Power in Africa (Some Pictures of a Friend's Installation Which he did this Past Weekend)
technology·@greenrun·
0.000 HBDSolar Power as an Alternative Source of Power in Africa (Some Pictures of a Friend's Installation Which he did this Past Weekend)
https://steemitimages.com/DQmPEKzKghJFfn9rQTKgEWWkoqAX3YU6NJE7qymEq1unXpV/how-solar-works-diagram.jpg <br> I am going to explain how a portable home solar power system works in the simplest way possible. When the sun shines on a solar panel, the solar energy is converted to direct current (DC). Because sun energy fluctuates, a device known as **solar charge controller** controls the direct current produced by the panel. This direct current is either used directly or stored in **batteries**. Batteries are charged using direct current. But because most devices in the home use alternating current, a device known as a **inverter** *inverts* (changes) this direct current into alternating current. The house load is then connected to this inverter. So when the sun goes down, the battery now charged, supplies direct current to the inverter which in turn converts it into electricity for use. [Picture credit](https://www.sunplicitysolarpower.com/wp-content/uploads/2016/07/how-solar-works-diagram.jpg) <br> https://steemitimages.com/DQmZiShtkZcdsn2zfYeSUK52Qsrc58GU8xsEvtGG1KdG8qF/solar%20block%20diagram.jpg <sup>A simplified diagram of a solar power system drawn by me (Oh yeah,I am not an artist <3)</sup> <br> After months of enduring the epileptic public electricity supply, my friend decided to go green. I was there as he started off. Things he bought: * 12 Nos of 300w polycrystalline solar panels * 1 solar combiner box * 1 150V 80A 7500W 12V 24V 36V 48V 60V MPPT solar charge controller * 12 nos of 2V 500AH Deep Cycle Batteries * 5KVA 24V Pure Sinewave Inverter. * Circuit breakers, breaker box, copper cables, cable lugs, cable joiners, etc. He started off by clearing the location he planned to install the panels. <br> 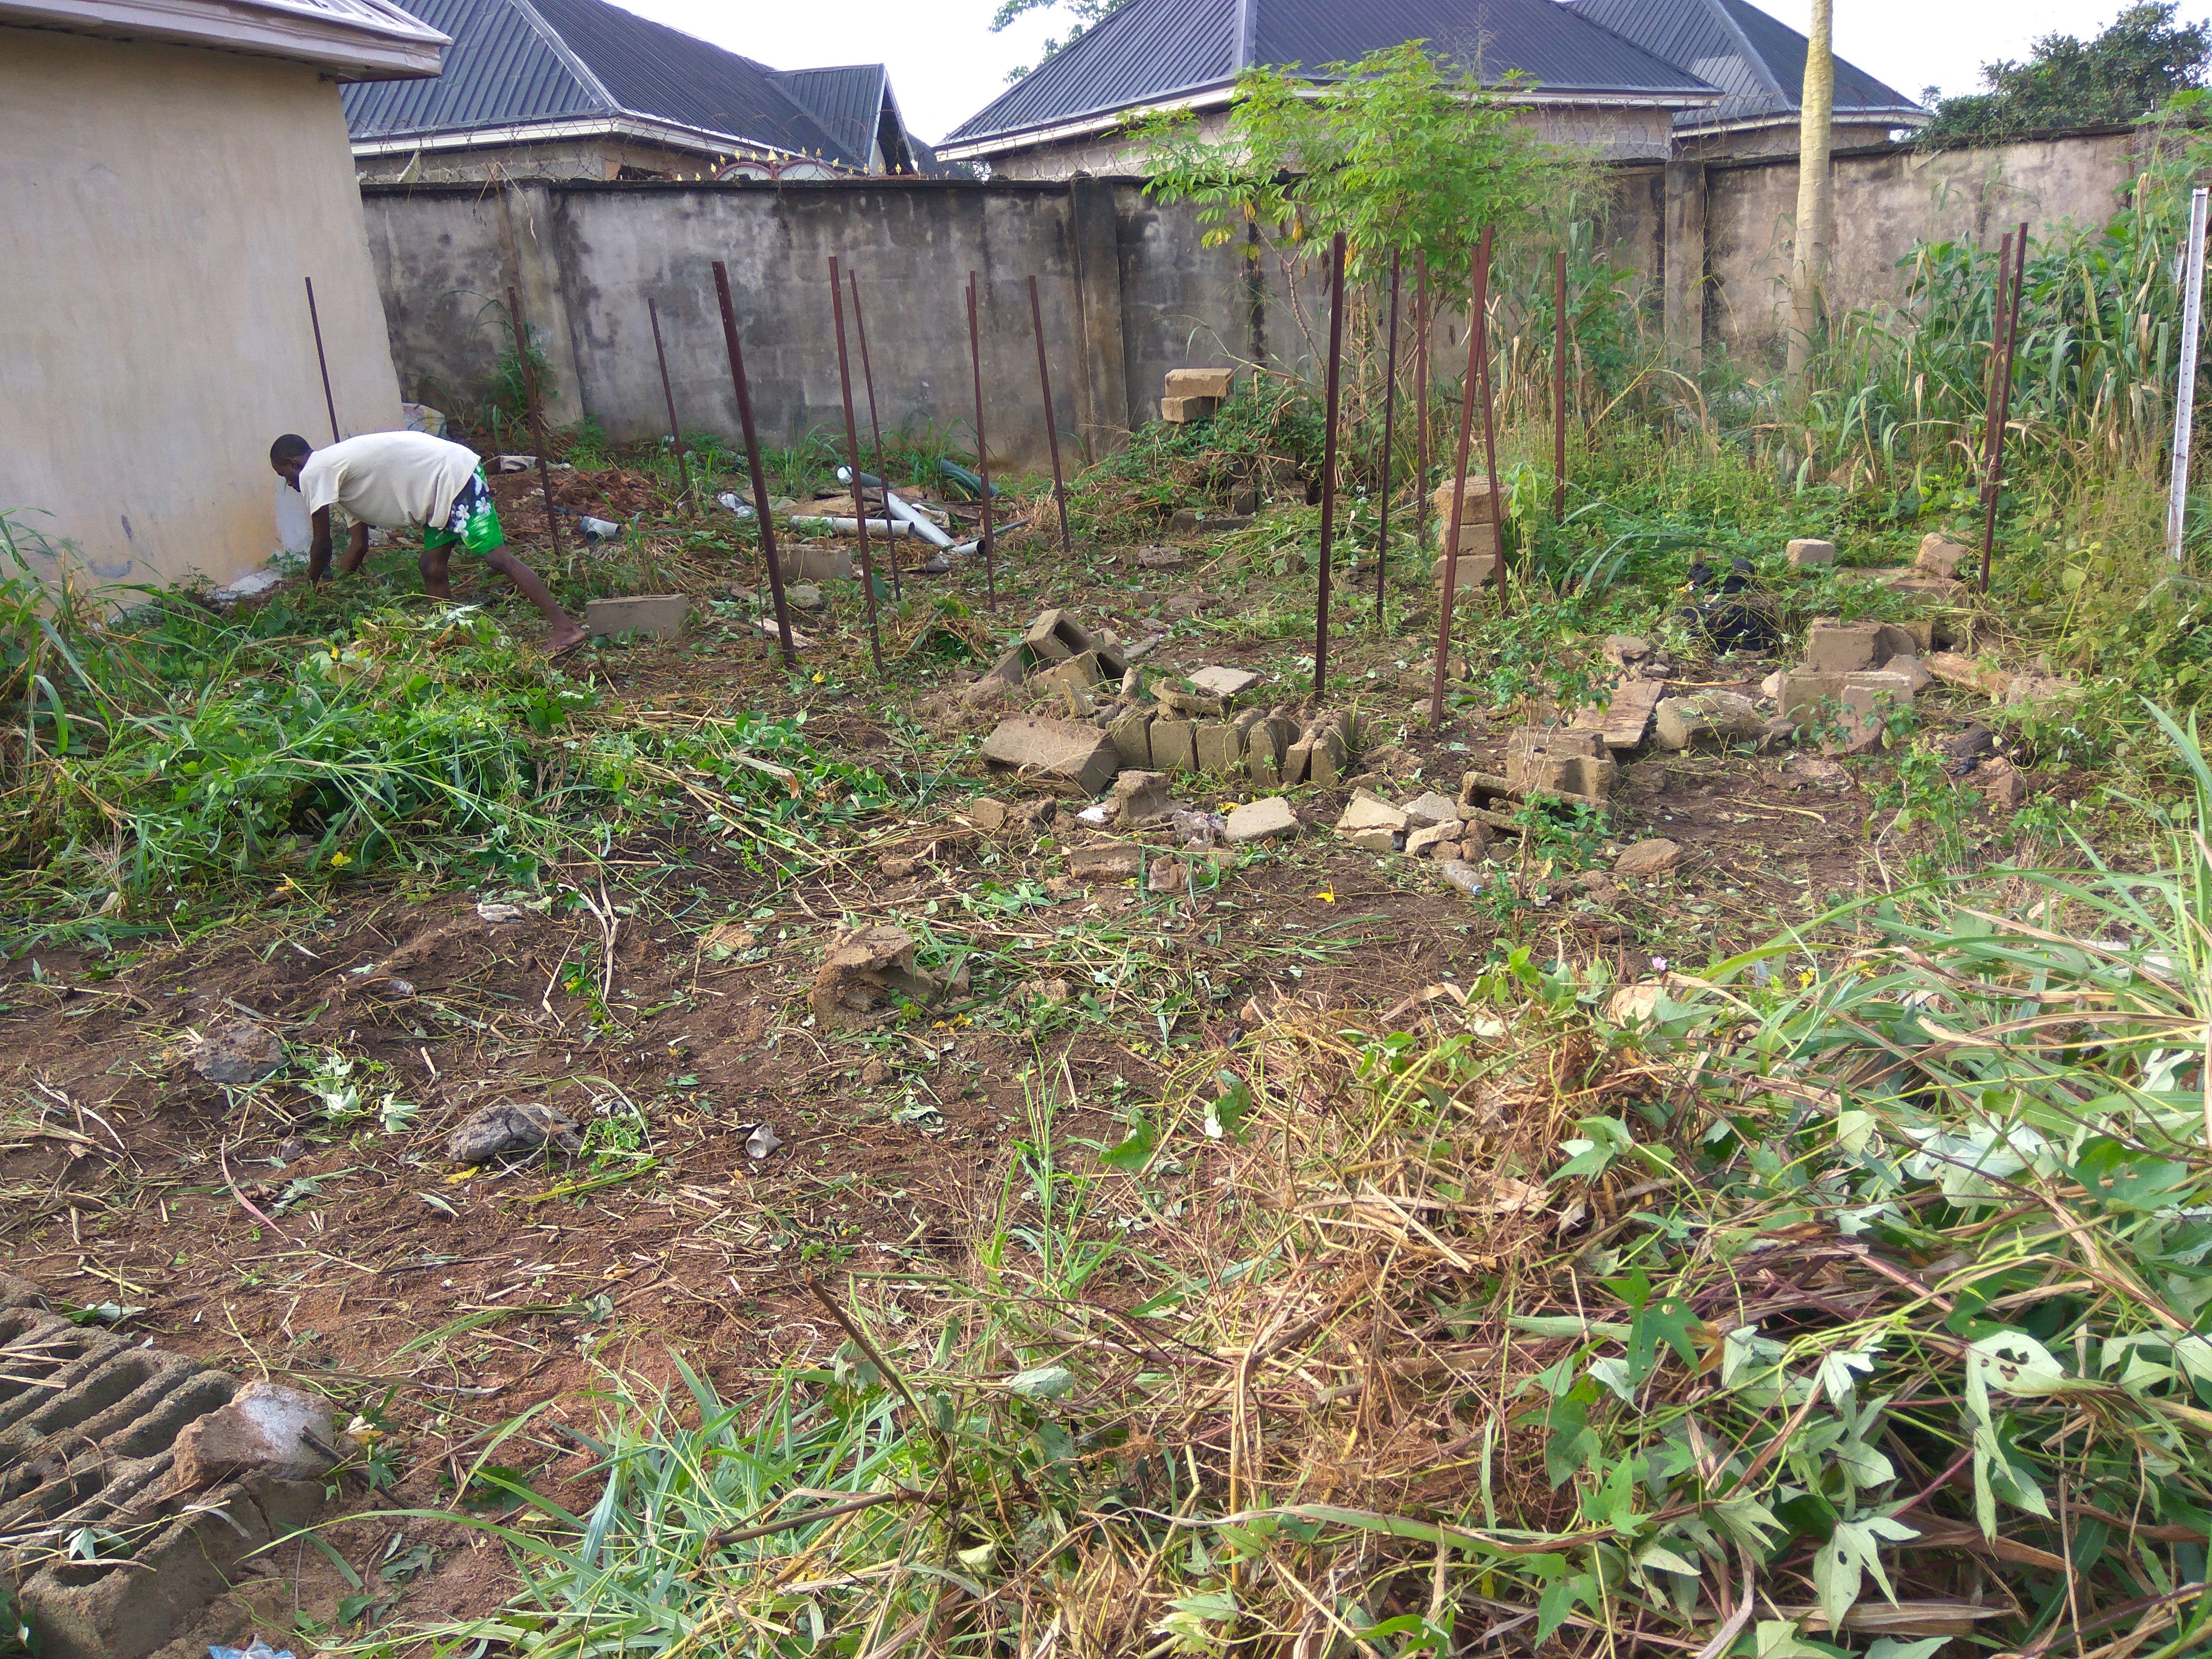 <sup>Location of solar panel installation being cleared</sup> <br> Clearing and digging of holes for the wood stand continue <br> https://steemitimages.com/DQmebBnwPR7Rho4HNuVmGZMuqrpMJ9wtqLW7Xjybso5sMUA/Clearing_pic.jpg! <br> He decided to use wood as it is cheaper and also easily dismantled in the case of relocation. So he bought some pieces of wood <br> 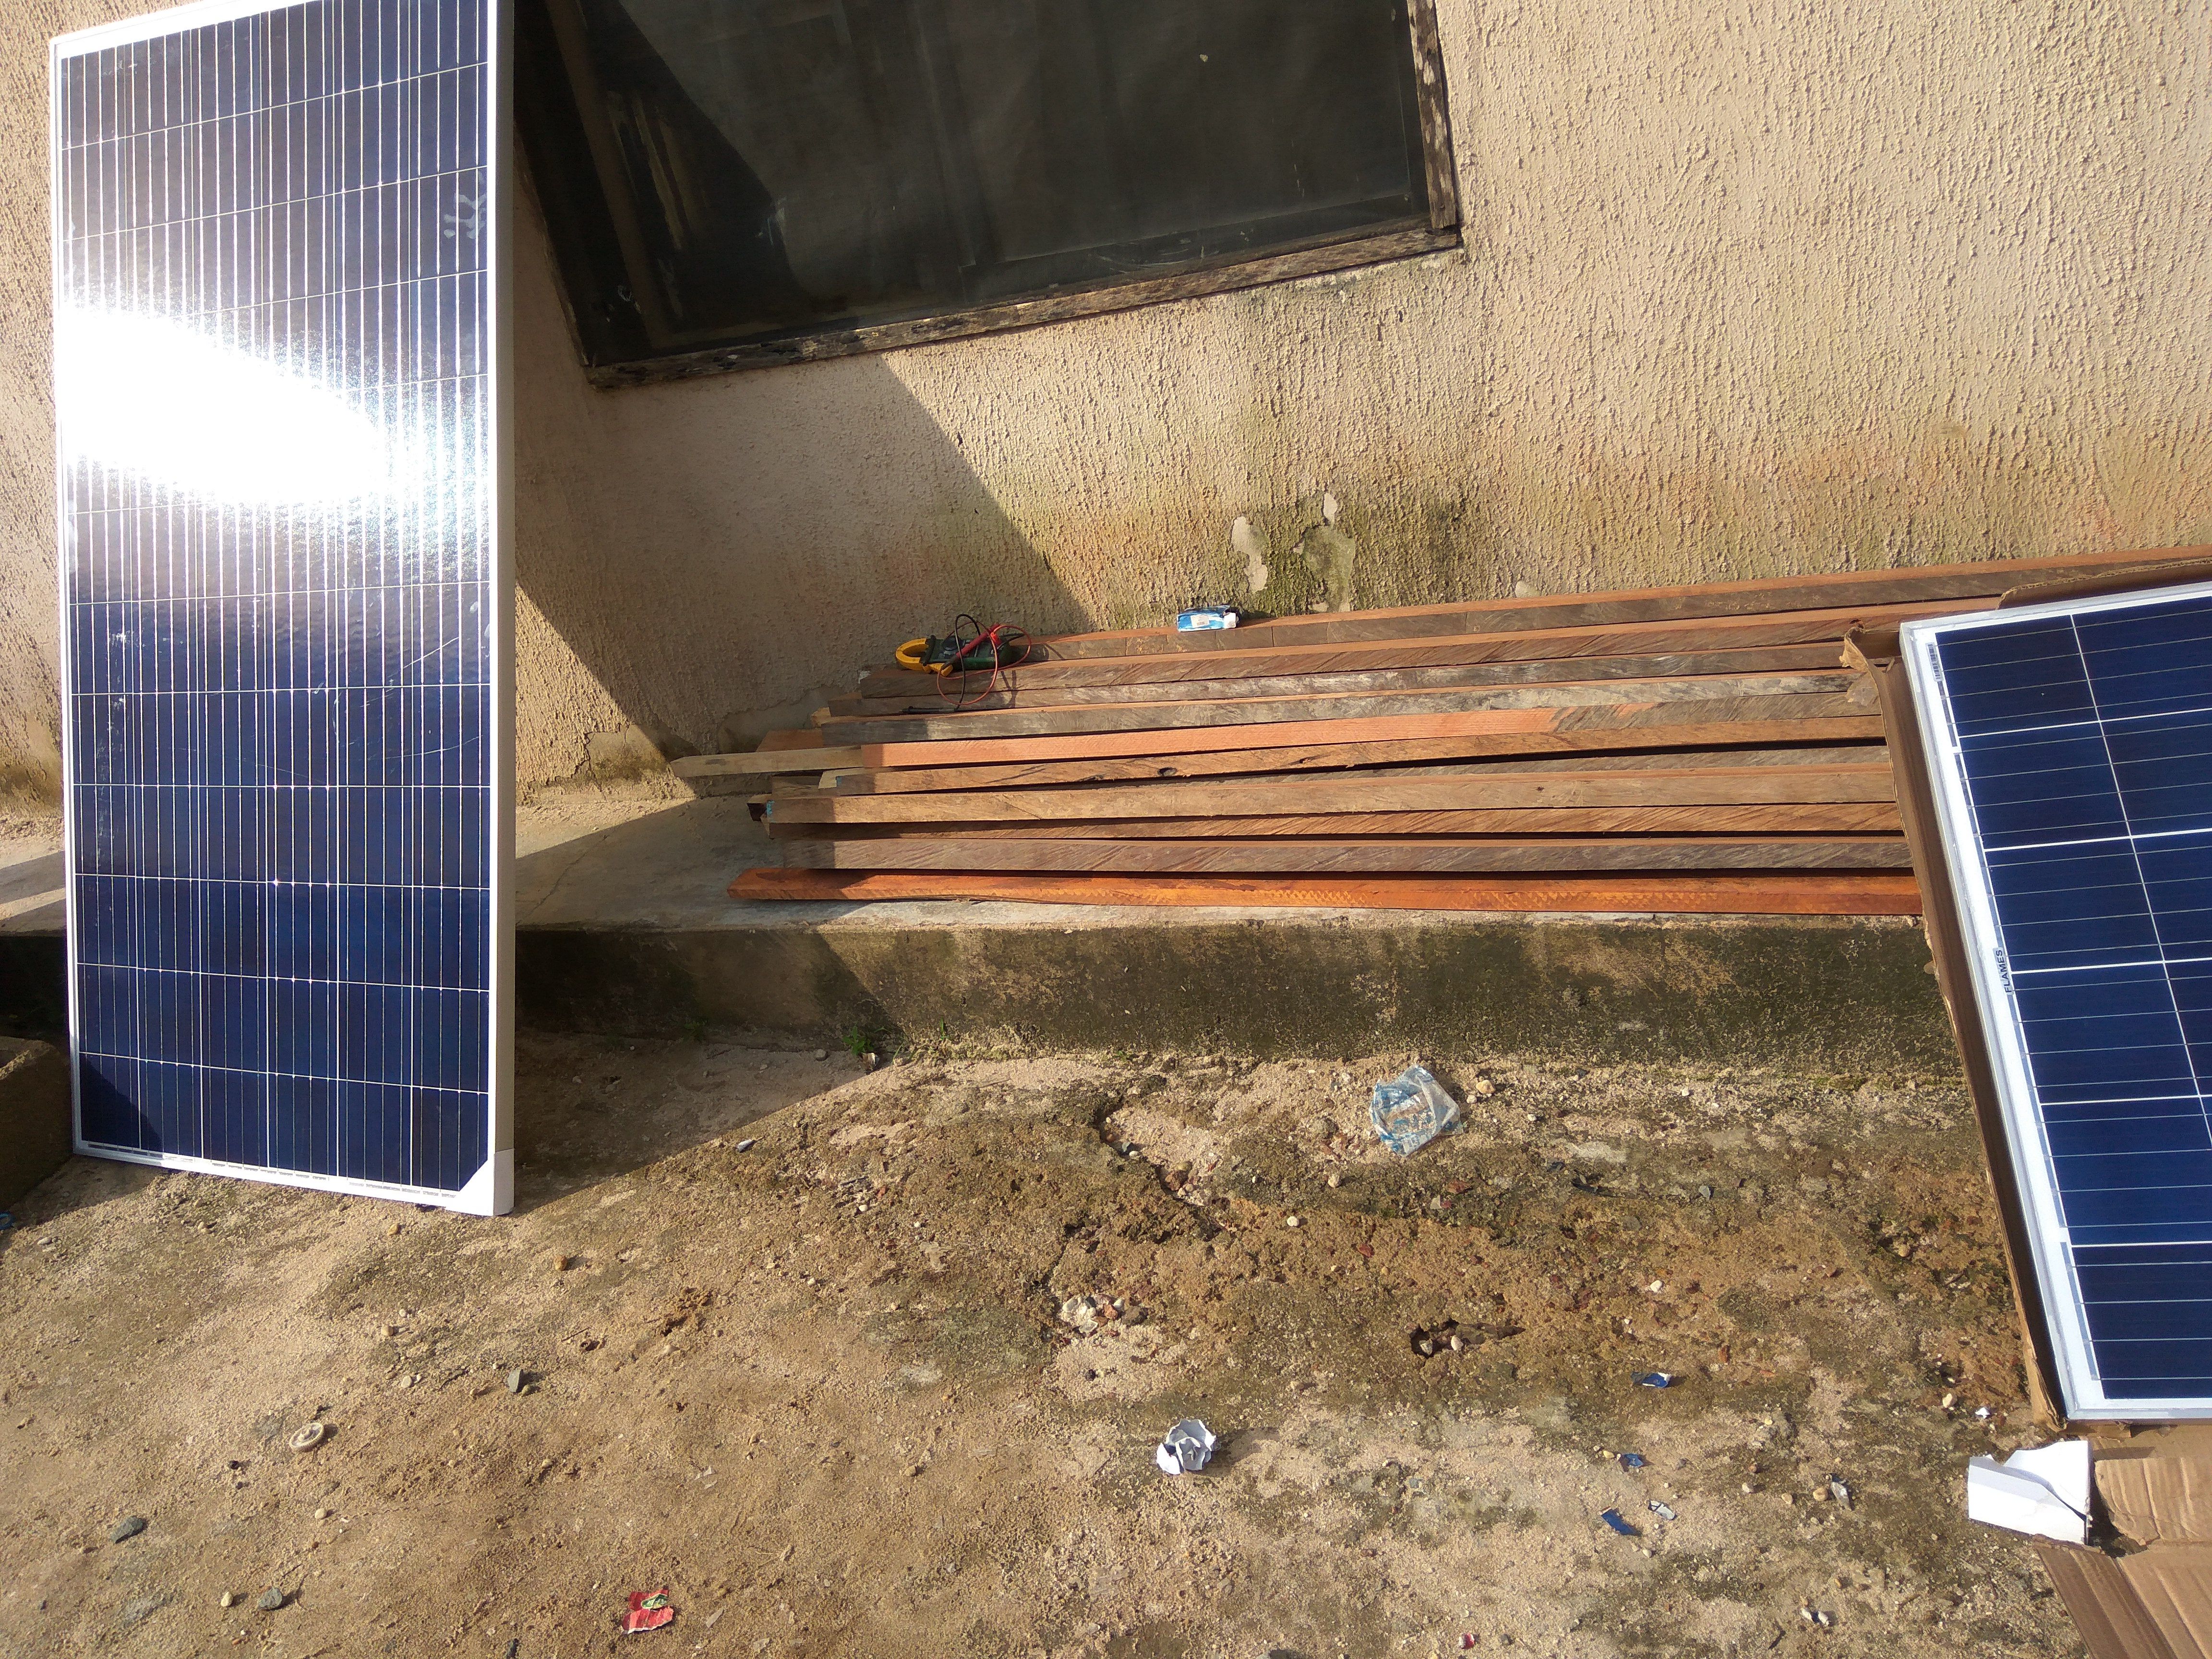 <sup>Wood and the new solar panels propped on the wall</sup> <br> #### Test Time <br> As the clearing was going on, it was time to test the brand new solar panels to be sure the paper rating corresponds to performance. <br> https://steemitimages.com/DQmavncM5n7PAkMDAPL6ZeAyyAc6nukxgVesgxGvHKDCFuR/Solar_panel_rating.jpg <sup> Polycrystalline solar panel technical data</sup> <br> Using a clamp meter the shortcircuit current *I<sub>sc</sub>* and the open circuit voltage V<sub>oc</sub> were tested and the result is as shown below <br> #### Result <table> <td>https://steemitimages.com/DQmbrGRWvWd3qTDAgFZXPoT1gAgeU3SsU7KA5Zr6teZupuj/shortcircuit_current_test.jpg</td><td>https://steemitimages.com/DQmVZdZZo1X7rQT3rpNSRyG3NhK2w4RbM9a6cP72jTuimMz/open_circuit_voltage.jpg</td> </table> Testing short-circuit current(I<sub>sc</sub>)|Testing open-circuit voltage(V<sub>oc</sub>) ---|:---| <br> The result showed 8.39A for short-circuit current and 40.4V for open-circuit voltage. That was against 8.78A and 44.6V in the solar panel's technical data specifications. That was close enough, and this test was done in the morning when the sun is not that high. So the solar panel is qualified to be put to use. <br> The wooden support is now taking shape. The guys at work are just people he knew. We are all a fan of DIY :) <br> https://steemitimages.com/DQmUNoZZNzxD9A6JmNffa6gxZ8QWXXsHjpZ12rUvn7N7PMT/wooden_support.jpg <sup>Wooden support almost finished</sup> <br> Solar panels placed on top and the electrical connection is now in progress <br> https://steemitimages.com/DQmR7aRGjijD5Aonu1kLWrpVs6g8ZBto8v7wQcYfLUoginA/IConnection_in_progress.jpg <br> After all the connections are done here, the cables are joined using a solar combiner box. What happens here is all the cables from the solar panels are joined here. By the end of the day, only two cables leave here to the solar charge controller. This was shown below. <br> <table> <td>https://steemitimages.com/DQmPAY9hnE4tDJSaHDoxUPetvCyJaxU8fib7j1M9qnzuXz1/solar_combiner_box1.jpg</td><td>https://steemitimages.com/DQmUTxXtuZMzTouN4ps9FuzGGw4U7hedNbaFmKCQ9MV4s5d/solar_combiner_box2.jpg</td> </table> Combiner box (Connection in progress)|Combiner box (Connection done) ---|:---| <br> Solar panel connection is all done now and the panel even serves as his car park. Sweet! <br> https://steemitimages.com/DQmeUPMGbz1vRFW94Rvs3LbqrX5mXdso9xFmwaquJnMU2T8/car%20park.png <sup>*A car park is born*</sup> <br> The charge controller and inverter were connected and the job is done. I just found out I missed taking a picture of the batteries. <br> <table> <td>https://steemitimages.com/DQmXiWJypudQYzb7njrCAJAQWigREzTBCC5Skv6hYWFUXbH/80A%20Solar%20Charge%20controller.jpg</td><td>https://steemitimages.com/DQmR2Lb95JaZwJ2jTrmJ2Eu6qpqQFQML9vo7DLR6LpzeAVg/5KVA%20inverter.jpg</td> </table> 80A 150V 7500W MPPT solar charge controller|5KVA 24V Pure sinewave inverter ---|:---| <br> You can ask any question below on solar or renewable energy or about going green. I would try my best to answer. @greenrun .....still running :)
👍 vishalsingh4997, deyong1, taylan, johnvictor0202, evelyniroh, omosexy, ogochukwu, emem, naijasteemit, gunneresq, sqube, livingfree, gardenlady, libertyteeth, maryfavour, frontpage, curie, hendrikdegrote, anwenbaumeister, kushed, pharesim, rayken04, gikitiki, toxichan, sethlinson, siavach, steemedia, cebymaster, cotidiana, wandereronwheels, blackwidow7, pacokam8, awesomianist, shahzadnisar, bp423, bitrocker2020, kouloumos, diggerdugg, sieses, justdentist, tanyaschutte, mitthradiumn, saimegh, bcrafts, robins, bitopia, kevinwong, gbenga, rahmathidayat097, relevantsource, steemstem, lemouth, dber, ovij, azirgraff, mrs.agsexplorer, jamhuery, kenchung, alexander.alexis, timsaid, mobbs, lafona-miner, vikulya, fulltimegeek, pandorasbox, nathenial, em3di, kohbohgong, triverse, kimor, anarchyhasnogods, lamouthe, foundation, mirhimayun, rjbauer85, justtryme90, afifa, rachelsmantra, nitesh9, himal, kerriknox, kyriacos, rockeynayak, gra, the-devil, fredrikaa, cryptoninja, rickie, eriq, mzuami, reekadoh, reactivator, honourmaus, ufv, nila47, blogtrovert, trumpman, ausbitbank, natra, thinknzombie, hugod, mimy, edith4angelseu, suesa, lyndsaybowes, dananje, nuges, destinysaid, vdeva, ollie0987, turpsy, woleybabz, jakmann, sergeyl, okoro, jurel, amroyal, battebilly, gloglo, steve1122, cmbugua, ackza, wisestar0227,