DIY Tutorial: STEEMIT Grocery Bag | Tutorial: Tas Belanja STEEMIT
diy·@horazwiwik·
0.000 HBDDIY Tutorial: STEEMIT Grocery Bag | Tutorial: Tas Belanja STEEMIT
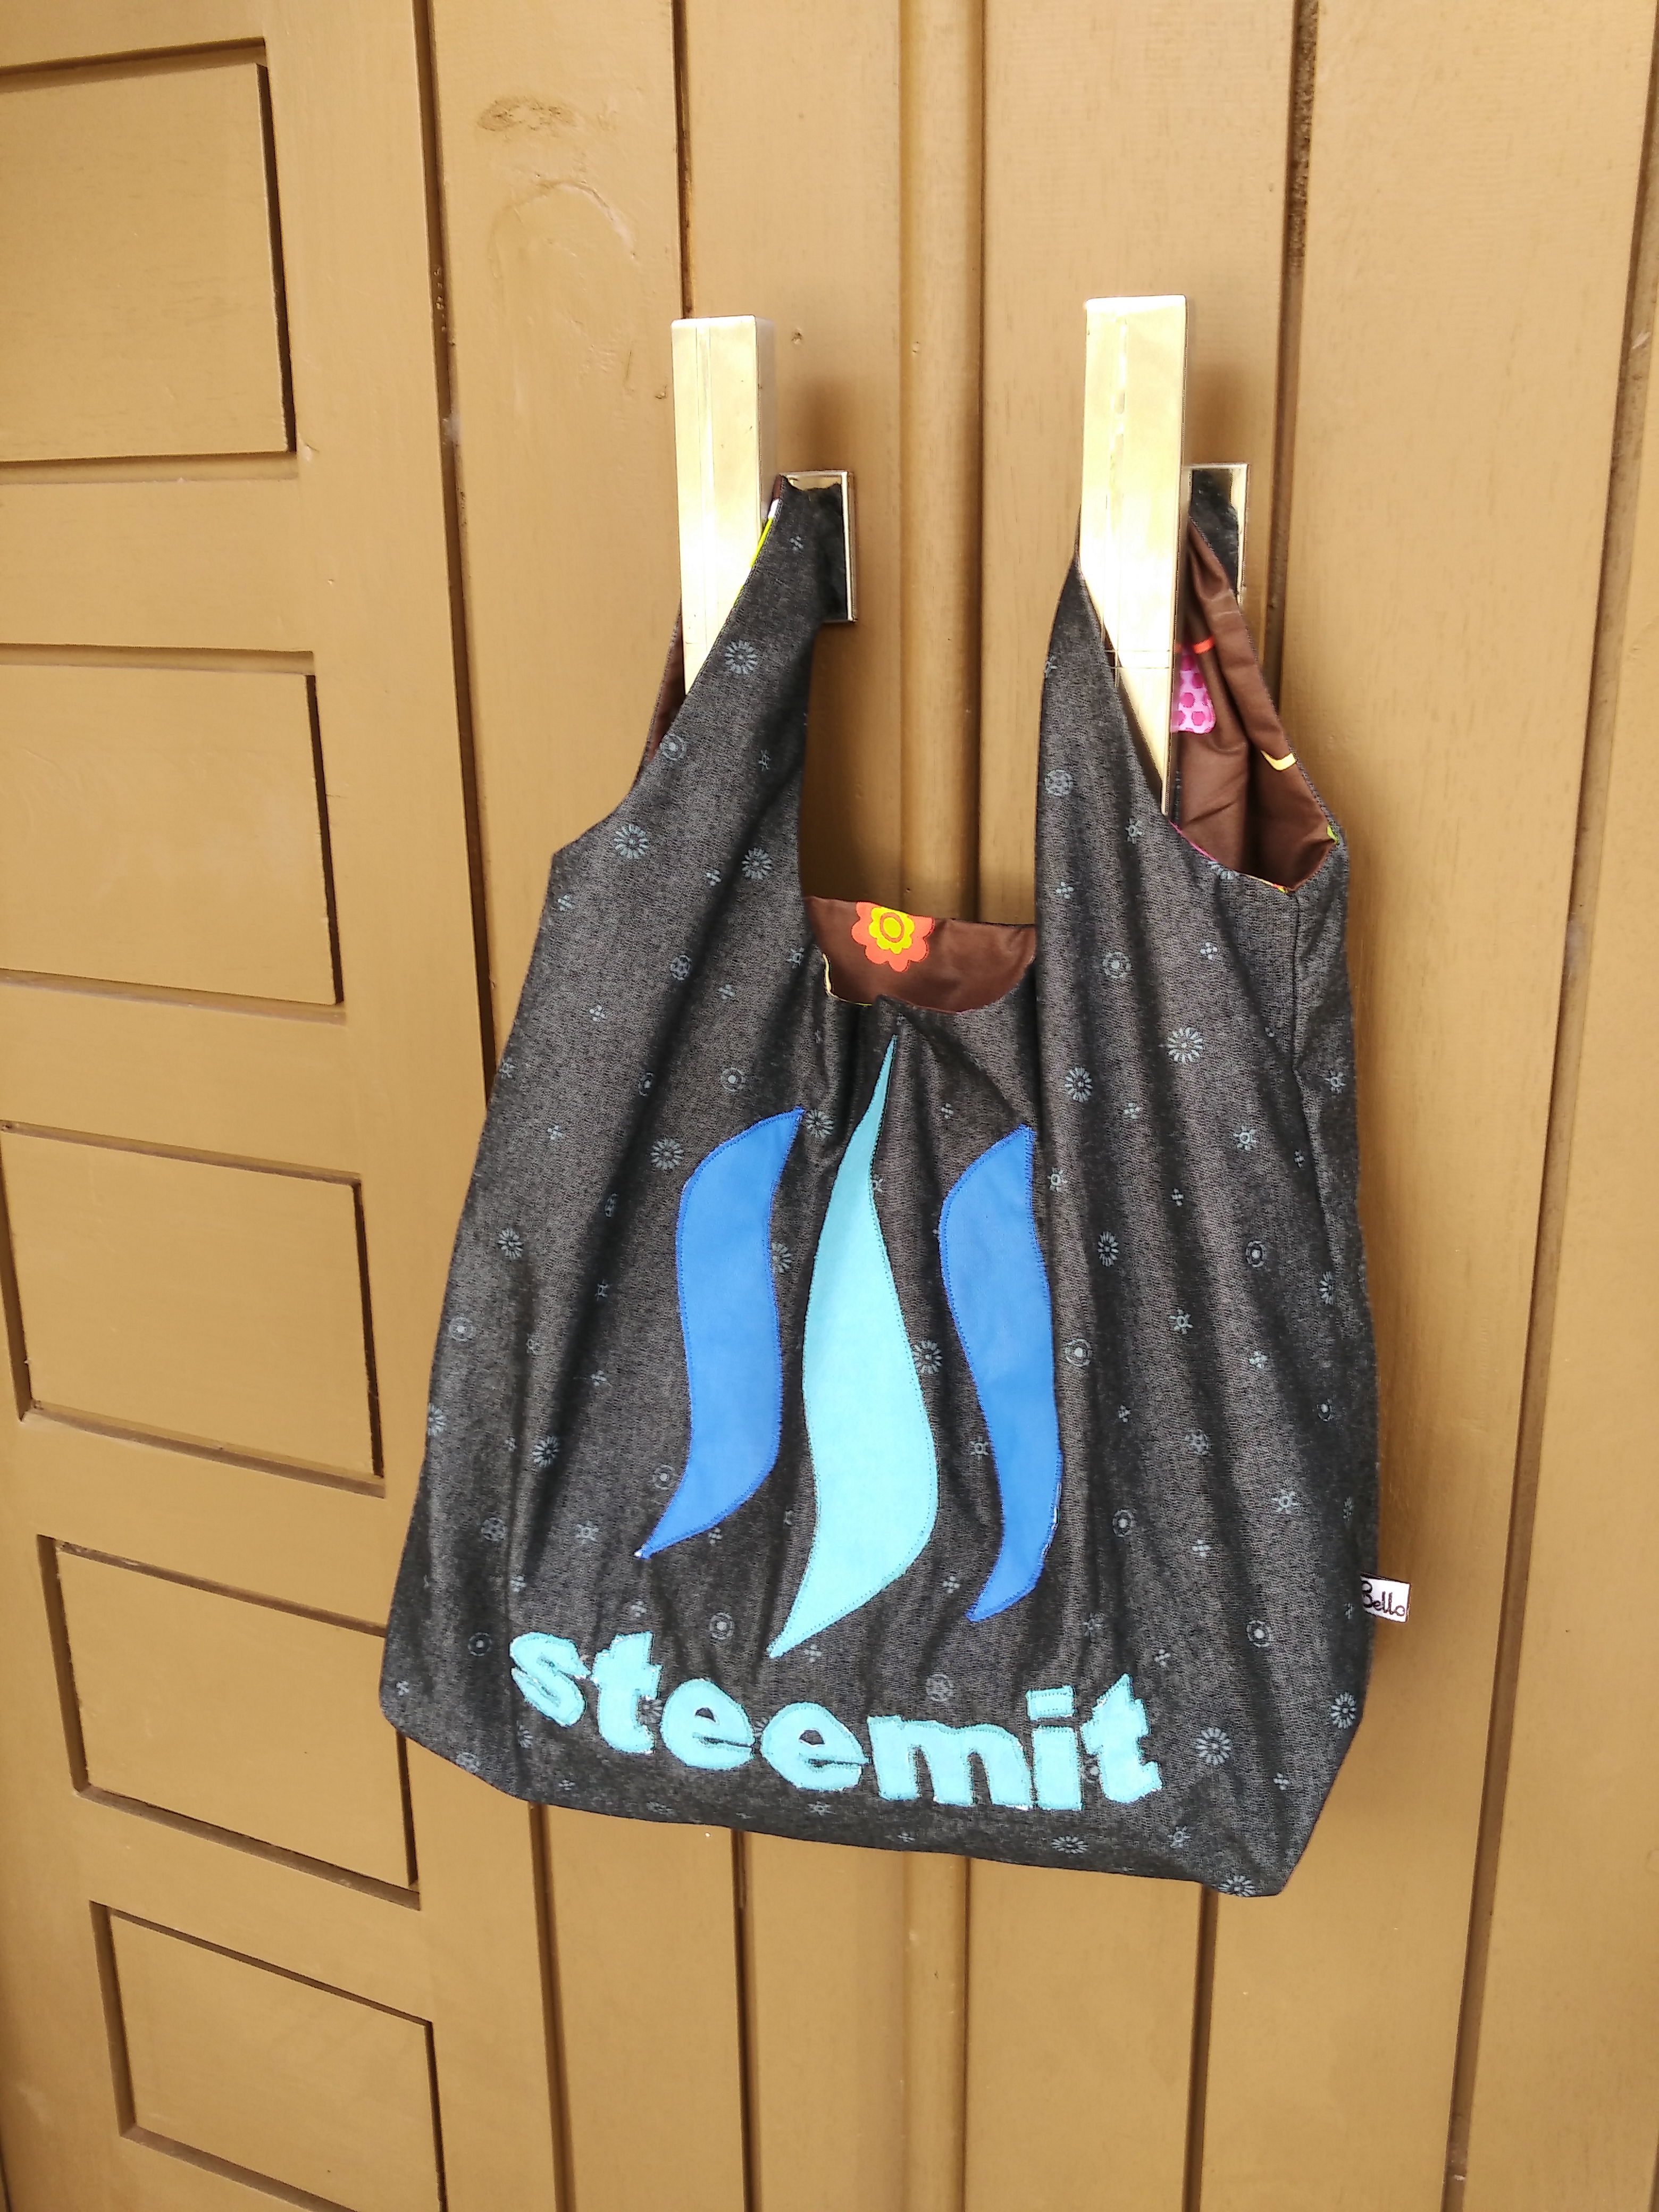 **[English]** *** *** Hello my Steemit friends, It’s sewing time!! As I promised, I’d like to present you a tutorial on how to make a STEEMIT grocery bag. If you missed my previous post, please [check it out](https://steemit.com/steemit/@horazwiwik/diy-tutorial-steemit-applique-or-tutorial-aplikasi-steemit) because you will find a tutorial on how to make STEEMIT applique for this bag. Here we go. ### Materials: 1. Denim fabric for the outer (or any other fabric will do) 2. Cotton fabric for the lining ### Instructions: 1. Cut the outer (2 pieces) and lining fabric (2 pieces) according to the pattern. 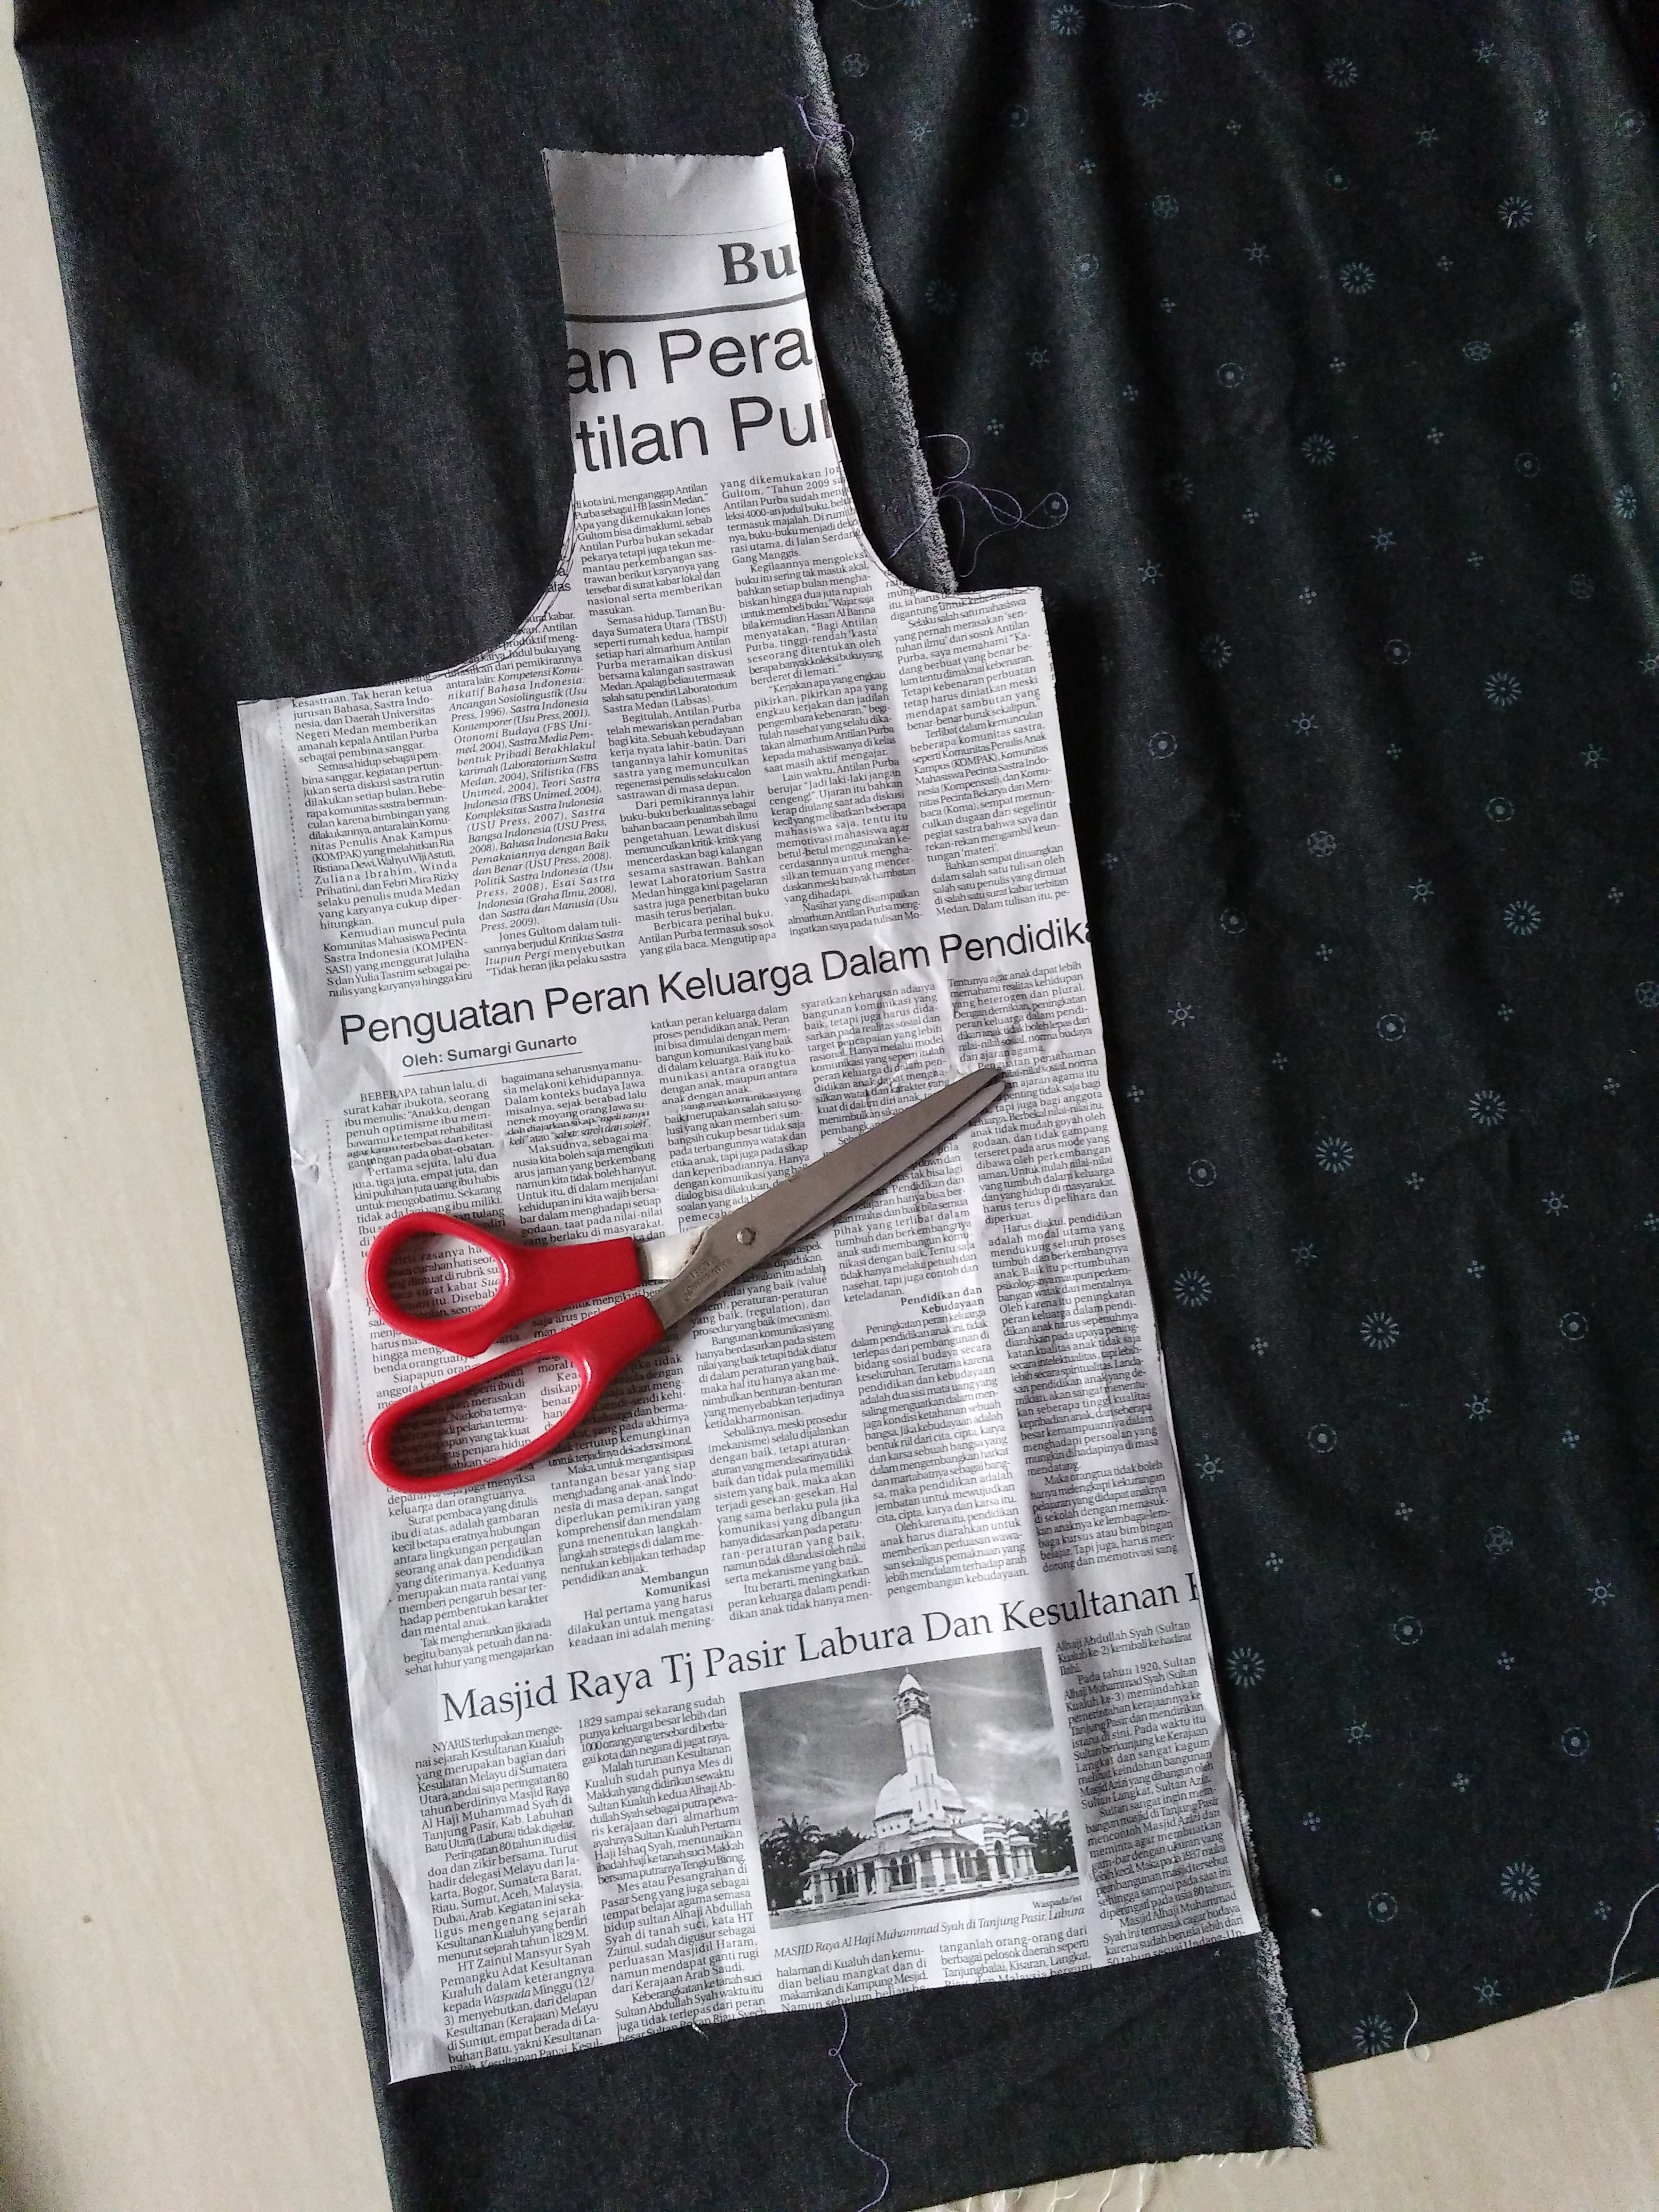 2. Take one piece of outer fabric, put it on the other, right sides together. 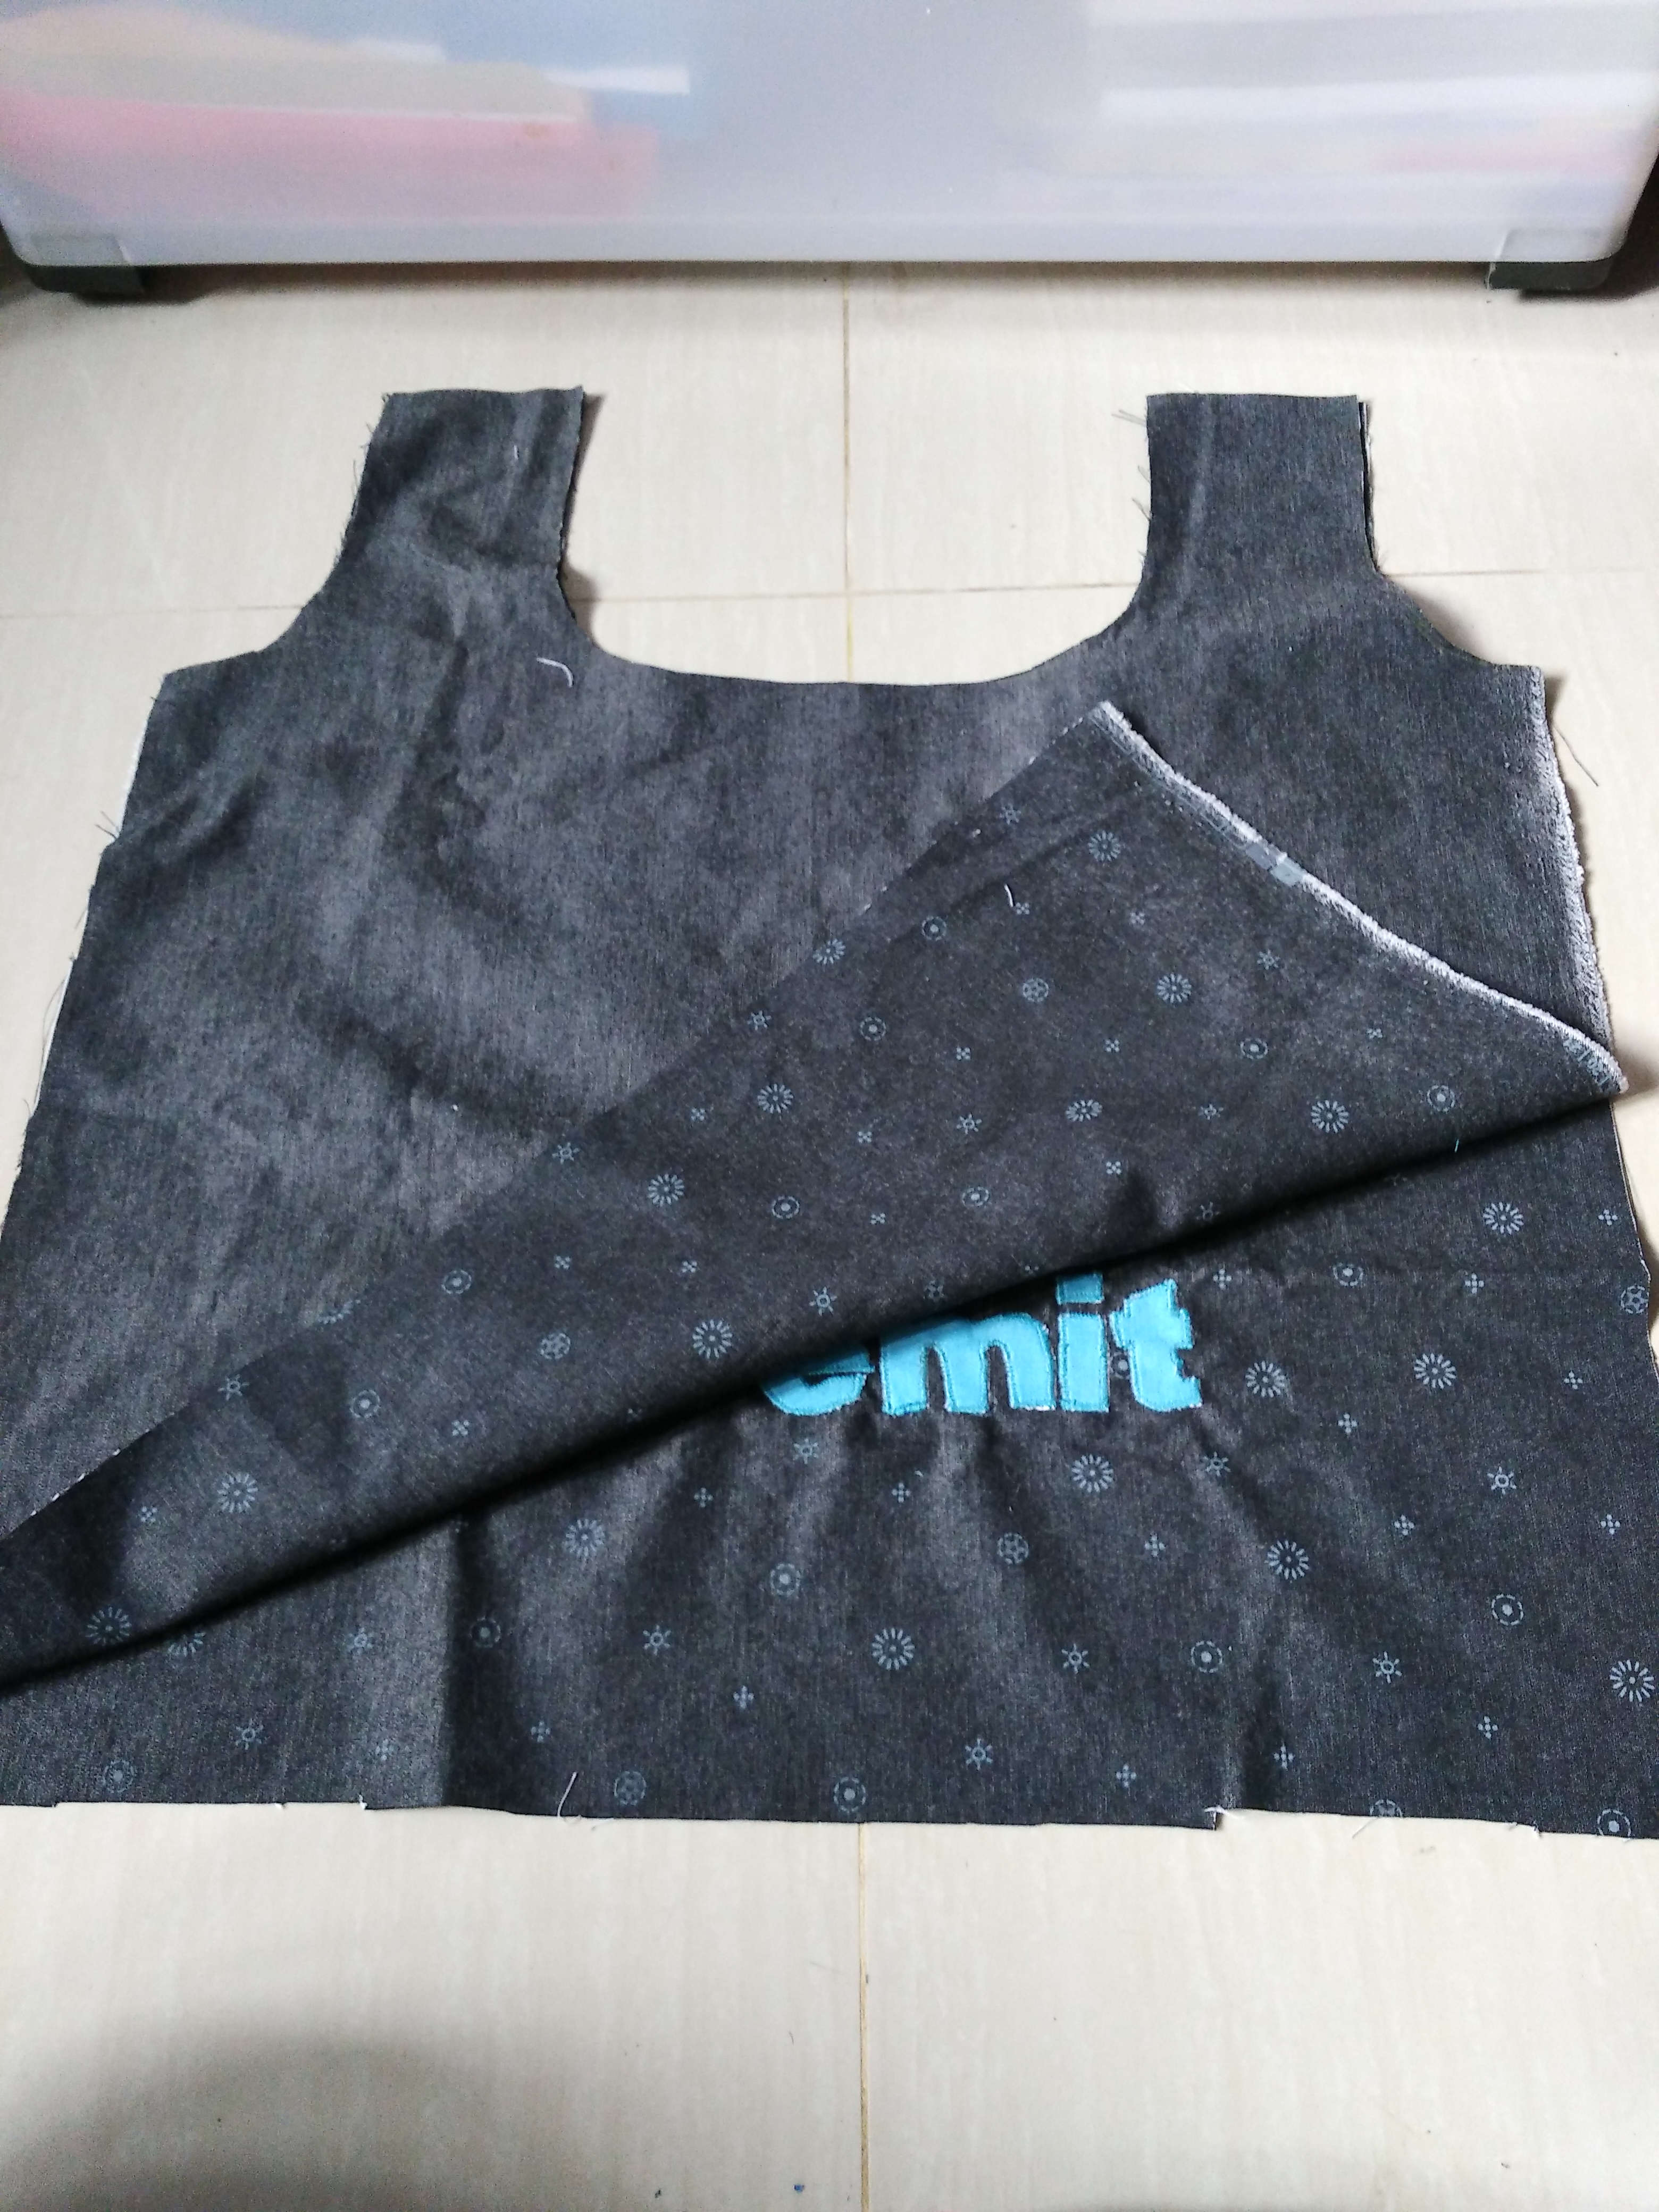 3. Sew along the sides indicated by the lines. 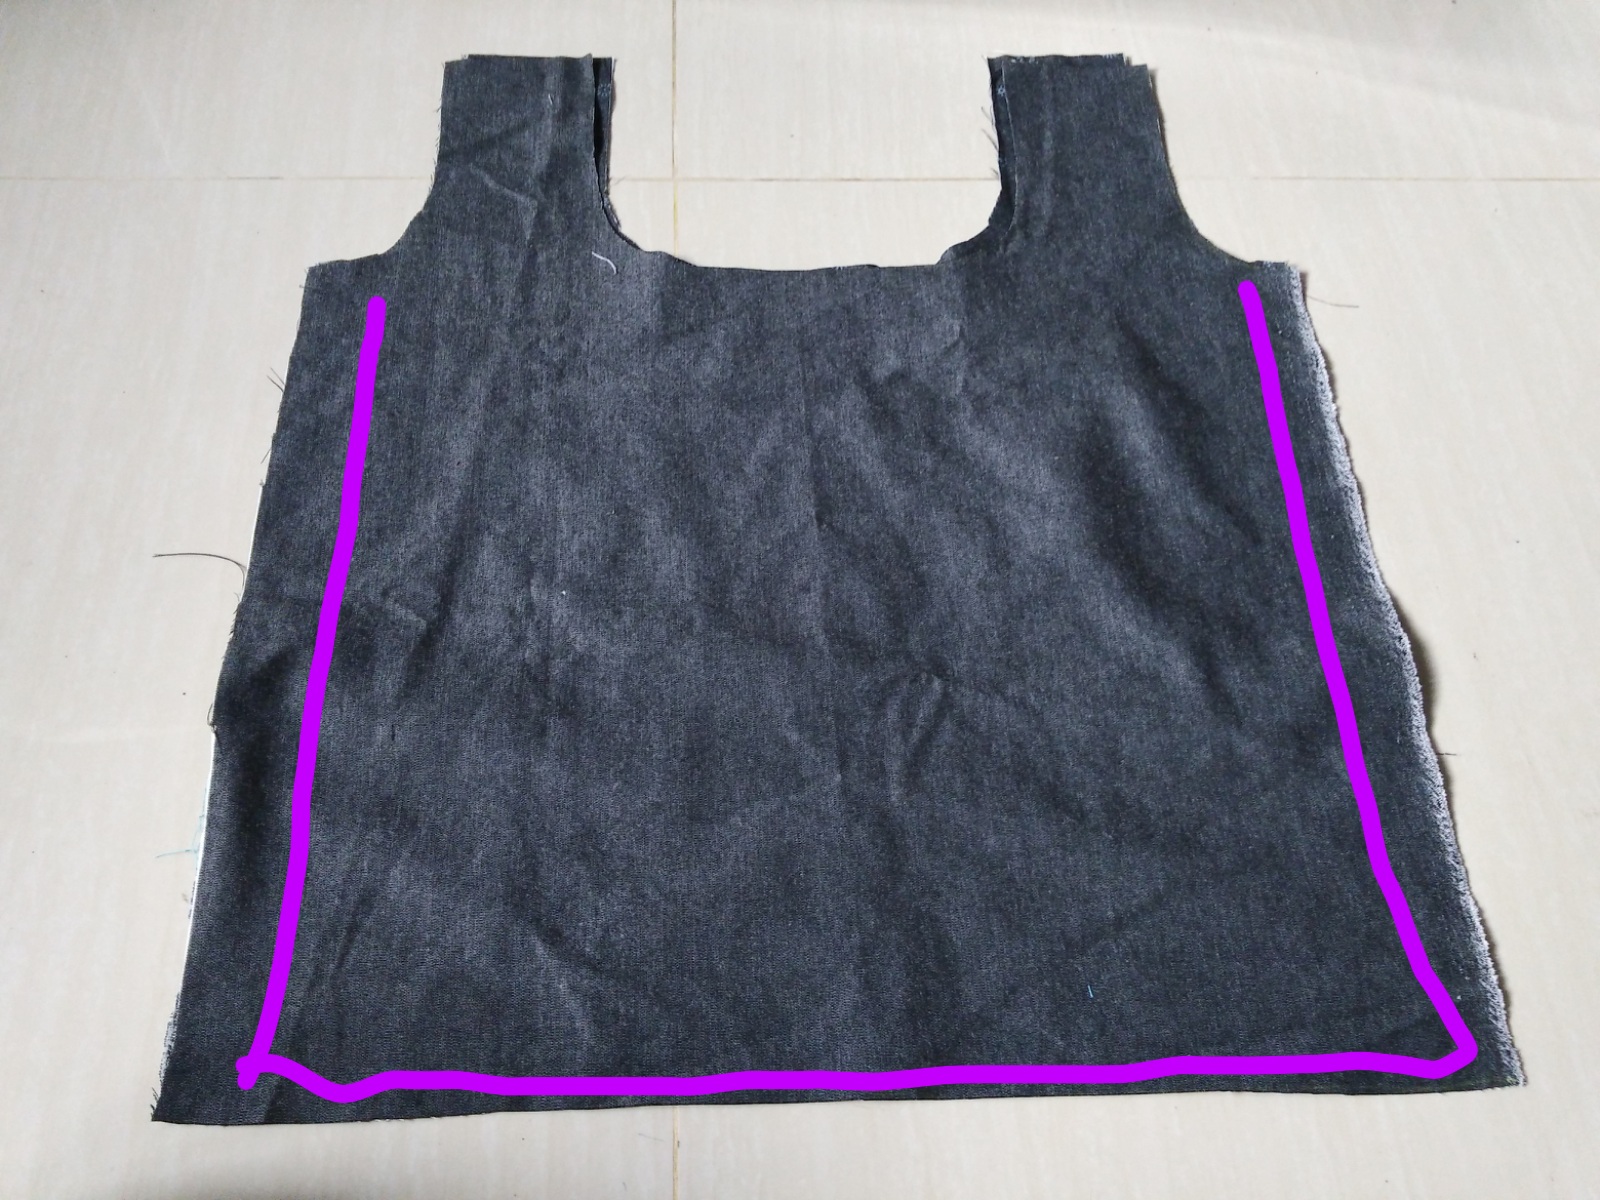 4. Do the same to the lining fabric. Sew along the sides indicated by the lines. 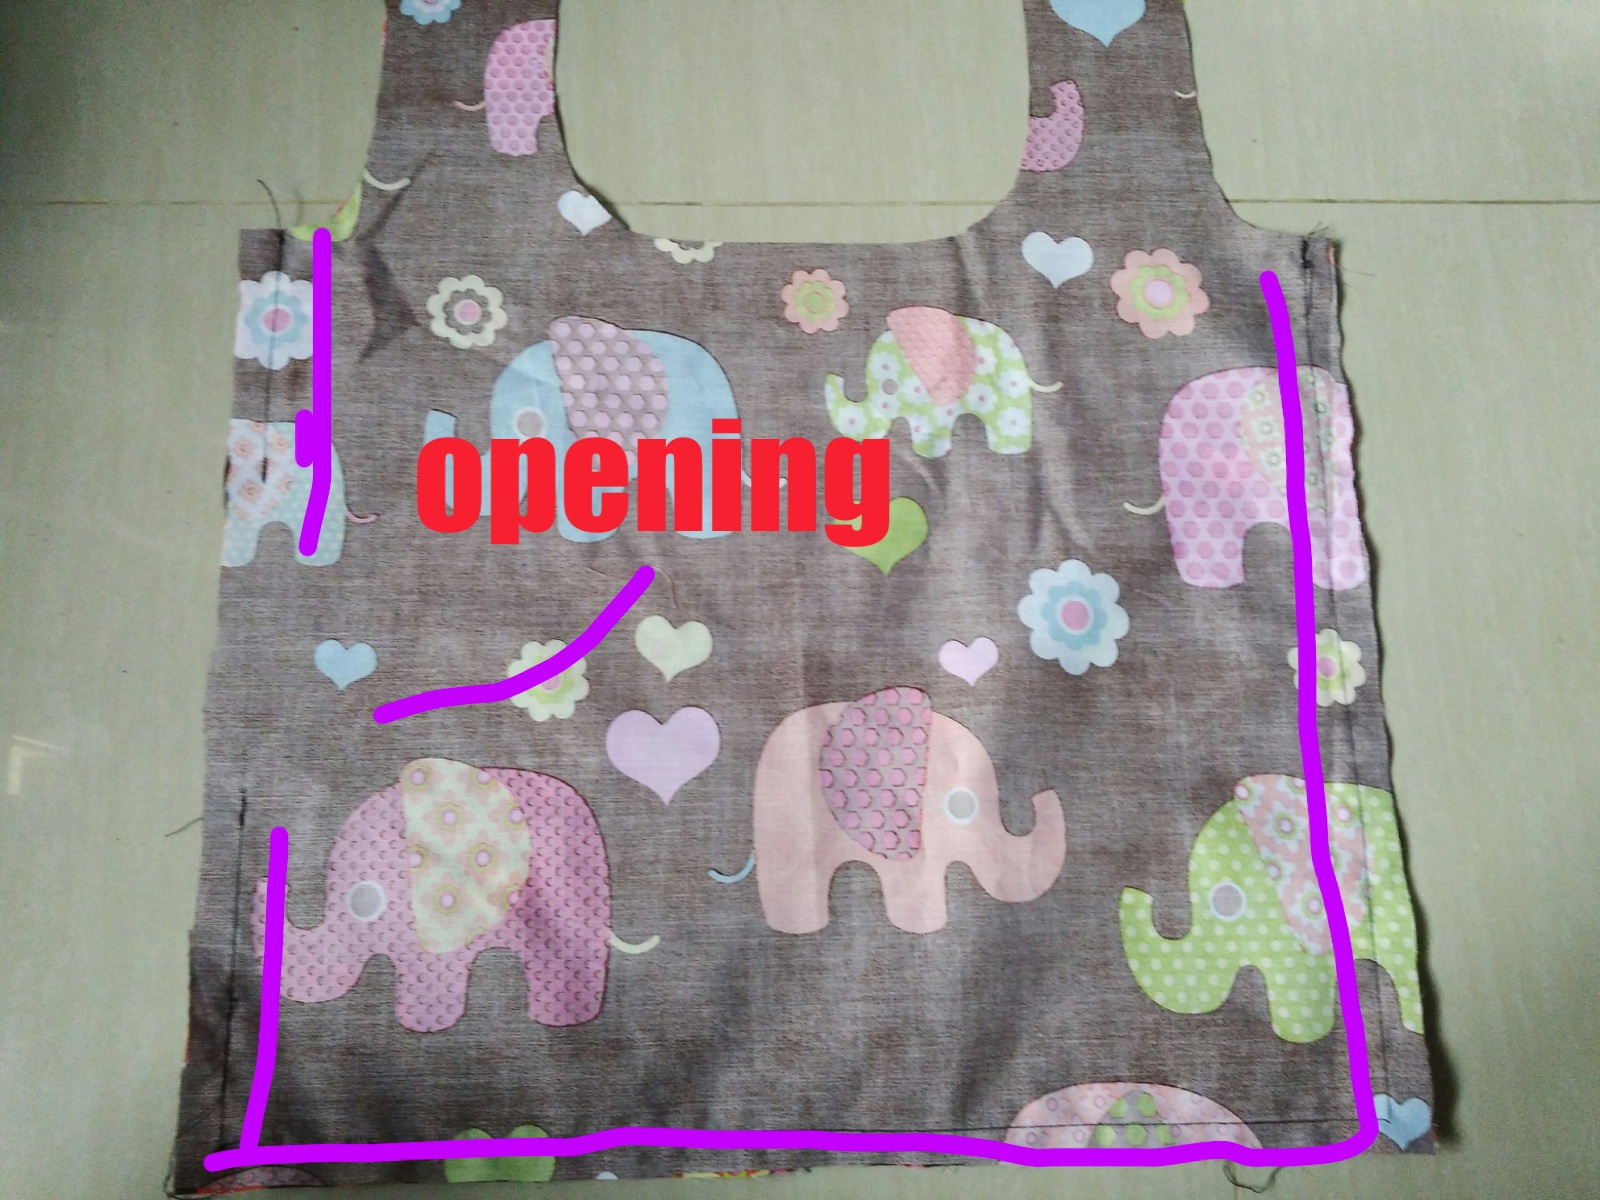 5. Turn the lining inside out and insert it to the outer fabric. 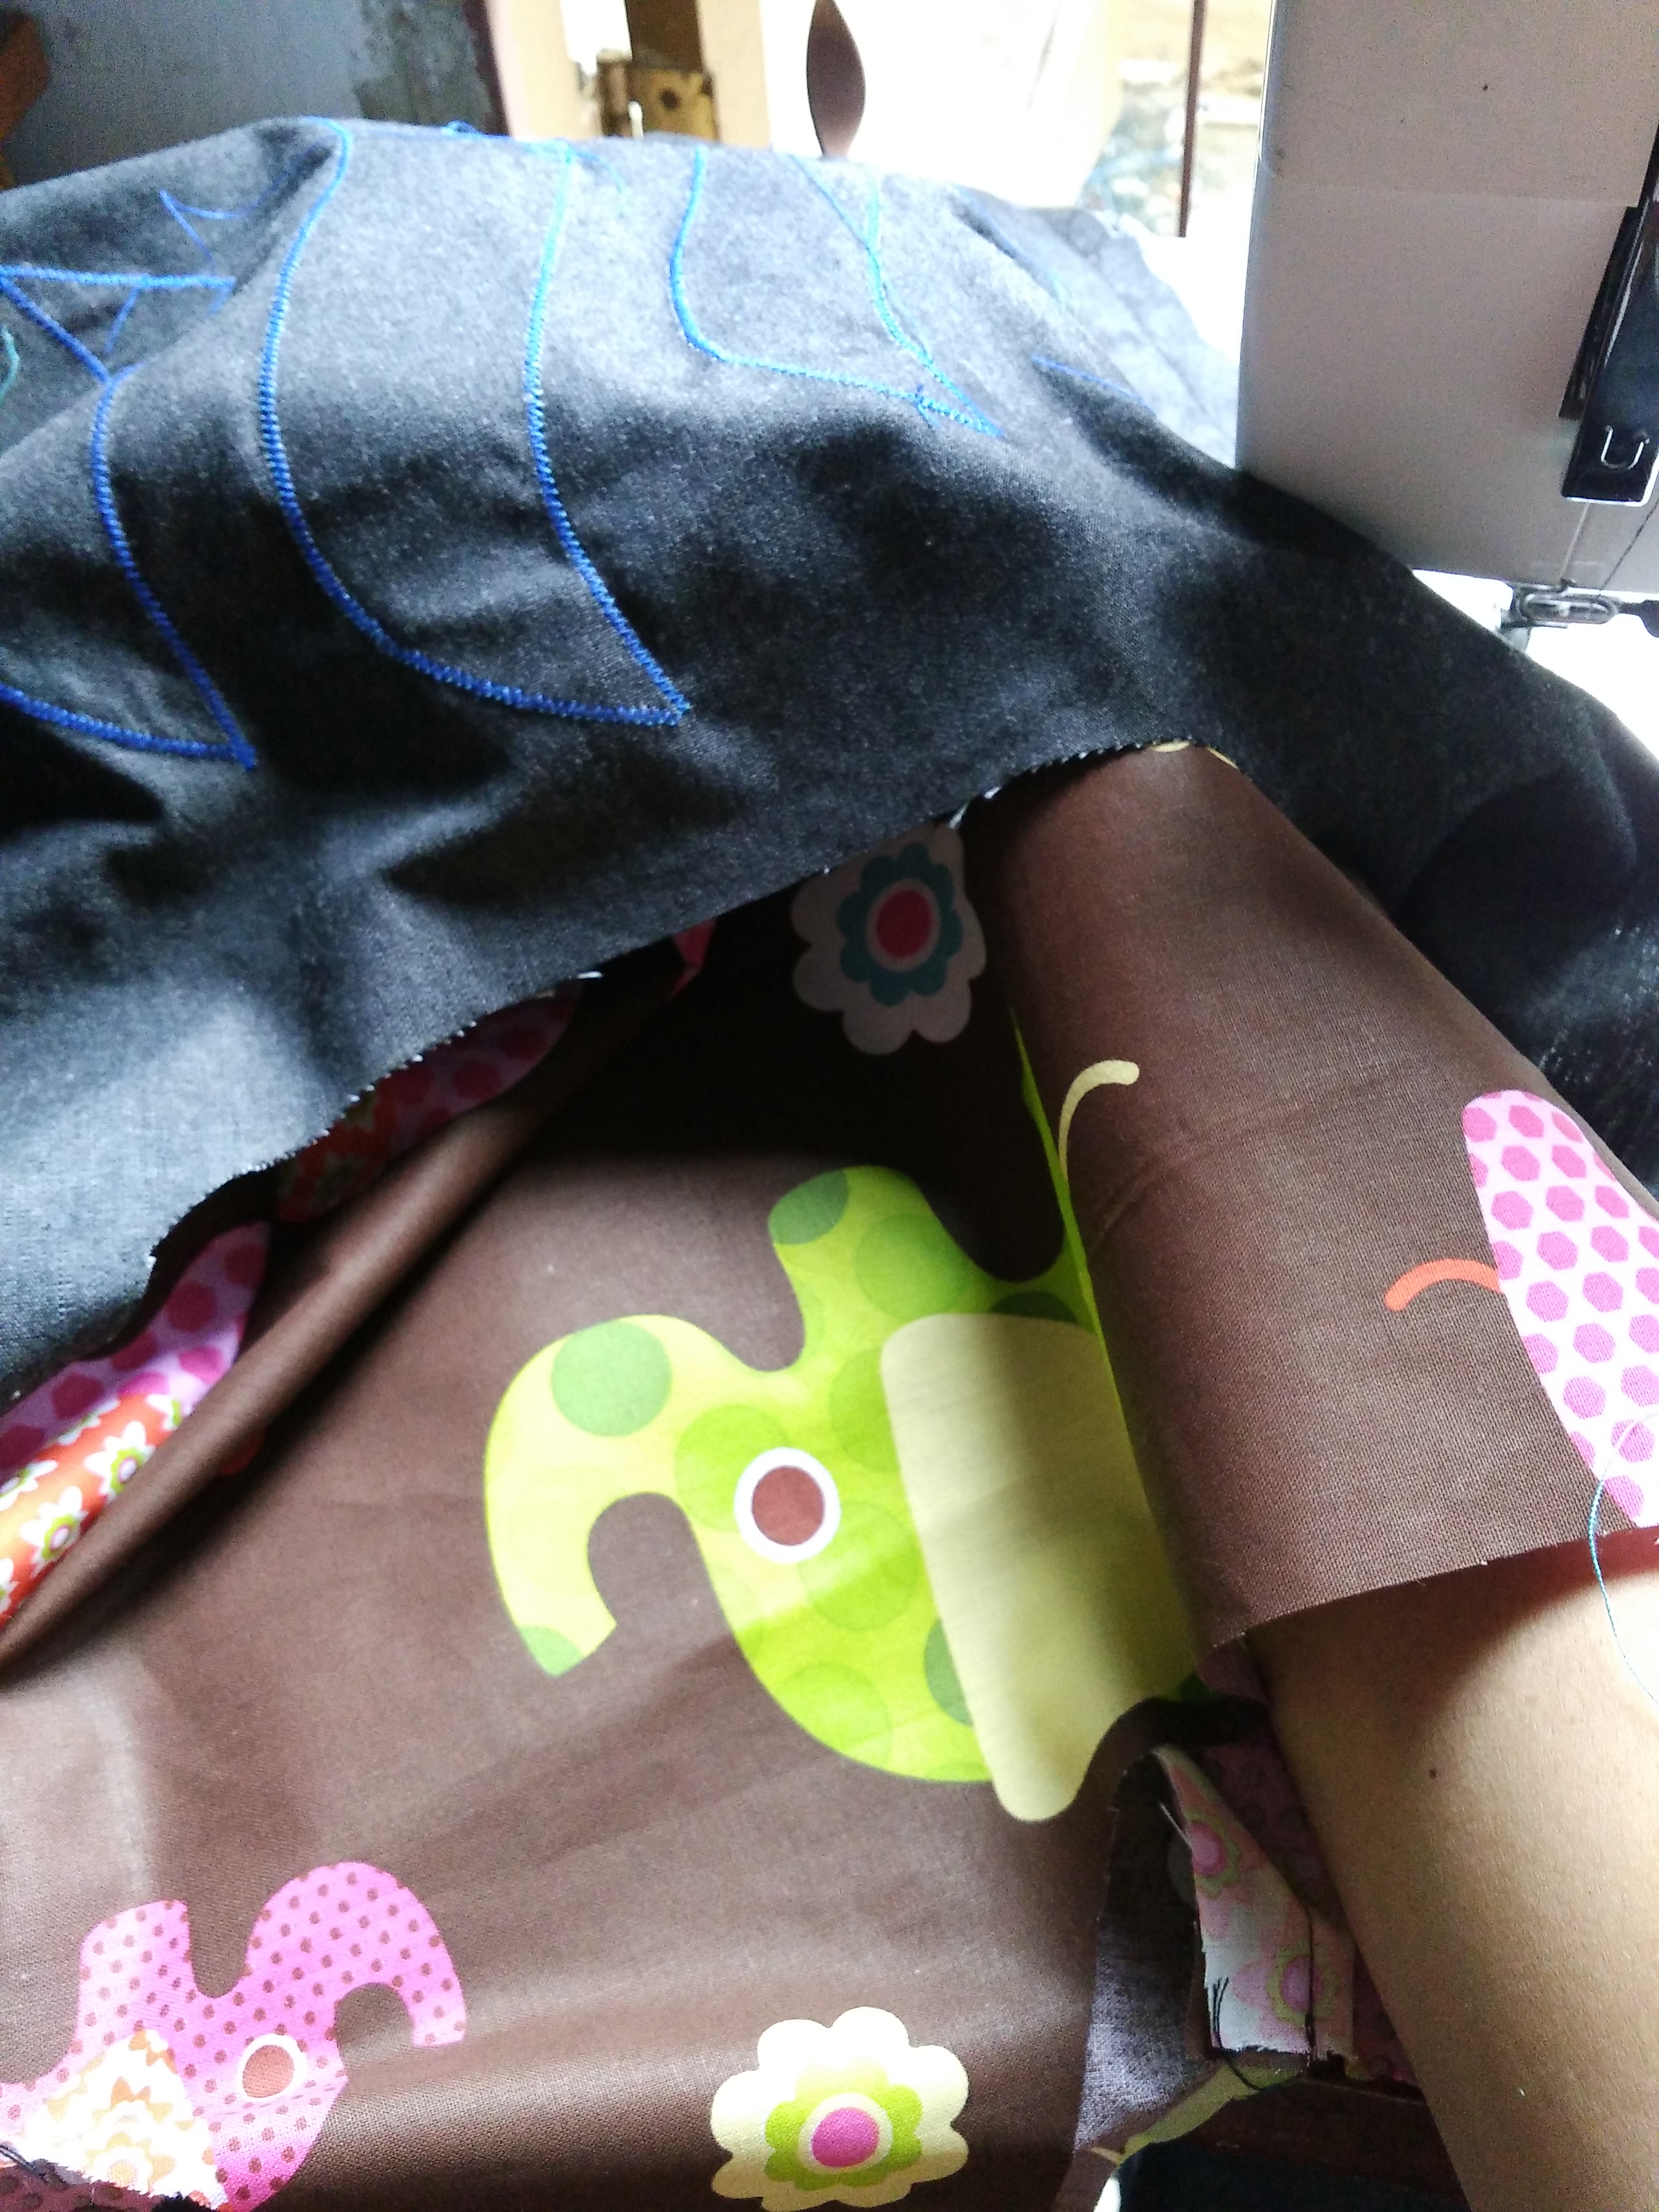 6. Pin in place the upper part. 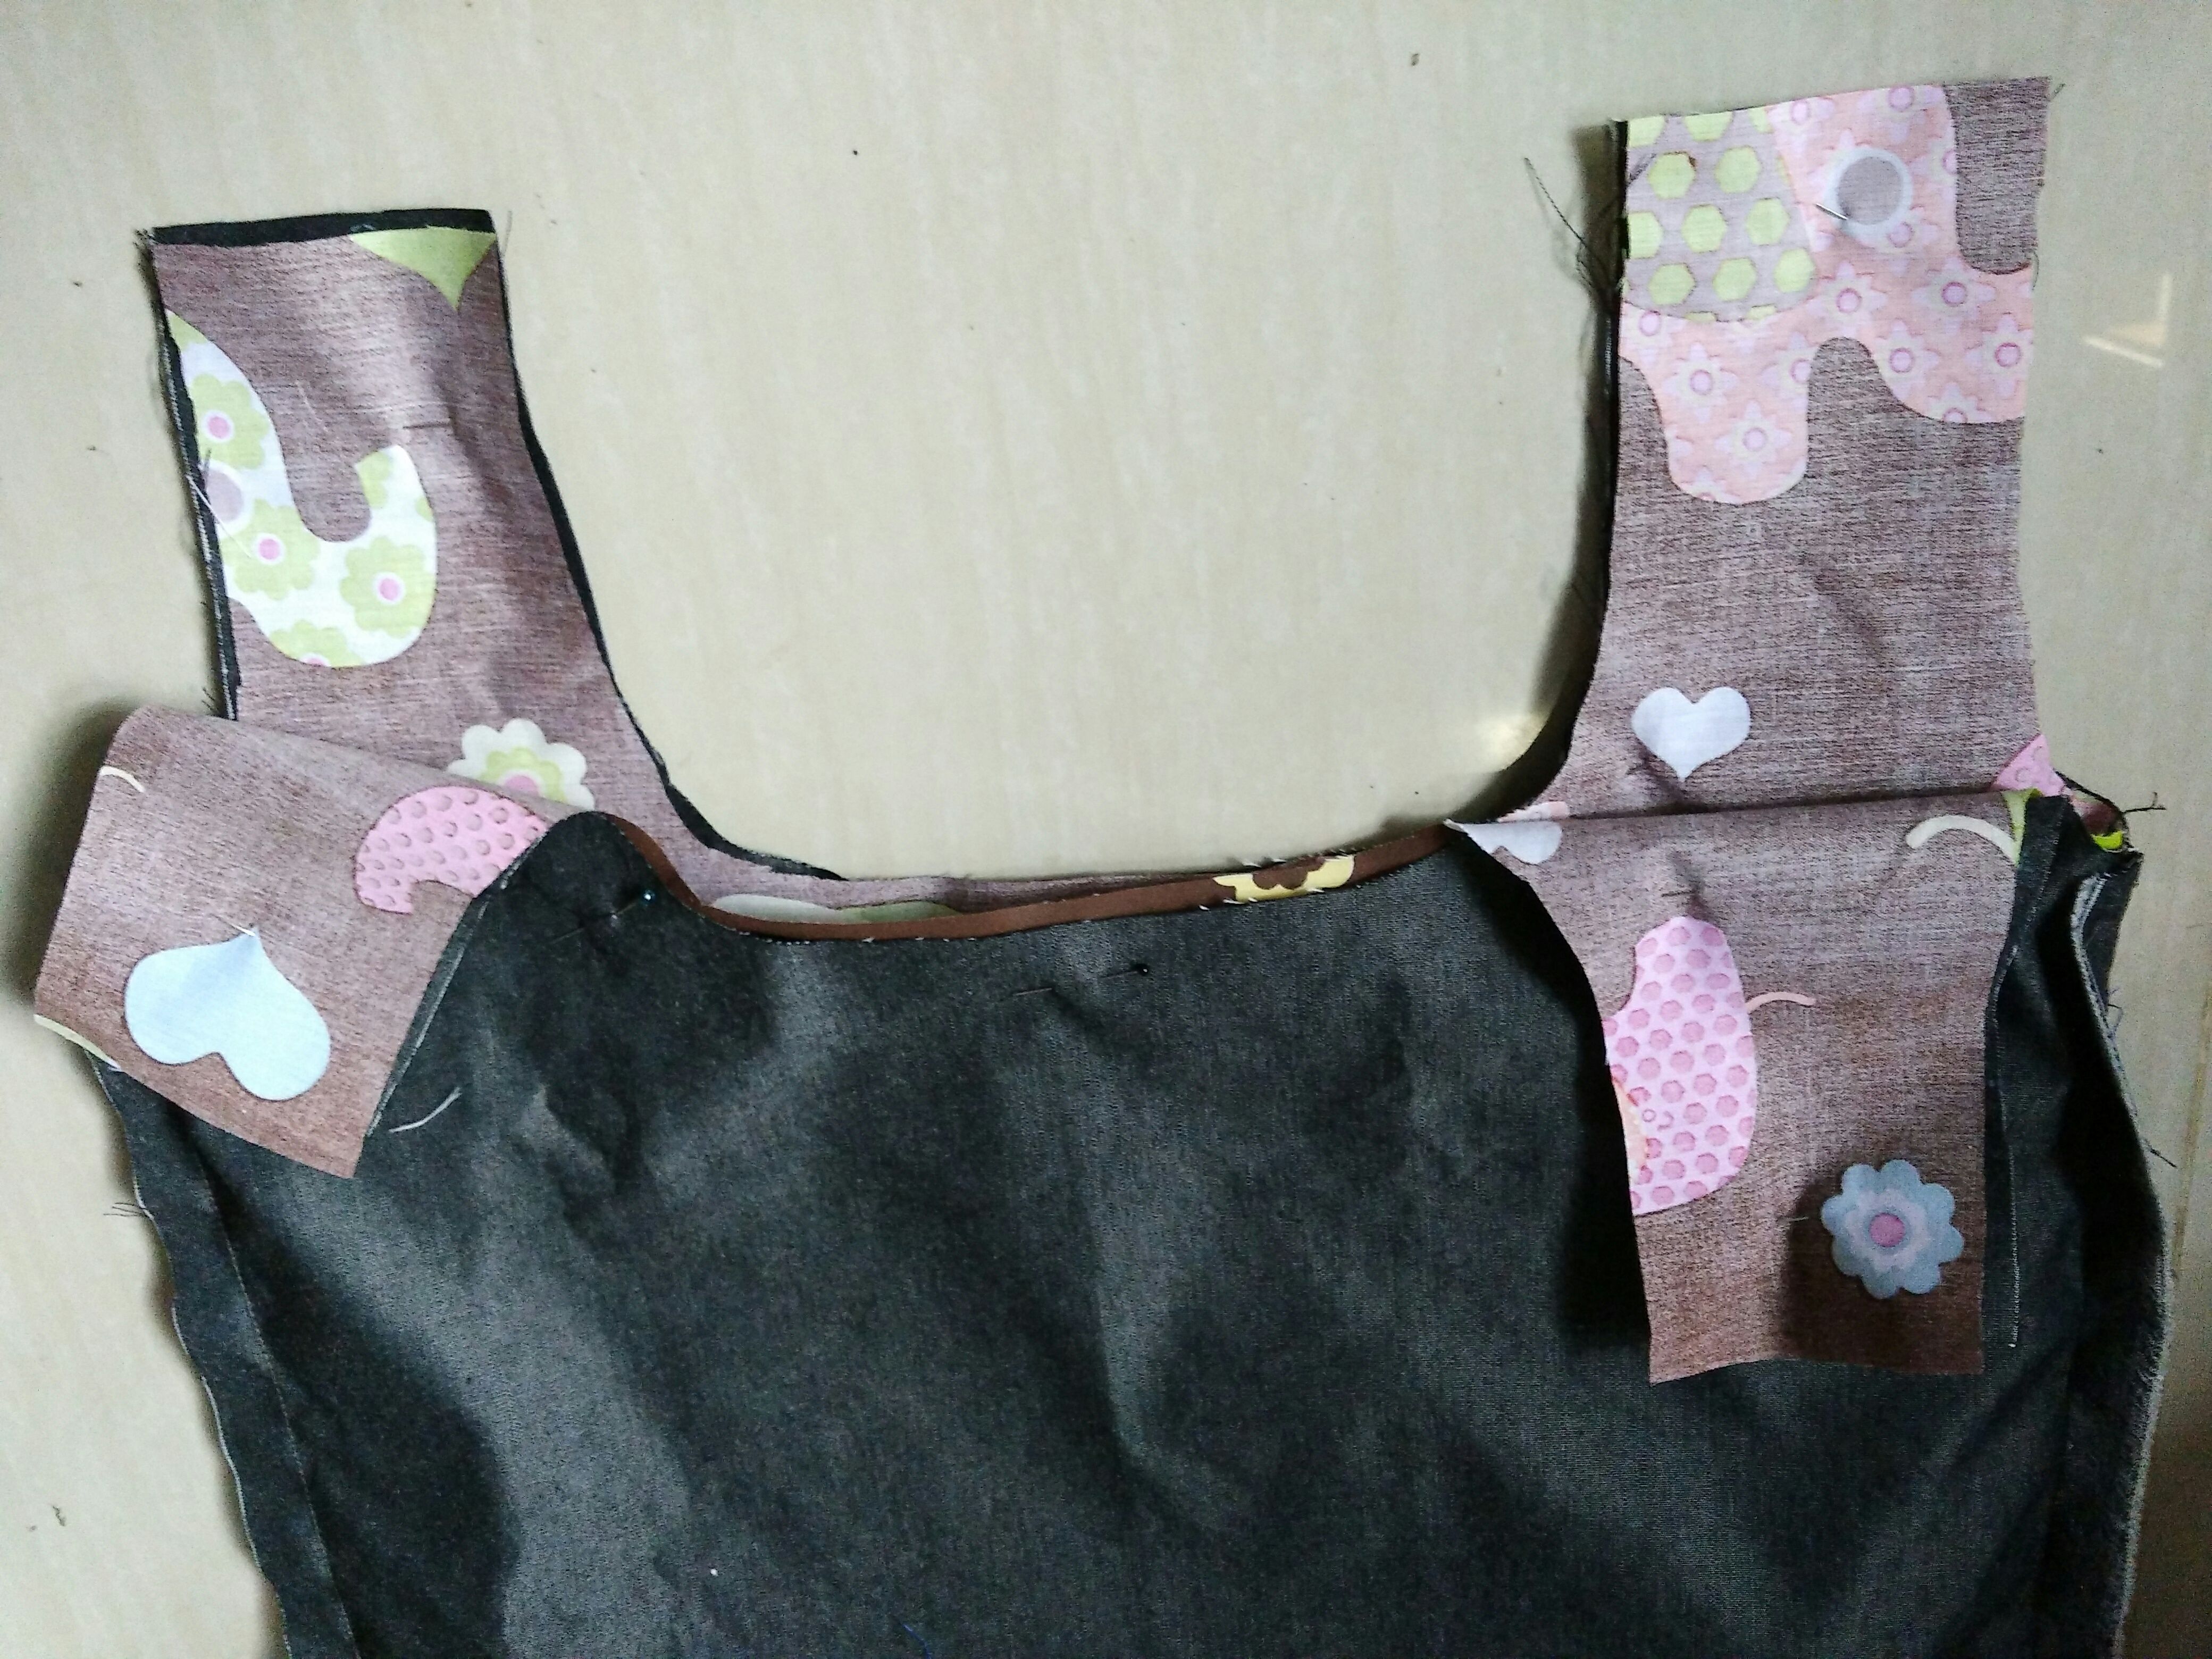 7. Sew the sides indicated by the lines. 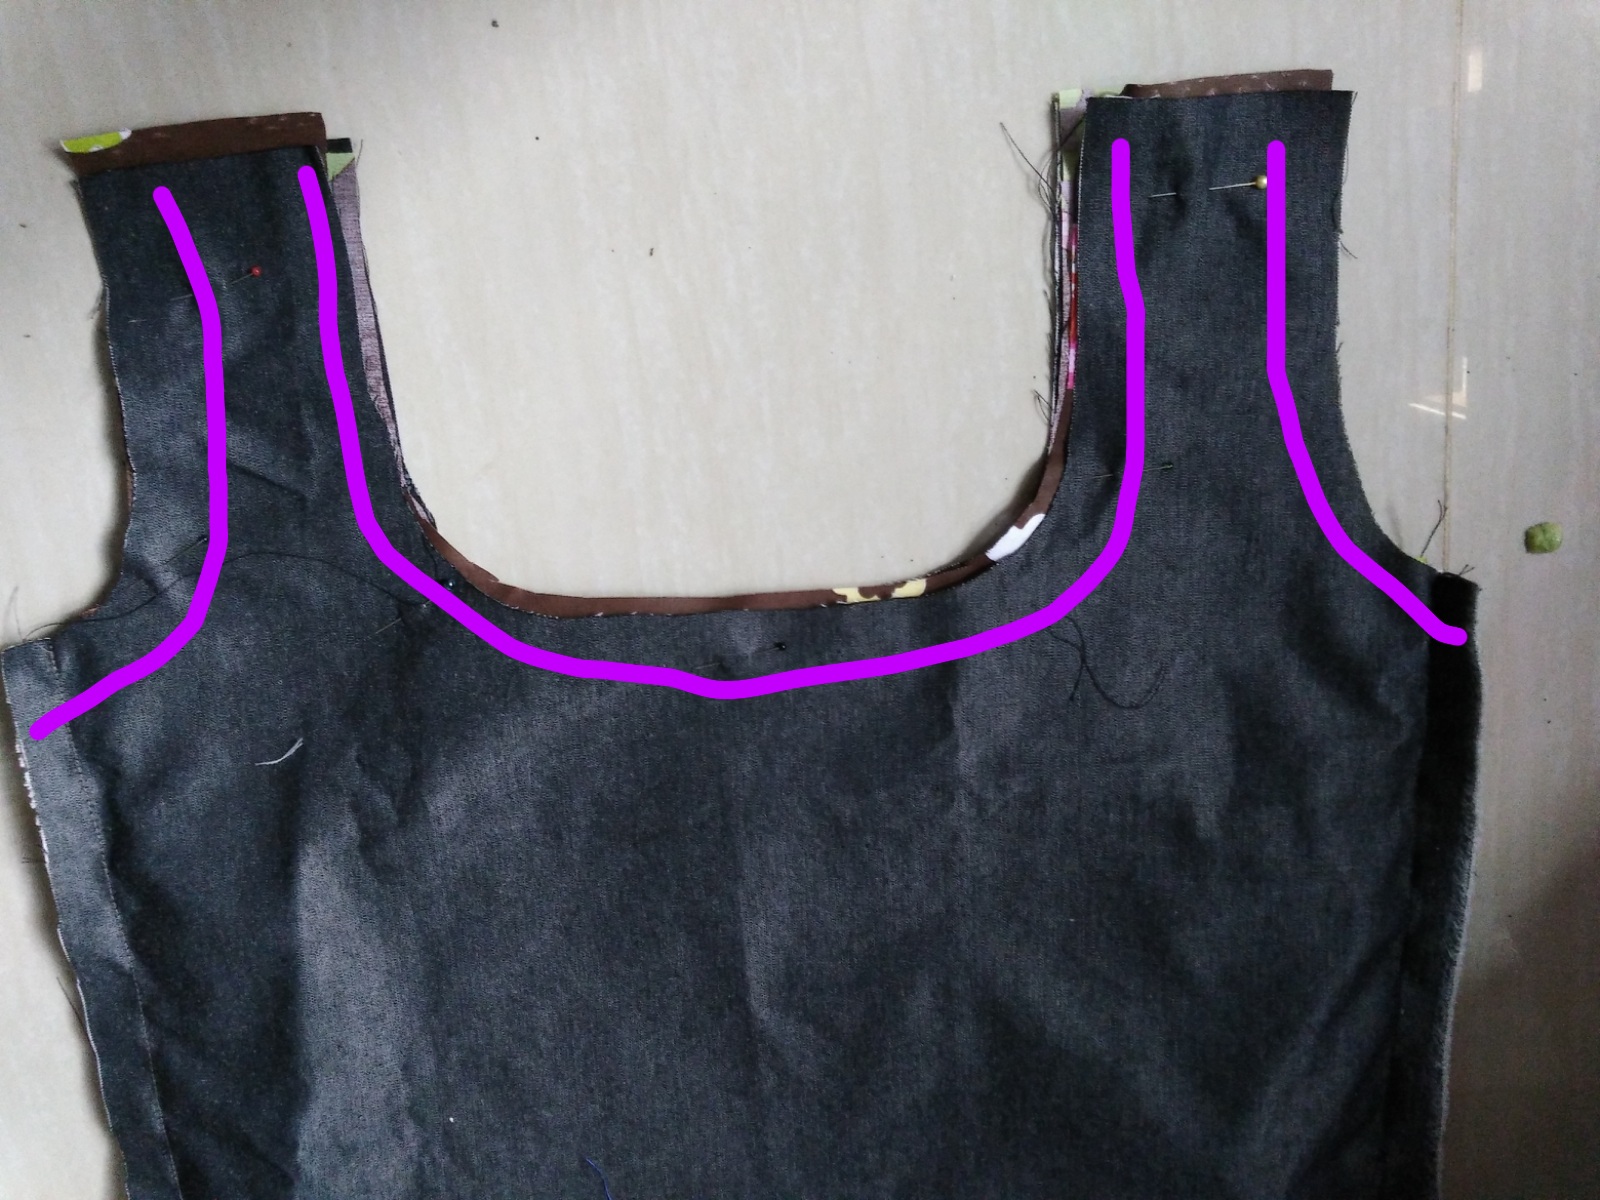 8. This is what you will have. Reduce the bulk by cutting the fabric zig zag. 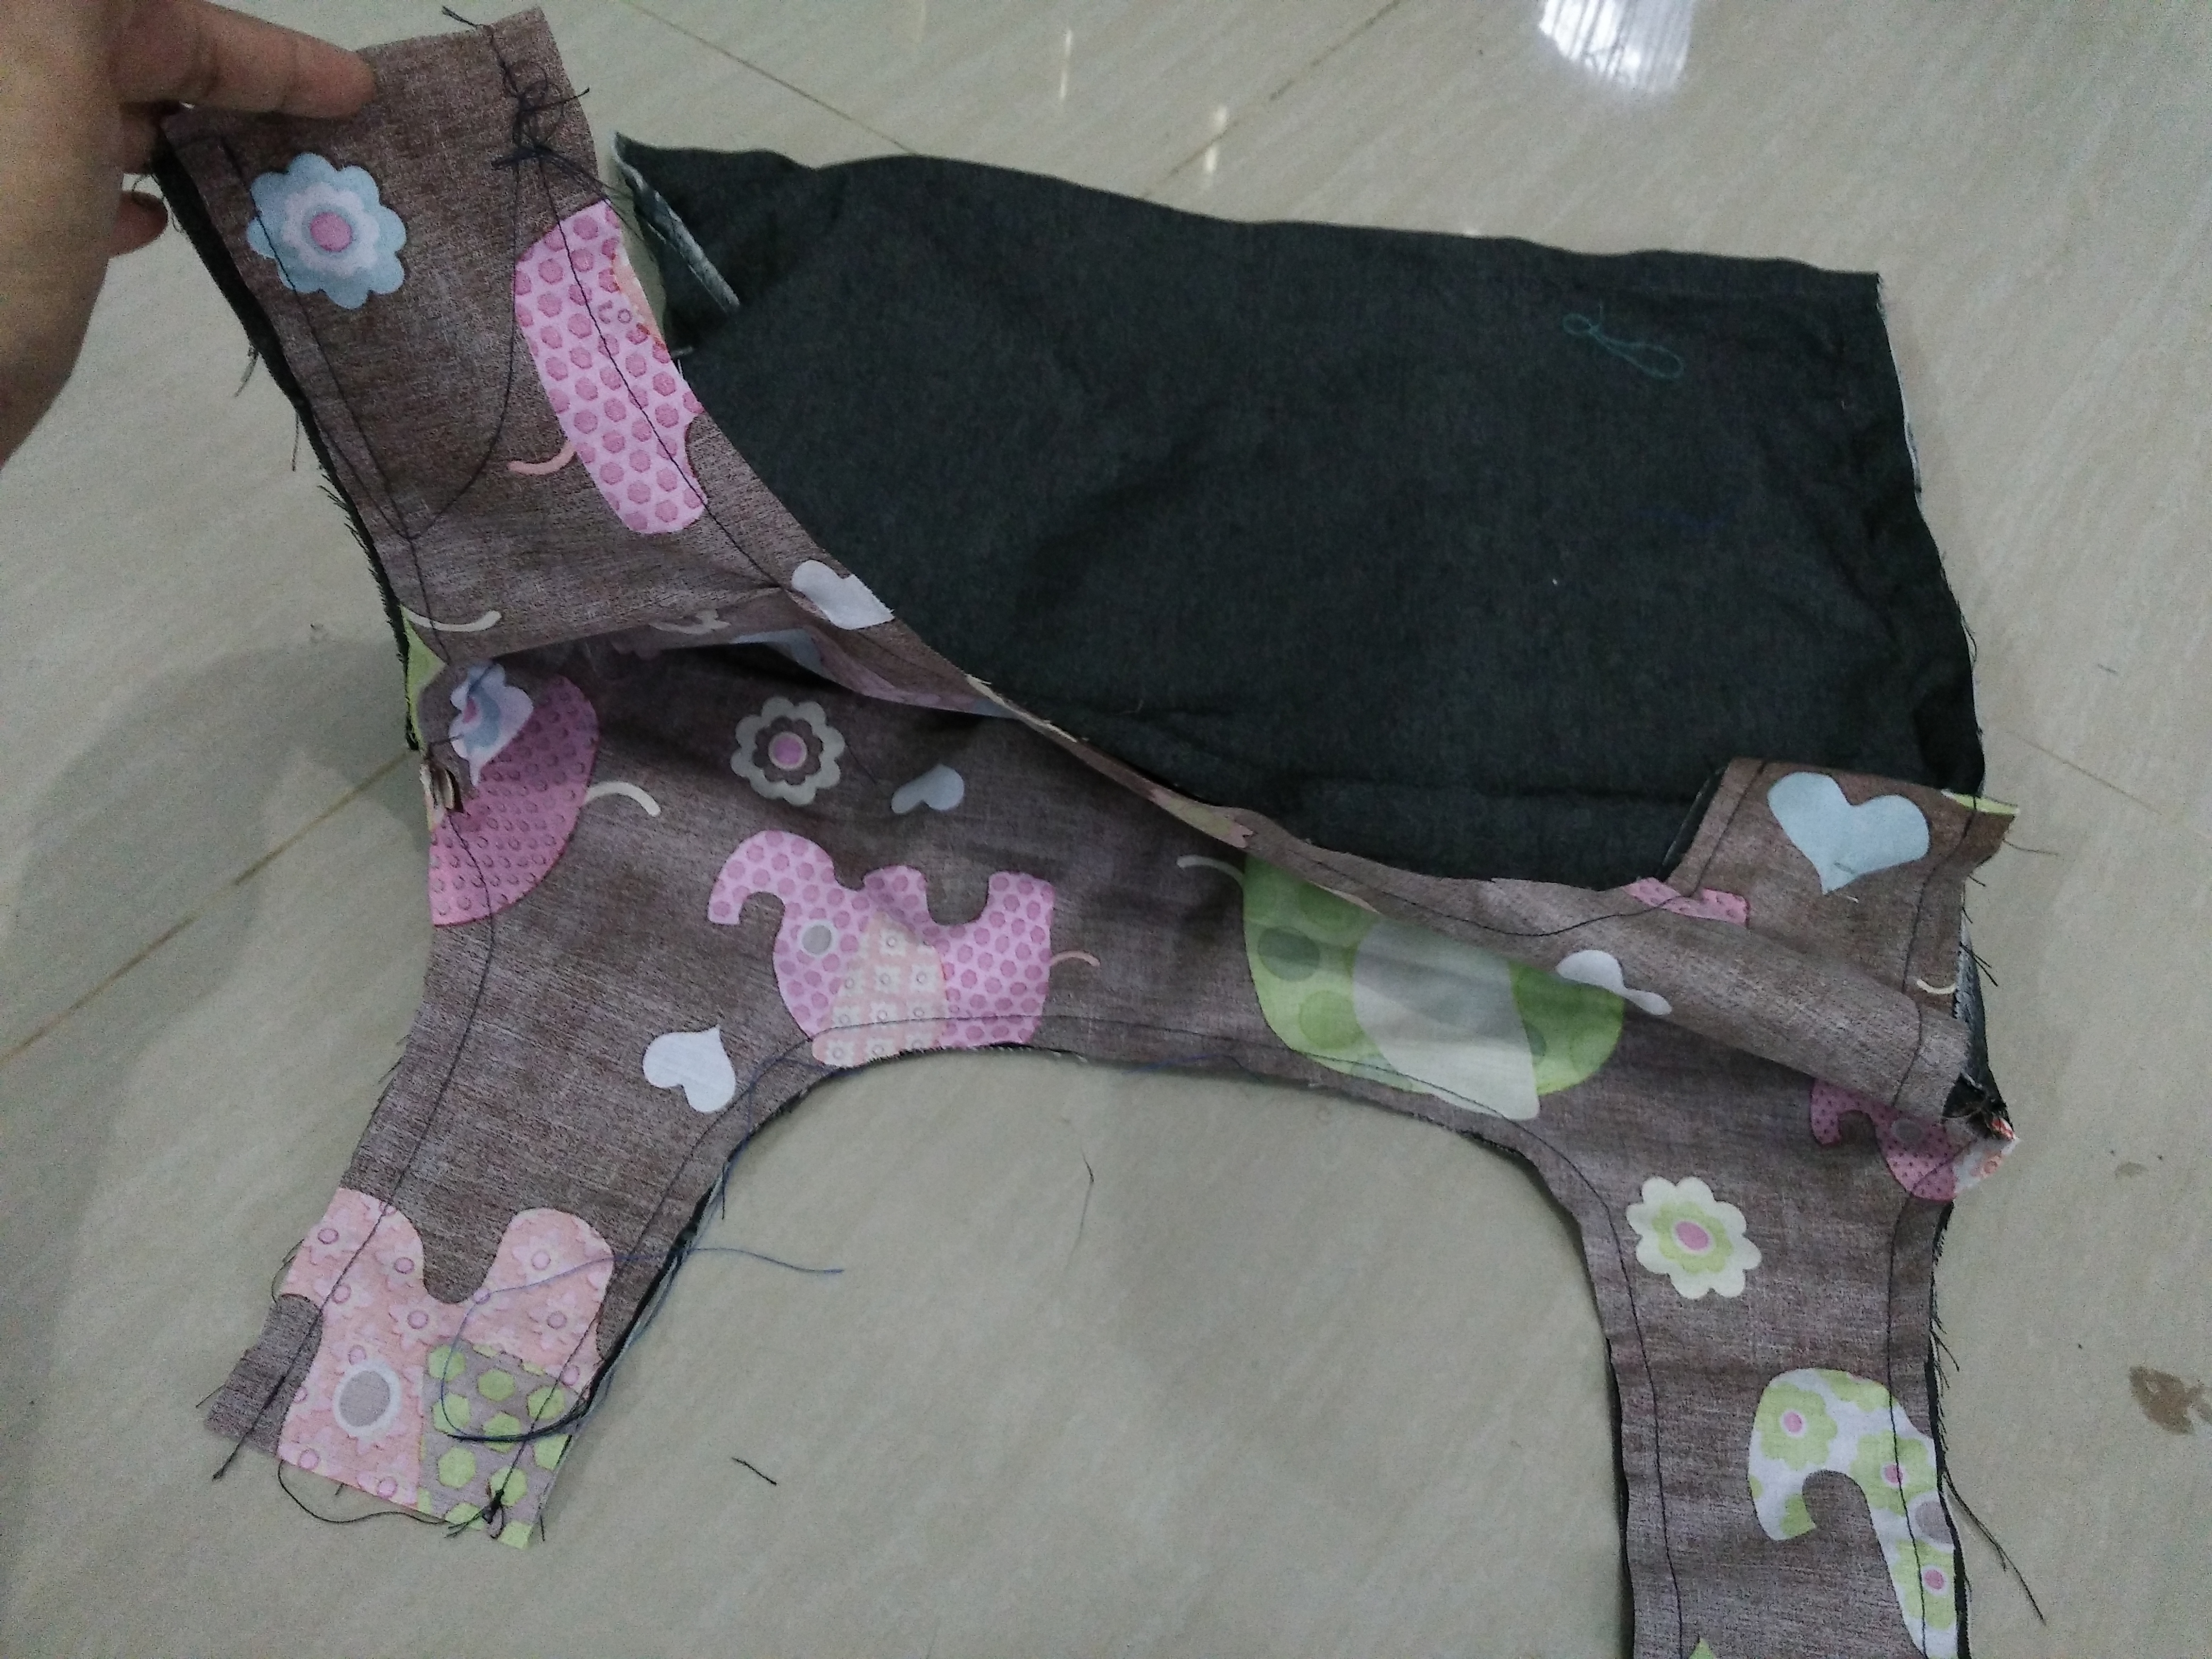  9. Pull the lining out. 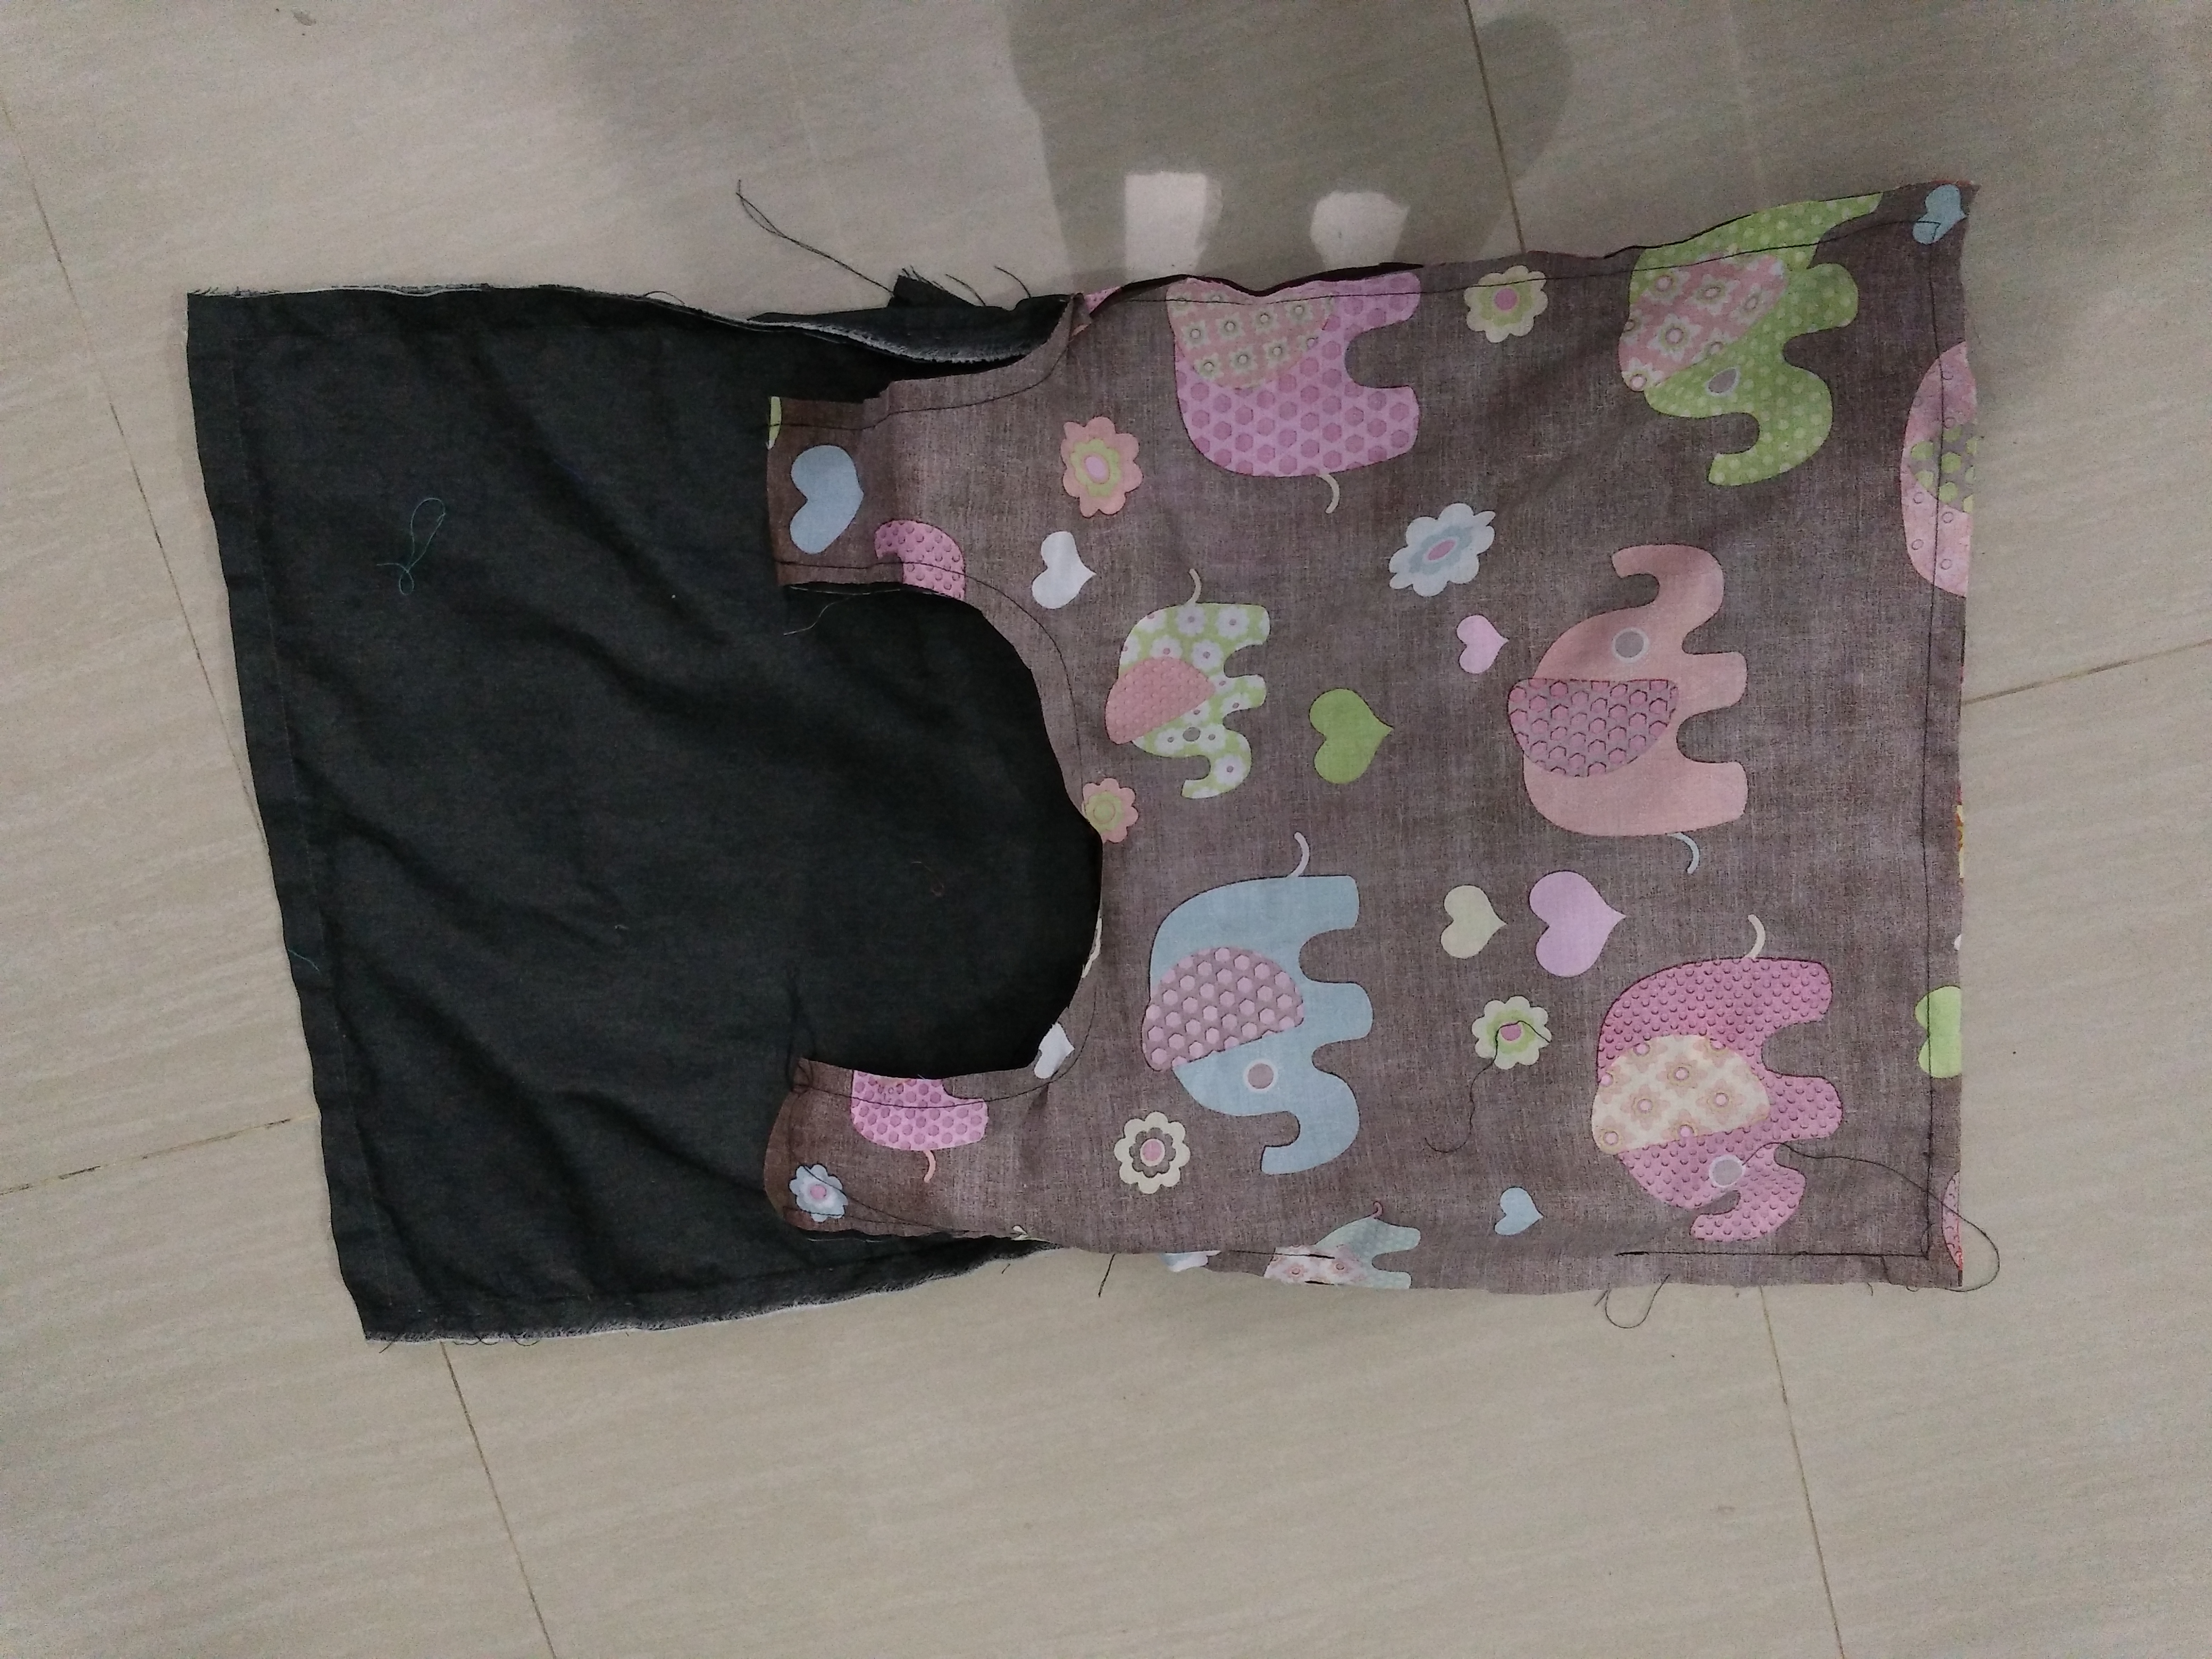 10. Take one corner of the lining and one corner of the outer (of the same side). 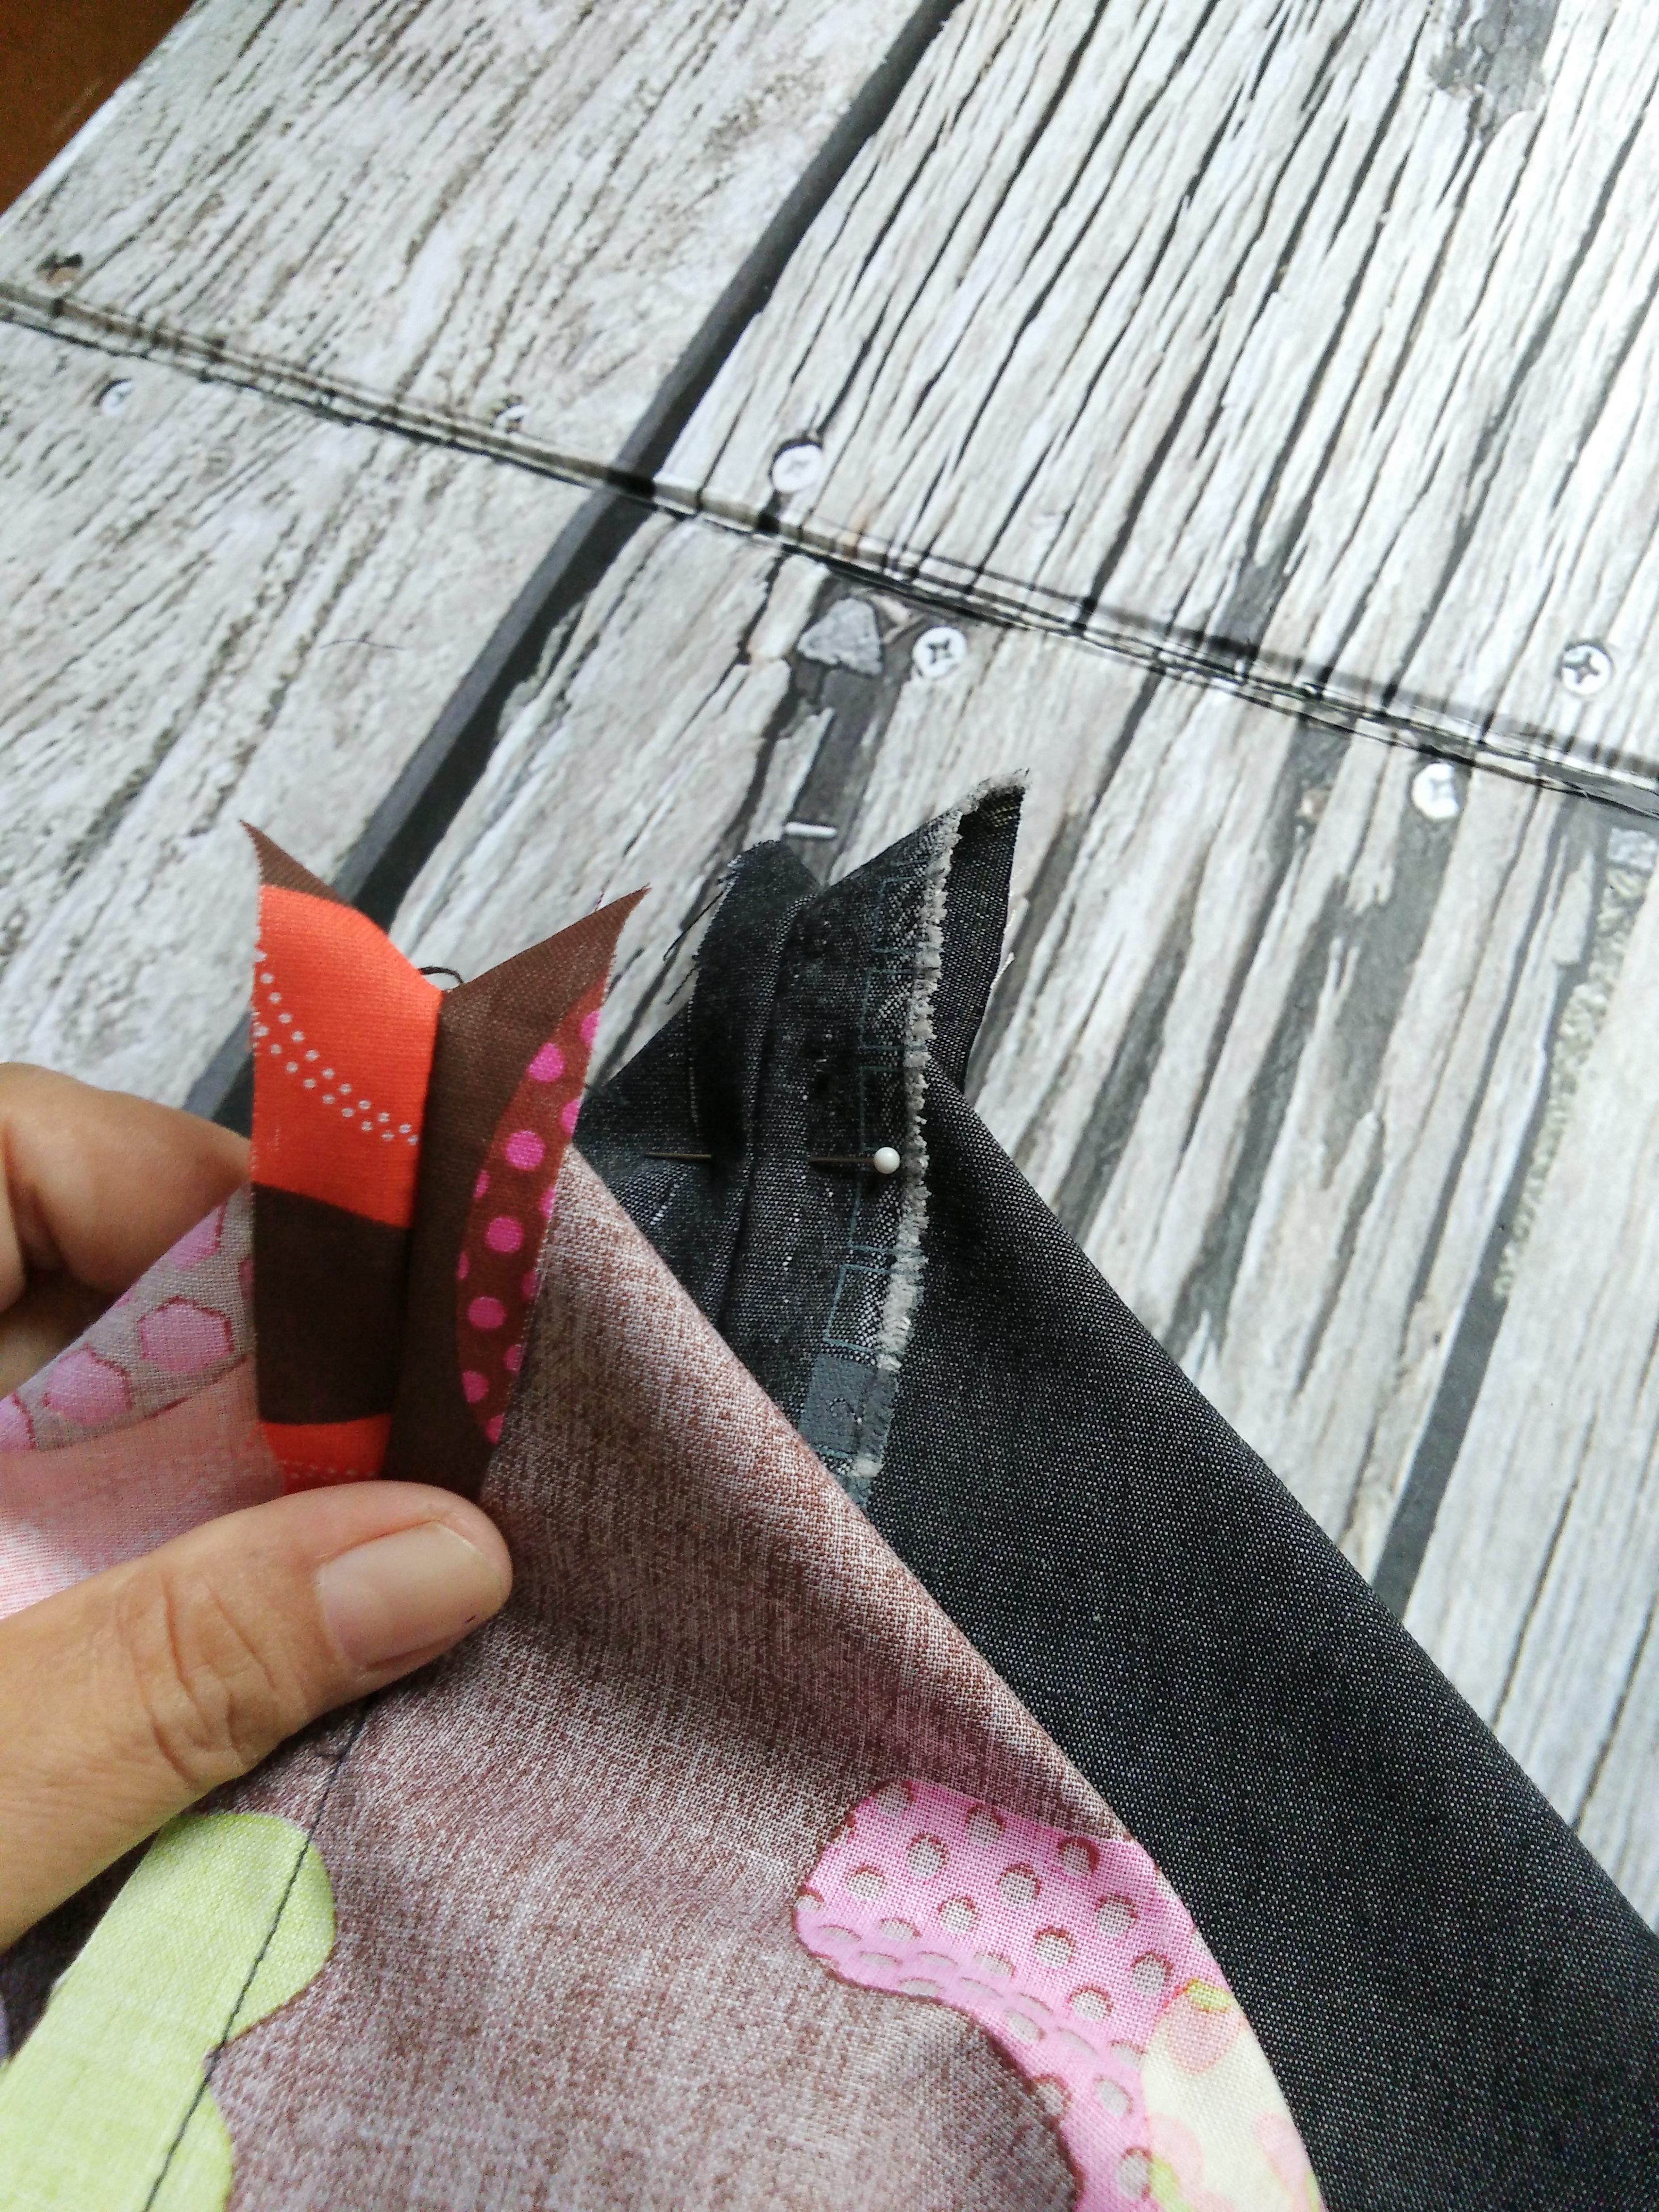 11. Sew as long as 10 cm to make a boxy corner. 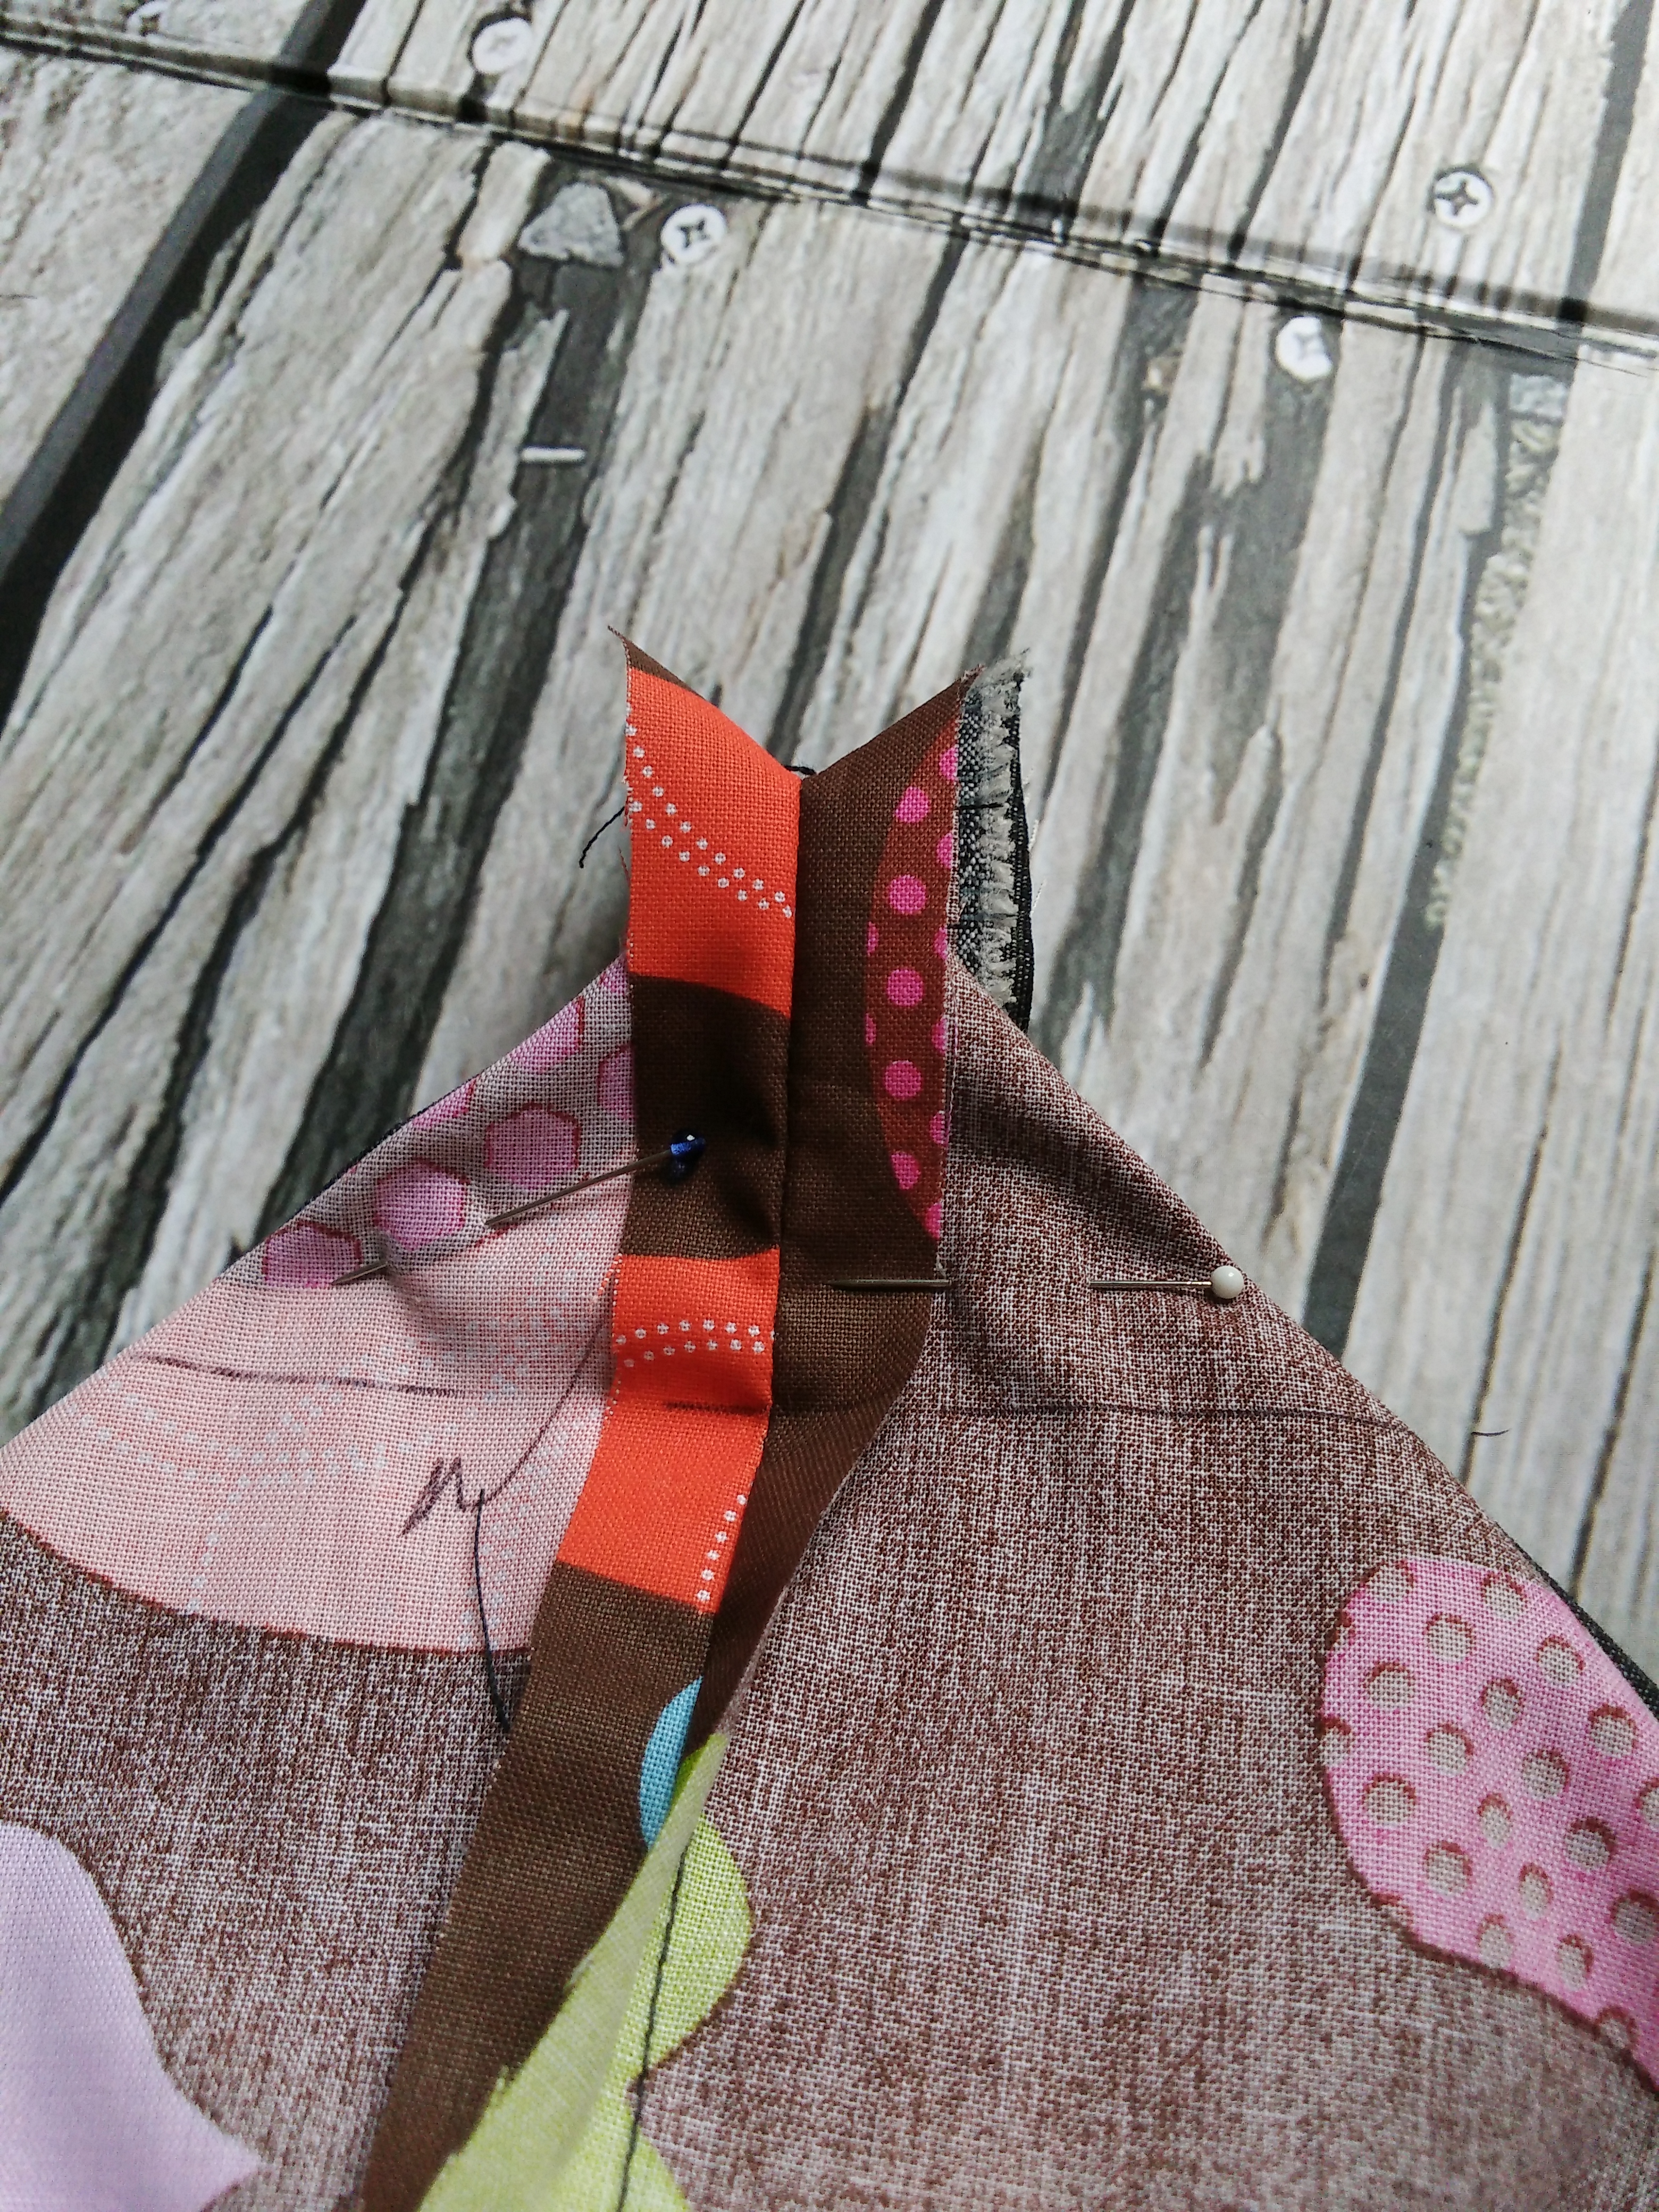 12. Do the same to the corners at the other side so you will have this. 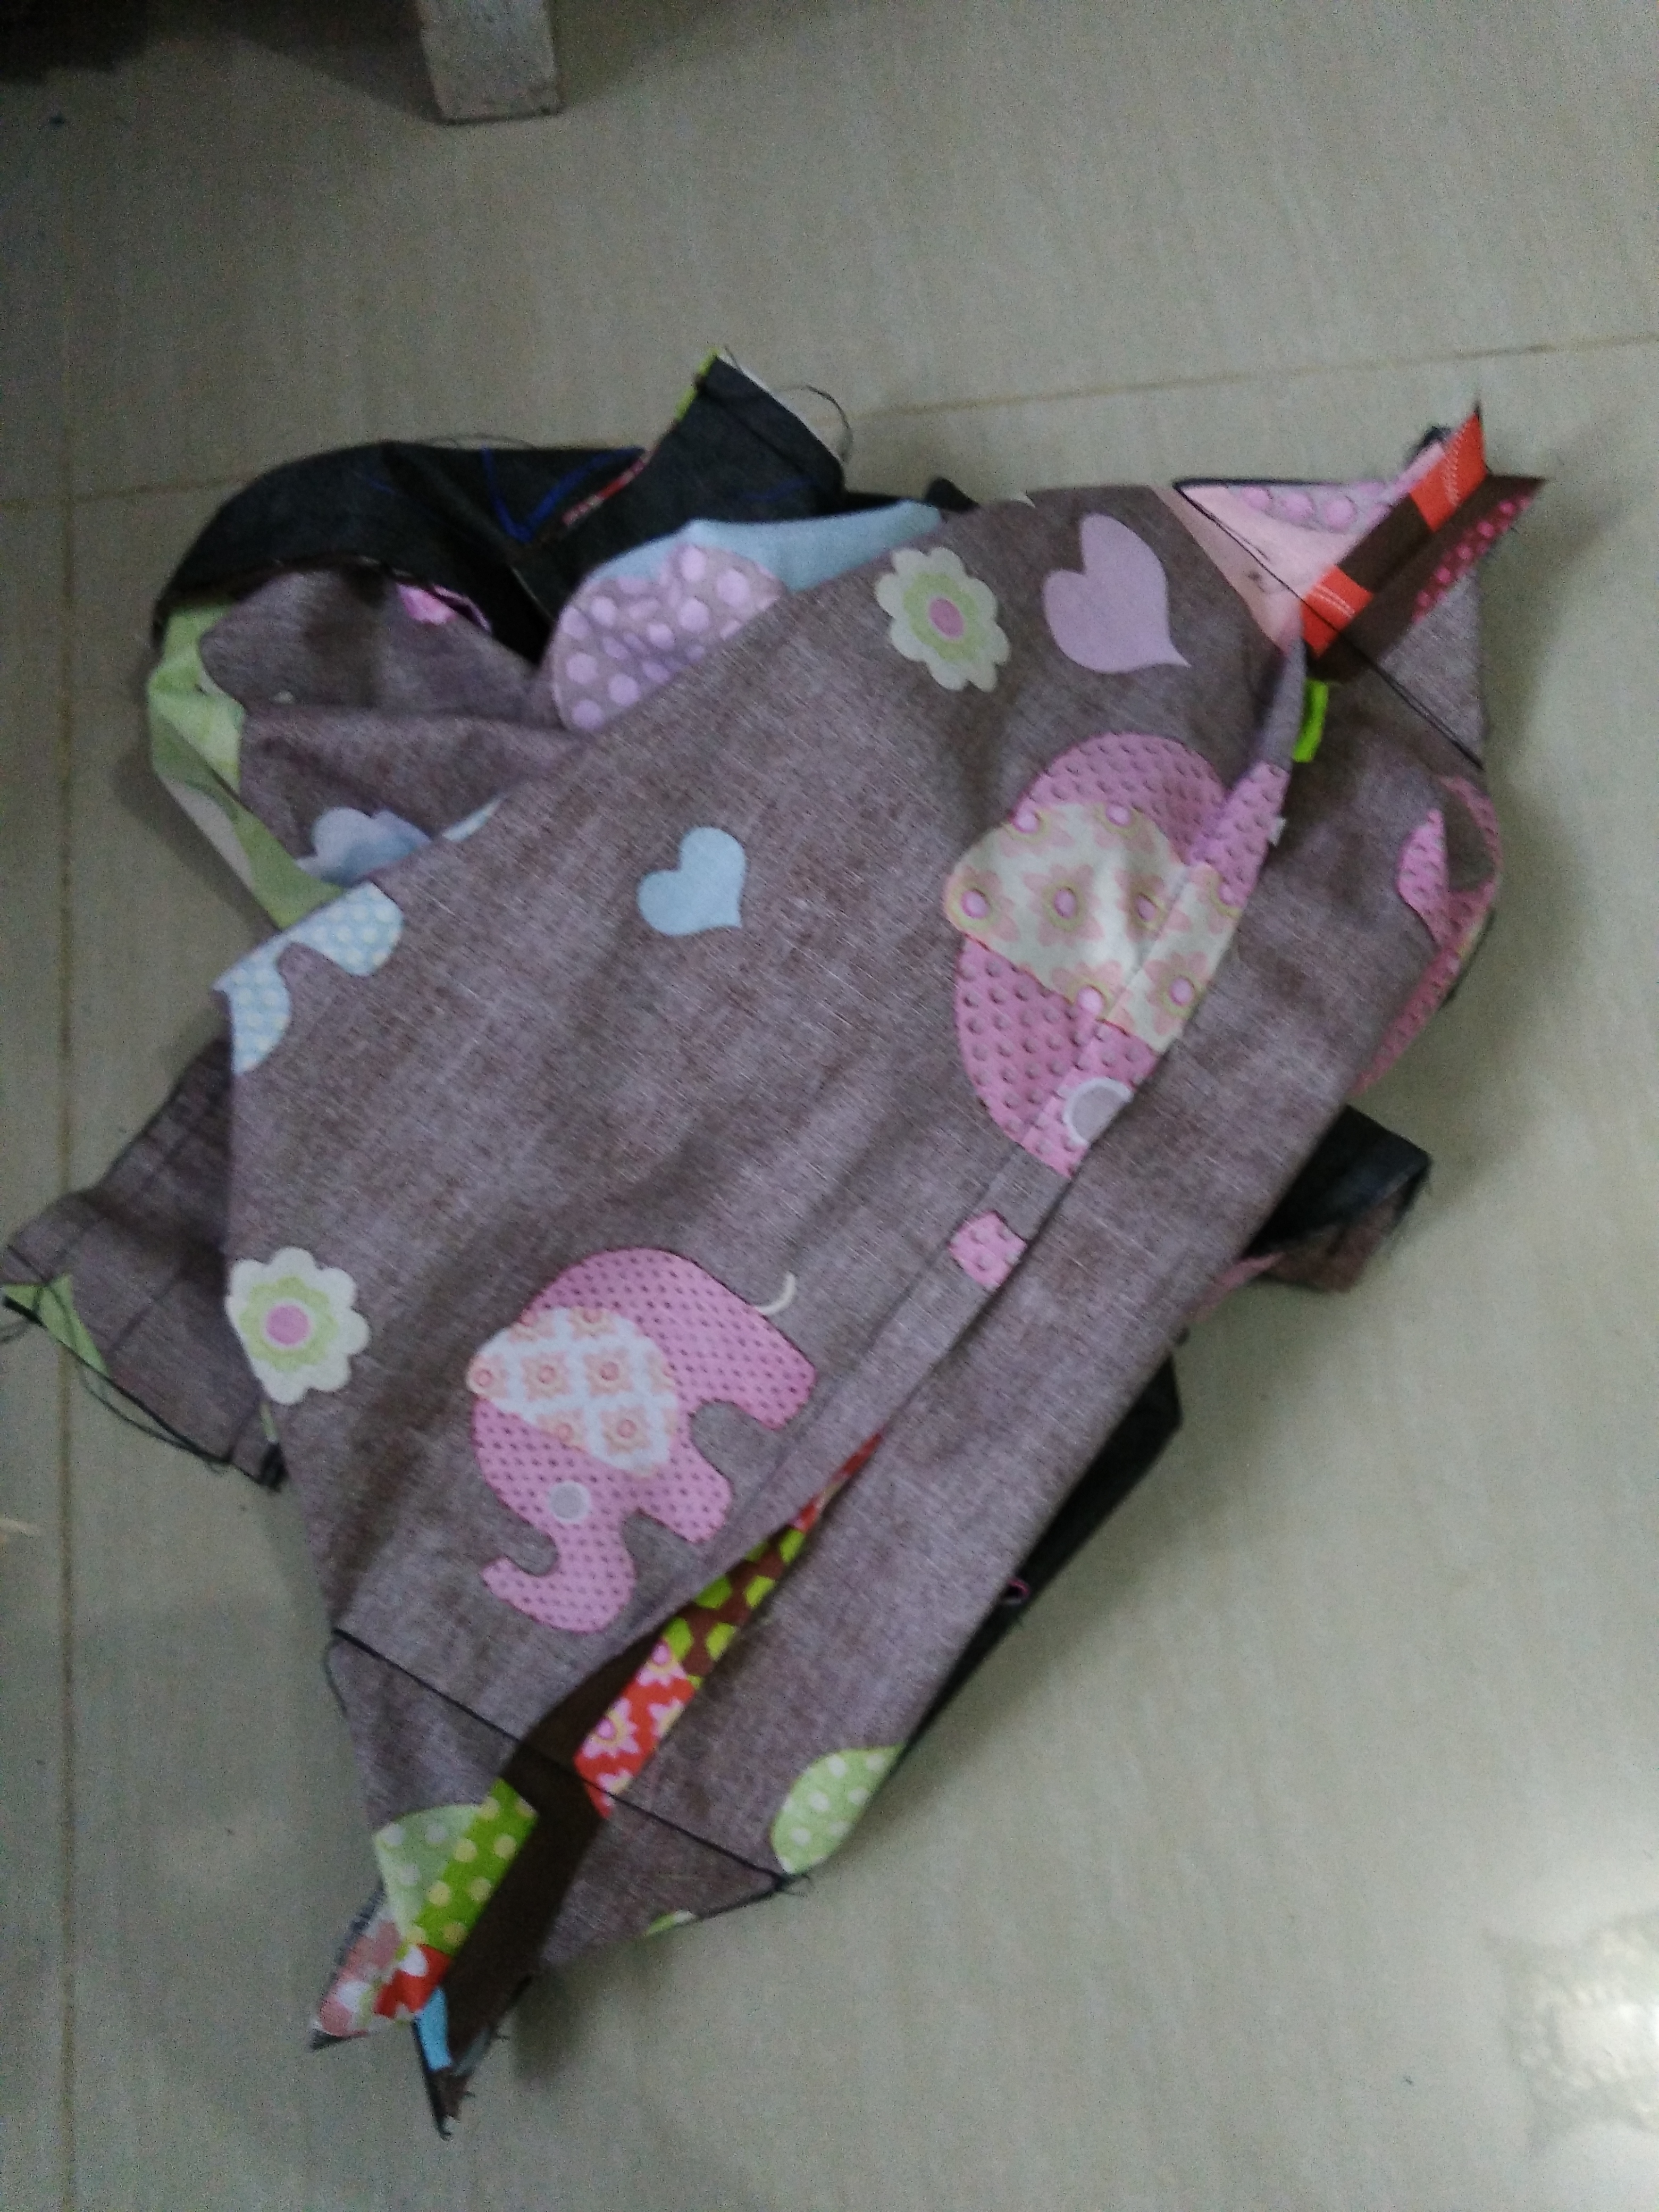 13. Cut the excessive fabric. 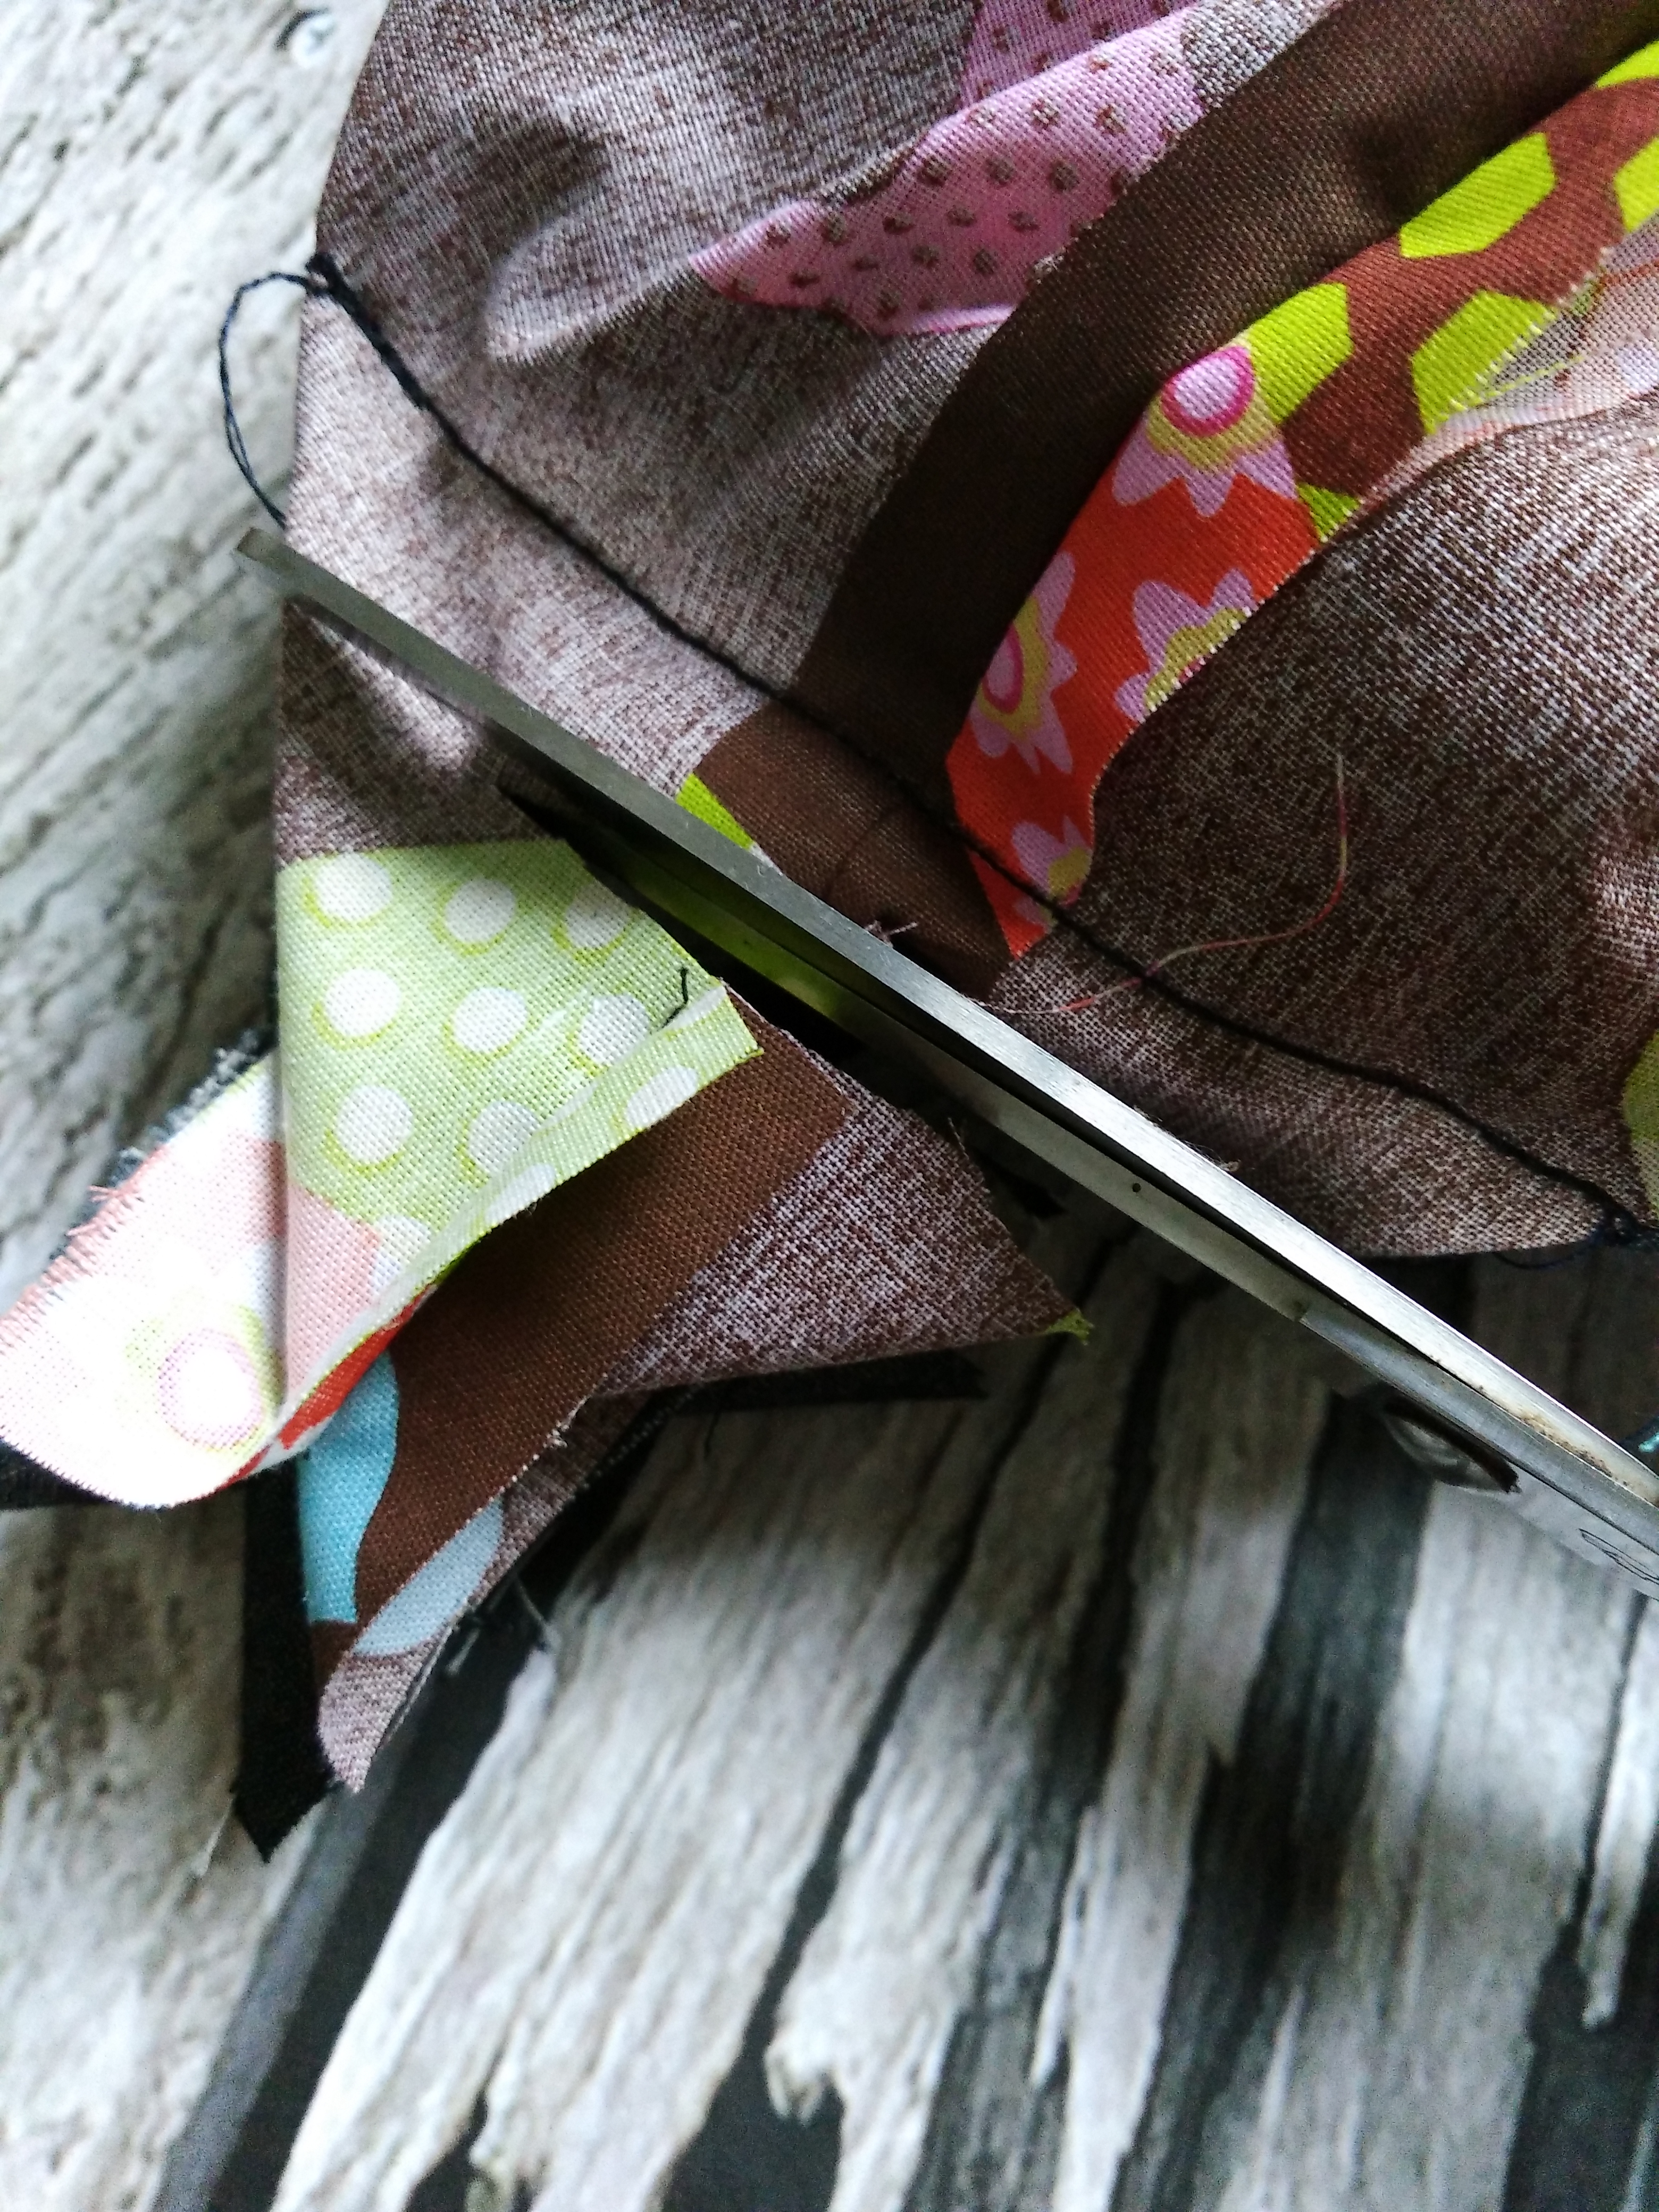 14.Turn the bag inside out through the opening in the lining. 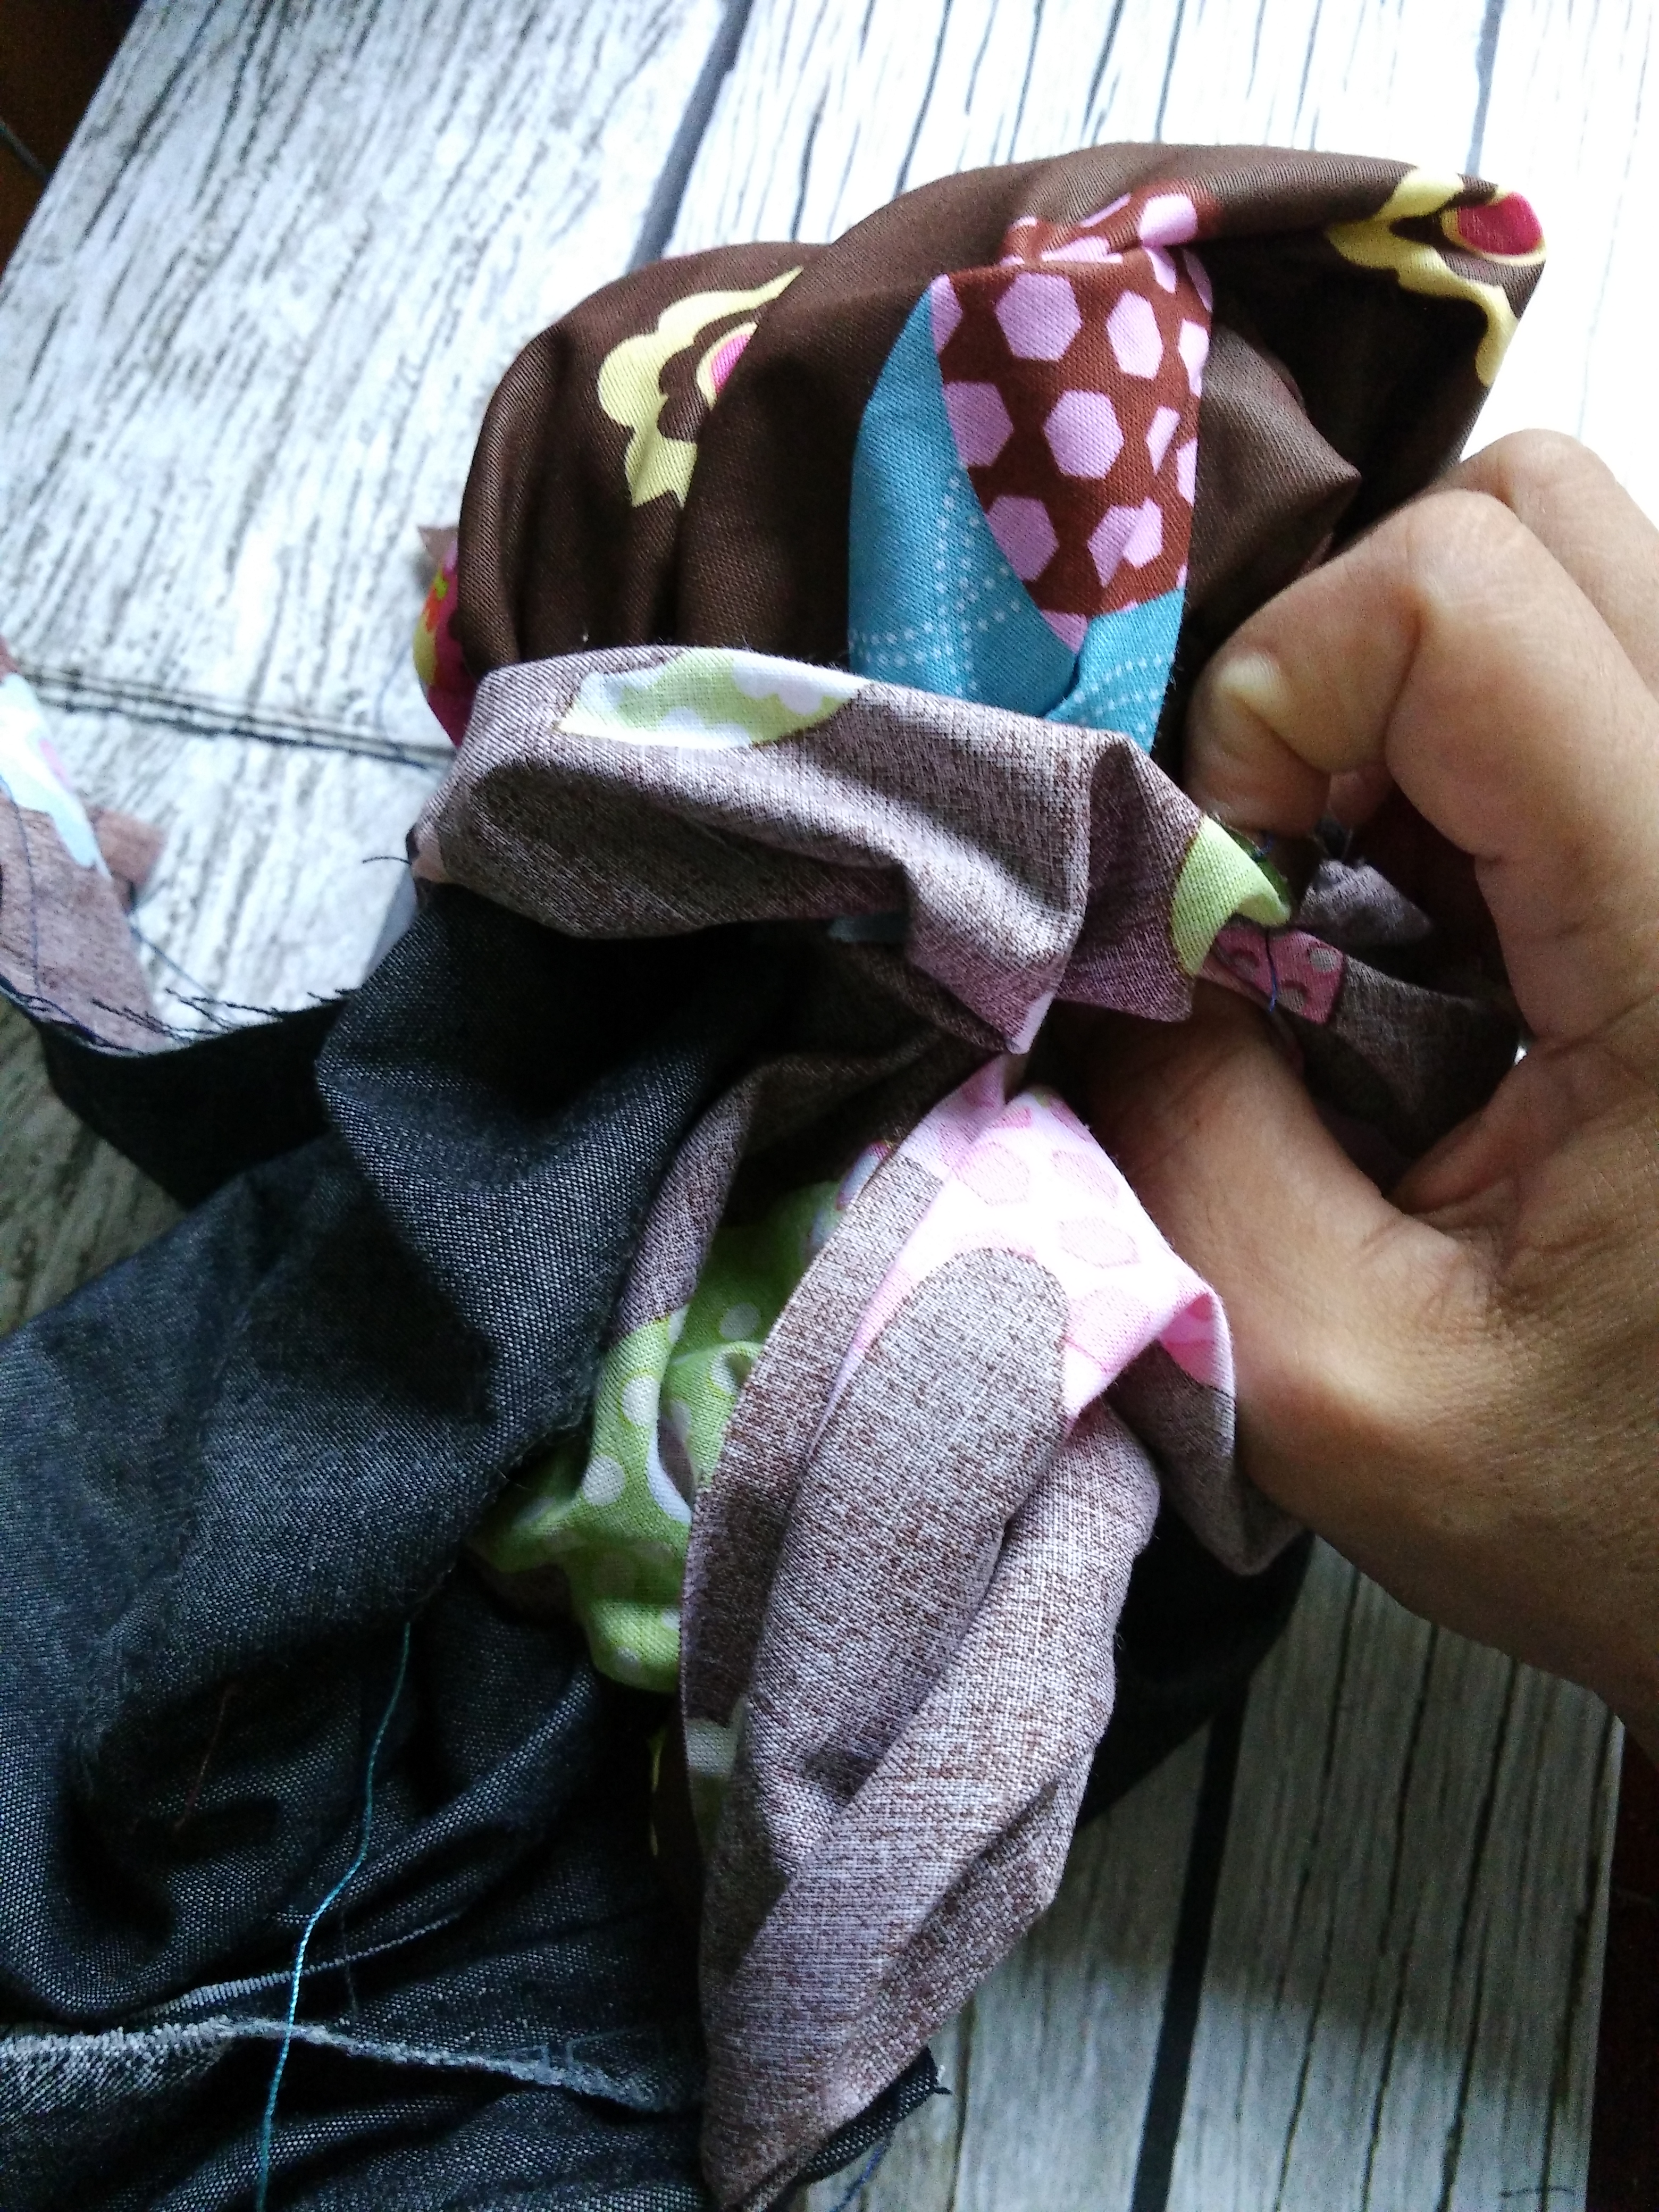 15. Iron the upper part to make it look nice and crisp. 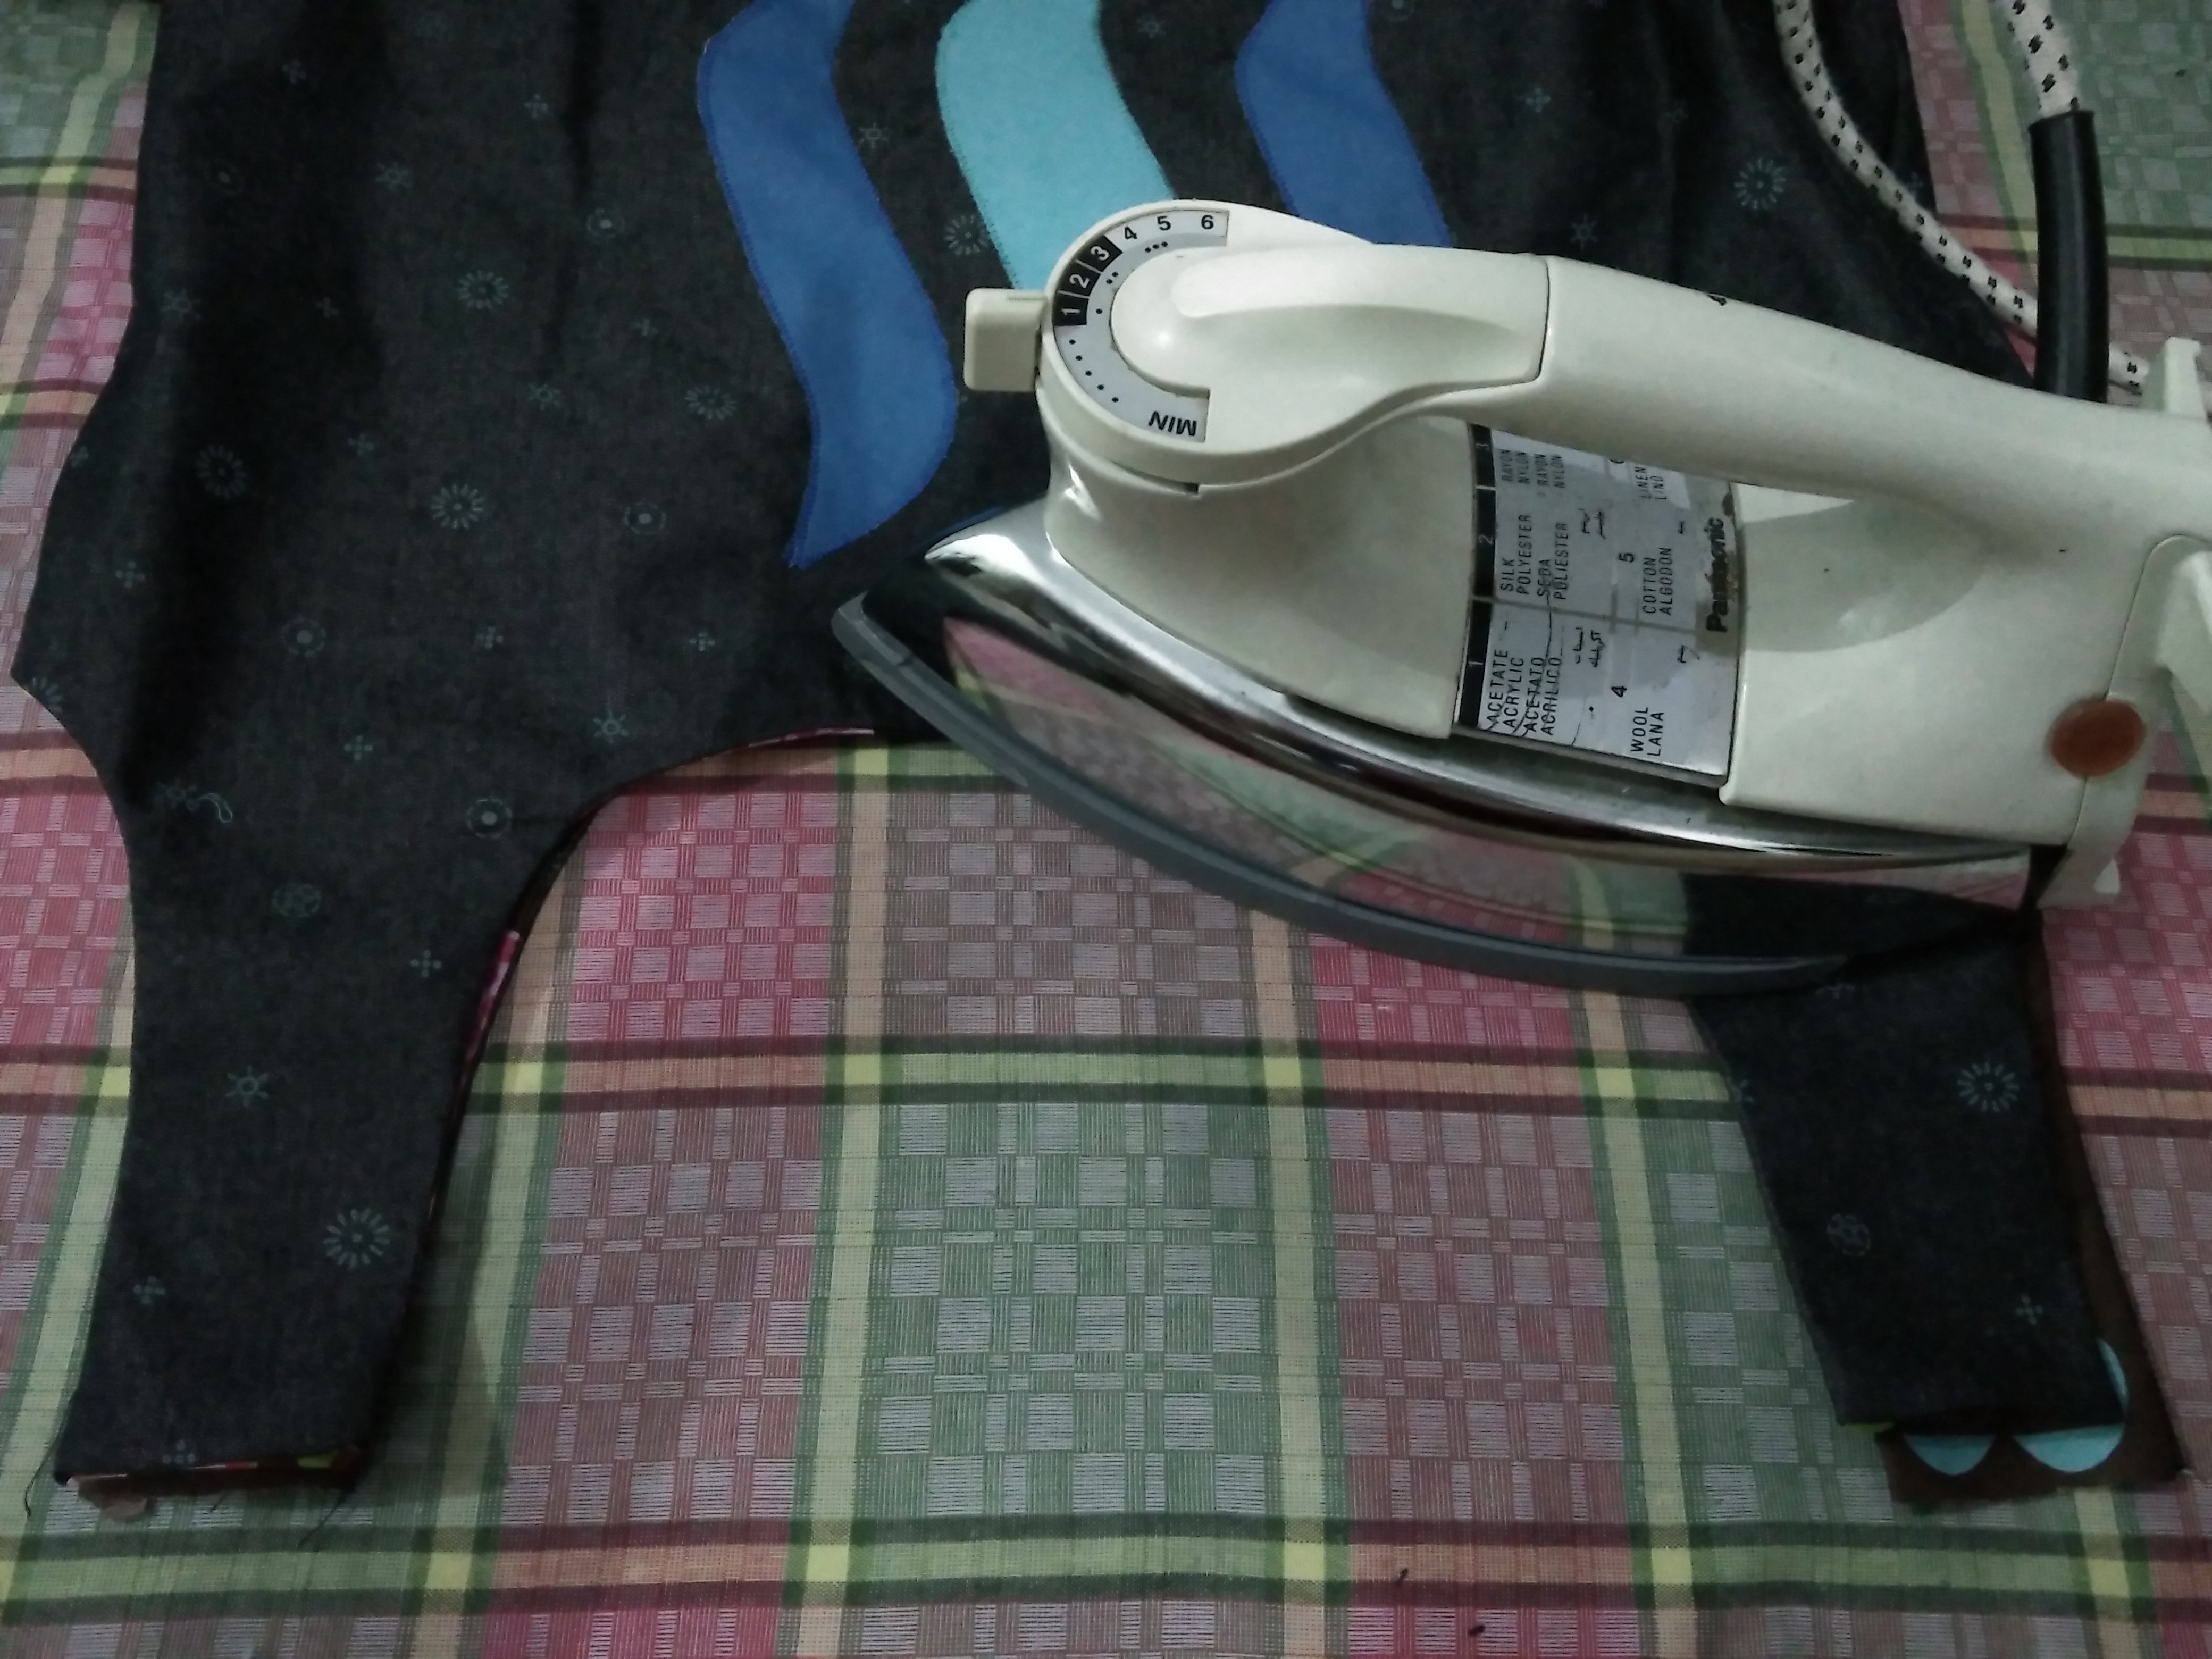 16. Fold one handle 1,5cm, then insert another handle. Do the same to the other handle. 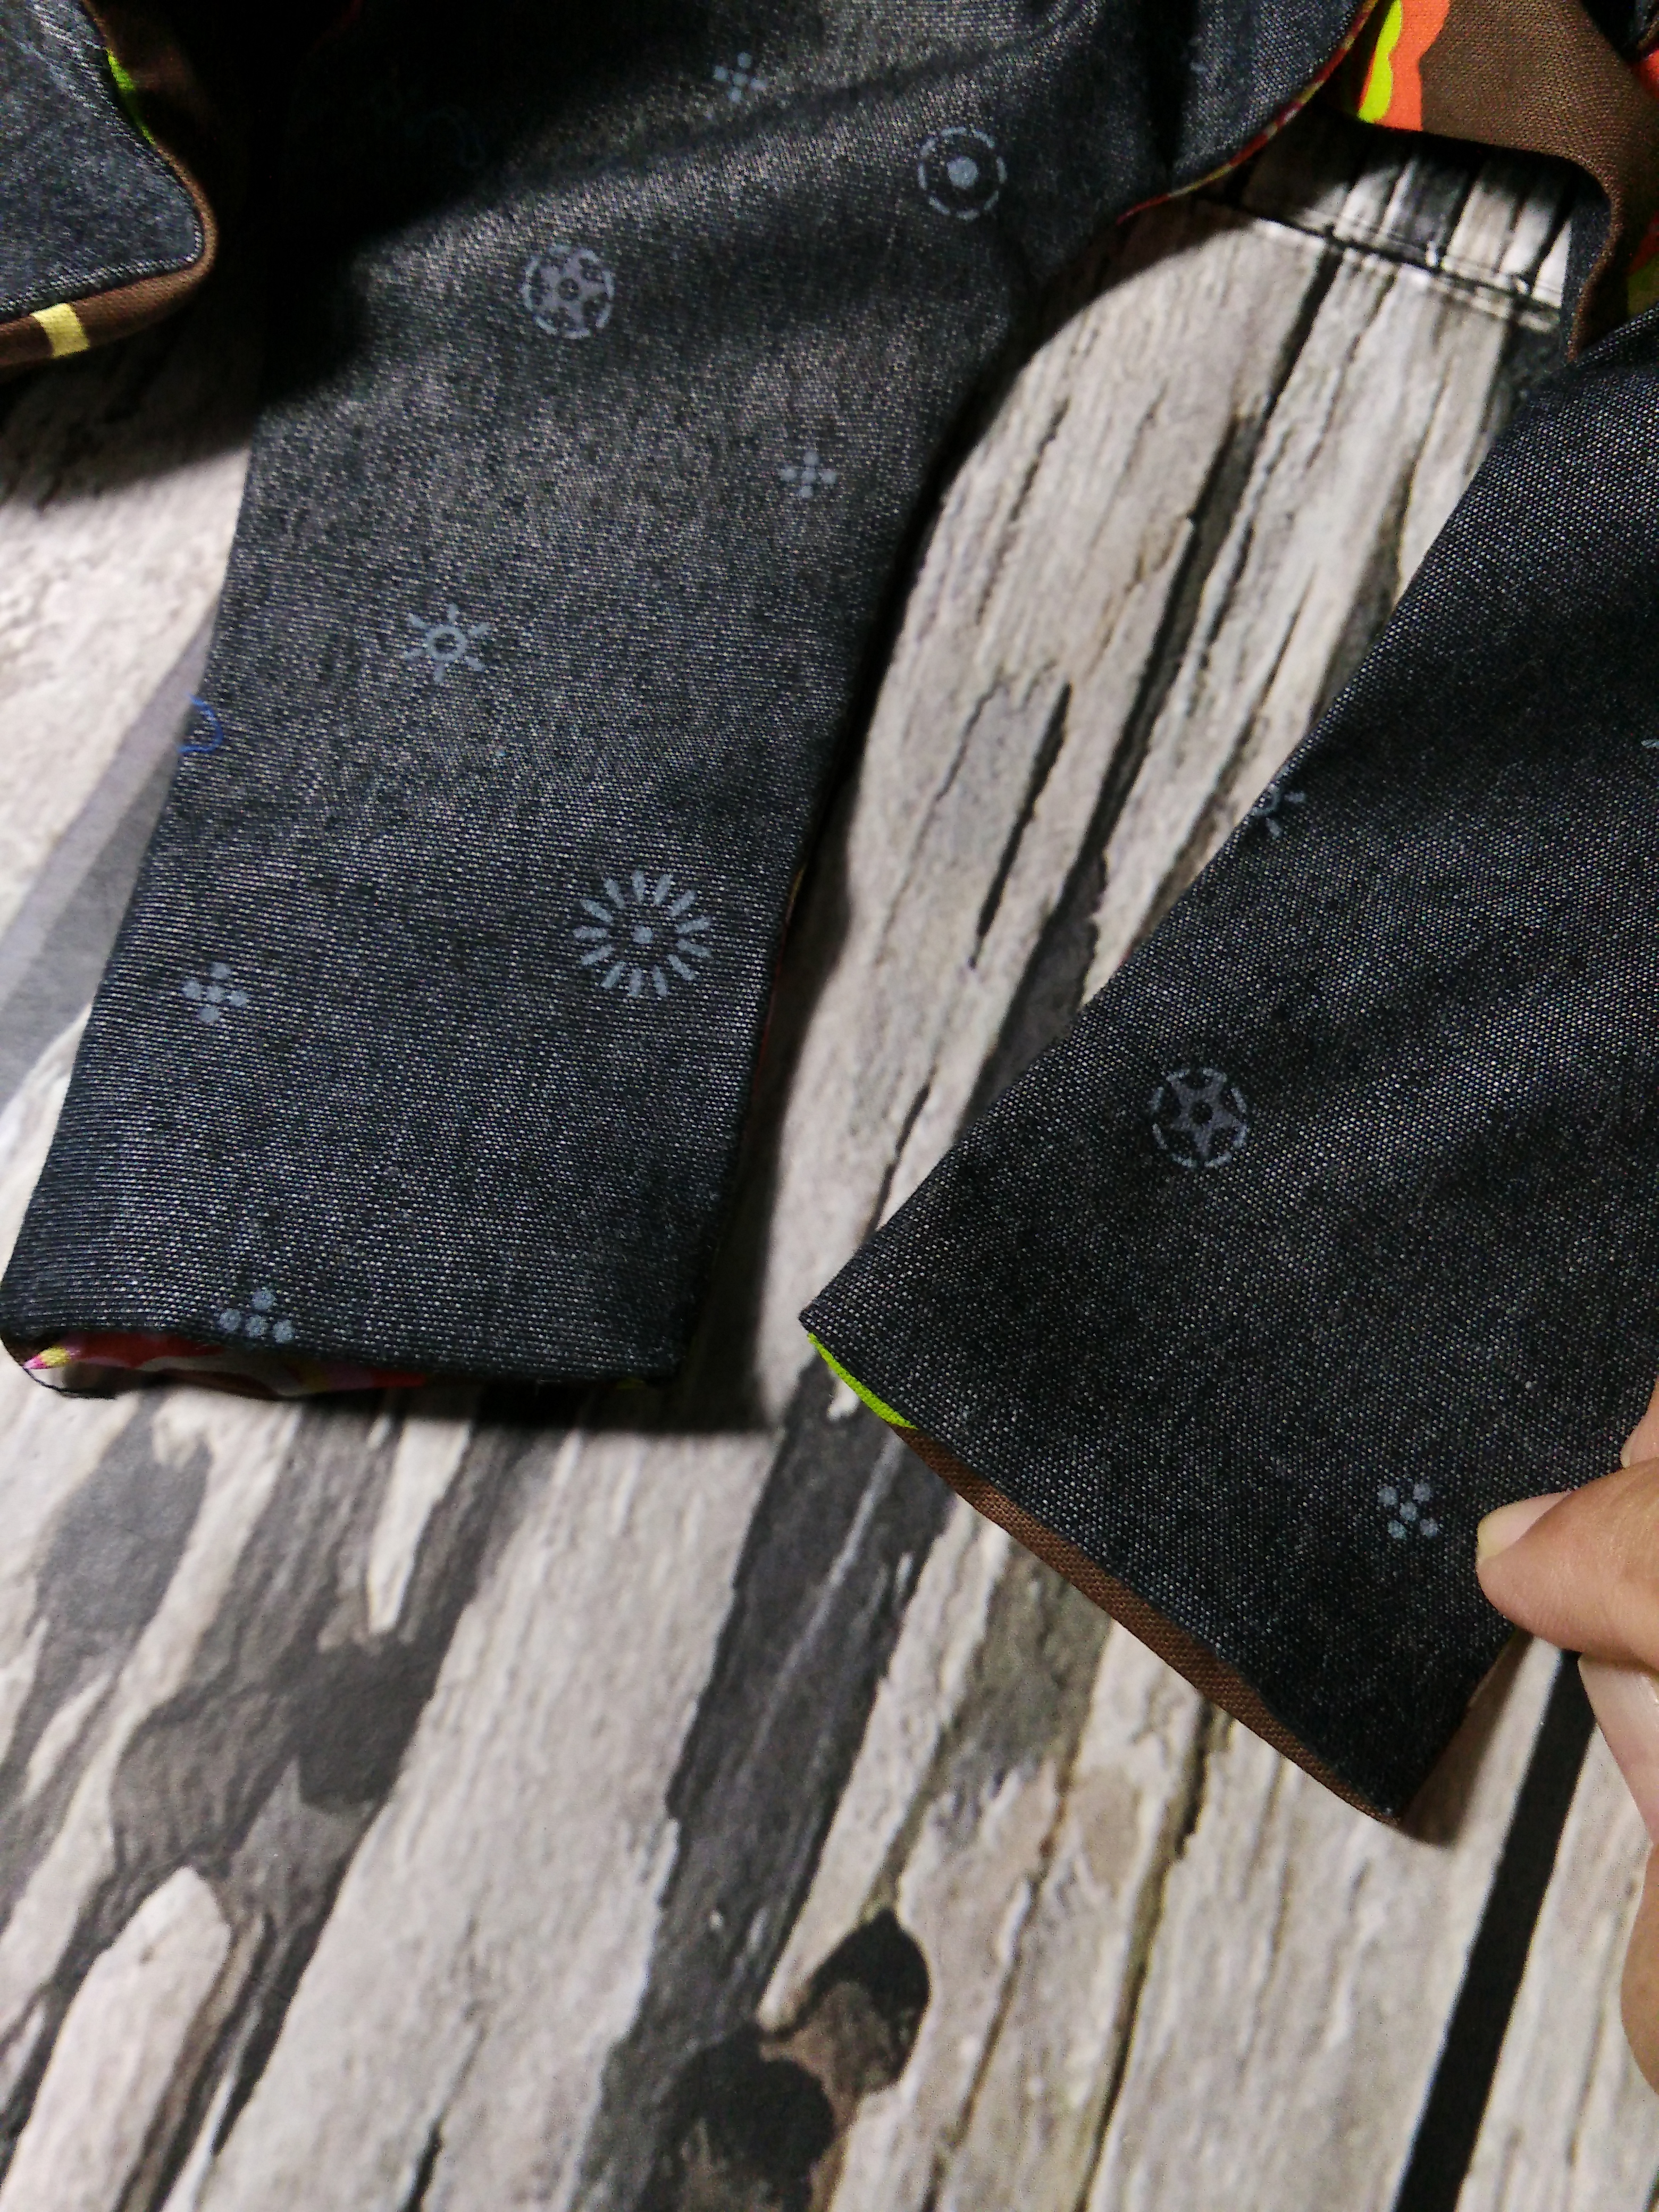 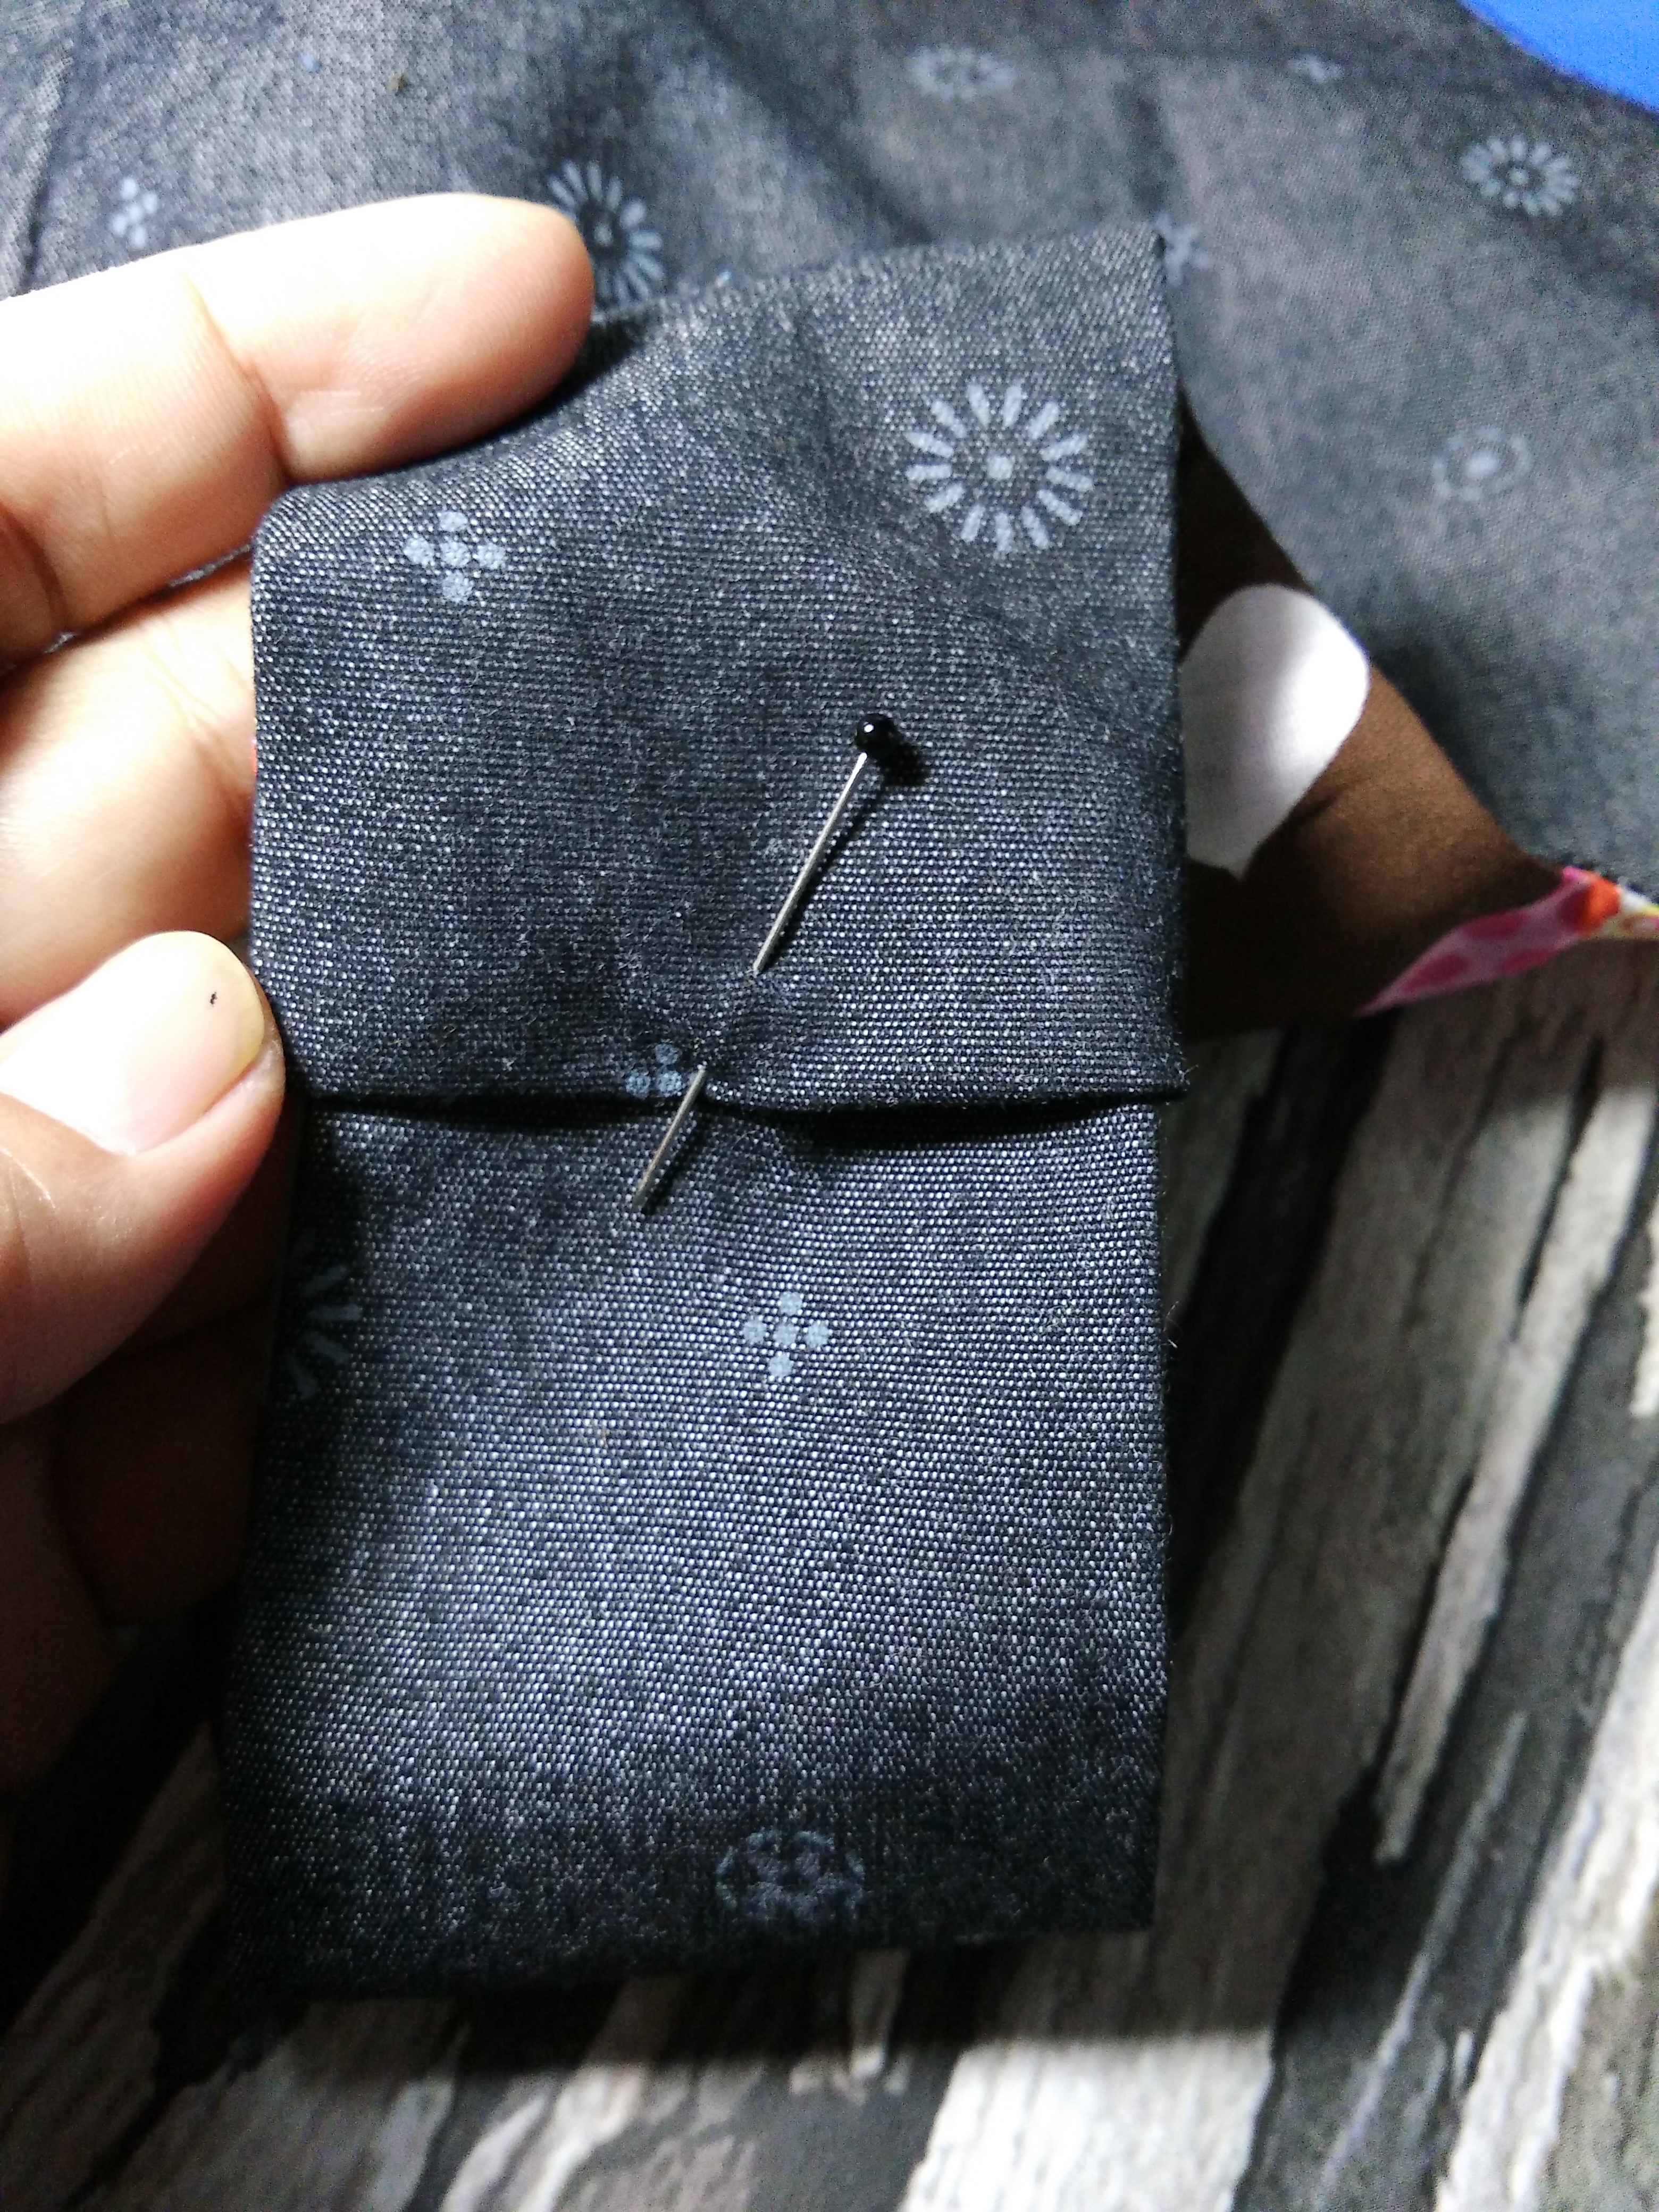 17. Sew along the overlapping.  18. Sew the opening in the lining shut. 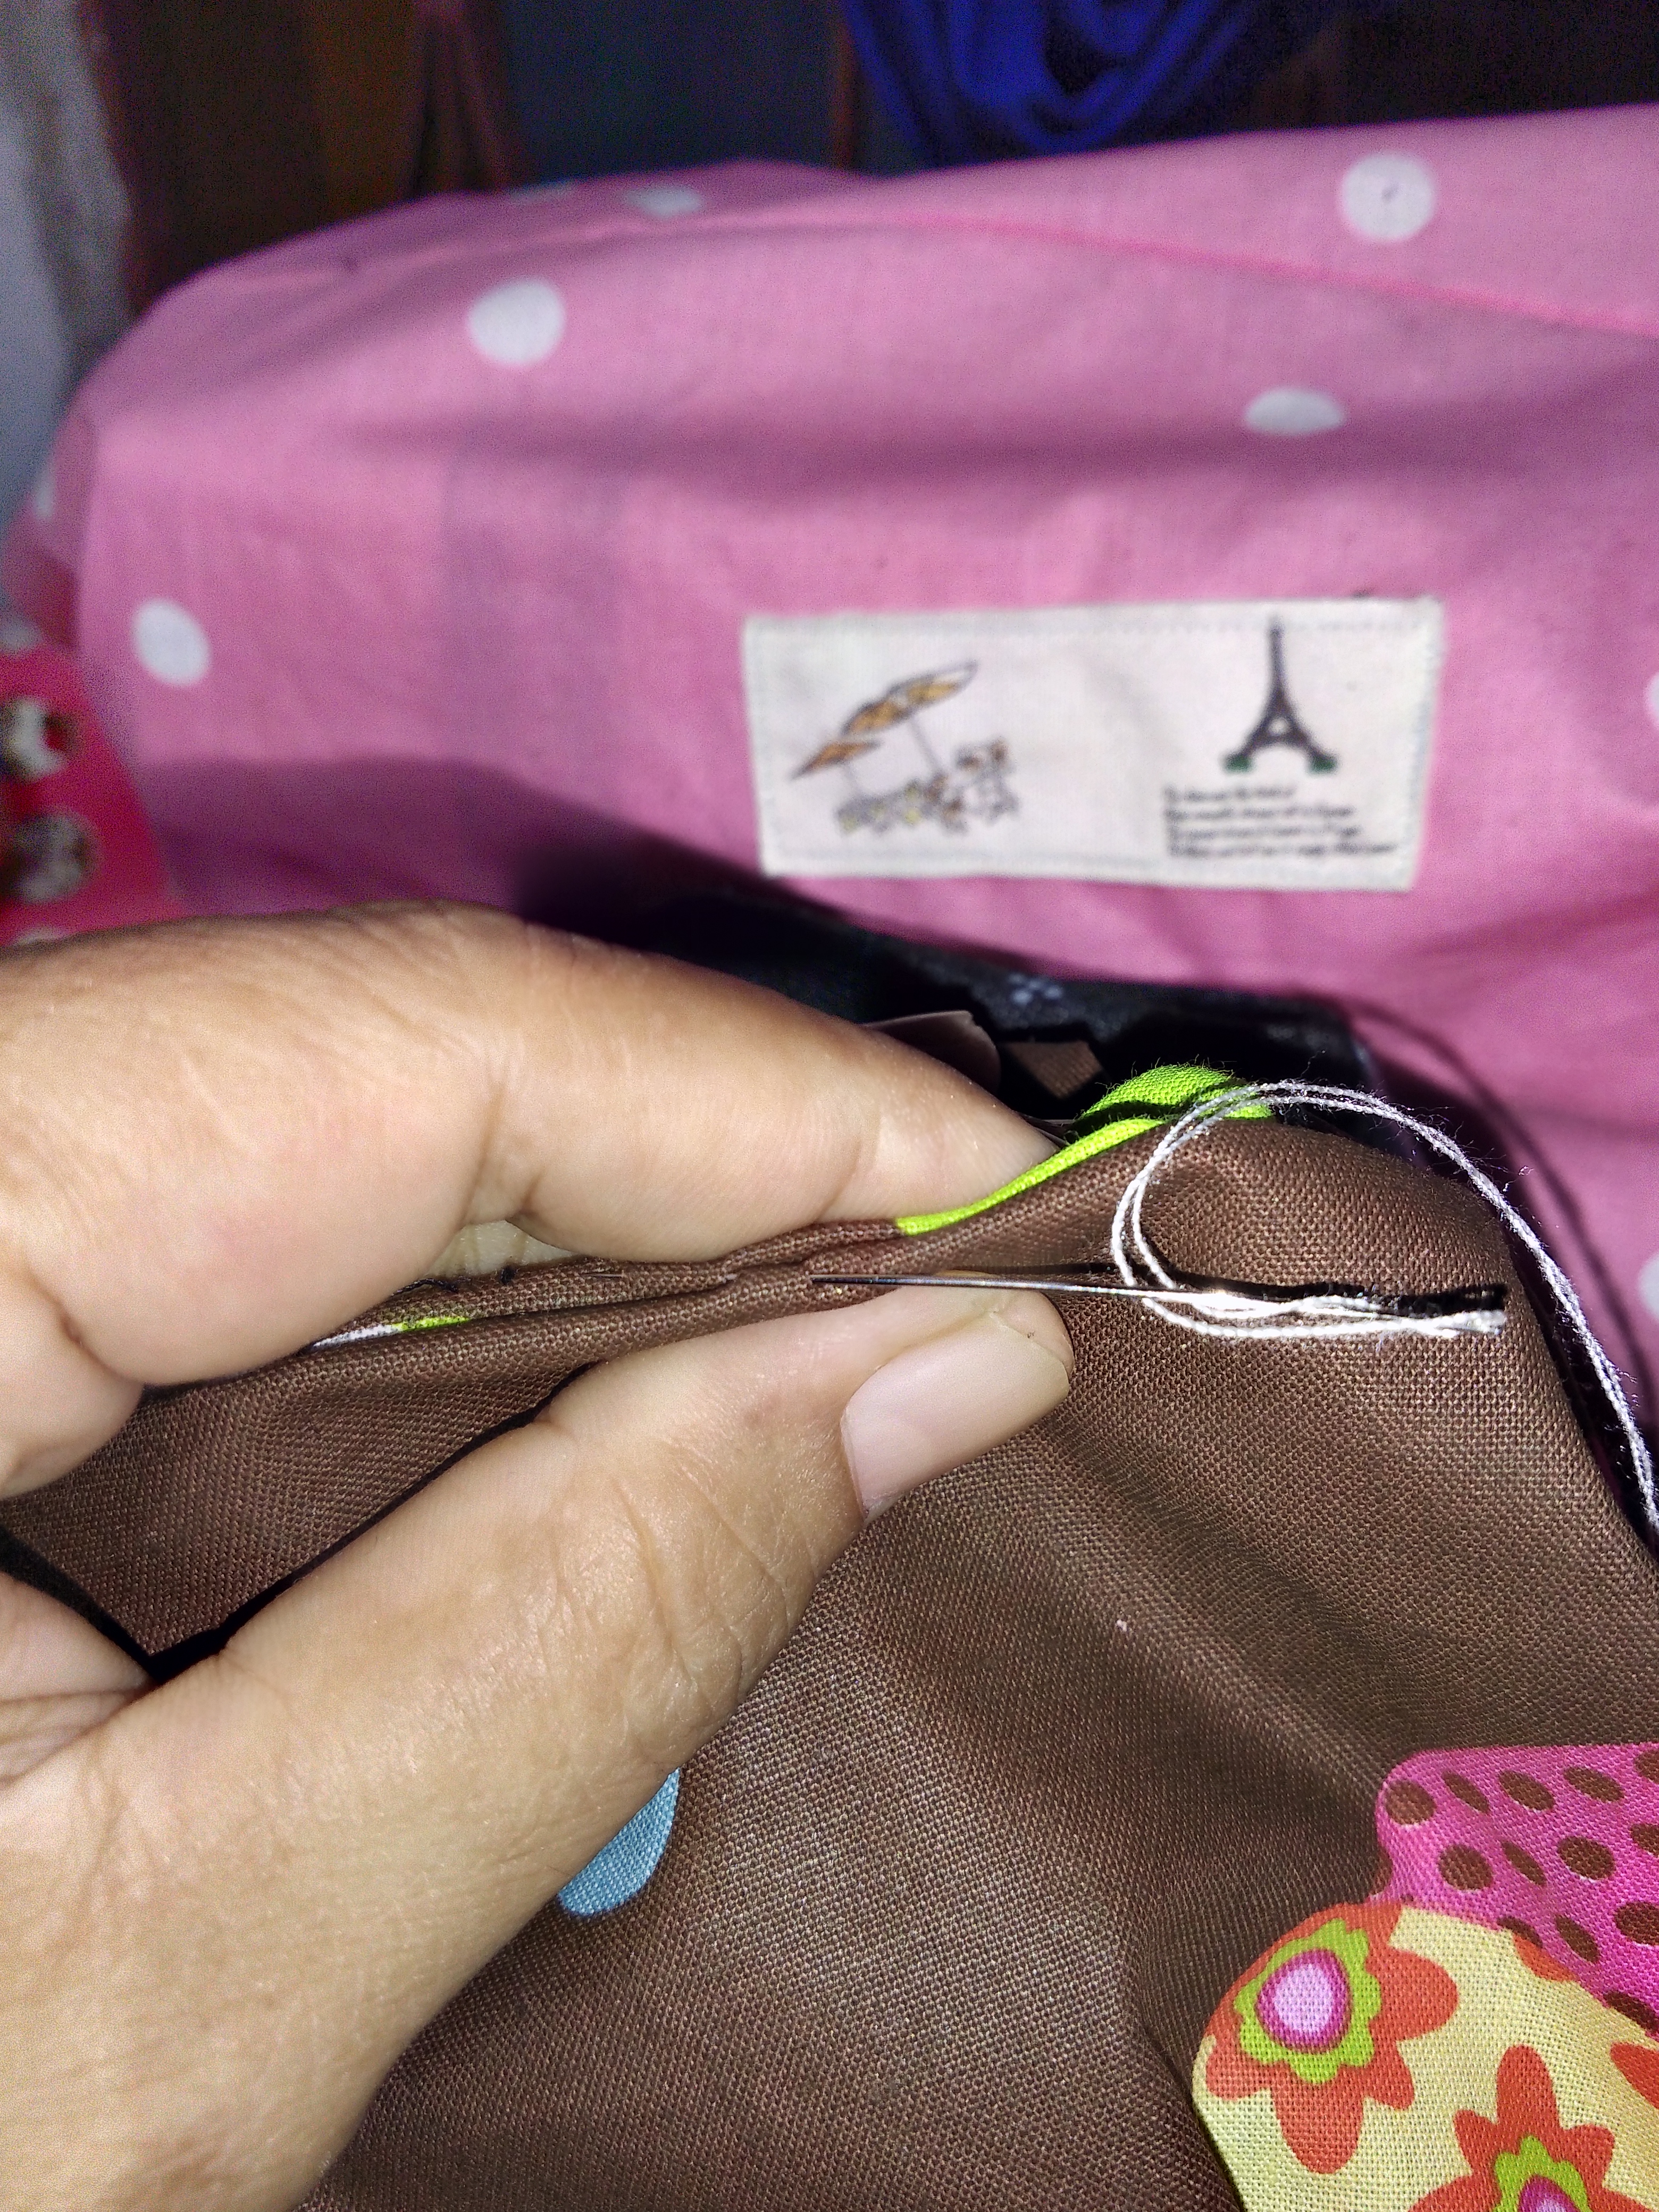 19. *Voila!* It’s done. 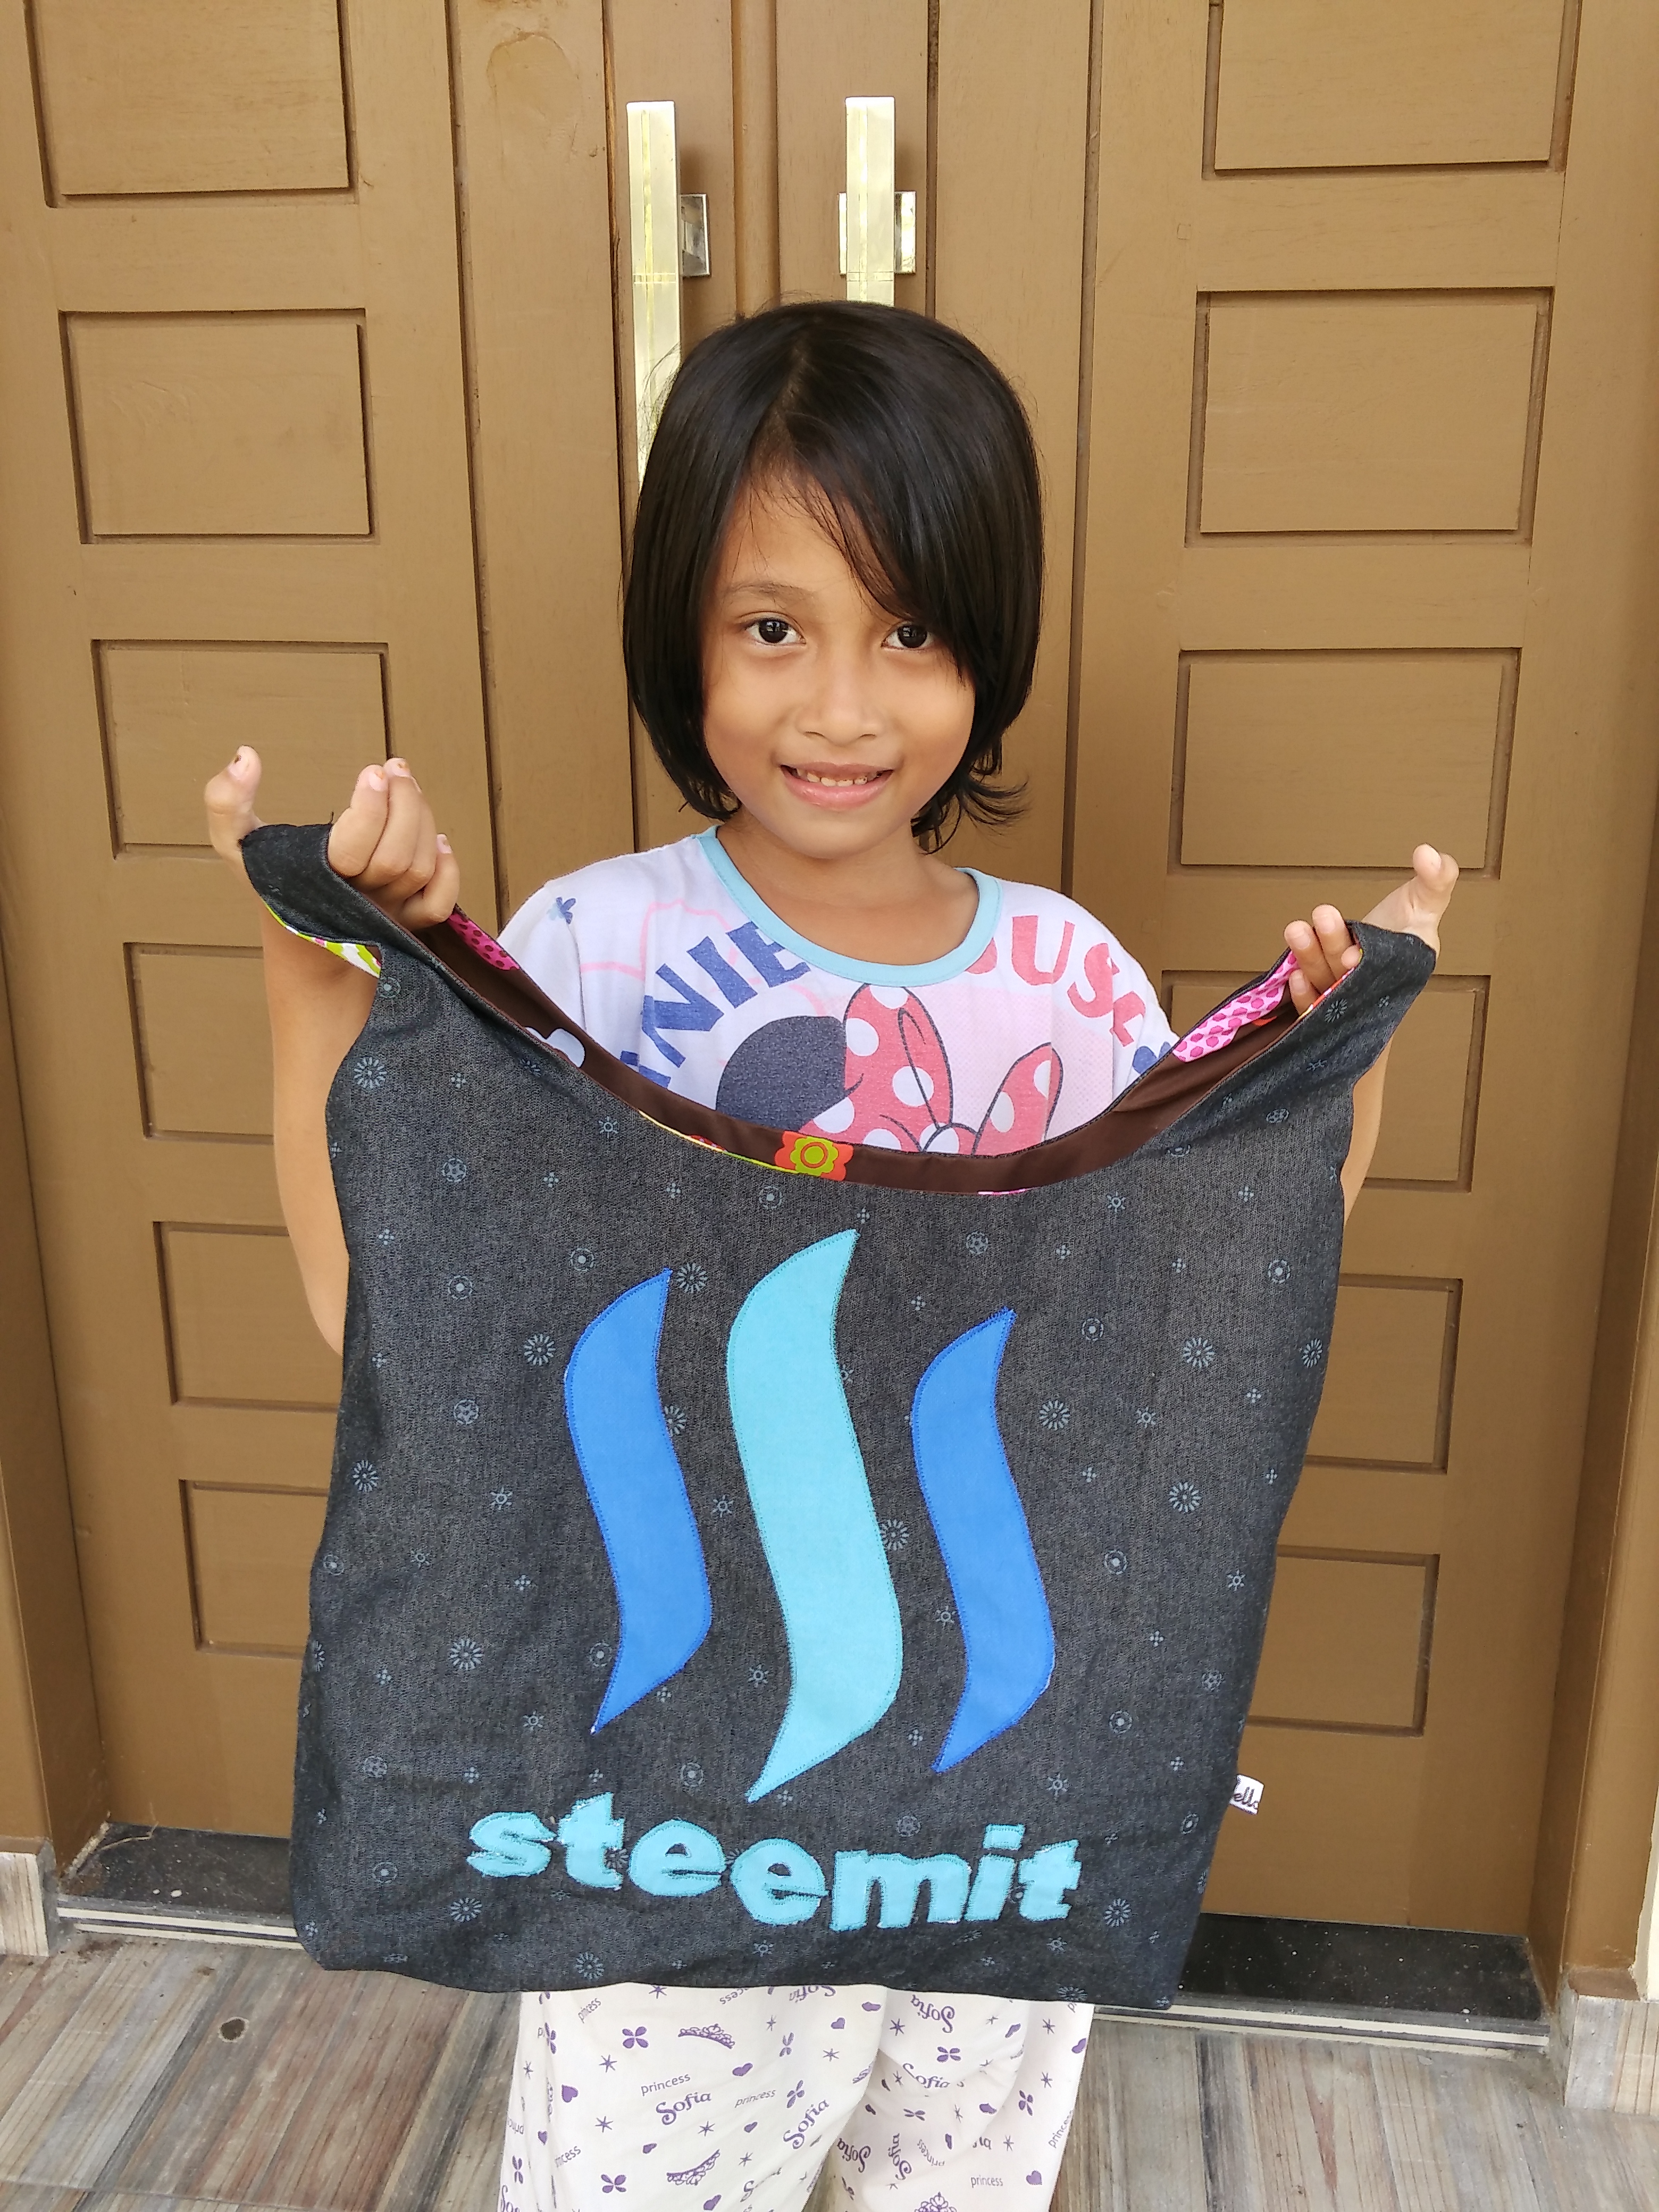 Now this bag is ready to accompany you whenever you go shopping. Happy crafting! *** *** **[Indonesian]** Hello sahabat Steemit, Saatnya menjahit! Seperti janji saya, saya akan memperlihatkan cara membuat tas belanjaan STEEMIT. Untuk membuat logo dan tulisan STEEMIT, teman-teman bisa membaca [postingan ini](https://steemit.com/steemit/@horazwiwik/diy-tutorial-steemit-applique-or-tutorial-aplikasi-steemit). Baiklah, mari kita mulai. ### Bahan: 1. Kain denim untuk bagian luar (kain lain juga bisa) 2. Kain katun untuk bagian dalam ### Cara membuat: 1. Potong kain untuk bagian luar dan dalam sesuai pola (masing-masing 2 lembar). 2. Ambil satu lembar kain luaran, letakkan di atas kain lainnya, bagian baik ketemu baik. 3. Jahit di bagian yang diberi garis. 4. Lakukan hal yang sama dengan kain bagian dalam. Jahit di bagian yang diberi garis. 5. Balik kain bagian dalam dan masukkan pada kain luar. 6. Sematkan jarum pentul agar tidak bergeser. 7. Jahit pada bagian yang diberi tanda. 8. Hasilnya seperti ini. Gunting zig zag untuk mengurangi penumpukan kain. 9. Tarik keluar kain dalam. 10. Ambil pojokan kain dalam, satukan dengan pojokan kain bagian luar (pada sisi yang sama). 11. Jahit sepanjang 10 cm untuk membuat tas bervolume di bagian sudut. 12. Lakukan hal yang sama pada sudut-sudut di sisi lainnya. Seperti ini hasilnya. 13. Gunting kelebihan kain. 14. Balik tas melalui lubang pada kain bagian dalam. 15. Setrika bagian atas agar rapi. 16. Lipat bagian gagang sepanjang 1,5cm, lalu masukkan gagang lainnya. Lakukan pada gagang satunya lagi. 17. Jahit. 18. Jahit lubang pembalik di bagian kain dalam. 19. *Voila!* Sudah jadi. Sekarang, tas ini siap menemani belanja! Selamat berkarya! *** Please follow me @horazwiwik
👍 horazwiwik, zainuddinibrahim, wahyujr, followbtcnews, osaka, ekavieka, firman, levycore, aiqabrago, thunderbird, curie, anwenbaumeister, hendrikdegrote, sciborg, nataliejohnson, pharesim, ourlifestory, sellergenius, ch00fy, ben.zimmerman, toxichan, mrlogic, steemedia, cebymaster, ninkhisibir, allgoodthings, decebal2dac, cotidiana, beeskee, cheah, krizia, blackwidow7, tabea, jamhuery, shahzadnisar, deimus, bitrocker2020, alainite, mxzn, abishai, locikll, palmtreetrading, ananiani, ovij, raymondspeaks, marcosespes1, hqmafa420, n1kofi, ddangerwu, randyclemens, bp423, jumaidafajar, moersal, ayijufridar,