MY FIRST ATTEMPT AT ACRYLIC POURING TECHNIQUE - SO MUCH FUN
hive-156509·@illusivelf·
0.000 HBDMY FIRST ATTEMPT AT ACRYLIC POURING TECHNIQUE - SO MUCH FUN
# Hello everyone I hope you are all doing fine! It has been weeks that I am away doing some business and finally I am back to post fresh footage! By the way I powered up 469.386 HIVE today, so I can have more influence on this platform and also reward content that I enjoy watching/reading with a bigger upvote! --- As I said before this post is about **acrylic pouring** technique on a canvas. I have seen many videos to understand the main technique (cause there are limitless techniques you can choose to follow) and I was really impressed. Acrylic pouring is actually a kind of abstract art, so you can not predict the exact result and that's why is so fun. You can experiment as much as you want with the colors and the flow of the liquid until the result is satisfying you. ----- So first of all I did some preparation so as to have everything I need close to me. I also overlaid the floor with plastic bags because I knew that a big amount of liquid color would oozing down. After all actually I realized that it would have been much better if I had set up something like a baking dish, so as to retain the the wasted colors ( because trust me the process demands a large amount of color waste) and use them to cover something else. 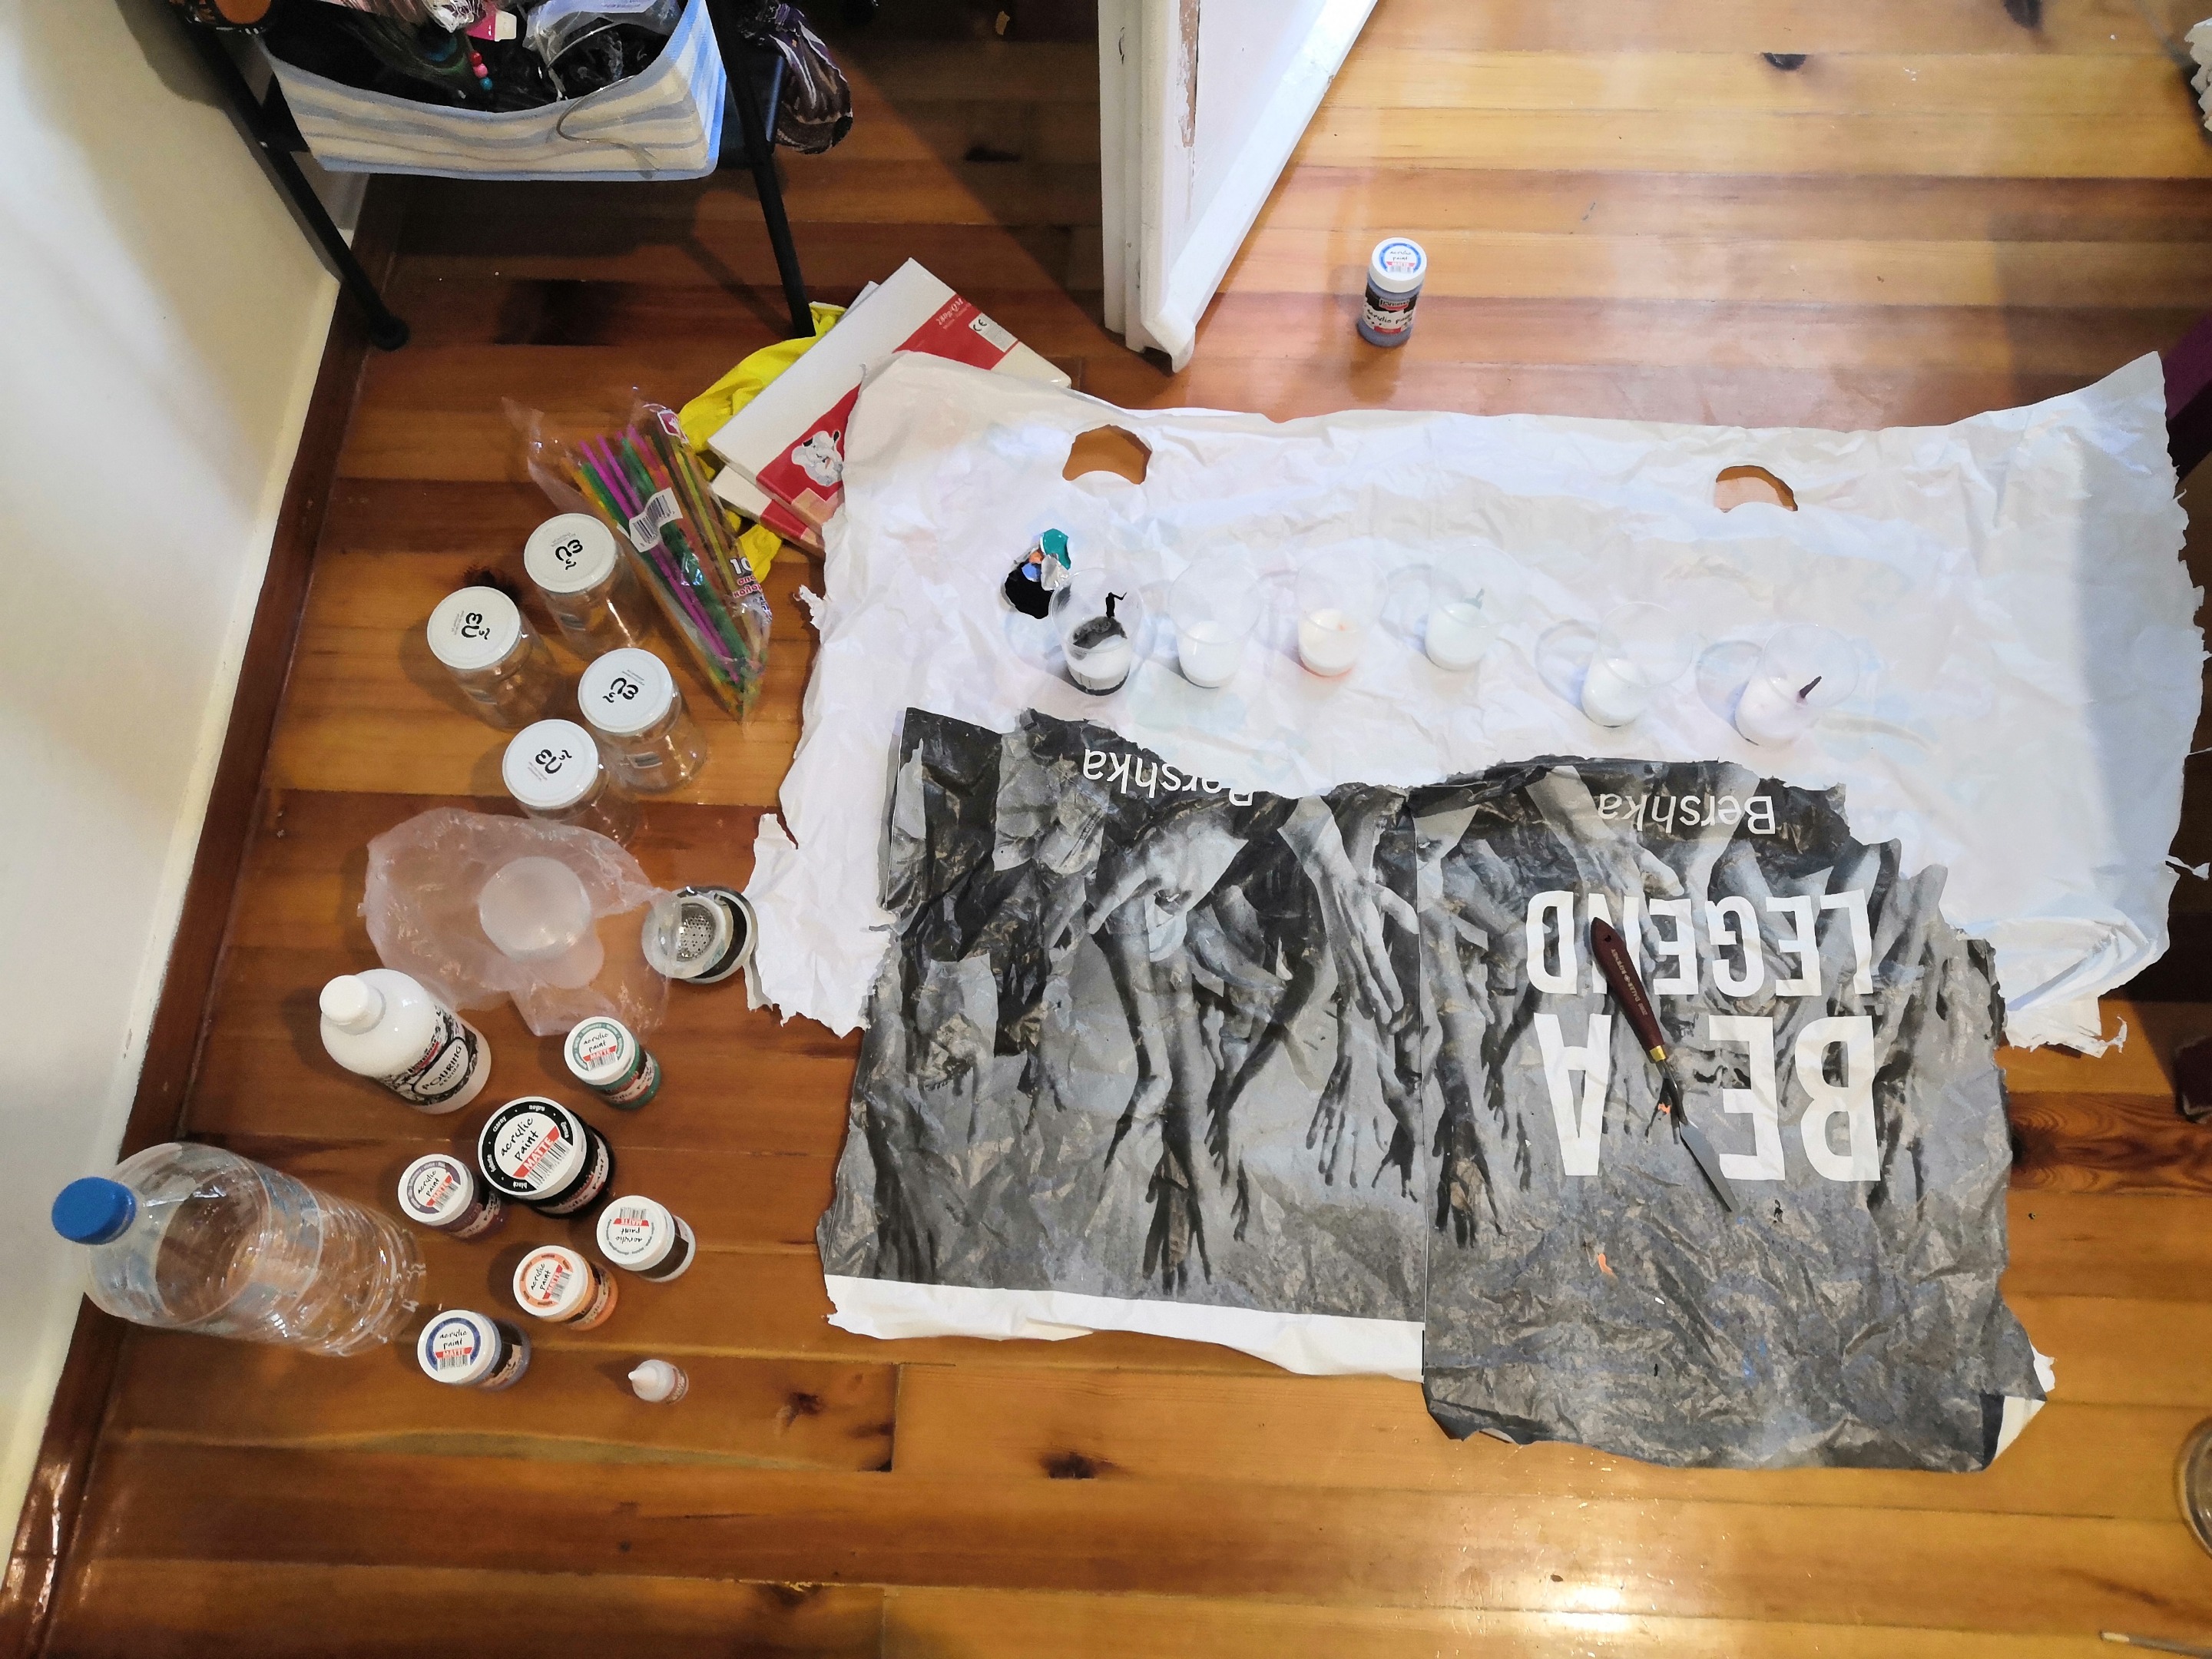 ------ So these are materials that I used for my project: - # *acrylic colors* : salmon, ice blue, black, blueberry, purple & turquoise - # *pouring medium* - # *pouring oil* - # *water* - # *plastic cups* - # *straws* - # *strainer* - # *putty knife* - # *canvas* - # *hair dryer* - # *gloves* 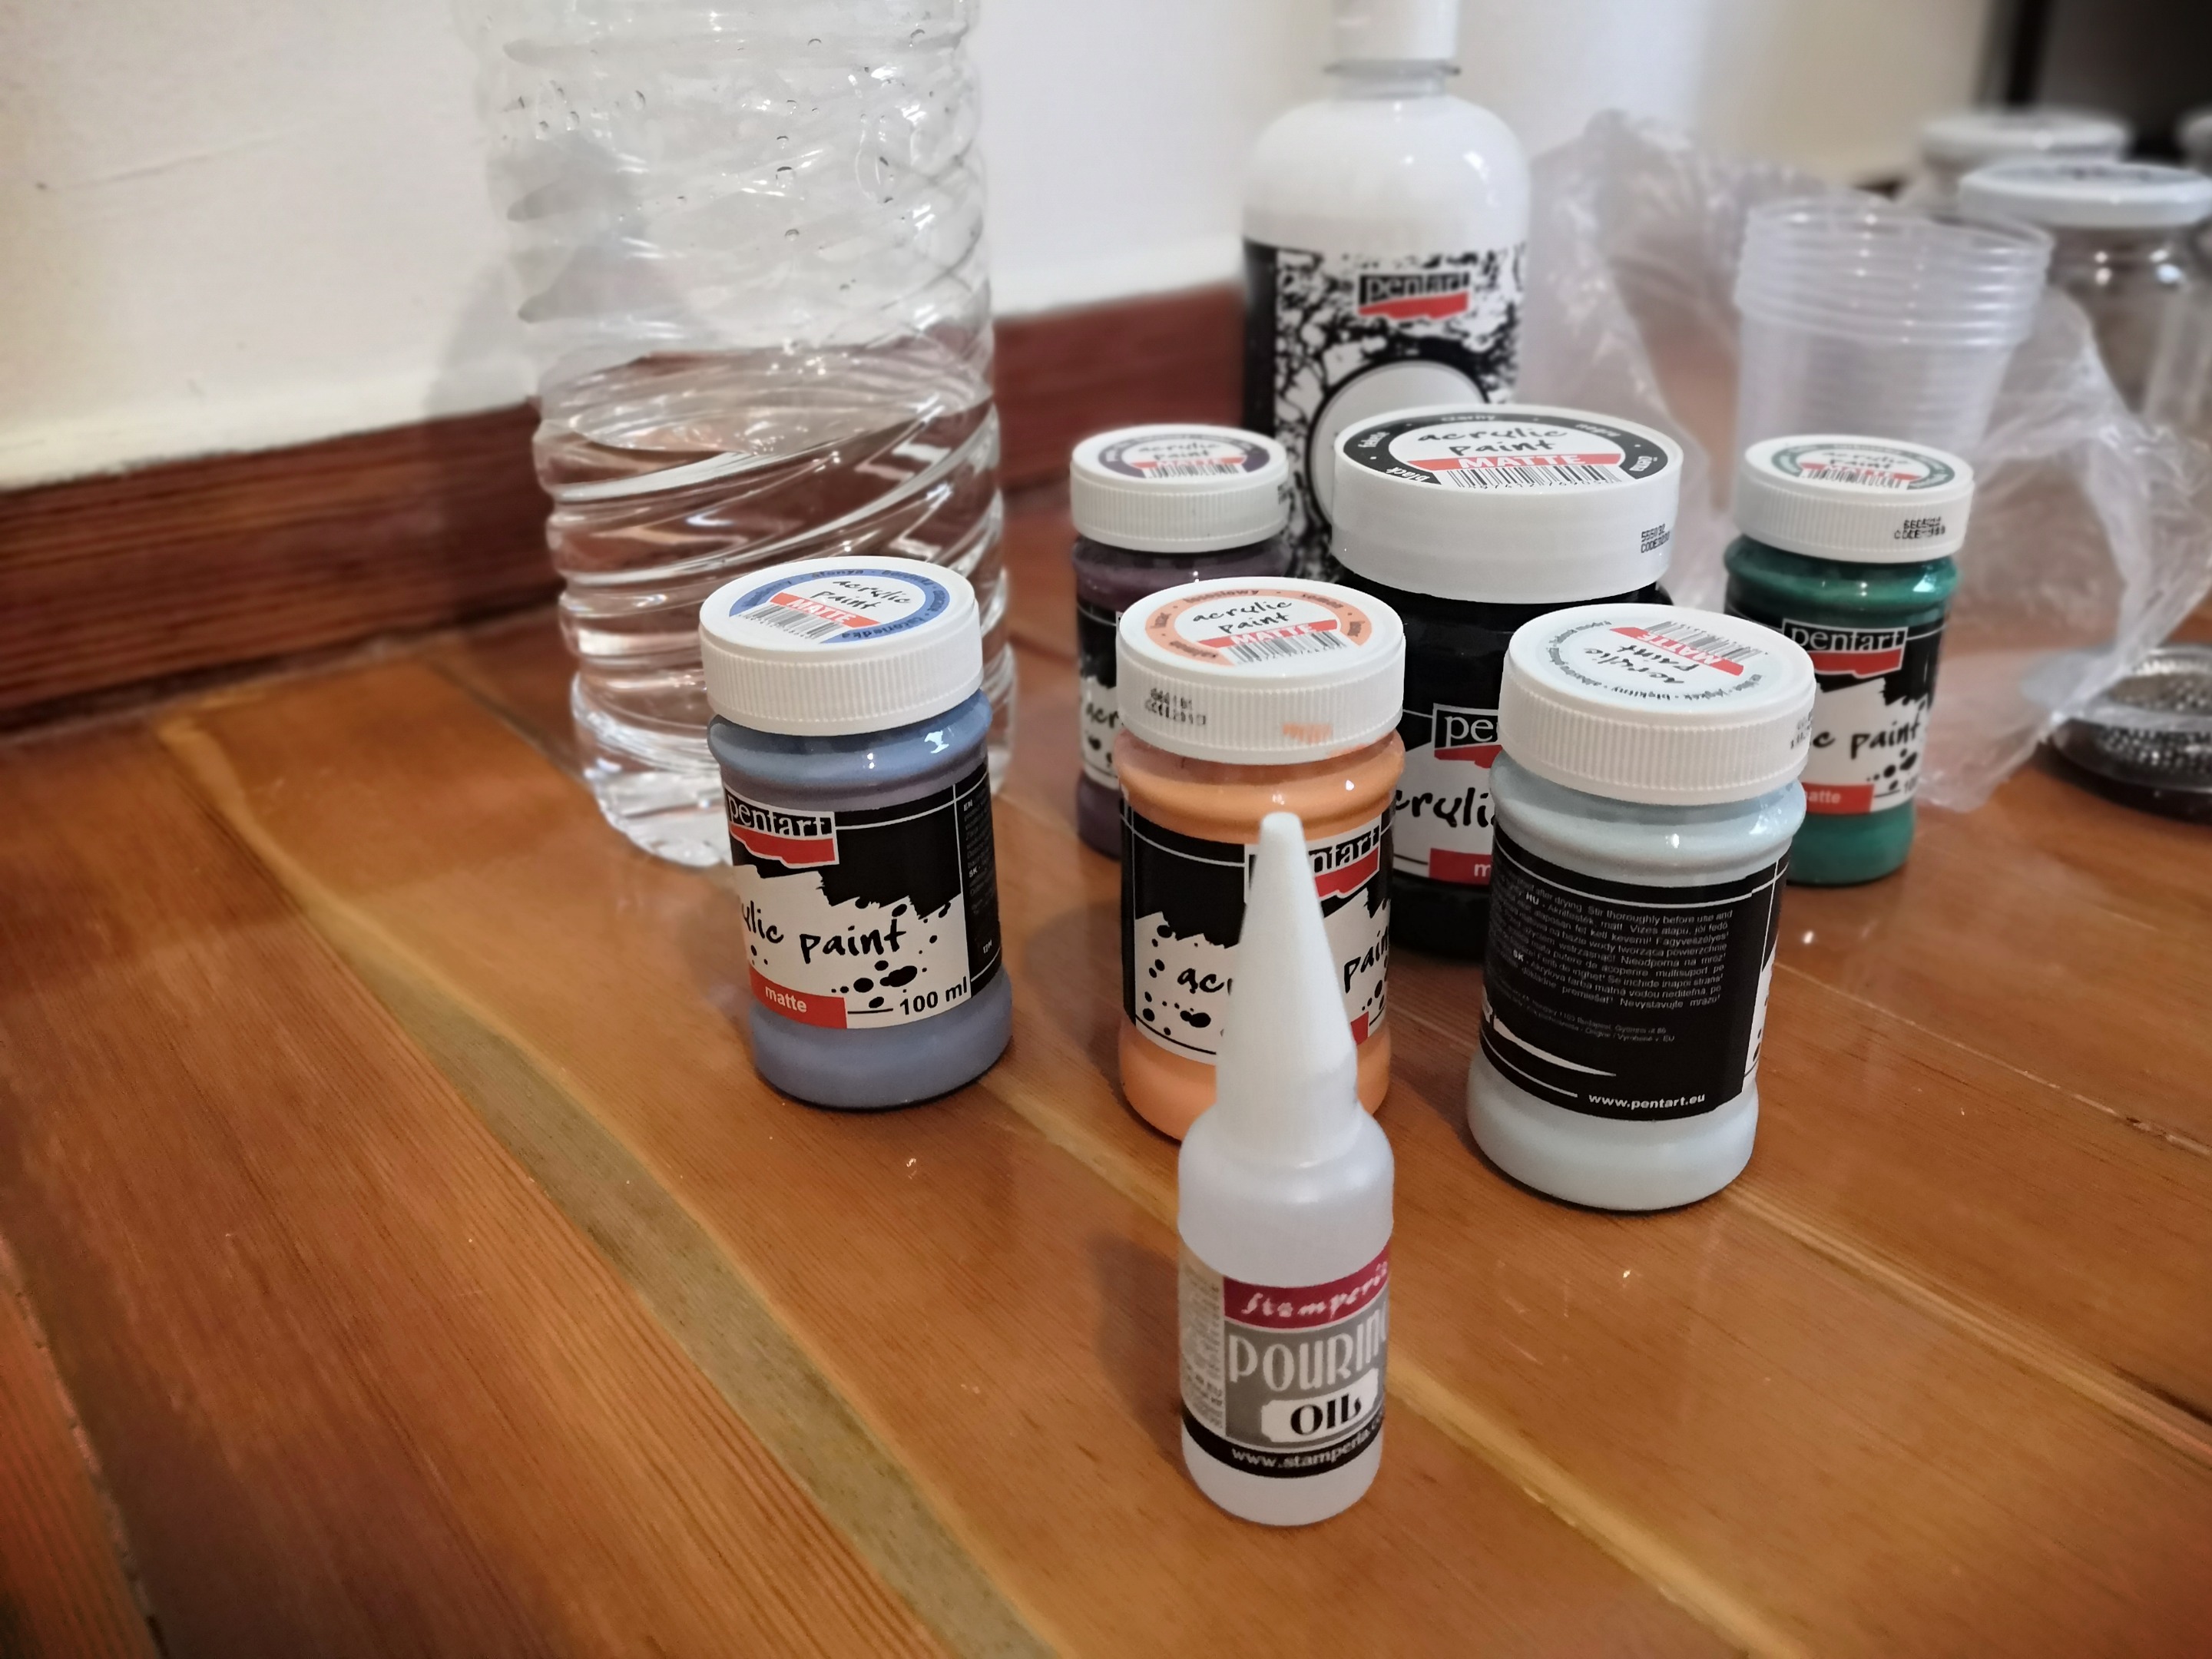 ----- So I started by mixing each color with pouring medium, water and pouring oil on the plastic cups. By the next days I will post a video like a tutorial with the exact dosages of each that I used and the whole process. 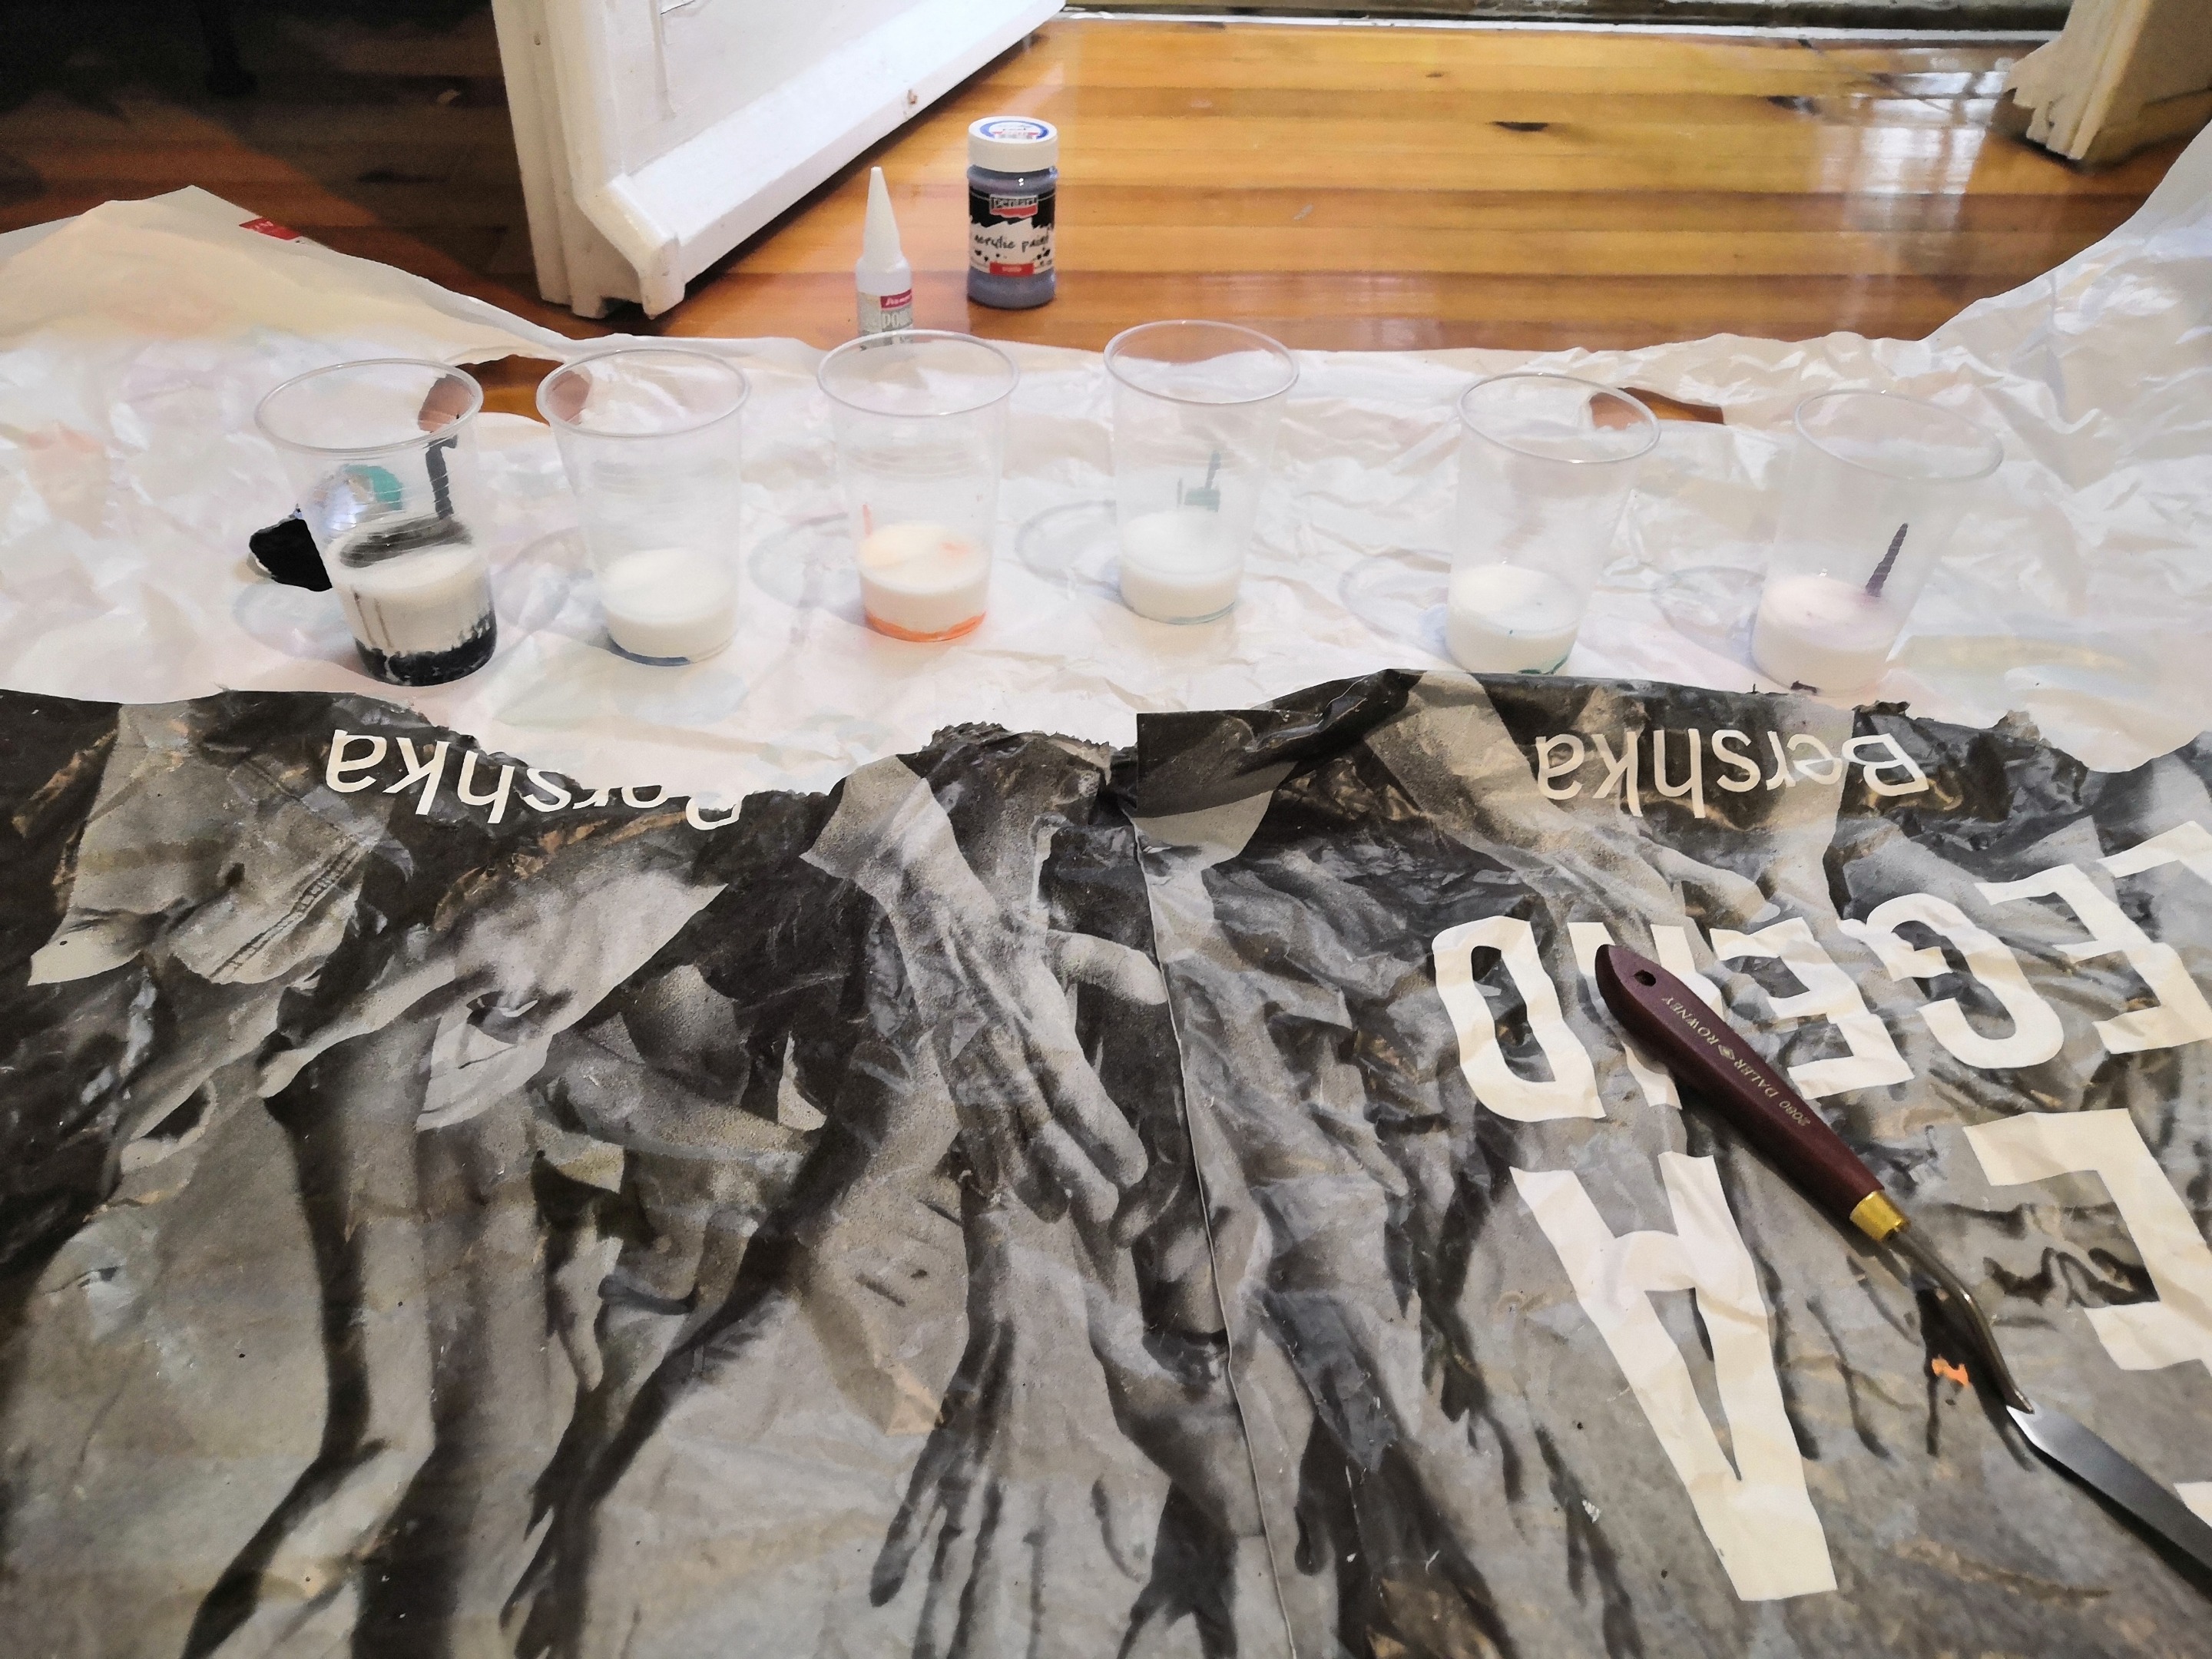 ---- Then I mixed the the liquids so to achieve the perfect hue and start. 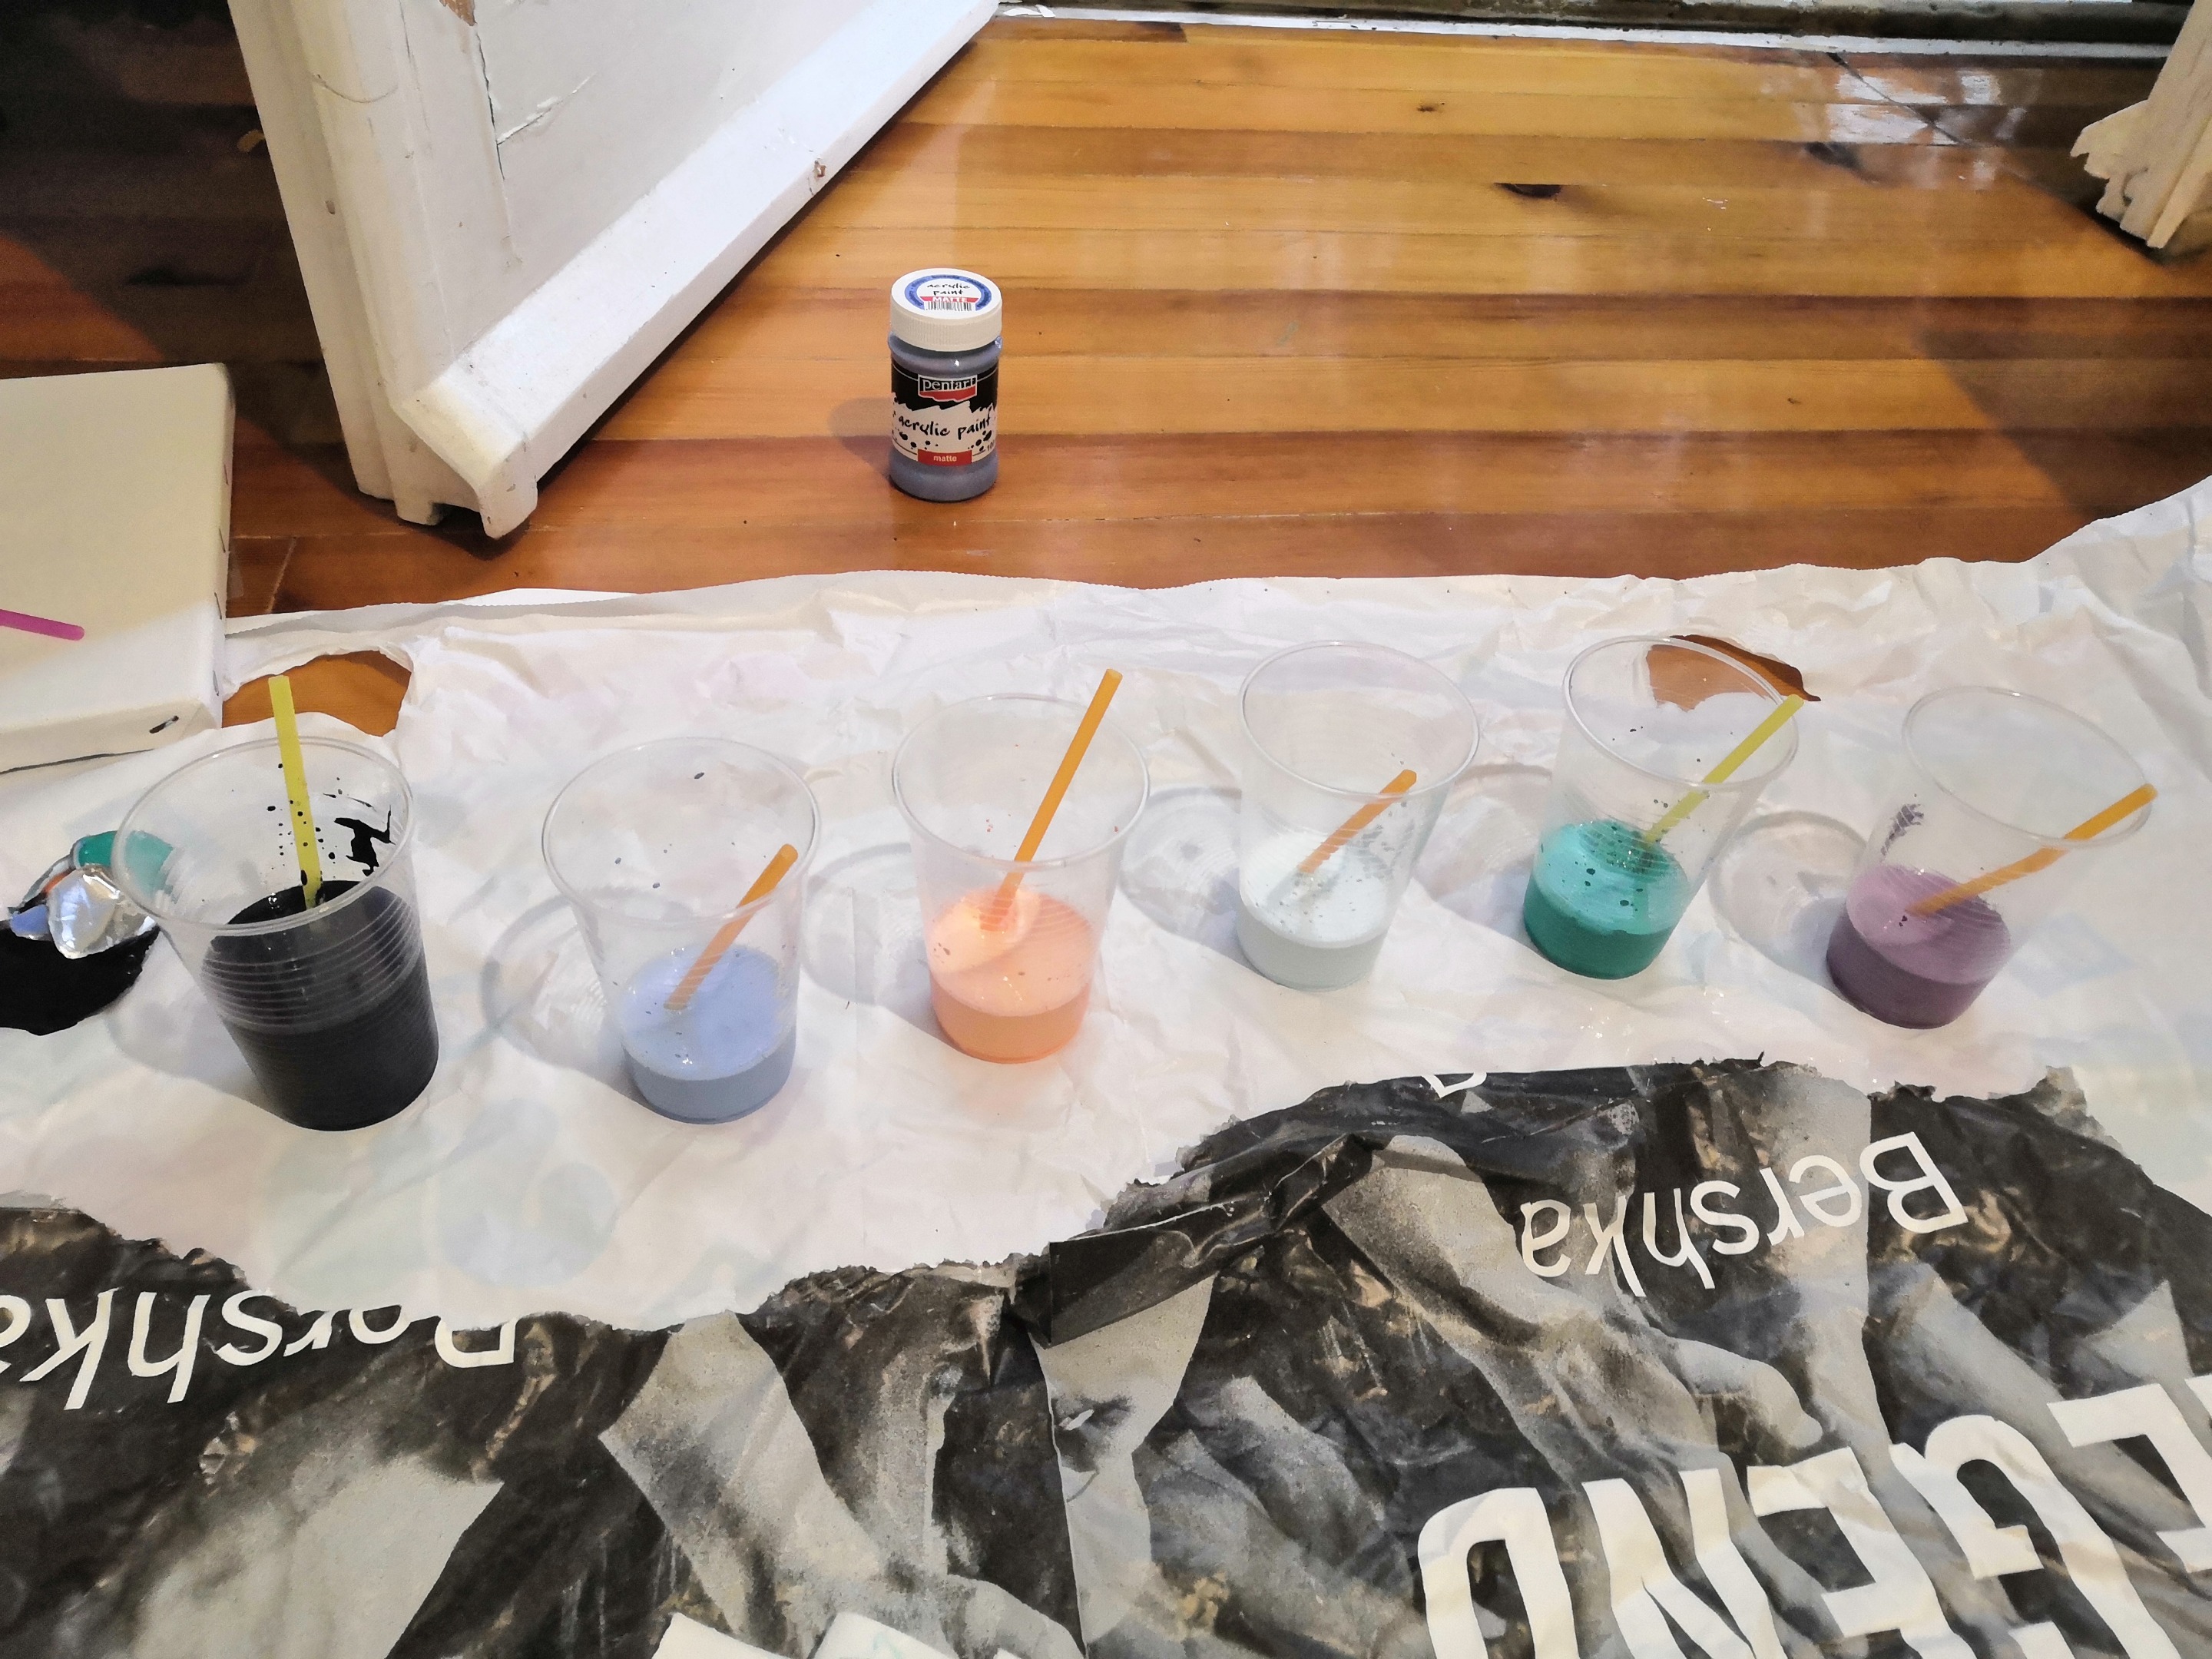 --- First of all I applied a layer of black color as a base, by using the putty knife. 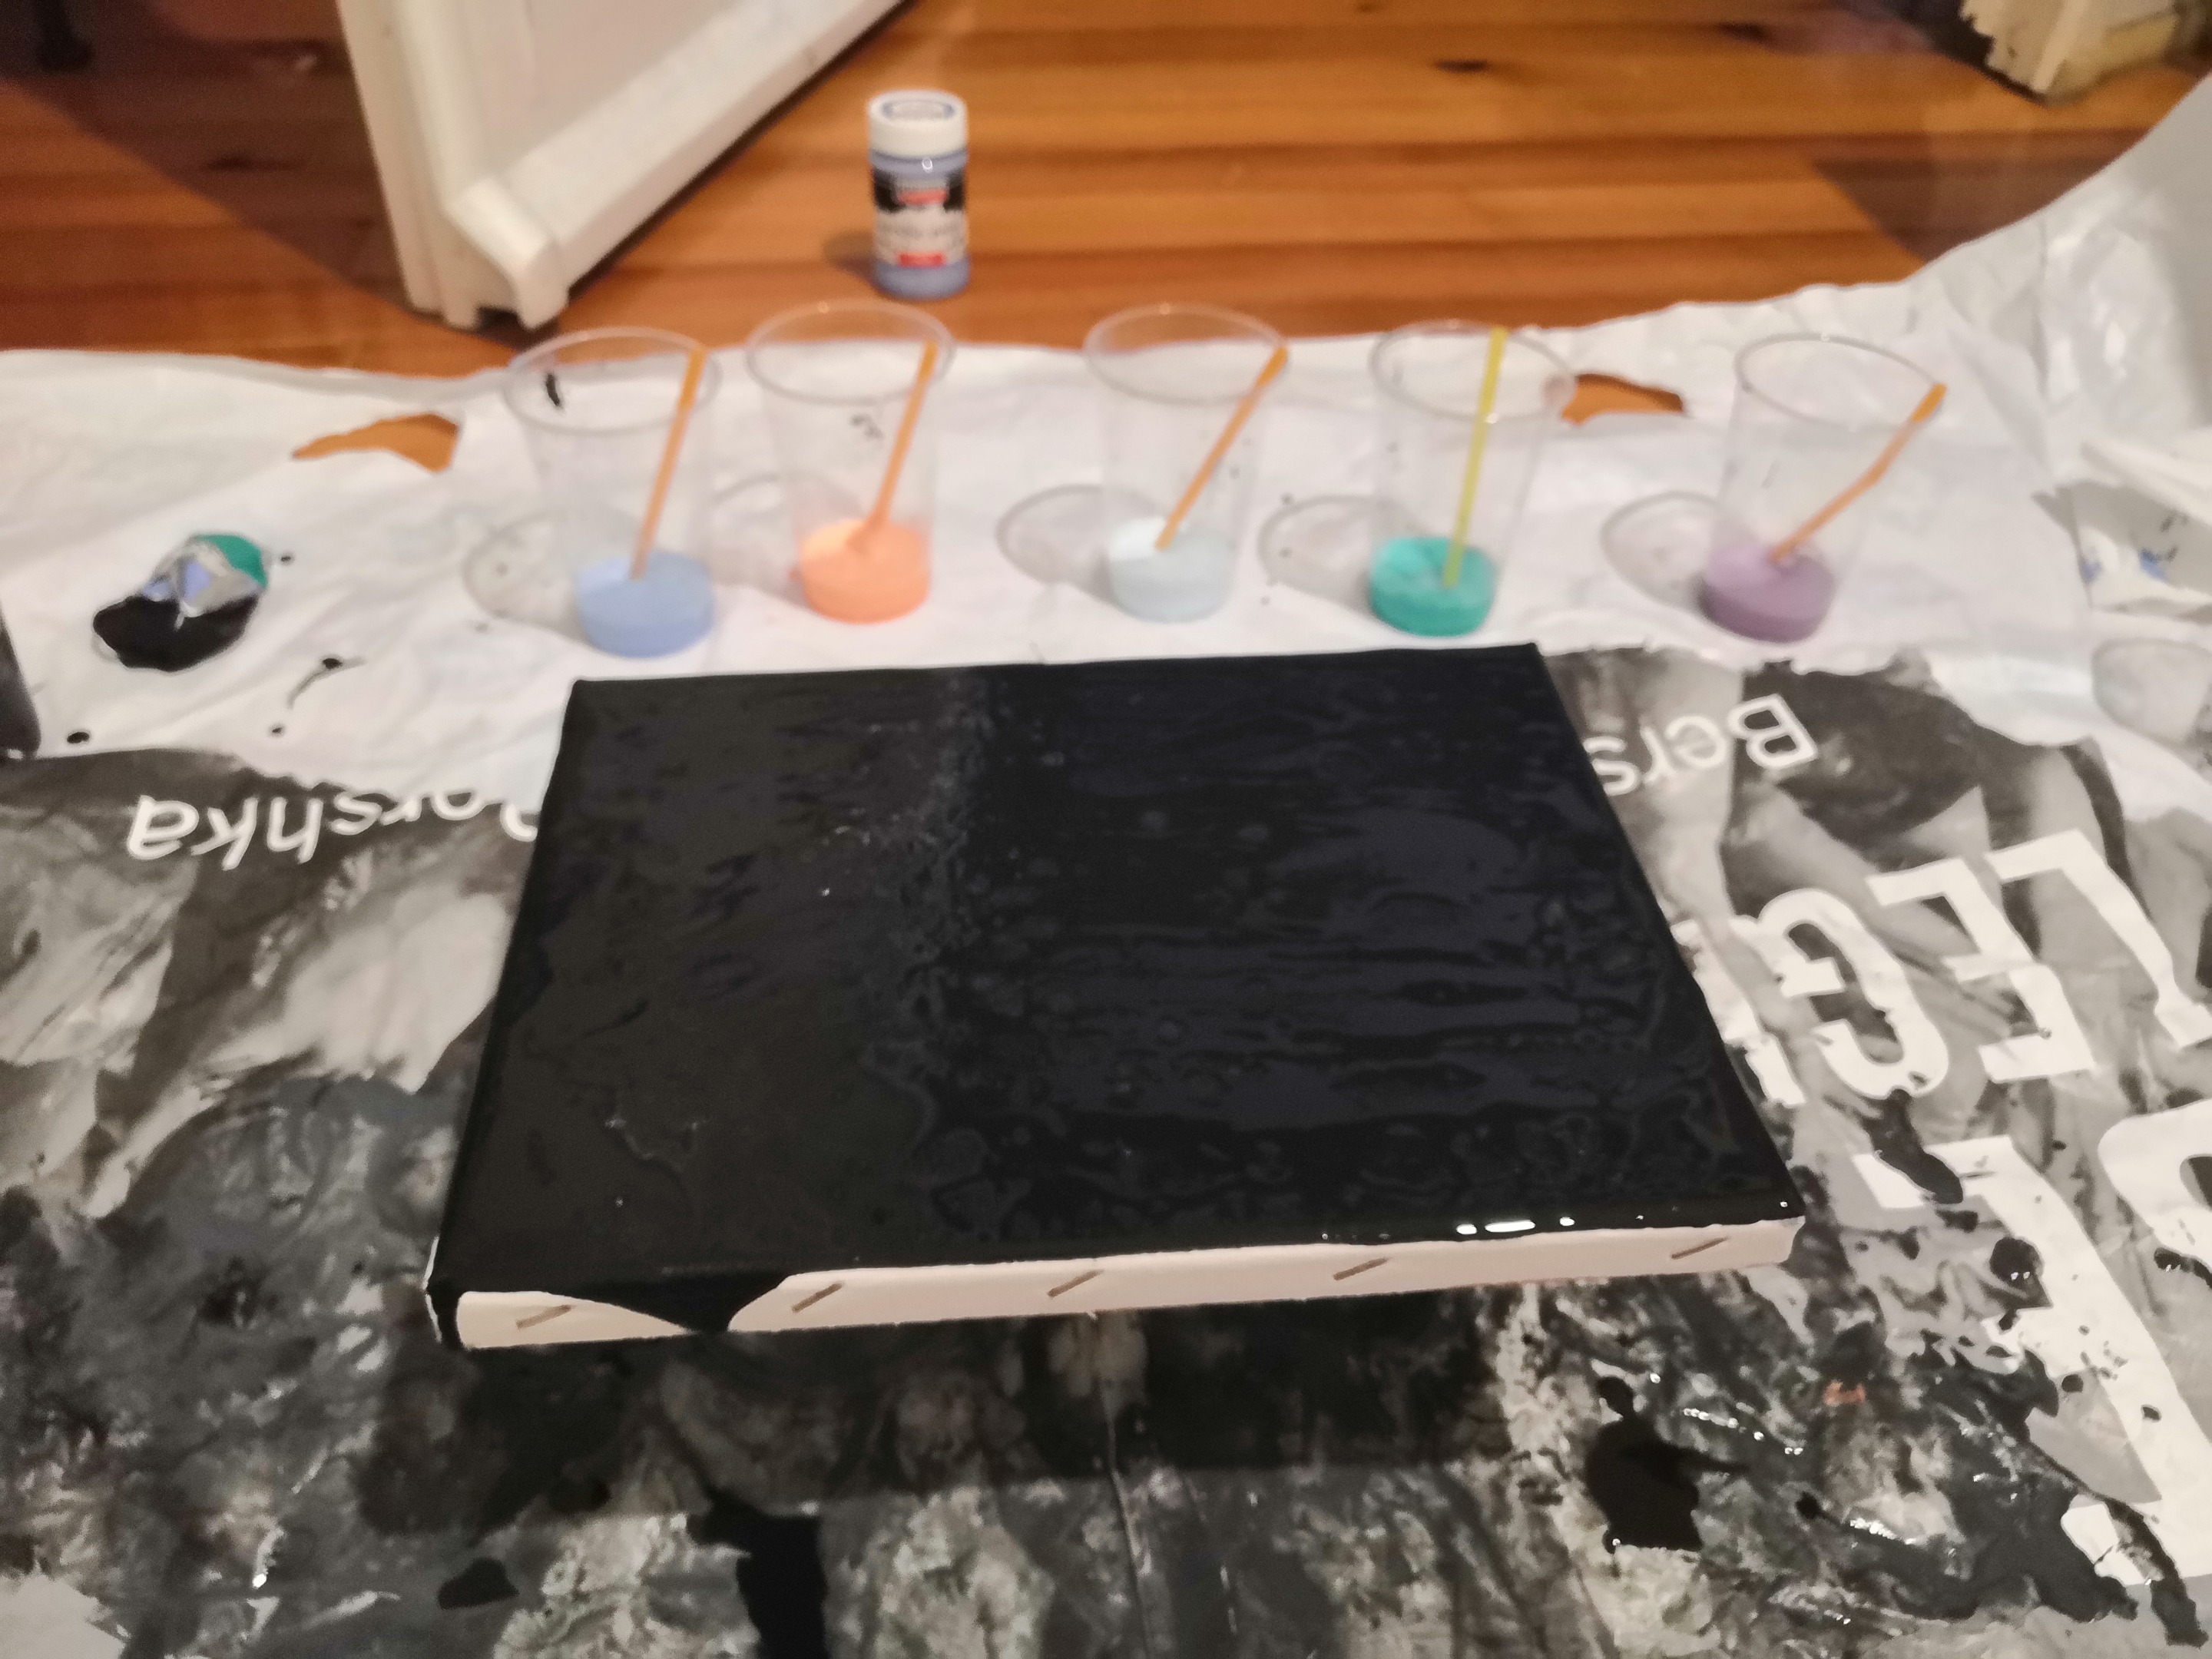 ---- After that I set the strainer on thee middle of canvas and started pouring liquids one after another. At the same time I was tilting the canvas so as to create the shape that I wanted. You can and you should experiment a lot with the tilting of the canvas, create and destroy shapes again and again, also you can re-add a colors that you want to prevail. 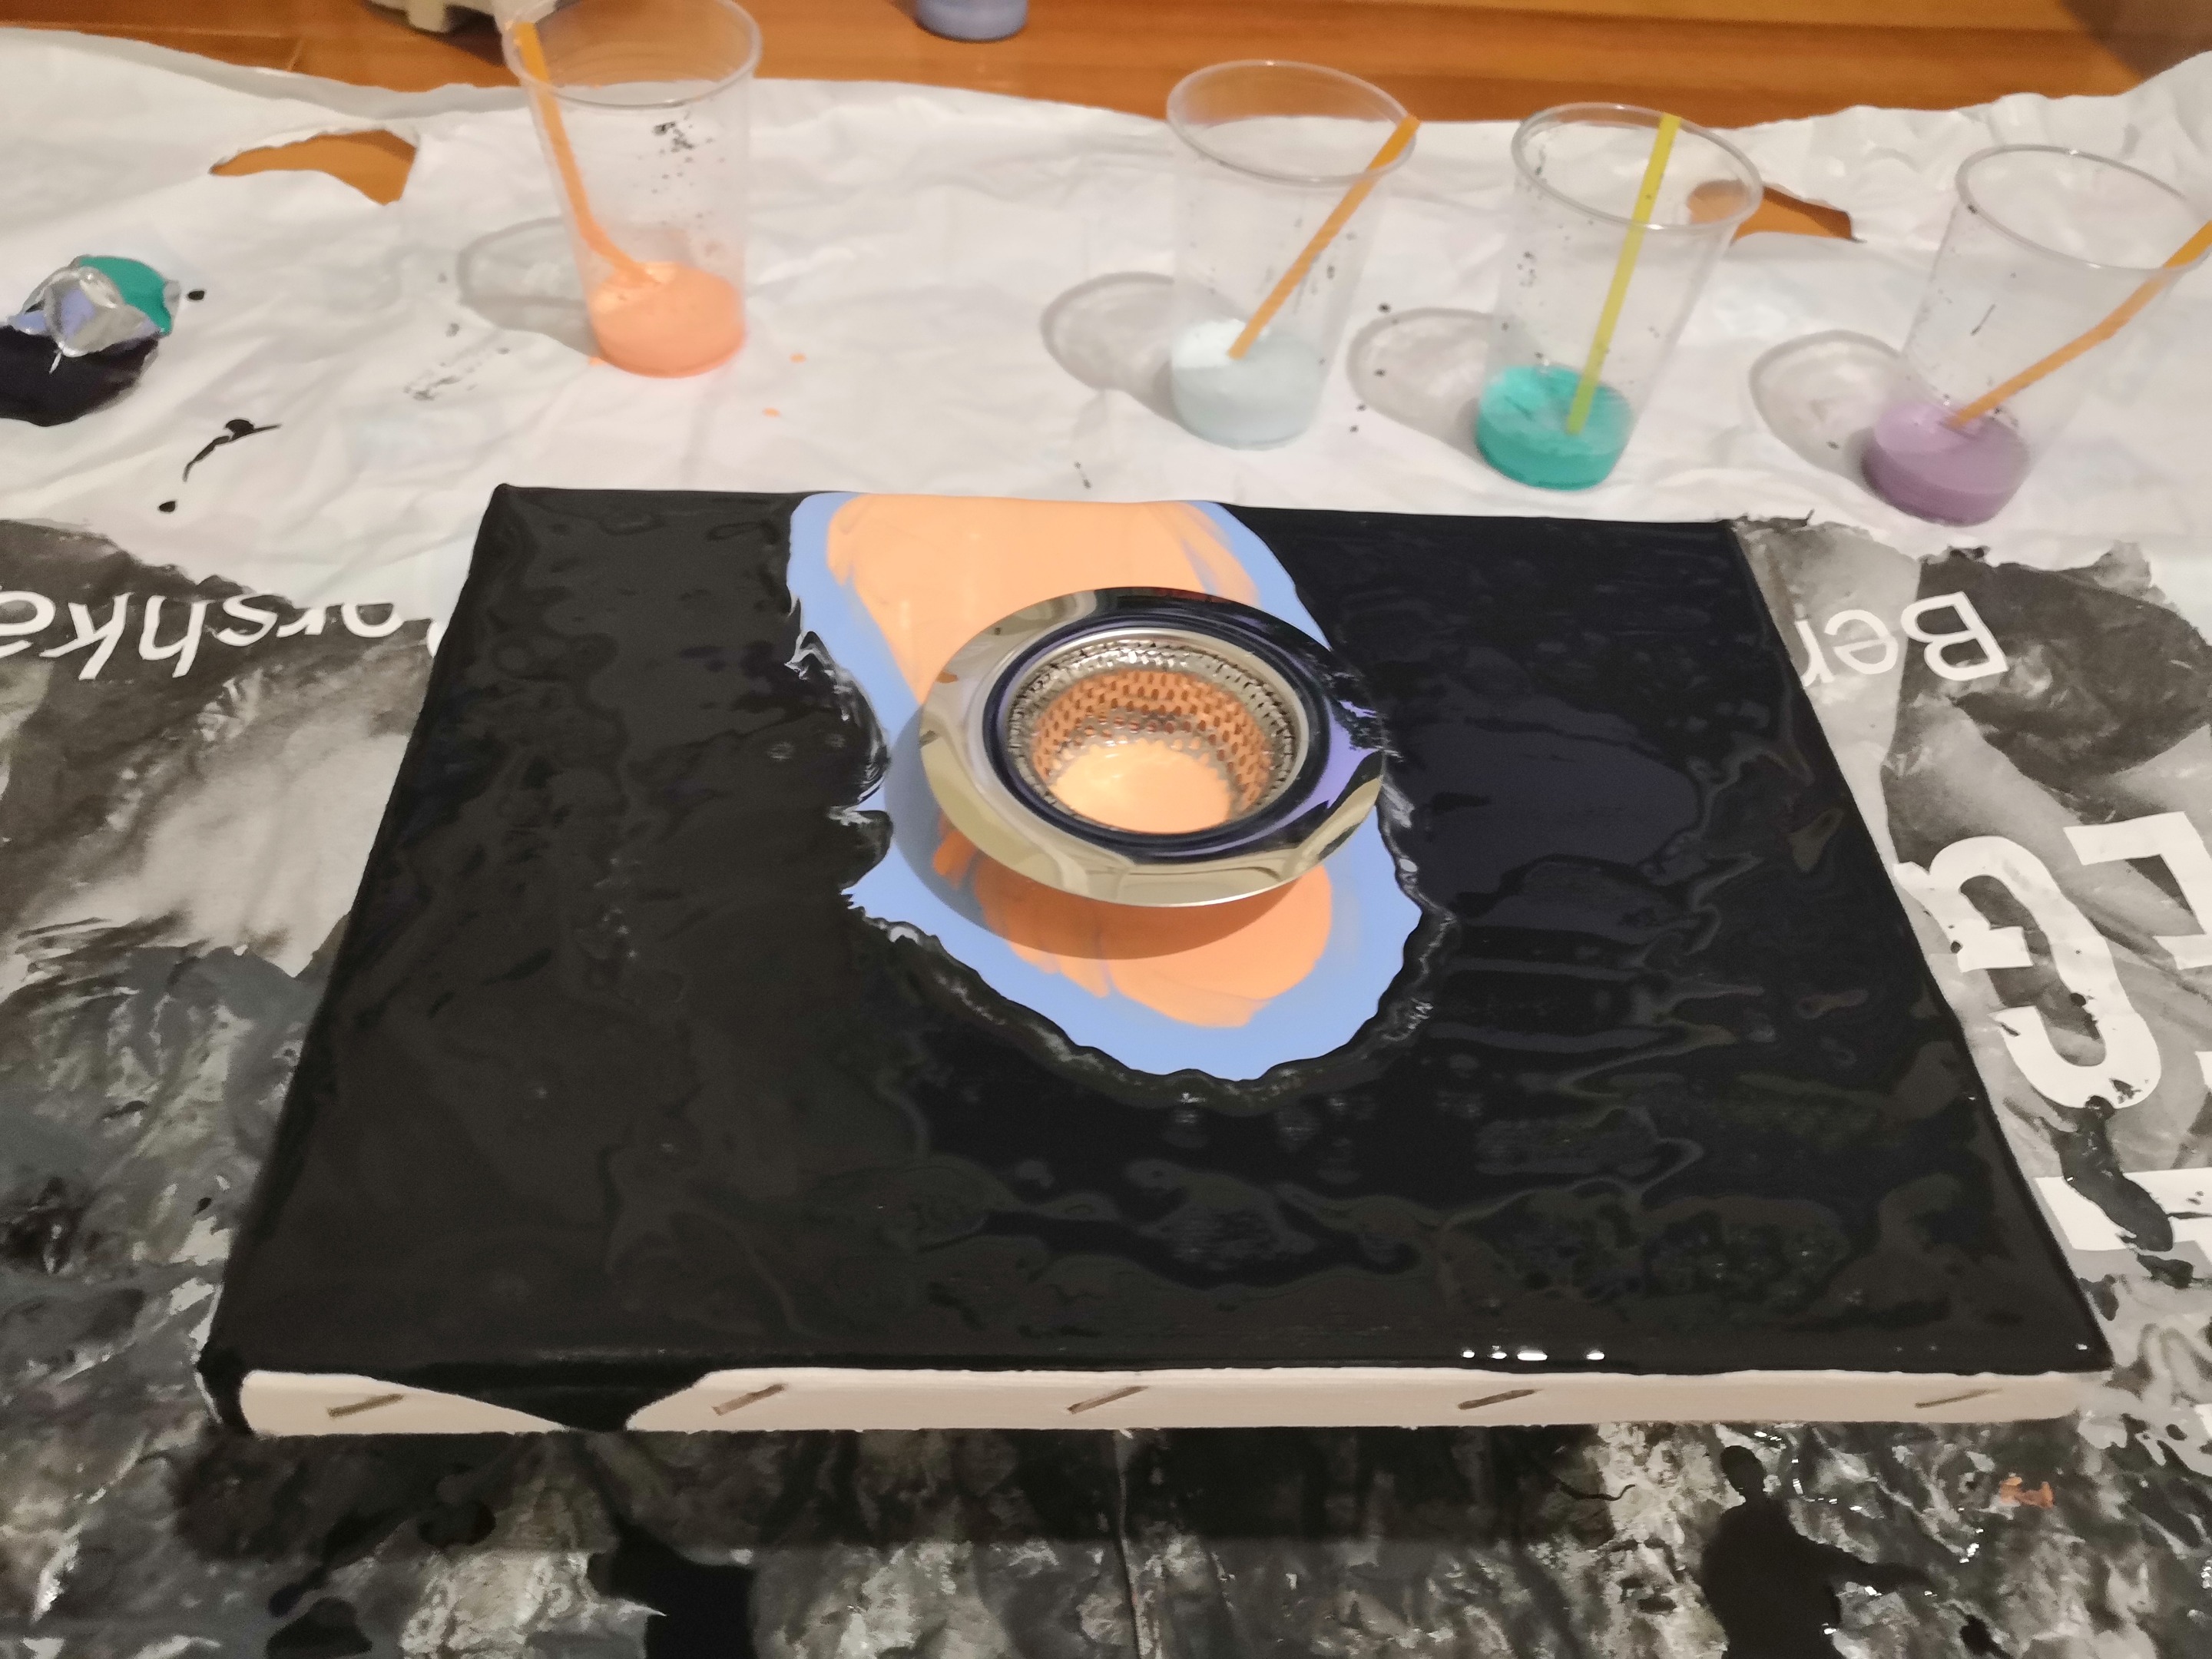 --- You can also experiment with the hair dryer cause it really helps colors to flow differently and also the air creates some amazing cells.  --- As I said before it is really important to experiment by adding colors, tilting the canvas and using the hair dryer but remember DO NOT overdo it because might end up with the opposite results. 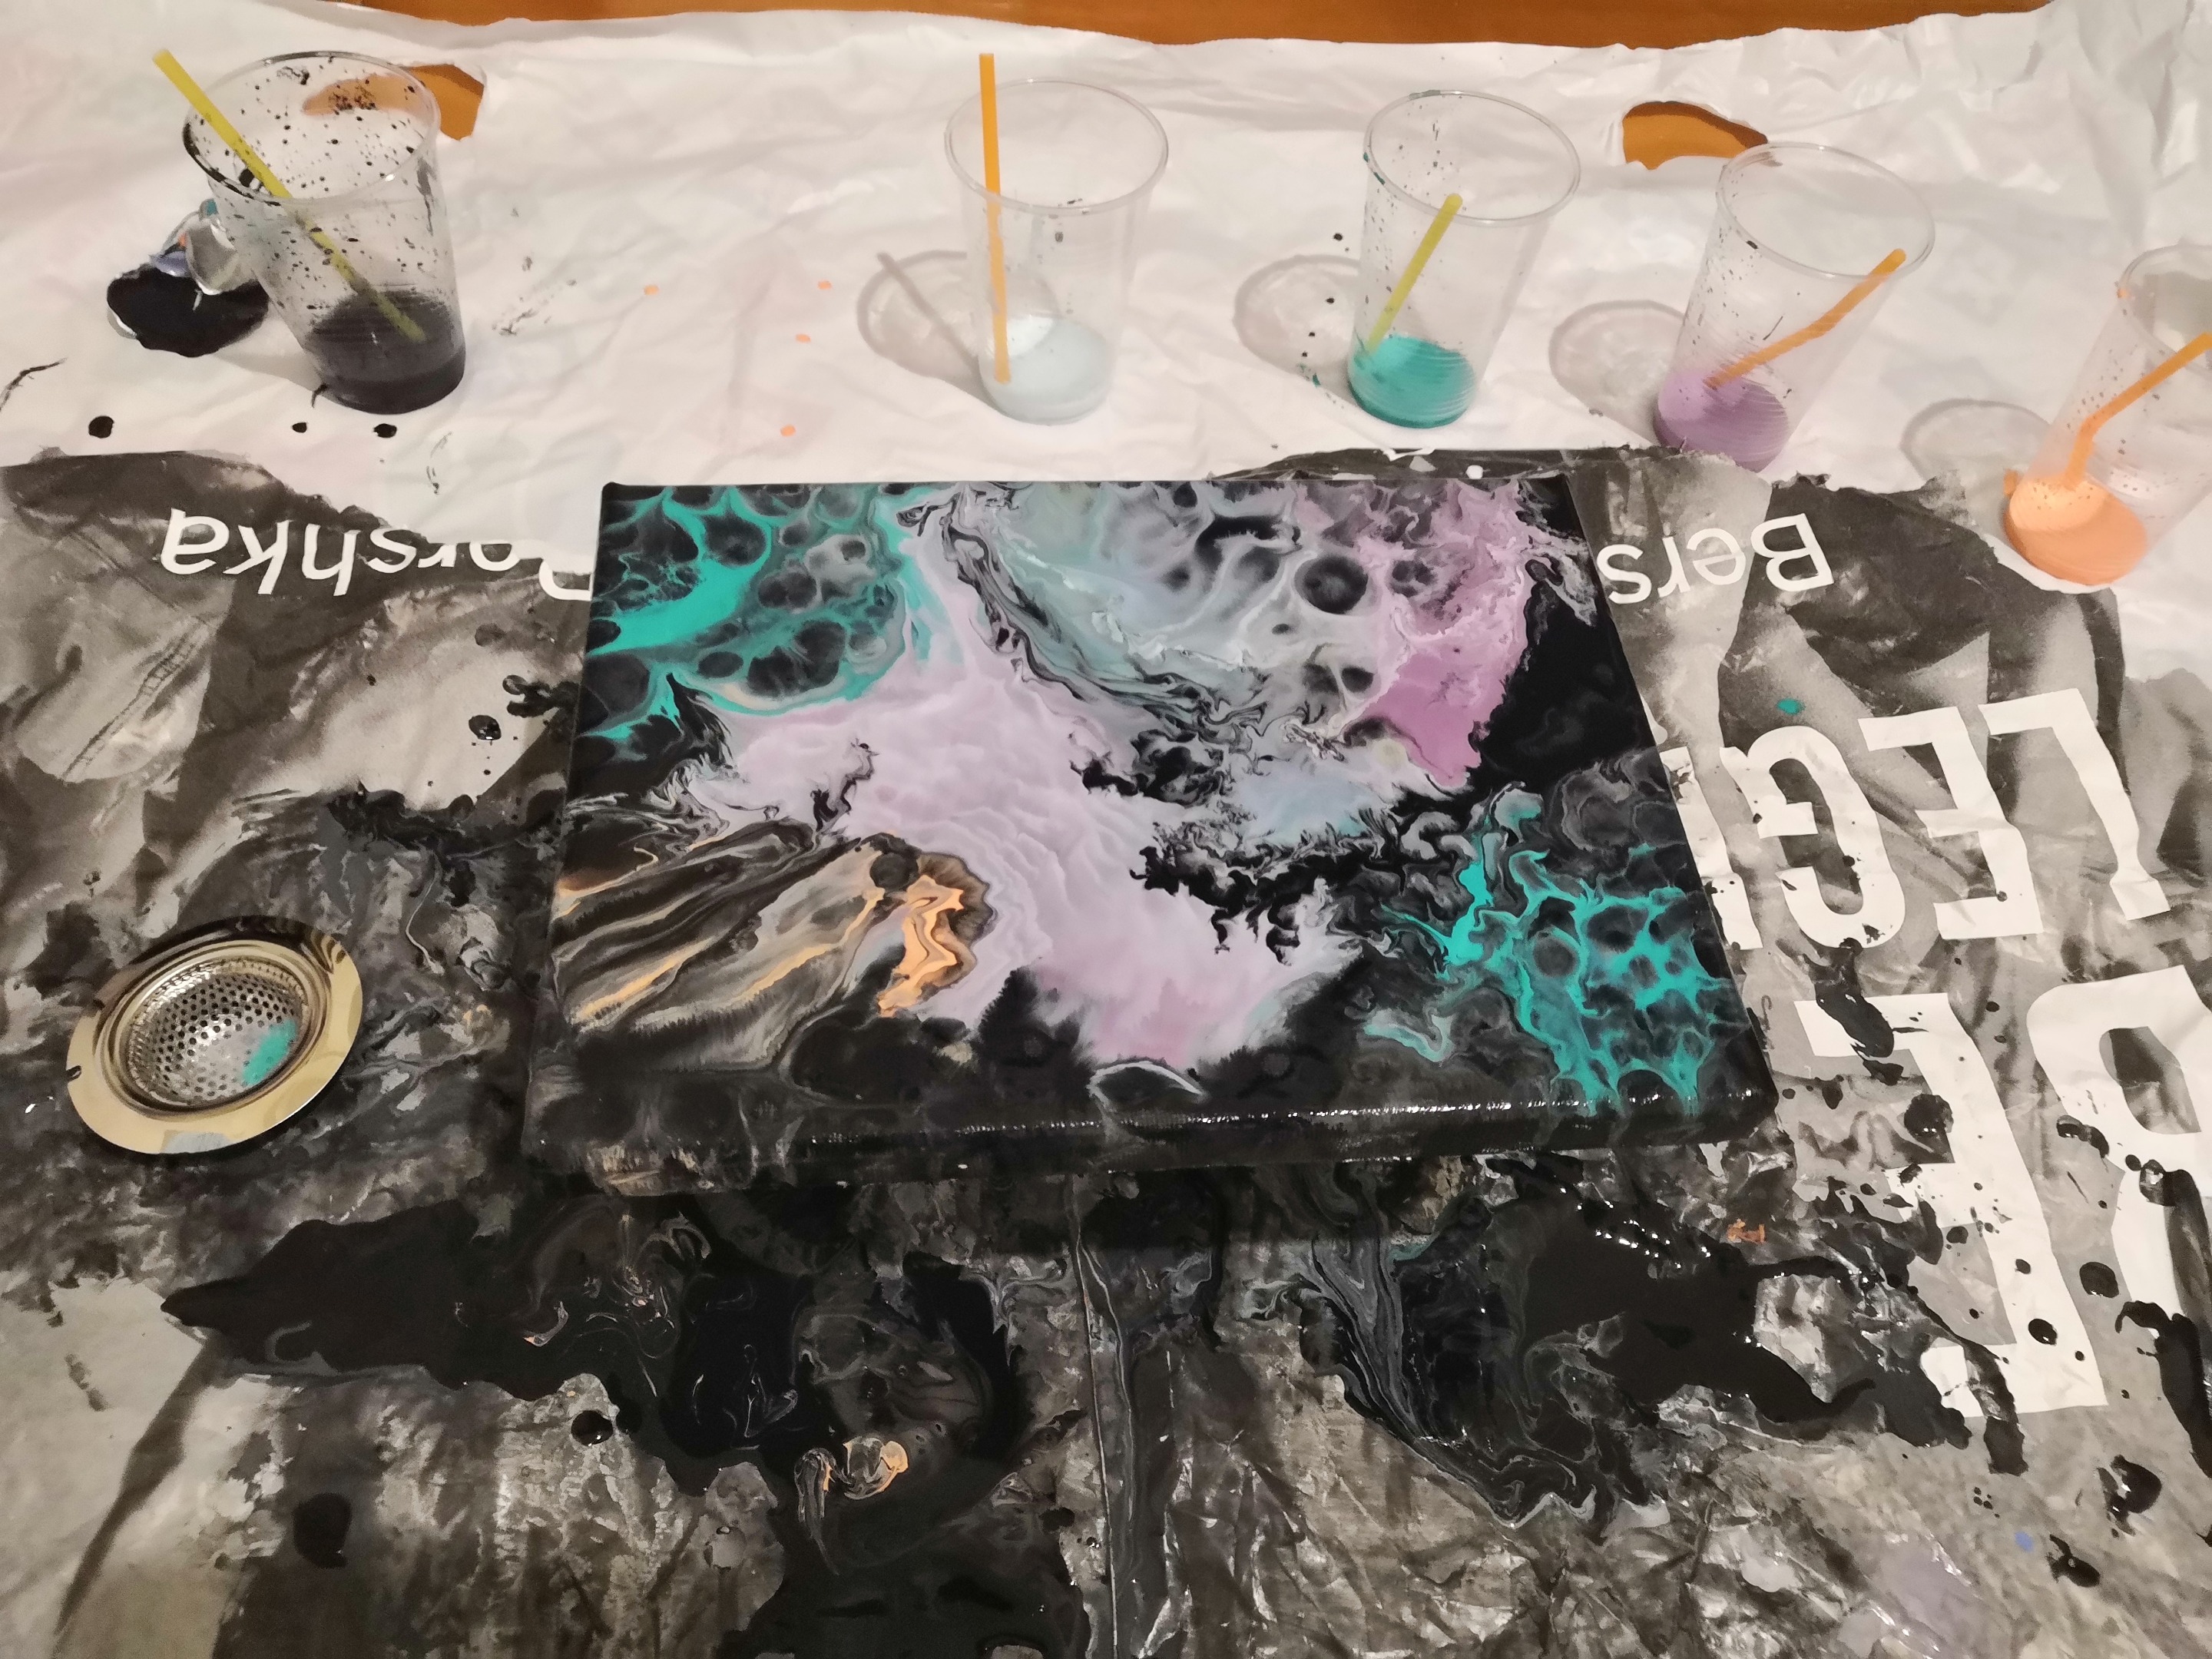 --- So this is the result of my first attempt at acrylic pouring art, these are the two canvases I created. Unfortunately they are still drying up (they need 2-3 days to dry completely and I can not upload photos of the final result for now but I will post them at my next post with the tutorial video. 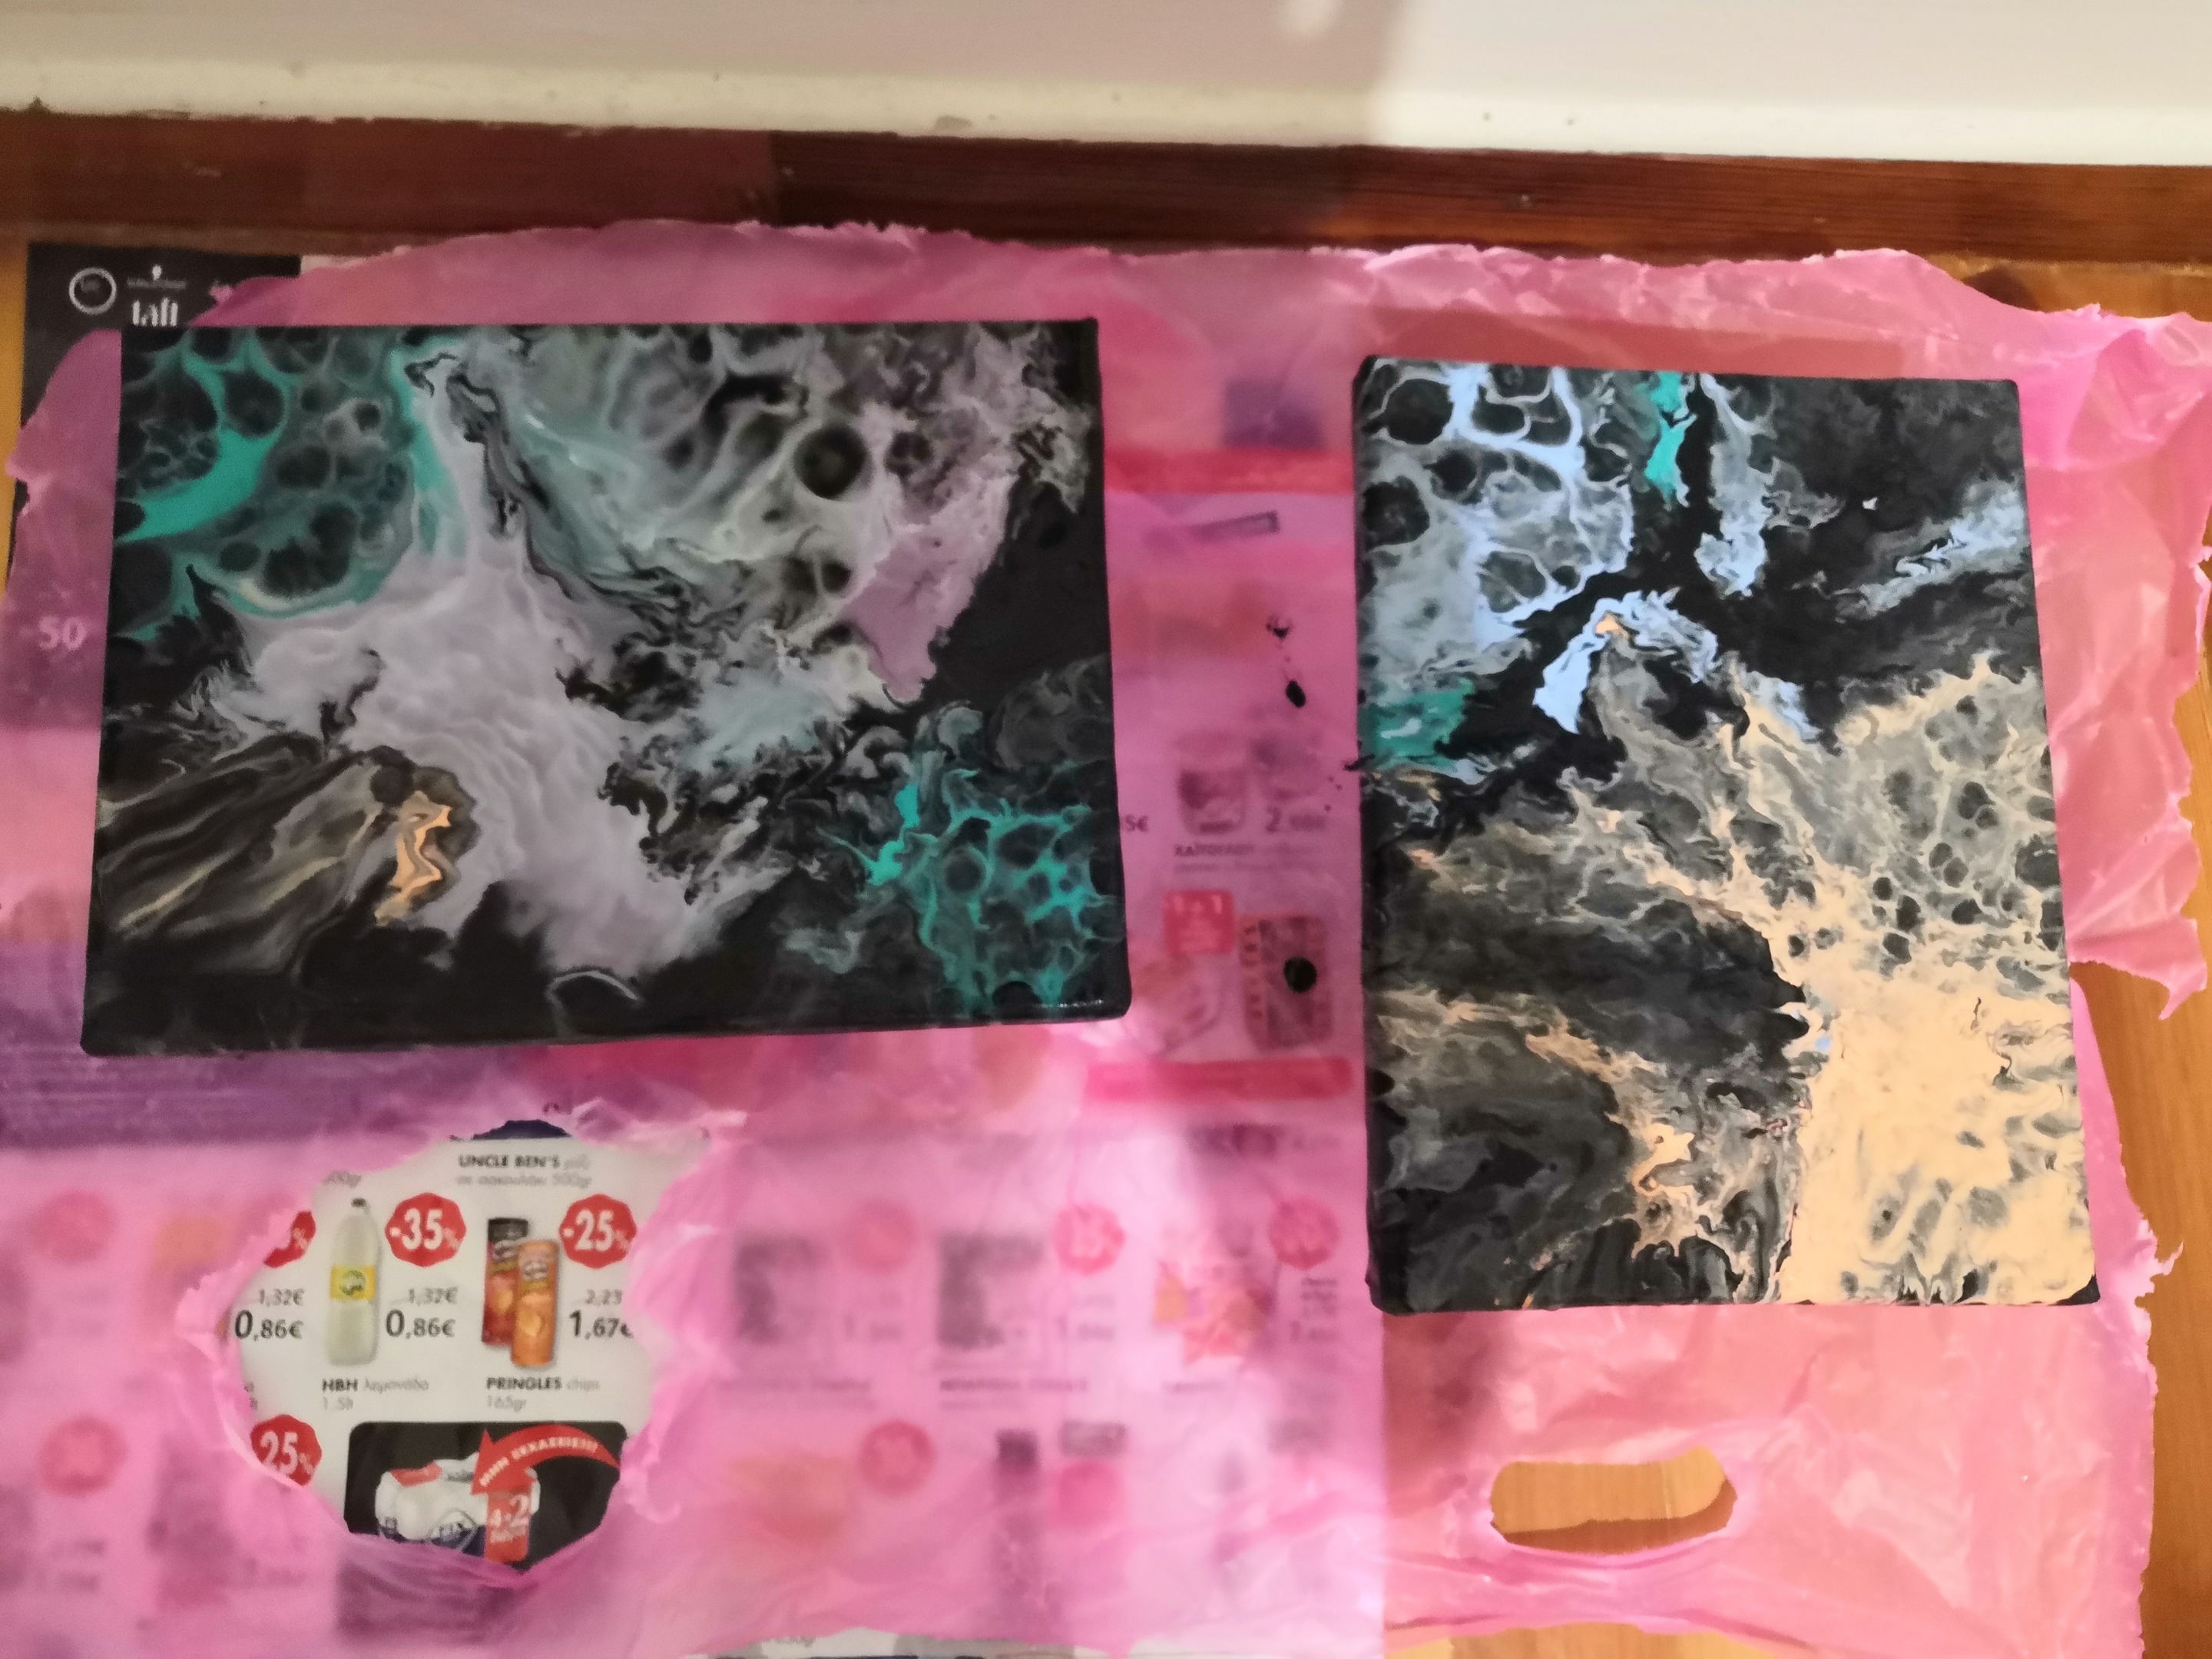 That was it guys, my first attempt at acrylic pouring technique, I am sorry for the long post but I thought some details would be useful for others that might want to try that to. I hope you enjoyed my post, at the next few days as I said before I will upload a tutorial video with some more explanations and details and some photos of the final result after it drys completely, so stay tuned. ***Illusivelf***
👍 limka, laissez-faire, knowhow92, lyon89, hivebuzz, hope-on-fire, jim888, d-pend, unconditionalove, ldp, danpendergraft, folklure, sketching, whack.science, sketchbook.bot, voronoi, proxy-pal, steemed-proxy, creary, dikayskate, travelgirl, kimzwarch, chocolatelover, jznsamuel, livinguktaiwan, martibis, sinochip, kasajohn, illusivelf, preparedwombat, ocd-witness, ocd, detlev, ma1neevent, activate.alpha, dante31, justinparke, therealwolf, jlsplatts, hanggggbeeee, eonwarped, sankysanket18, itchyfeetdonica, tomatom, chrismadcboy2016, miroslavrc, jesusmedit, pushpedal, agent14, squareonefarms, dpend.active, the100, smartsteem, splatts, roelandp, tombstone, epicdice, ocdb, yougotavote, steemlondon, arcange, blocktrades, frassman, jackofcrows, mr-critic.aaa, reghunter, leighscotford, fengchao, raphaelle, ocd-accountant, lordnigel, gabrielatravels, bigtom13, iameden, yiobri, barcisz,