LEGO Lambo Construction Part 4 of 6
hive-142010·@jacobtothe·
0.000 HBDLEGO Lambo Construction Part 4 of 6
No, I have not forgotten about (or abandoned) this series. Life has just been a bit chaotic and gotten in the way of photo editing and post composition. I'm also trying to troubleshoot a problem that appeared at the end. More on that in later posts... Part 4 again has its own box, and all bags within are conveniently labeled like those from the rest of these steps, Several parts that had been left over from part 1 are also indicated in the instructions, too. 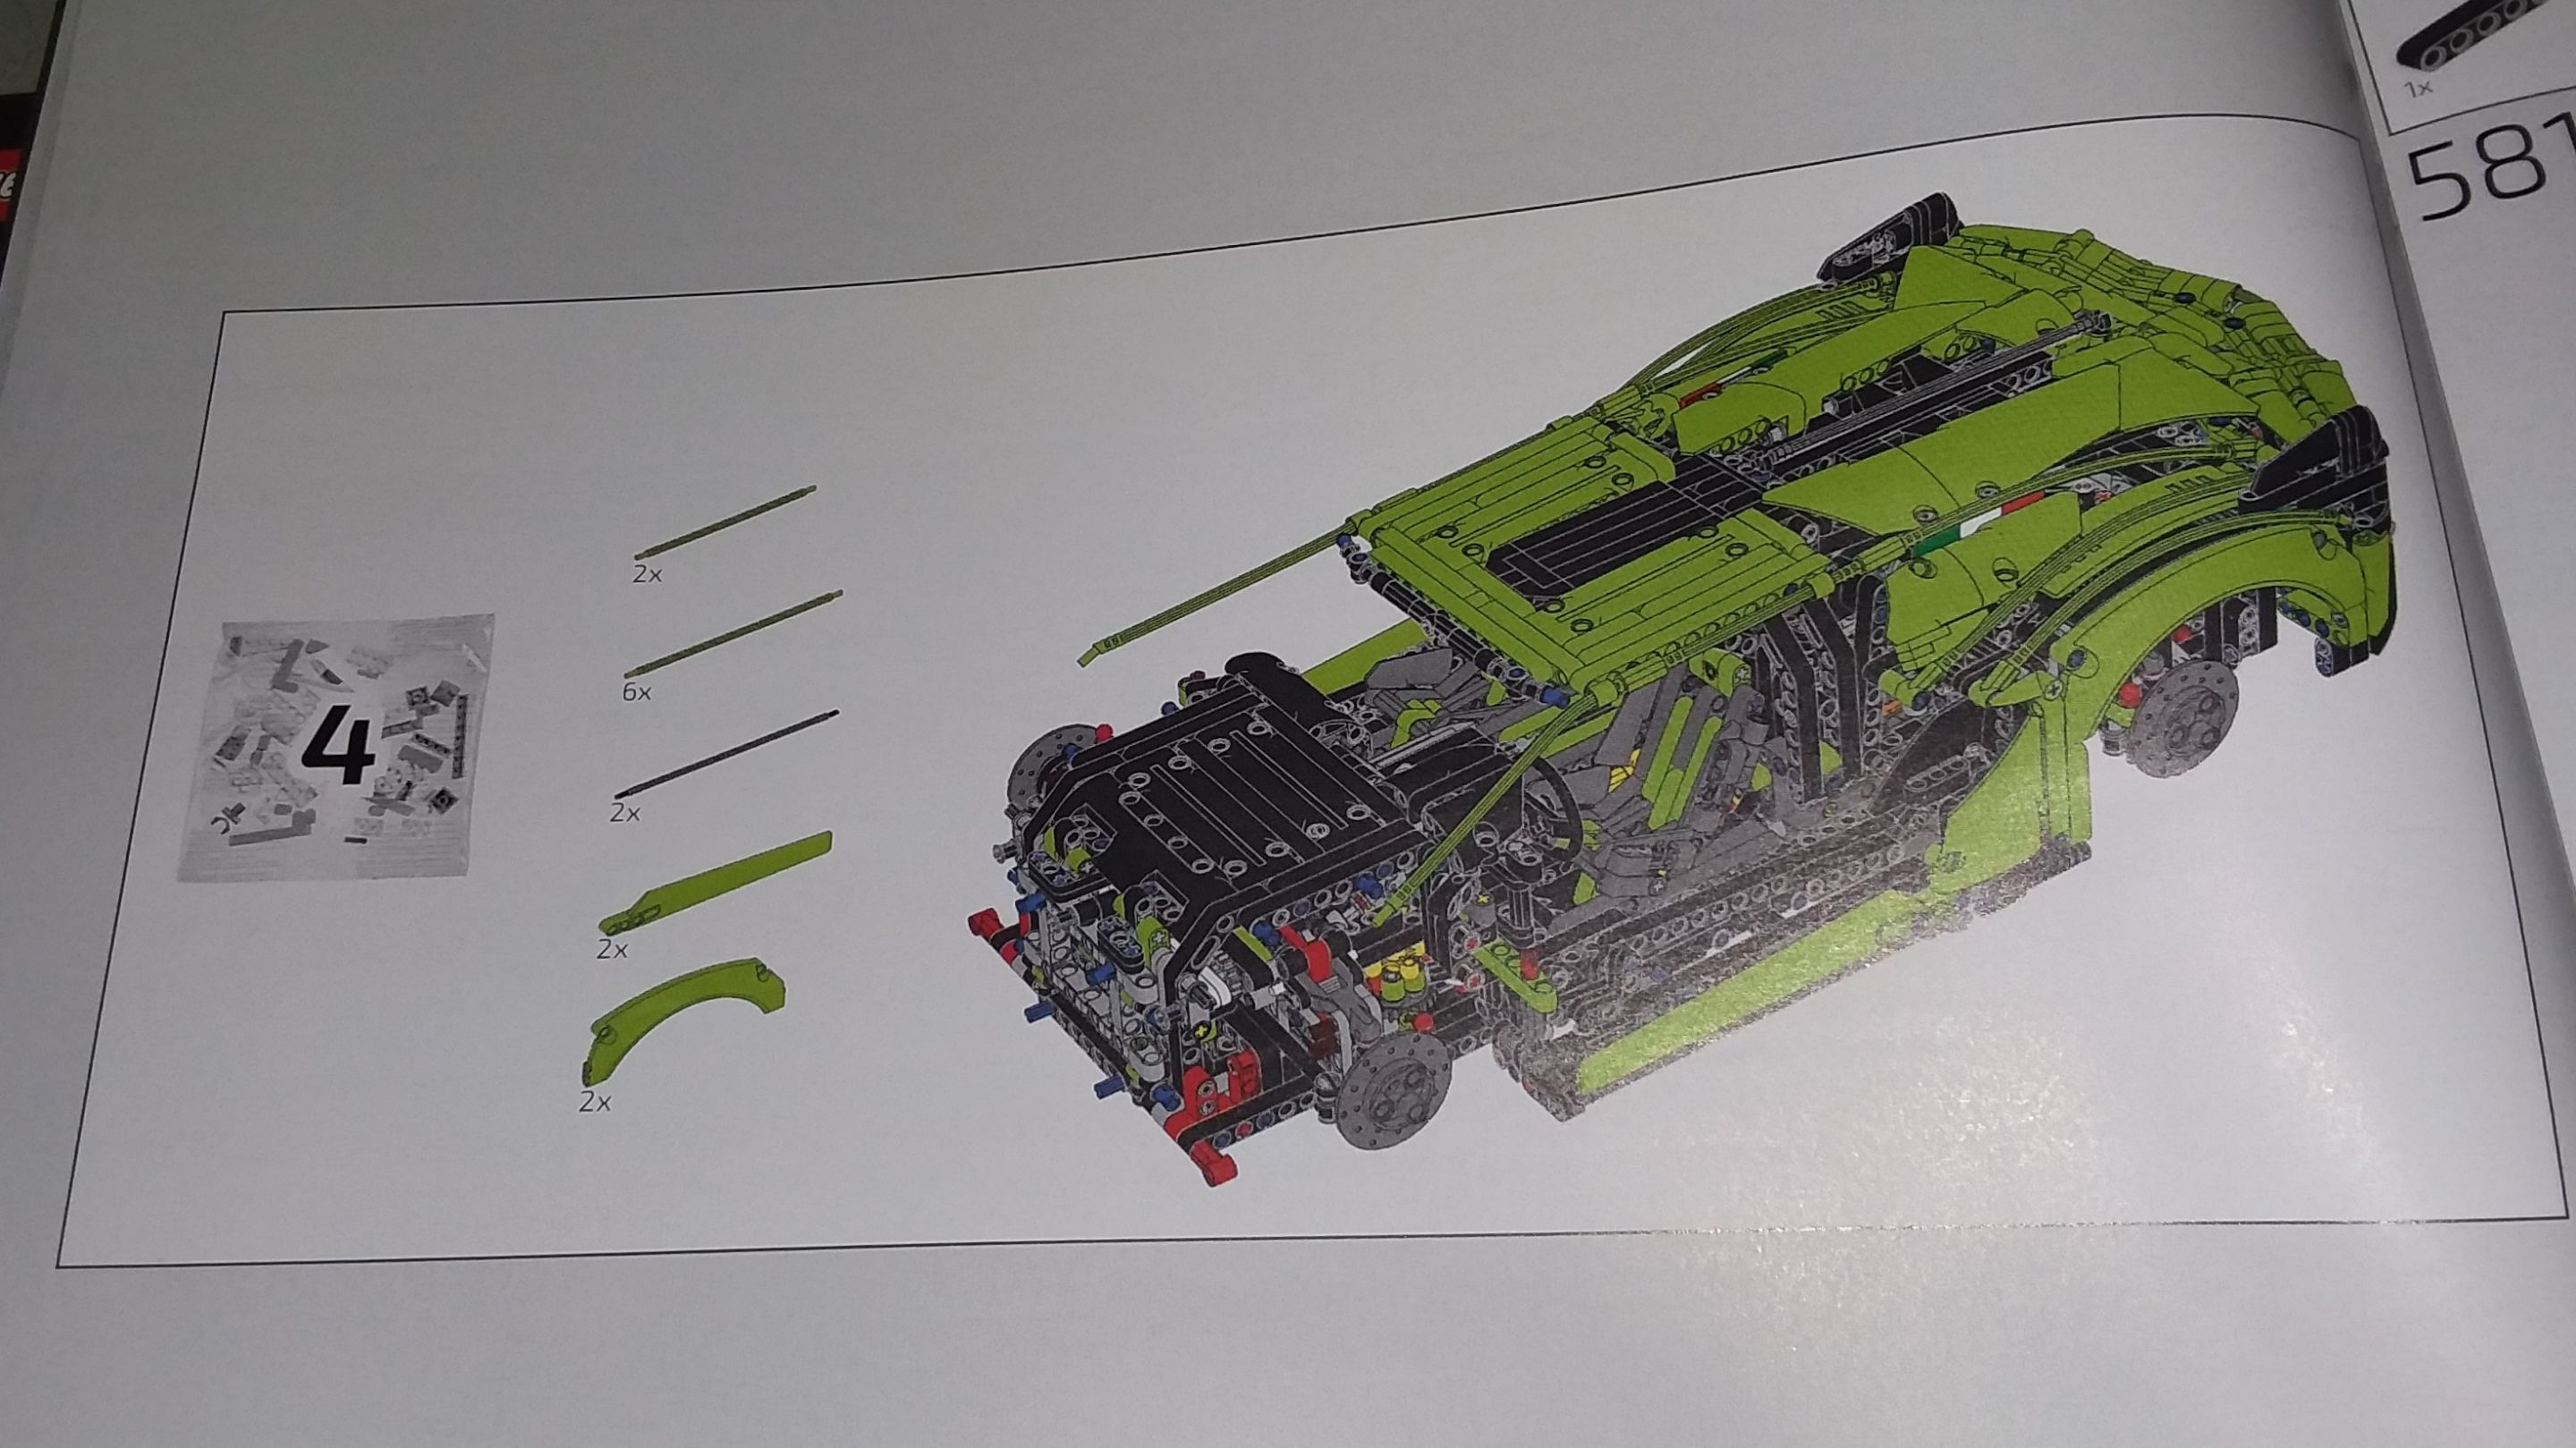 This step is called "Rear Spoiler," but it also includes the rear fenders and roof. Speaking of spoilers, I'll tell you now that part 5 finishes the rest of the body, and part 6 is just the wheels and tires. 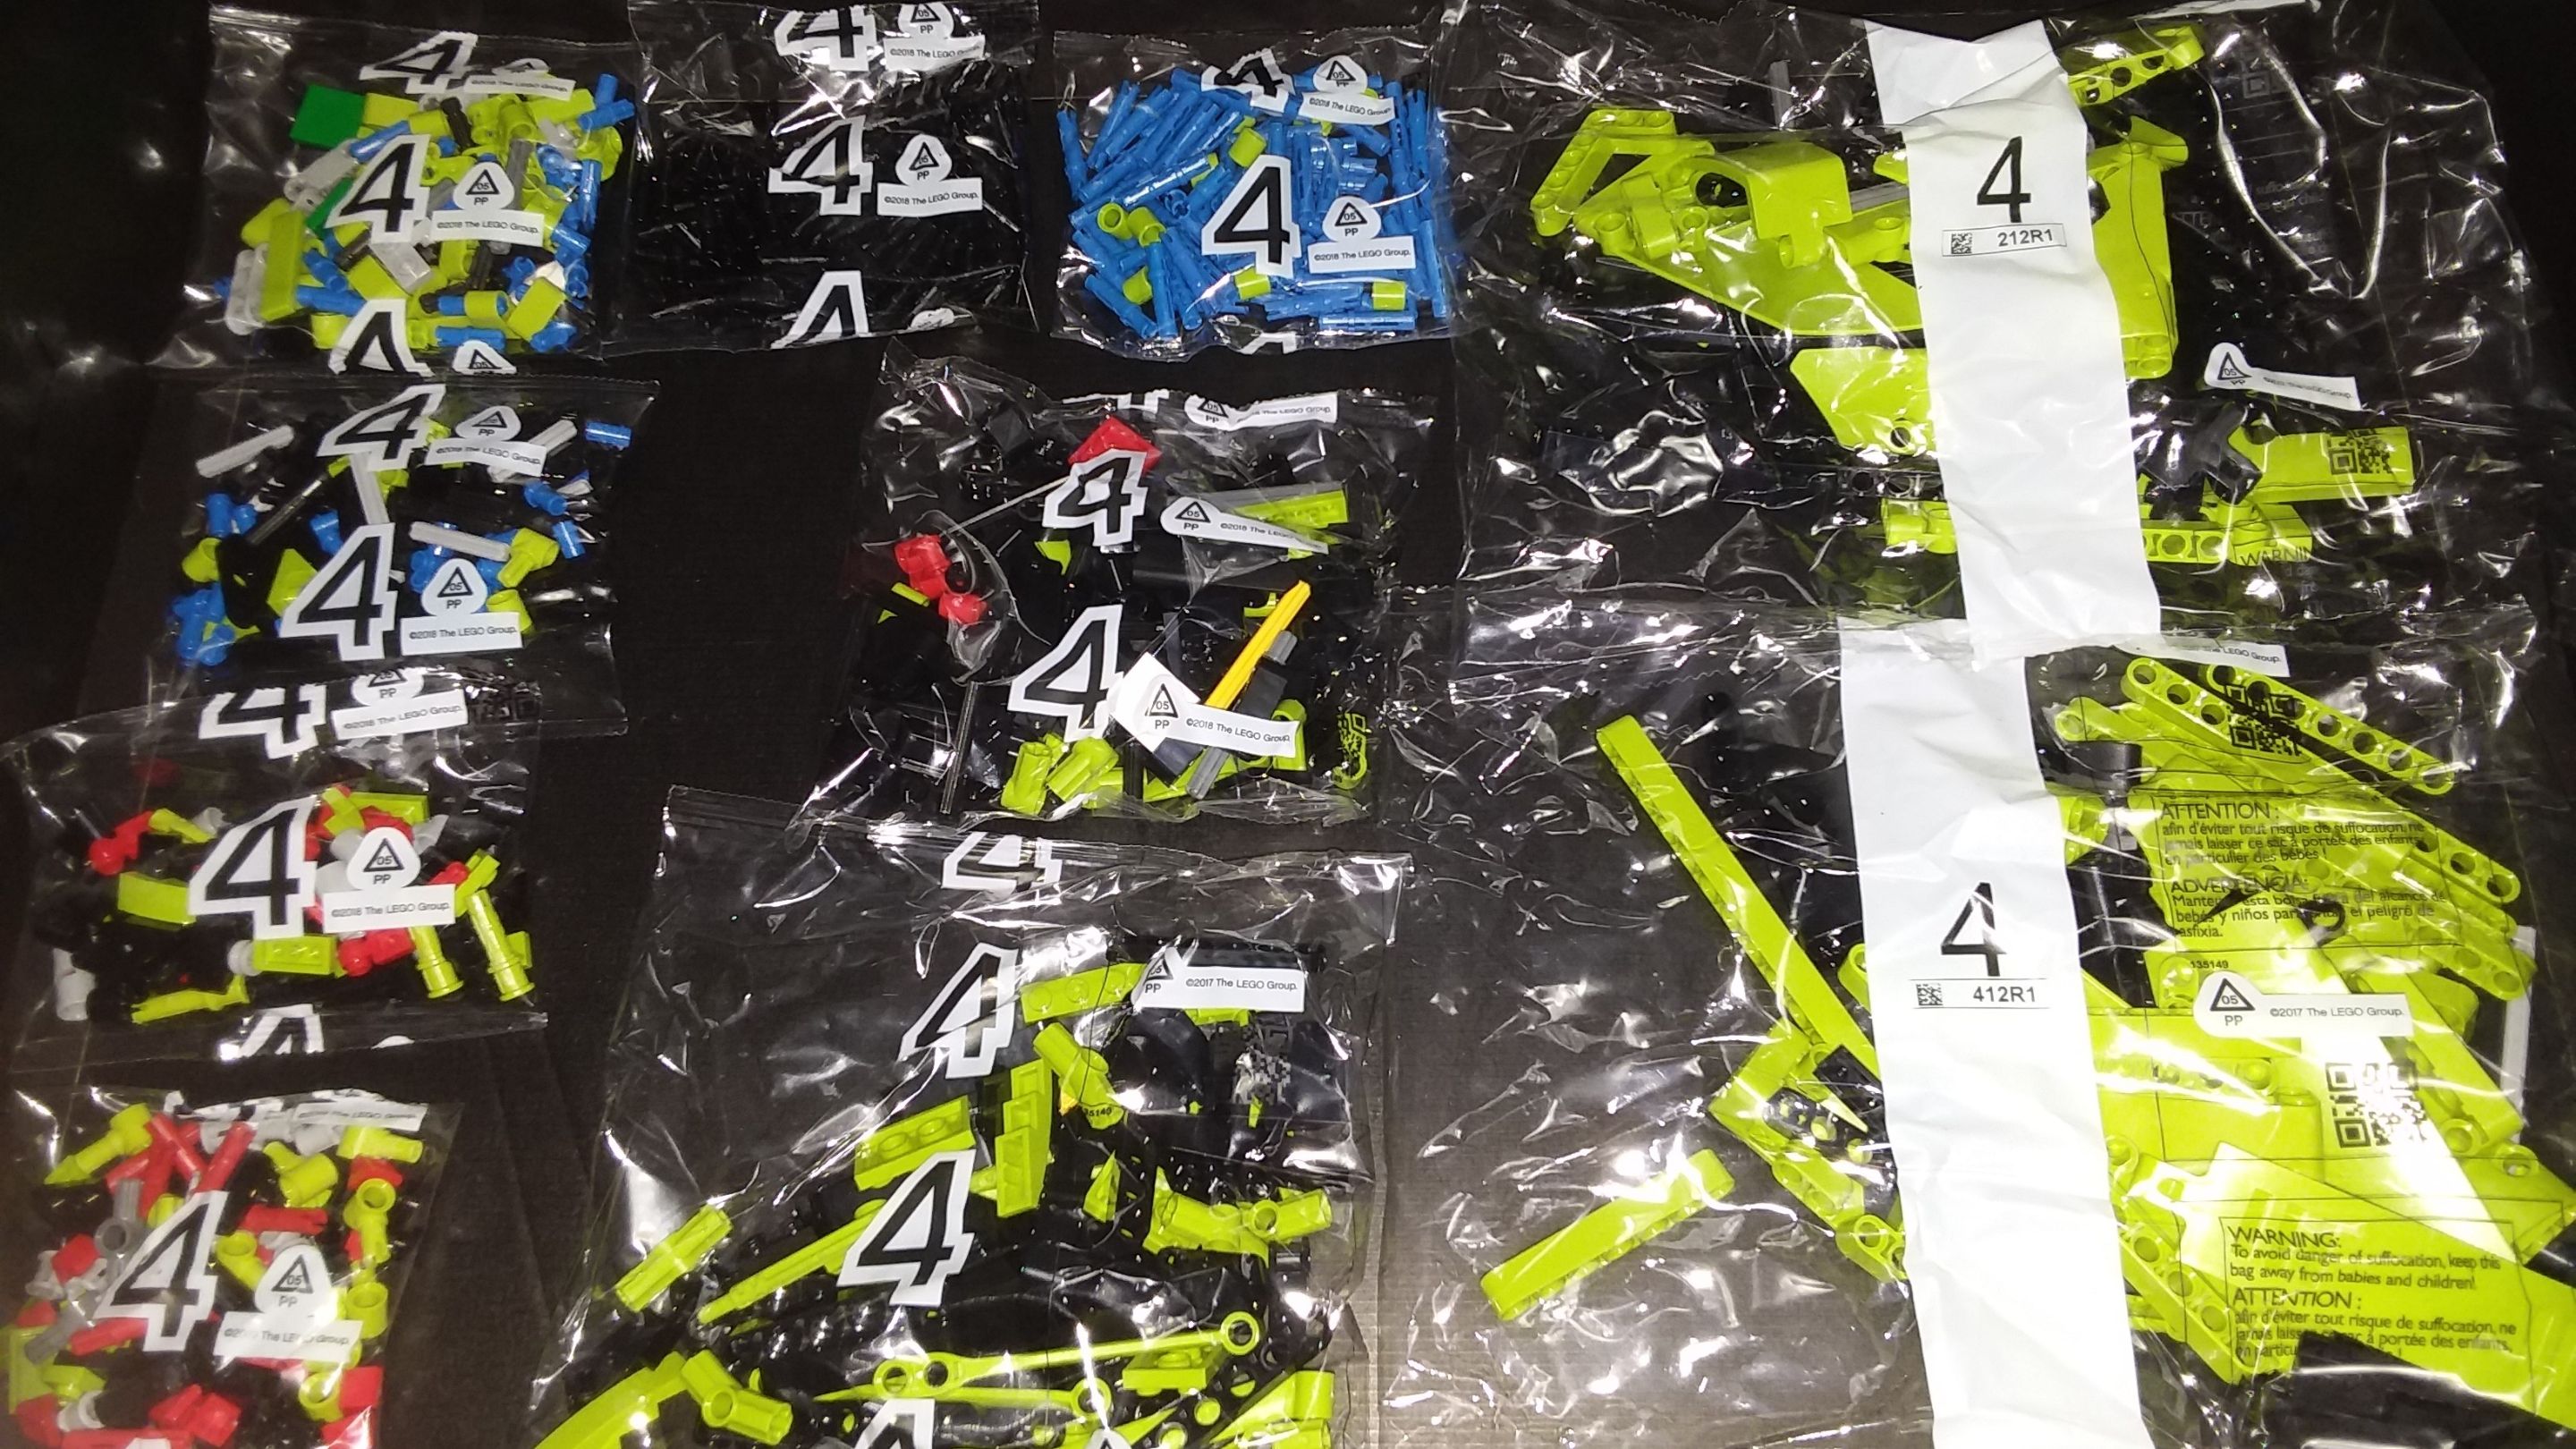 The first stage of construction is the exhaust pipes and the features around it. I think it's all supposed to be part of the car's aero package. There were a fair few standard LEGO bricks at this stage to build the right contours. 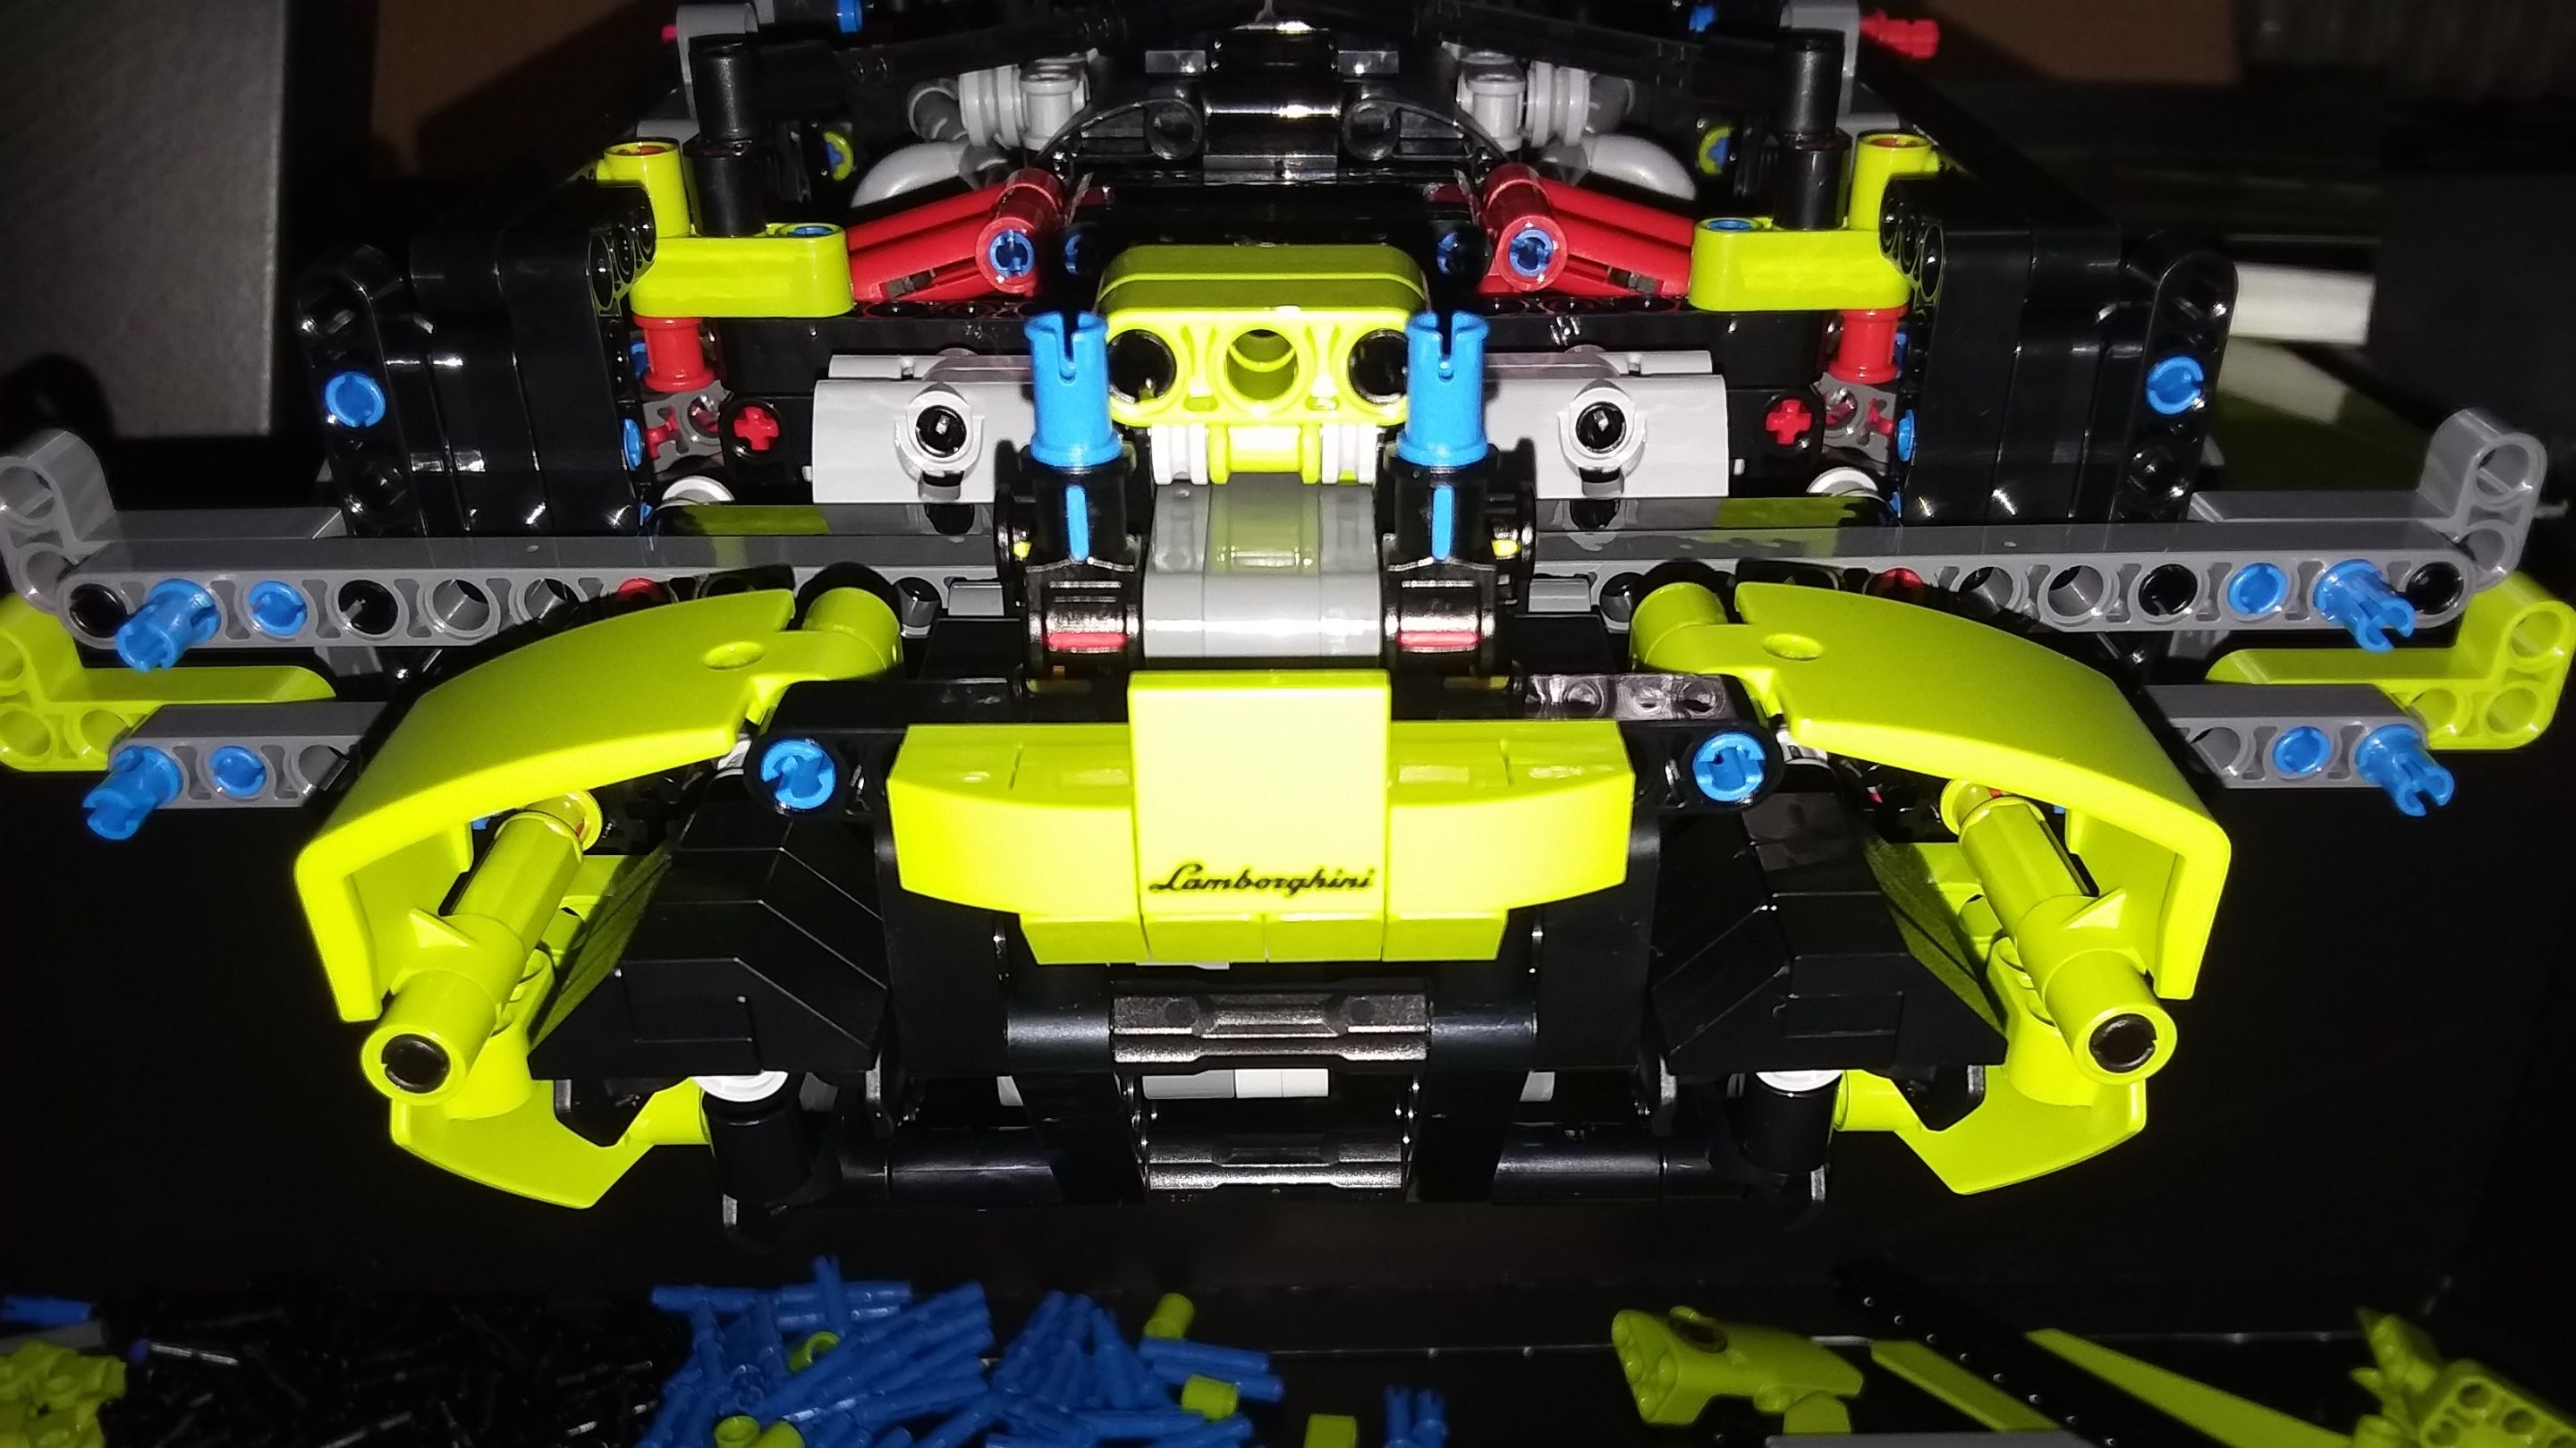 For many years, LEGO has been color-coding various Technic parts, and these small 2-brick-wide axles had grooves added even further back to make them easier to grasp. I appreciated the latter change the most as a kid. I found it interesting to see both colors in this step, though, as it indicates an aesthetic preference superseding their usual Technic part color scheme 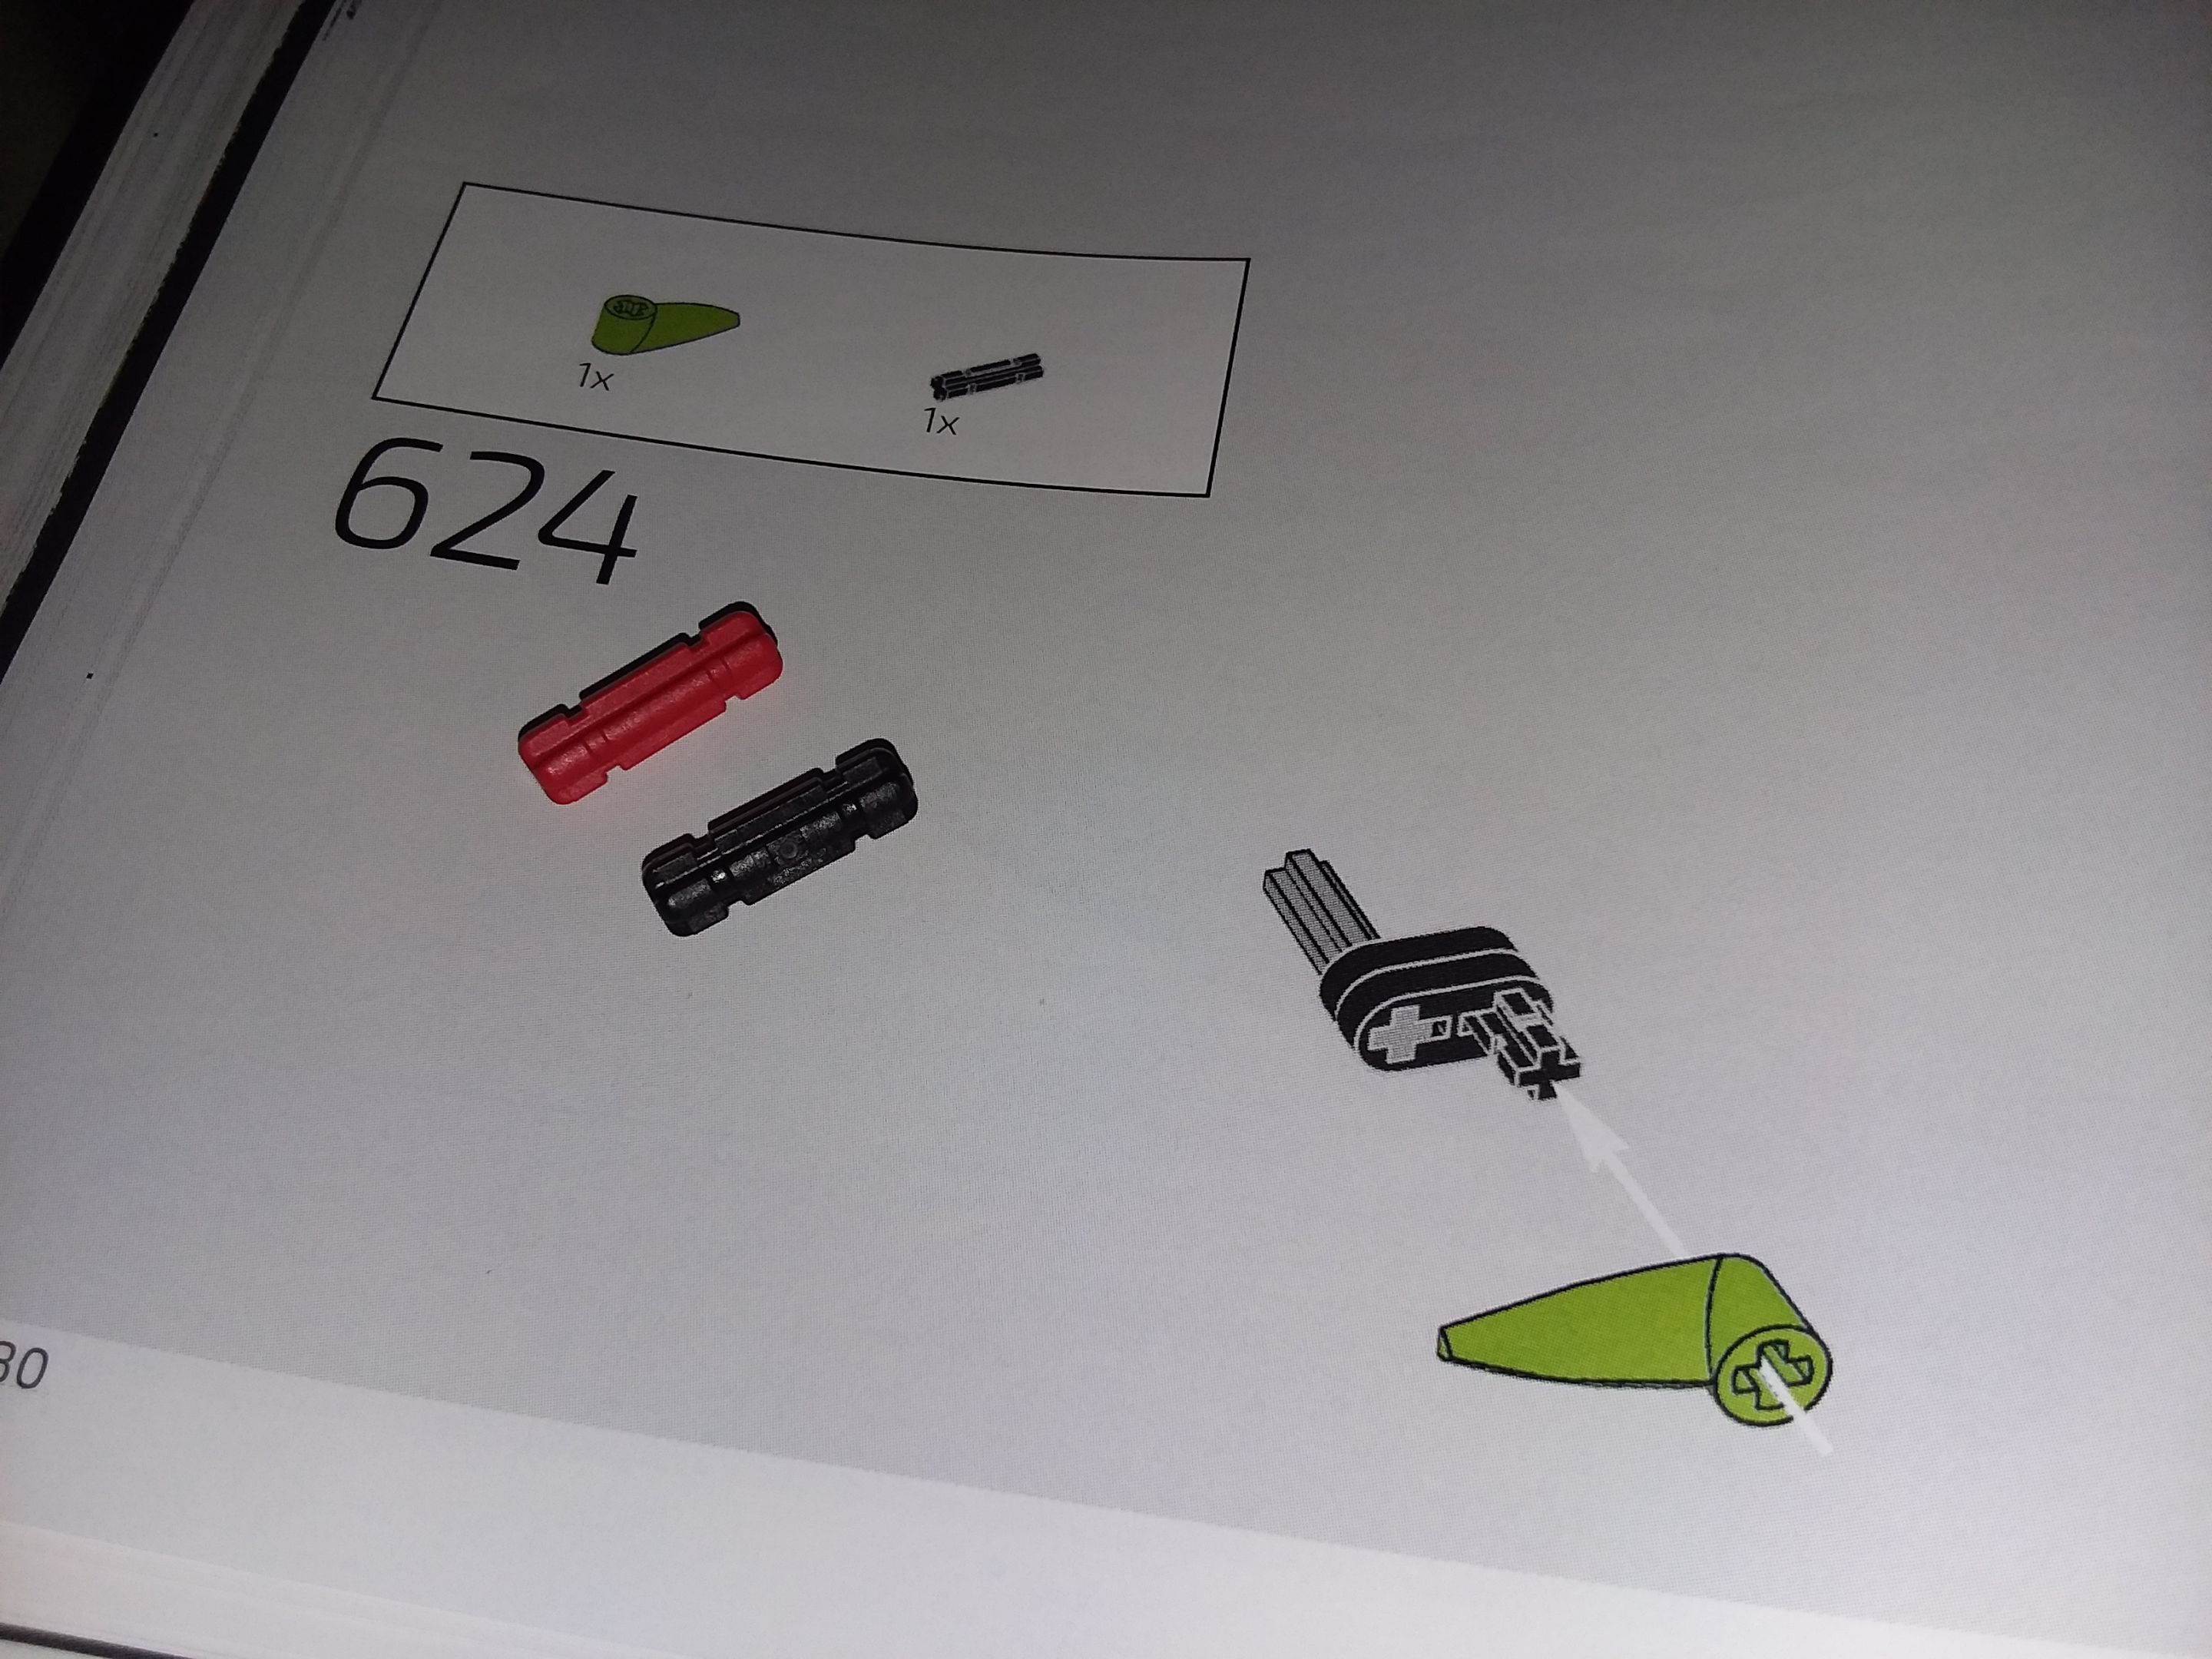 Why? Well, it's time to build the taillights, and we don't want extra red there messing up the look! We also see a classic 1x6 Technic brick at the core of this subassembly. 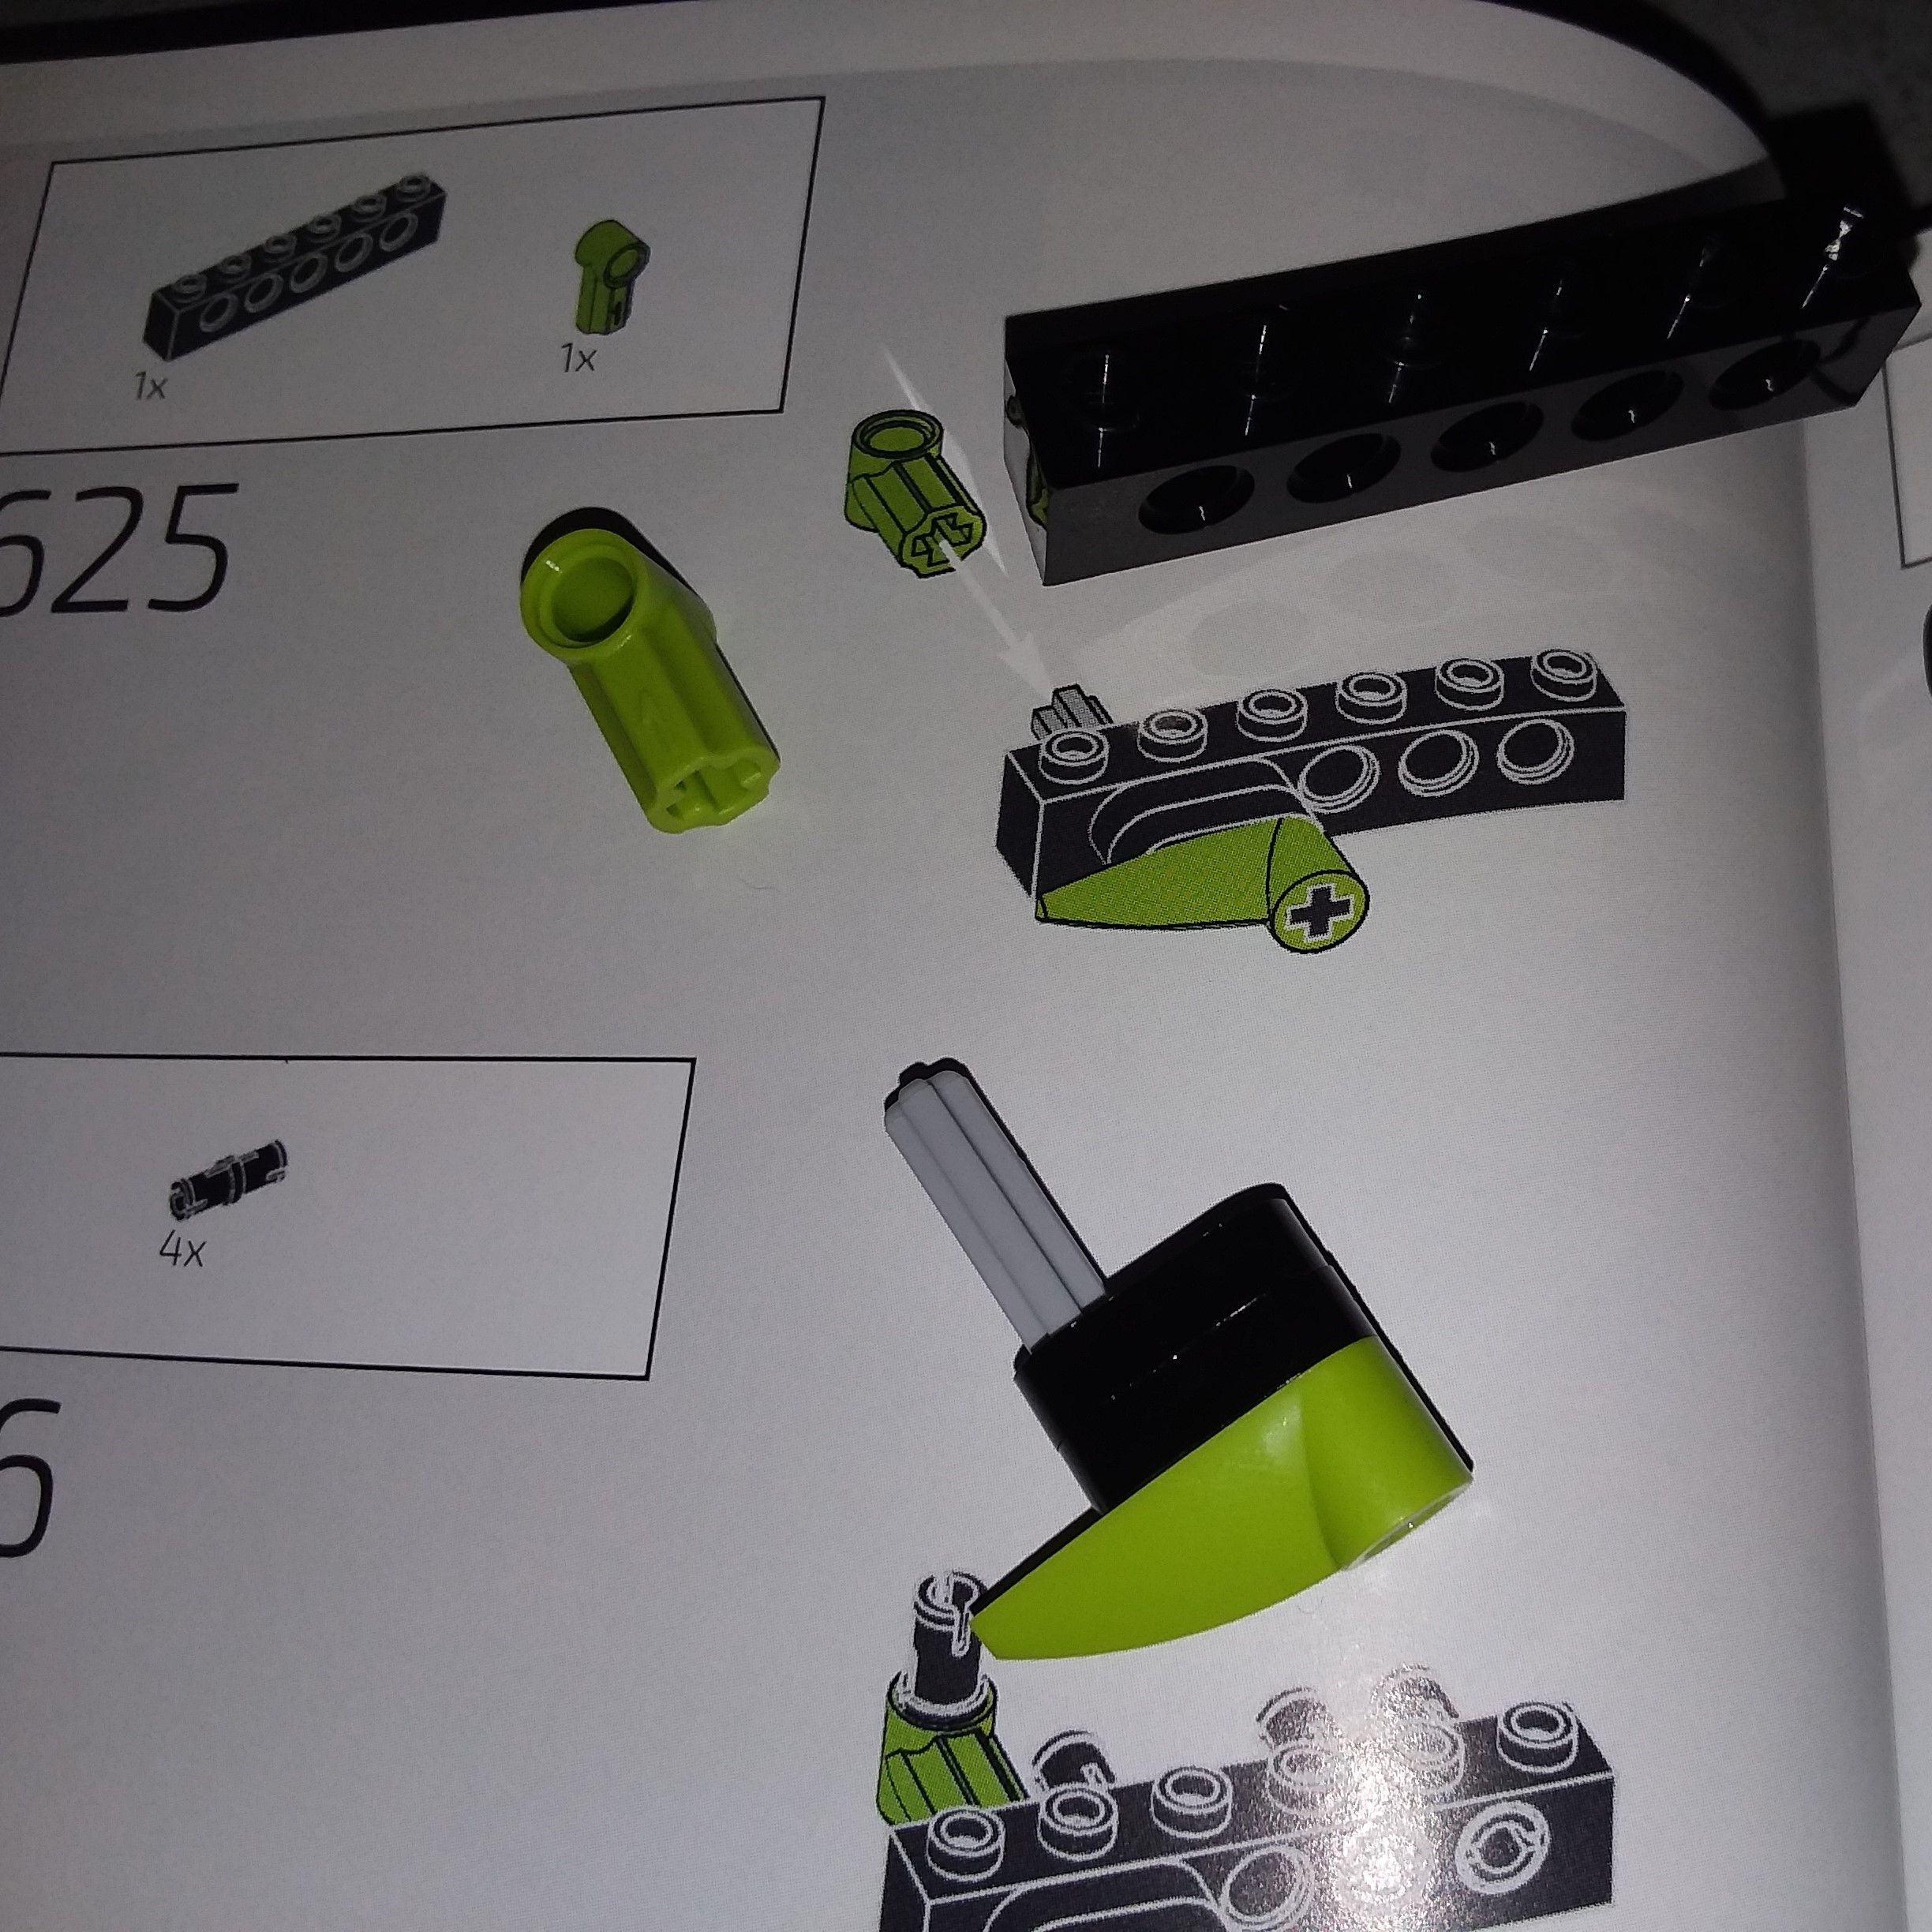 The taillights themselves are just red bricks, not transparent elements, but I have no real objections here. 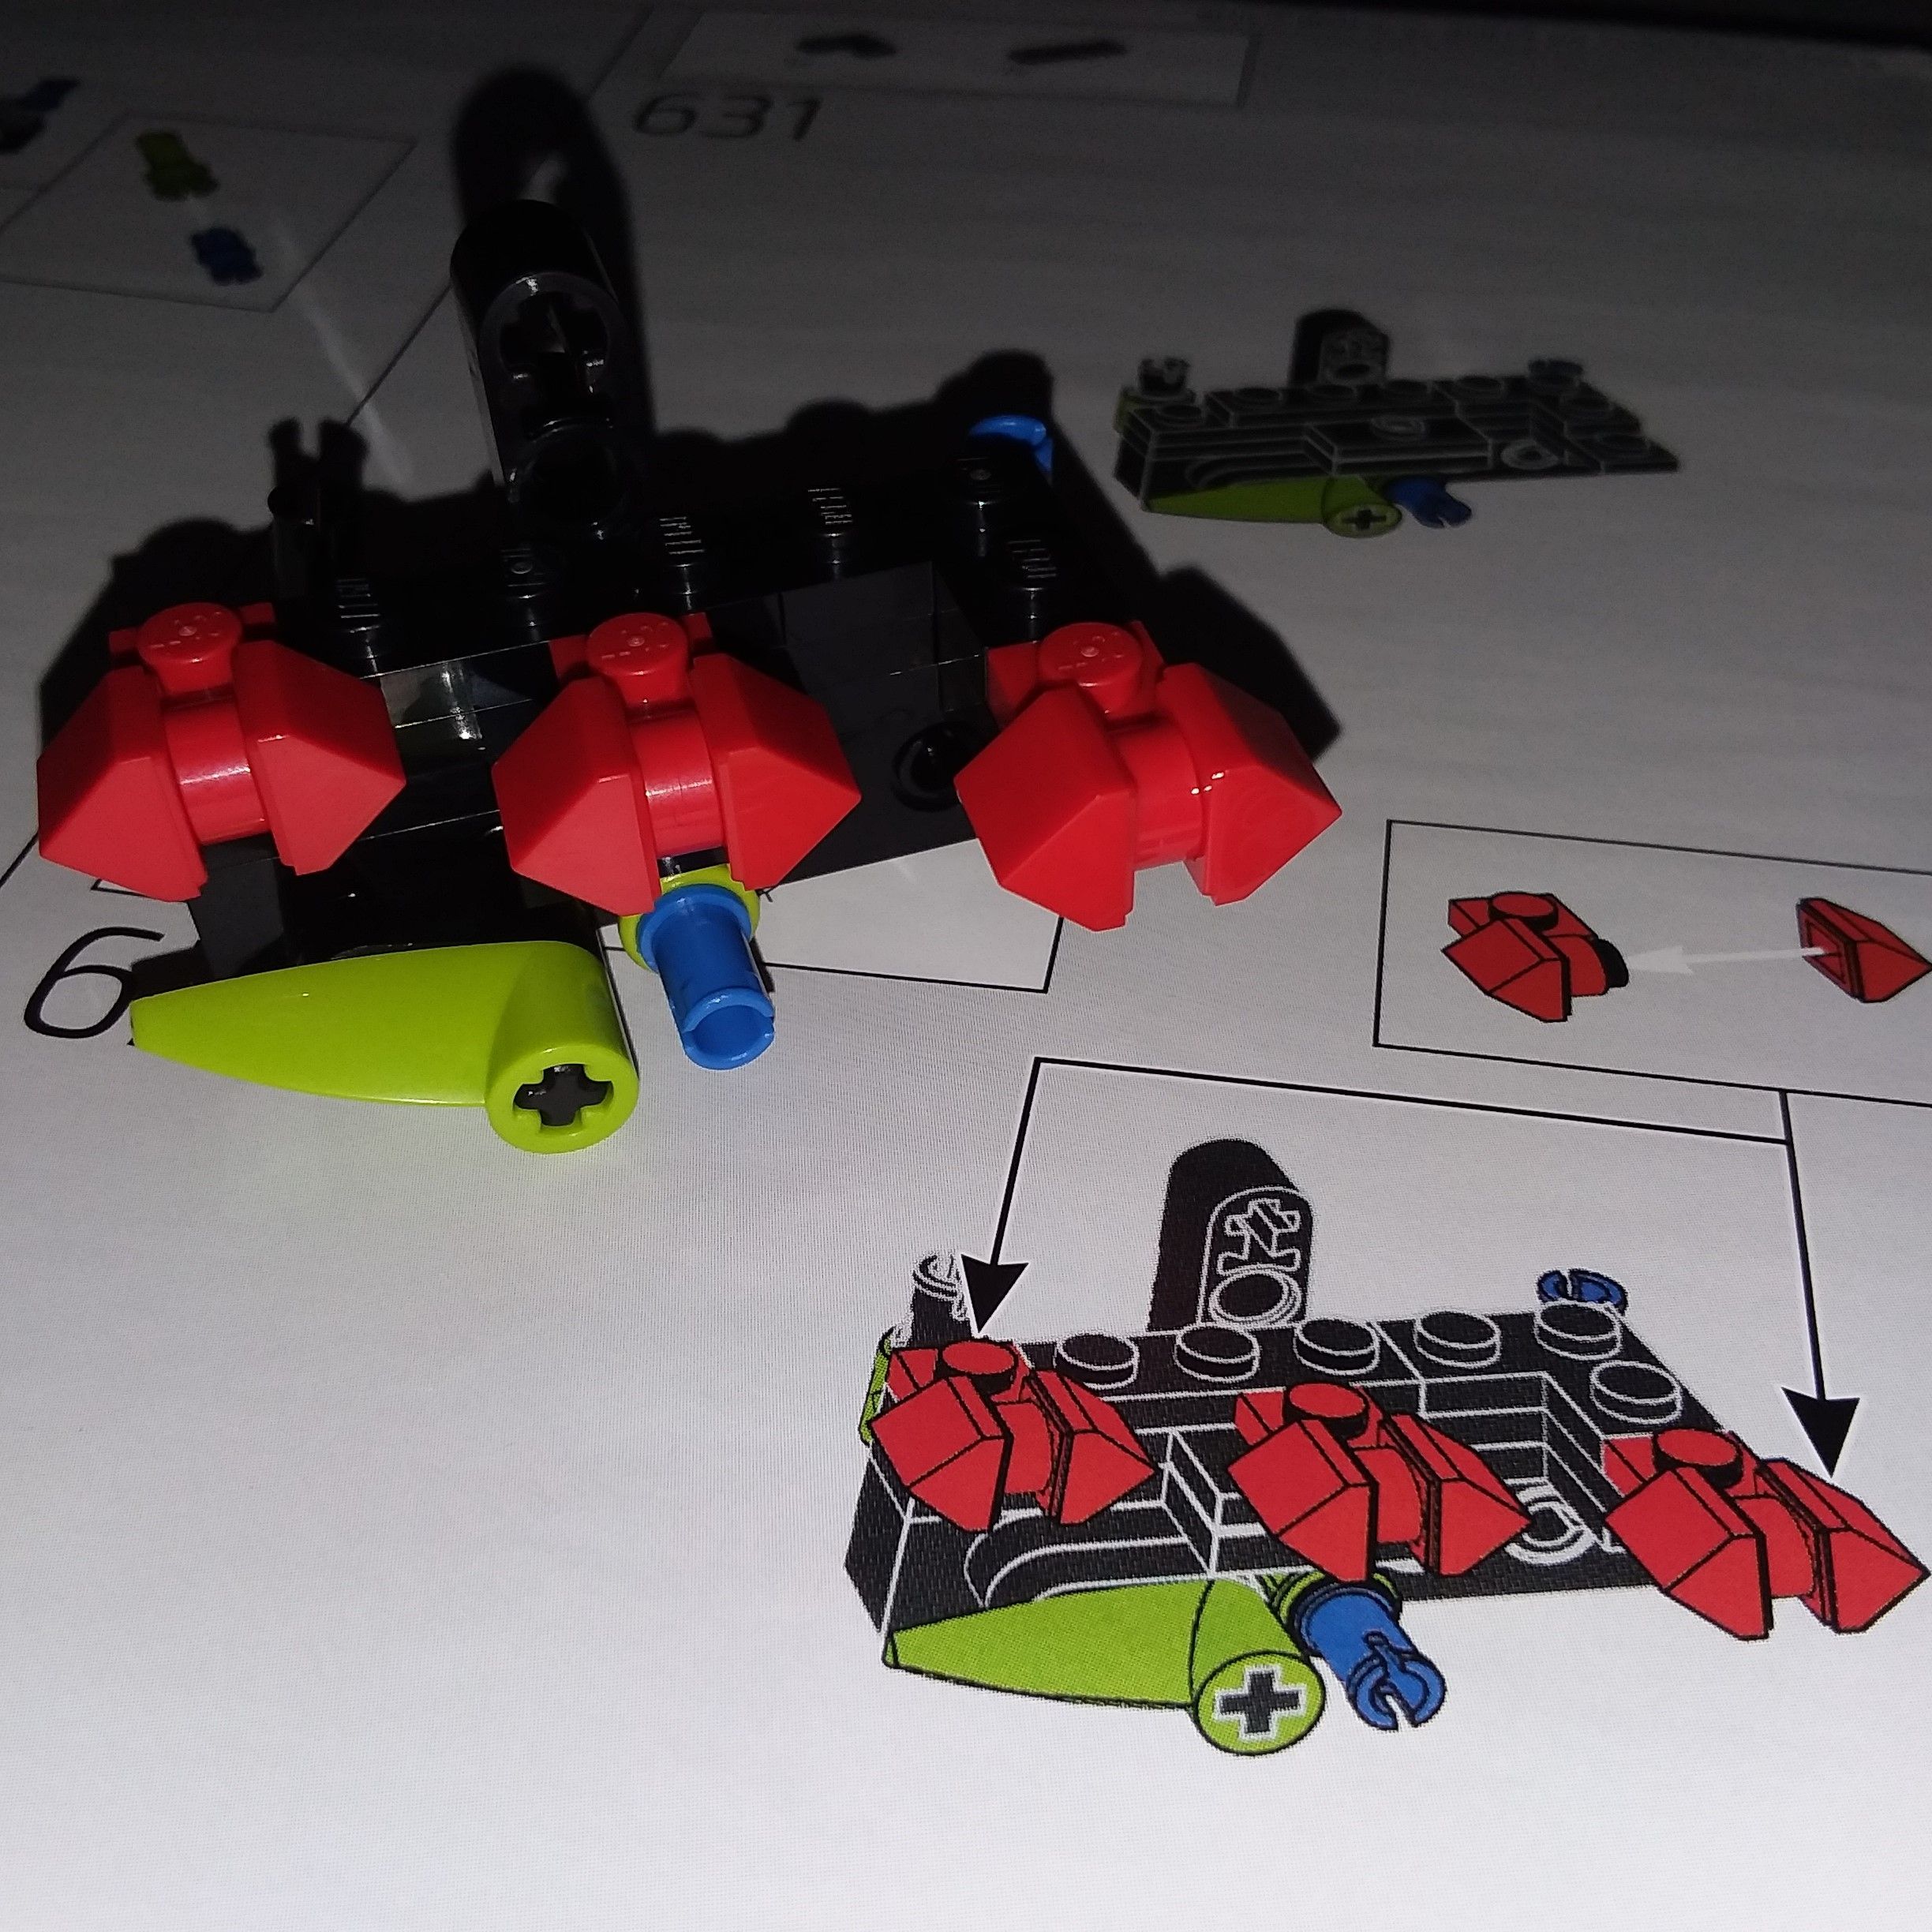 Thanks to Technic geometry, the completed assemblies sit at an angle and adds to the sweeping lines of the rear end. 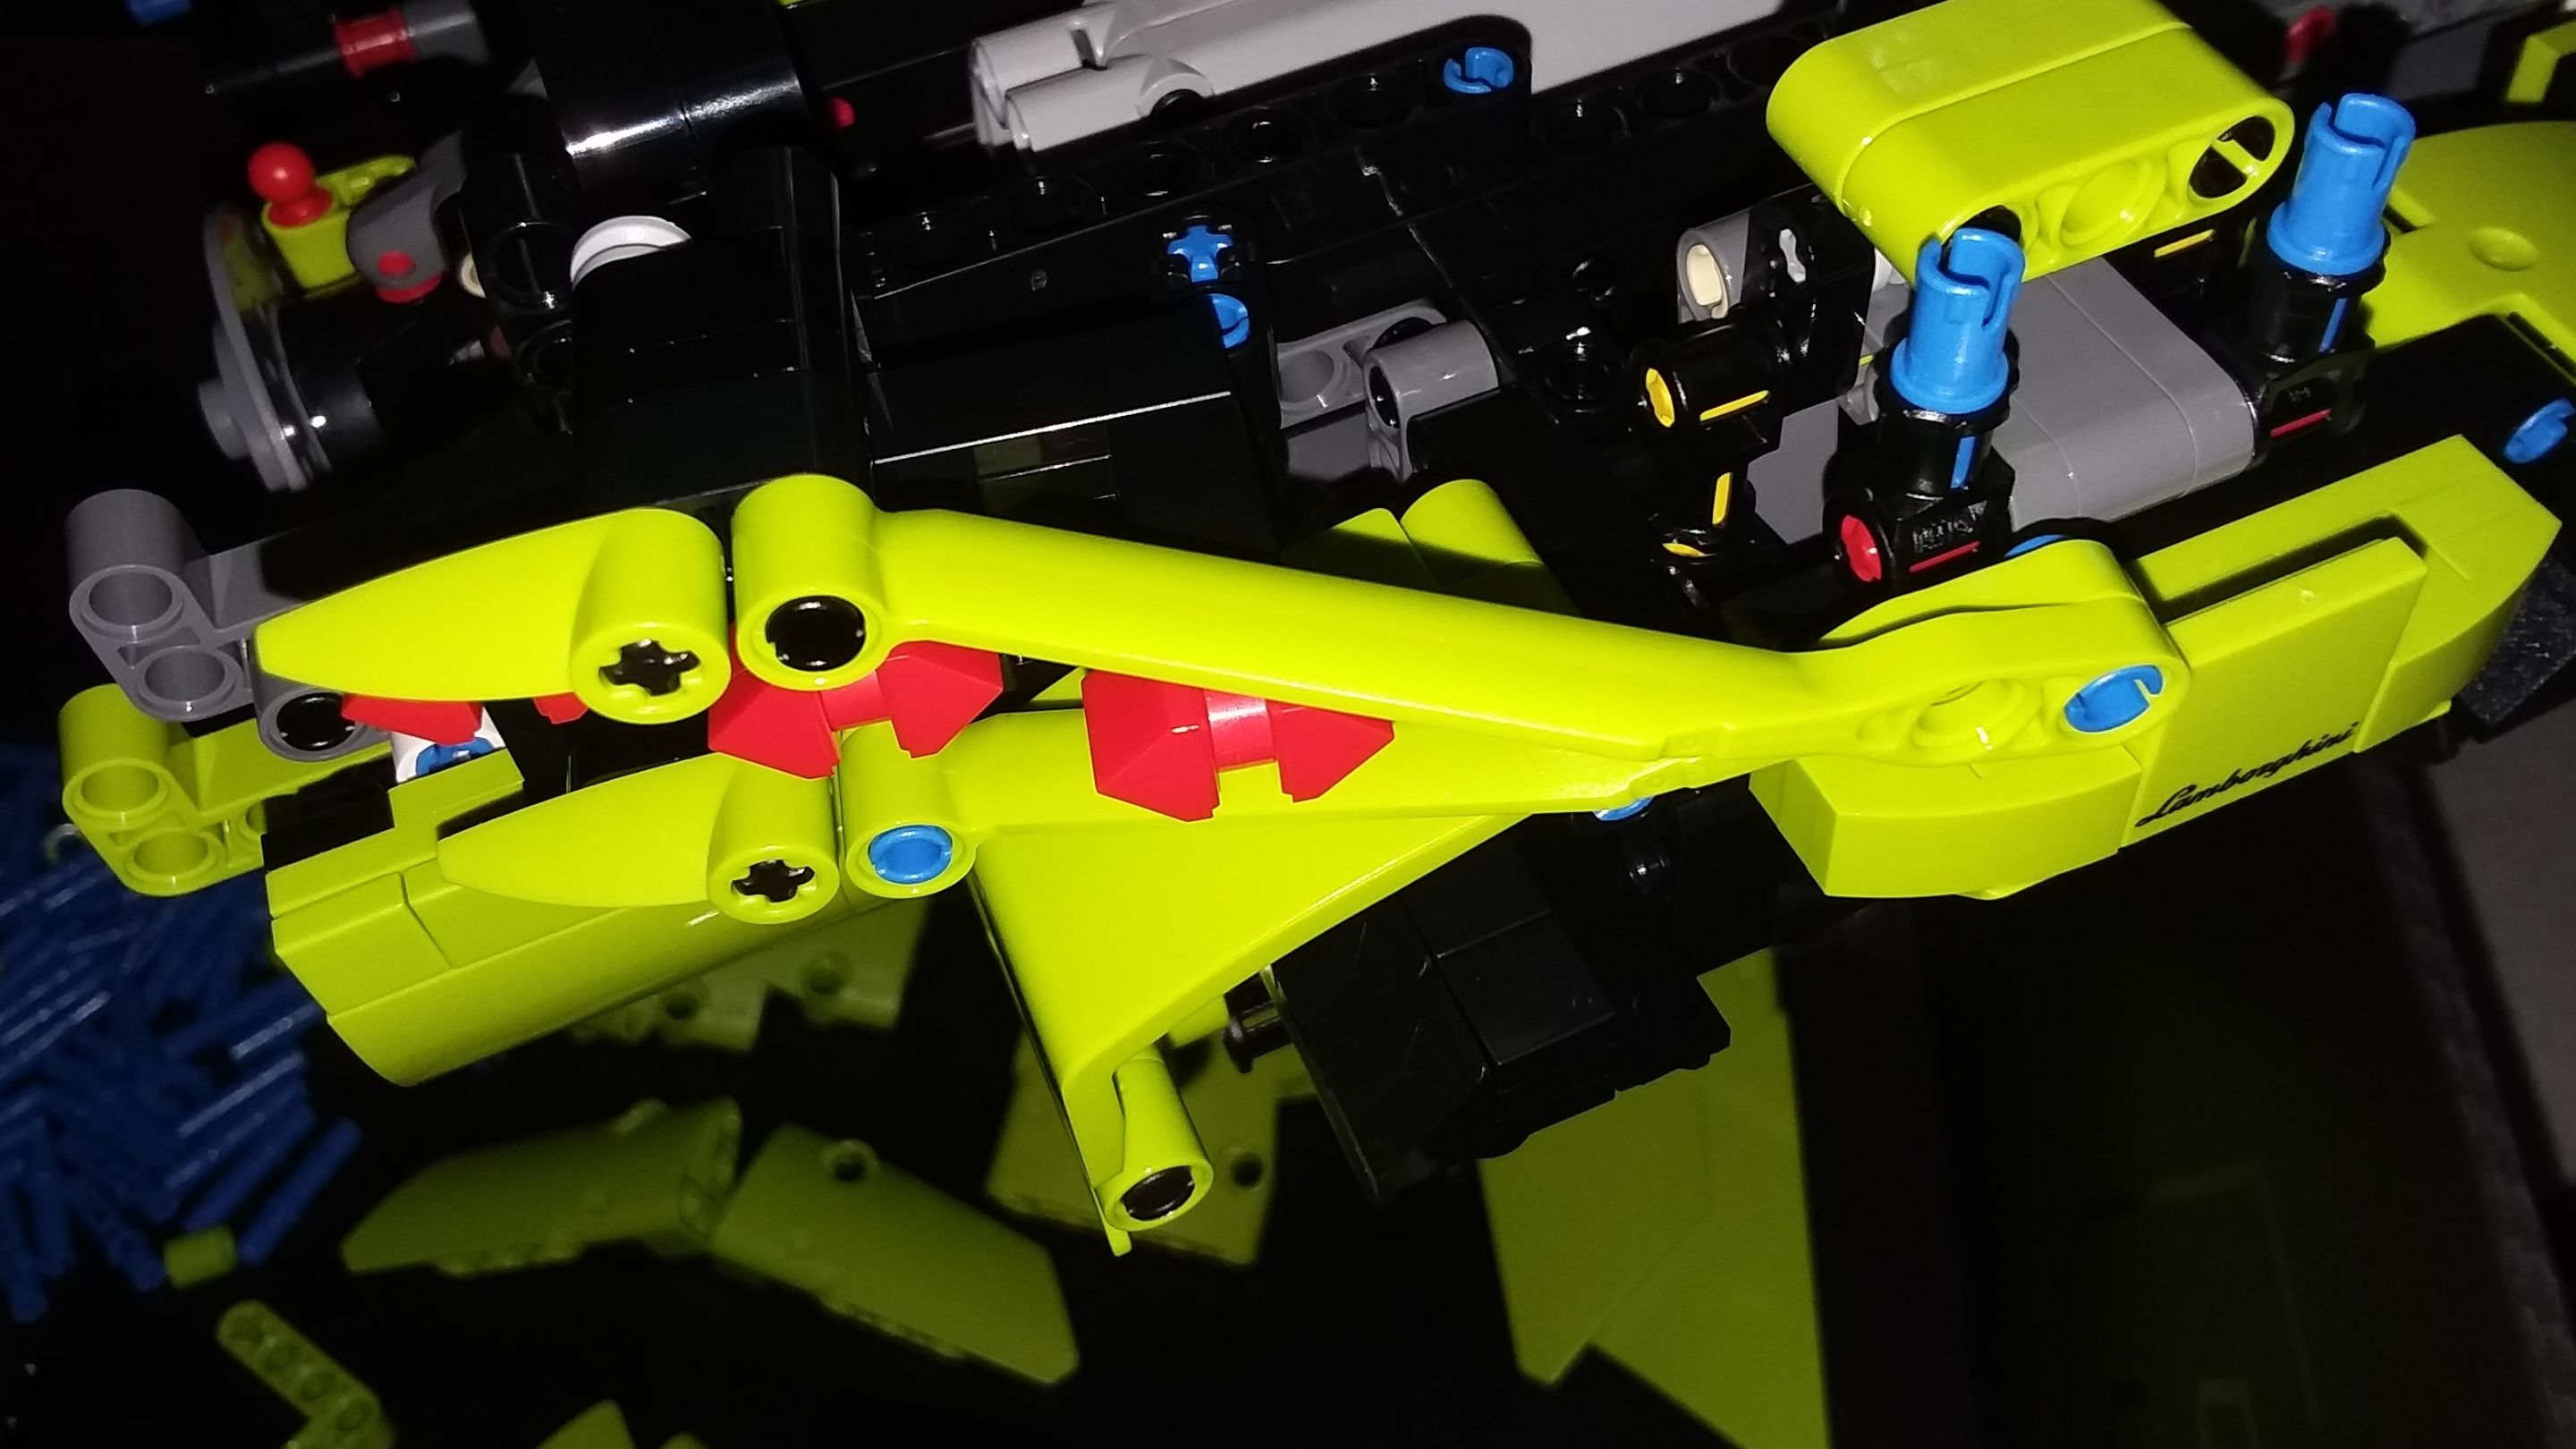 Once both taillights are installed and the fenders begin, you can better see how everything flows together. The black bricks breaking the lines are the vertical components of the spoiler. 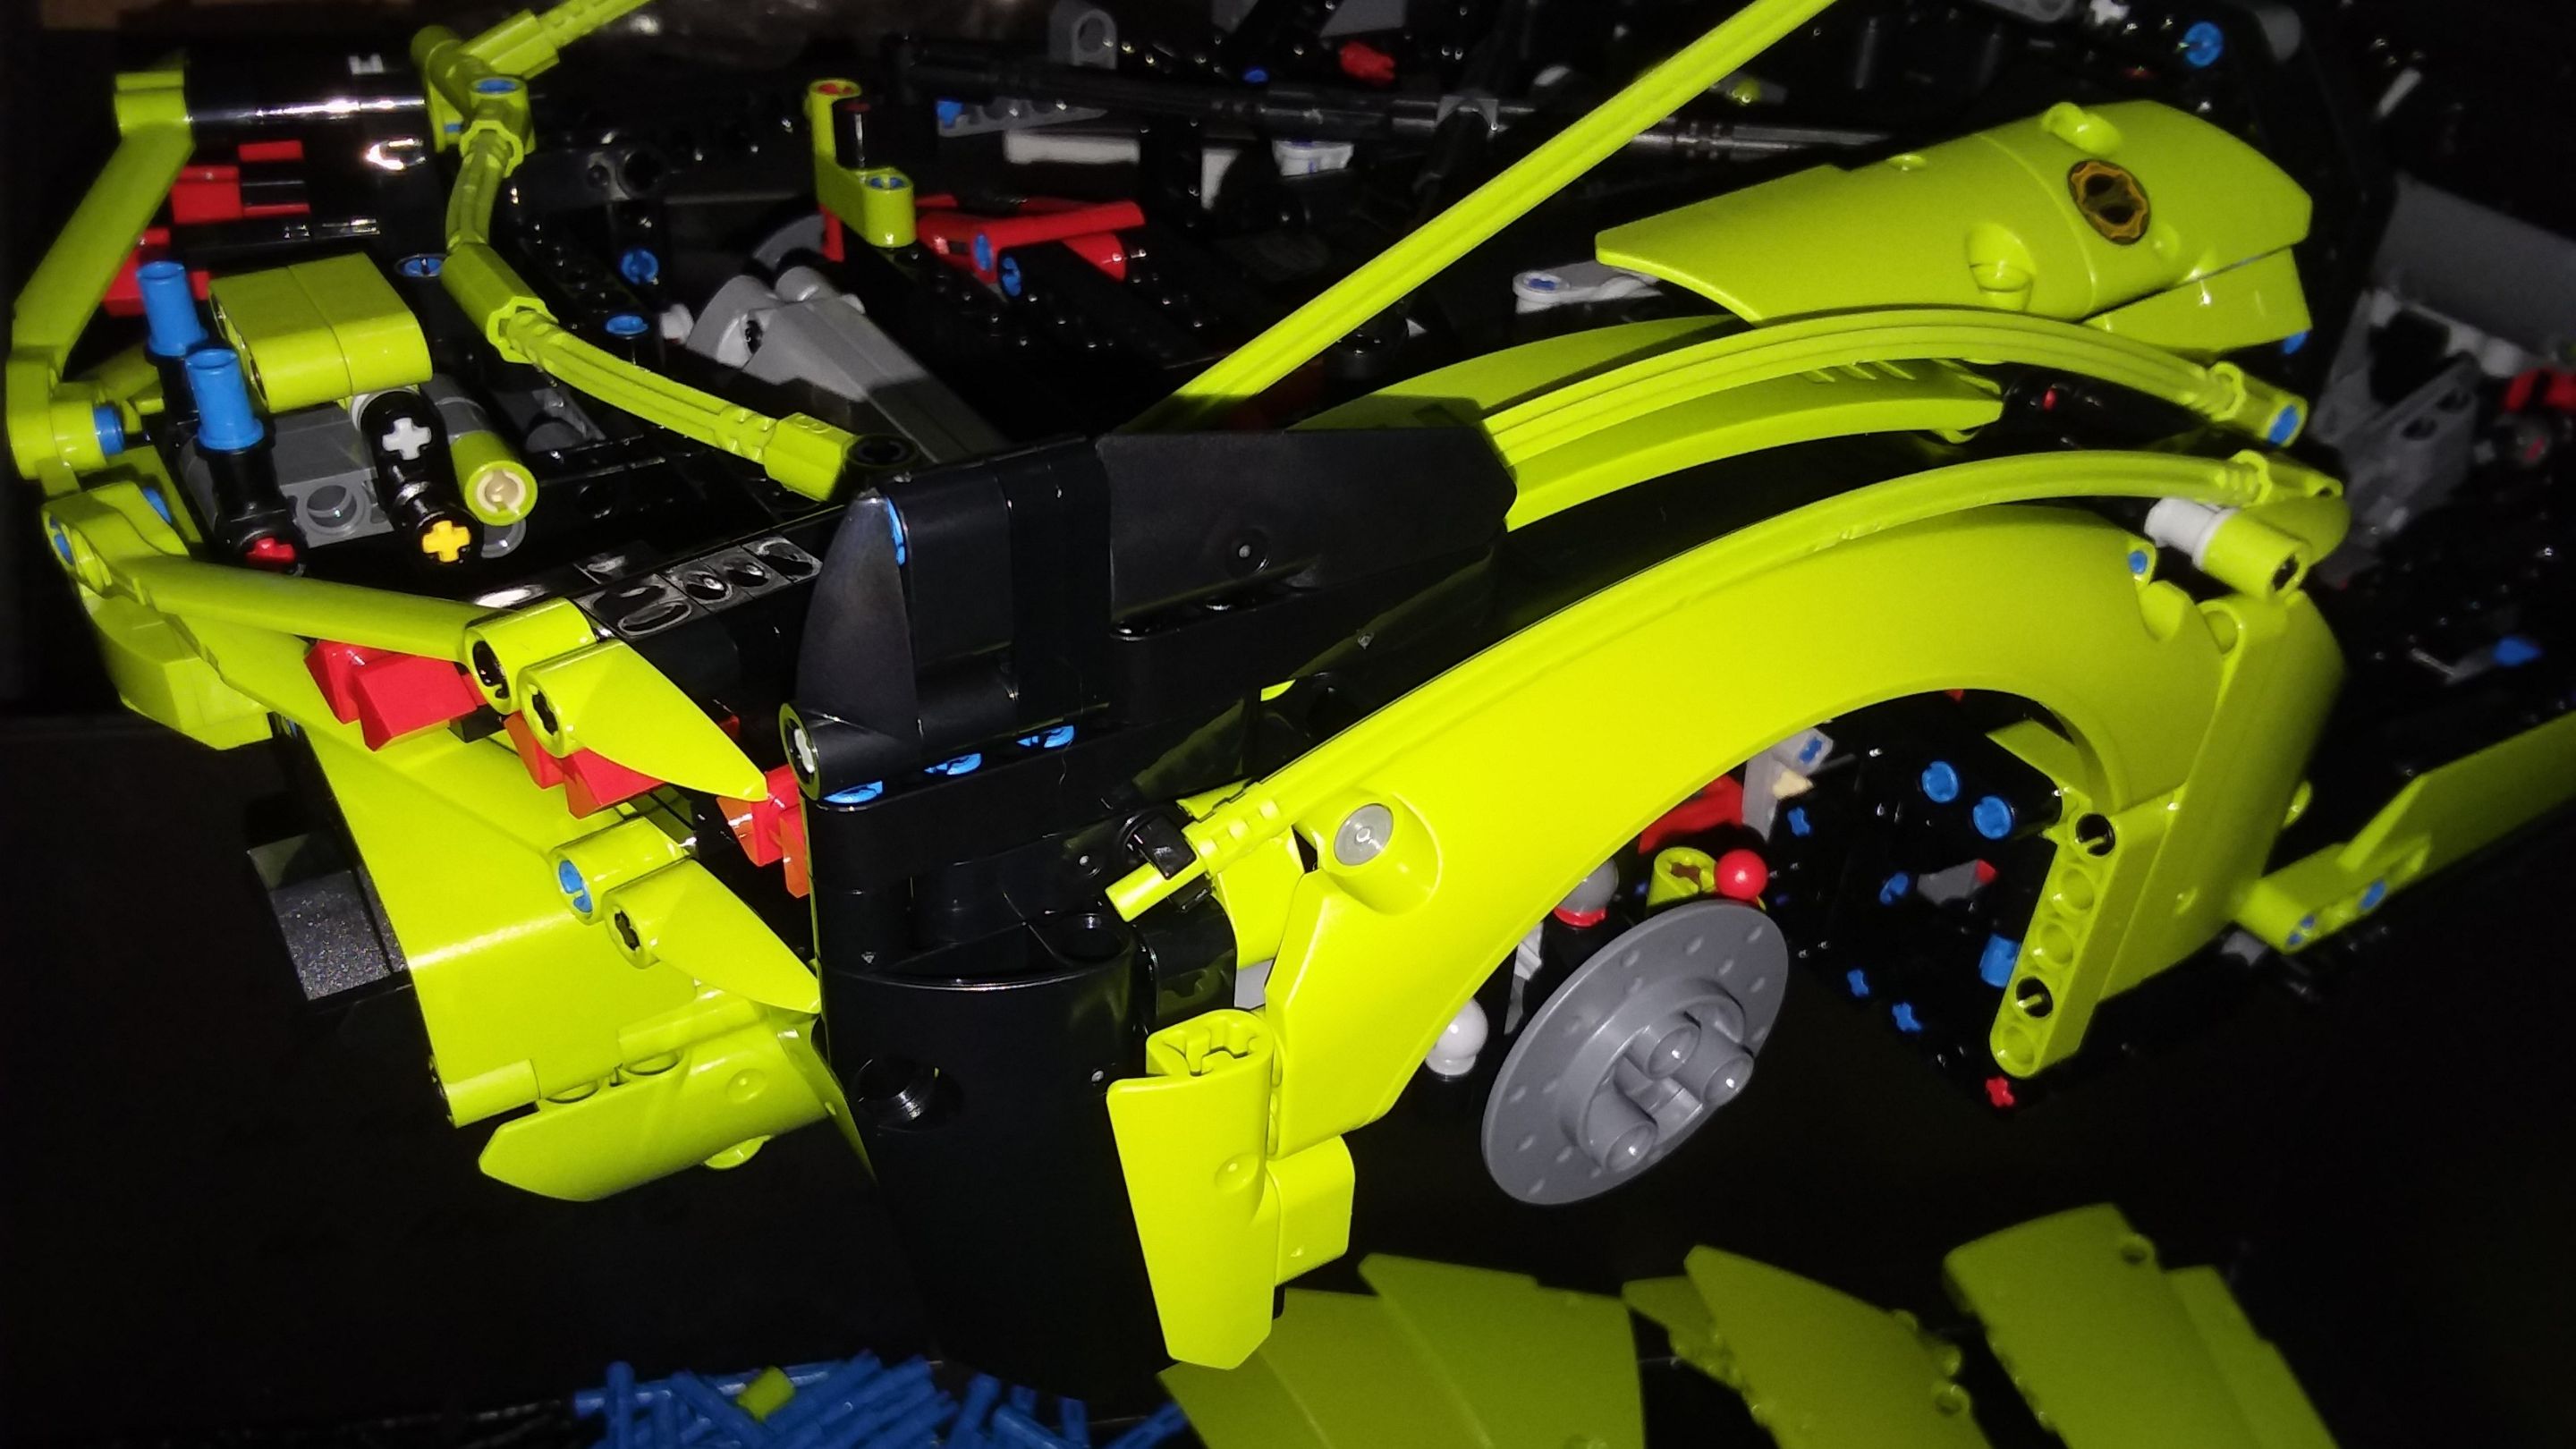 Where I do have an objection to the quality of this set is the color disparity between parts in the spoiler assembly. As I said before, LEGO is usually quite good at color-matching parts, but it's not right here. I will try to get a picture that conveys the difference. I have seen similar complaints from others as well. 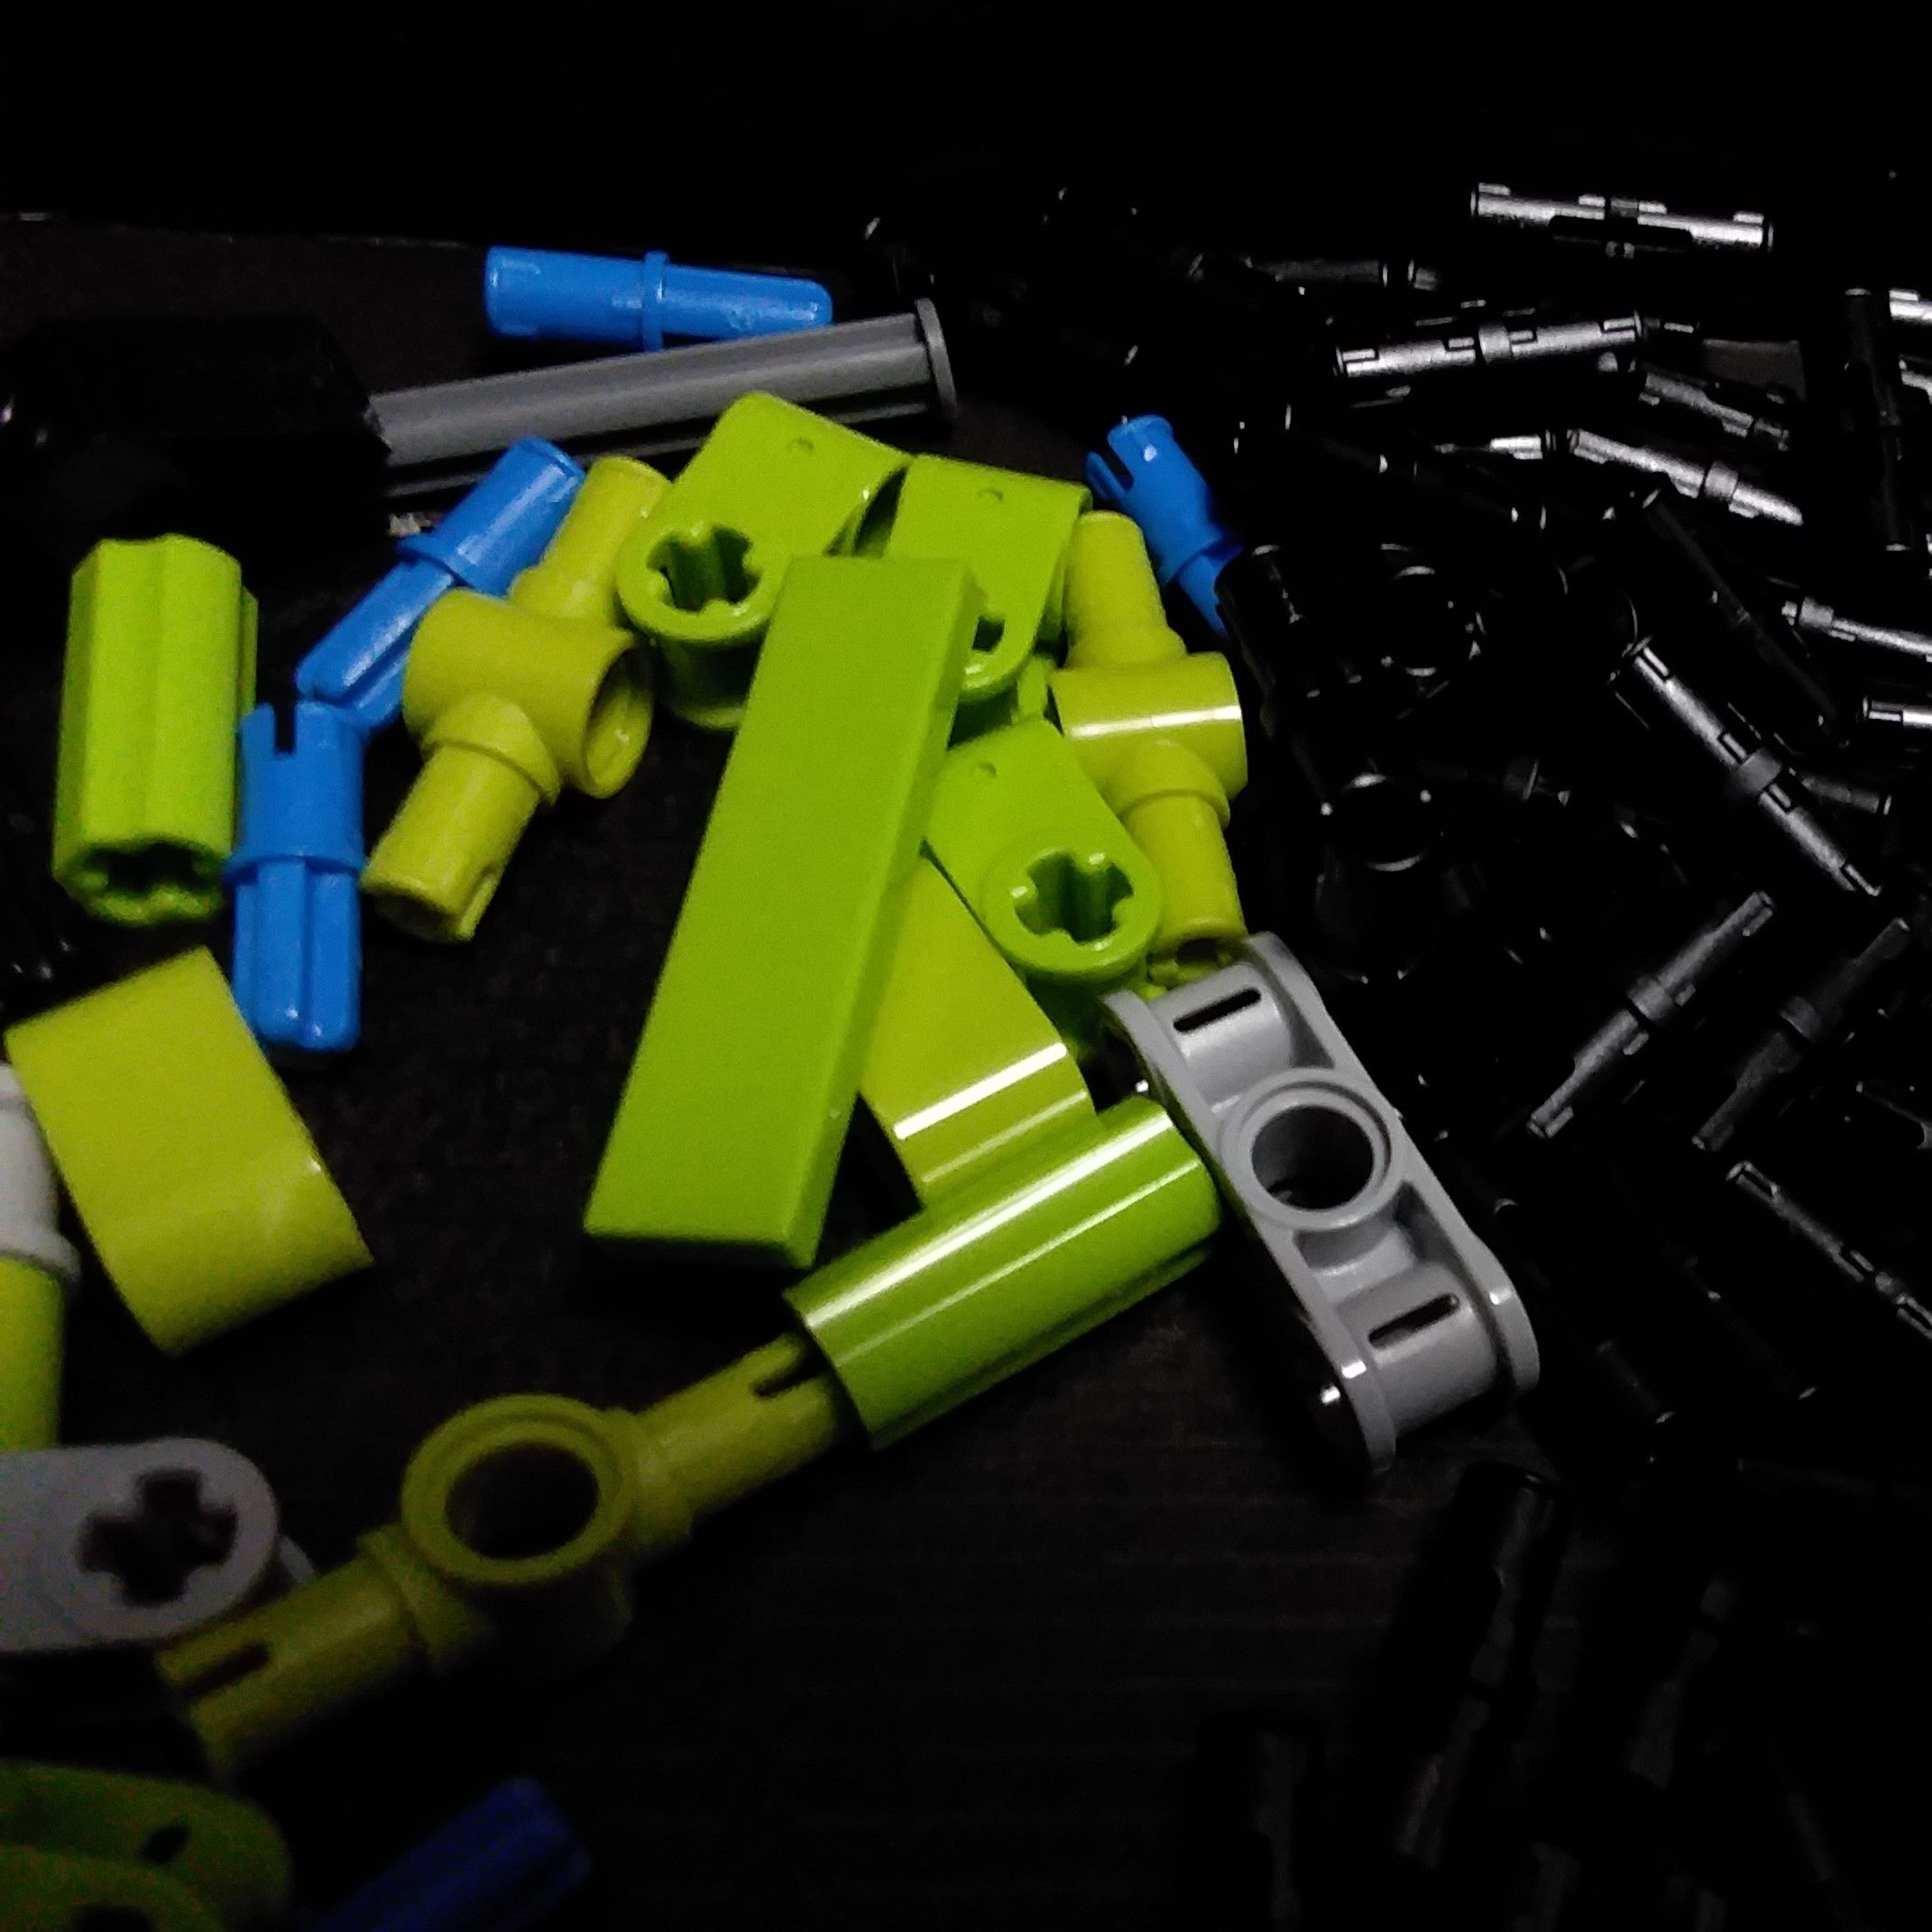 Still, I went ahead and finished the spoiler and engine cover. Alas, I forgot to take any good pics of this part of the process. The engine cover lifts off the car entirely to allow a look inside, but more work is required to see most of the cylinders themselves. I am tempted to leave off the valve cover on the engine just so the cool mechanical bits are visible. 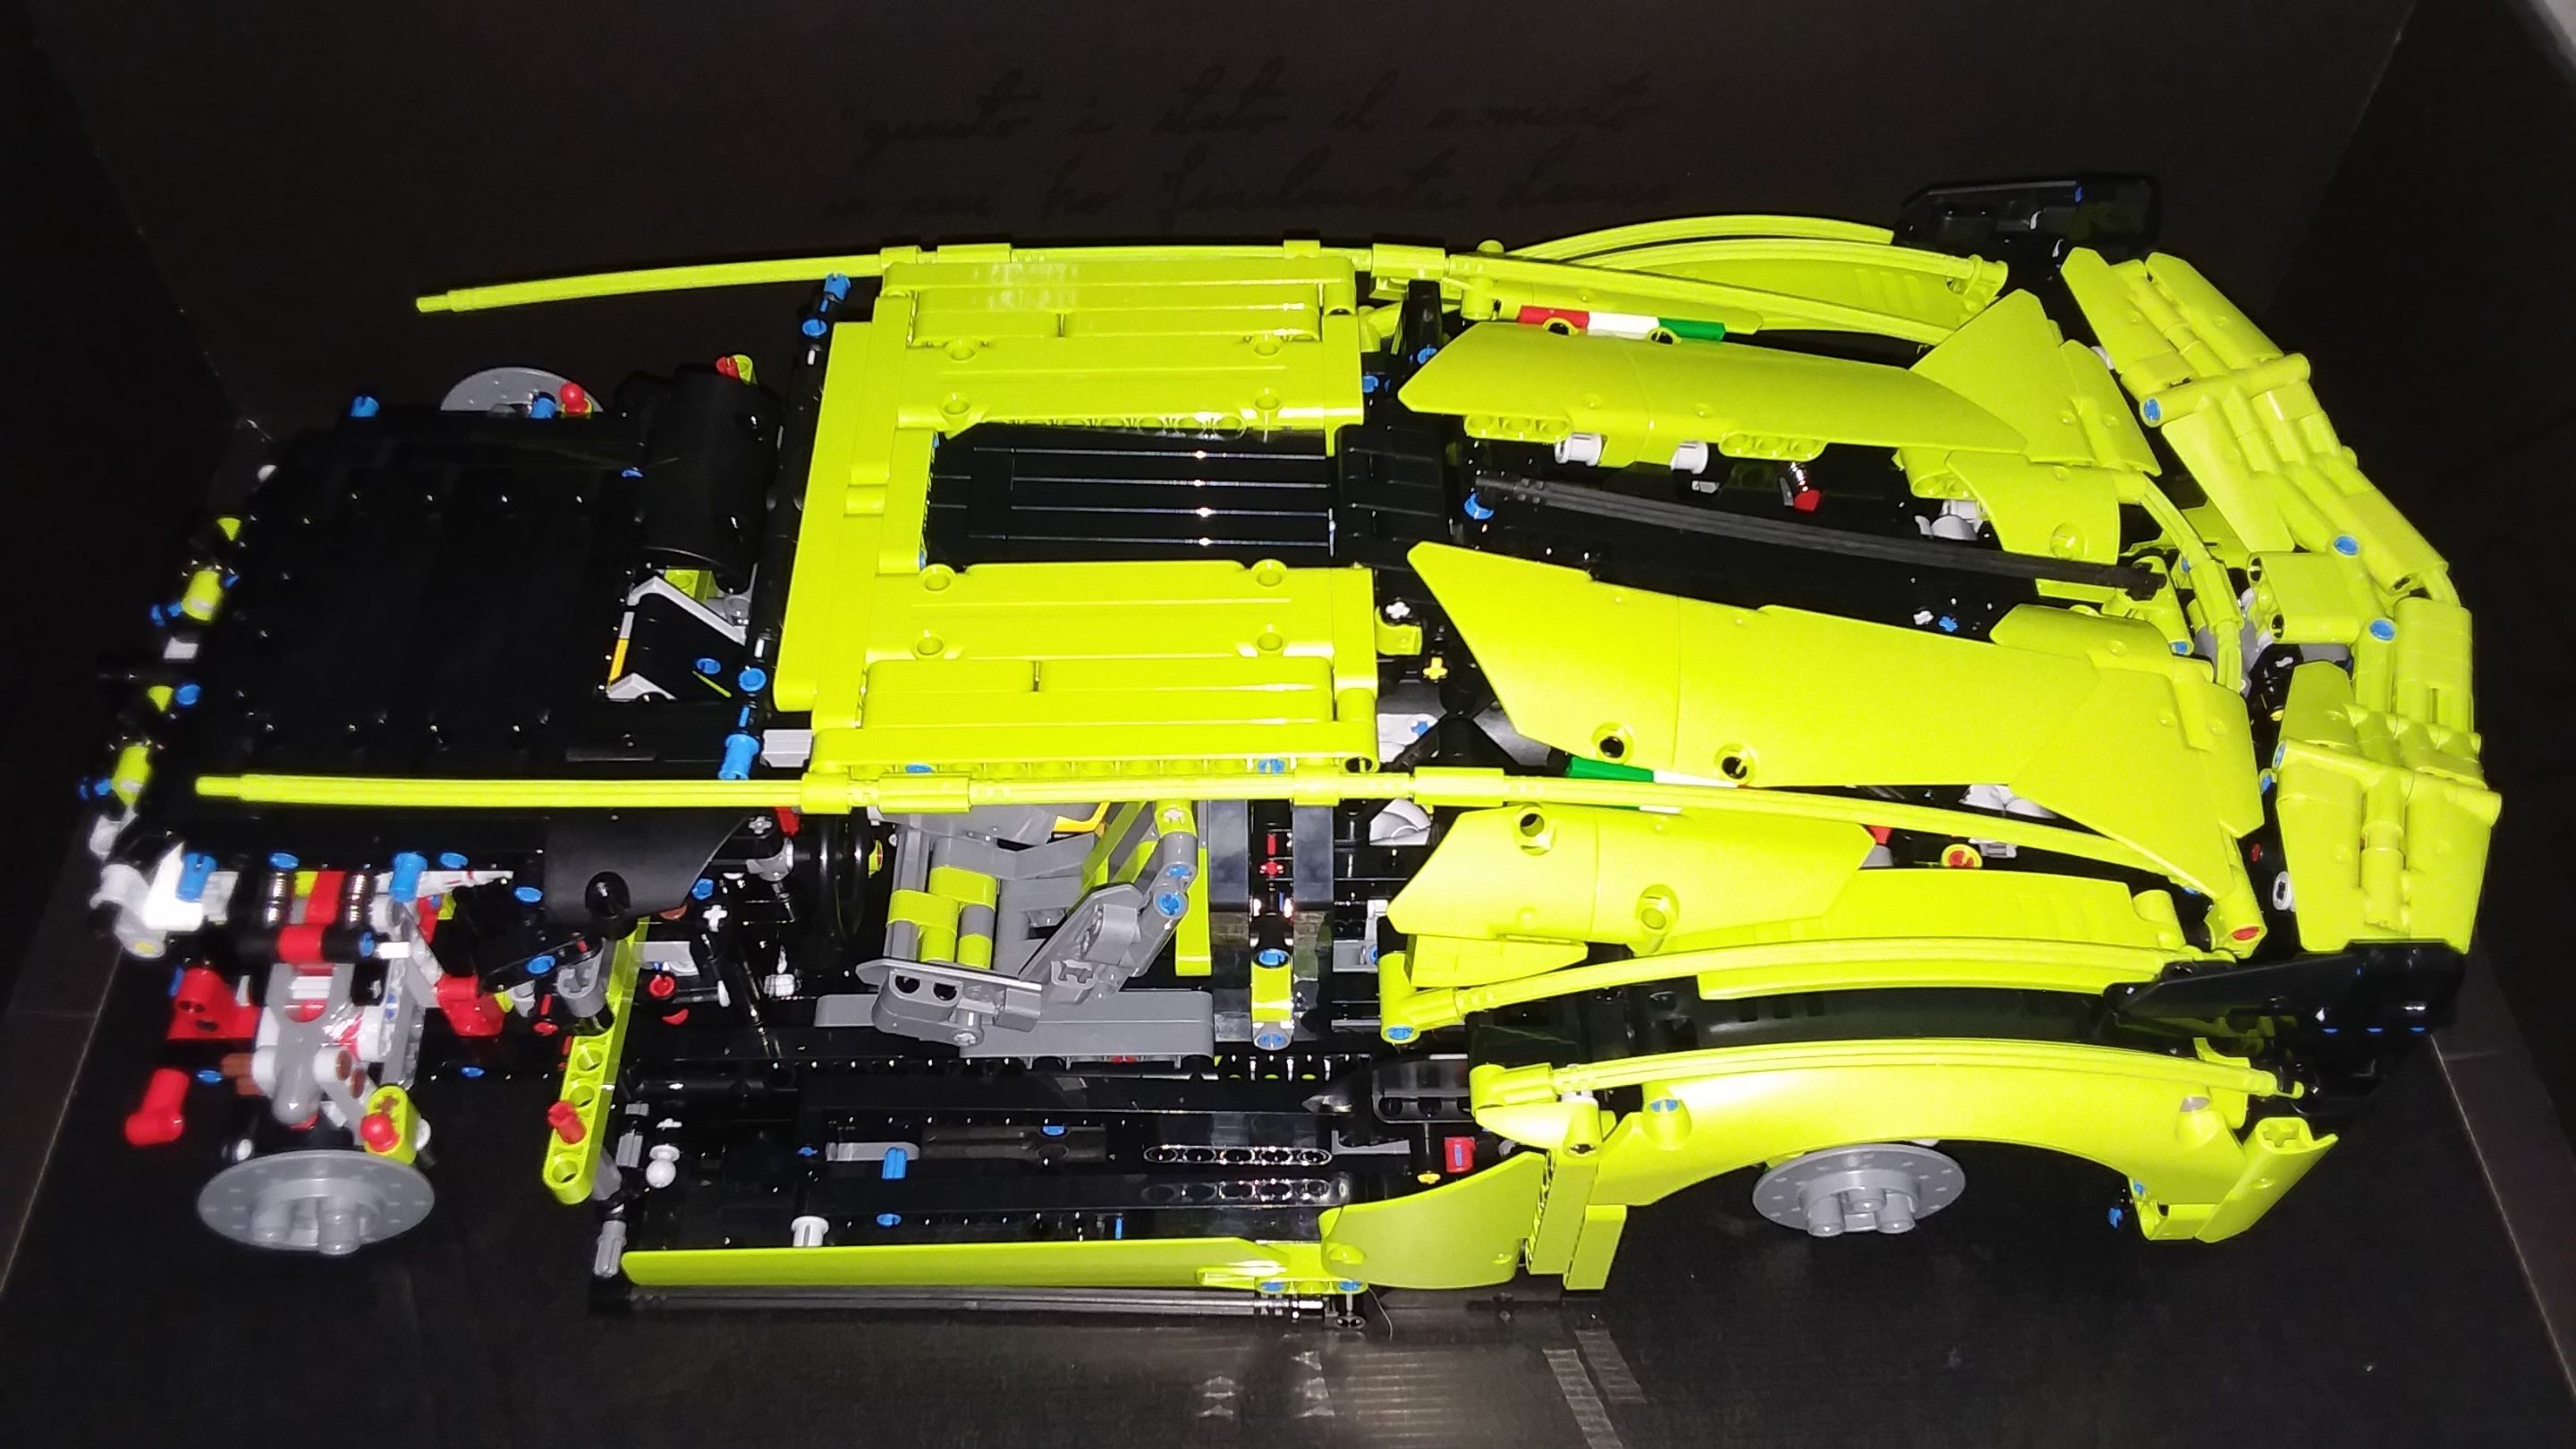 Stay tuned! There should be one more intensive construction post with pictures and a final post on the wheels and post-construction troubleshooting.
👍 sqube, moeenali, sbi2, freebornsociety, daveks, urtrailer, dickturpin, jlsplatts, foodfightfriday, kuku-splatts, homeedders, splatts, catinthewindow, w-splatts, tokengesture, theisacoin, djennyfloro, saboin, esecholo, satren, gimp, dera123, modernzorker, enforcer48, rosalestrust, tribevibes, kennyskitchen, juansgalt, alchemage, burntmd, elamental, mckeever, terrybrock, dbroze, eftnow, wearechange-co, misslasvegas, antimedia, dinglehopper, photolander, trucklife-family, careywedler, cahlen, paradigmprospect, krishool, mountainjewel, borrowedearth, sovereignalien, news2share, bobaphet, porters, vibesforlife, jadung, steelborne, deeanndmathews, haleakala, psycultureradio, abundance.tribe, anafae, hivelift, pdxfreedomevents, fenngen, nutritree, binkyprod, steemitboard, artemislives, tribesteemup, sterlinluxan, johnvibes, catherinebleish, dannyshine, makinstuff, whatamidoing, bryandivisions, solarsupermama, revisesociology, lishu, firststeps, moxieme, hempress, homestead-guru, steemsmarter, indigoocean, geliquasjourney, cambridgeport90, phillyc, waraira777, bilpcoinbpc, kyleana, smileon, cescajove, ninnu, idig, thoughts-in-time, freemotherearth, haileyscomet, taskmaster4450, susie-saver, paradise-paradox, flemingfarm, eaglespirit, truthabides, sudutpandang, belleamie, churdtzu, bia.birch, vegan.niinja, kieranpearson, nonsowrites, brightstar, heart-to-heart, mannacurrency, colinhoward, canadianrenegade, celestialcow, inspirewithwords, ryivhnn, holisticmom, gorc, pixietrix, shadowlioncub, nyxlabs, huzzah, builderofcastles, logiczombie, chops316, admiralbot, aninsidejob, steemflagrewards, nathanpieters, memehub, chicoduro, memecurator, memesupport, arcange, senseiphil, laruche, walterjay, pboulet, hive-143869, raphaelle, fengchao, generikat, randr10, luciannagy, newsnownorthwest, scribblingramma, harveyword,