Watercolor Tutorial - Wet on Wet - #jnarttutorial
art·@jnart·
0.000 HBDWatercolor Tutorial - Wet on Wet - #jnarttutorial
<center><h1> A Watercolor Journey </h1>..:: * ::.. *Original art by @jnart* ..:: :: :: * :: :: ::.. #jnarttutorial <hr> I recently found #drawingchallenge hosted by @helene. I love the criteria that everyone has to make a how-to post, so we can all learn from each other. The theme was fruit so why not practice some watercolor technique? I'll guide you through how I made my apple. And please tell me what you think or give me critique on the painting or process. Thank you! ..:: :: :: :: * :: :: :: ::.. *Arches 300g, A3* 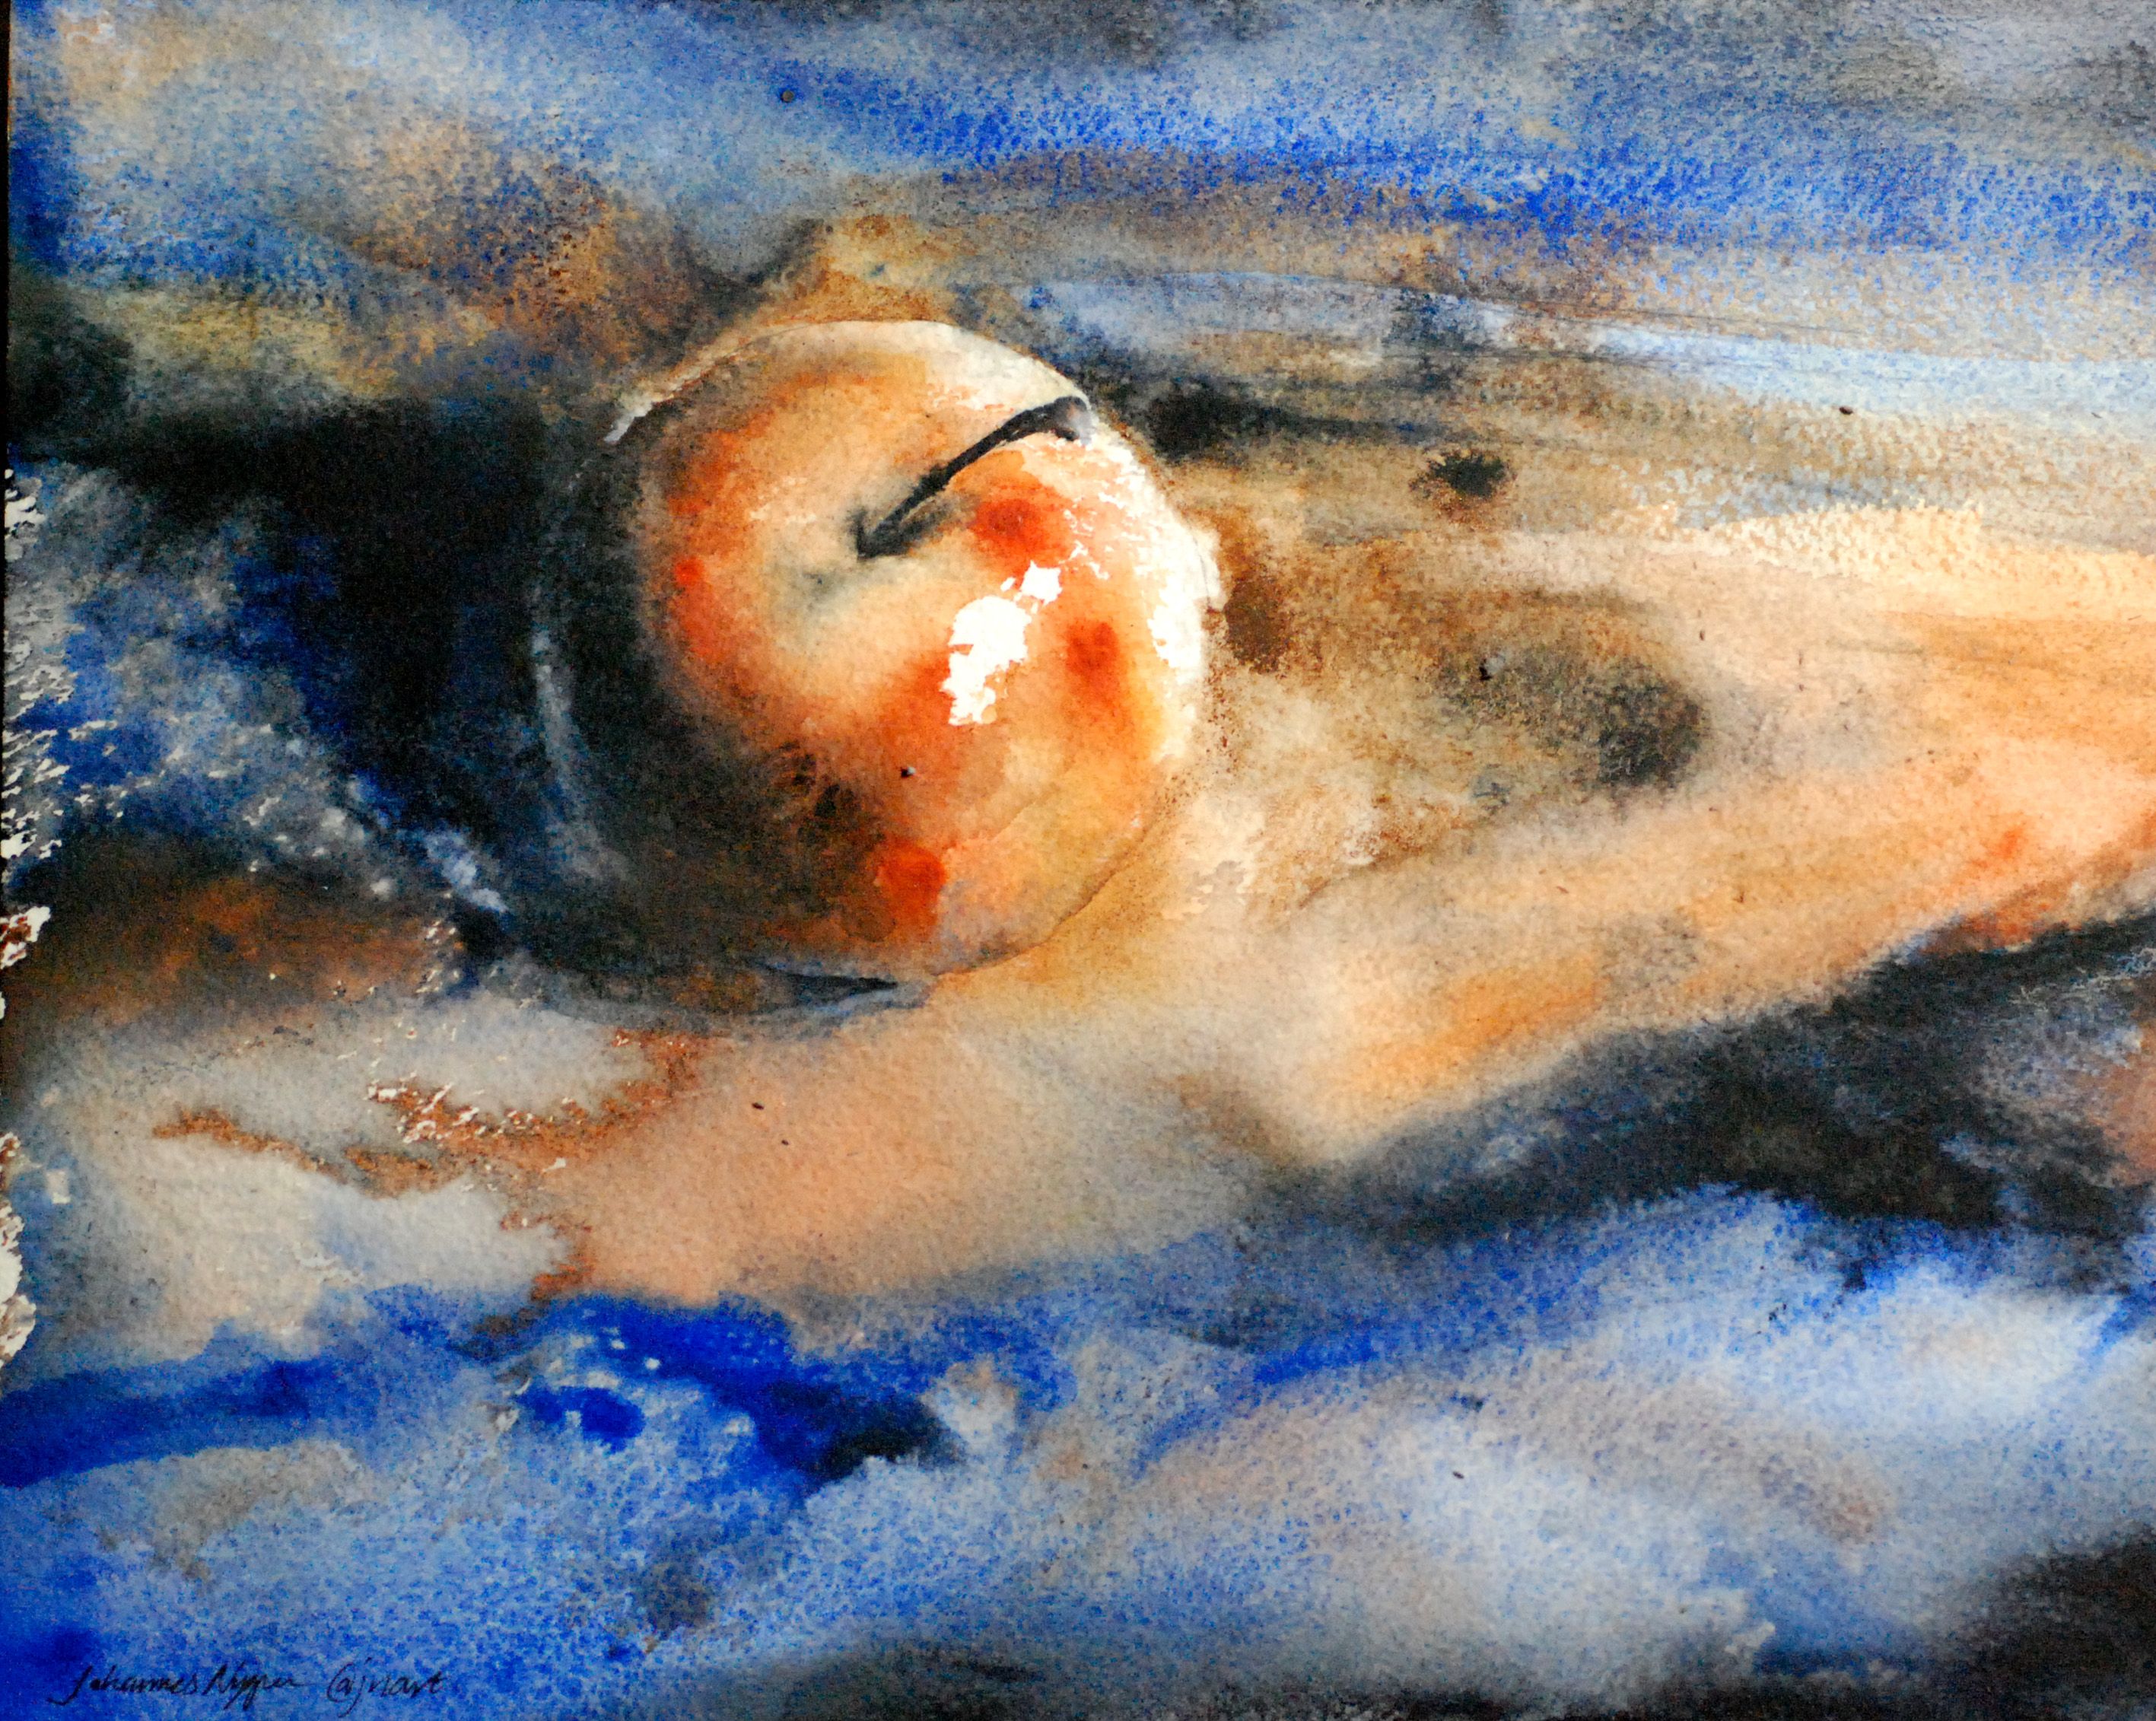 Set your stage. I had no fancy apples home so my buddy @reko's apples from latest dumpster diving would do. 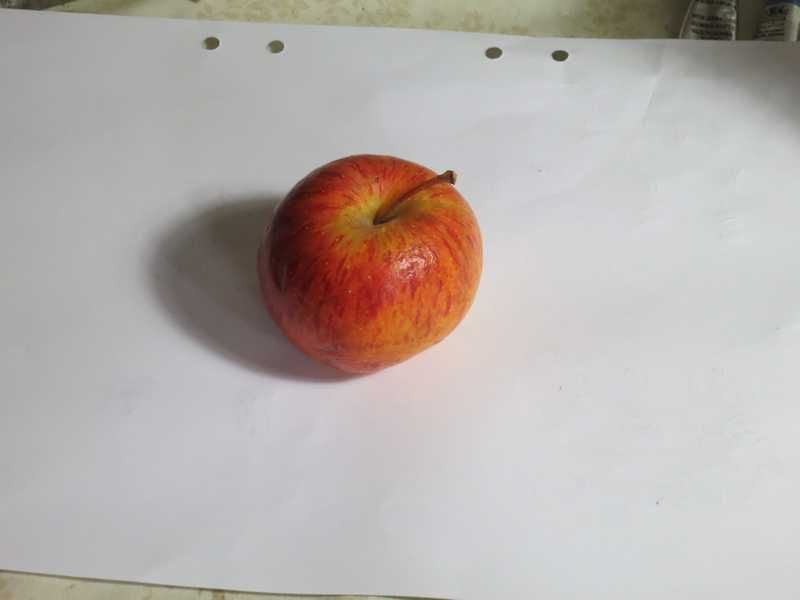 Make a sketch and apply masking fluid for the highlight. 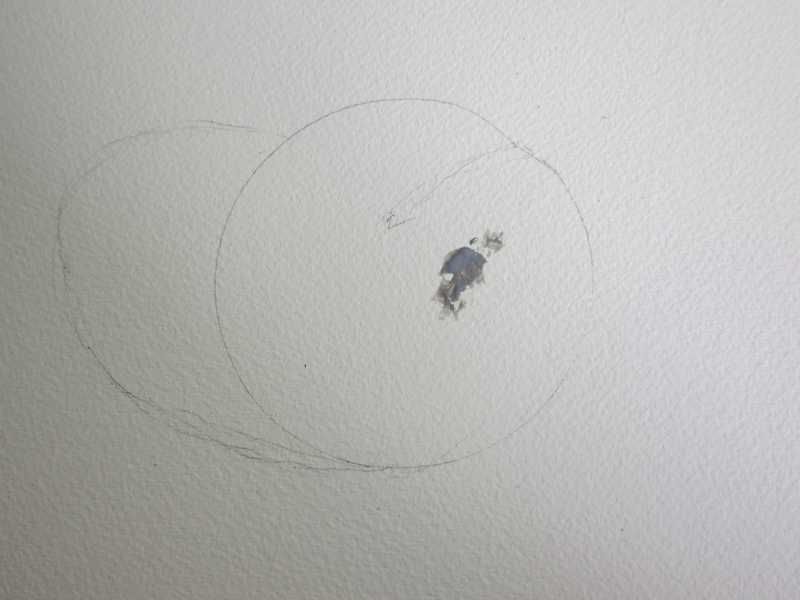 Prepare the colors you like in great amount not to run out while painting. I wanted to try out some pigments that [granulate](https://www.youtube.com/watch?v=VjtmhyVXMT0) so I used Ultramarine Blue and Burnt Umber. Yellow Ochre, Light Red and Neutral Tint was fillers. 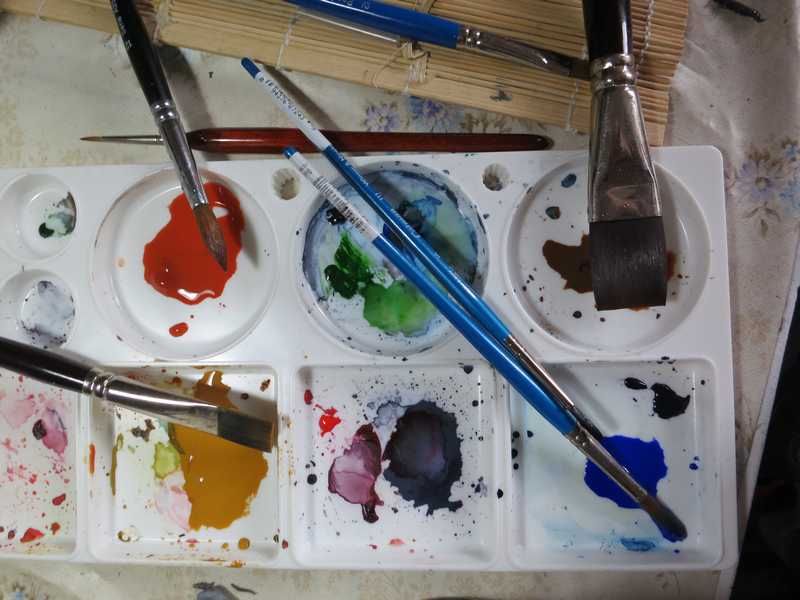 Prepare with a spray bottle filled with water. 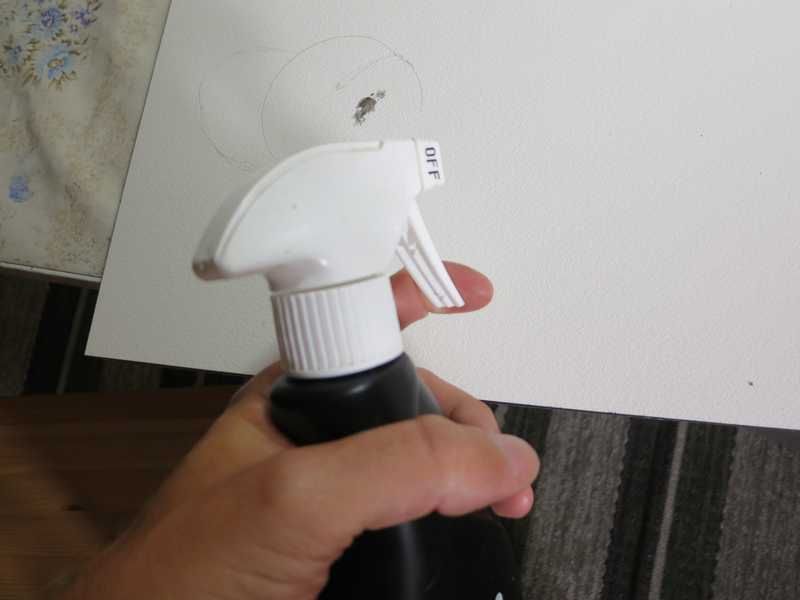 Start with the colors of your choosing. 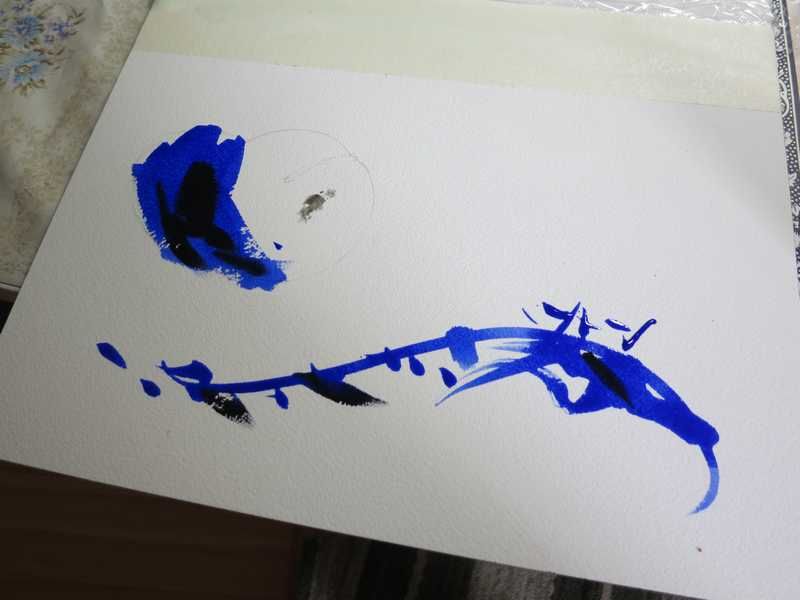 Spray on water and let it run along the canvas by tilting. 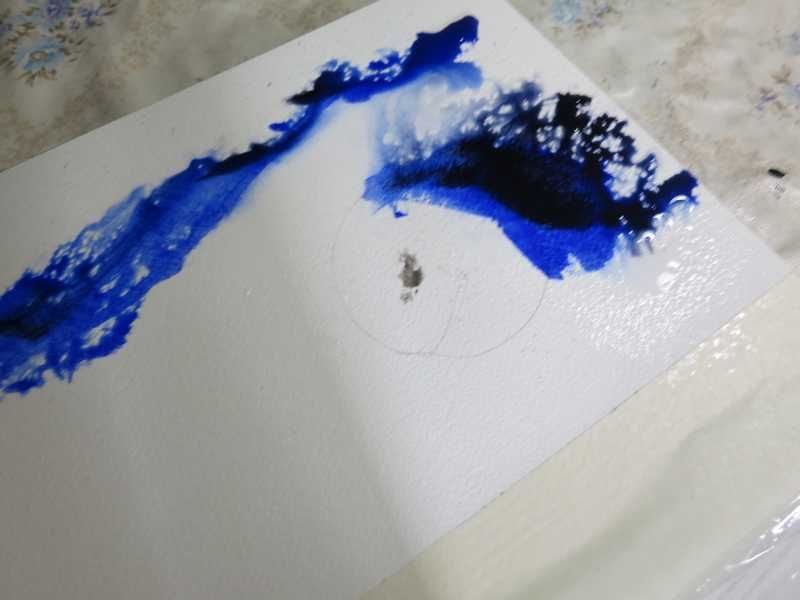 Add secondary colors - there is no right or wrong, only intuition. 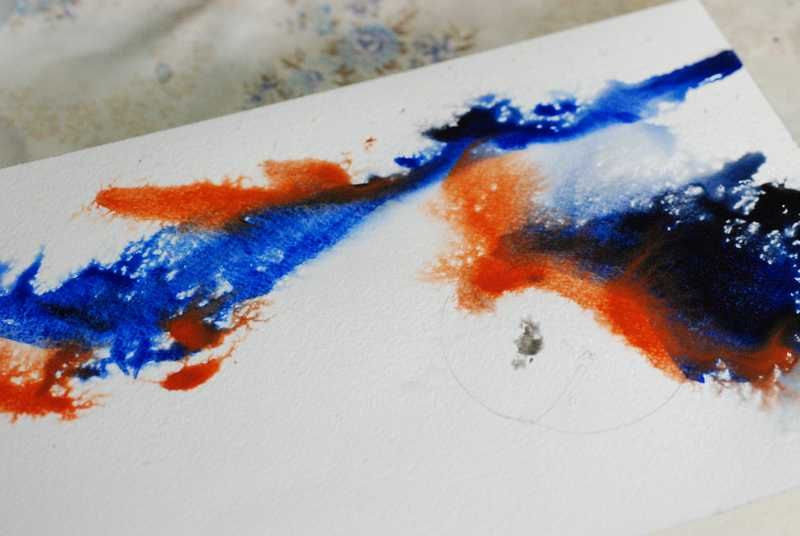 Maybe add some patterns. 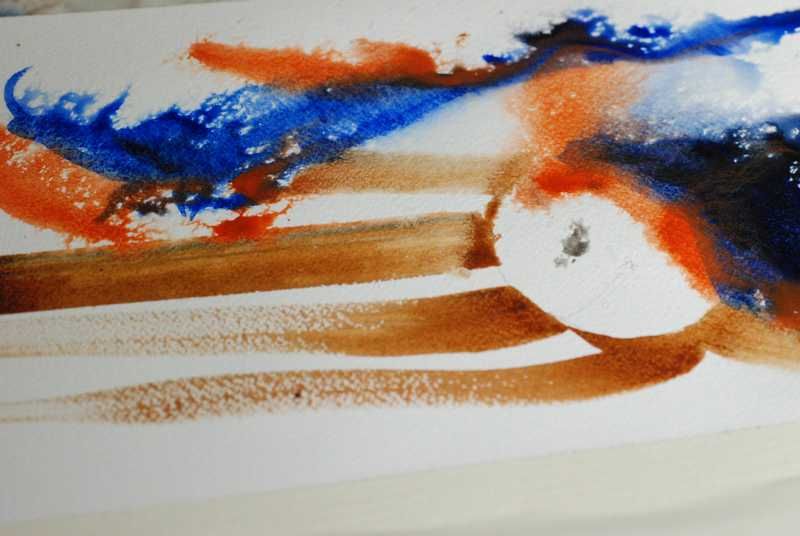 The only important task in this phase was to leave some whites - unpainted areas of the paper, especially in the apple. 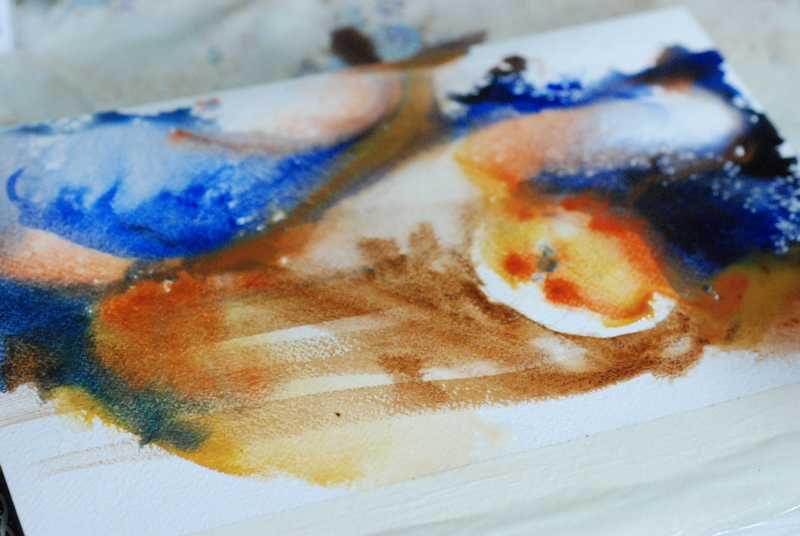 I let it dry. 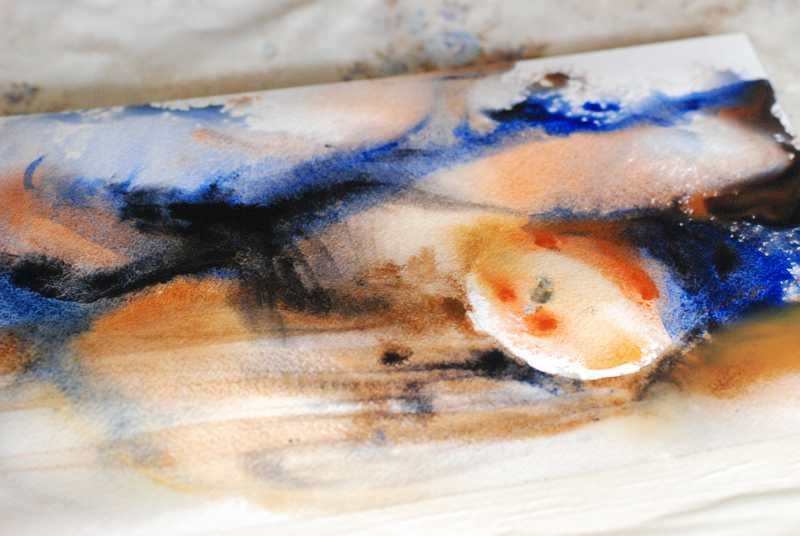 Tilt the canvas to avoid [blooming effects](https://www.youtube.com/watch?v=dfembvRs2bw). 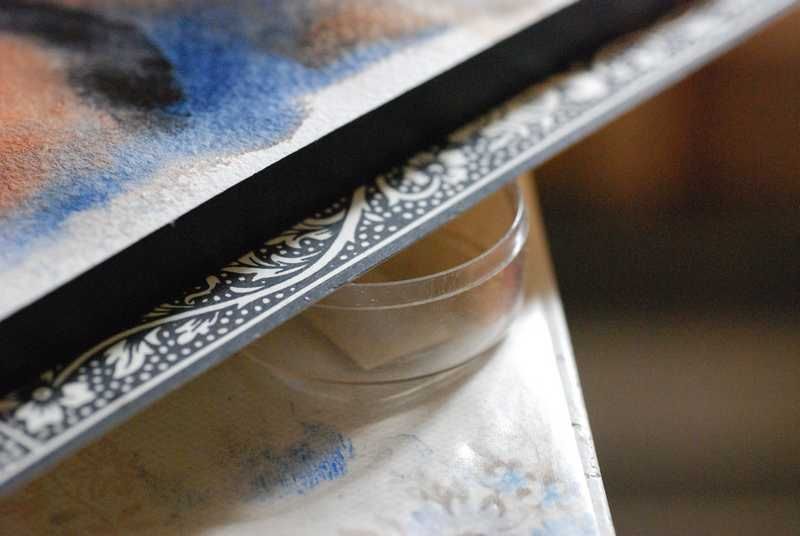 When dry, study your painting and see what to do next. 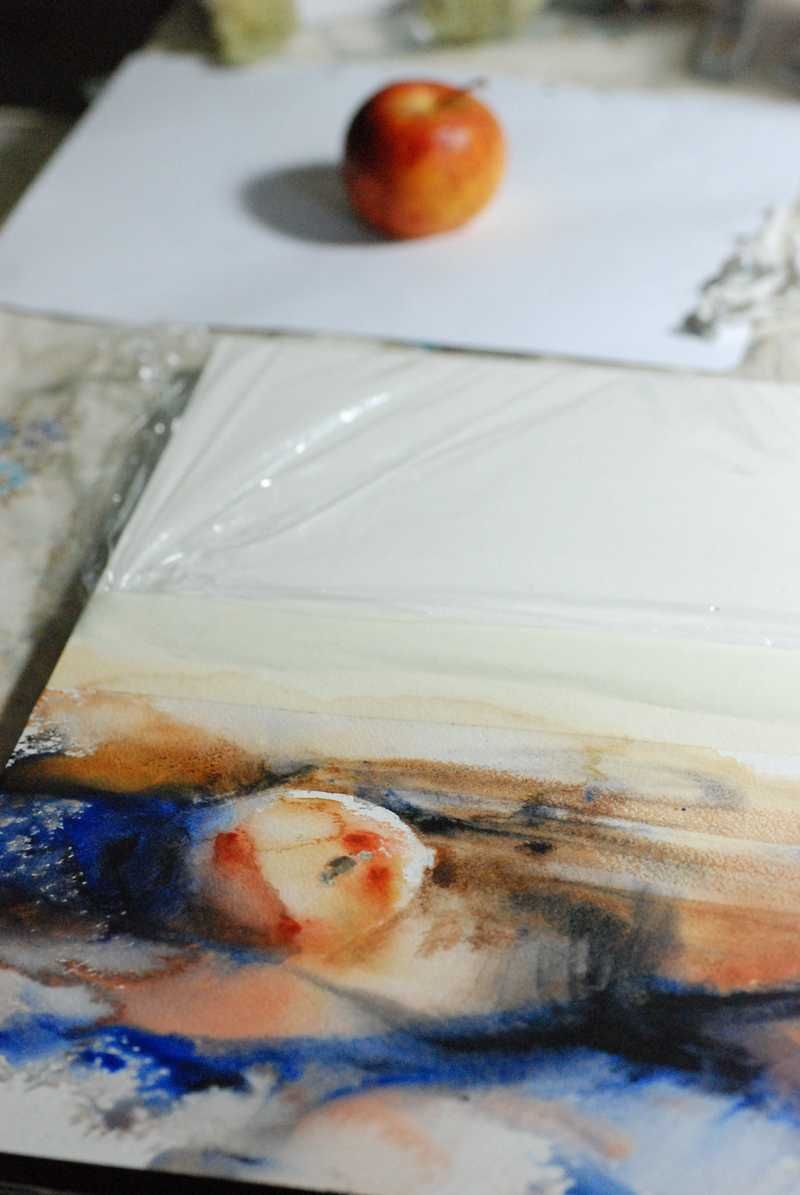 Prepare colos for painting detail. 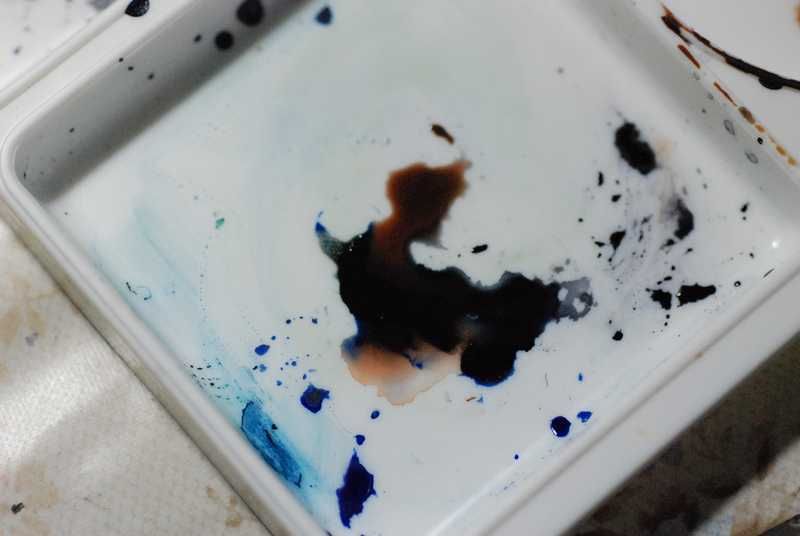 Wet areas you want to paint with clear water. Then ad the darker tone where you can see the shadow. 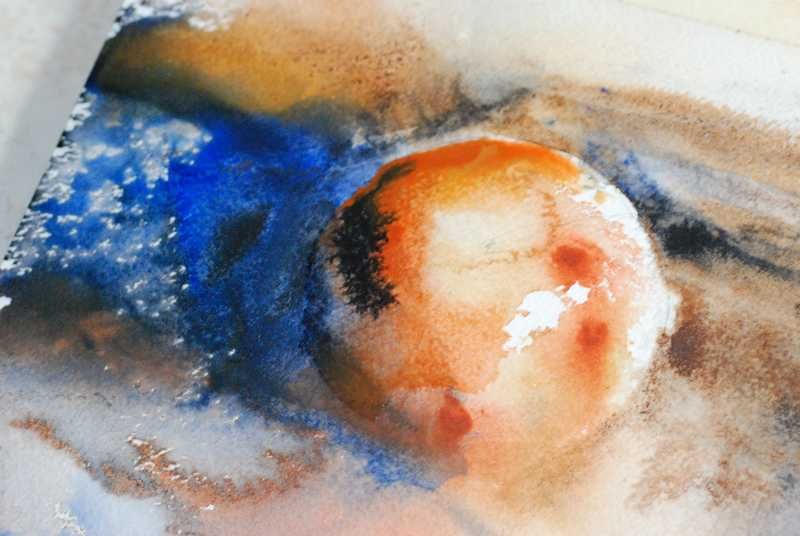 Use a tiny pencil for details. And as always with watercolor - remove colors applied in wrong places with paper or towel before it dries. 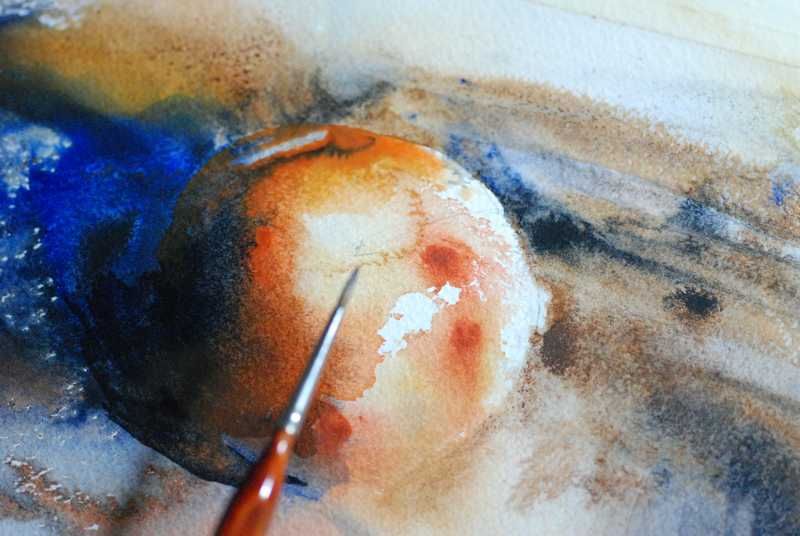 *(When you photo your process you can see where you should have stopped. I like the blooming but painted over it later in the process.)* 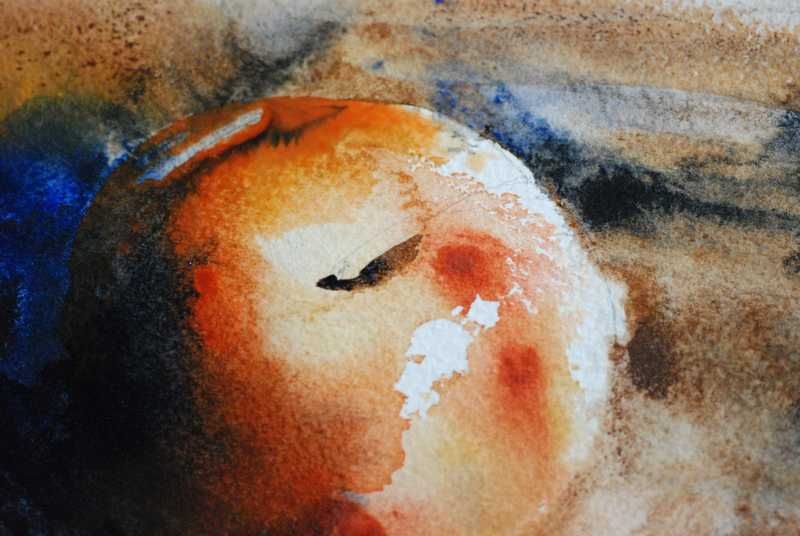 Look at the overall picture from time to time to see if something is incorrect. 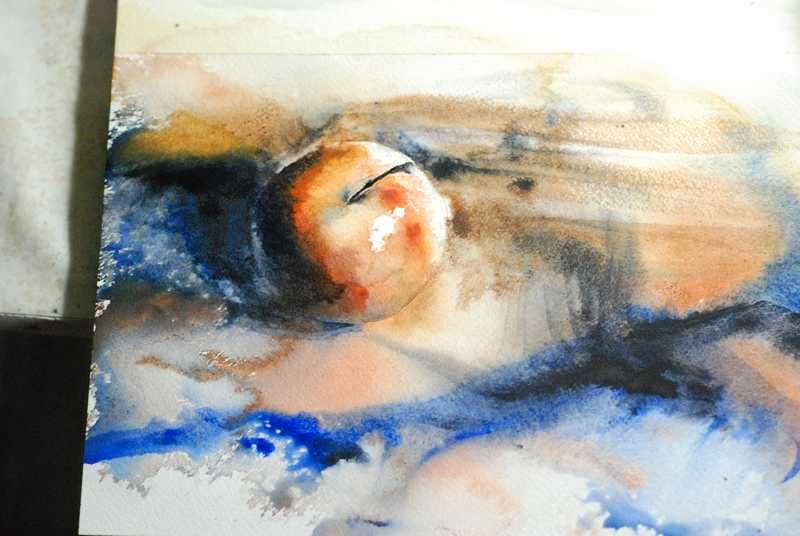 When you can see what the details look like - see if the background need some extra attention. I saw the need for a darker and cooler background. I applied color and used the spray bottle one last time. 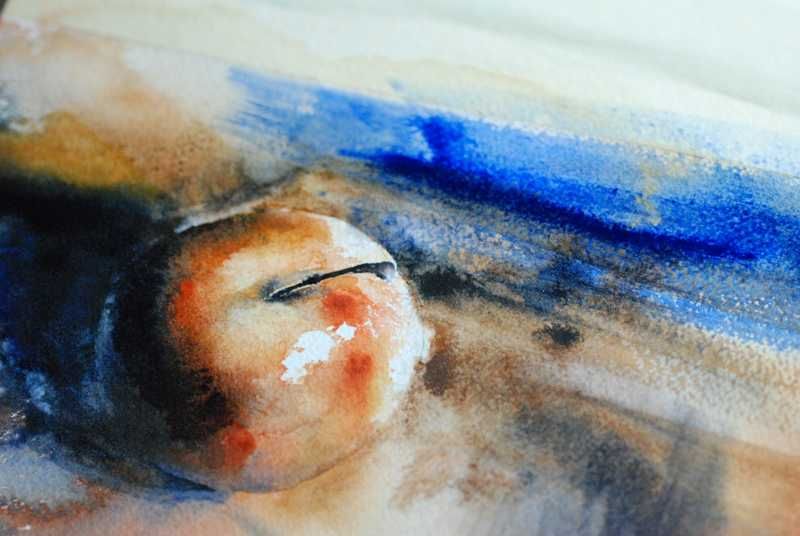 If necessary, remove paint with a brush or toothbrush (when the painting is dry). It works better with non-staining color. And you must have good quality watercolor paper. 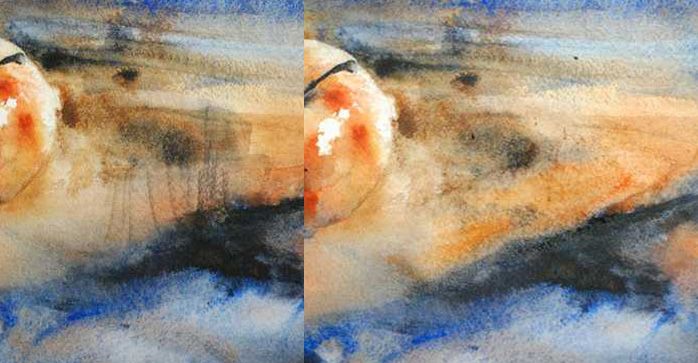 Tadaa! I might keep on working on it but think it's kind of finished.  <center>**Hope this inspires - See ya!**</center>  --- <center>[**And click here for my tutorial on Repetitive Patterns and Celtic Patterns**](https://steemit.com/art/@jnart/how-to-design-a-repetitive-pattern-tiny-celtic-patterna-tutorial)  </center> ___ <center><a href="https://steemit.com/@jnart"><img src="http://image.ibb.co/eGw8ga/Head_smal7.jpg" alt="Head_smal7" border="0"></a></center>
👍 jnart, digitalplayer, stemovpi, alebastr, brittclemens, neverknow, vlonsha, xeniadya, cykuq, dashy, vektor, mooen, dwellshere, moonrayakim, newguyintown, analasanaraath, elsaiflotop, maestochki, svyatoslavv, lauritta, denispetrov, filolog, edgypanda, tenralund, yadichenko, justmousepixels, lburo, mainten, sunscape, immort, shermak, znkojdn3k3tt, vodyanoy, team, beunarovich, nikolai36, larizernova, nikol9911, quocvietle, orii, mitchhunter, surlysquid, sgaz, alcibiades, liberosist, pharesim, stefannif, alaminrlima, susanlo, george-topalov, cheapogroovo, steemitboard, rahib, sanks7, duytruongnguyen, kumail-jaffri, mg882, armshippie, reko, originalworks, fitnessallinone, myhairdresser, melowilo, academix87, viralvid, omar-hesham, audax, shippou95, hawk1987, asechkina, davidconstantine, khawlaa, golazin, opheliafu, erangvee, jungwatercolor, vermillionfox, helene,