Getting a Handle on Things (Or in this case just a mug)
art·@kobiespriggs·
0.000 HBDGetting a Handle on Things (Or in this case just a mug)
Good Day Steemians! Today I thought some of you might be interested to see how you get a handle on a pottery mug. First you have to throw your mug on the wheel and let it sit for a few days to become leather hard in order to trim off any excess clay. Before I start to trim the mug I will get a handle ready so it can sit and set up for a few minutes before I attach it to my freshly trimmed cylinder. I have a tool that makes handles for me. For those curious this is Plainsman 370 clay. 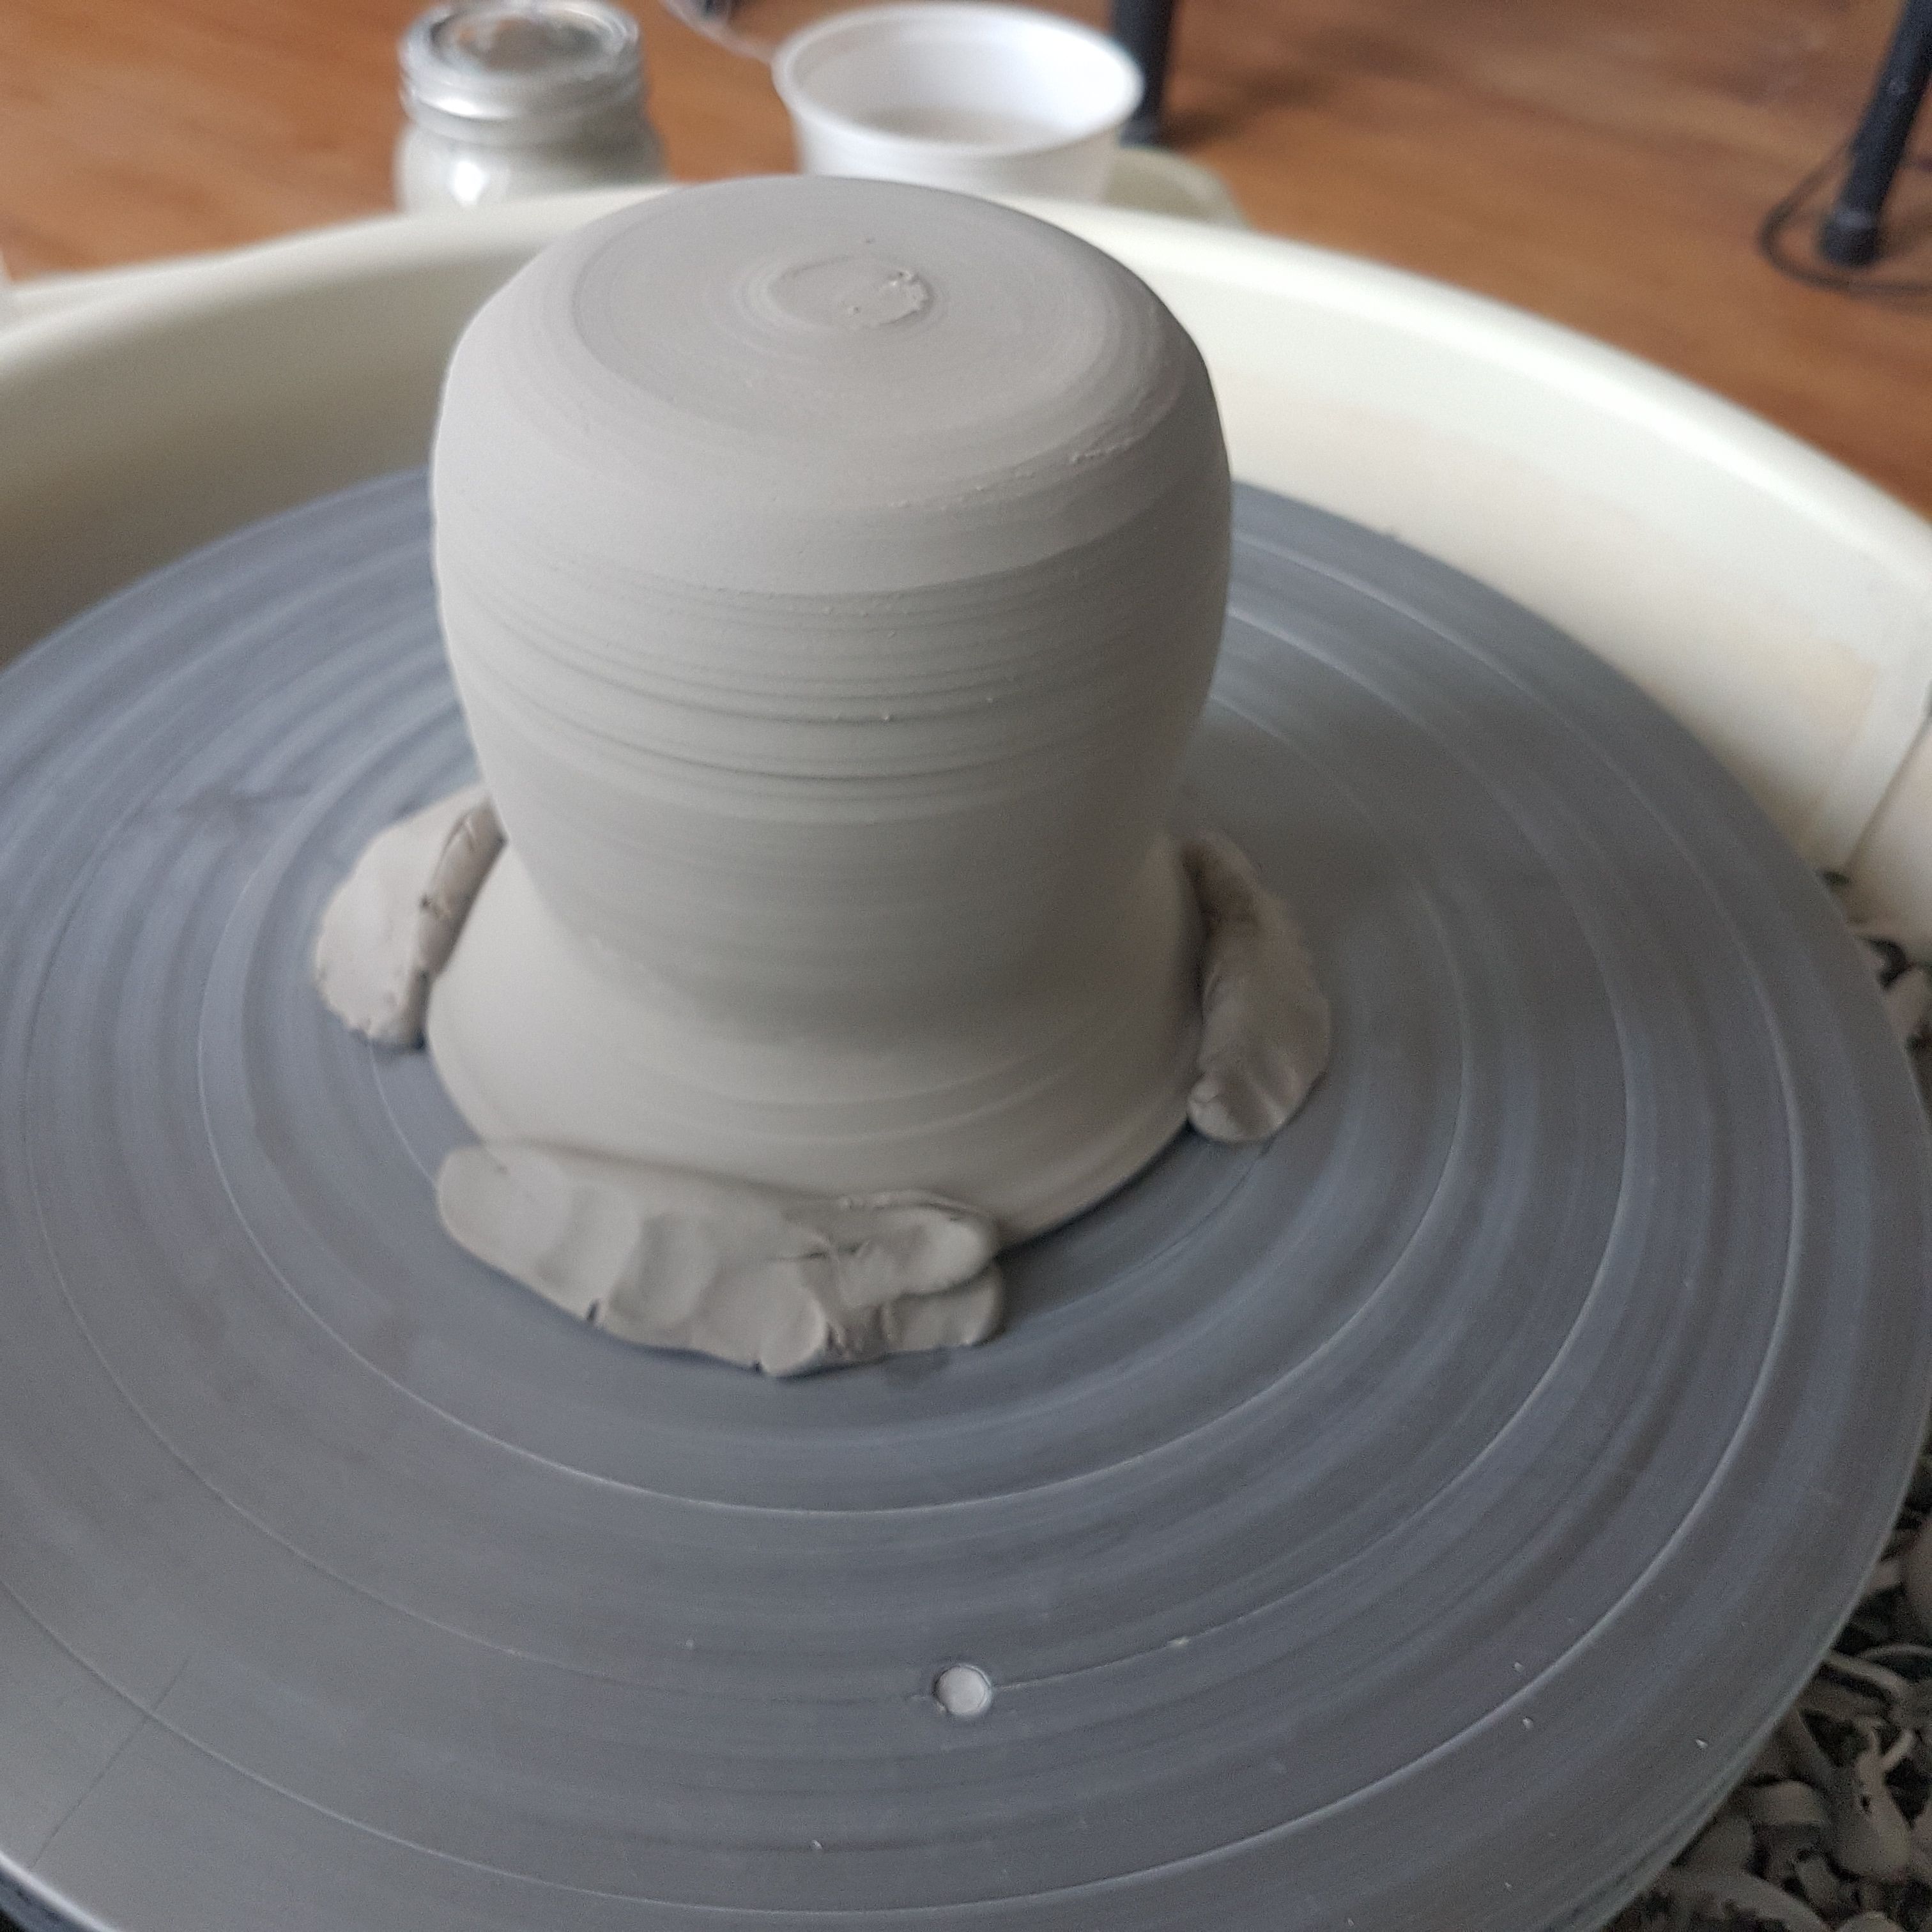 Once the mug is trimmed I assemble the things I will need to attach the handle: Slip (a mixture of clay scraps and water), a scoring tool, a brush to apply slip on the mug and handle edges, some water and finally a sponge. 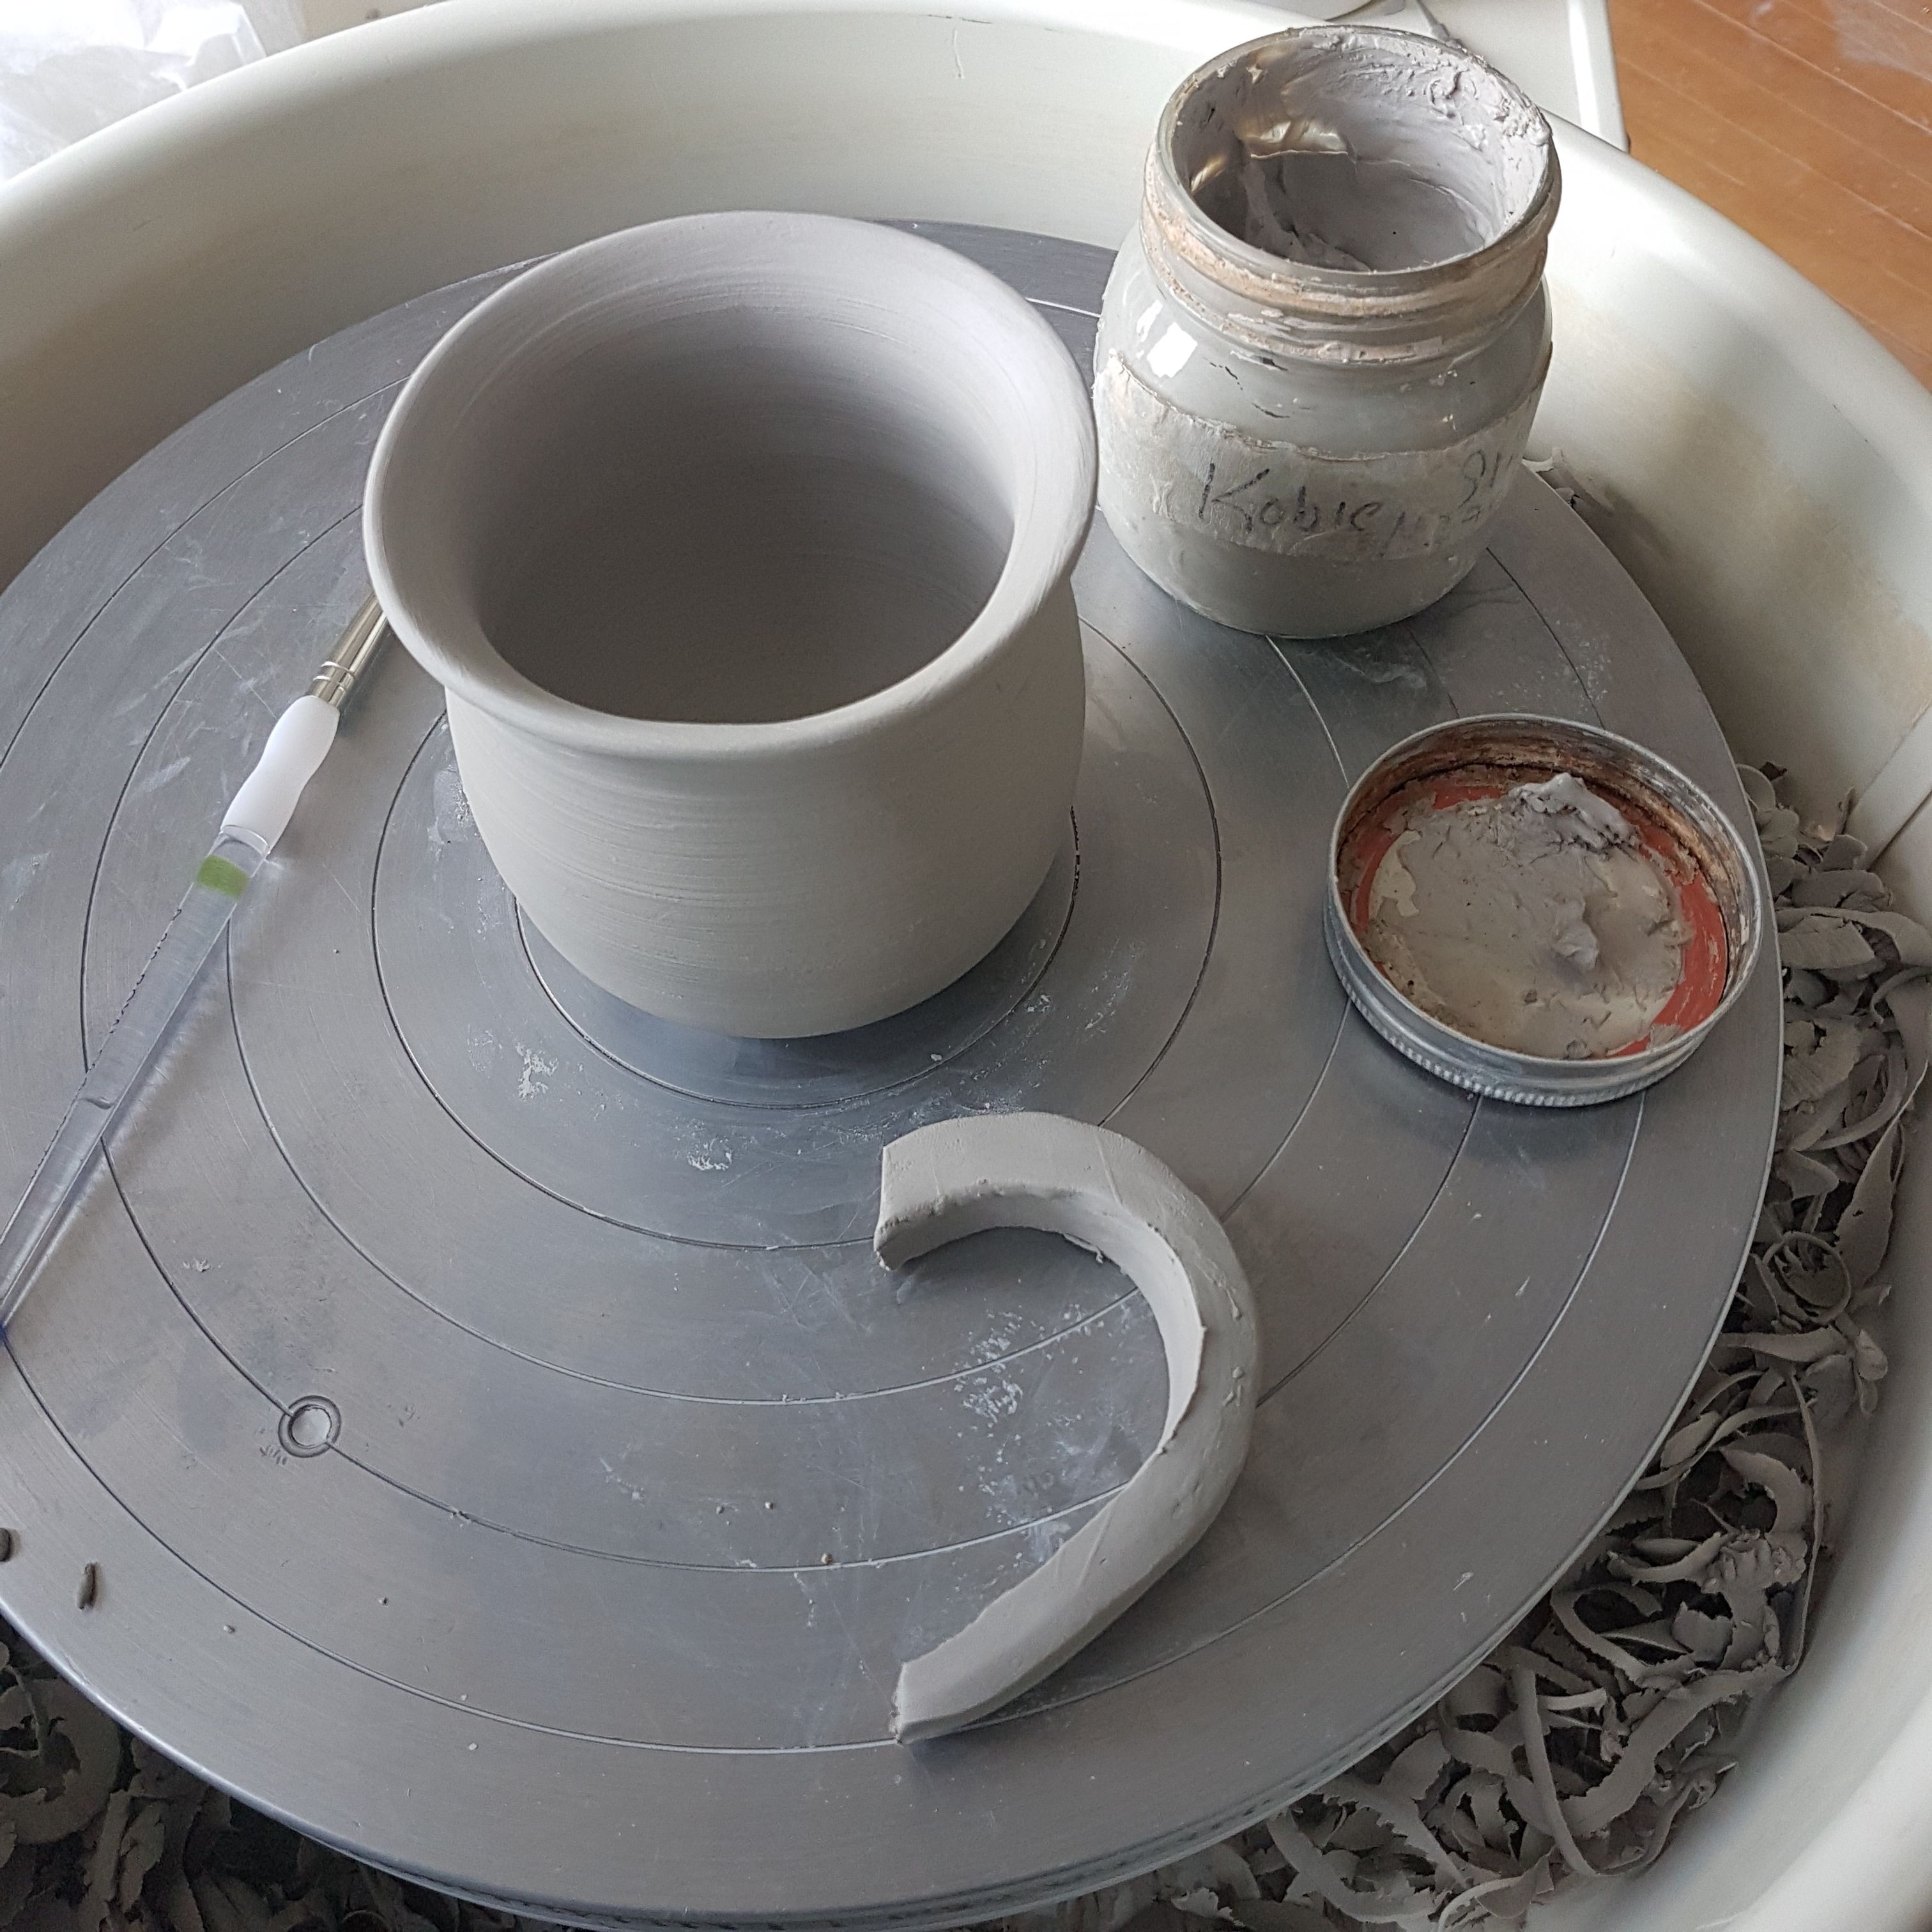 The tool pictured here is great for roughing up the surfaces of the mug and handles. 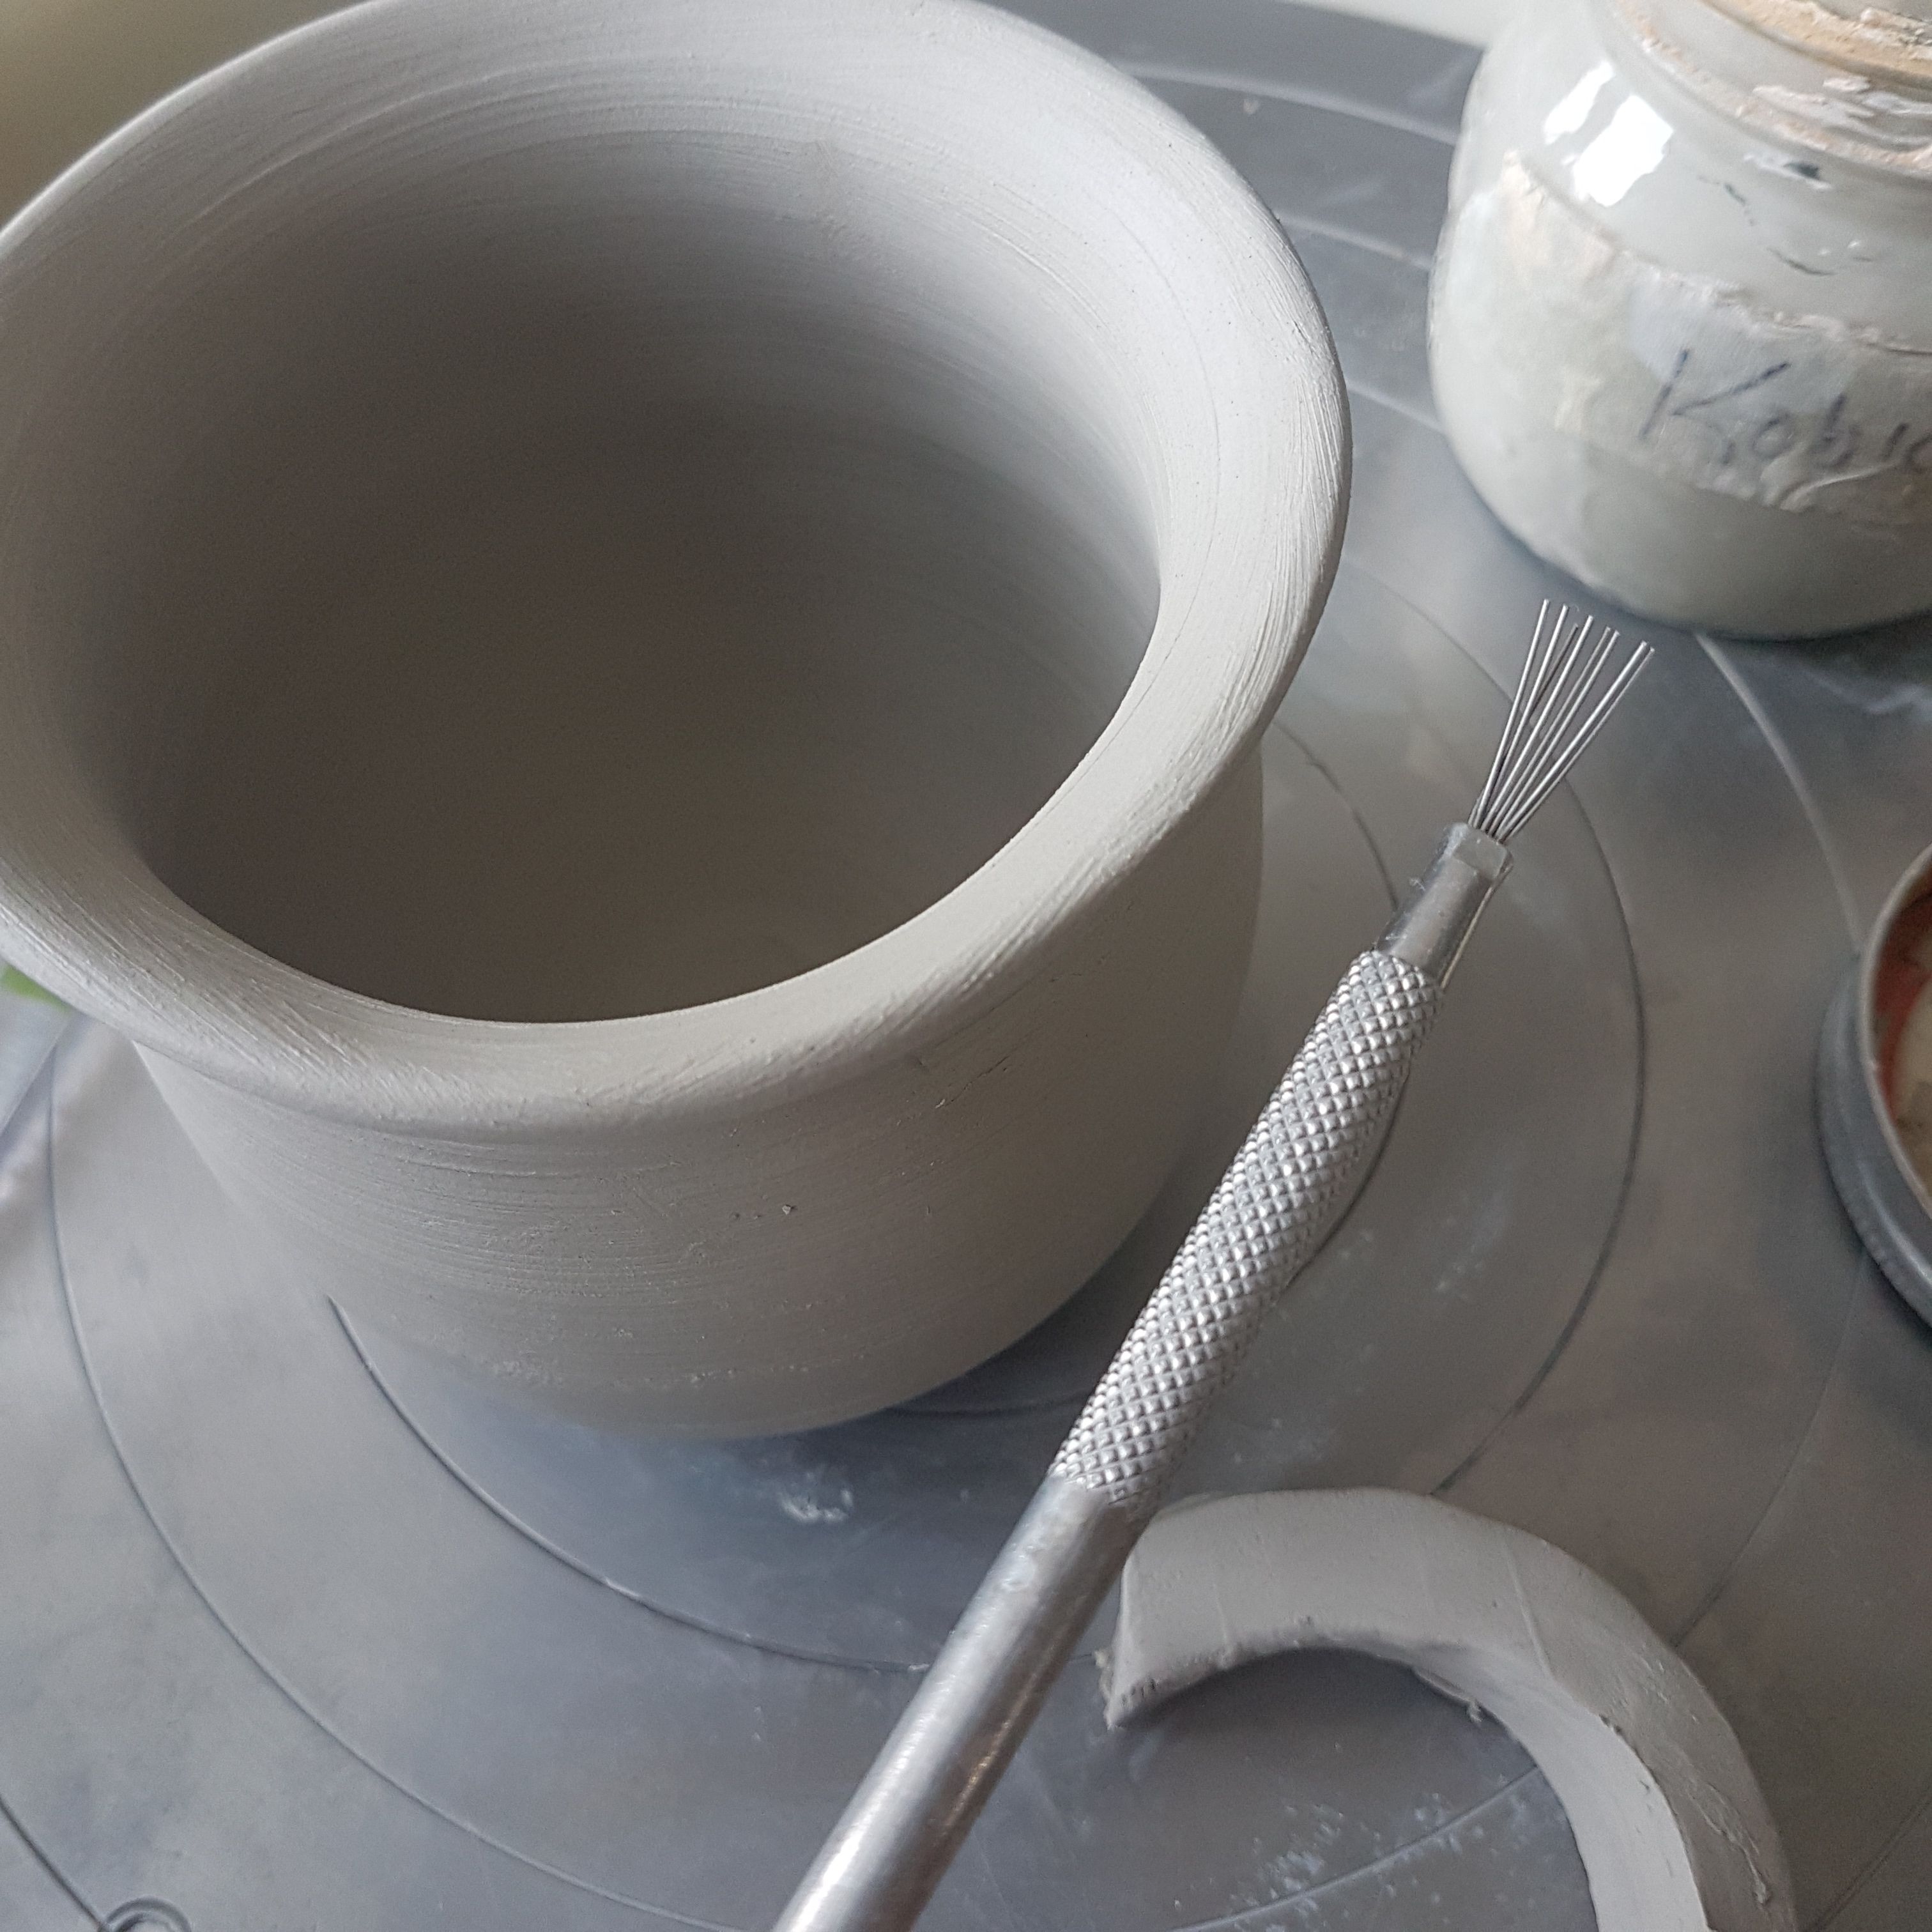 At this time you determine where you want your handle to be and with your scoring tool bascially make hashtag marks on both the ends of the handle and where they will attach onto the cylinder portion of the mug. 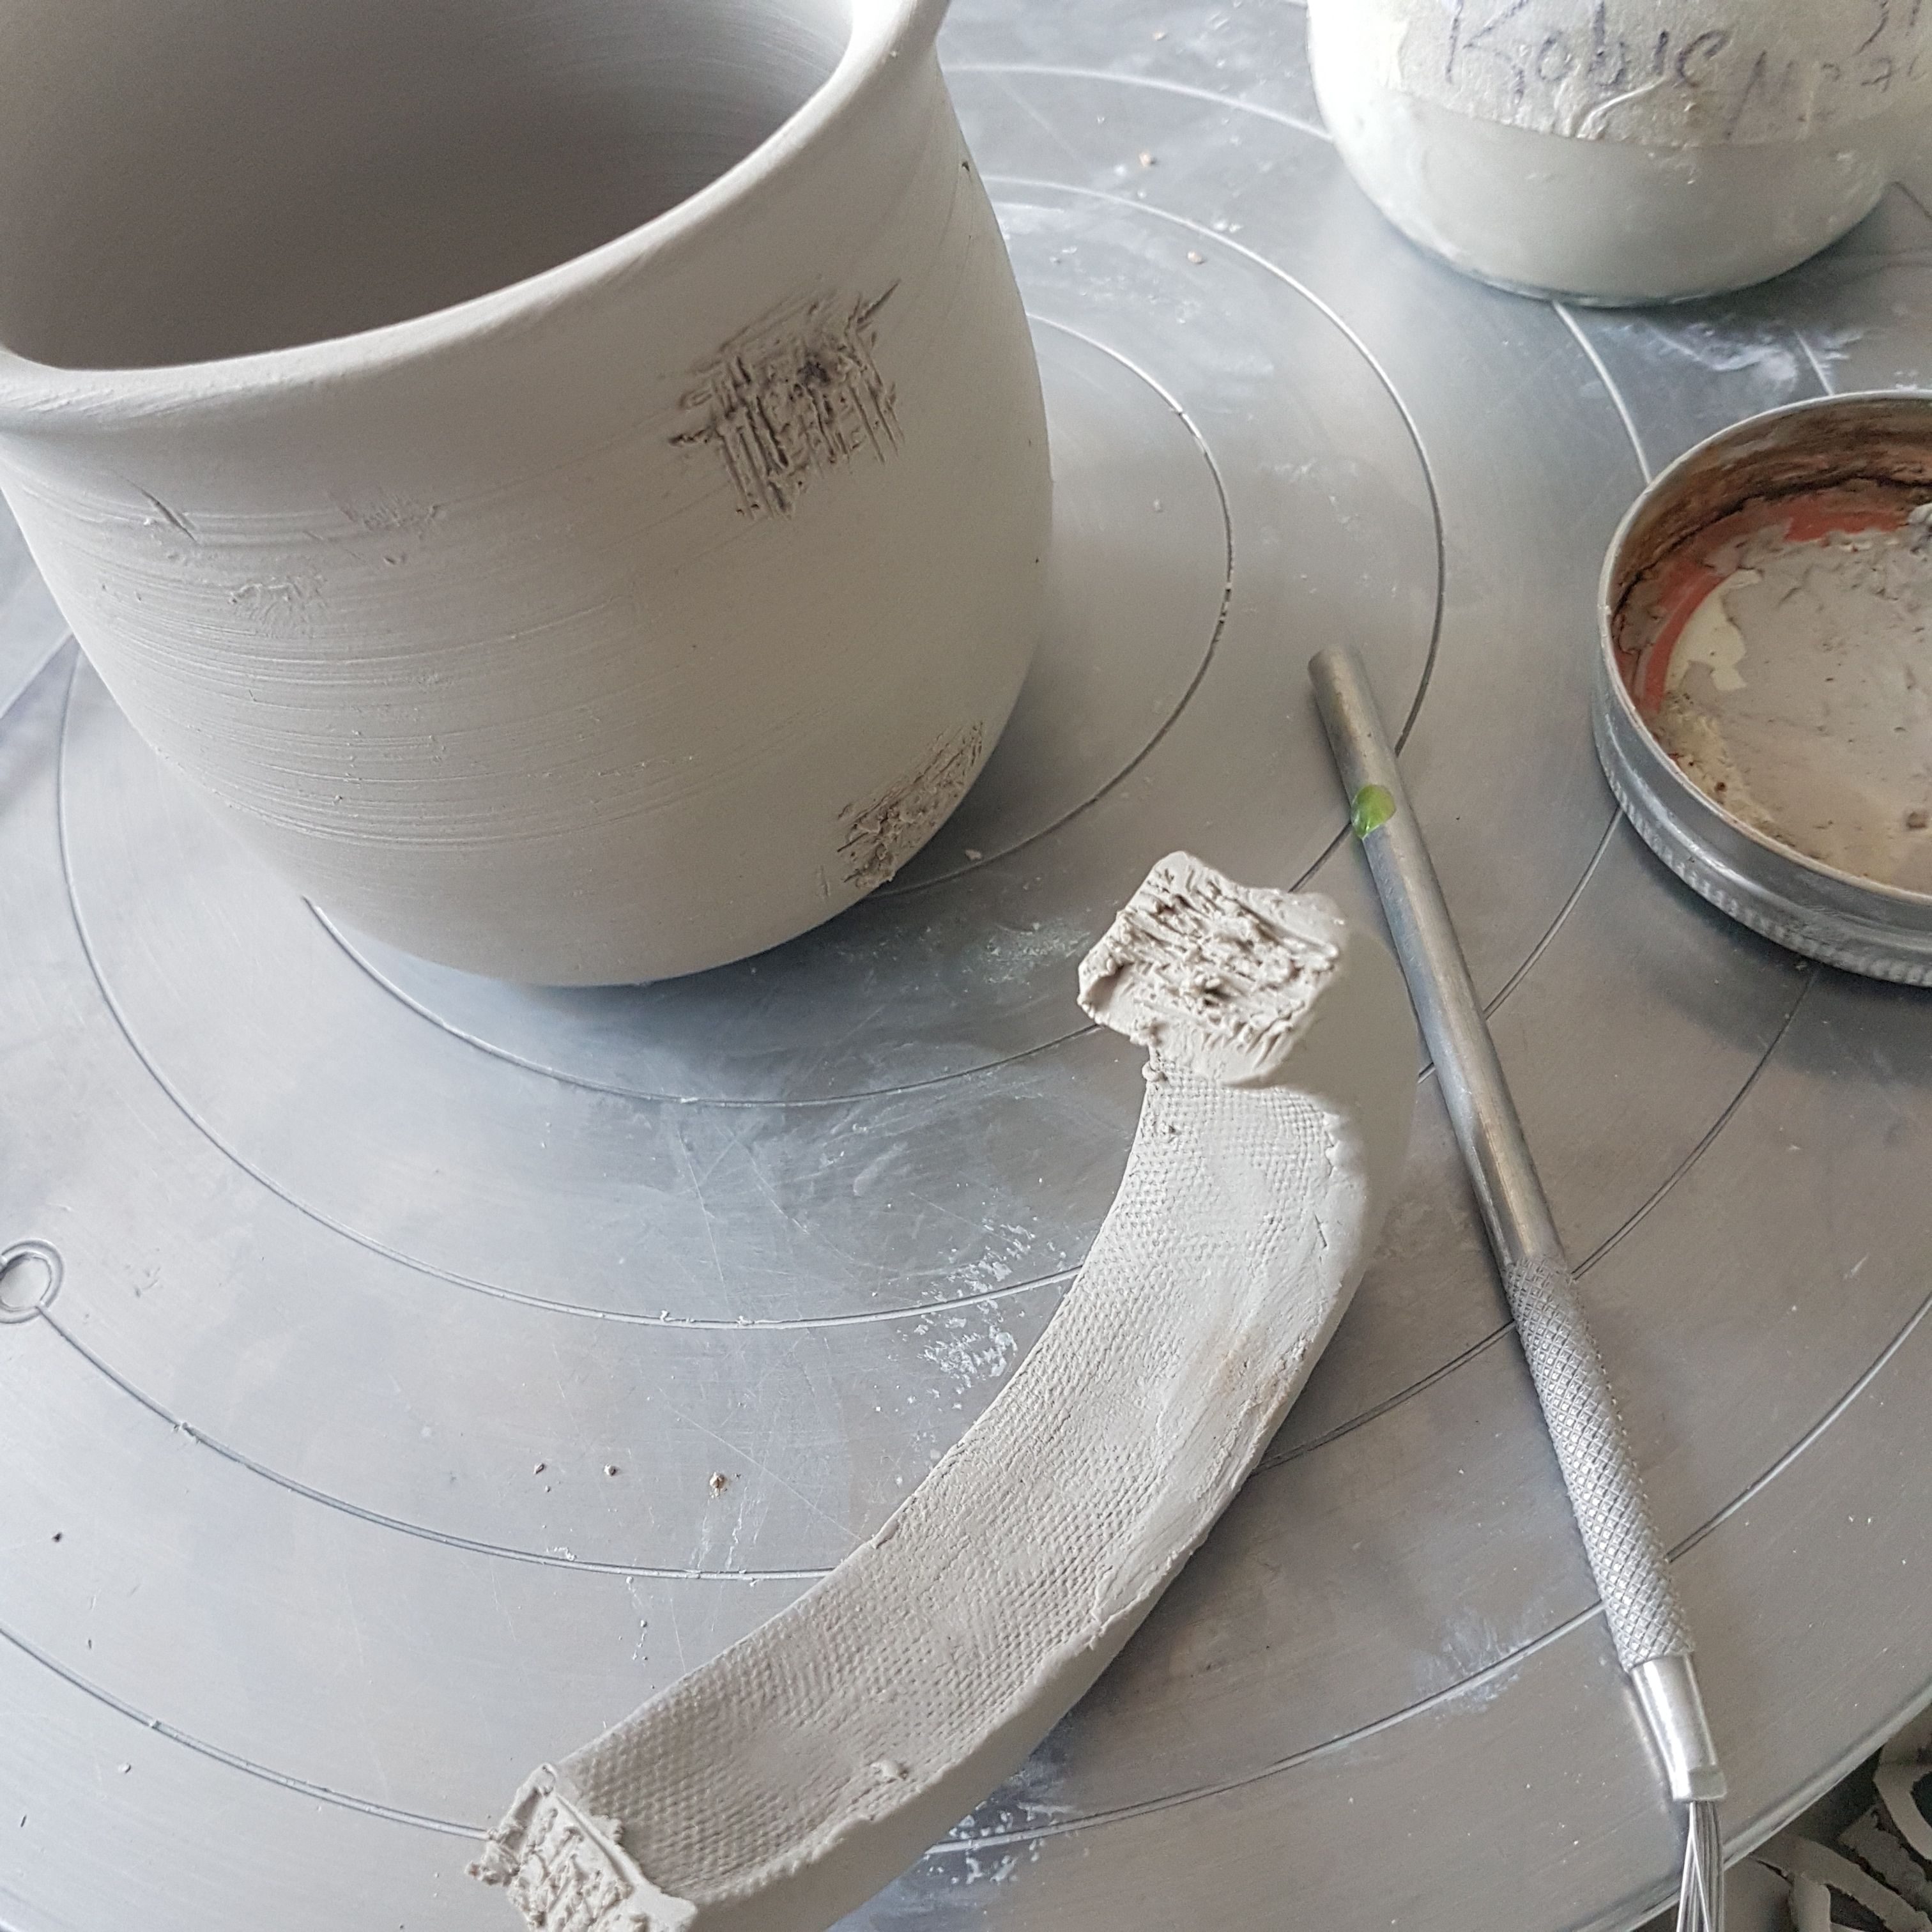 Then apply a good glob of slip to both ends of the handle and where they will adhere to the surface of the cylinder. 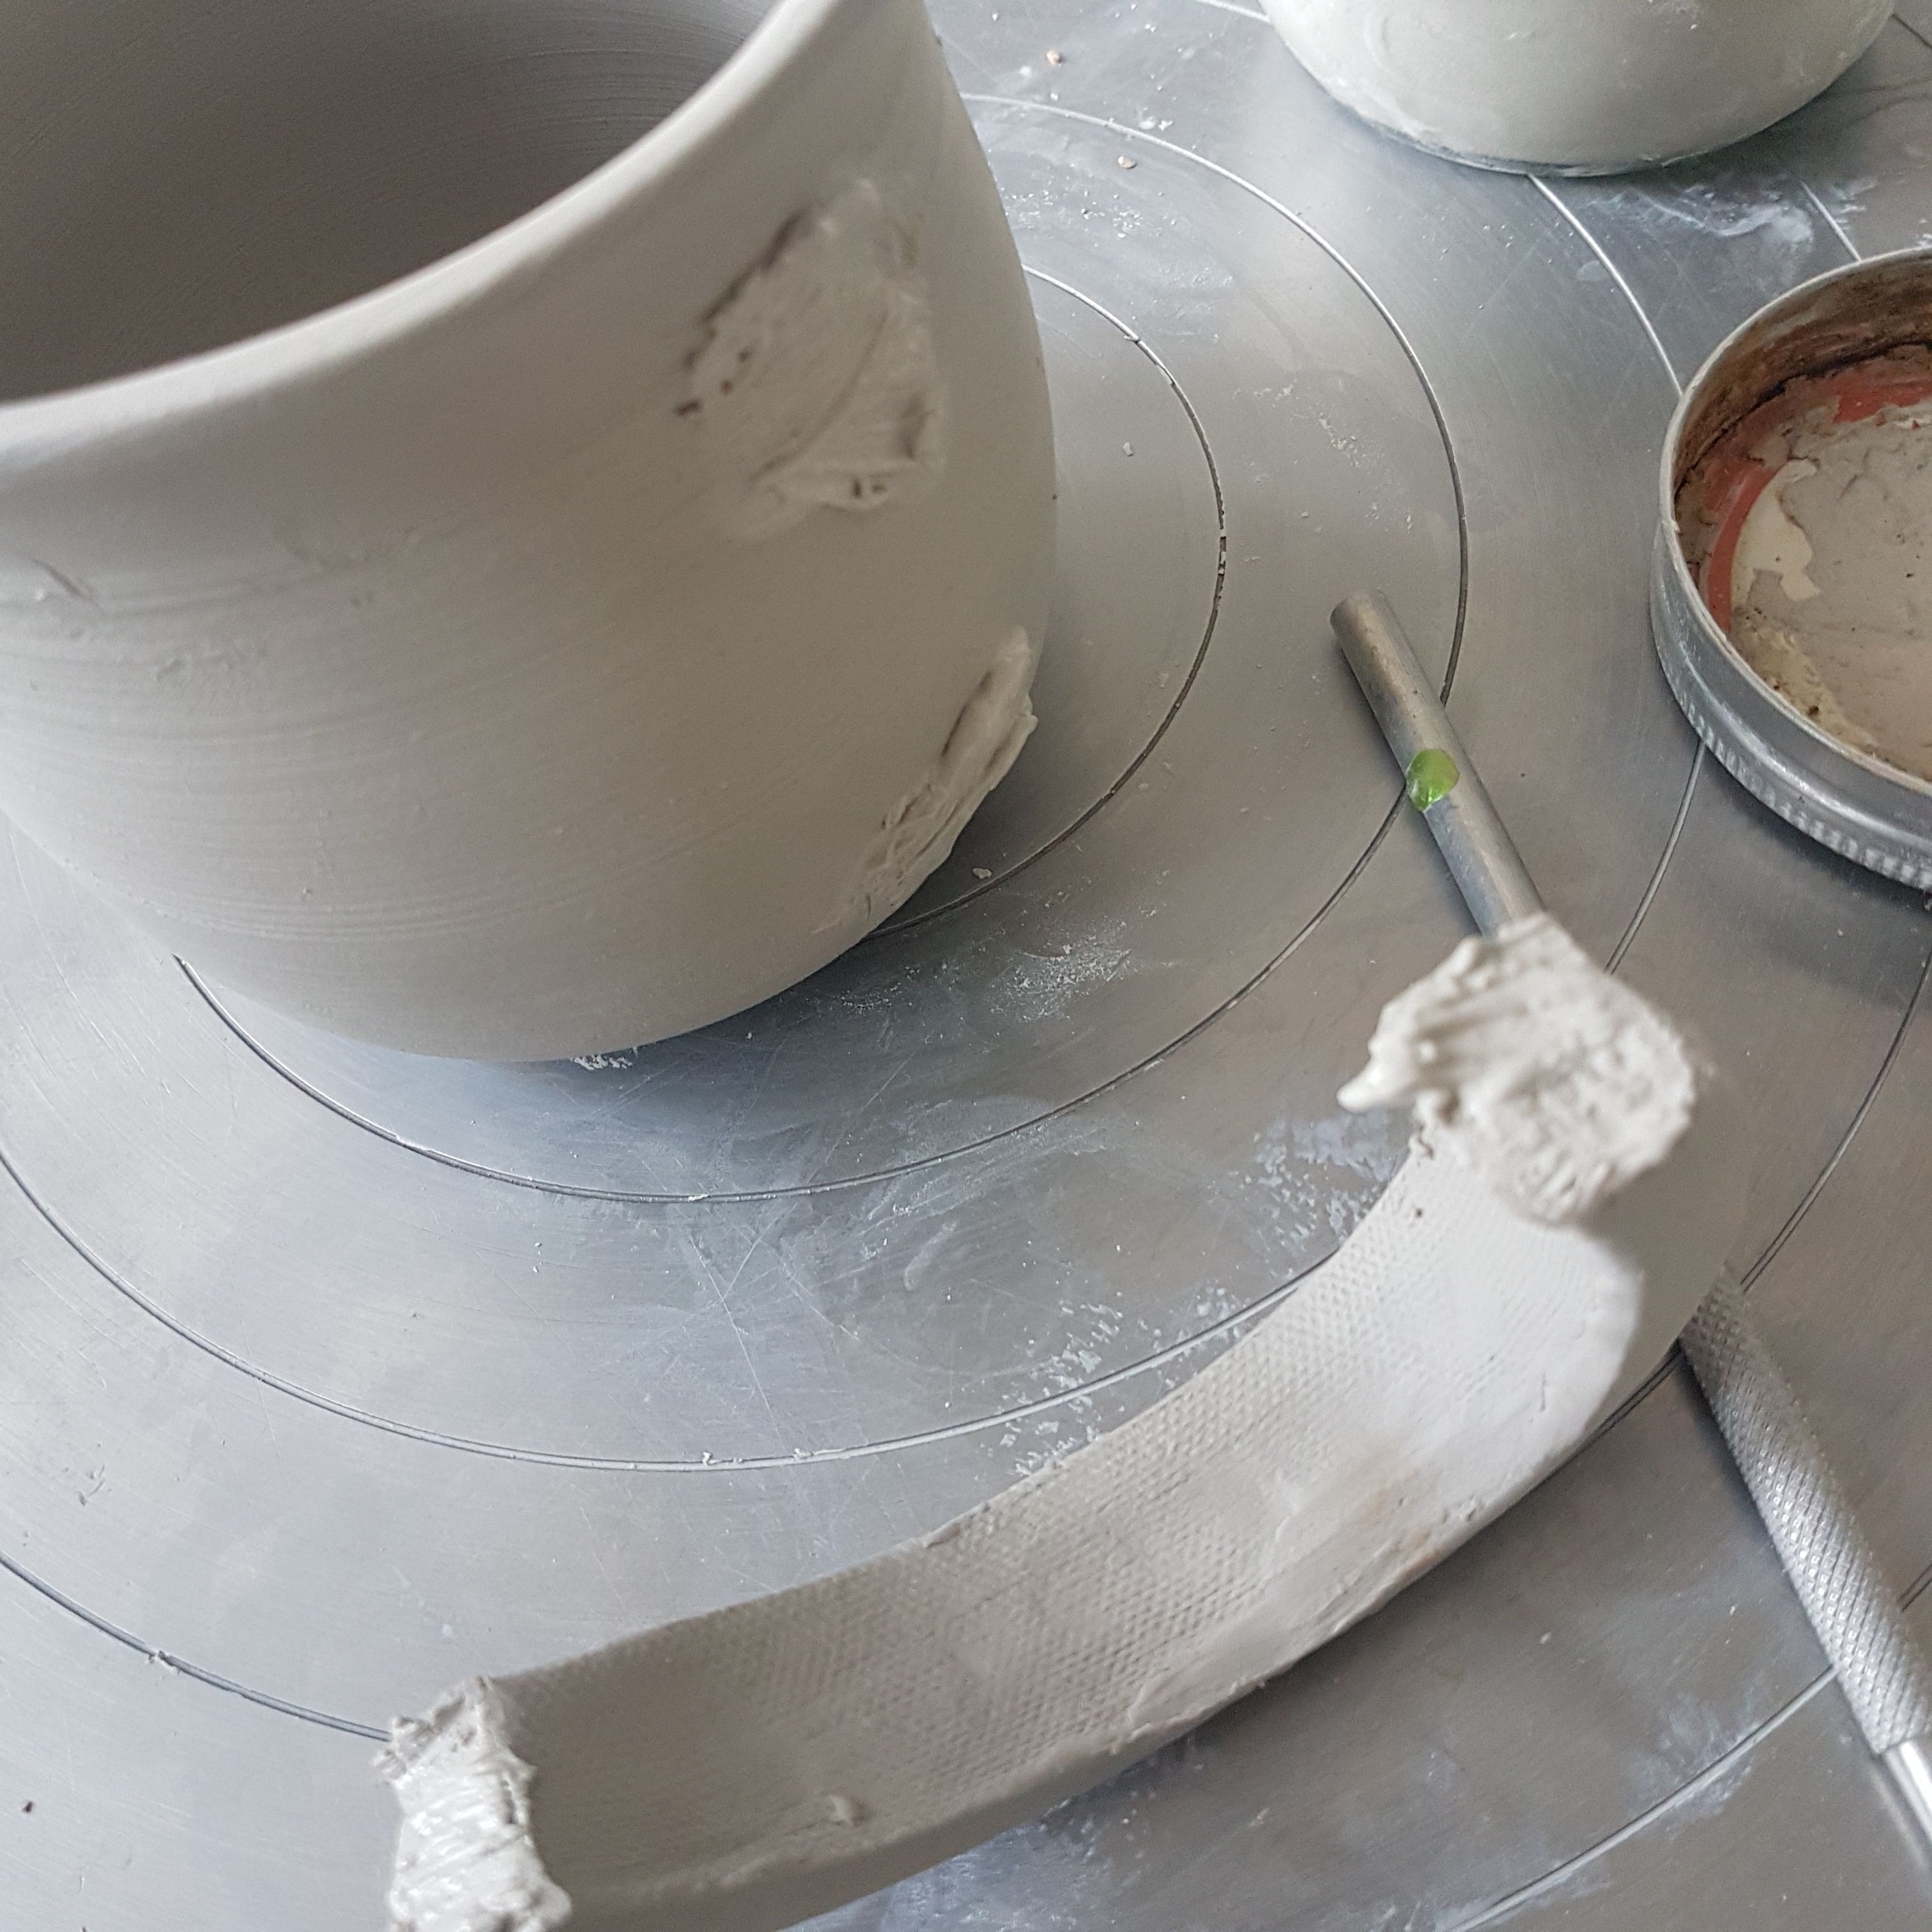 When the ends of the handle are adhered you take a sponge and smooth out any of the areas of the handle that are jagged and attempt to make the transition between the handle and cylinder seamless. Sometimes you need to apply a bit more slip to feel in areas. 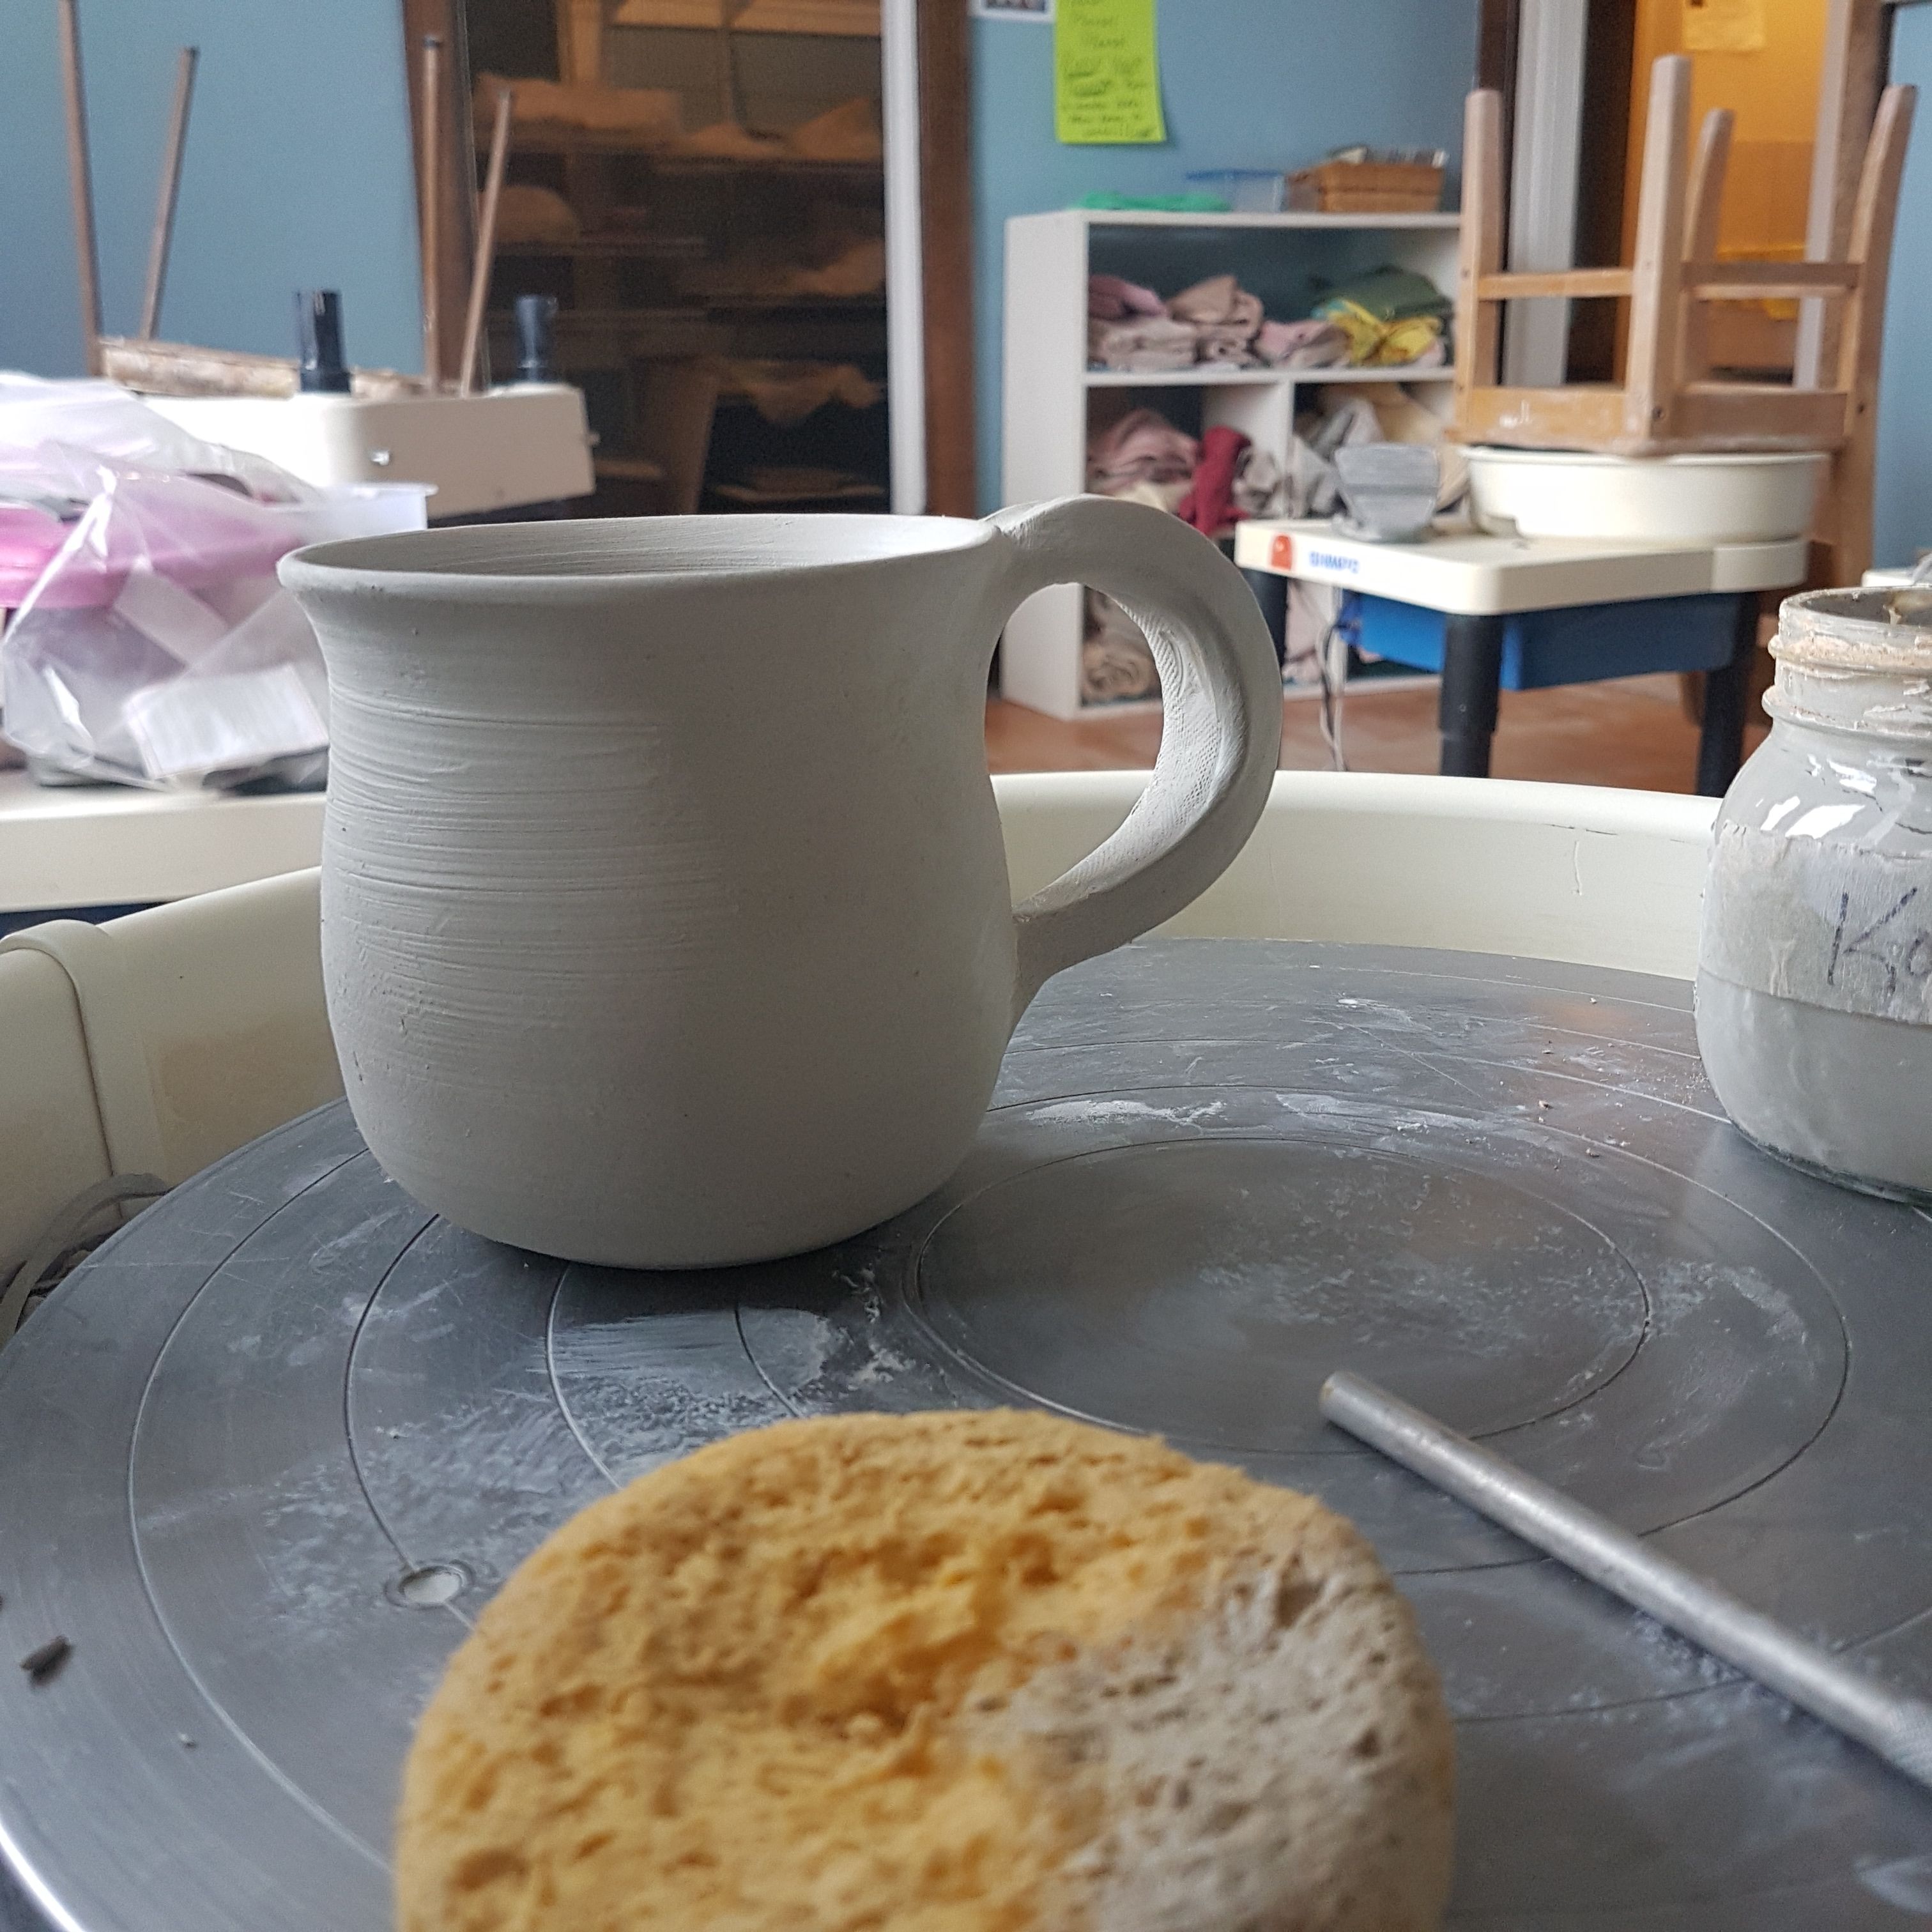 Here is the finished result which will take a few days to become bone dry and then will be bisque fired to turn it into stoneware. The mug is still fragile until its fired so one must avoid holding the mug from the handle as it will likely result in the handle separating from the cylinder (and we don't want that). The bisque fire makes the mug a lot more durable and less likely to have the handle become detached! Once out of the bisque the mug will be glazed, go back in the kiln for the final firing and then you will have a finished result. 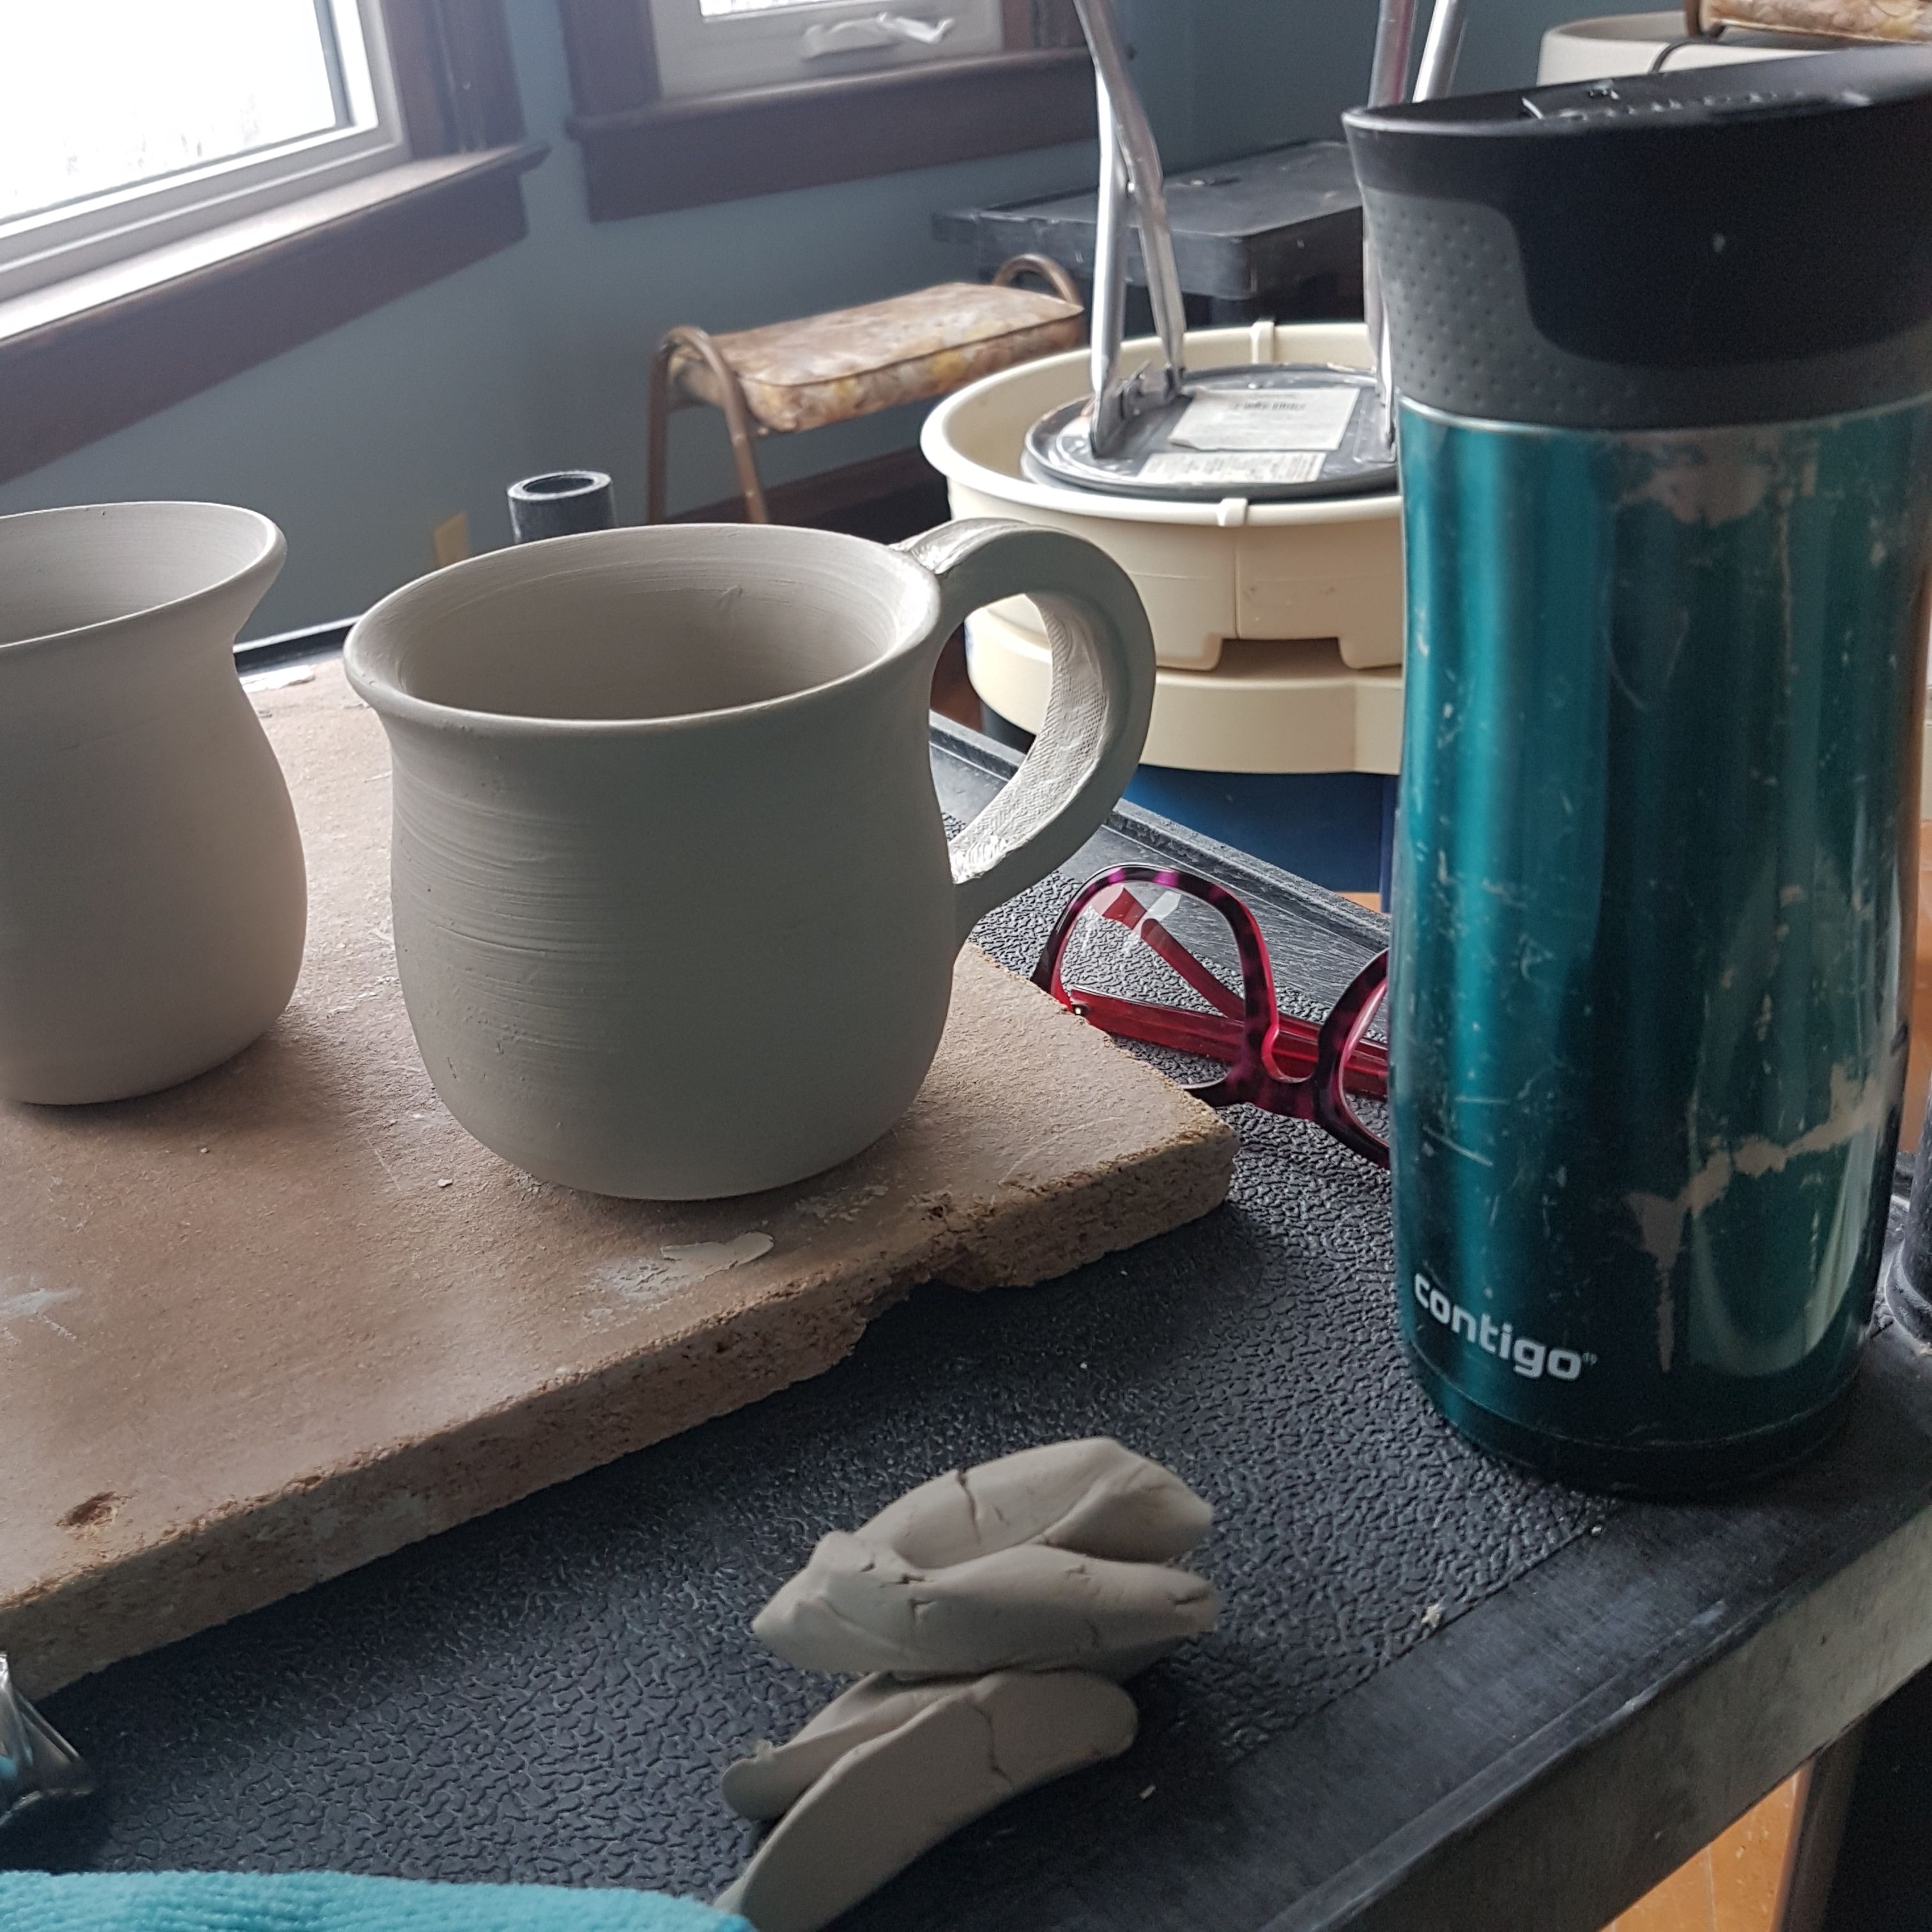 Have a Great Day! Kobie (AKA Existential Hippy)