[ESP/ENG] Tutorial de como realizar un Hermoso loro enjaulado con materiales reciclables / Tutorial on how to make a beautiful caged parrot with recyclable materials
hive-148441·@leomontagg·
0.000 HBD[ESP/ENG] Tutorial de como realizar un Hermoso loro enjaulado con materiales reciclables / Tutorial on how to make a beautiful caged parrot with recyclable materials
<div class="pull-left">Hola buenas noches mis queridos amigos de hive blog, espero se encuentren muy bien quiero darle gracias a Dios por que gracias a el podemos hacer que esto sea posible sin el no somos nada amigos, hoy quiero compartir con ustedes este bricolaje muy fácil de realizar en casa</div> <div class="pull-right">Hello good night my dear friends from hive blog, I hope you are very well I want to thank God that thanks to him we can make this possible without him we are not friends at all, today I want to share with you this very easy DIY in home</div> Se trata de un: It's about a: <p><center> ### Lindo loro enjaulado realizado con materiales de provecho ### Cute caged parrot made with useful materials </center></p> 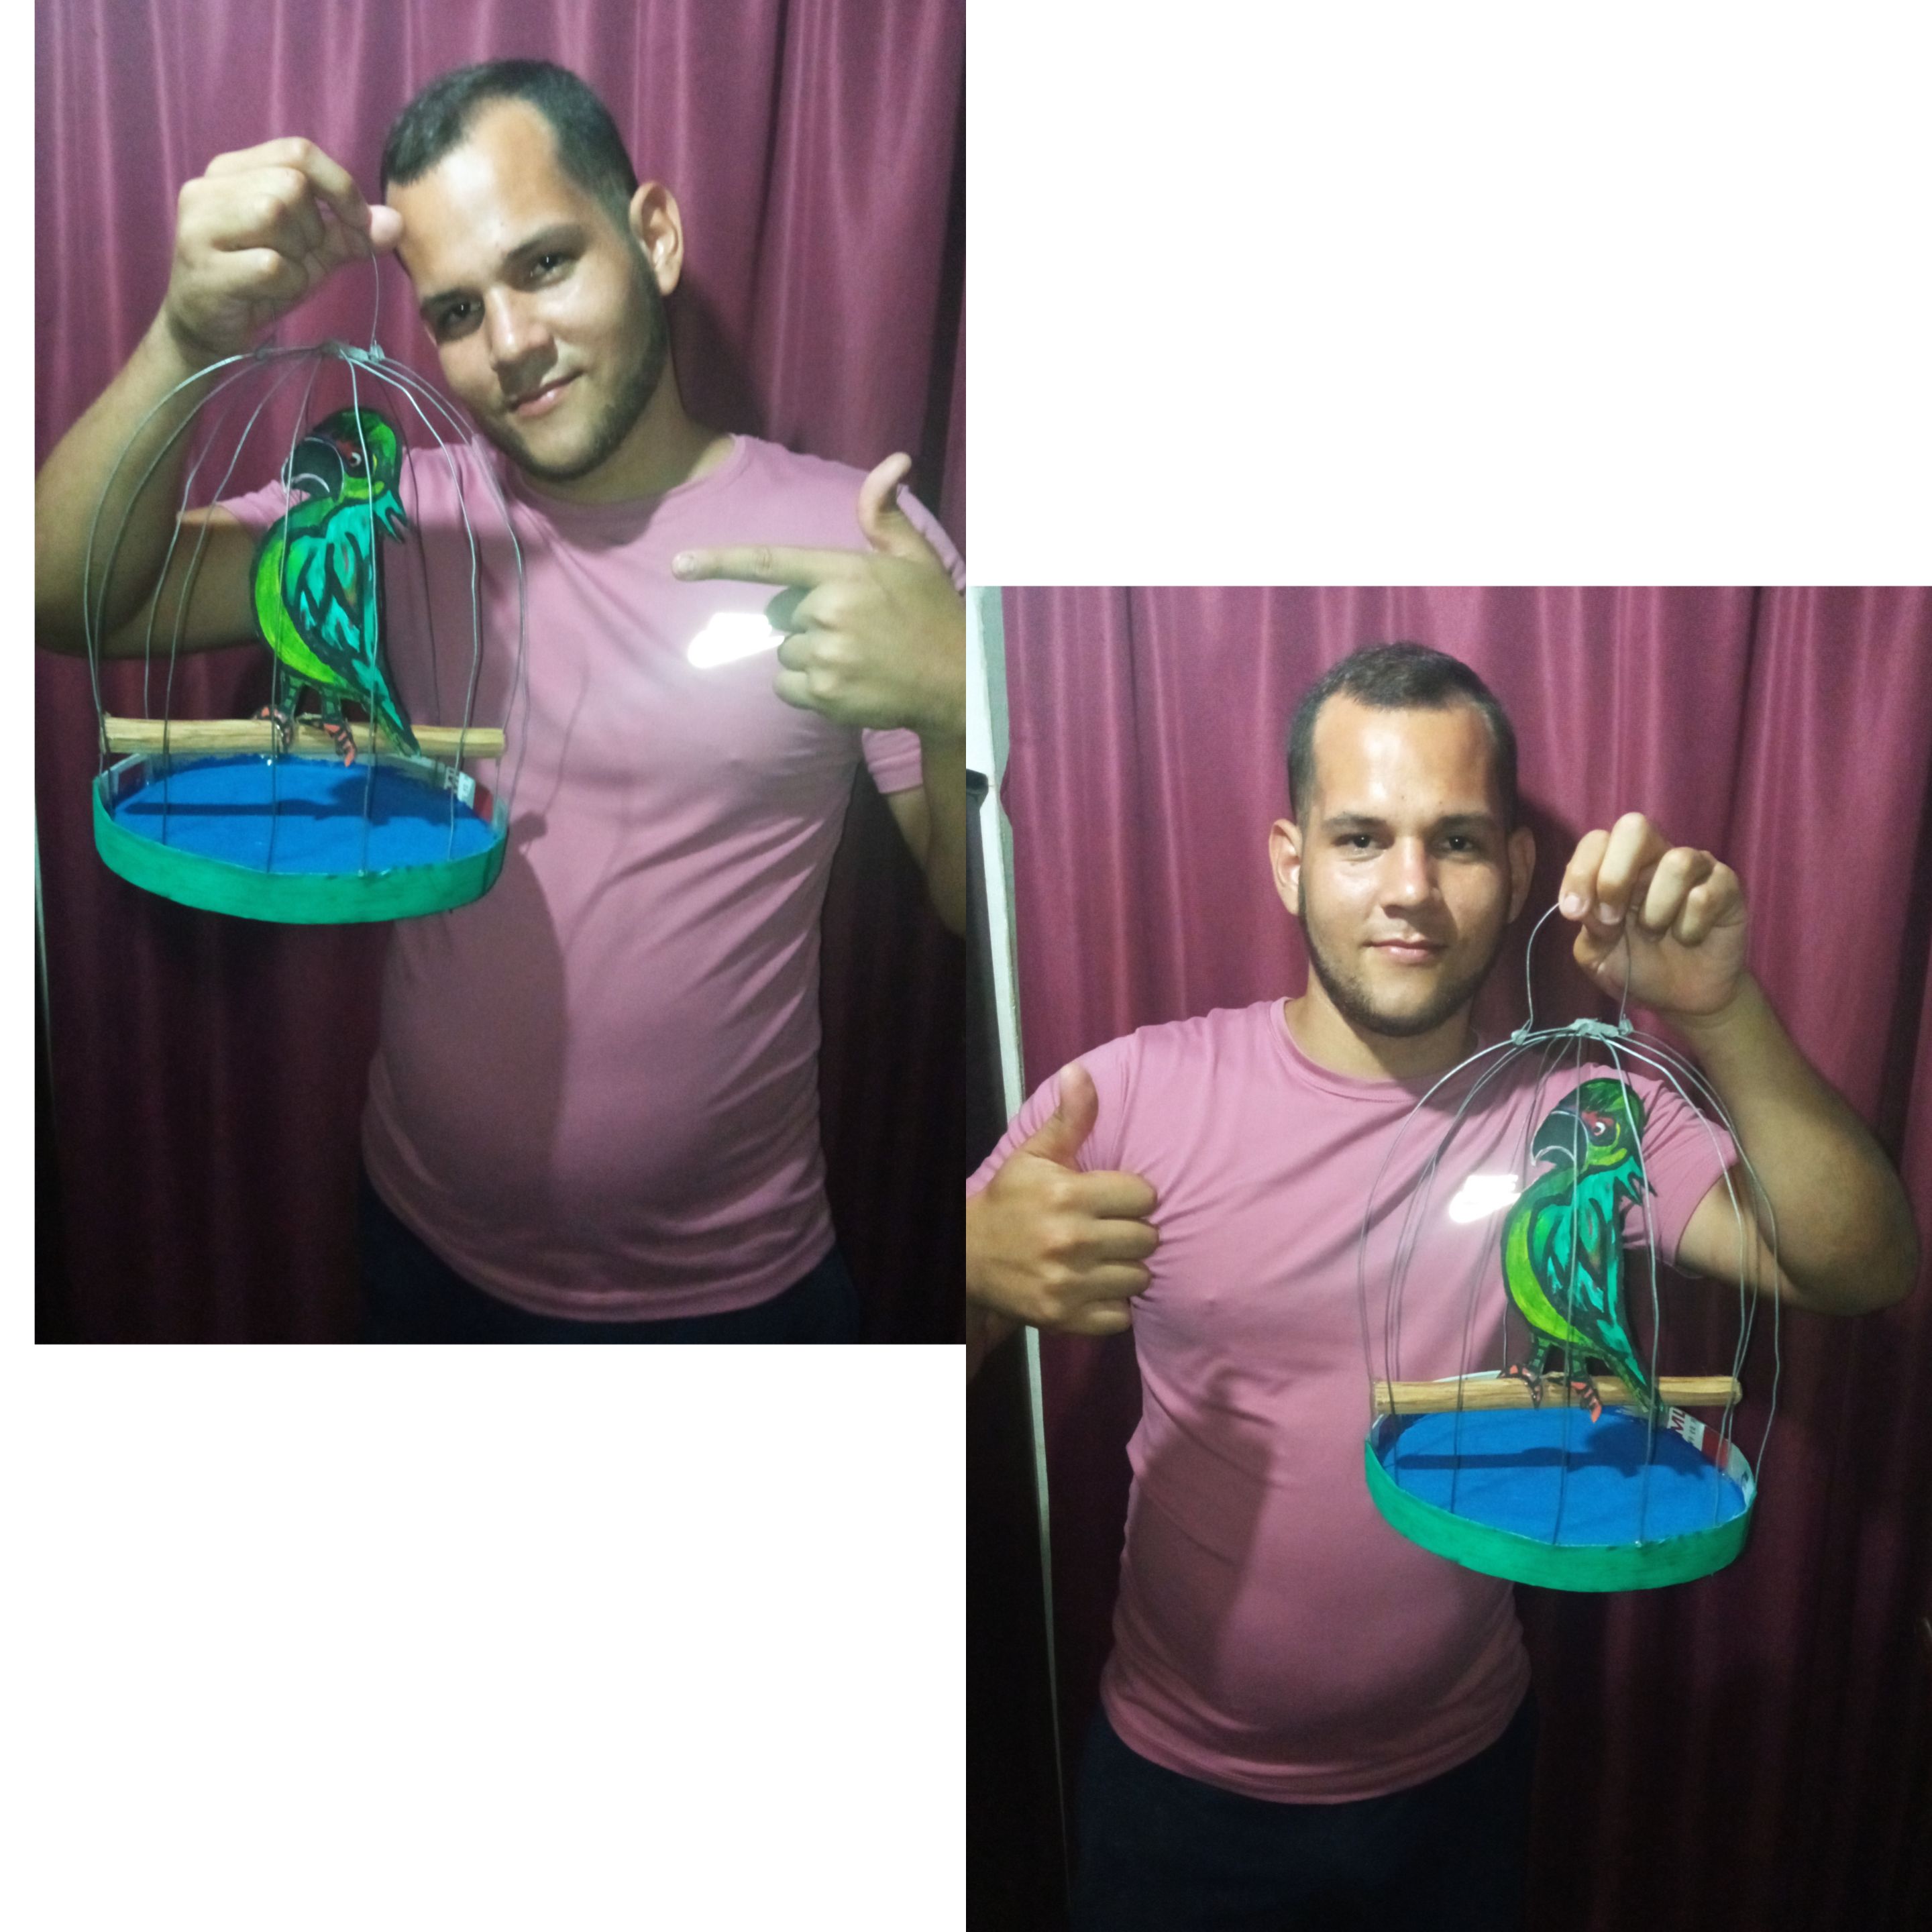  <div class="pull-left">Para realizar este hermoso loro tenemos que tener a la mano estos siguientes materiales que les mostrare a continuación.</div> <div class="pull-right">To make this beautiful parrot we have to have on hand these following materials that I will show you below.</div> 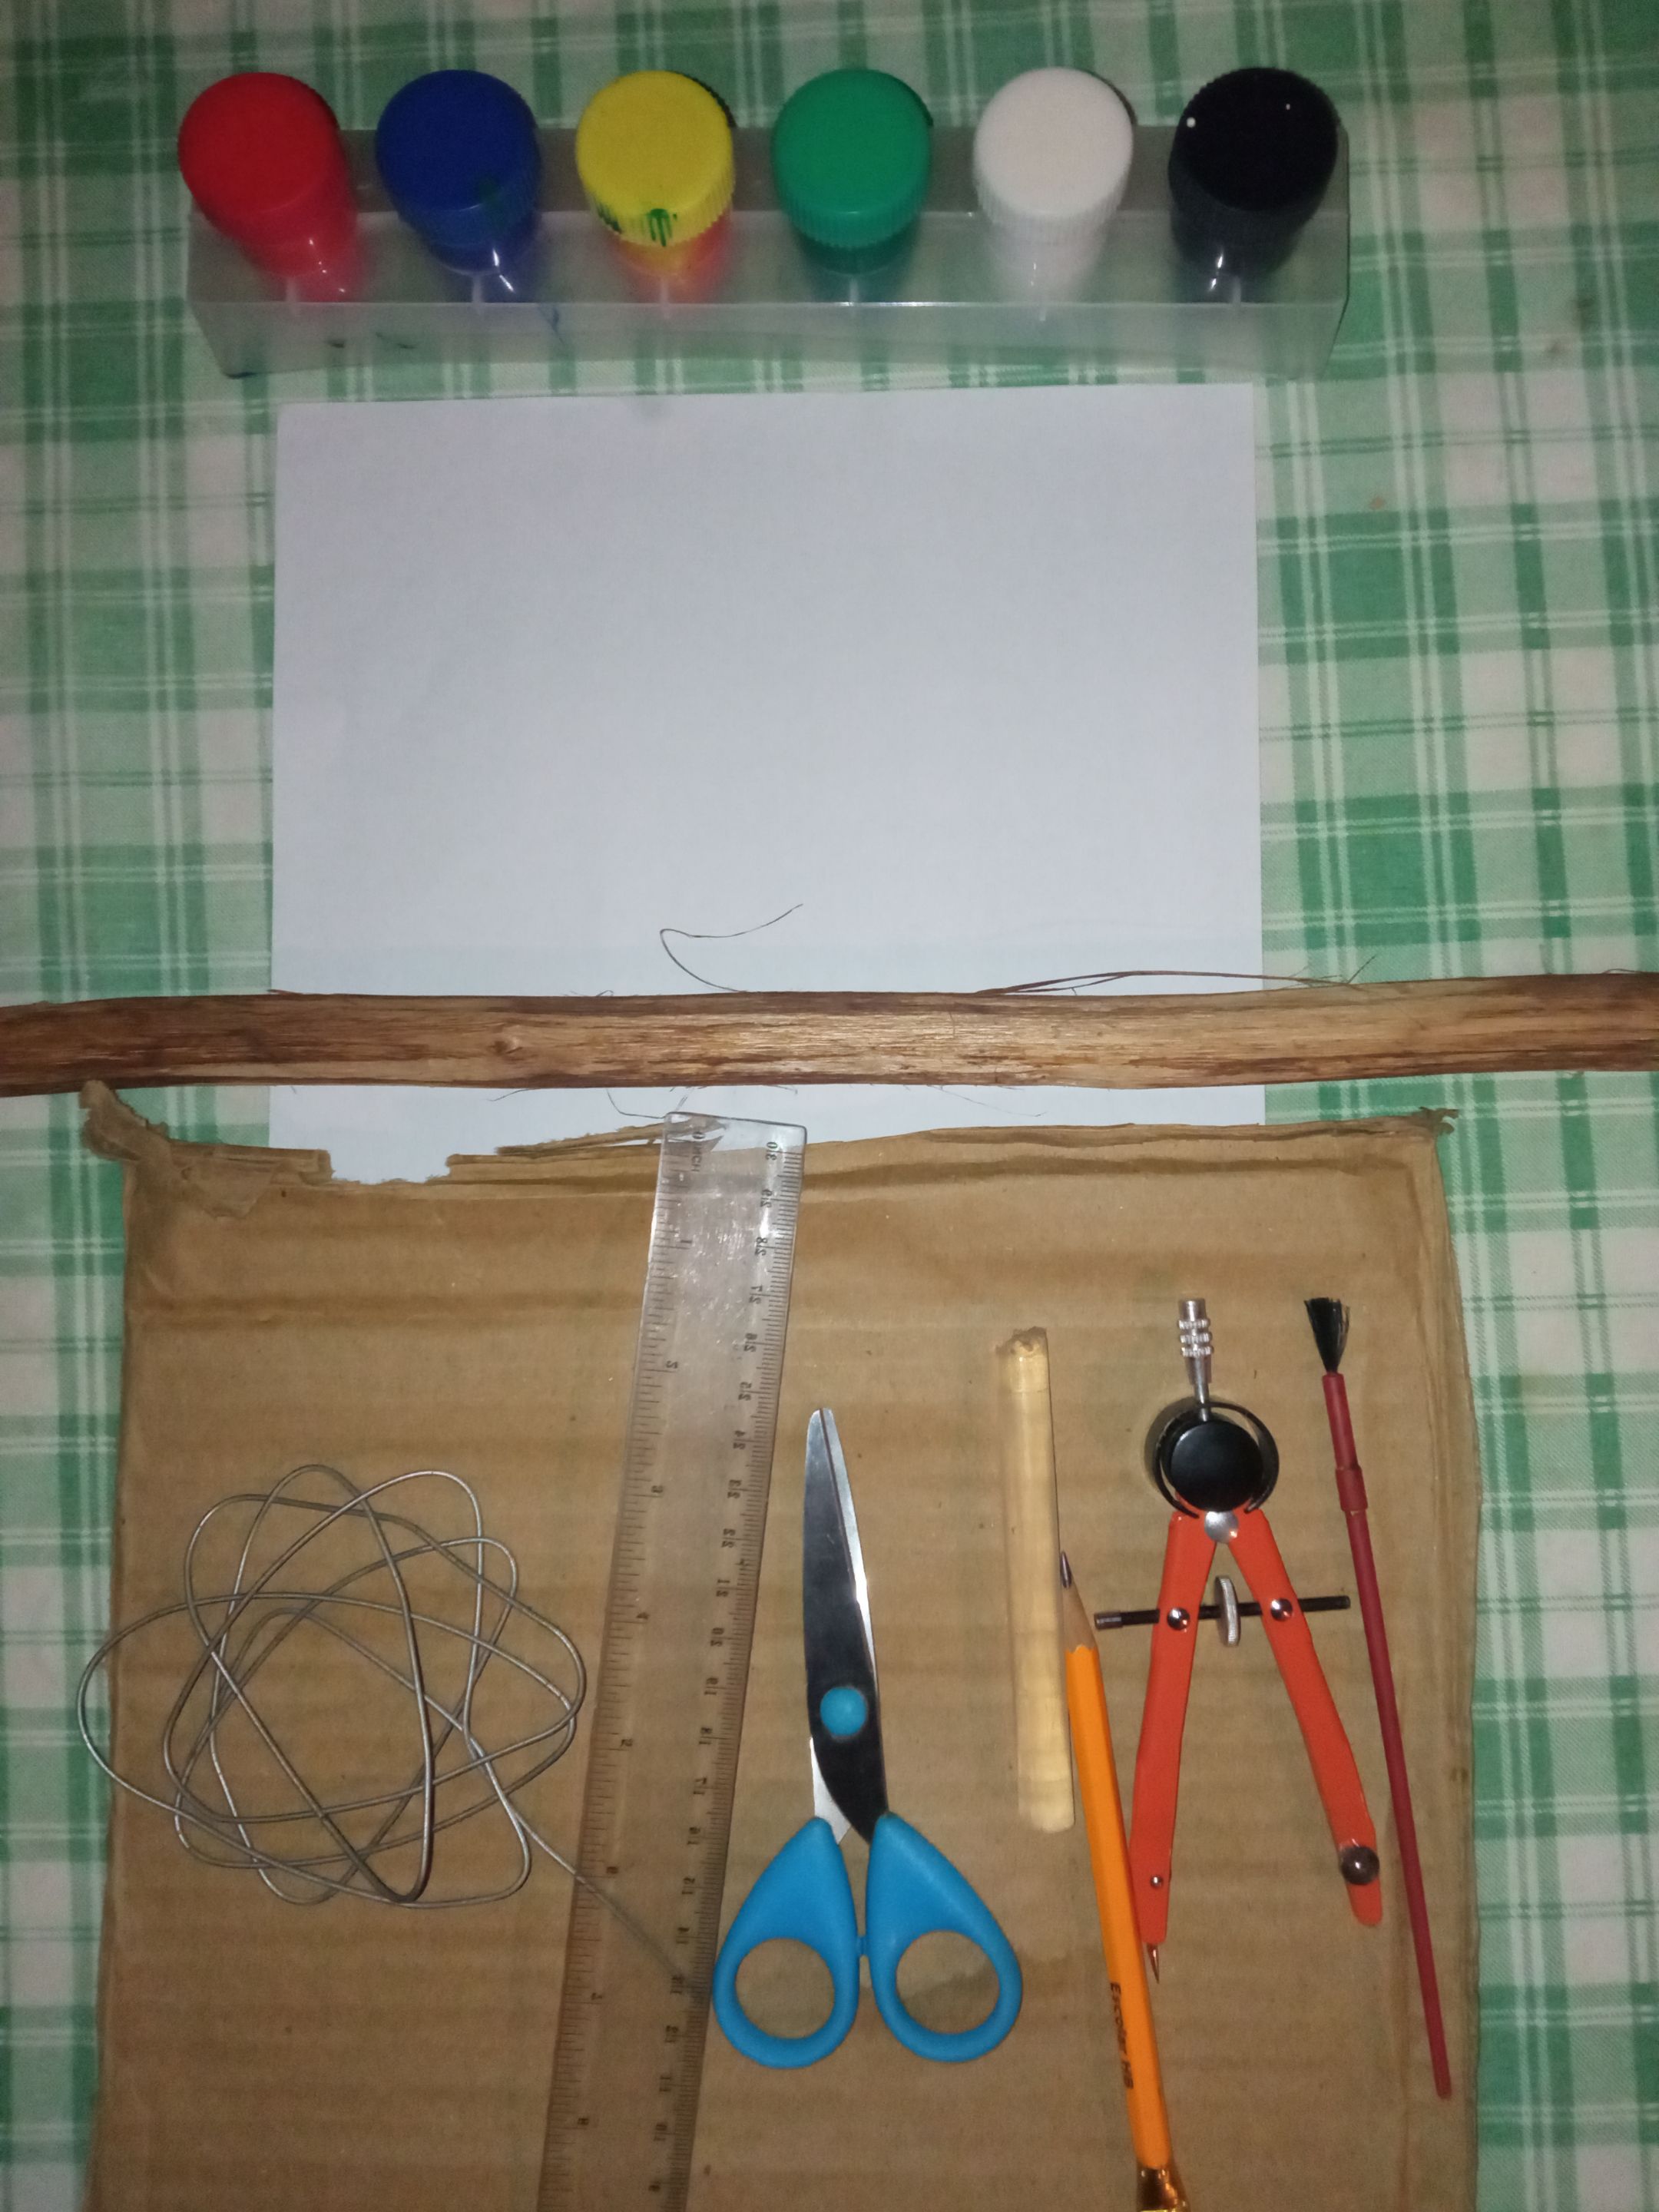  <div class="pull-left">En este primer paso: tomaremos el compás y encima del cartón dibujaremos un redondo una vez dibujado con la tijera lo recortaremos con mucho cuidado para que nos quede bien</div> <div class="pull-right">In this first step: we will take the compass and on top of the cardboard we will draw a round once drawn with the scissors we will cut it very carefully so that it fits us well</div> 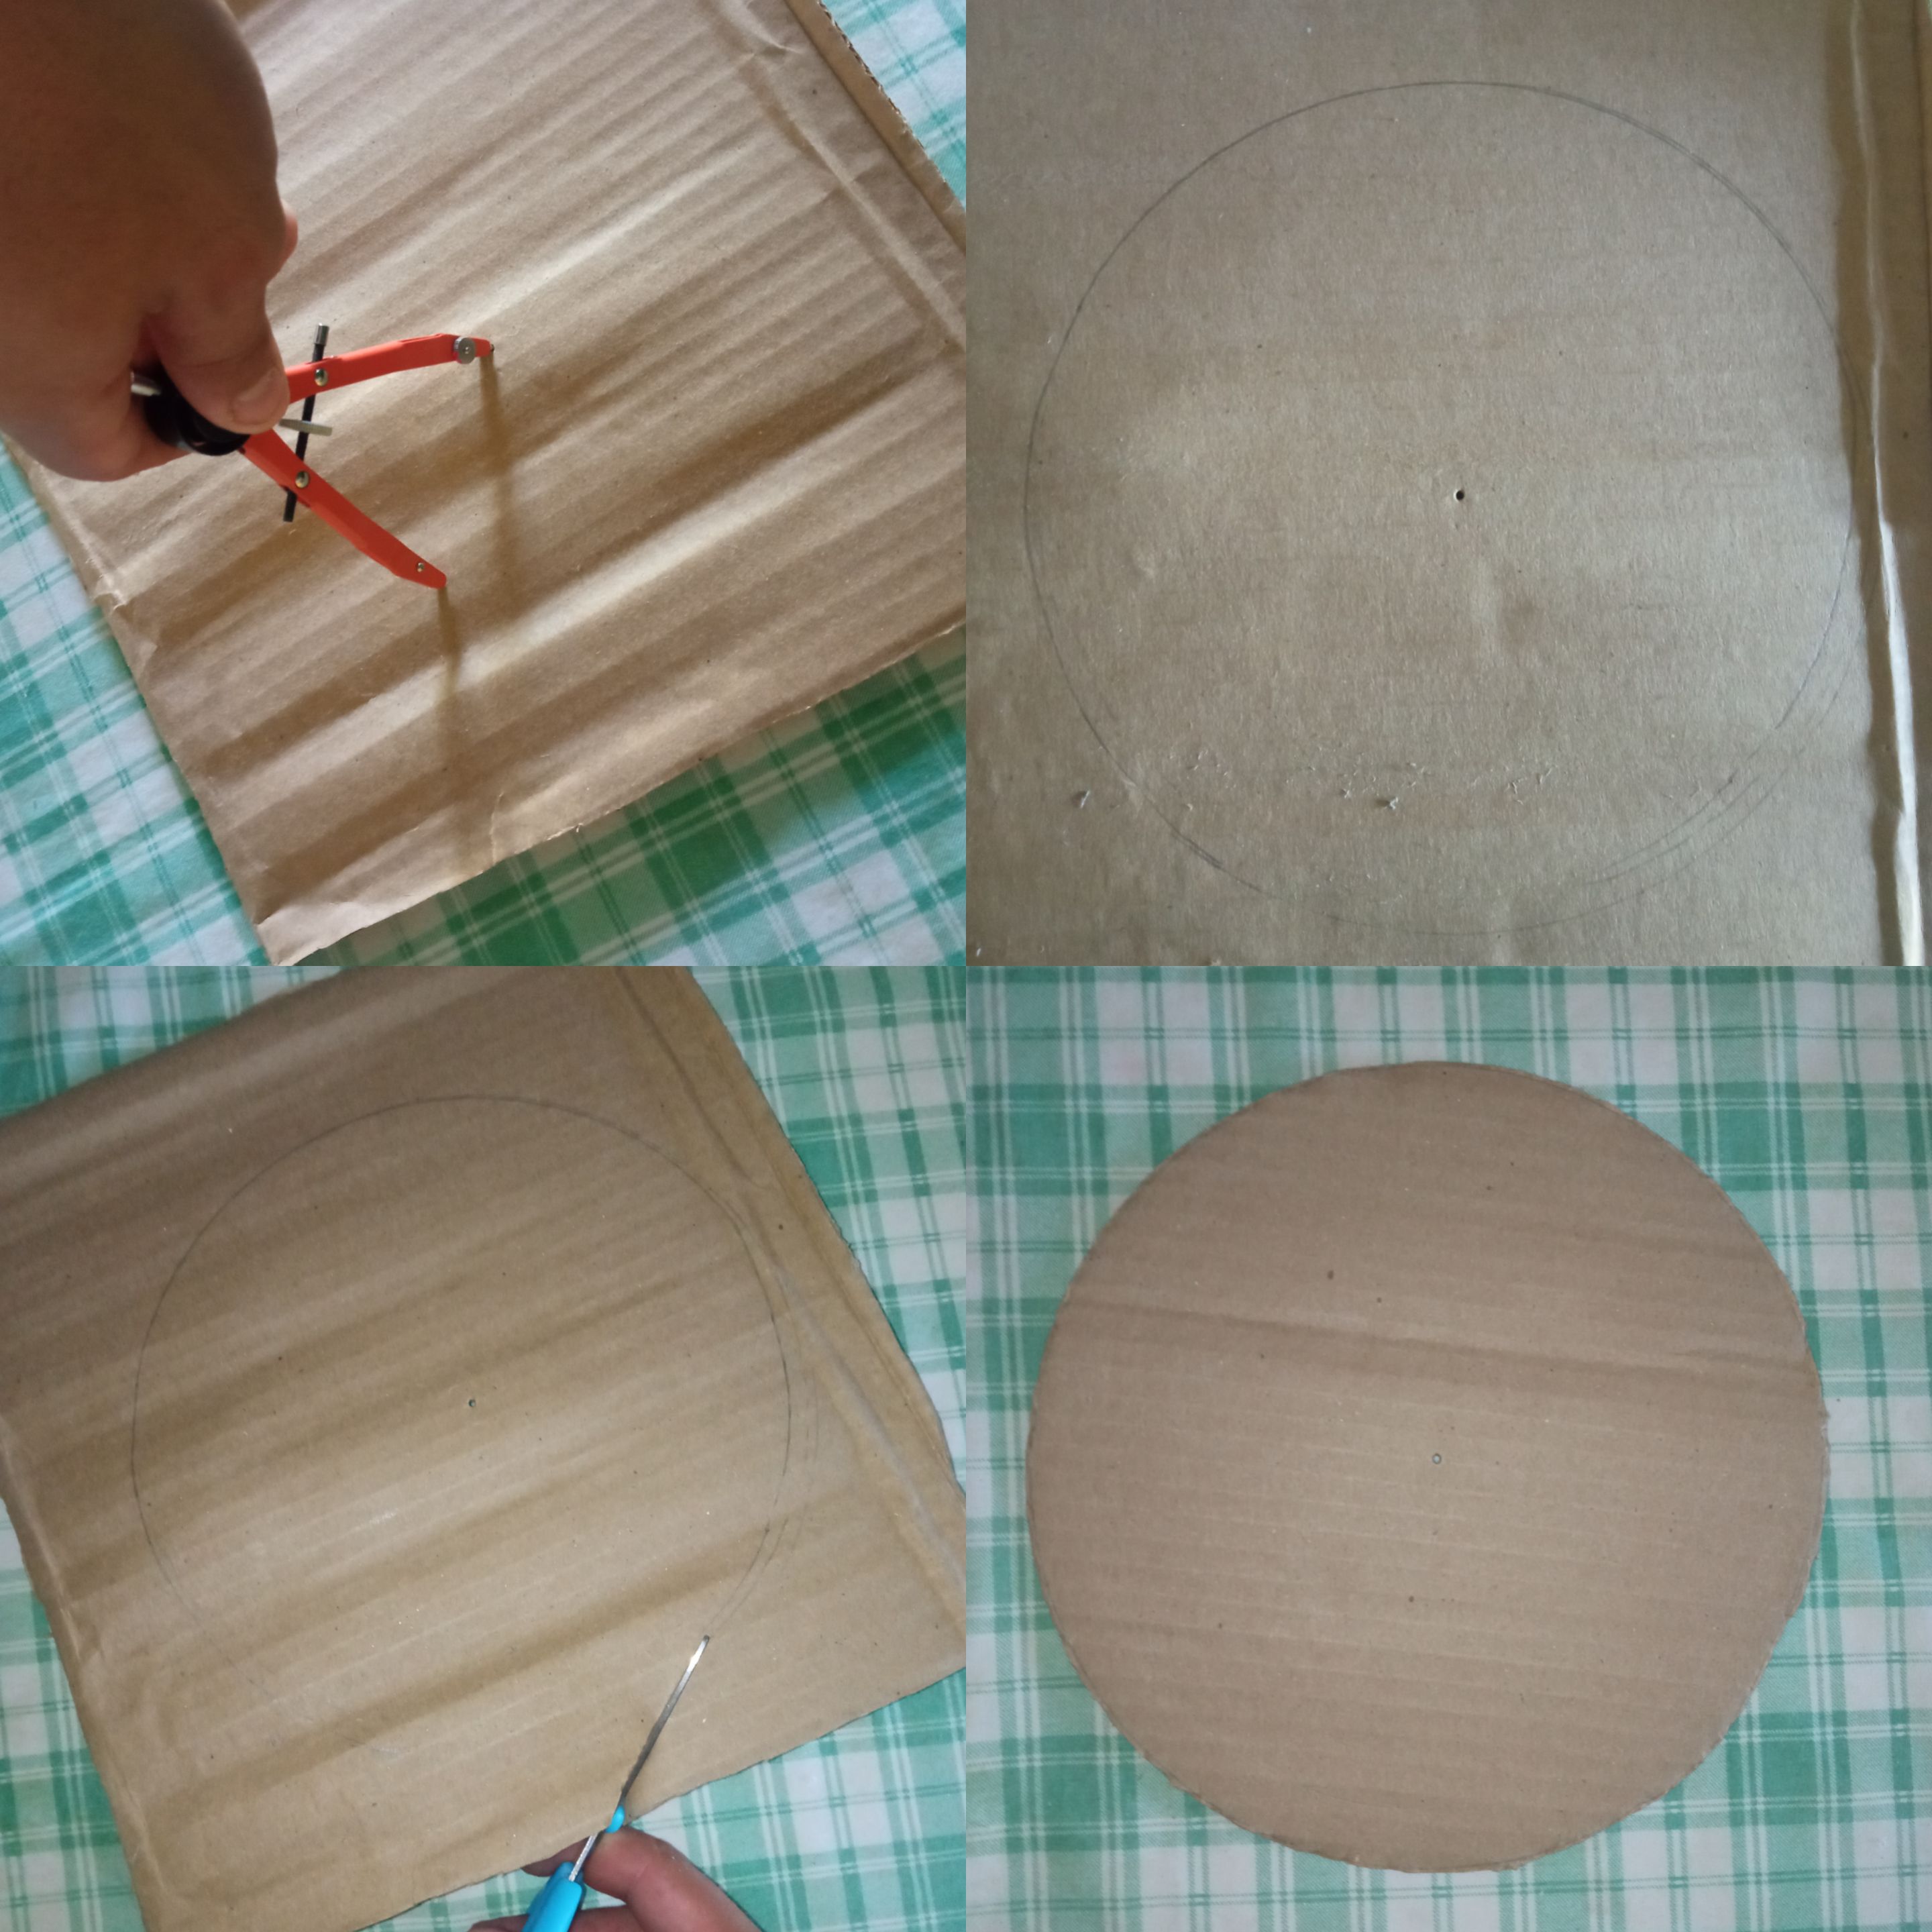  <div class="pull-left">En este segundo paso: una vez obtenido el redondo tomaremos el lápiz y en la hoja de papel blanco pintaremos un loro luego con la tijera lo recortaremos de la siguiente forma les mostrare a continuación</div> <div class="pull-right">In this second step: once the round is obtained we will take the pencil and on the sheet of white paper we will paint a parrot then with the scissors we will cut it in the following way I will show you below</div> 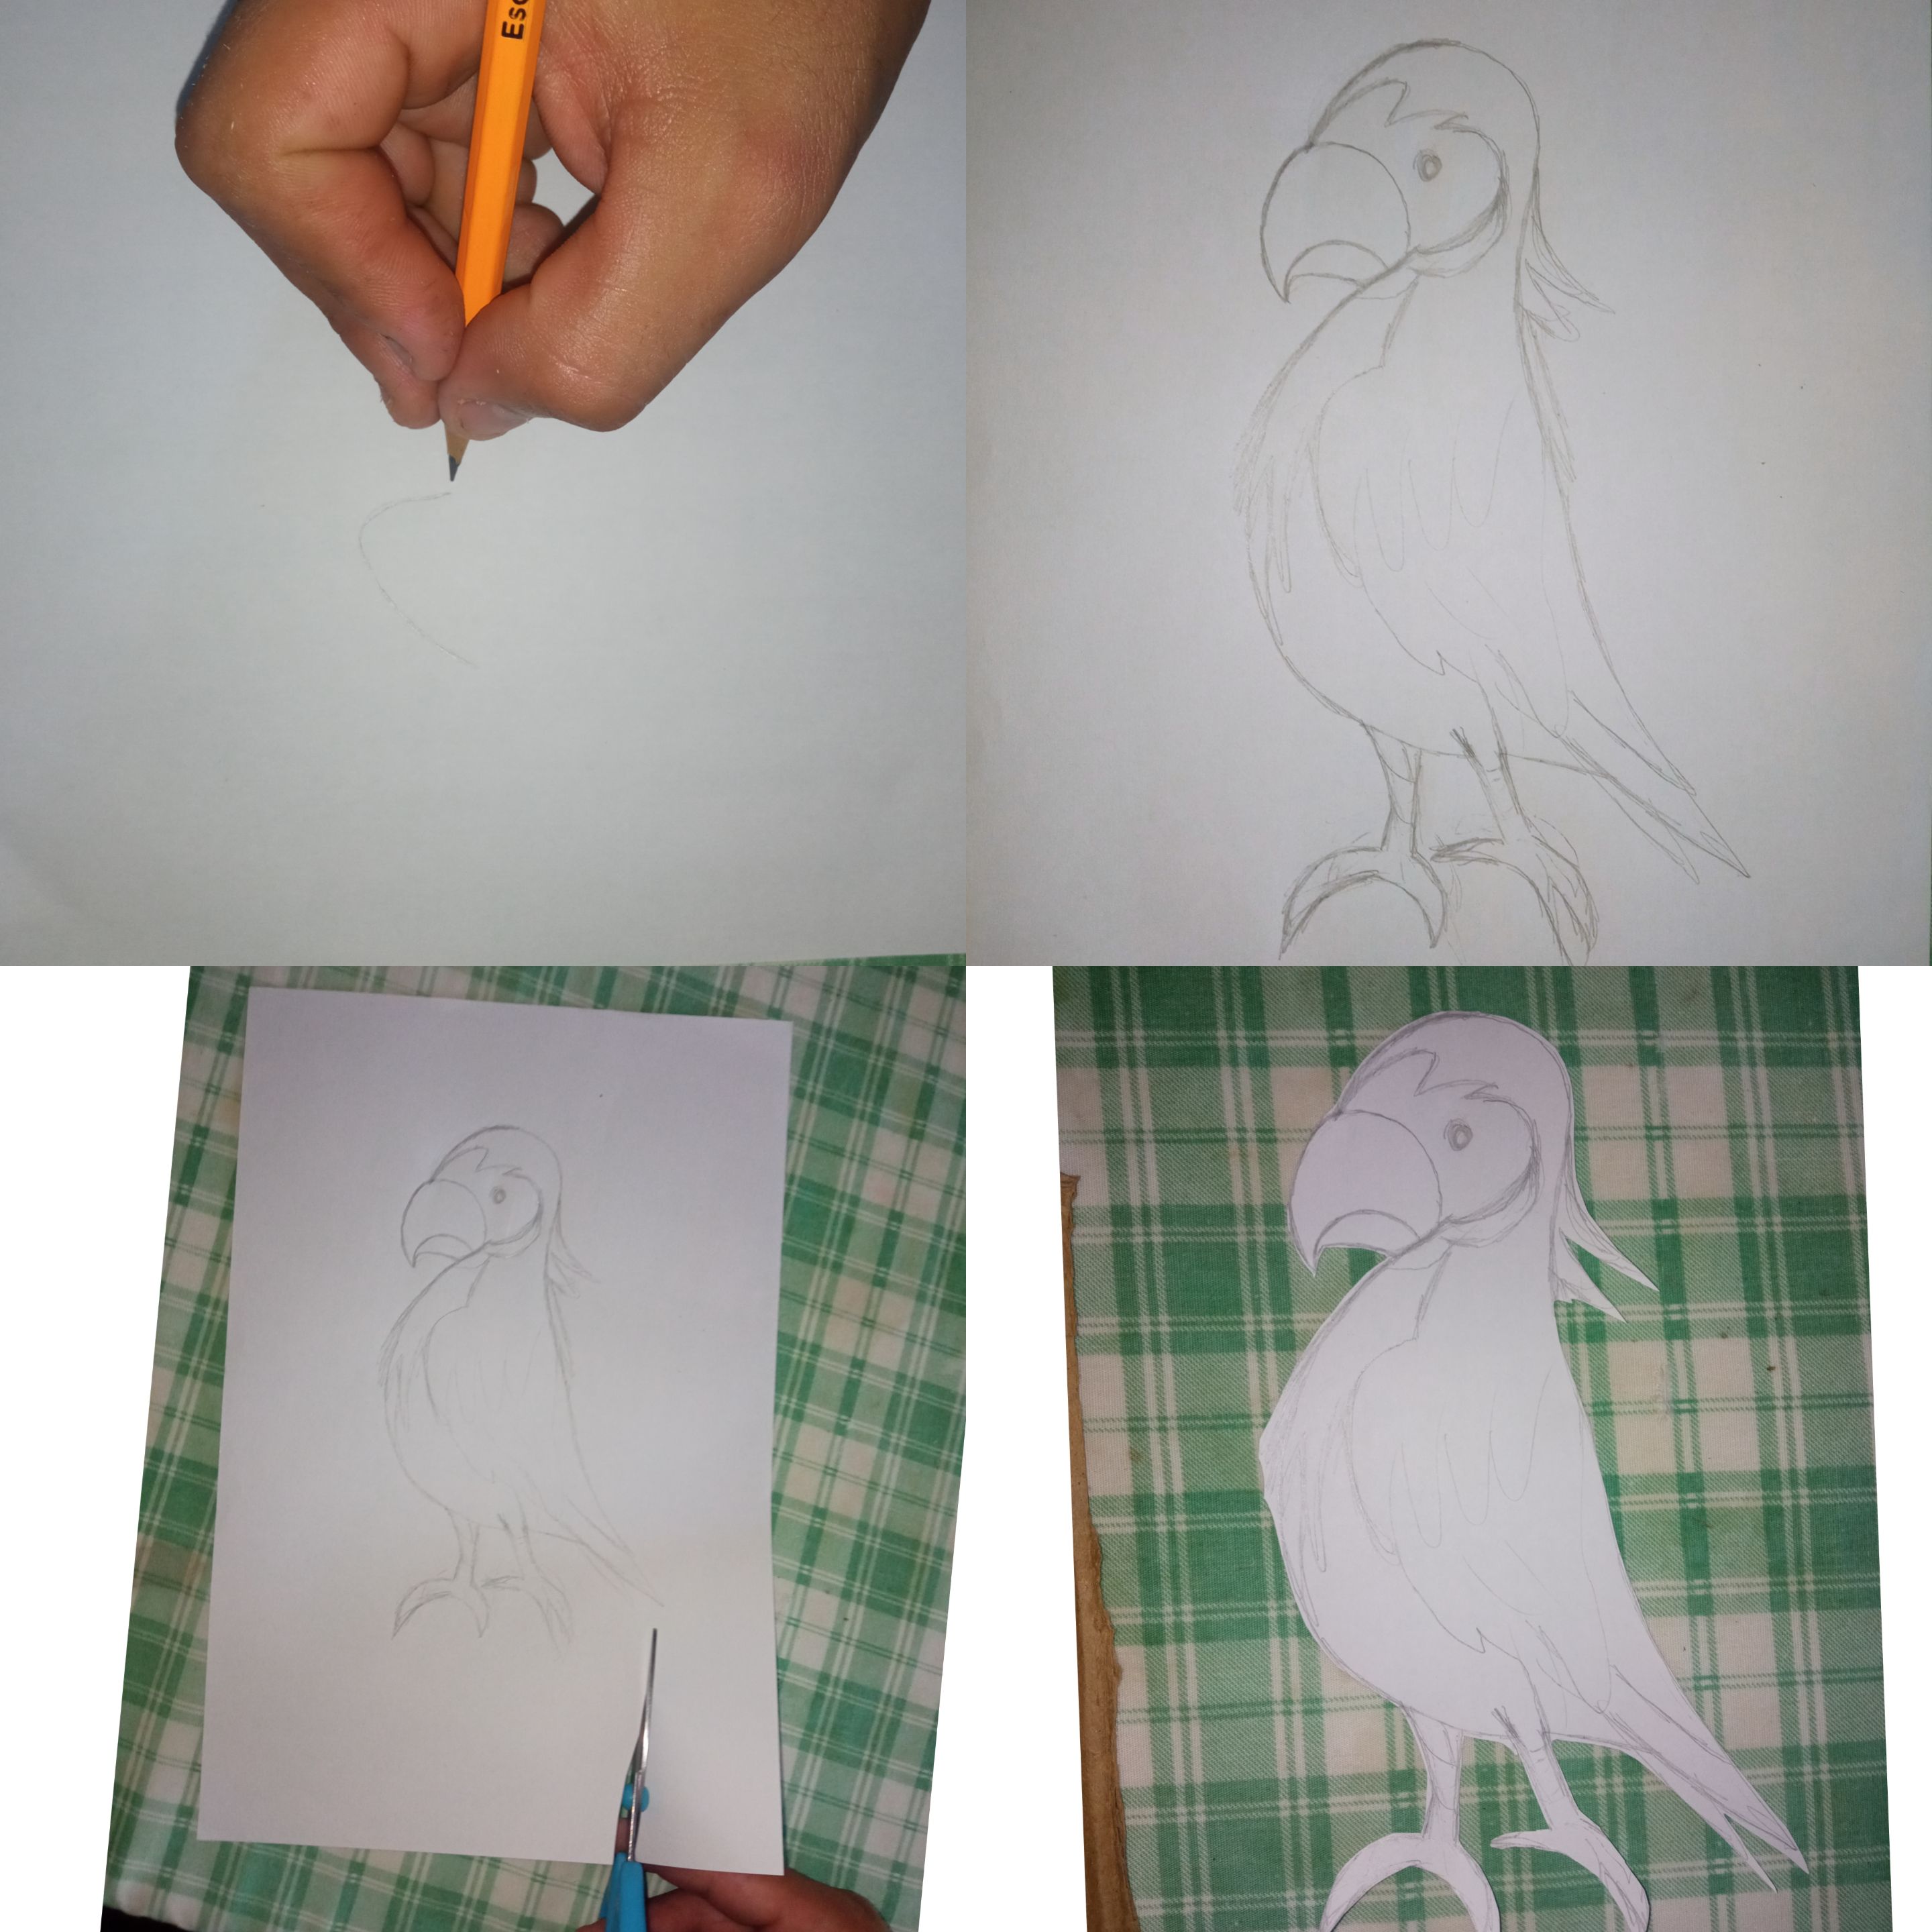  <div class="pull-left">En este tercer paso: una vez ya recortado tomaremos el silicon y lo pegaremos encima del cartón para darle mas resistencia y con la tijera lo recortaremos luego con el pincel lo pintaremos en color negro, amarillo, verde, y el plumaje lo pintaremos con manchitas anaranjada para hacerlo aun mas llamativo y a continuacion le mostrare como quedo pintado</div> <div class="pull-right">In this third step: once it is cut we will take the silicone and stick it on top of the cardboard to give it more resistance and with the scissors we will cut it then with the brush we will paint it in black, yellow, green, and the plumage we will paint it with orange spots to make it even more striking and then I will show you how it was painted</div> 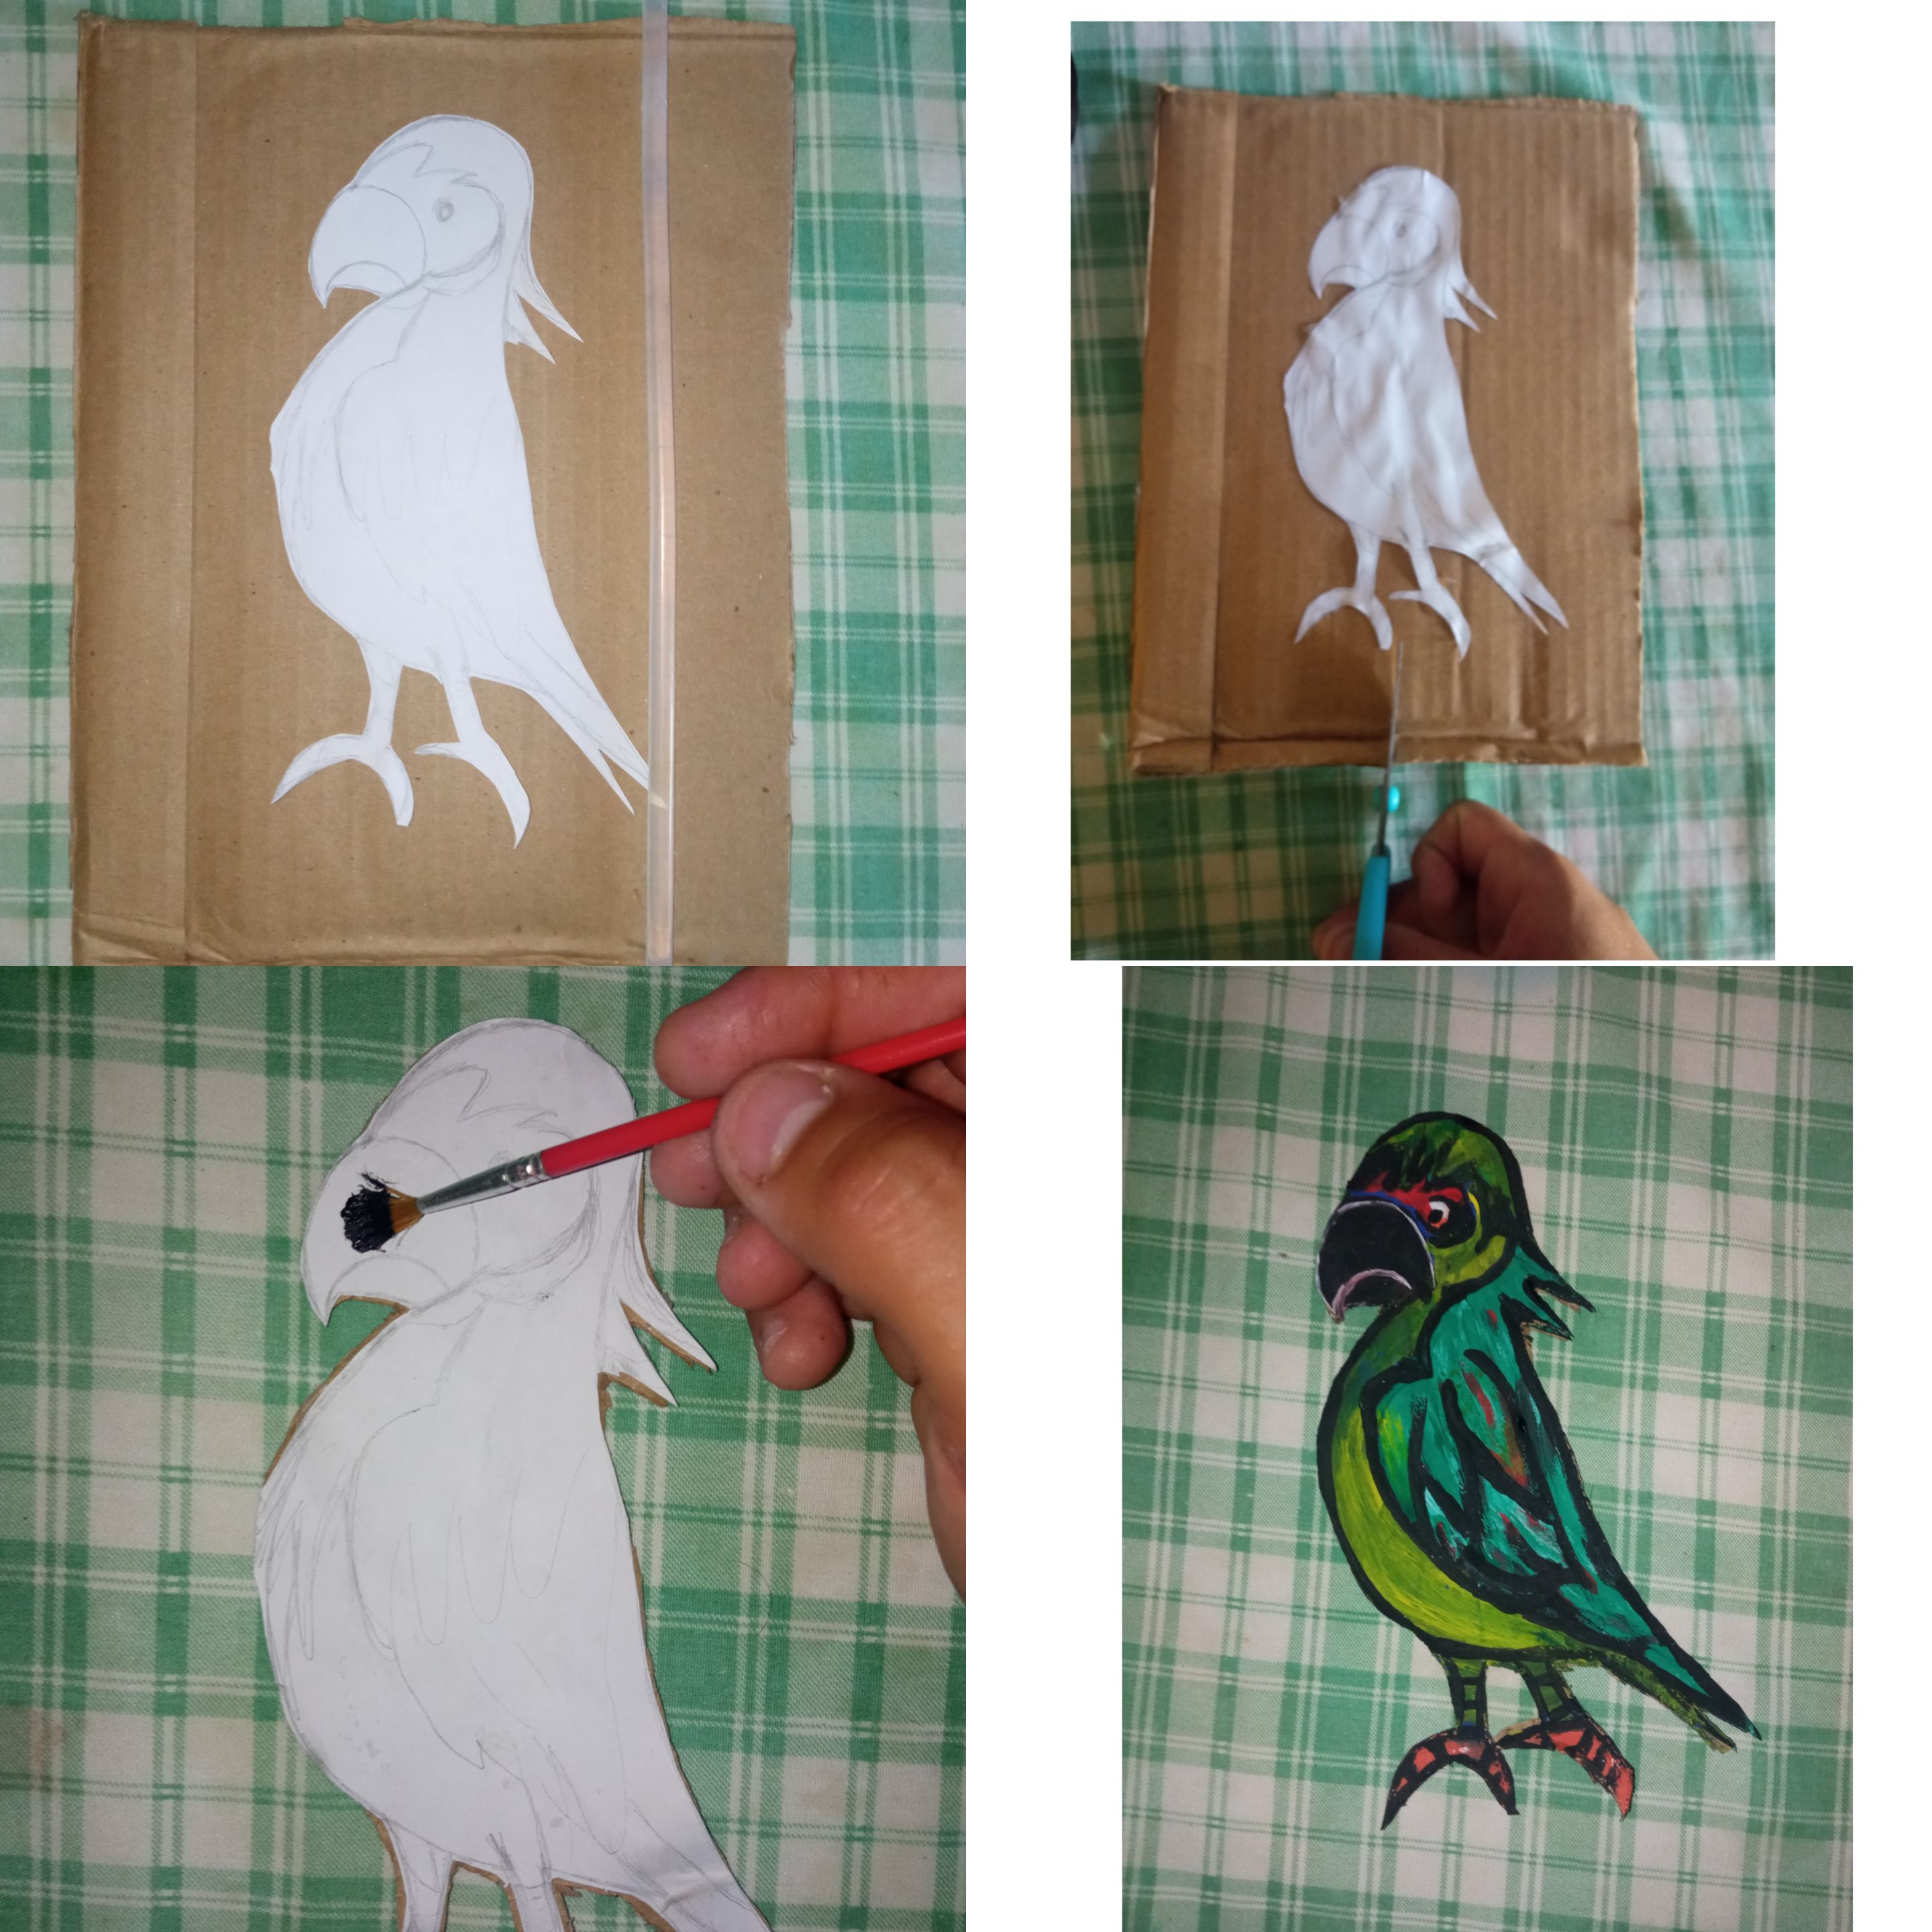  <div class="pull-left">En este cuarto paso: ya pintado nuestro hermoso loro tomaremos un cartón y la regla y con el lápiz tasaremos una linea y con la tijera la recortaremos una vez obtenida nuestras tomaremos el silicon y cubriremos el alrededor del redondo</div> <div class="pull-right">In this fourth step: already painted our beautiful parrot we will take a cardboard and the ruler and with the pencil we will assess a line and with the scissors we will cut it once we have obtained our we will take the silicone and cover the around the round</div>   <div class="pull-left">En este quinto paso: una vez pegadas nuestras tiras tomaremos el pincel y con el mismo pintaremos en color azul el centro y por fuera en color verde</div> <div class="pull-right">In this fifth step: once our strips are glued, we will take the brush and with it we will paint the center in blue and green on the outside</div> 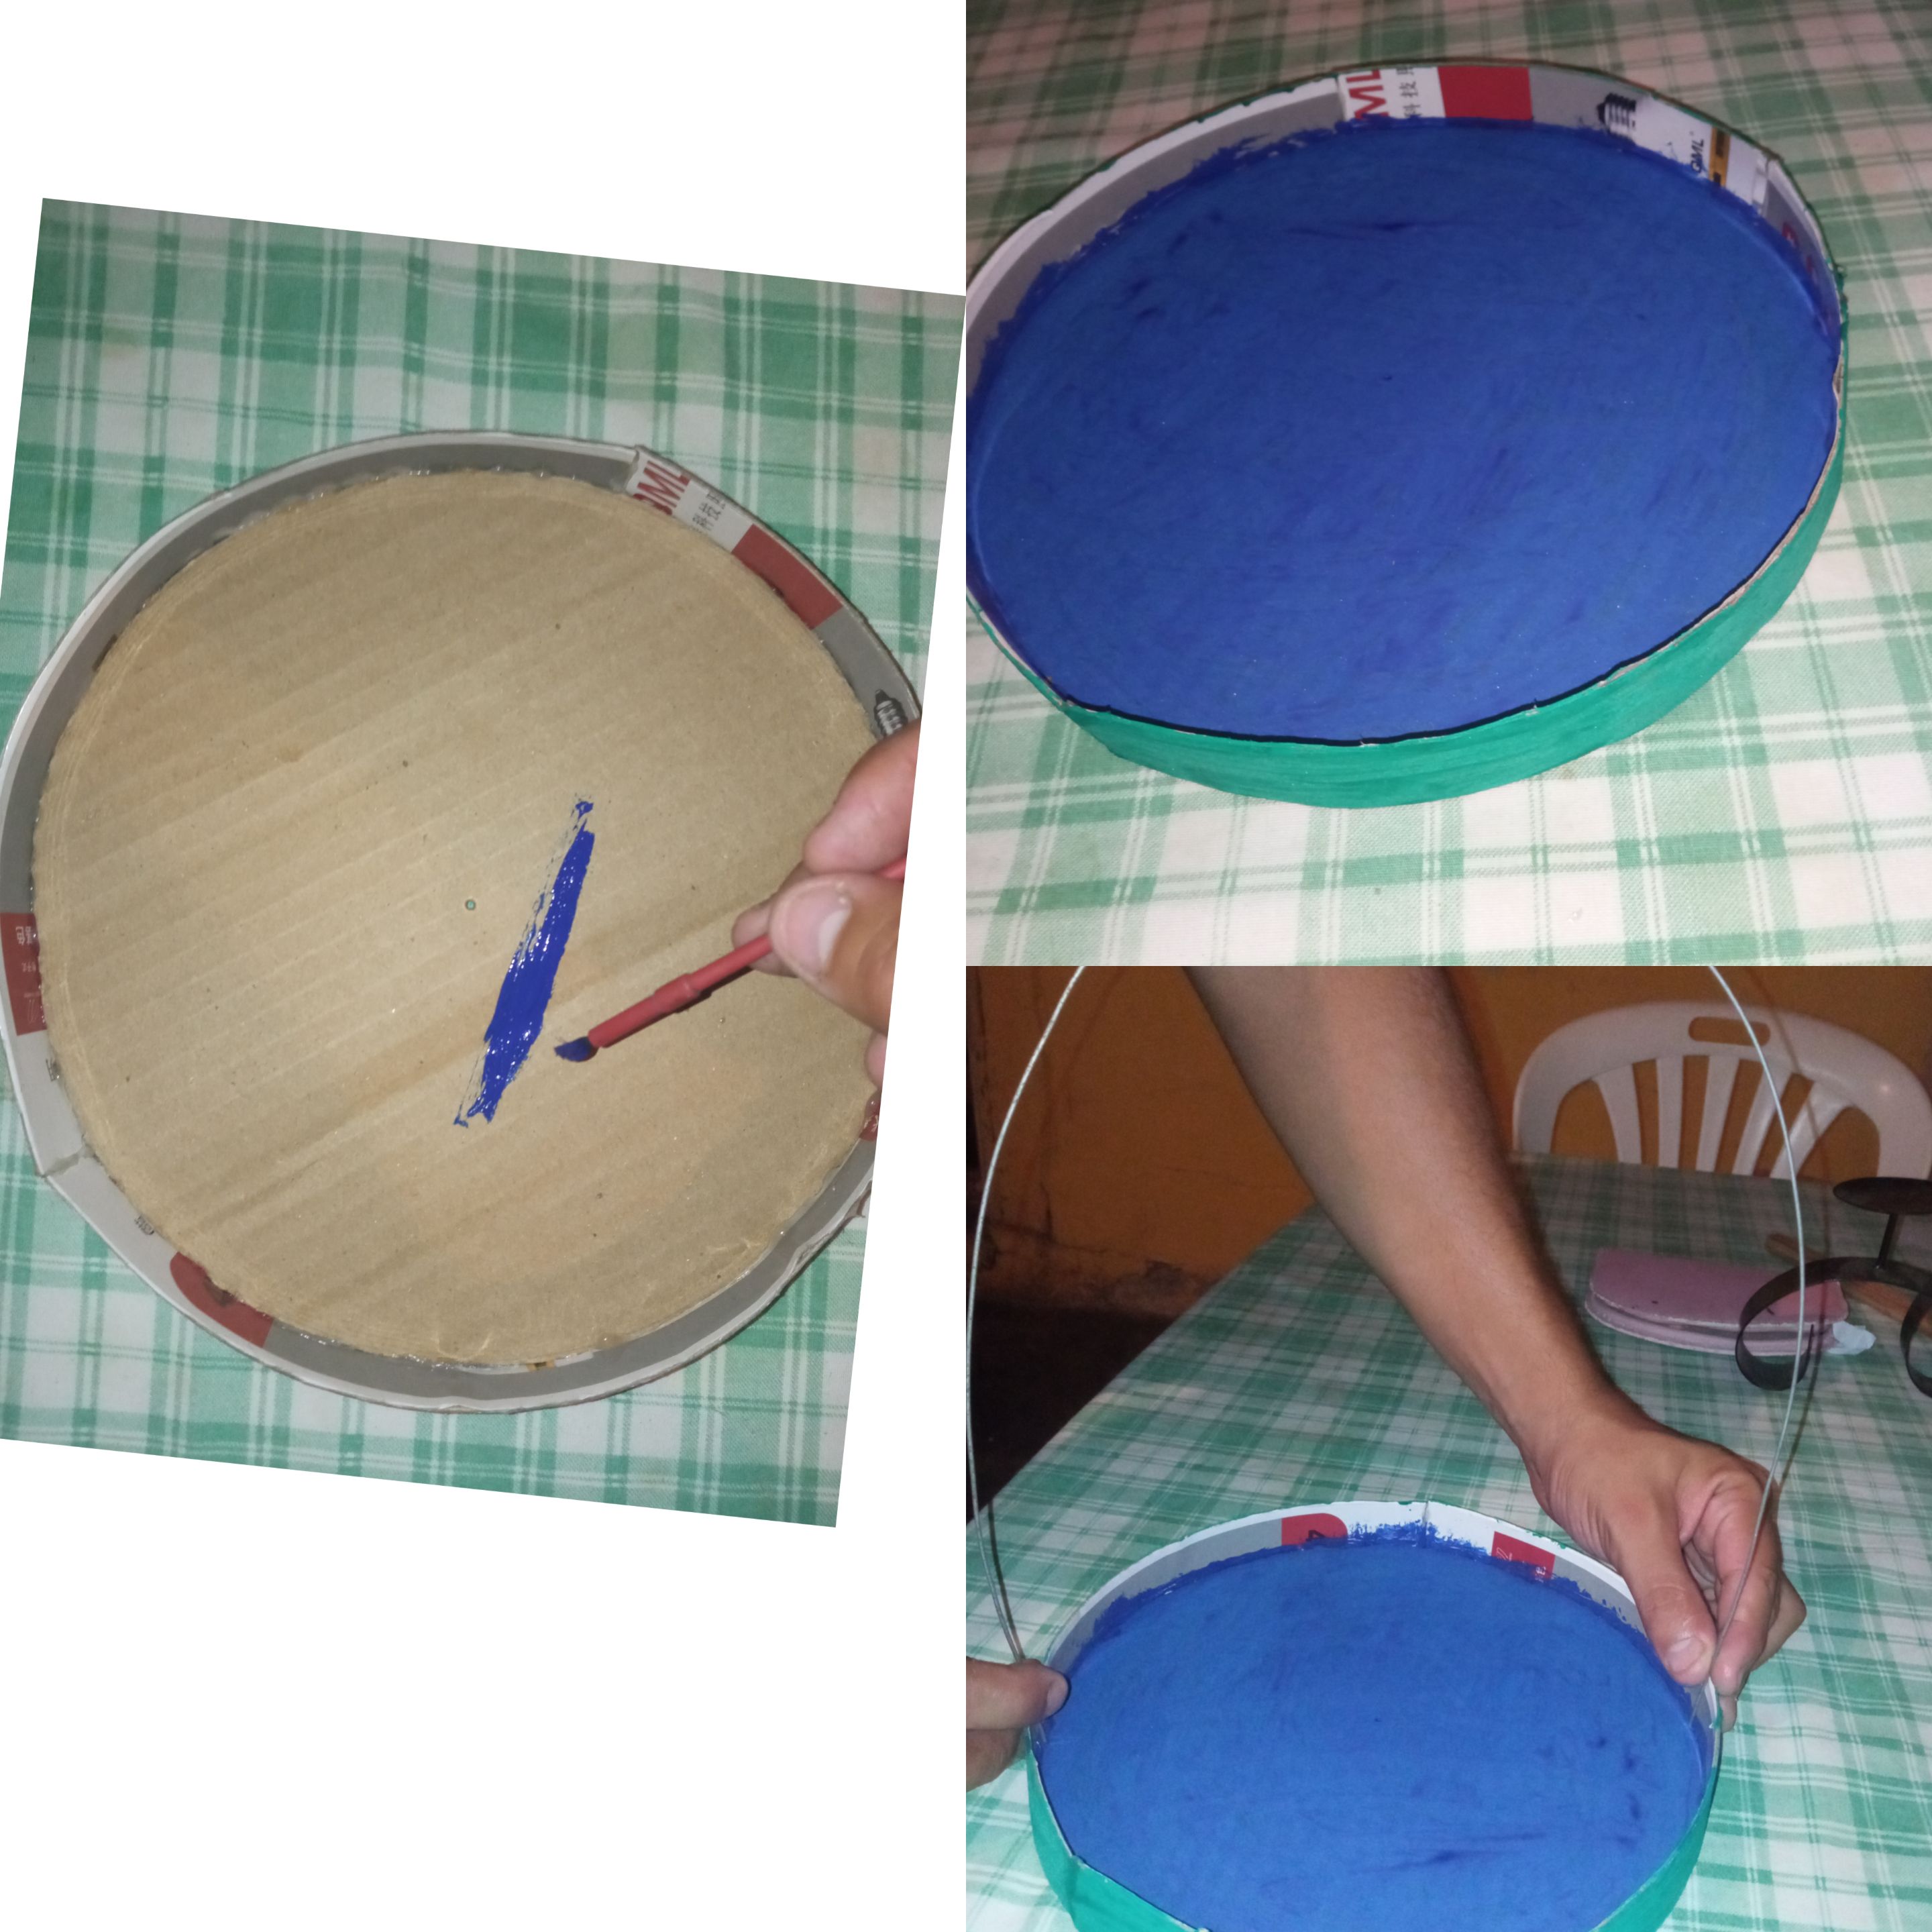  <div class="pull-left">En este sexto paso: tomaremos el palito y con el silicon lo pegaremos del alambre y arriba del palo pegaremos el loro una vez pegado, sacaremos varios pedazos de alambre de la misma medida y proseguiremos hacer la jaula</div> <div class="pull-right">In this sixth step: we will take the stick and with the silicone we will stick it from the wire and on top of the stick we will glue the parrot once glued, we will remove several pieces of wire of the same size and we will continue to make the cage</div> 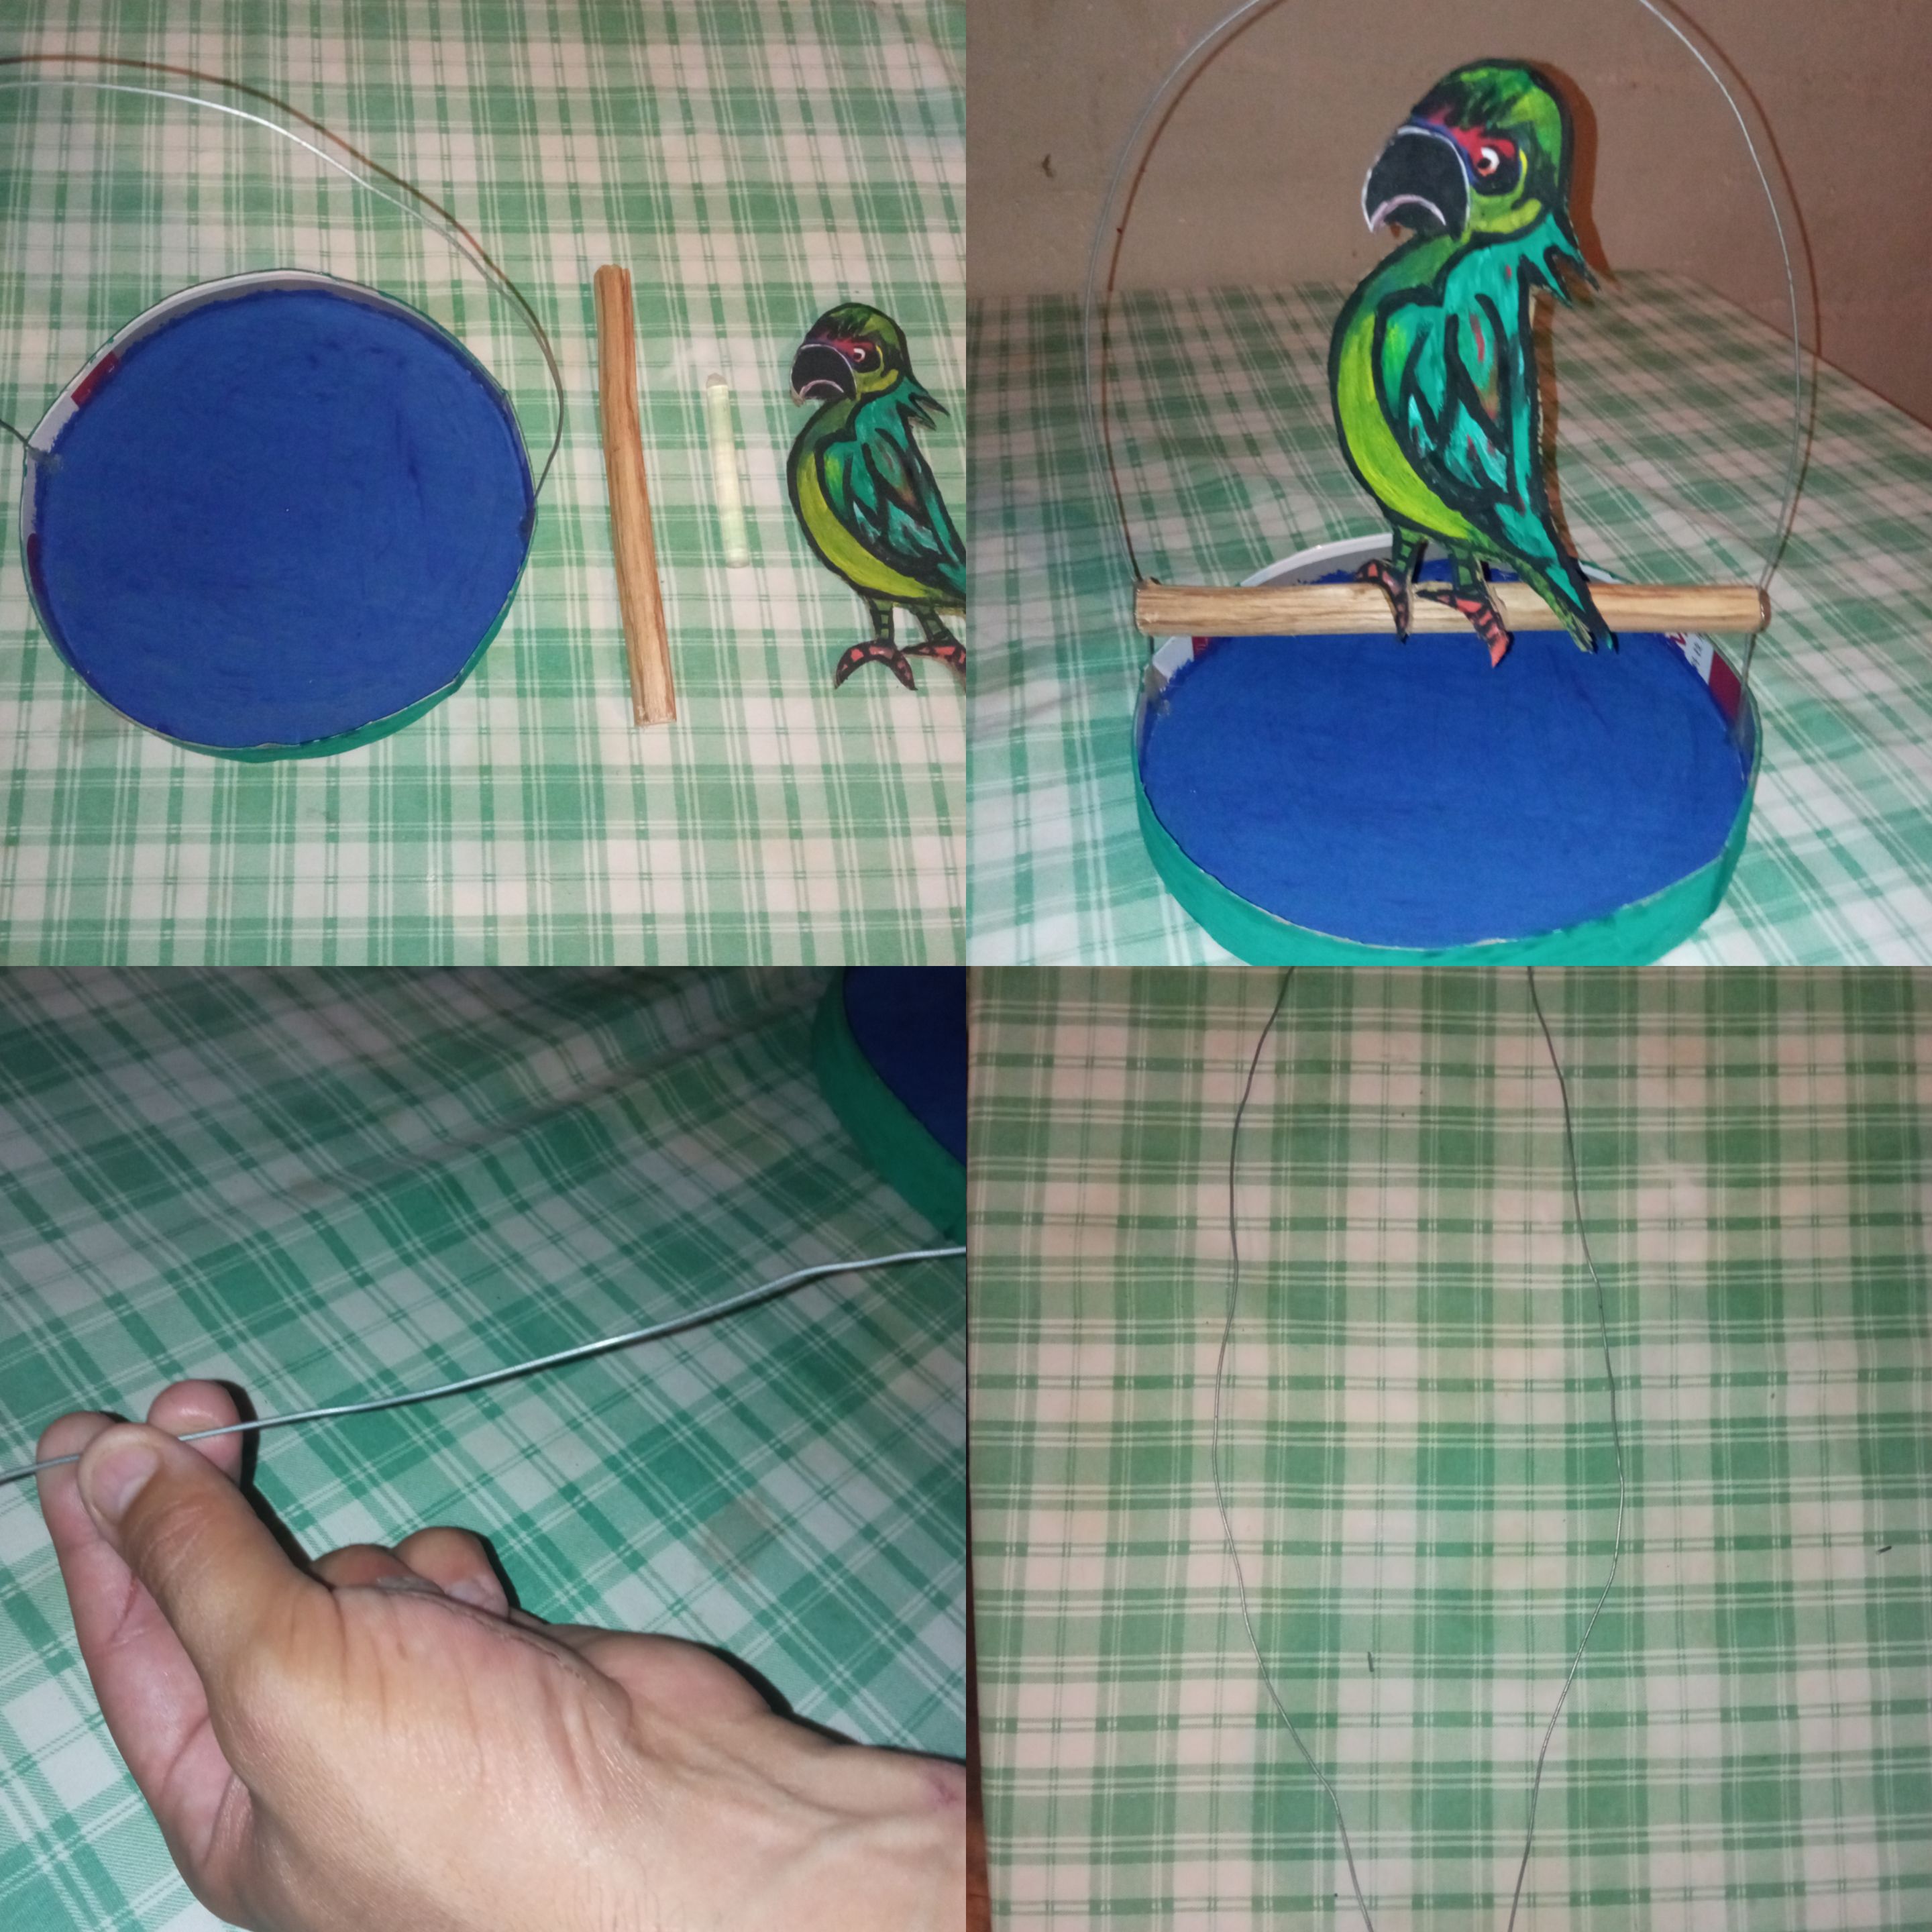  <div class="pull-left">En este séptimo y ultimo paso: seguiremos tasando nuestro alambres hasta encerrar bien a nuestro loro y para que se sostengan mejor lo pegaremos con silicon luego tomaremos un alambre pequeño y lo doblaremos de la siguiente forma para poder sostener la jaula y a continuación les mostrare como quedo</div> <div class="pull-right">In this seventh and last step: we will continue to assess our wires until we enclose our parrot well and to make them hold better we will glue it with silicone then we will take a small wire and we will bend it in the following way to be able to hold the cage and then I will show you how it looks</div> 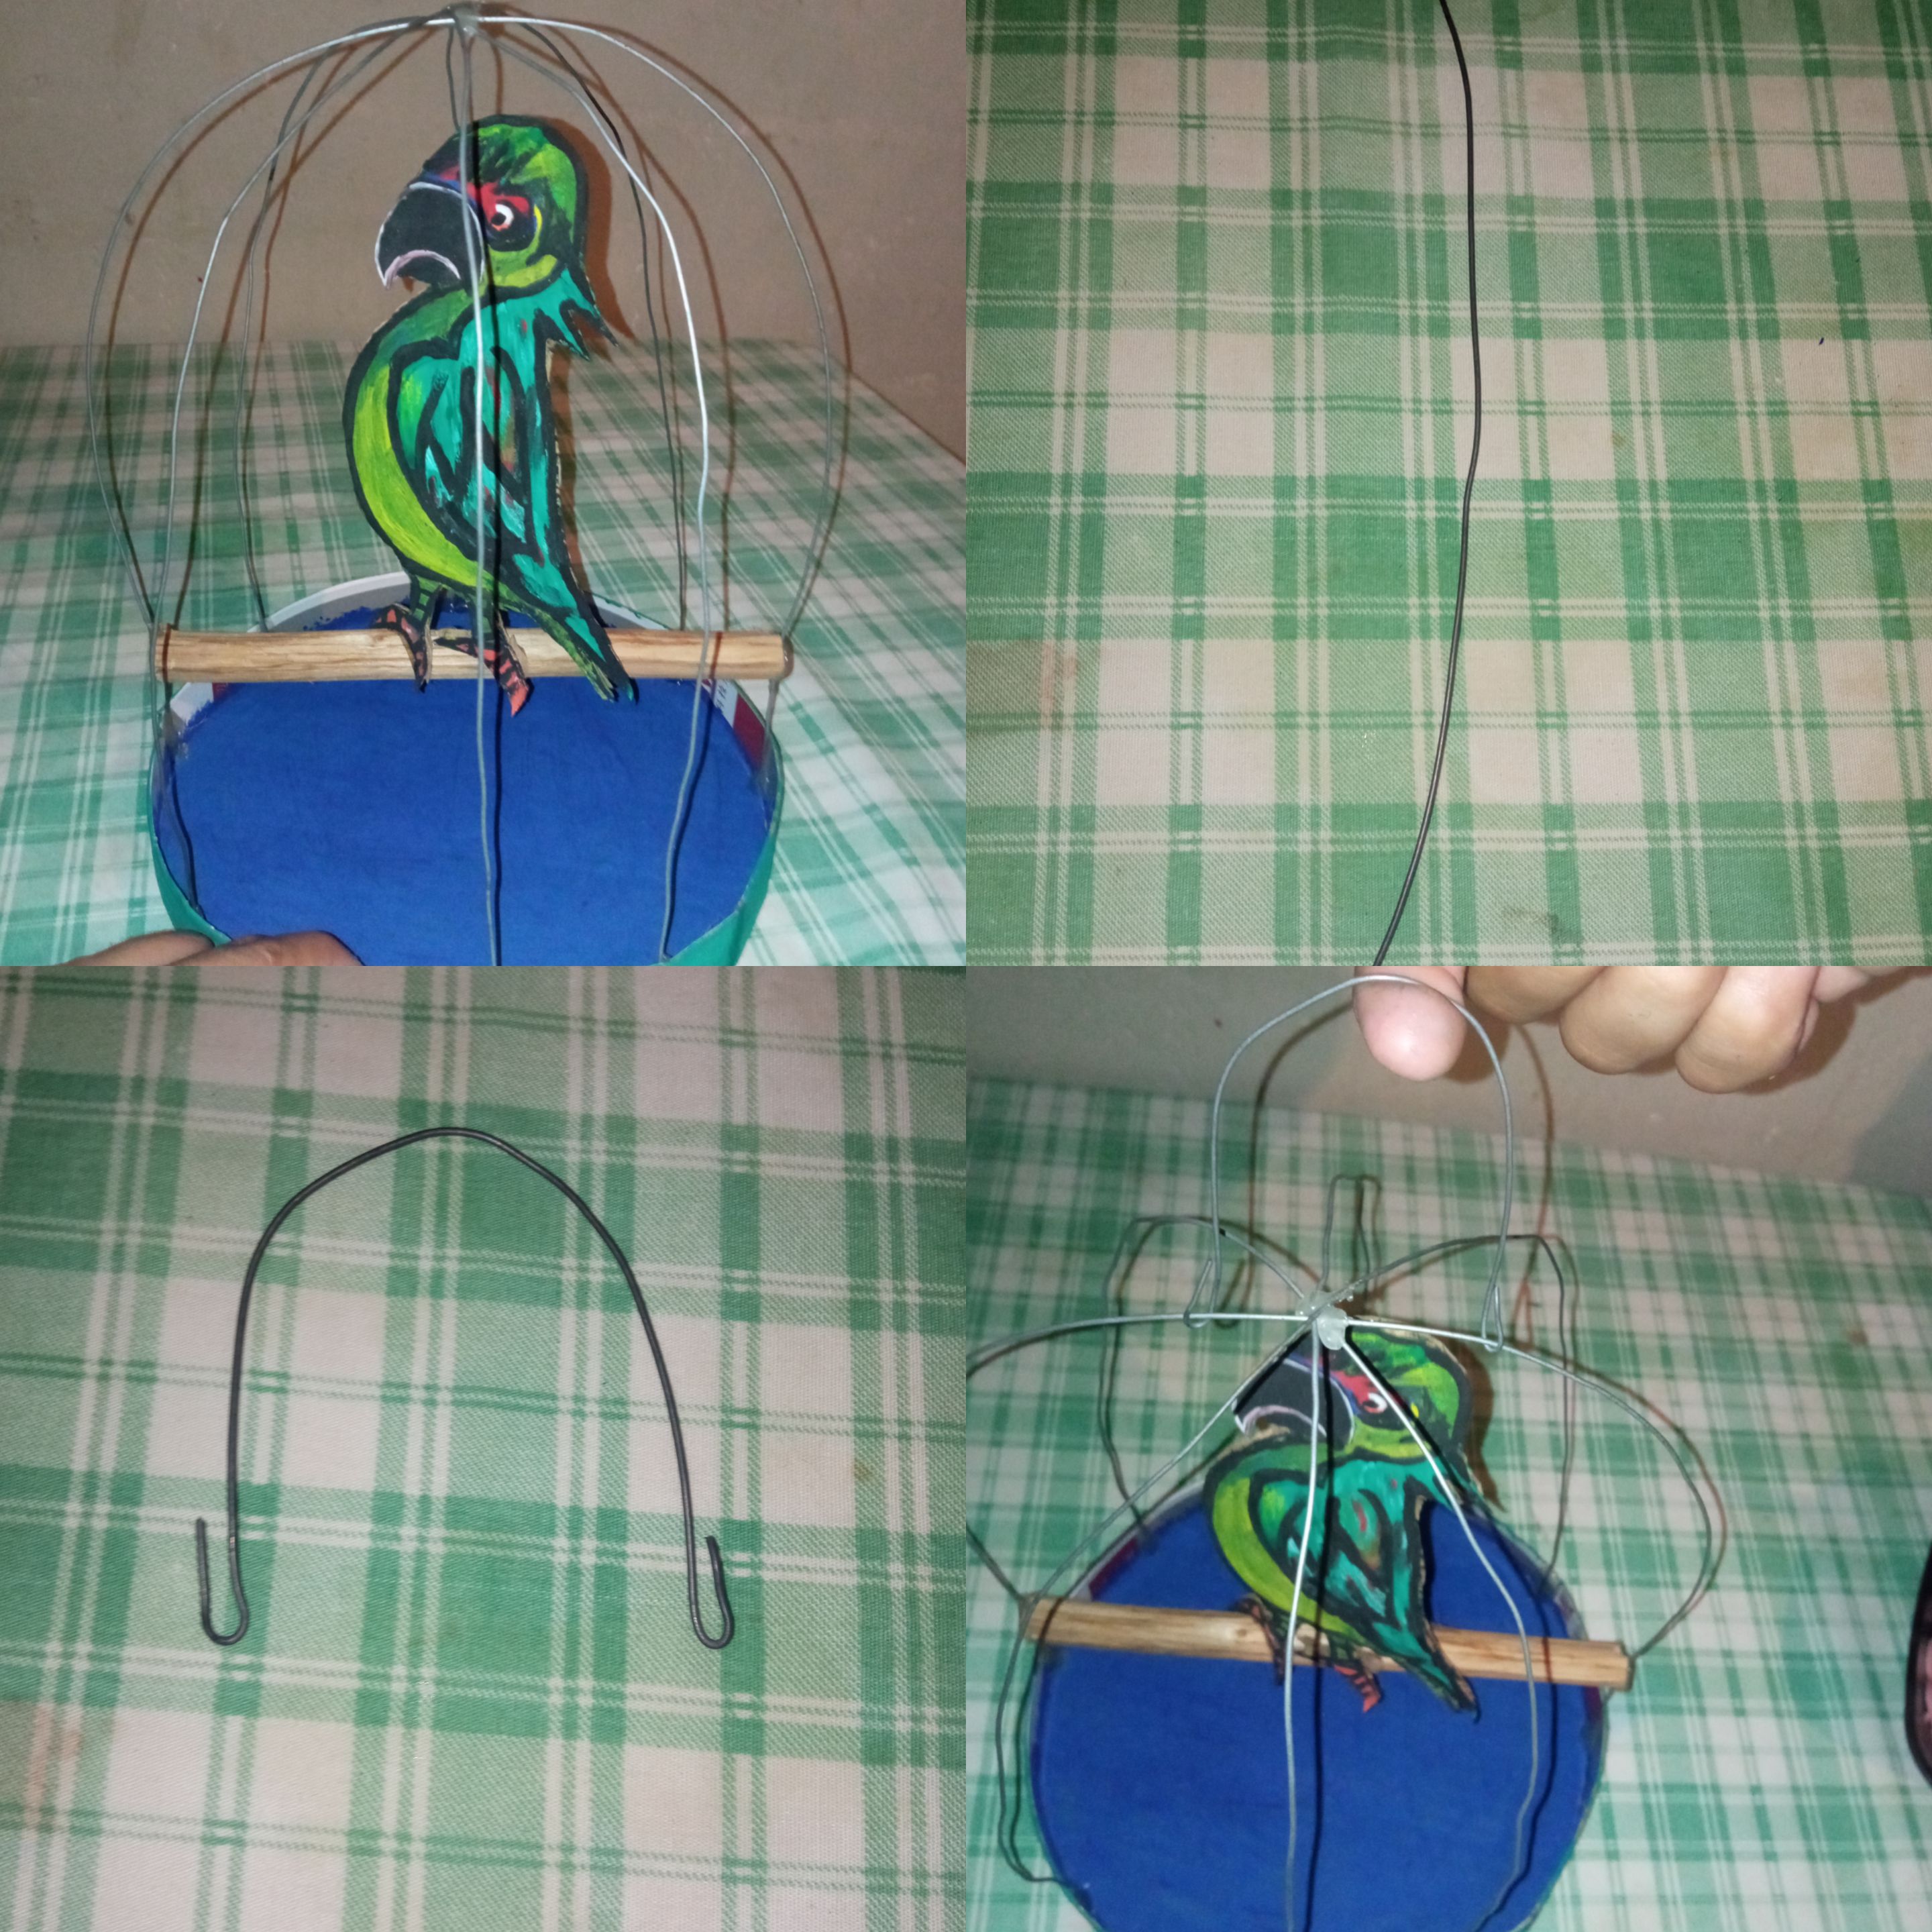 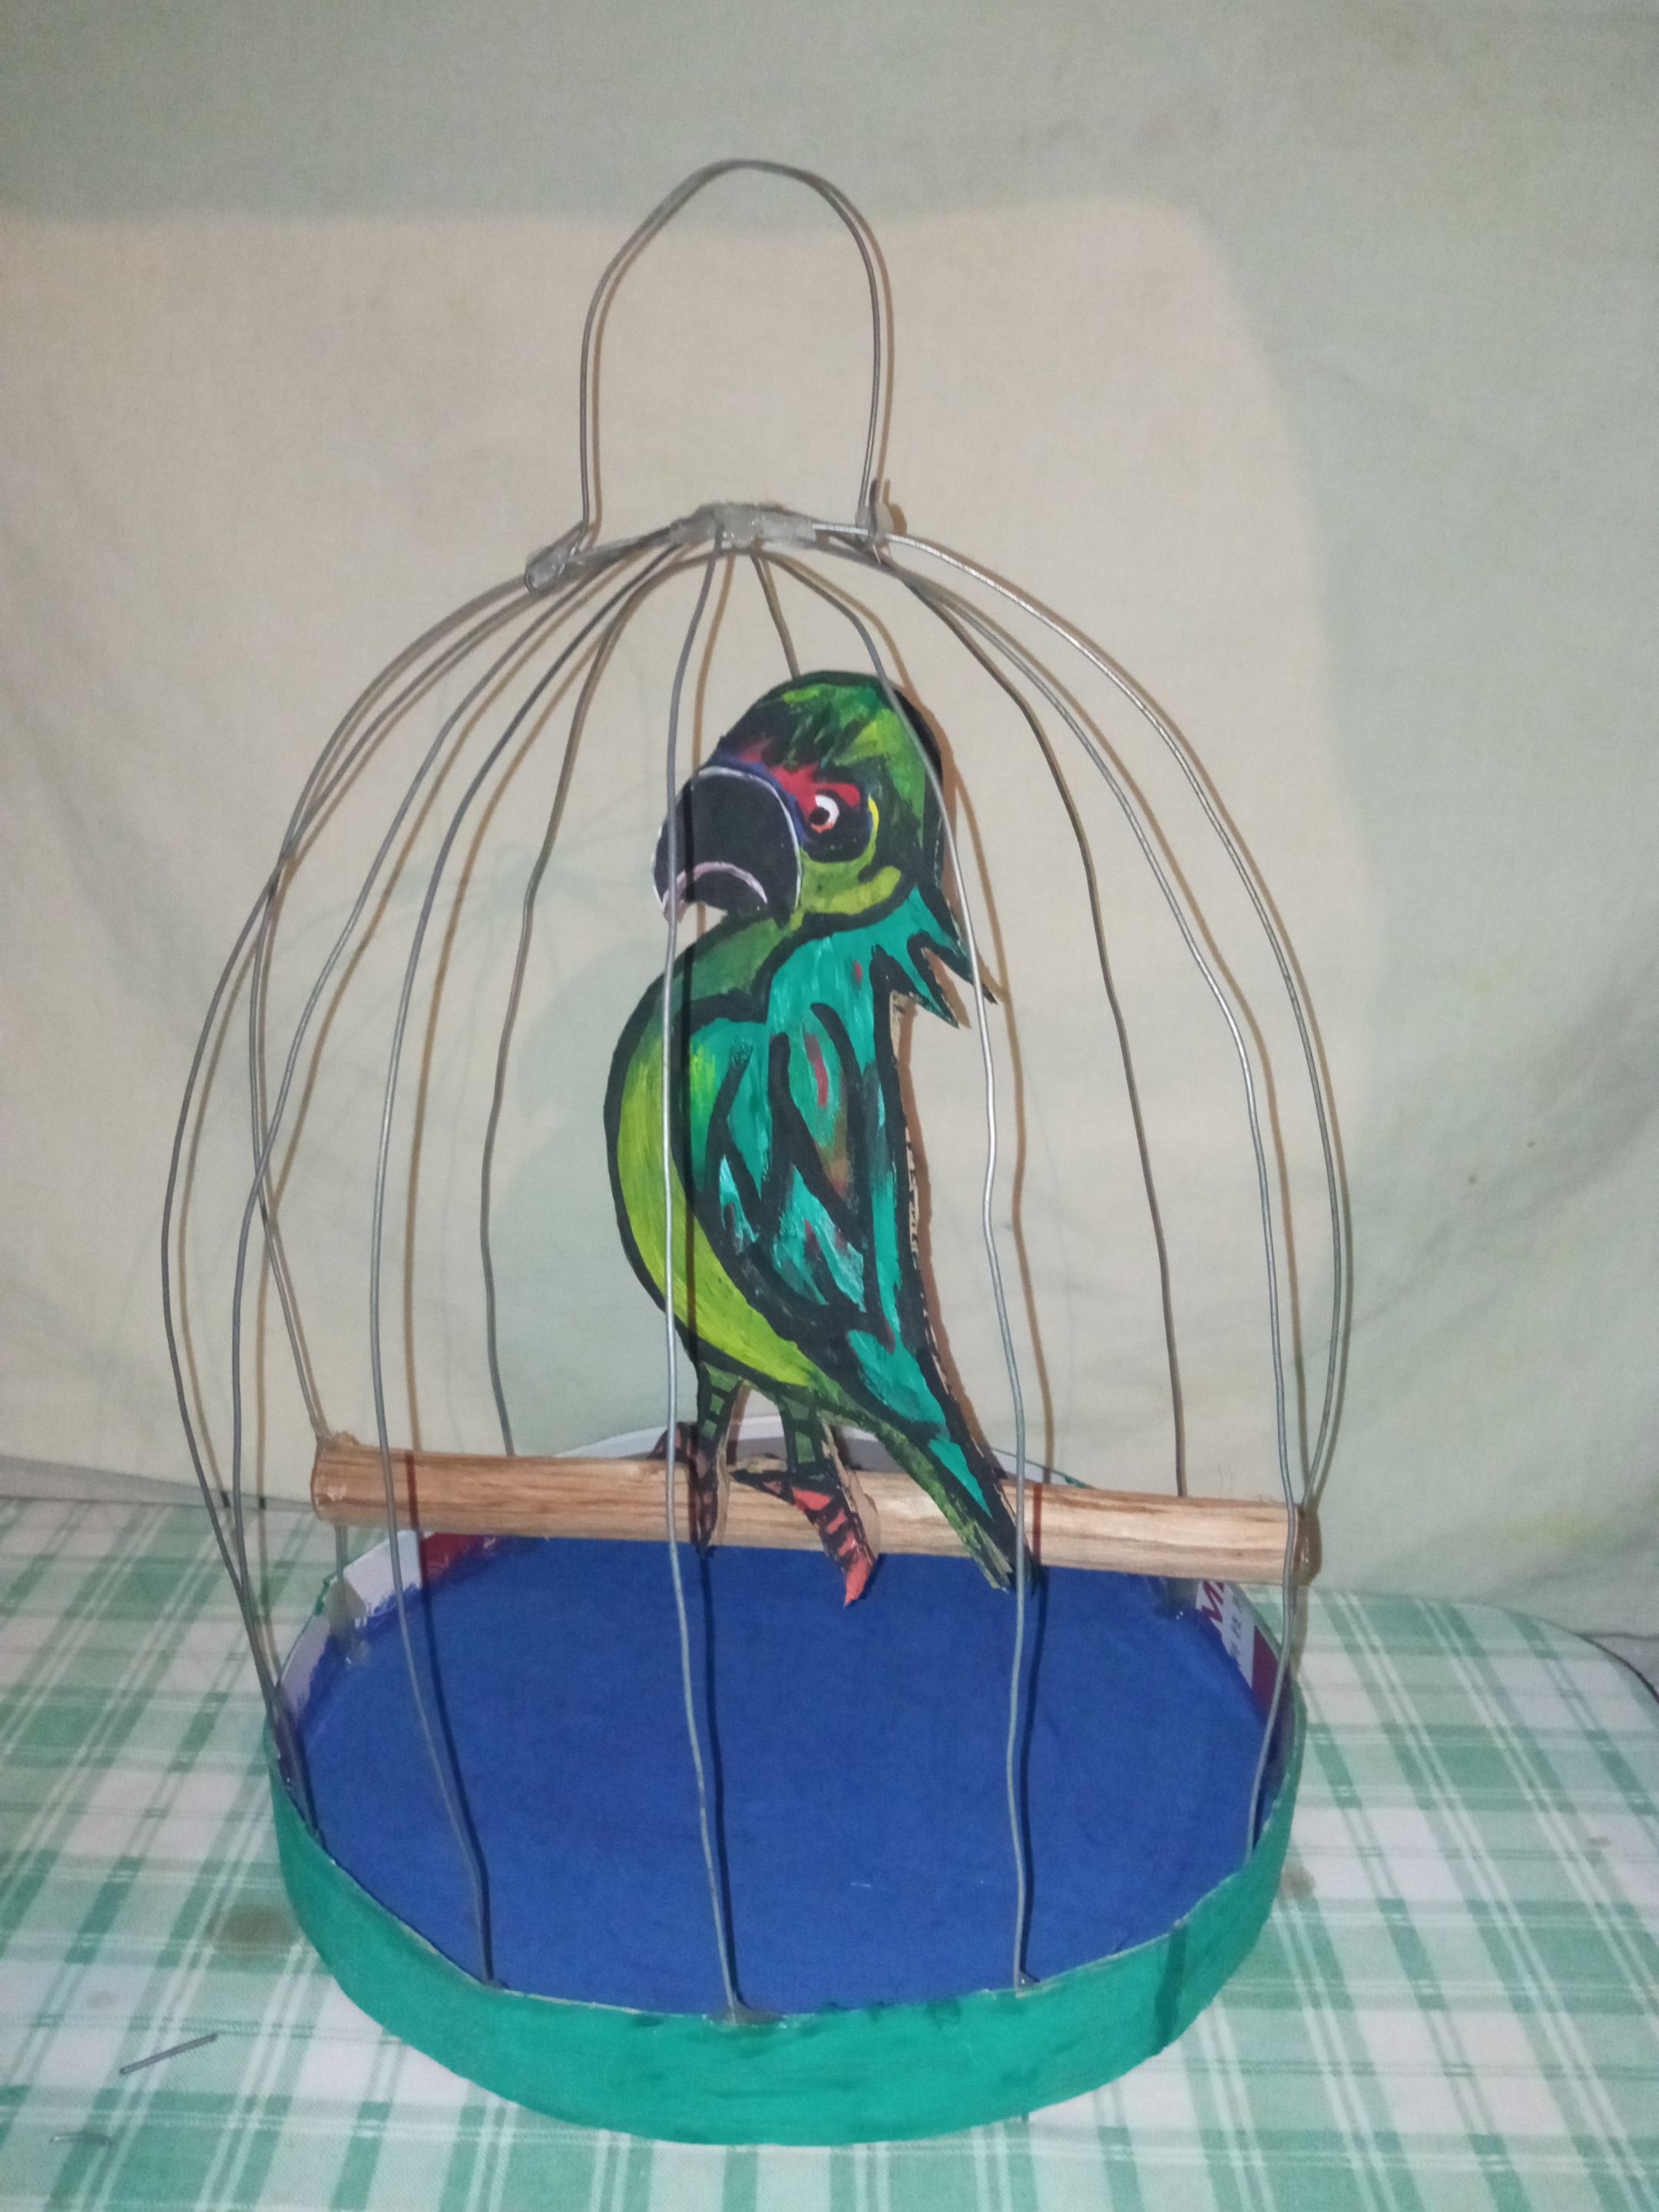  ### Gracias a todos por leer mi publicación, espero les guste muchísimo y puedan realizarlo en casa, pueden adornar lugar de casa con el lo hice con mucho amor y dedicación para todos ustedes, Dios me los bendiga saludos a todos!!!! ### Thank you all for reading my publication, I hope you like it very much and can do it at home, you can decorate your home with it I did it with a lot of love and dedication to all of you, God bless me, greetings to all!