[Esp | Eng] Bracelet with charm and macrame weave
hive-189641·@lismarcarolina2·
0.000 HBD[Esp | Eng] Bracelet with charm and macrame weave
<div class="text-justify"> Buenas tardes, amigos de Diy Hub, en este nuevo post hice un tutorial sobre una pulsera hecha con hilo chino, le hice un pequeño detalle en el dije y le coloque un tejido de macramé. 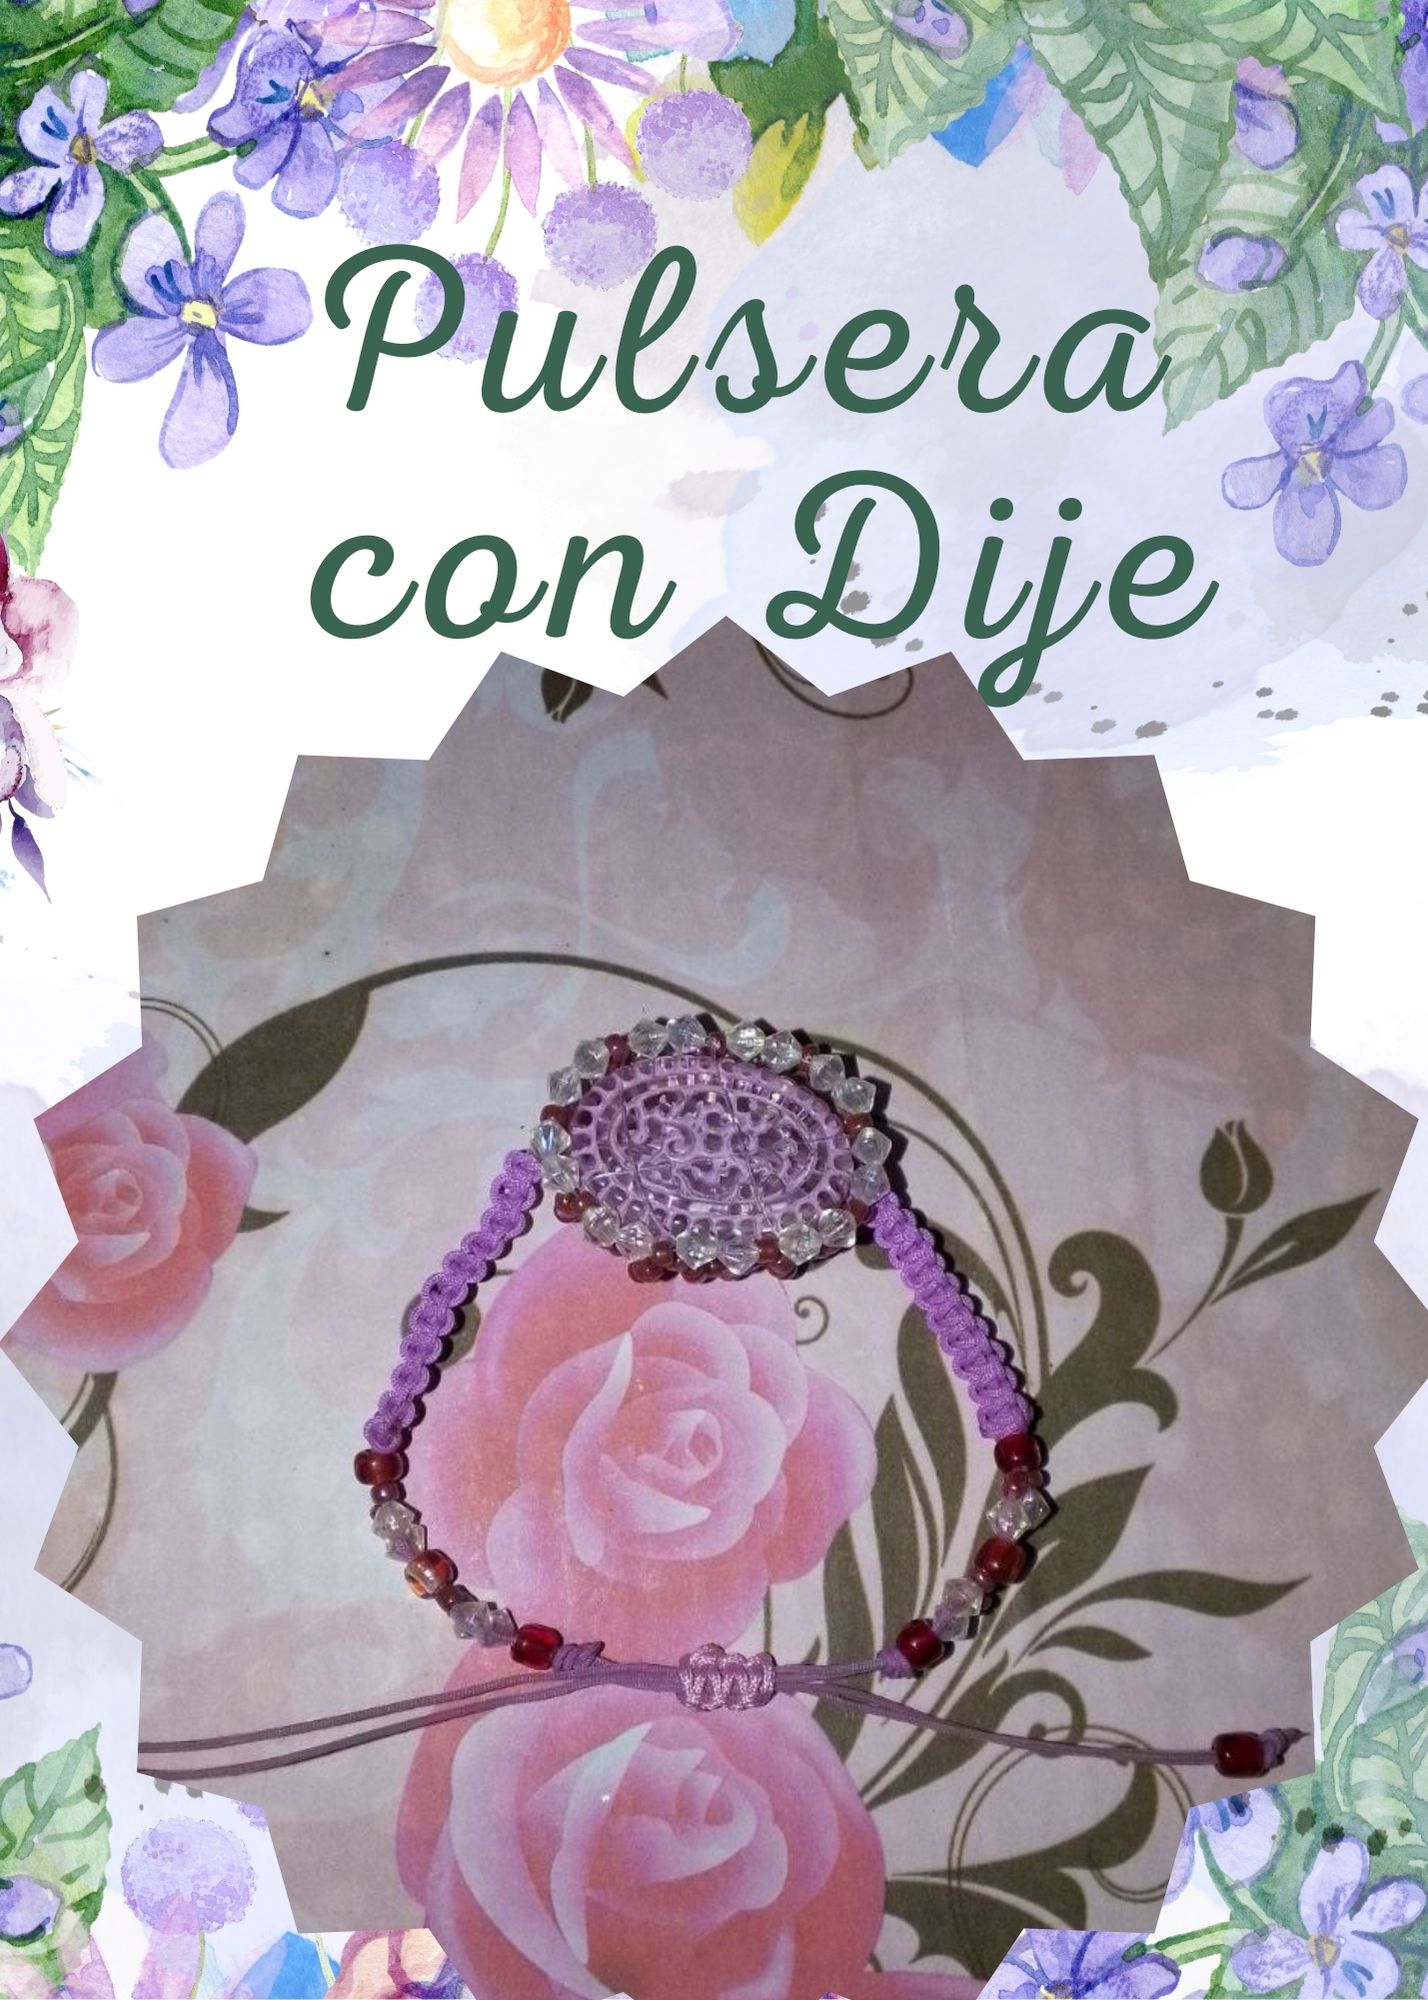 </div> <div class="text-justify"> ## Materiales | Materials - Hilo chino morado 60 cm aproximadamente - Mostacilla roja - Piedra ovalada - Hilo nylon transparente de 0.25 - Yesquero - Mostacillones - Swarovski >- Chinese purple thread approximately 60 cm >- Red mustard >- Oval stone >- 0.25" transparent nylon thread >- Gypsum plaster >- Small beads >- Swarovski ## Procedimiento | Procedure ### Paso 1 | Step 1 Primero medimos con el dije que tenemos y hacemos un circulo mas pequeño que el del dije que tenemos, luego cruzamos en la ultima mostacilla, Luego para este caso colocamos 9 mostacillas como se ve en la imagen y pasamos el hilo nylon por la cuatra mostacilla que esta en el circulo. >First we measure with the pendant we have and make a circle smaller than the pendant we have, then we cross in the last bead, then for this case we place 9 beads as shown in the image and pass the nylon thread through the fourth bead that is in the circle. 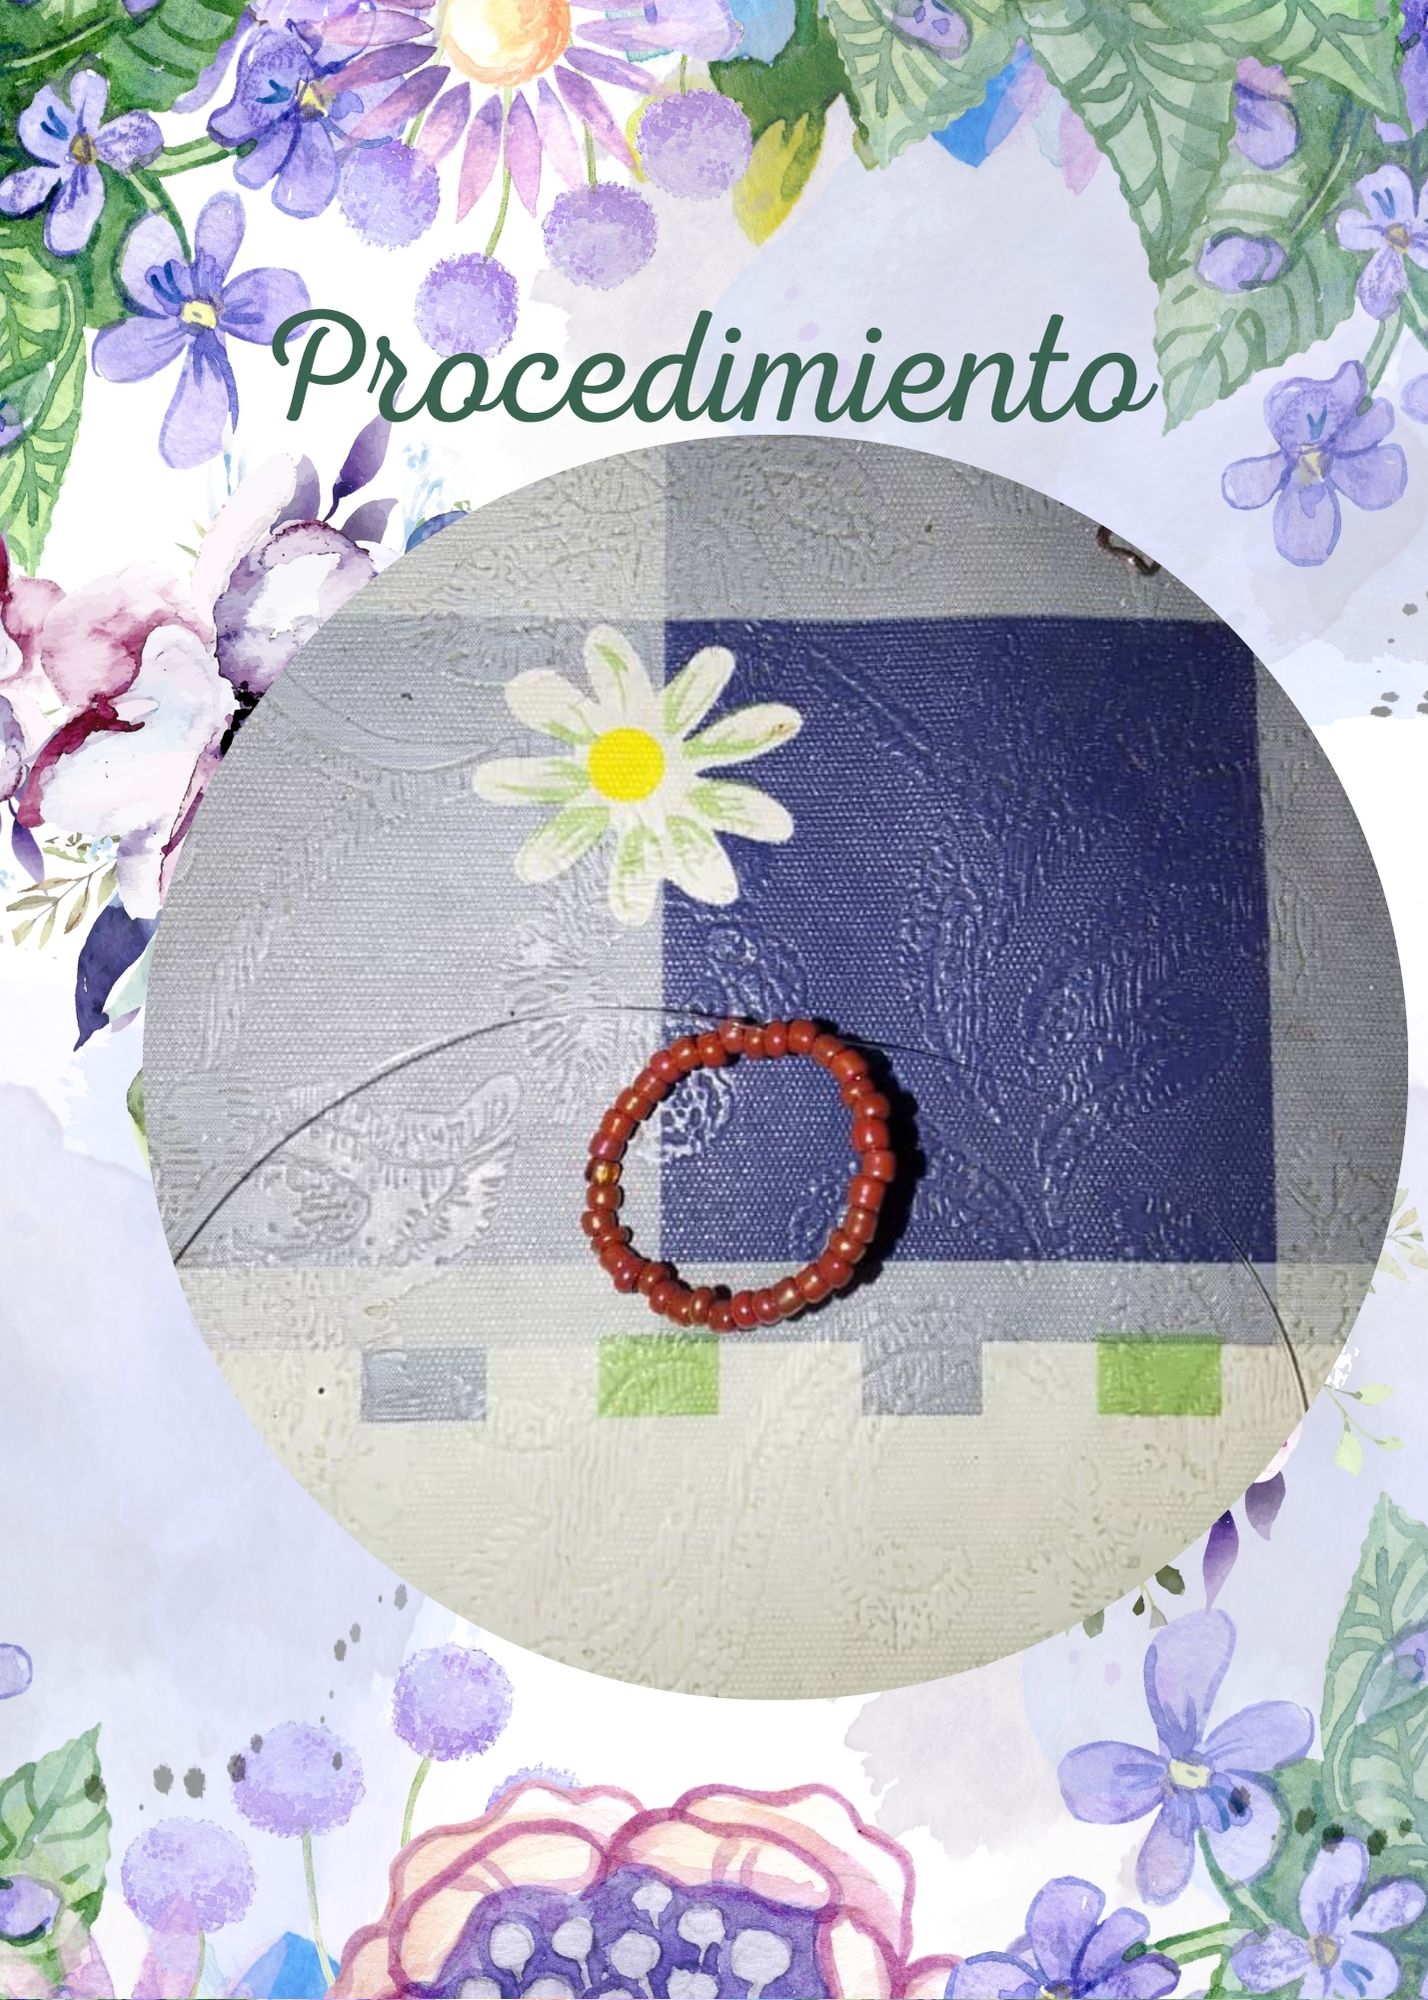 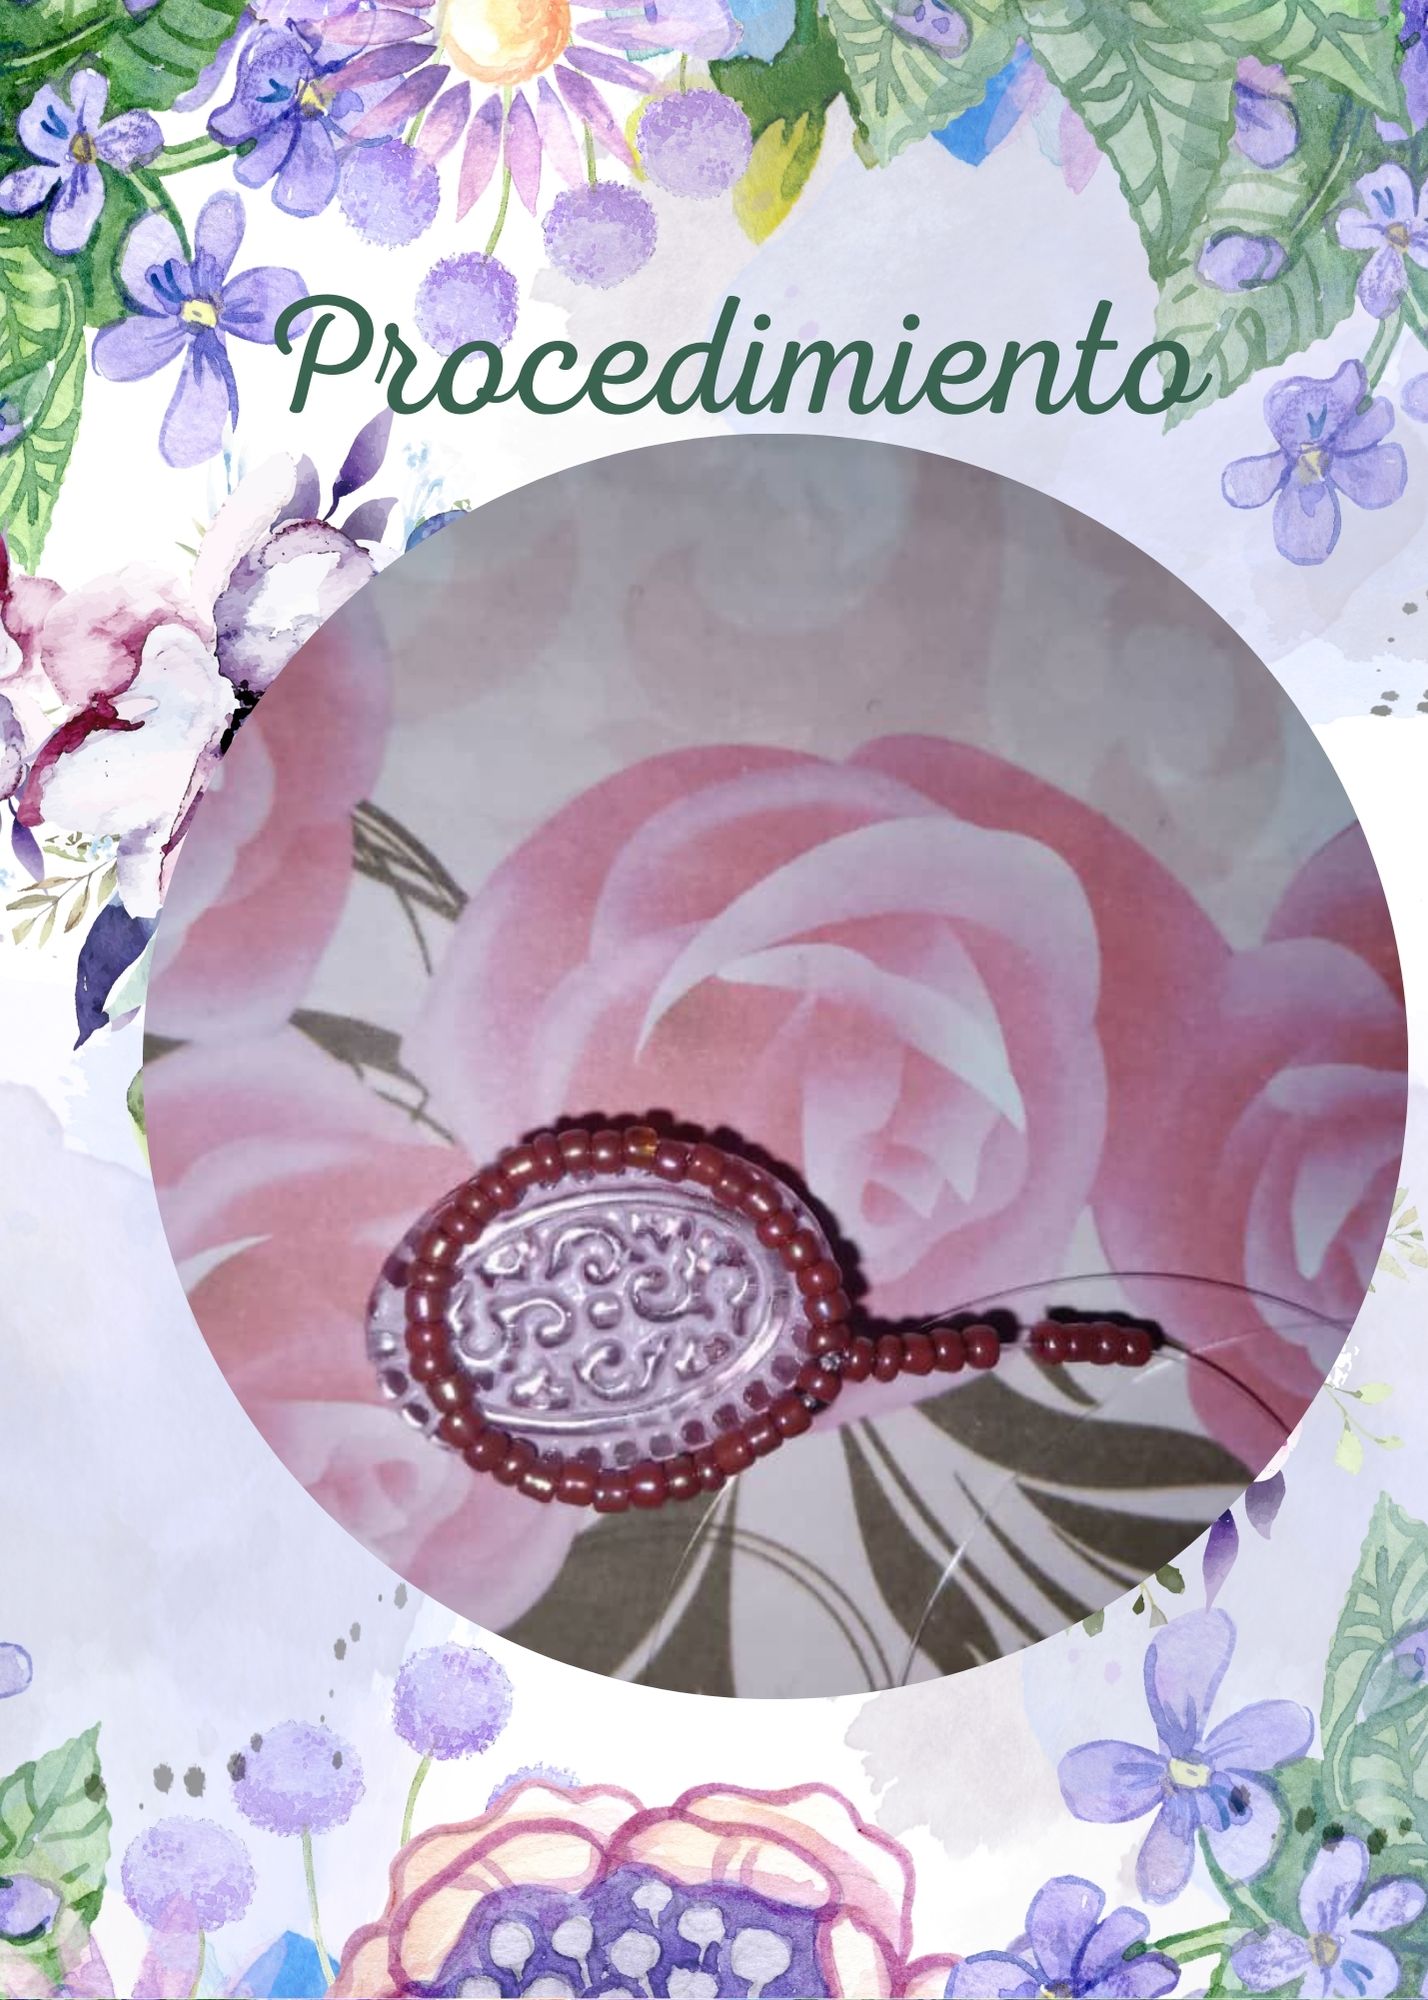 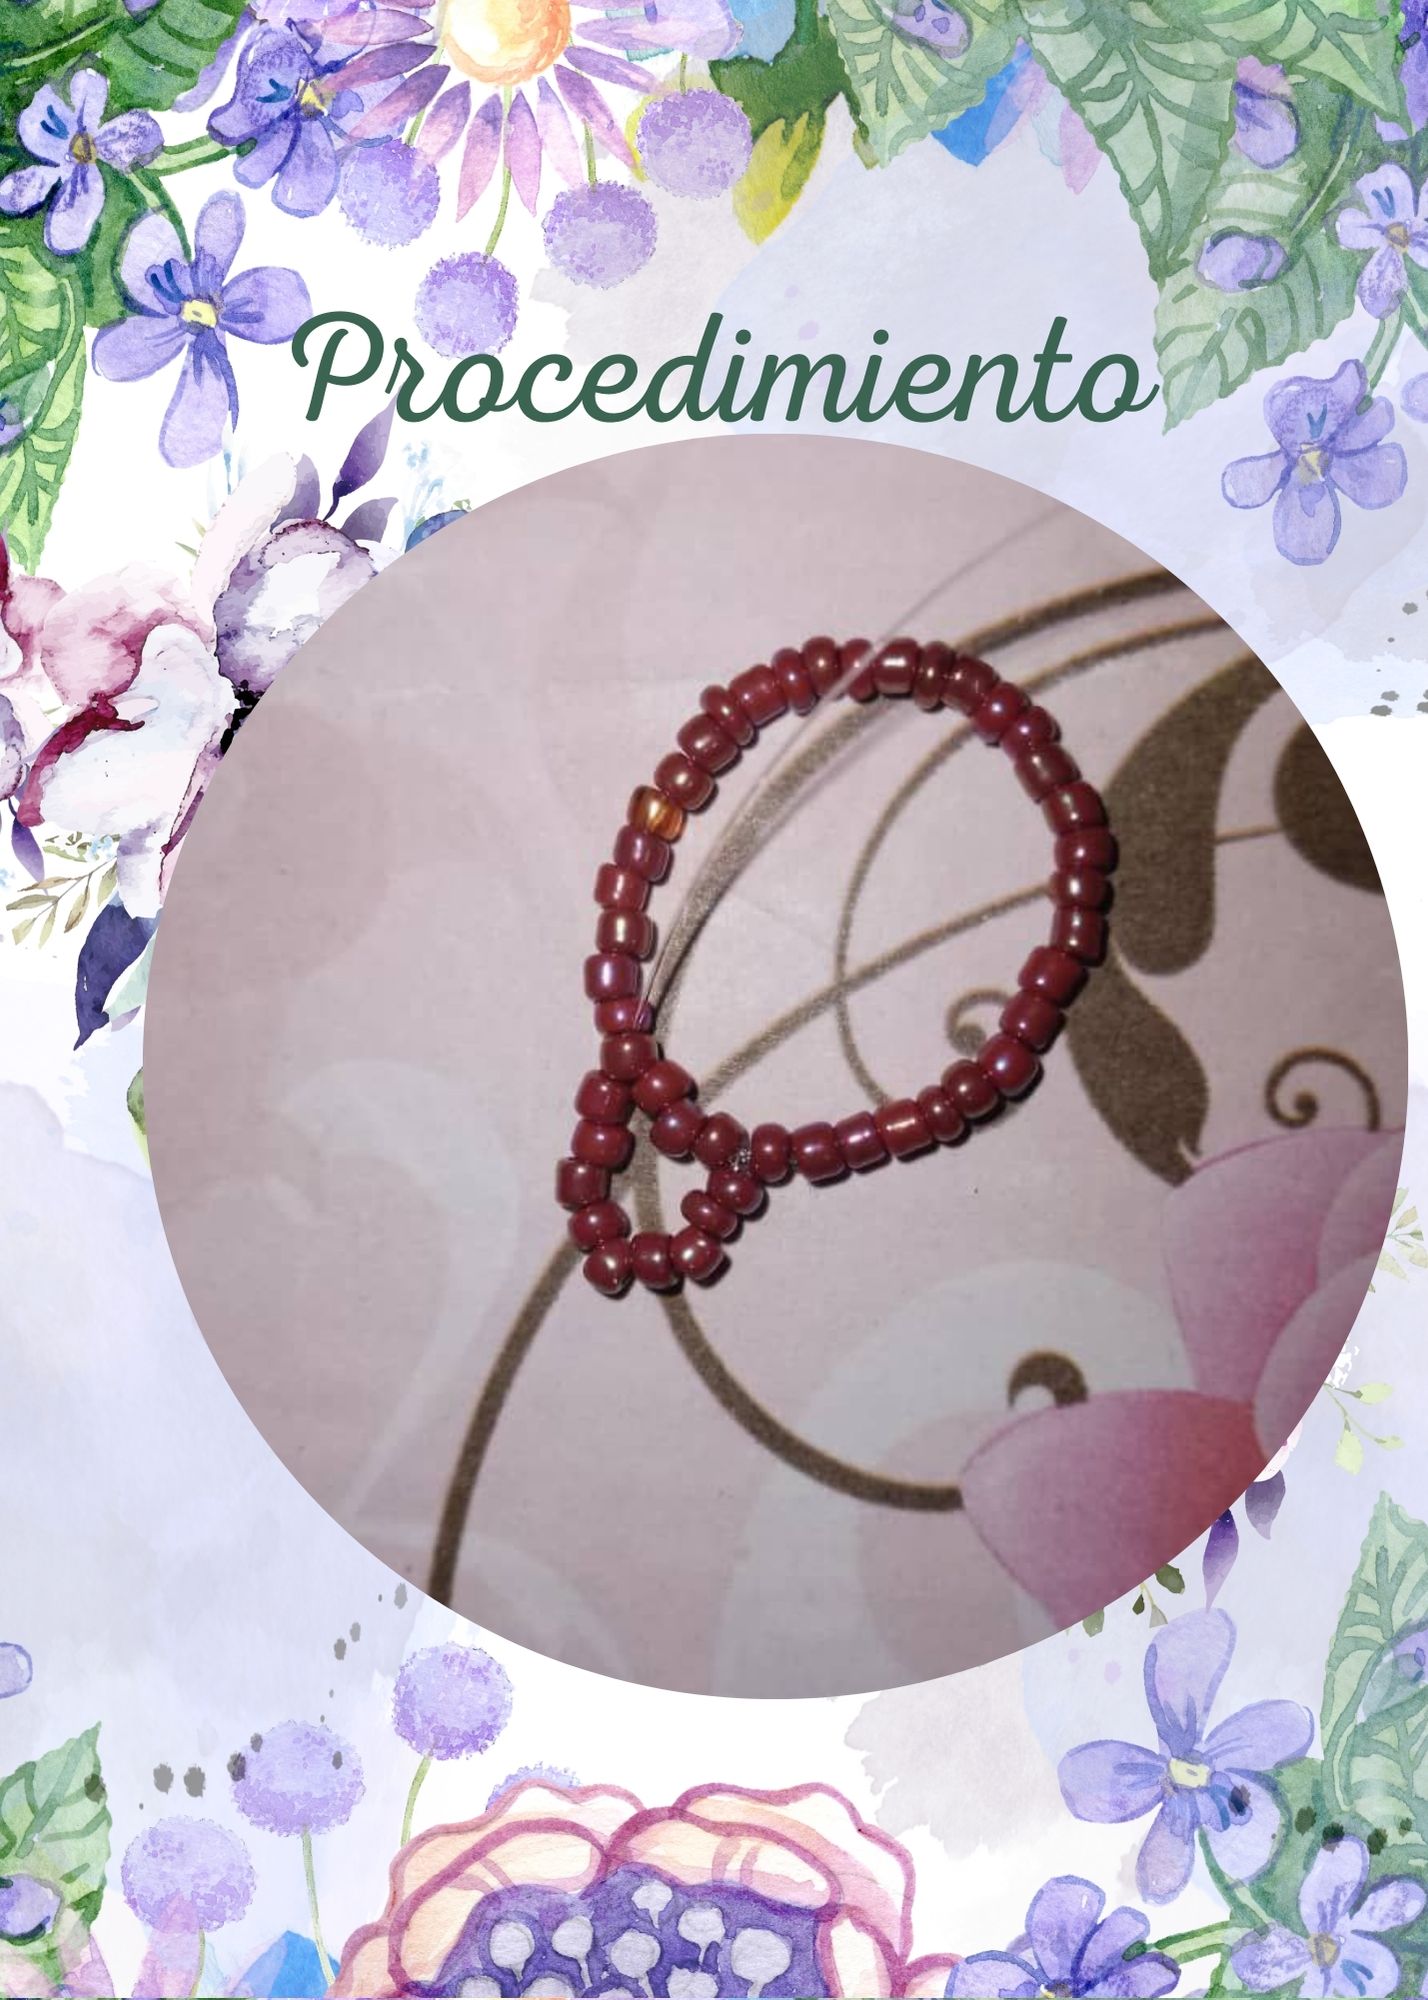 ### Paso 2 | Step 2 Repetimos los pasos para formar una especie de flor, hasta completar el circulo. Lo colocamos en el dije y por el otro lado, vamos uniendo los "petalos" pasando dos piedras de swarovski. Luego pasamos dos tiras de hilo chino y lo pasamos através del dije. >Repeat the steps to form a kind of flower, until the circle is completed. We place it on the pendant and on the other side, we join the "petals" passing two swarovski stones. Then we pass two strips of Chinese thread and pass it through the pendant. 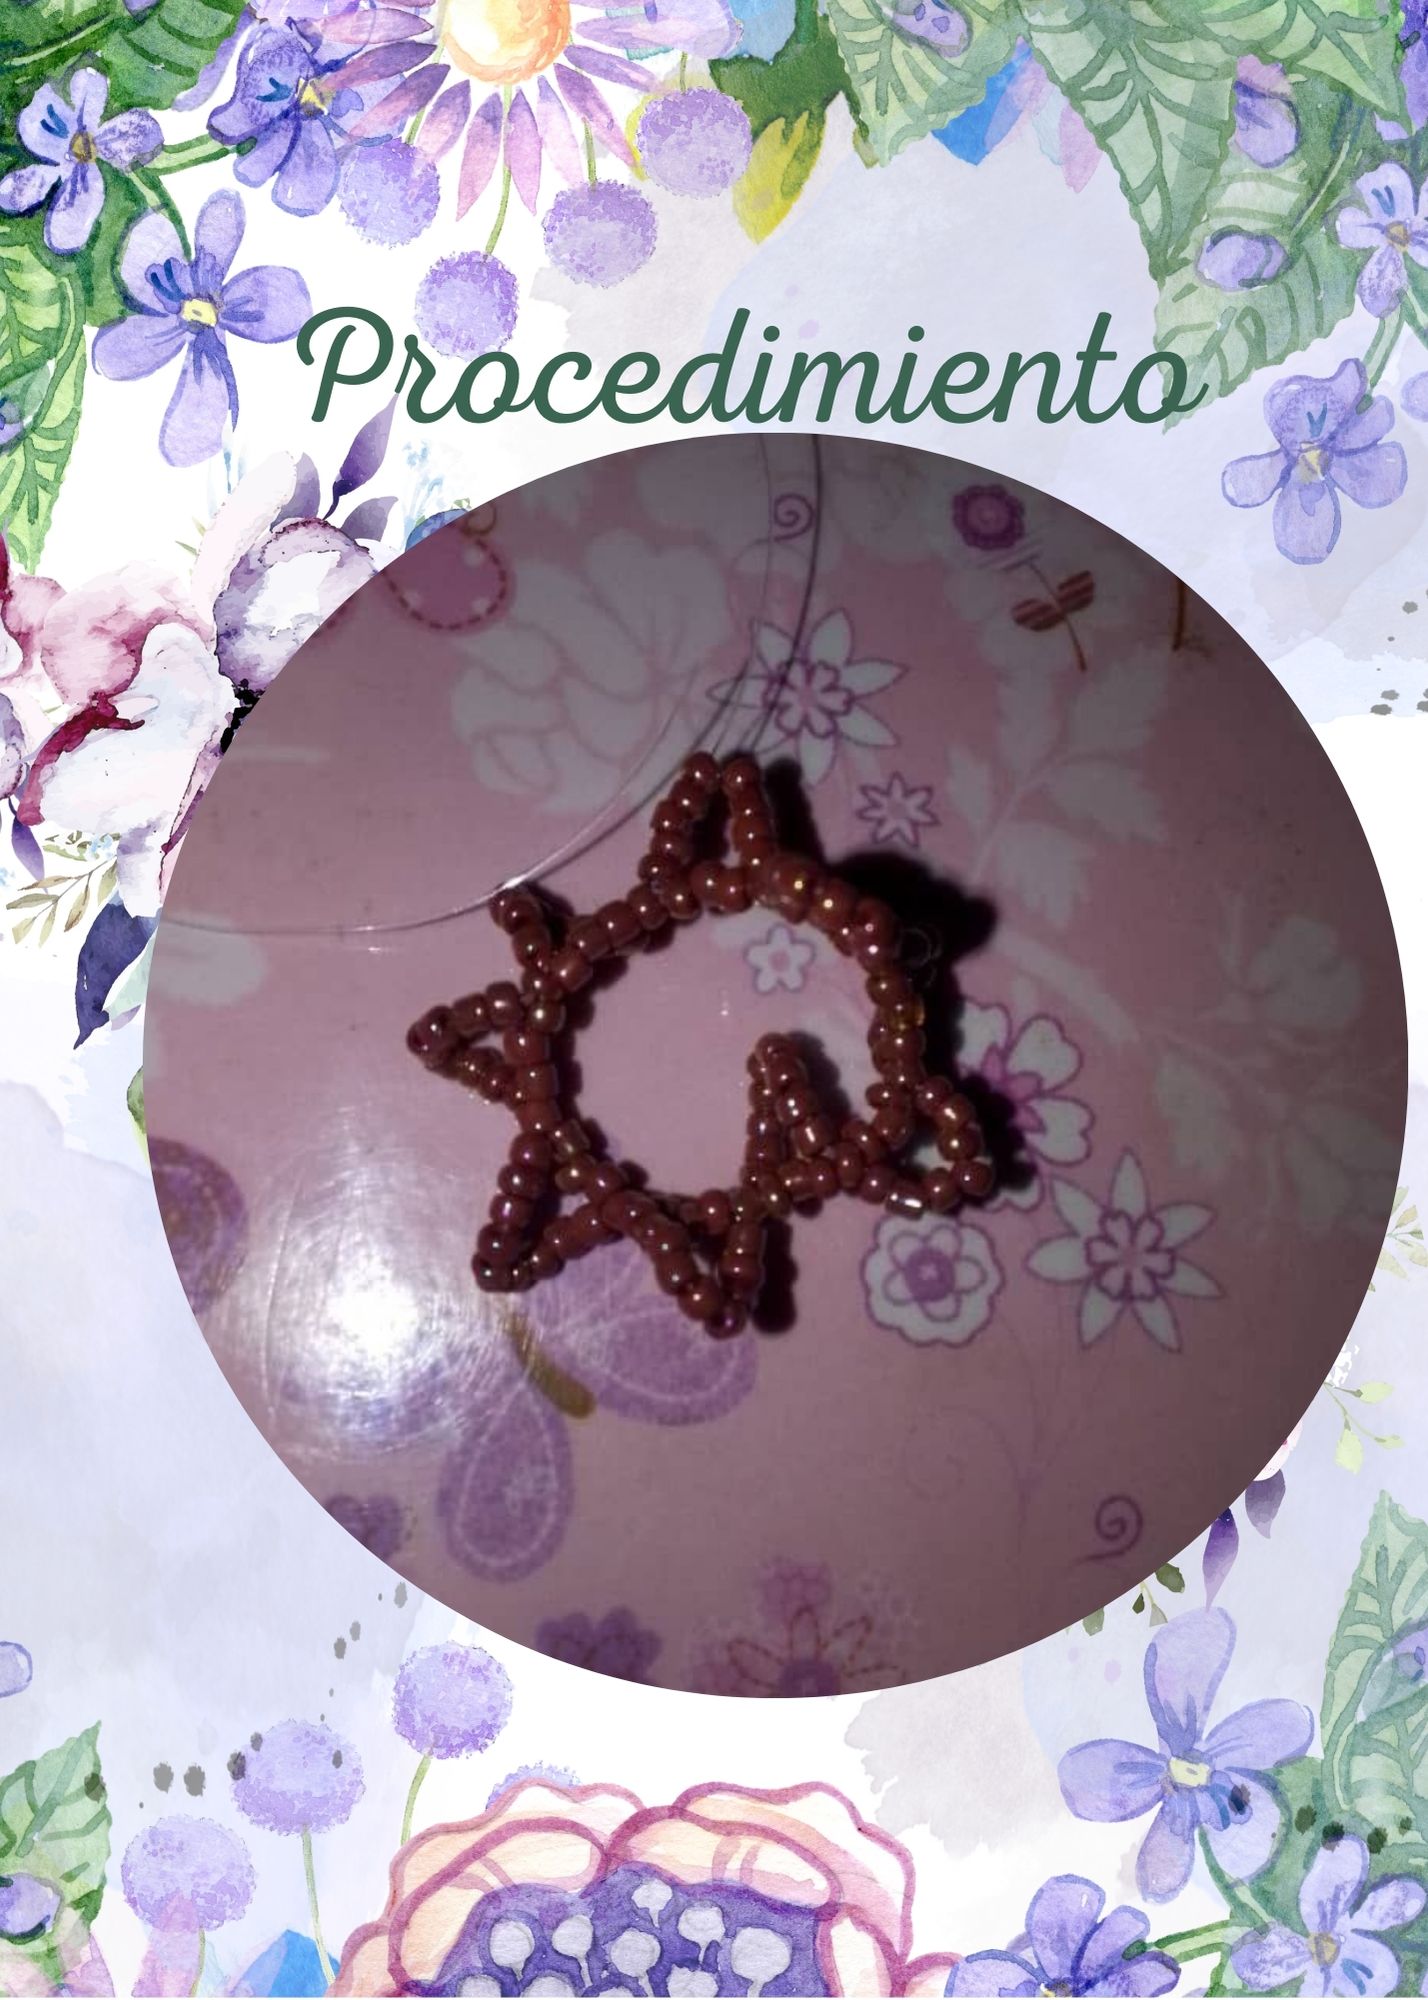 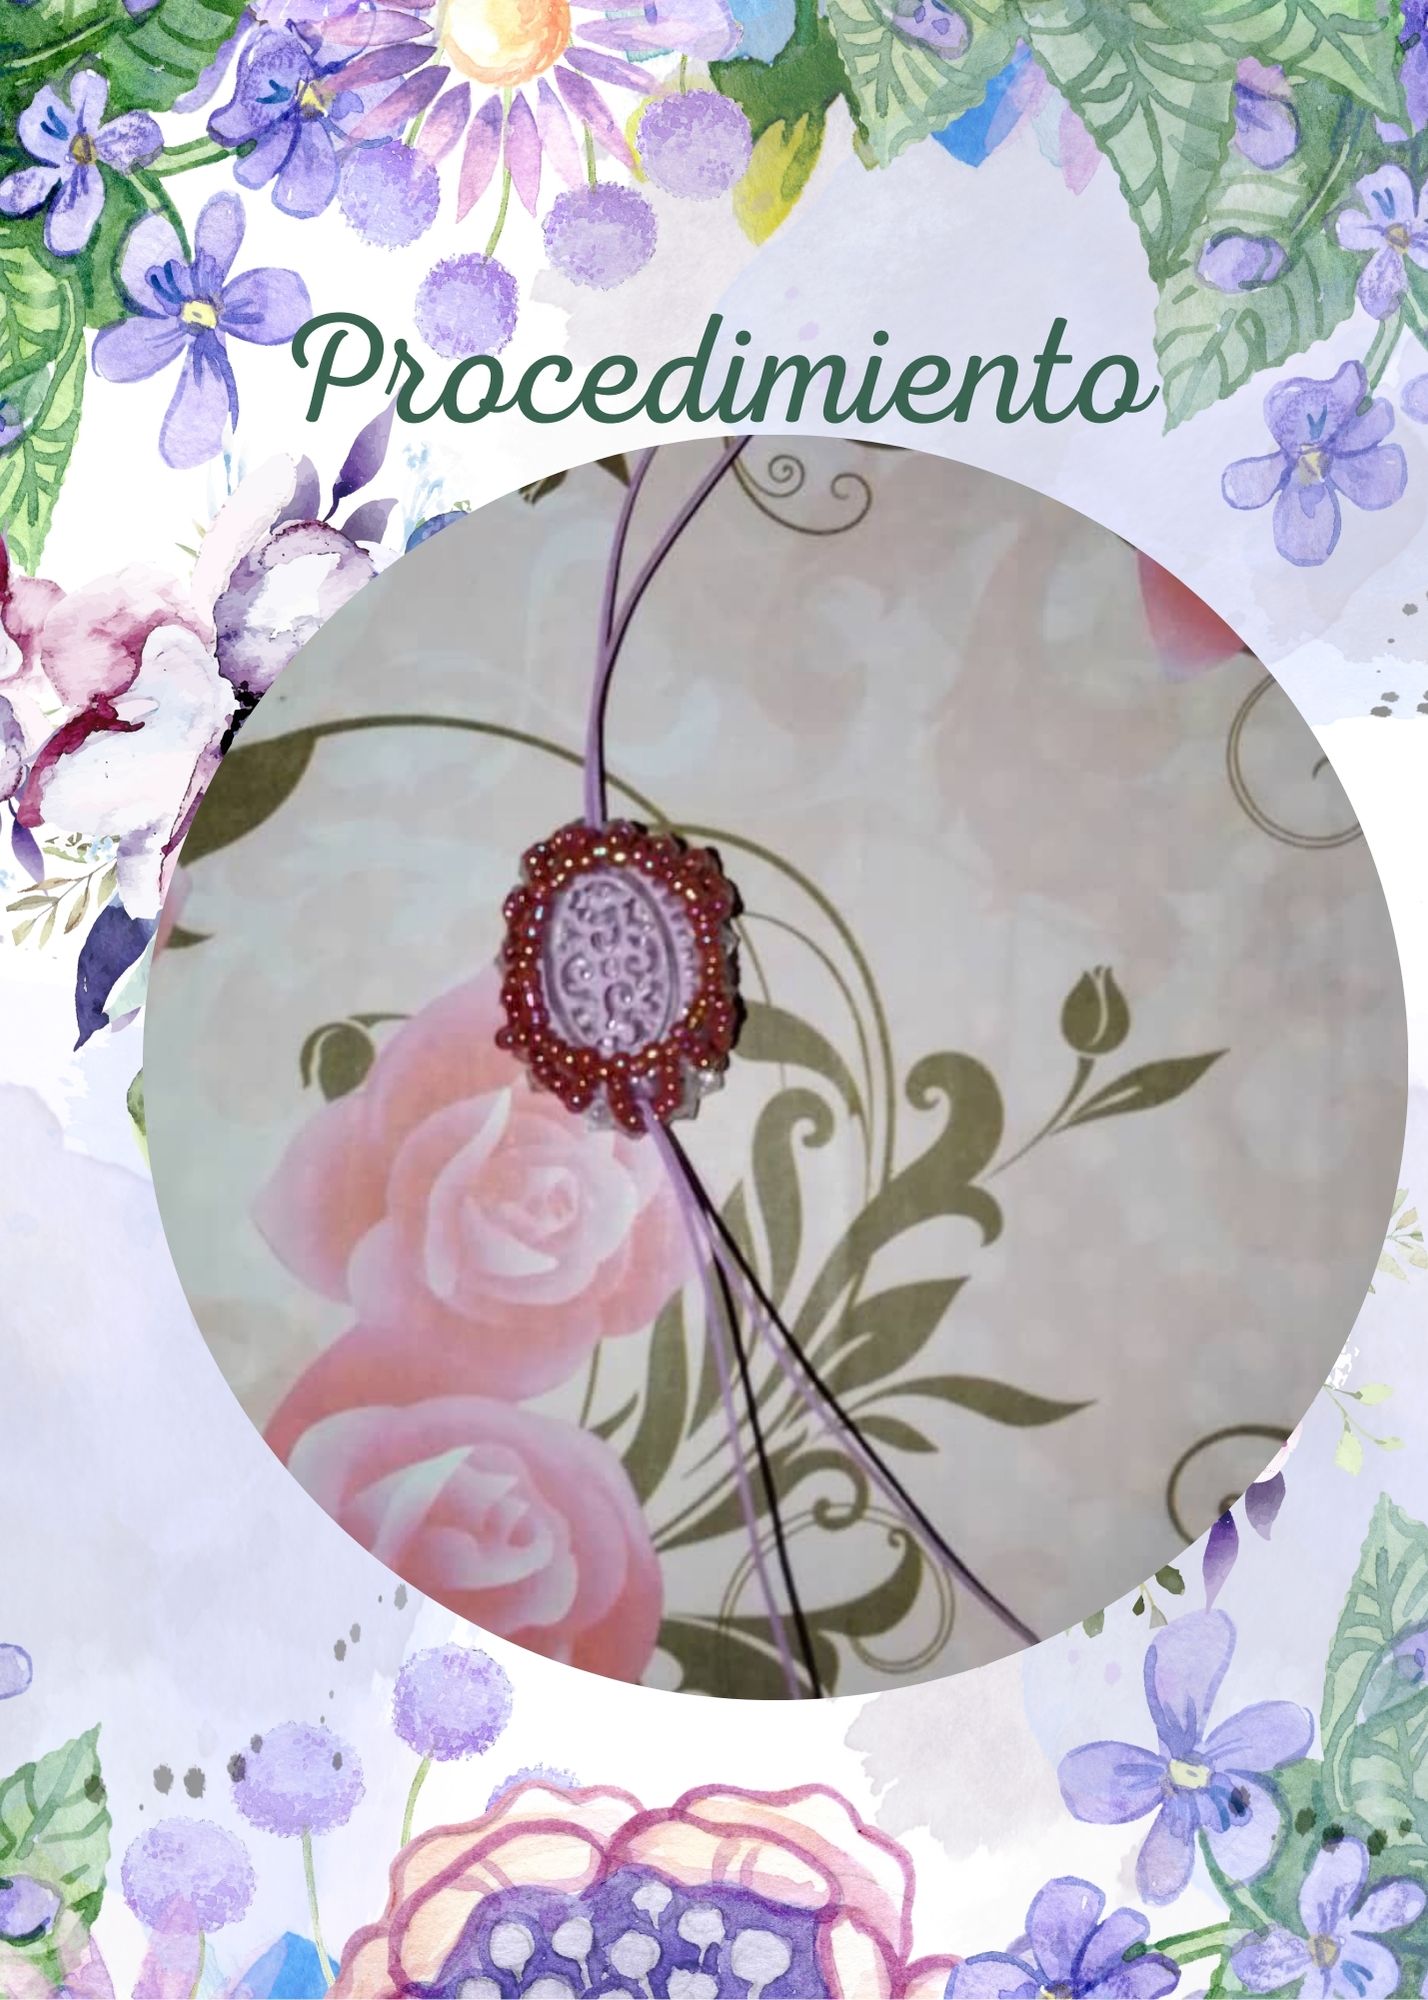 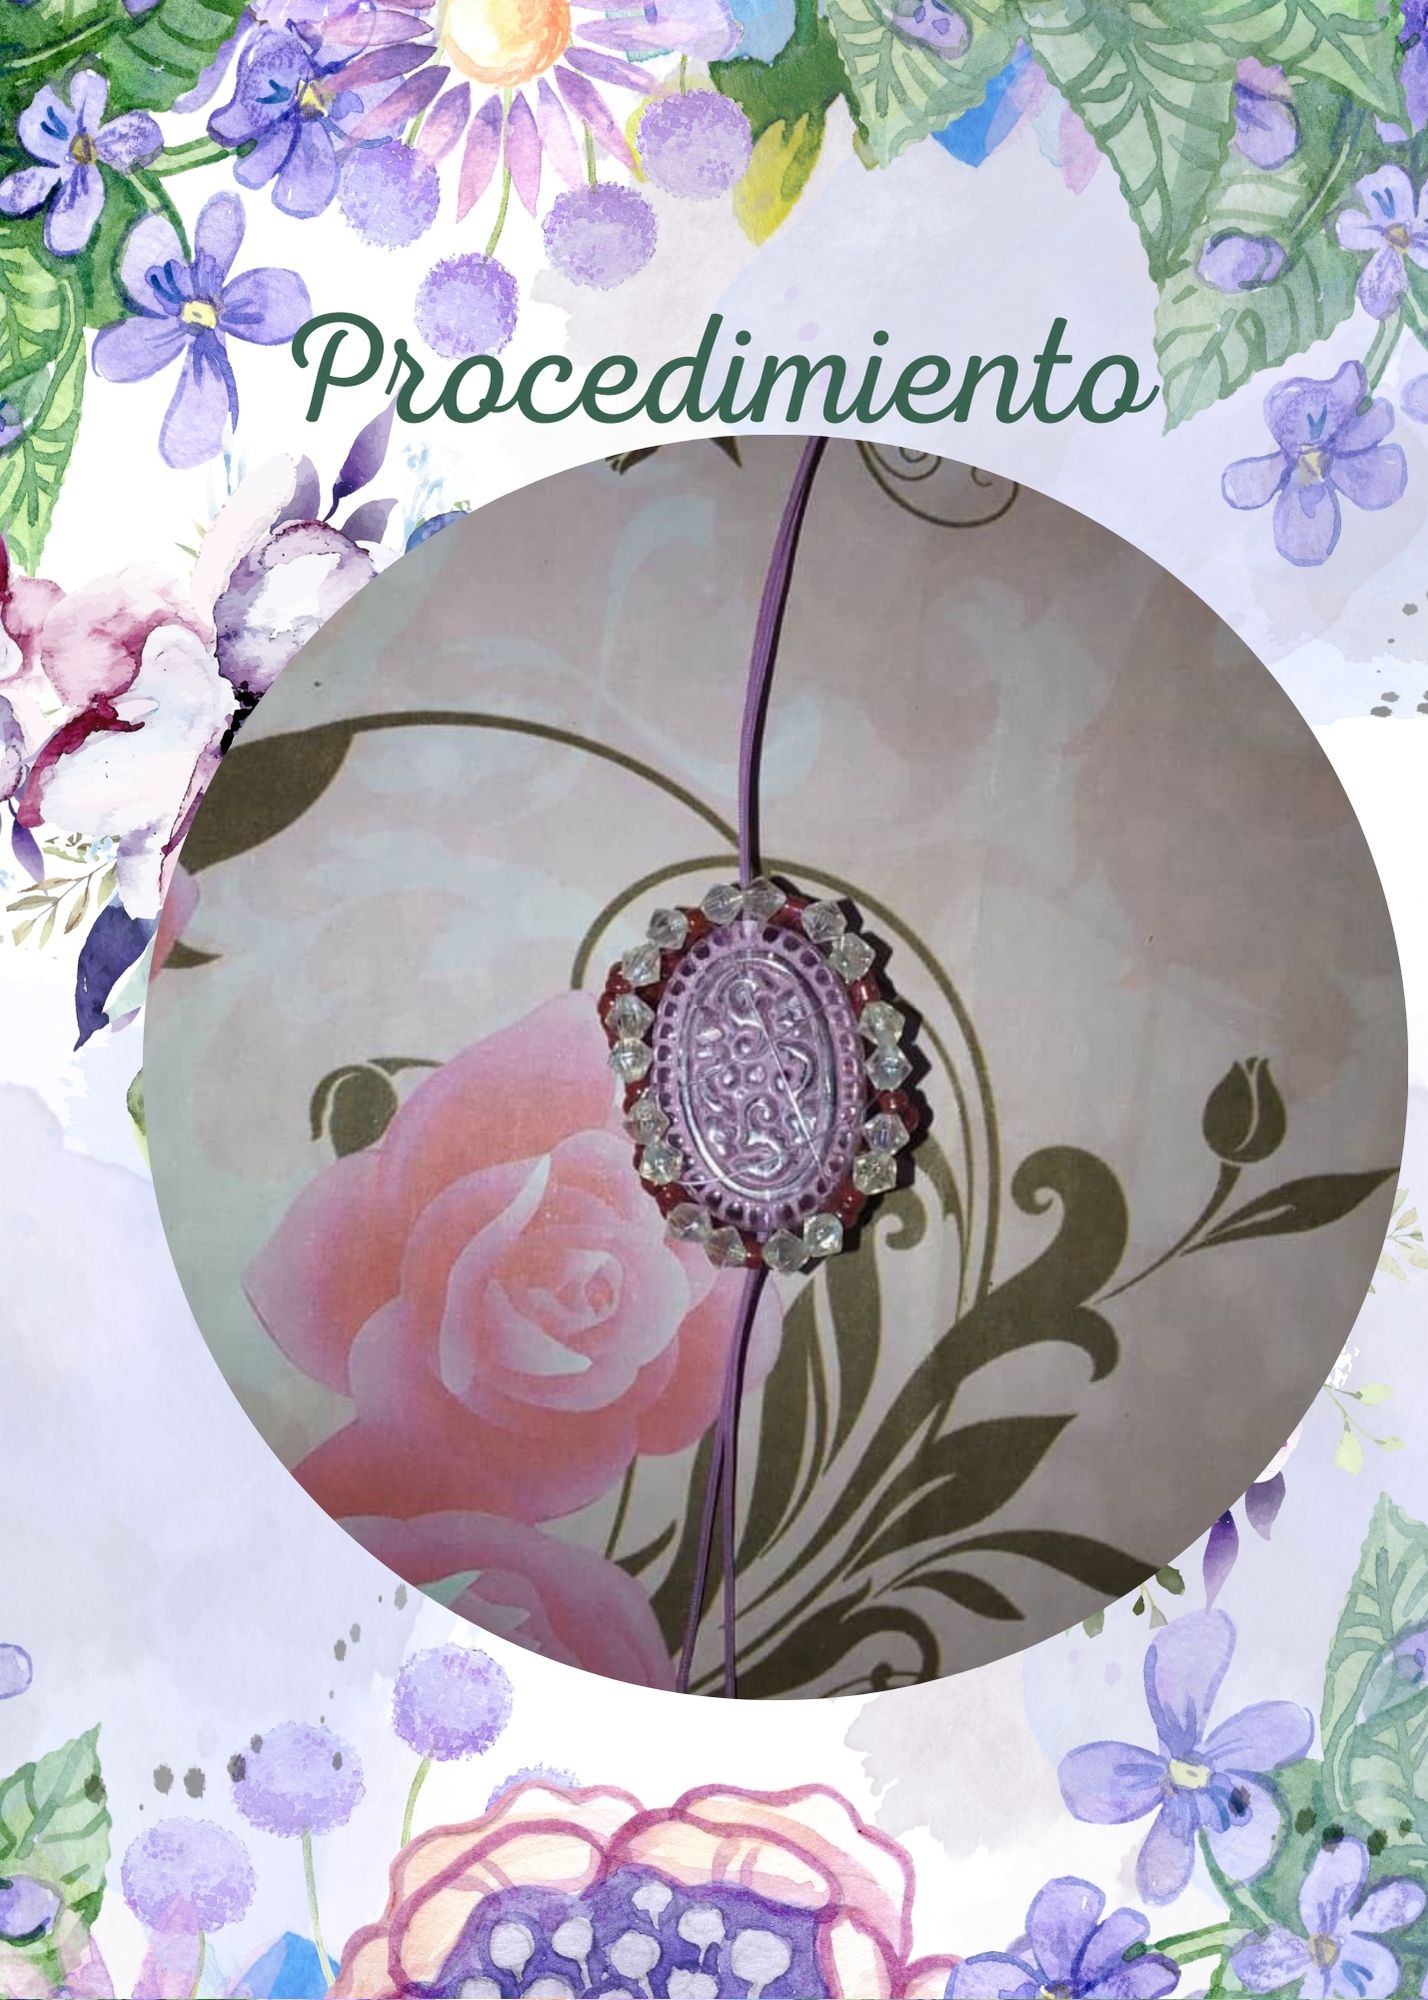 ### Paso 3 | Step 3 Luego vamos a tejer un nudo plano a ambos lados del dije con aproximadamente 15 cms de hilo chino. Hacemos un pequeño nudo simple y luego hacemos el nudo plano, cortamos los hilos y quemamos con el yesquero. Luegho agregamos un mostacillon por los dos hilos, dos mostacillas en cada hilo, dos perlas de swarovskis en cada hilo y finalmente un mostacillon en dos hilos chinos. > Then we are going to weave a flat knot on both sides of the pendant with approximately 15 cms of Chinese thread. We make a small simple knot and then we make the flat knot, cut the threads and burn with the tinder. Then we add a bead on the two strands, two beads on each strand, two swarovskis beads on each strand and finally a bead on two Chinese strands. 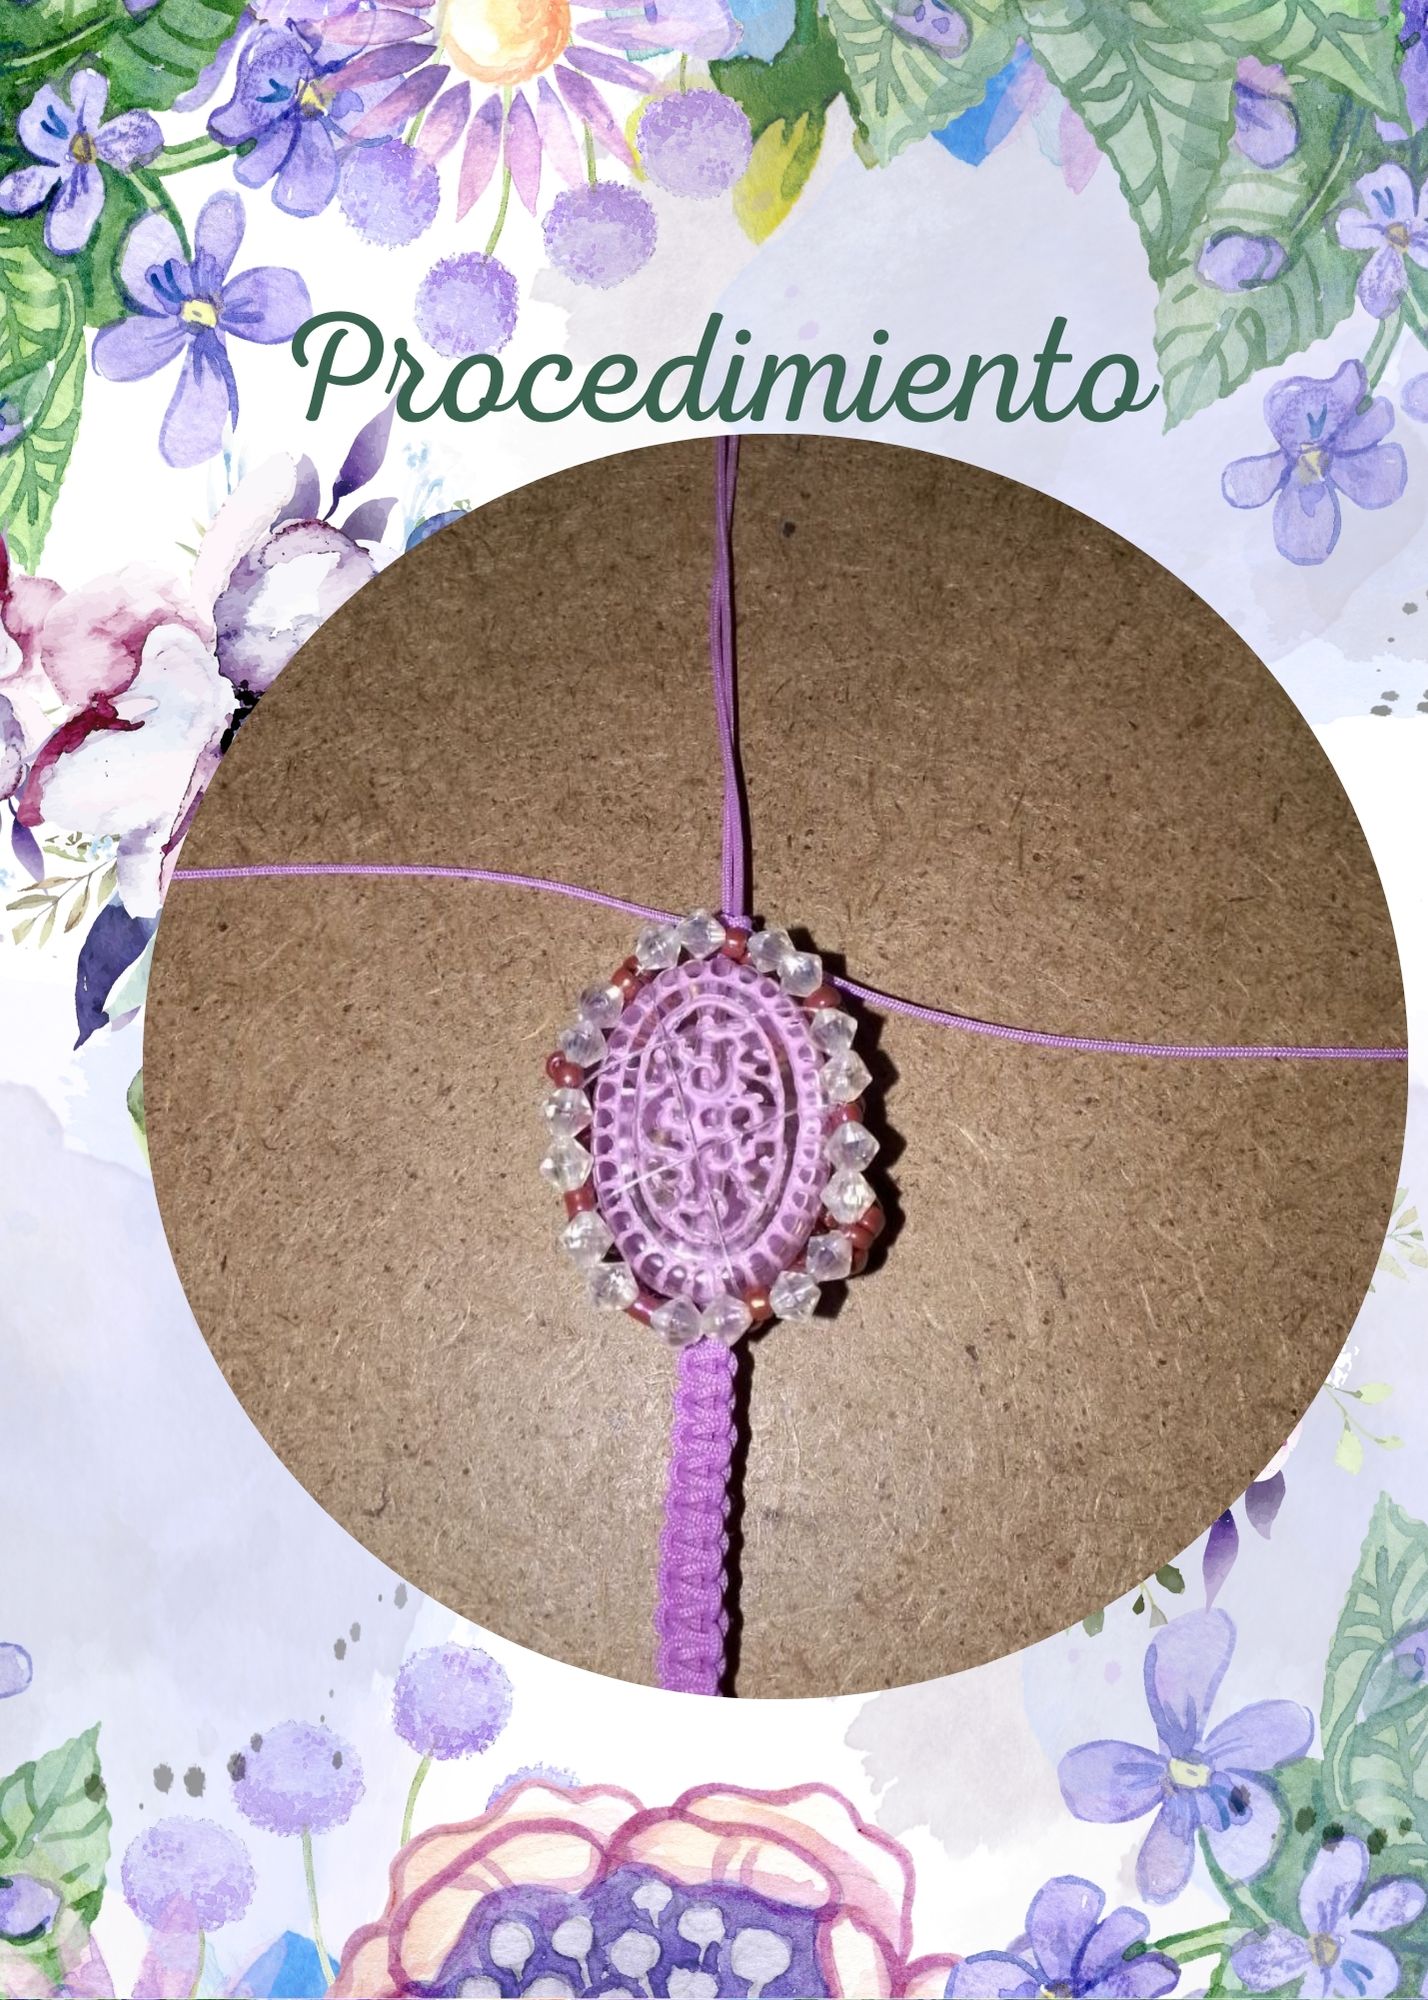 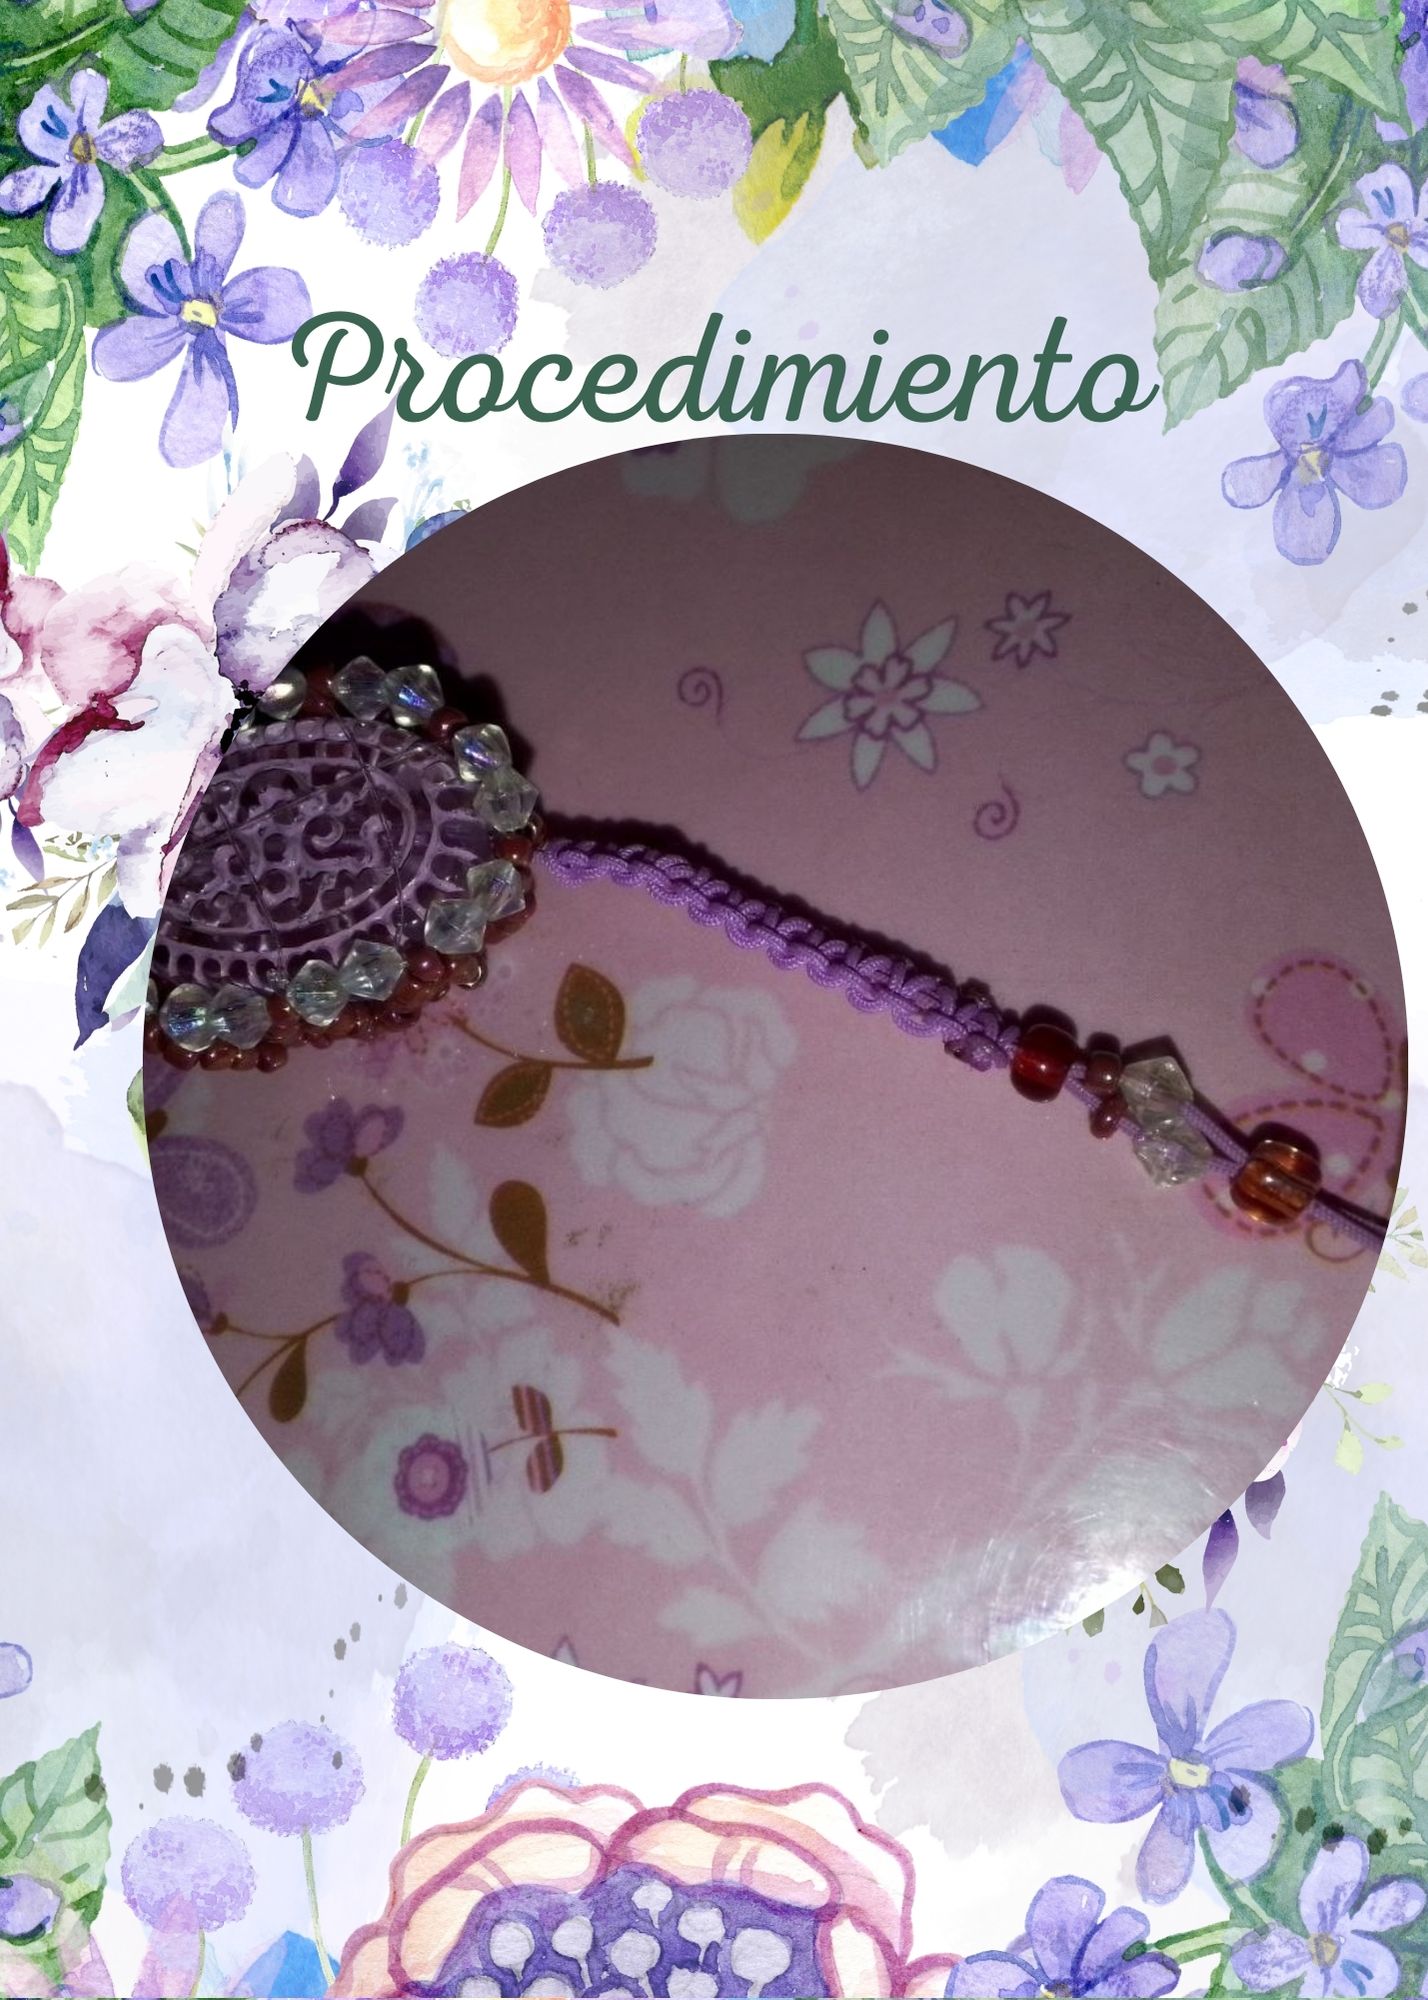  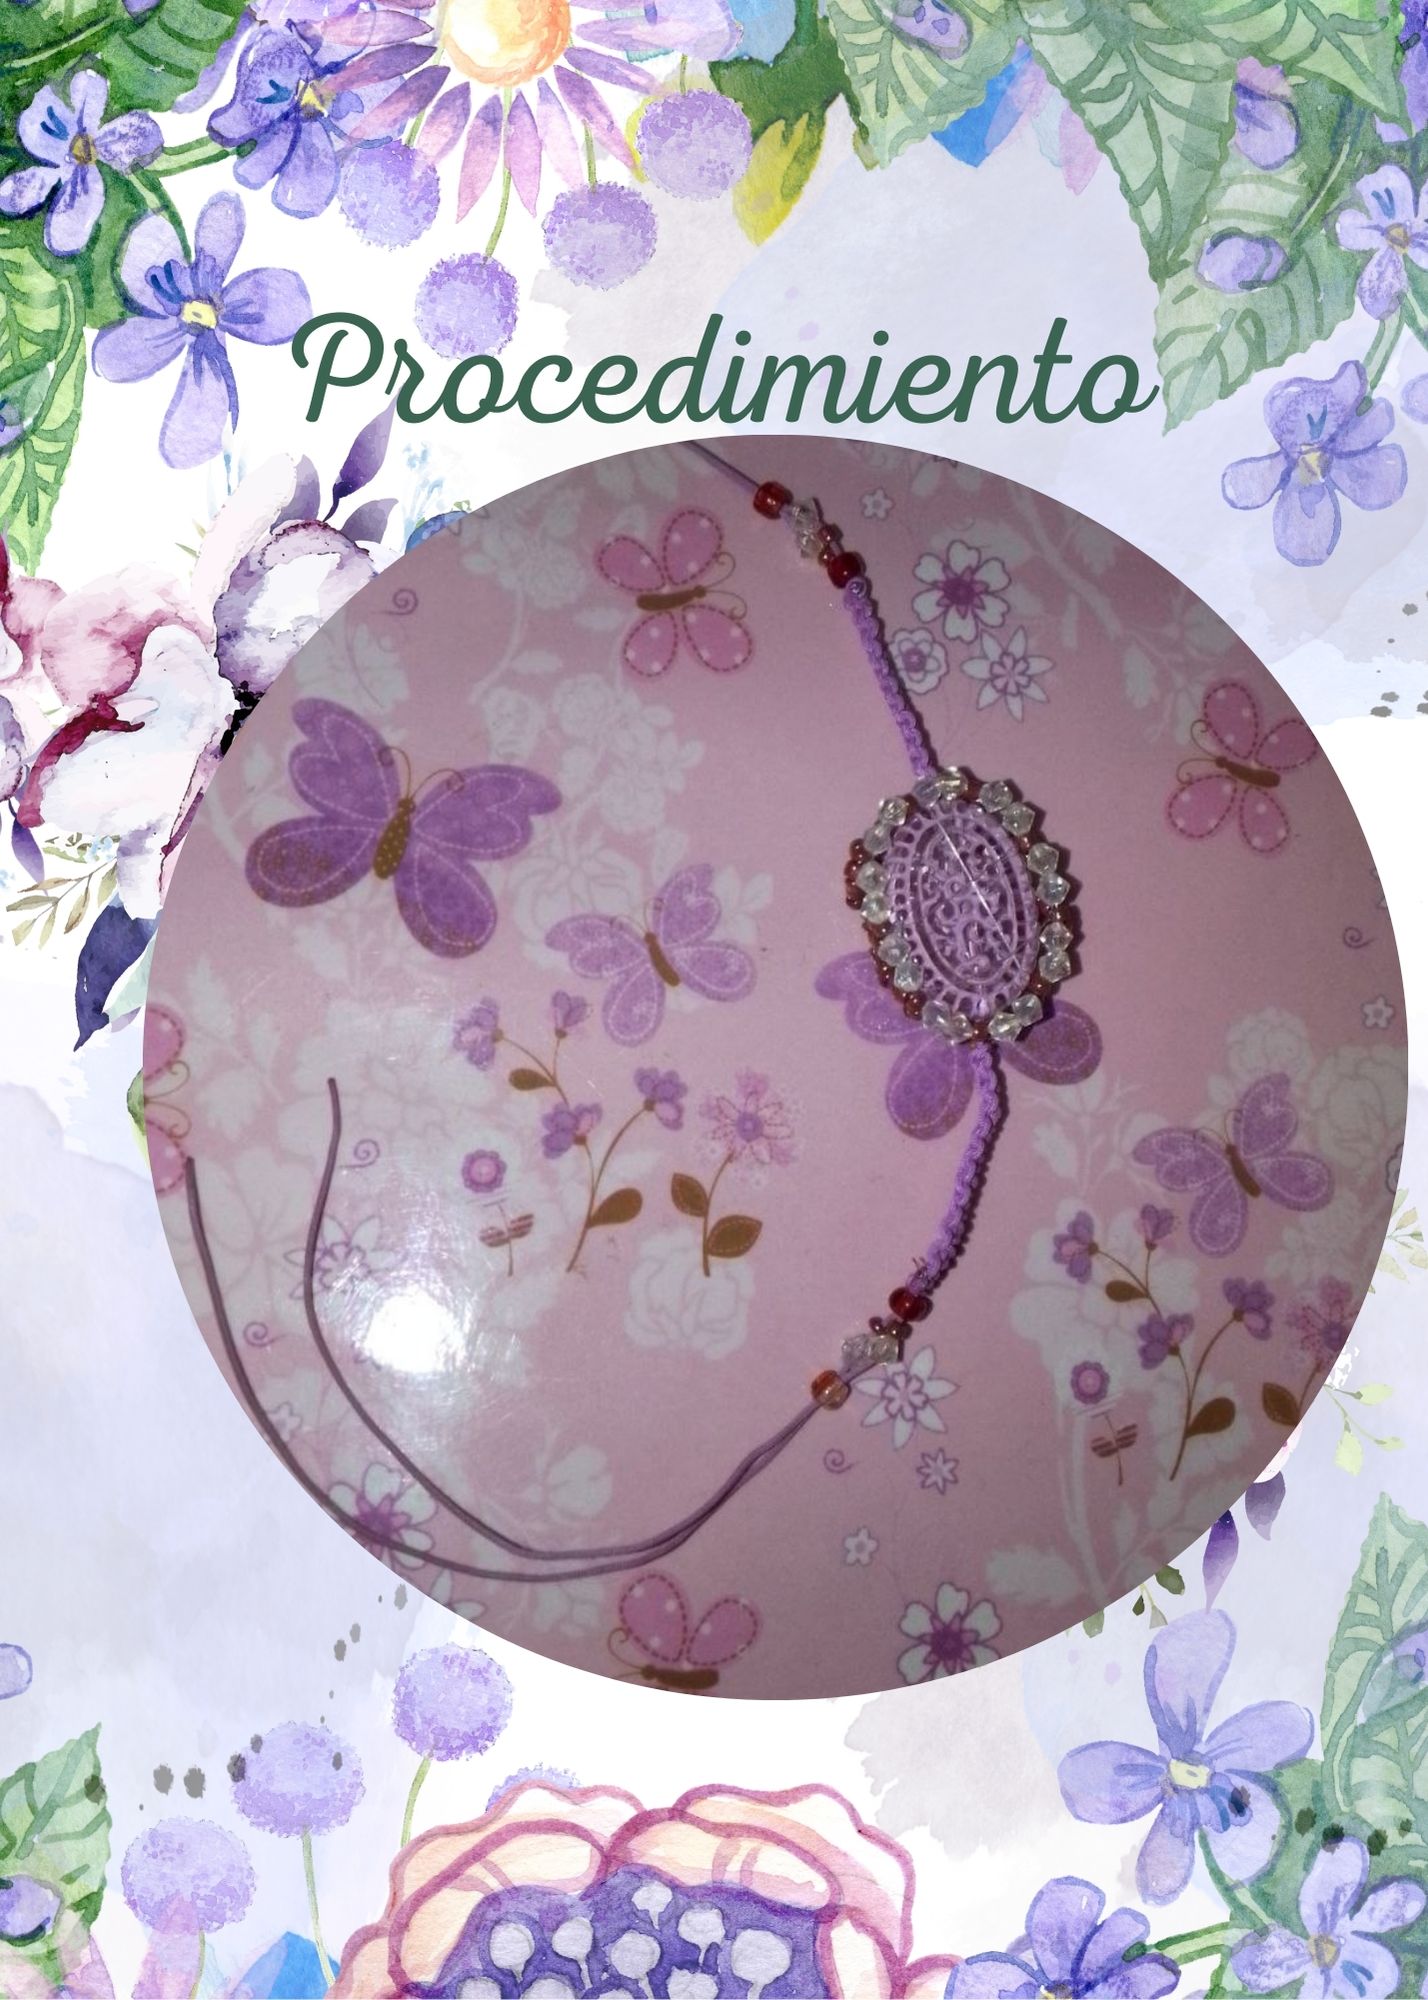 ### Paso 4 | Step 4 Finalmente hacemos un nudo en cada lado de la pulsera, colocamos un mostacillon y hacemos un nudo de cada lado y hacemos un nudo plano tomando los cuatro hilosde la pulsera. >Finally we make a knot on each side of the bracelet, we place a mostacillon and we make a knot on each side and we make a flat knot taking the four strands of the bracelet. 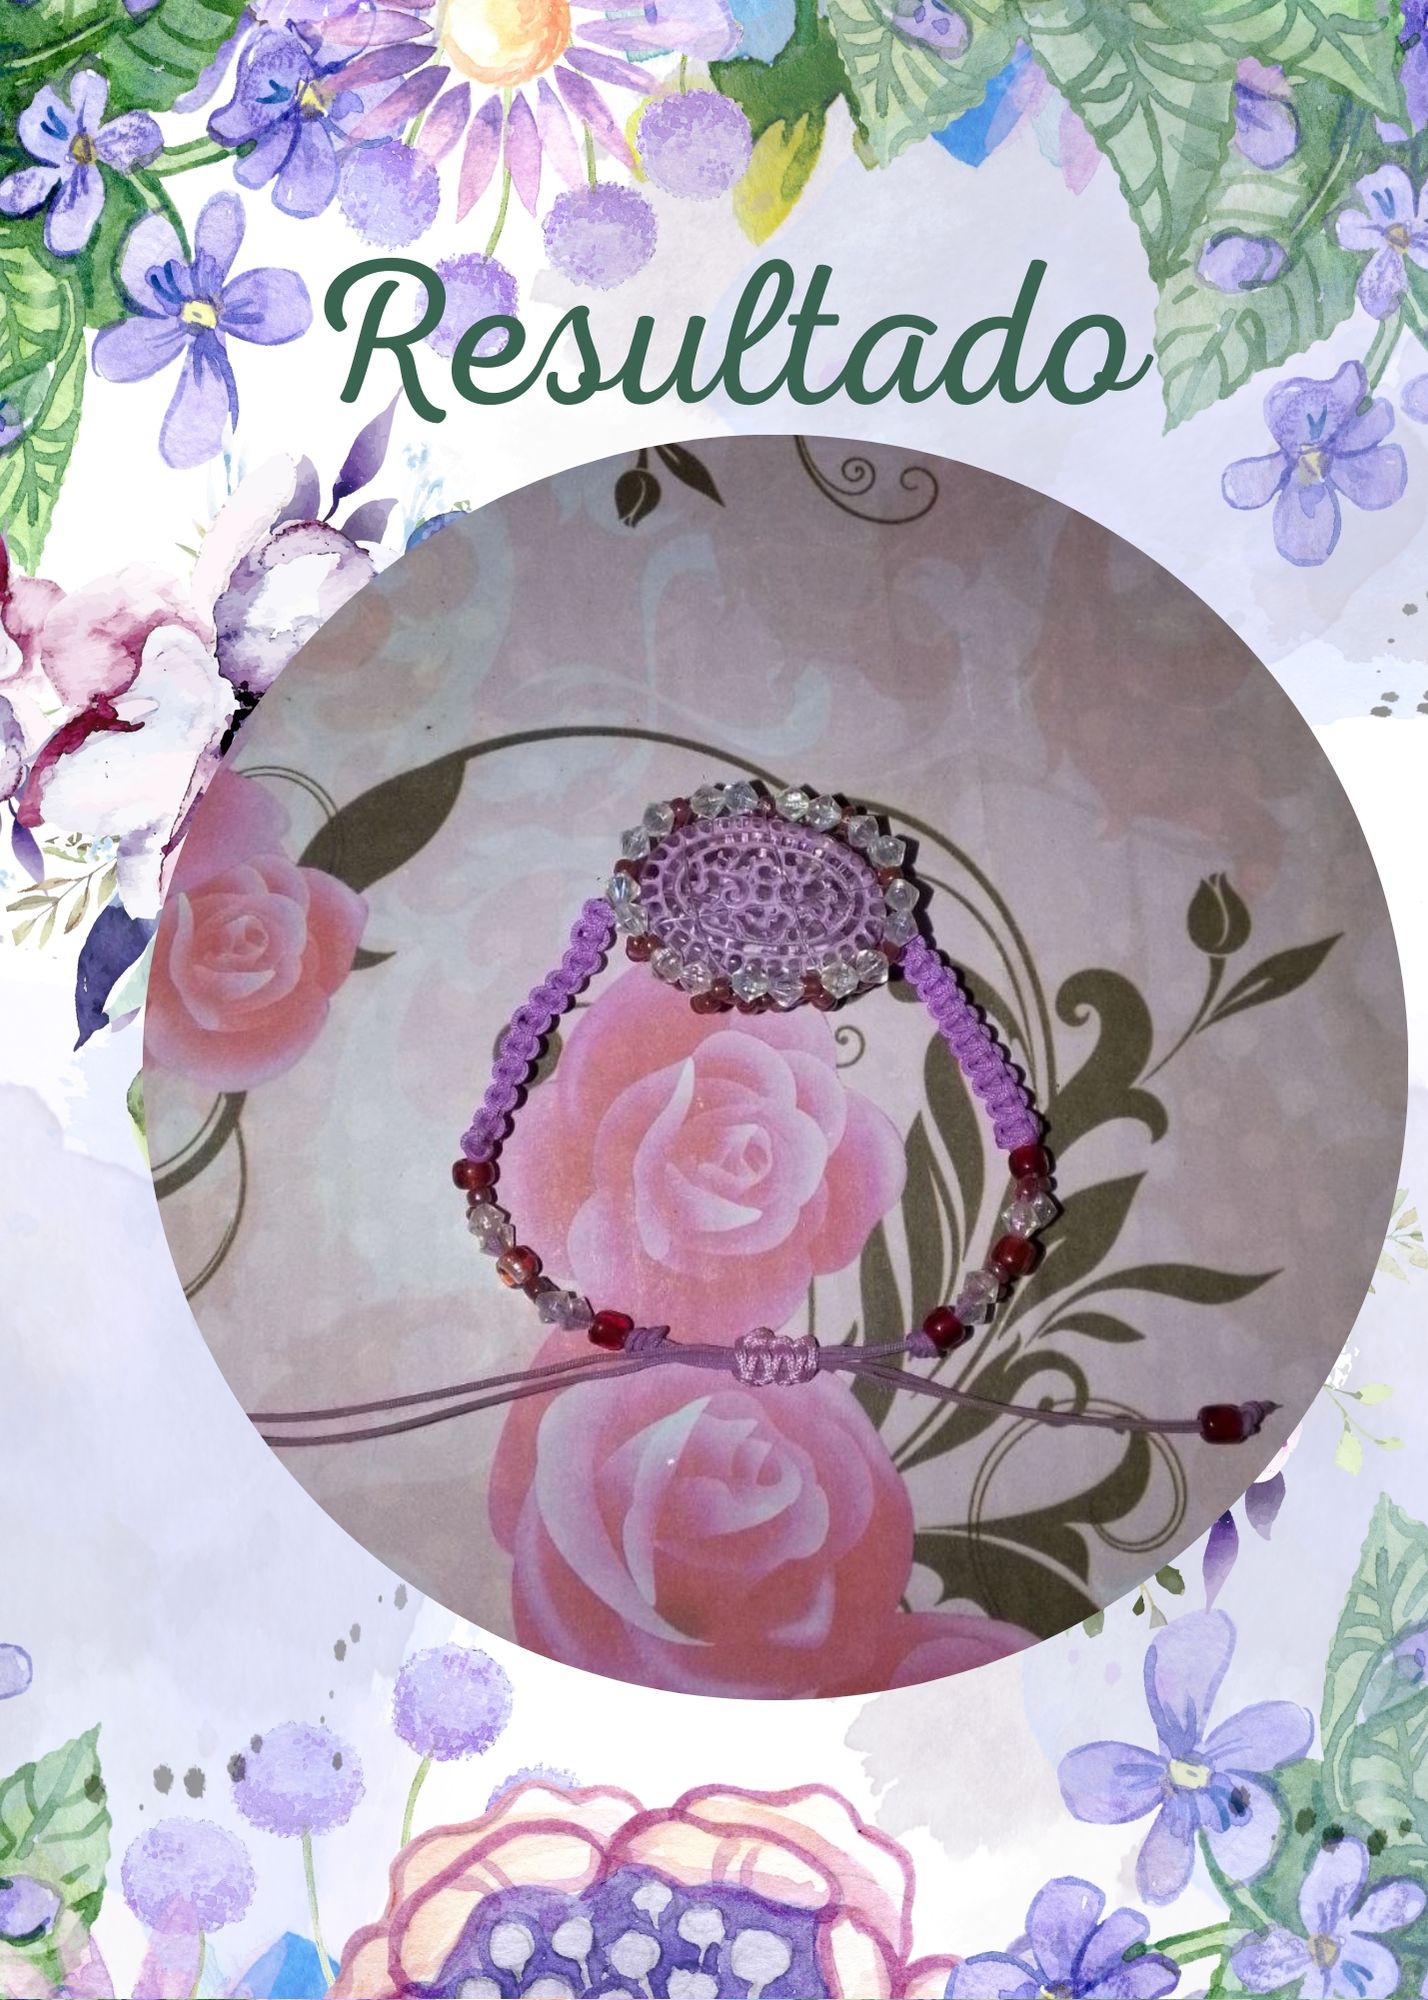 ## Resultado | Result Personalmente, me gustó mucho como quedo, espero les haya gustado y se animen a hacer el suyo me gustó mucho este motivo es sencillo y delicado. ESpero les haya gustado. >Personally, I really liked how it turned out, I hope you liked it and I encourage you to make your own, I really liked this motif, it is simple and delicate. I hope you liked it. 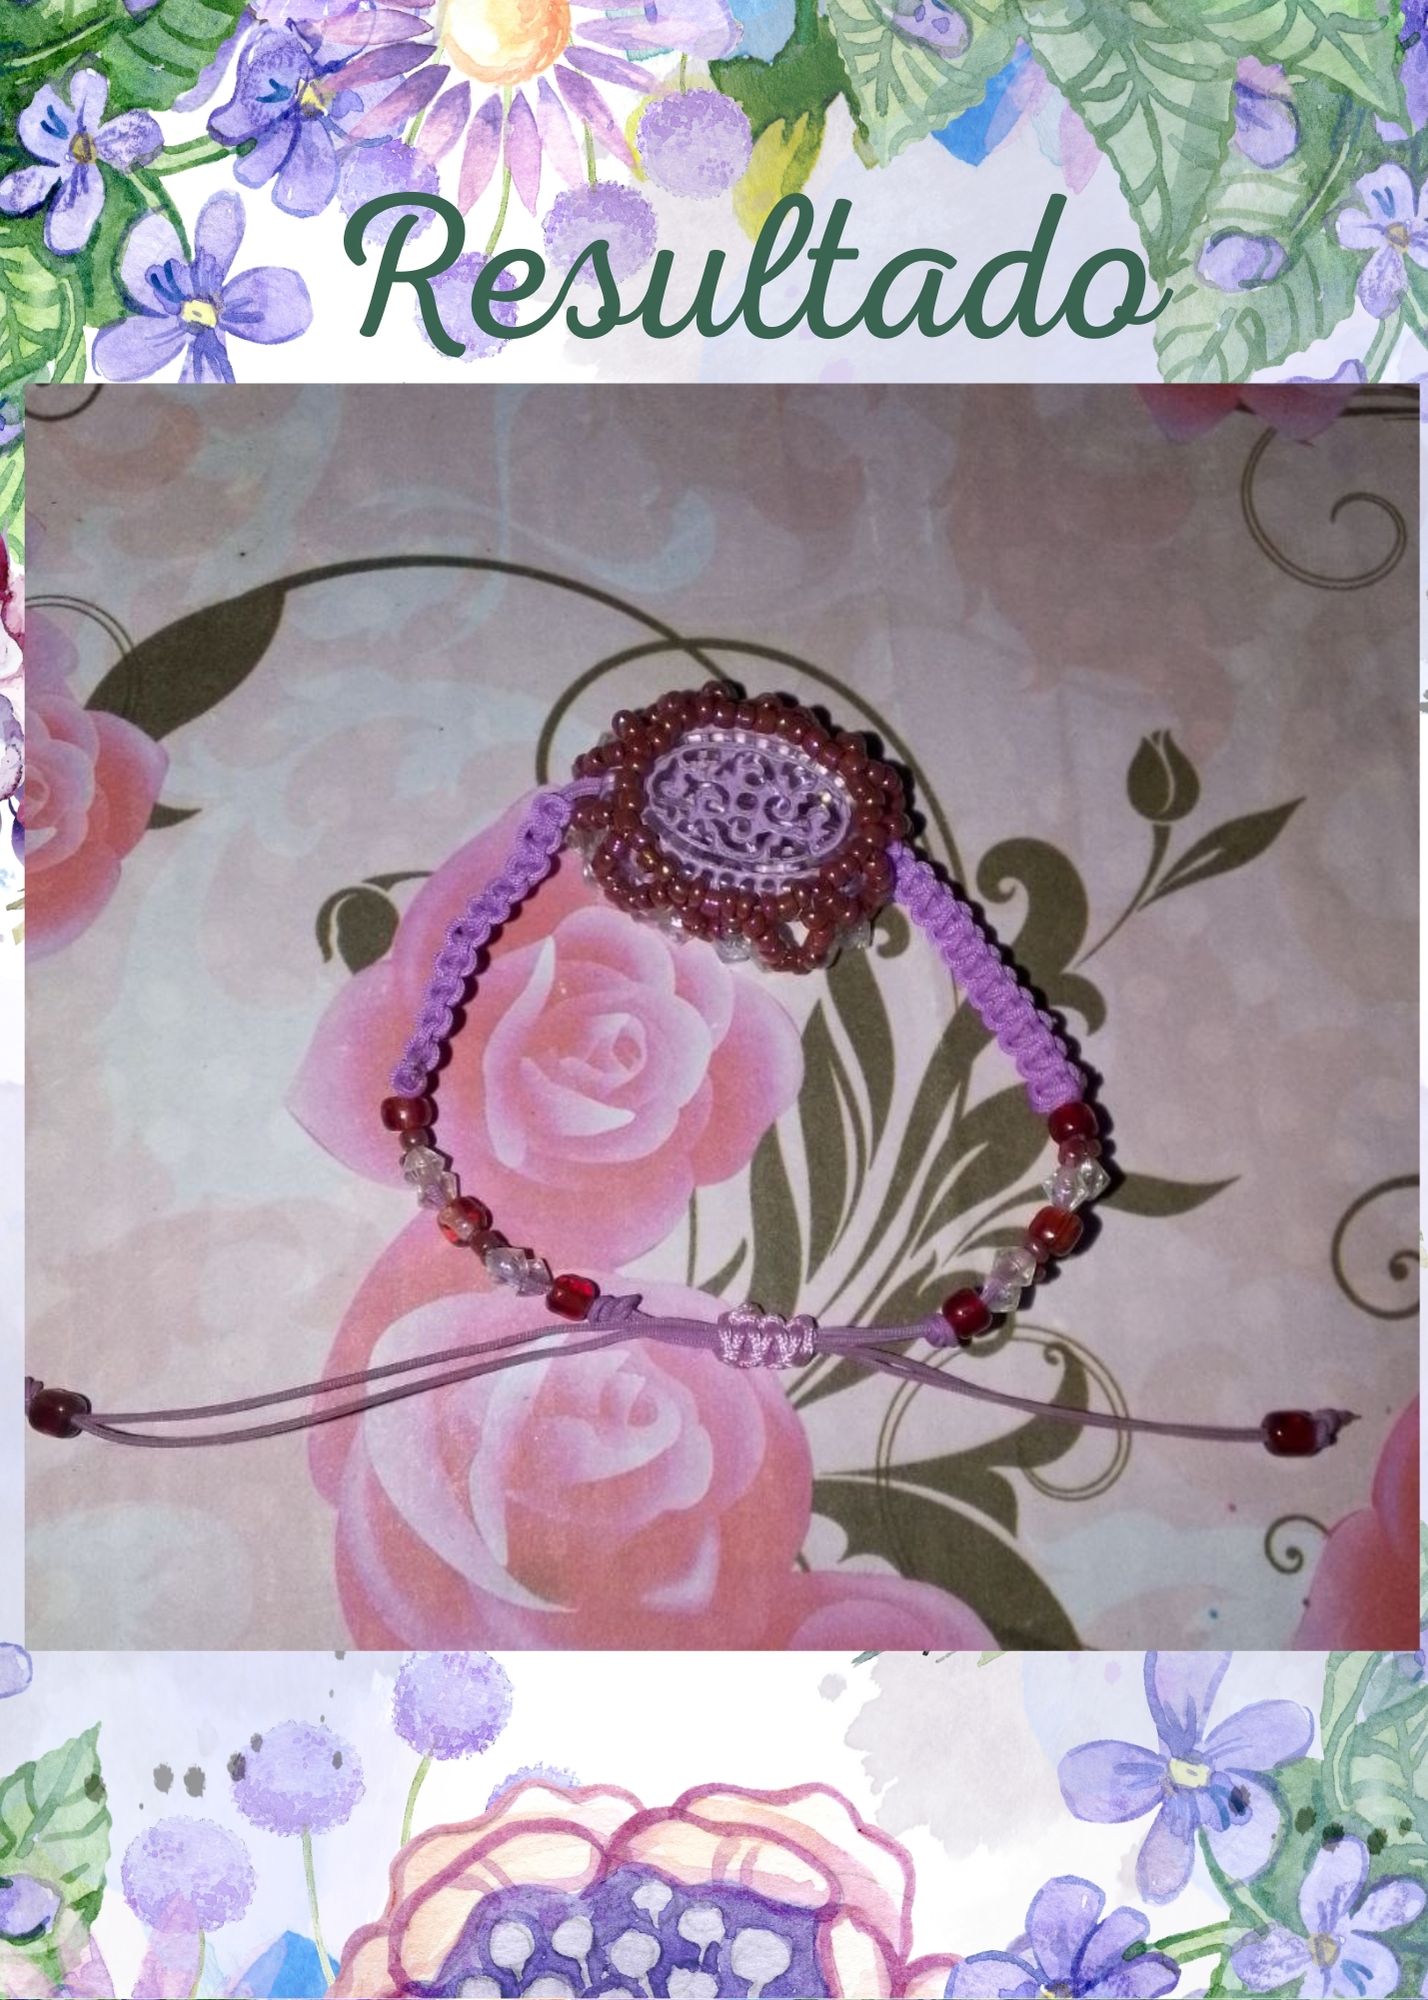 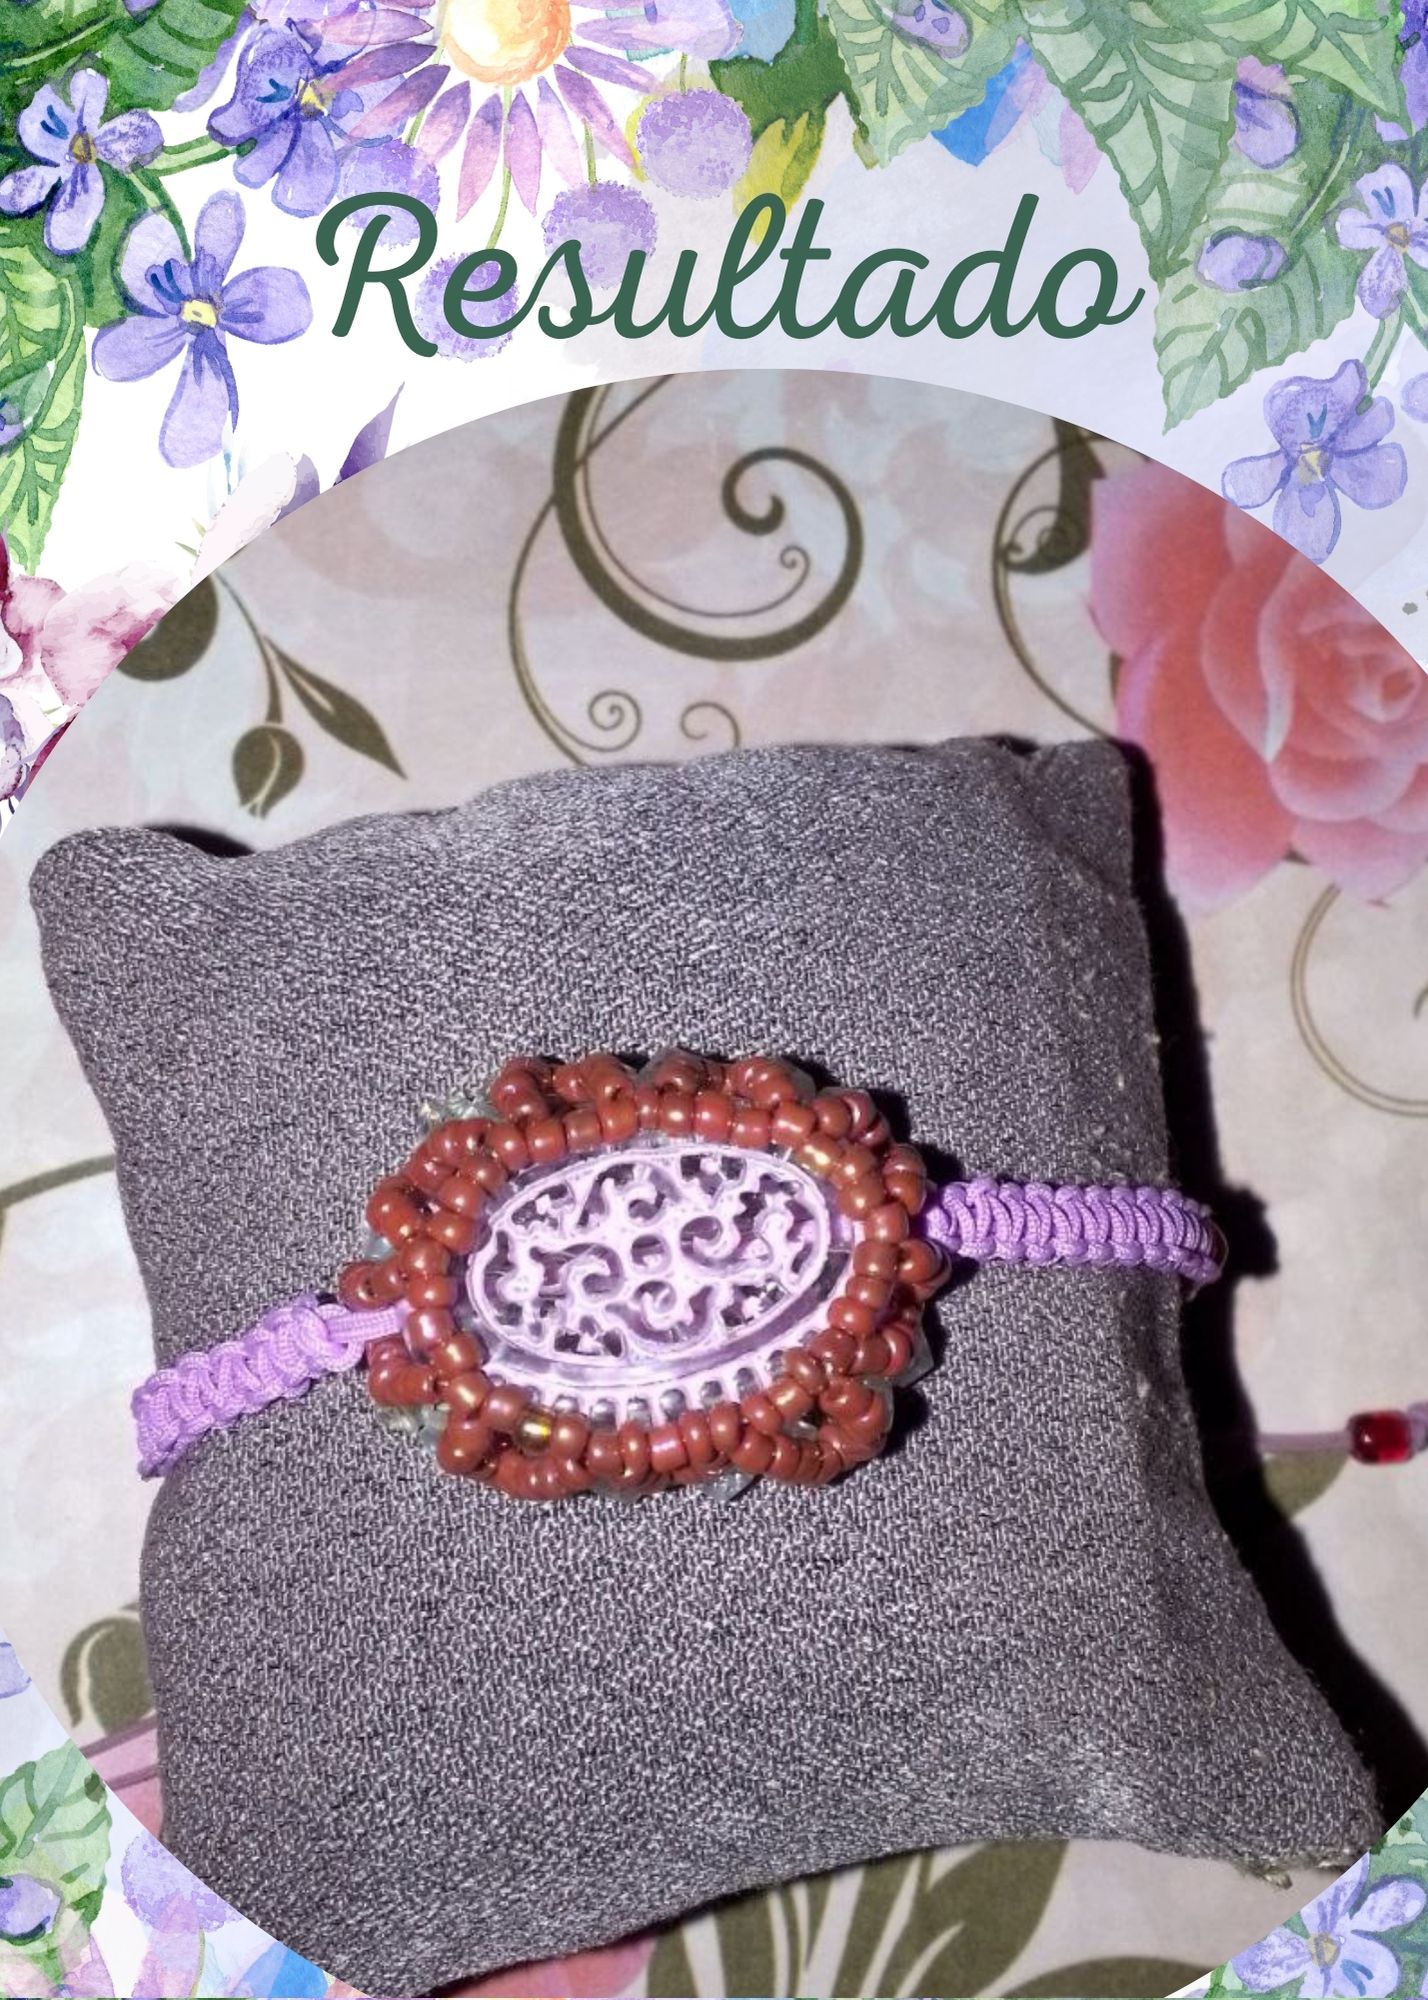 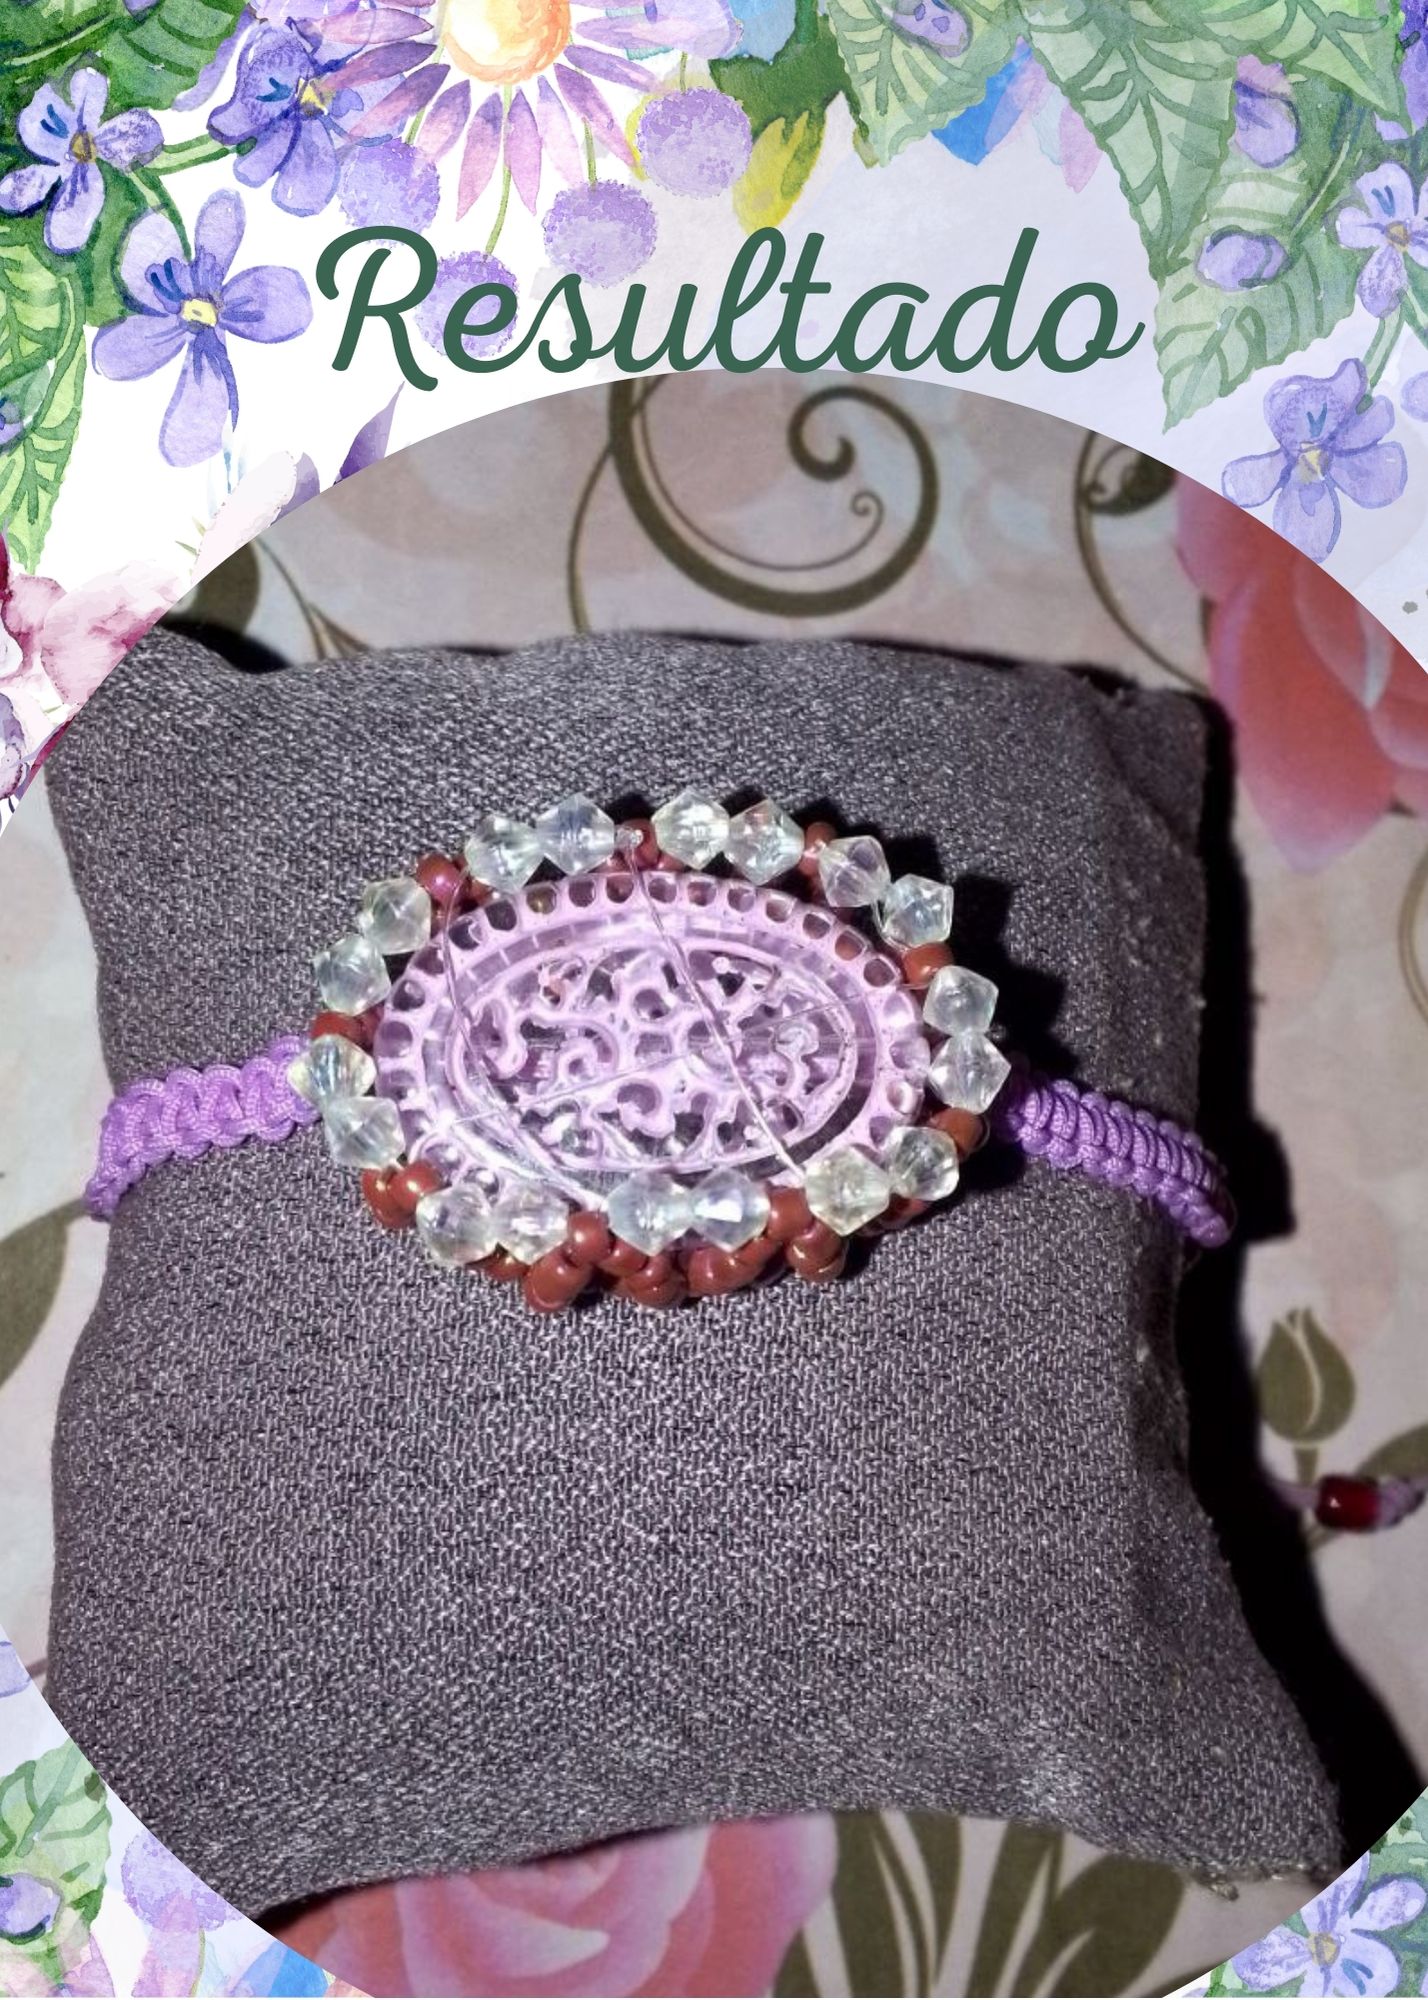 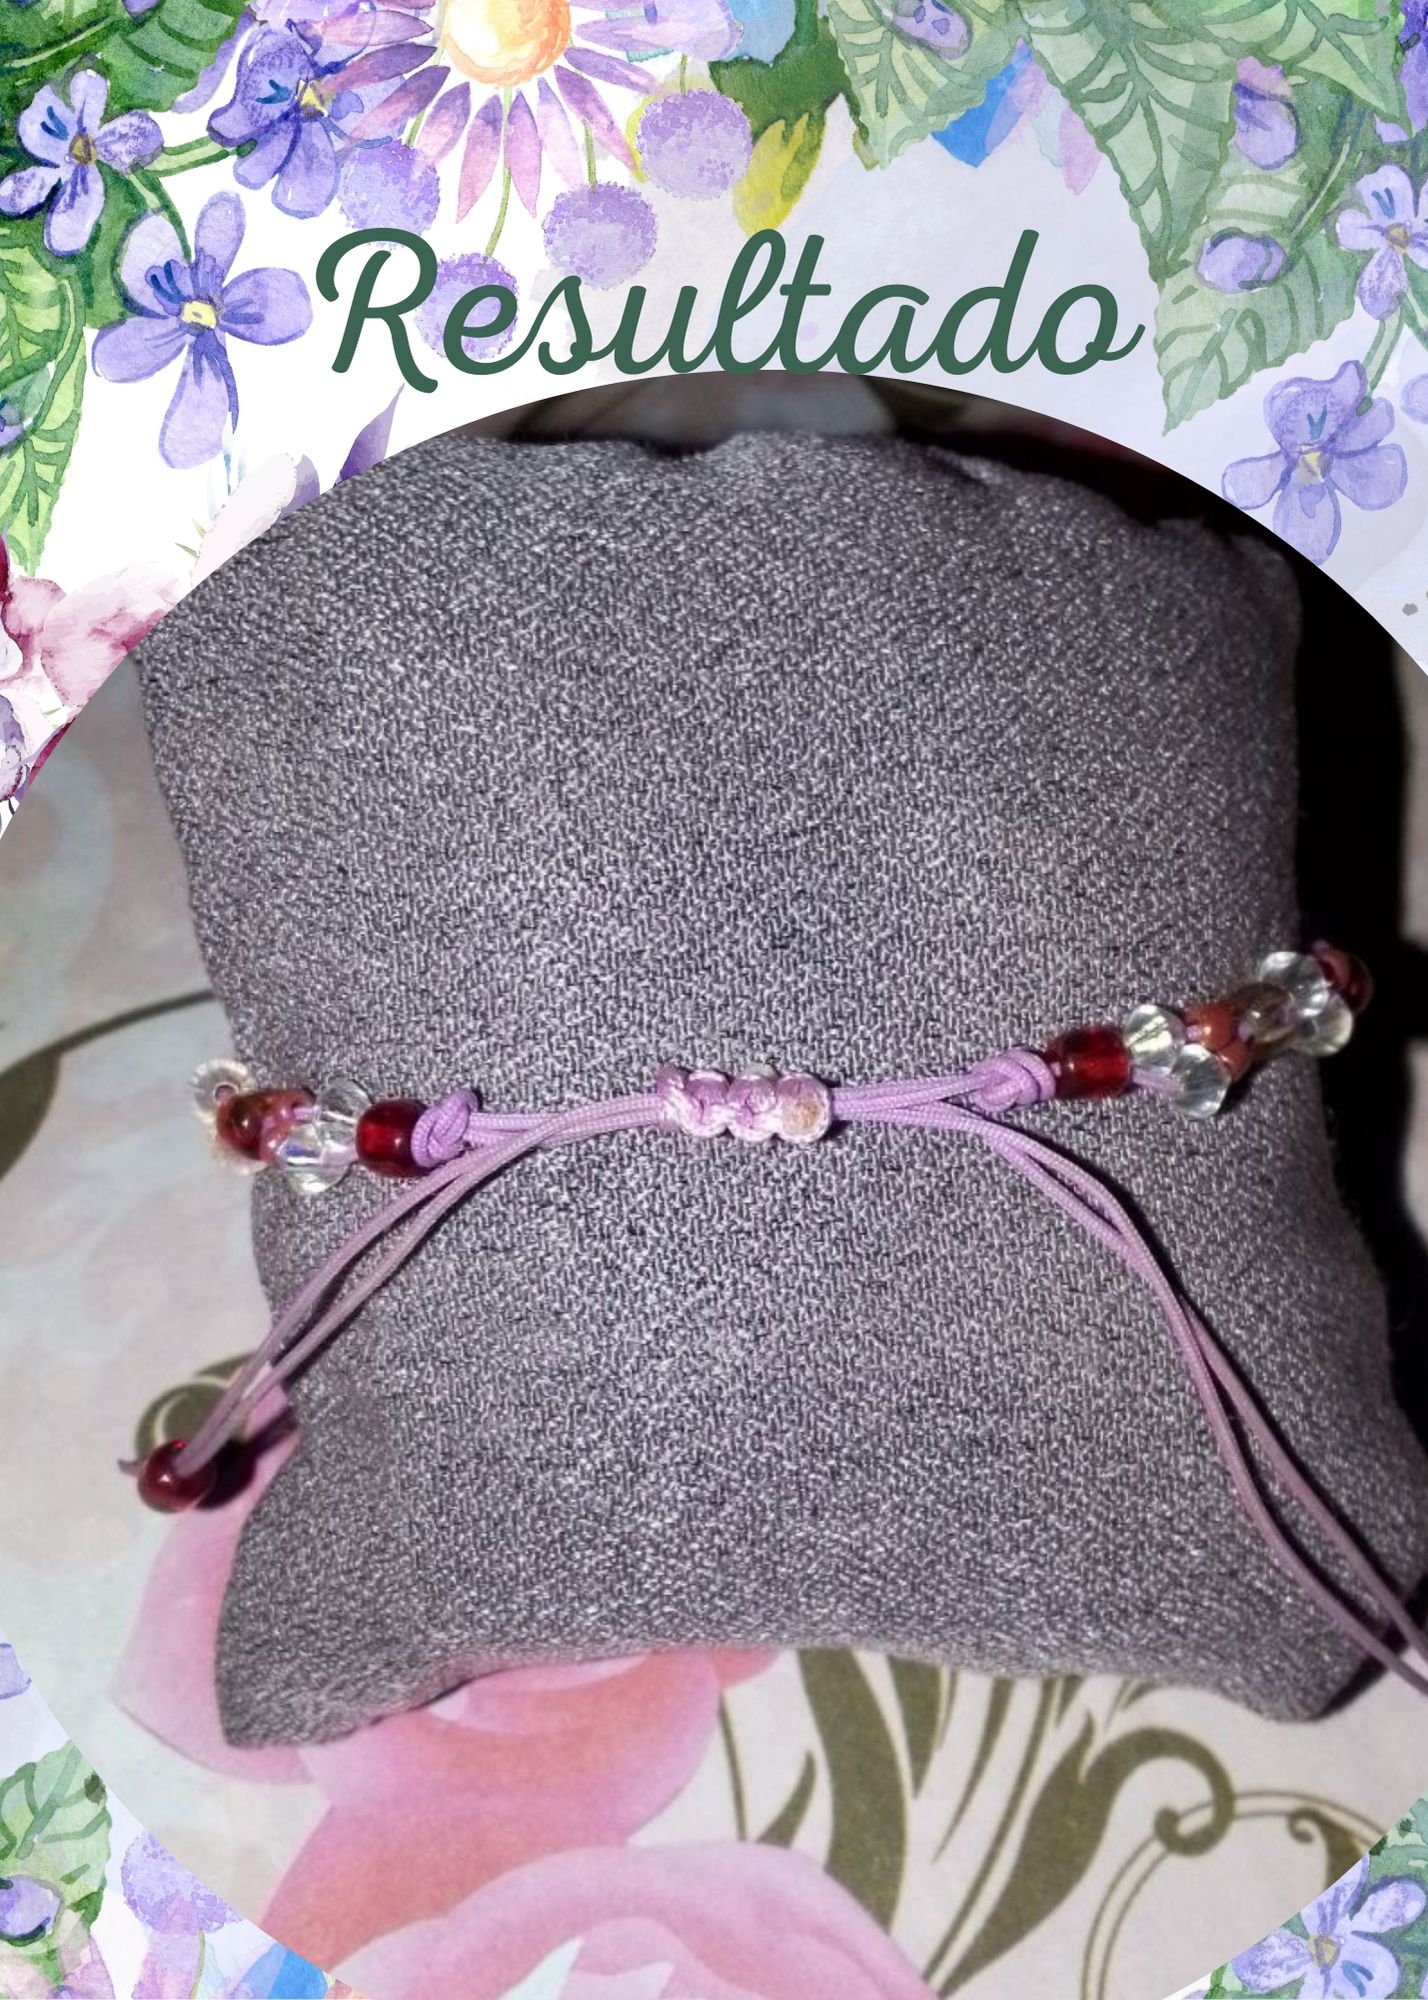  <hr> Y como siempre gracias a todos por leer mi posts >And as always thank you all for reading my posts. <hr> <center> </div> <center> ## No te detengas, no dejes de creer en ti y de buscar ideas y opciones para salir adelante. ## Don't stop, don't stop believing in yourself and looking for ideas and options to get ahead. </center> <hr> <div class="text-justify"> ## Créditos | Credits Utilicé [Canva](https://www.canva.com/) para editar imágenes y personalicé un poco una plantilla de Canva. >I used [Canva](https://www.canva.com/) to edit images and customize a Canva template a bit. Utilicé [https://www.deepl.com/es/translator](https://www.deepl.com/es/translator) para la traducción >I used [https://www.deepl.com/es/translator](https://www.deepl.com/es/translator) to traduction. Las imagenes son propias. > The images are my own. </div>
👍 marile21, mayvil, discovery-it, mad-runner, nattybongo, coccodema, middleearth, maruskina, hjmarseille, kkartdesign, maridmc, cryptogillone, waivio.curator, spiceboyz, aboutcoolscience, alequandro, sbarandelli, vittoriozuccala, spaghettiscience, phage93, cooltivar, armandosodano, jessica.steem, juanbg, lallo, titti, victoriaxl, omodei, discovery-blog, matteus57, joseq1570, jilt, bindalove, farmingtales, crimsonowl-art, ettore-san, pinkchic, yzamazing, gianluccio, ciuoto, marcolino76, piumadoro, adinapoli, samuel.steem, stregamorgana, meeplecomposer, capitanonema, damaskinus, marcellasunset, peterpanpan, r4f4, stevenson7, good-karma, esteemapp, esteem.app, ecency, ecency.stats, diyhub, cronicasdelcesar, elizacheng, ahmadmangazap, deepu7, arita992, cryoverall, ladyyunajay, jlsplatts, denisda, desro, kharrazi, simgirl, kork75, blumela, quiubi, jude9, tibfox, leogomez1414,