Tips & Tricks How I Capture Photos 😉
photography·@lynrogan·
0.000 HBDTips & Tricks How I Capture Photos 😉
Hi everyone! In this blog here, I decided to share some tips & tricks on how I capture photos for my blogs & my articles. First of all, I want to clarify that I am not a photographer, it may not be my profession but I guess I have little talents & skills in capturing photos, so why not share it, right? Okay so let me give an example: This is a plant right here, so in a regular picture it would look much like that, but when photographed properly, the result would be or can be similar to this one: 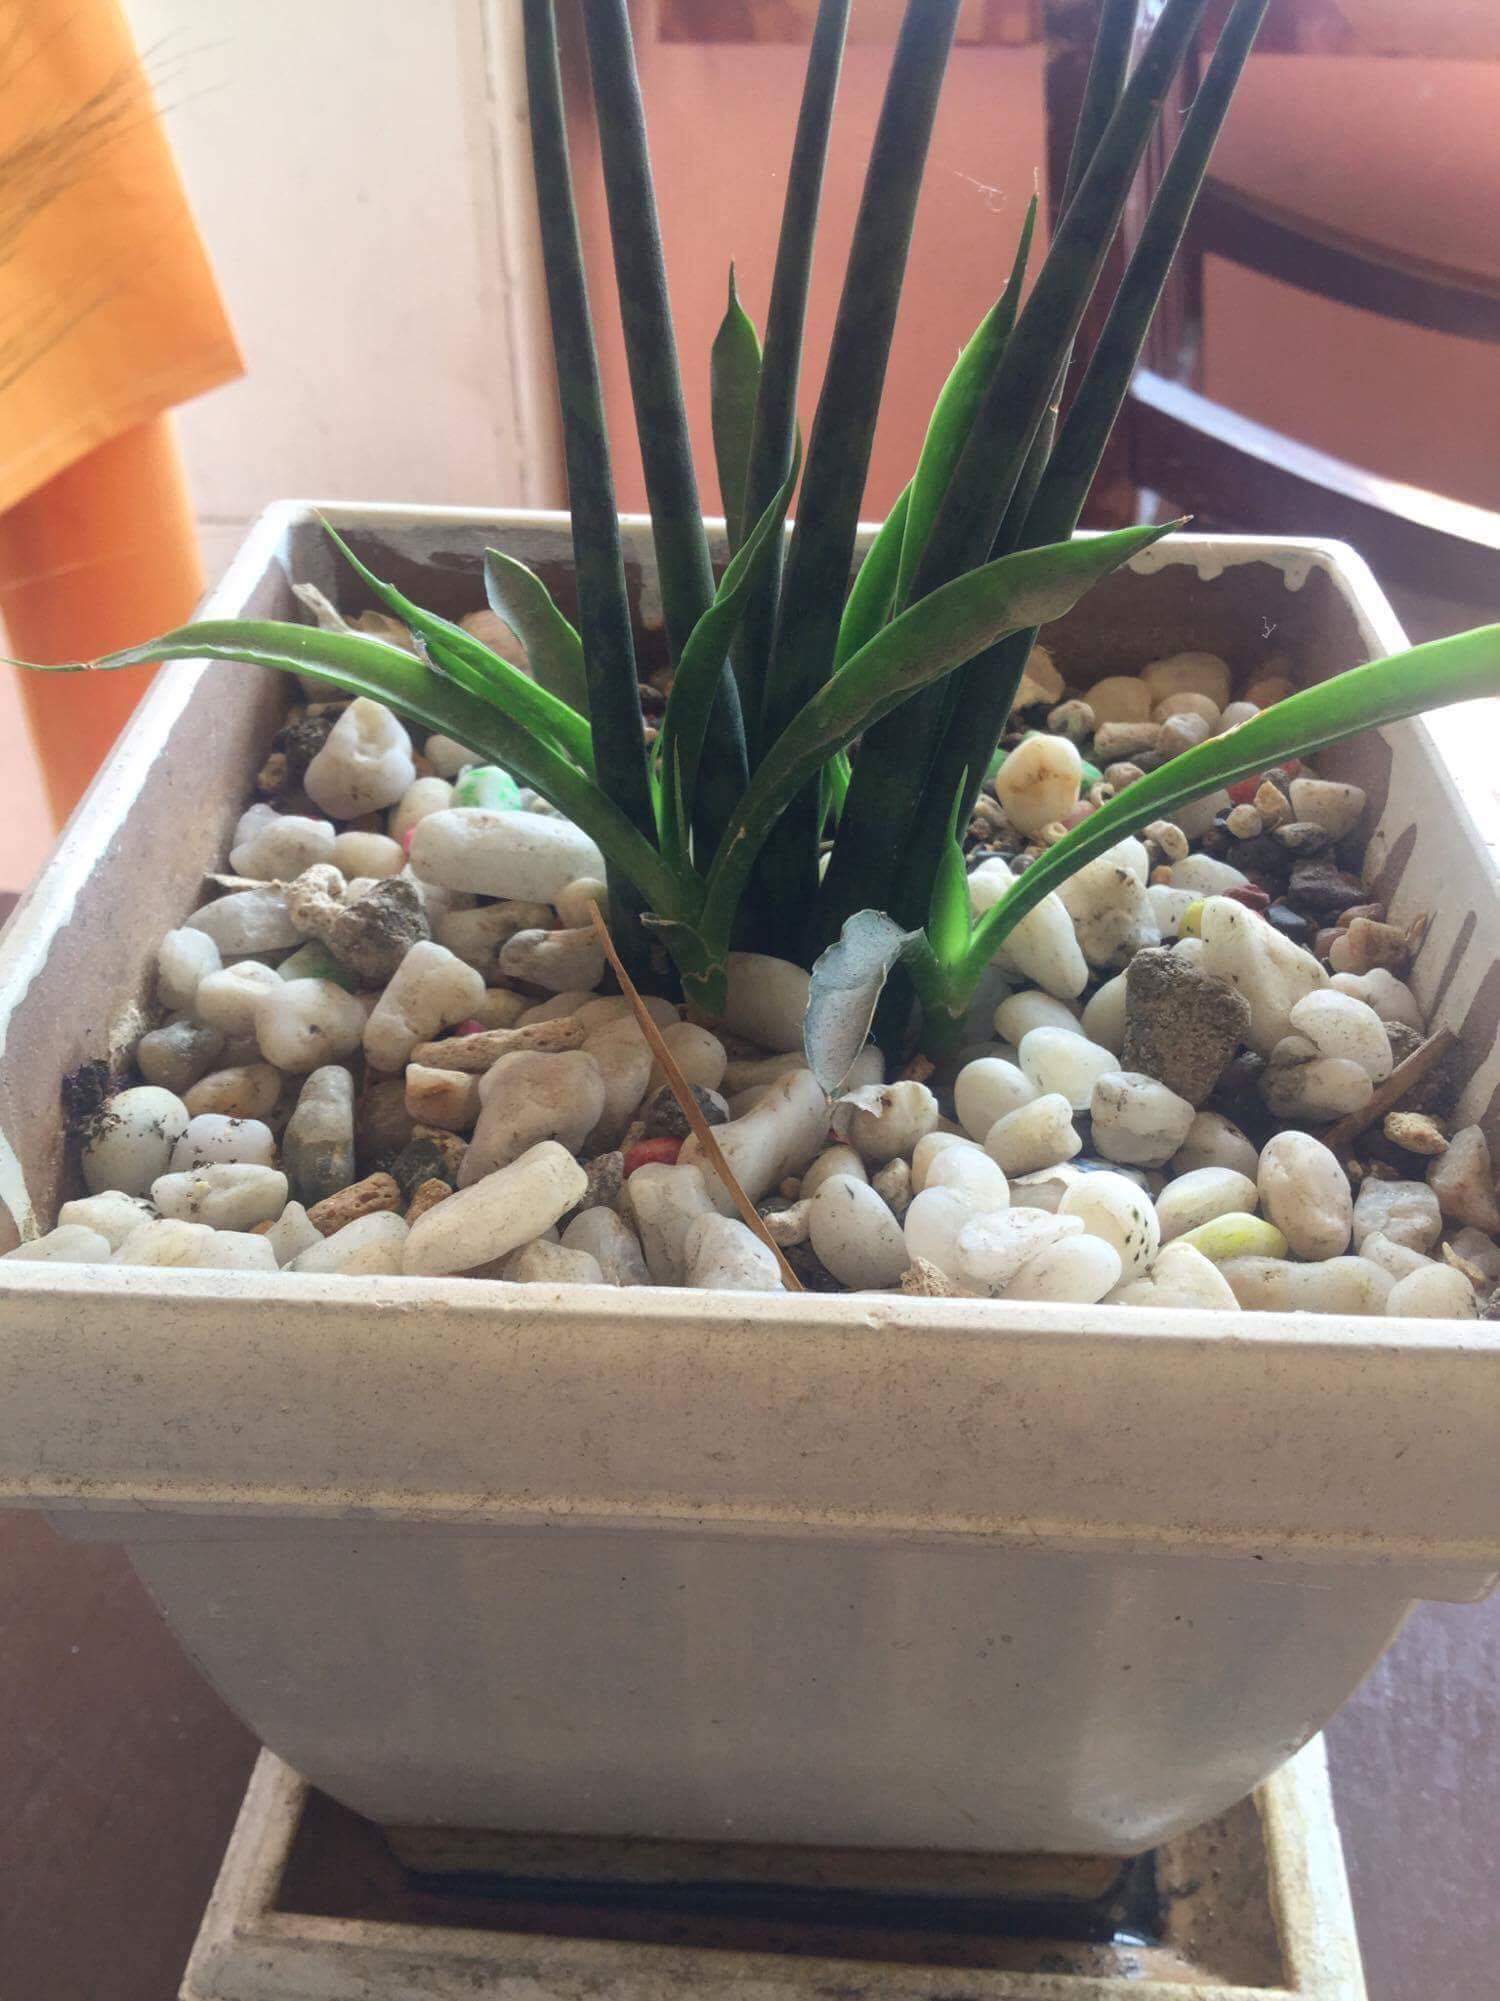 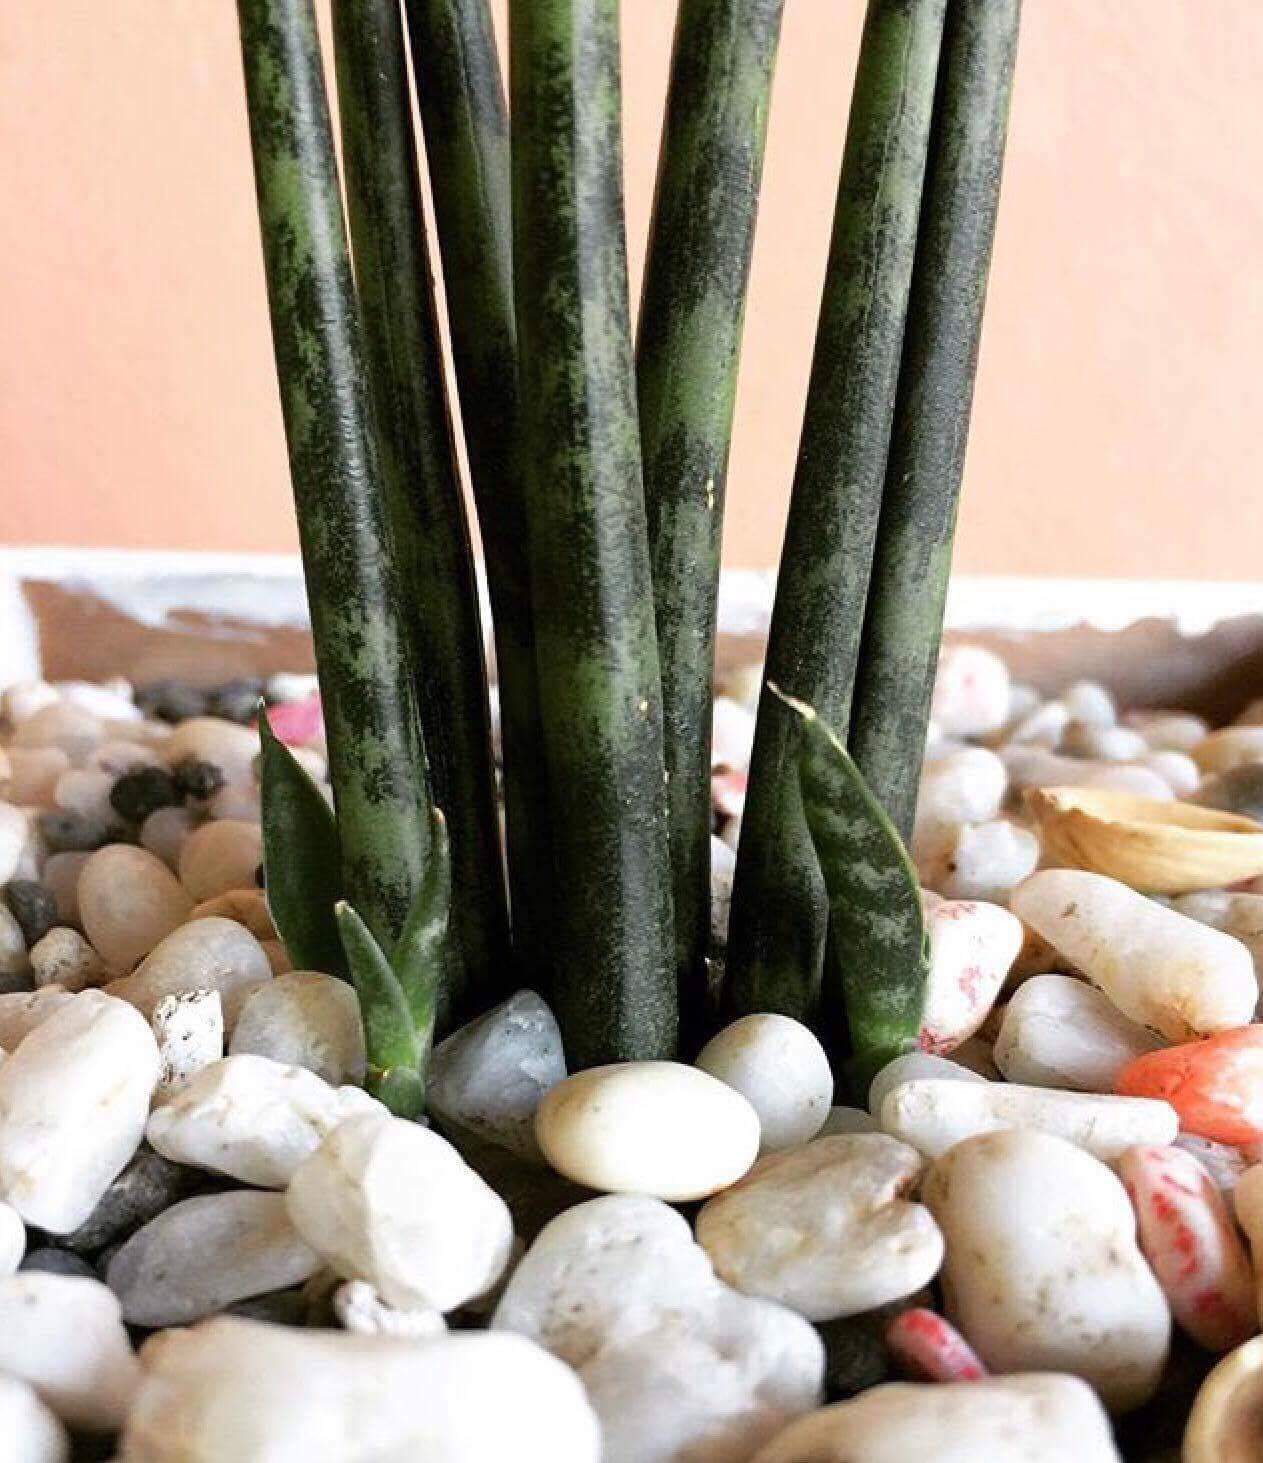 See the difference? This is the same plant I took a photo with the first photo, although this has a more decent look as I would say hehe. So how did I do it? How did I capture the photo in such different ways? Heres how : - In the first photo, I simply just captured a photo of it, - while in the second one, I tried my best to search for the right angle. - I also captured the photo were it is in the angle were it is not against the lighting, proper lighting to make an image more clearer is what I really work on, next is the focusing, the other difference was that the other photo was just plainly captured, while te second one, I tapped the object that I want to focus on, since I am onyl using a phone for my photos. At first, it might seem hard, but once you get used to it, the difference can be spotted, personally before, I am not much of a fan of takibg pictures, but eversince I became a blogger, I wanted to make my readers satisfied in reading my articles at the same time, have a positive feedback in my photos. So I do my best everytime to capture photos well. The next one here, is a photo of Moringa or more known here in the Philippines as Malunggay. In my last blog, I wrote an article about the benefits of Moringa or Malunggay, and while taking photos, this is one of the few I liked, but fortunately, I didn't use this photo because I already captured a photo for my article about Moringa, so anyway, I then again tried to find the best angles, it took me a while & I tapped the object I want it to focus on, so that it would highlight the leaves of the moringa and there! I took a photo of the Malunggay leaves. 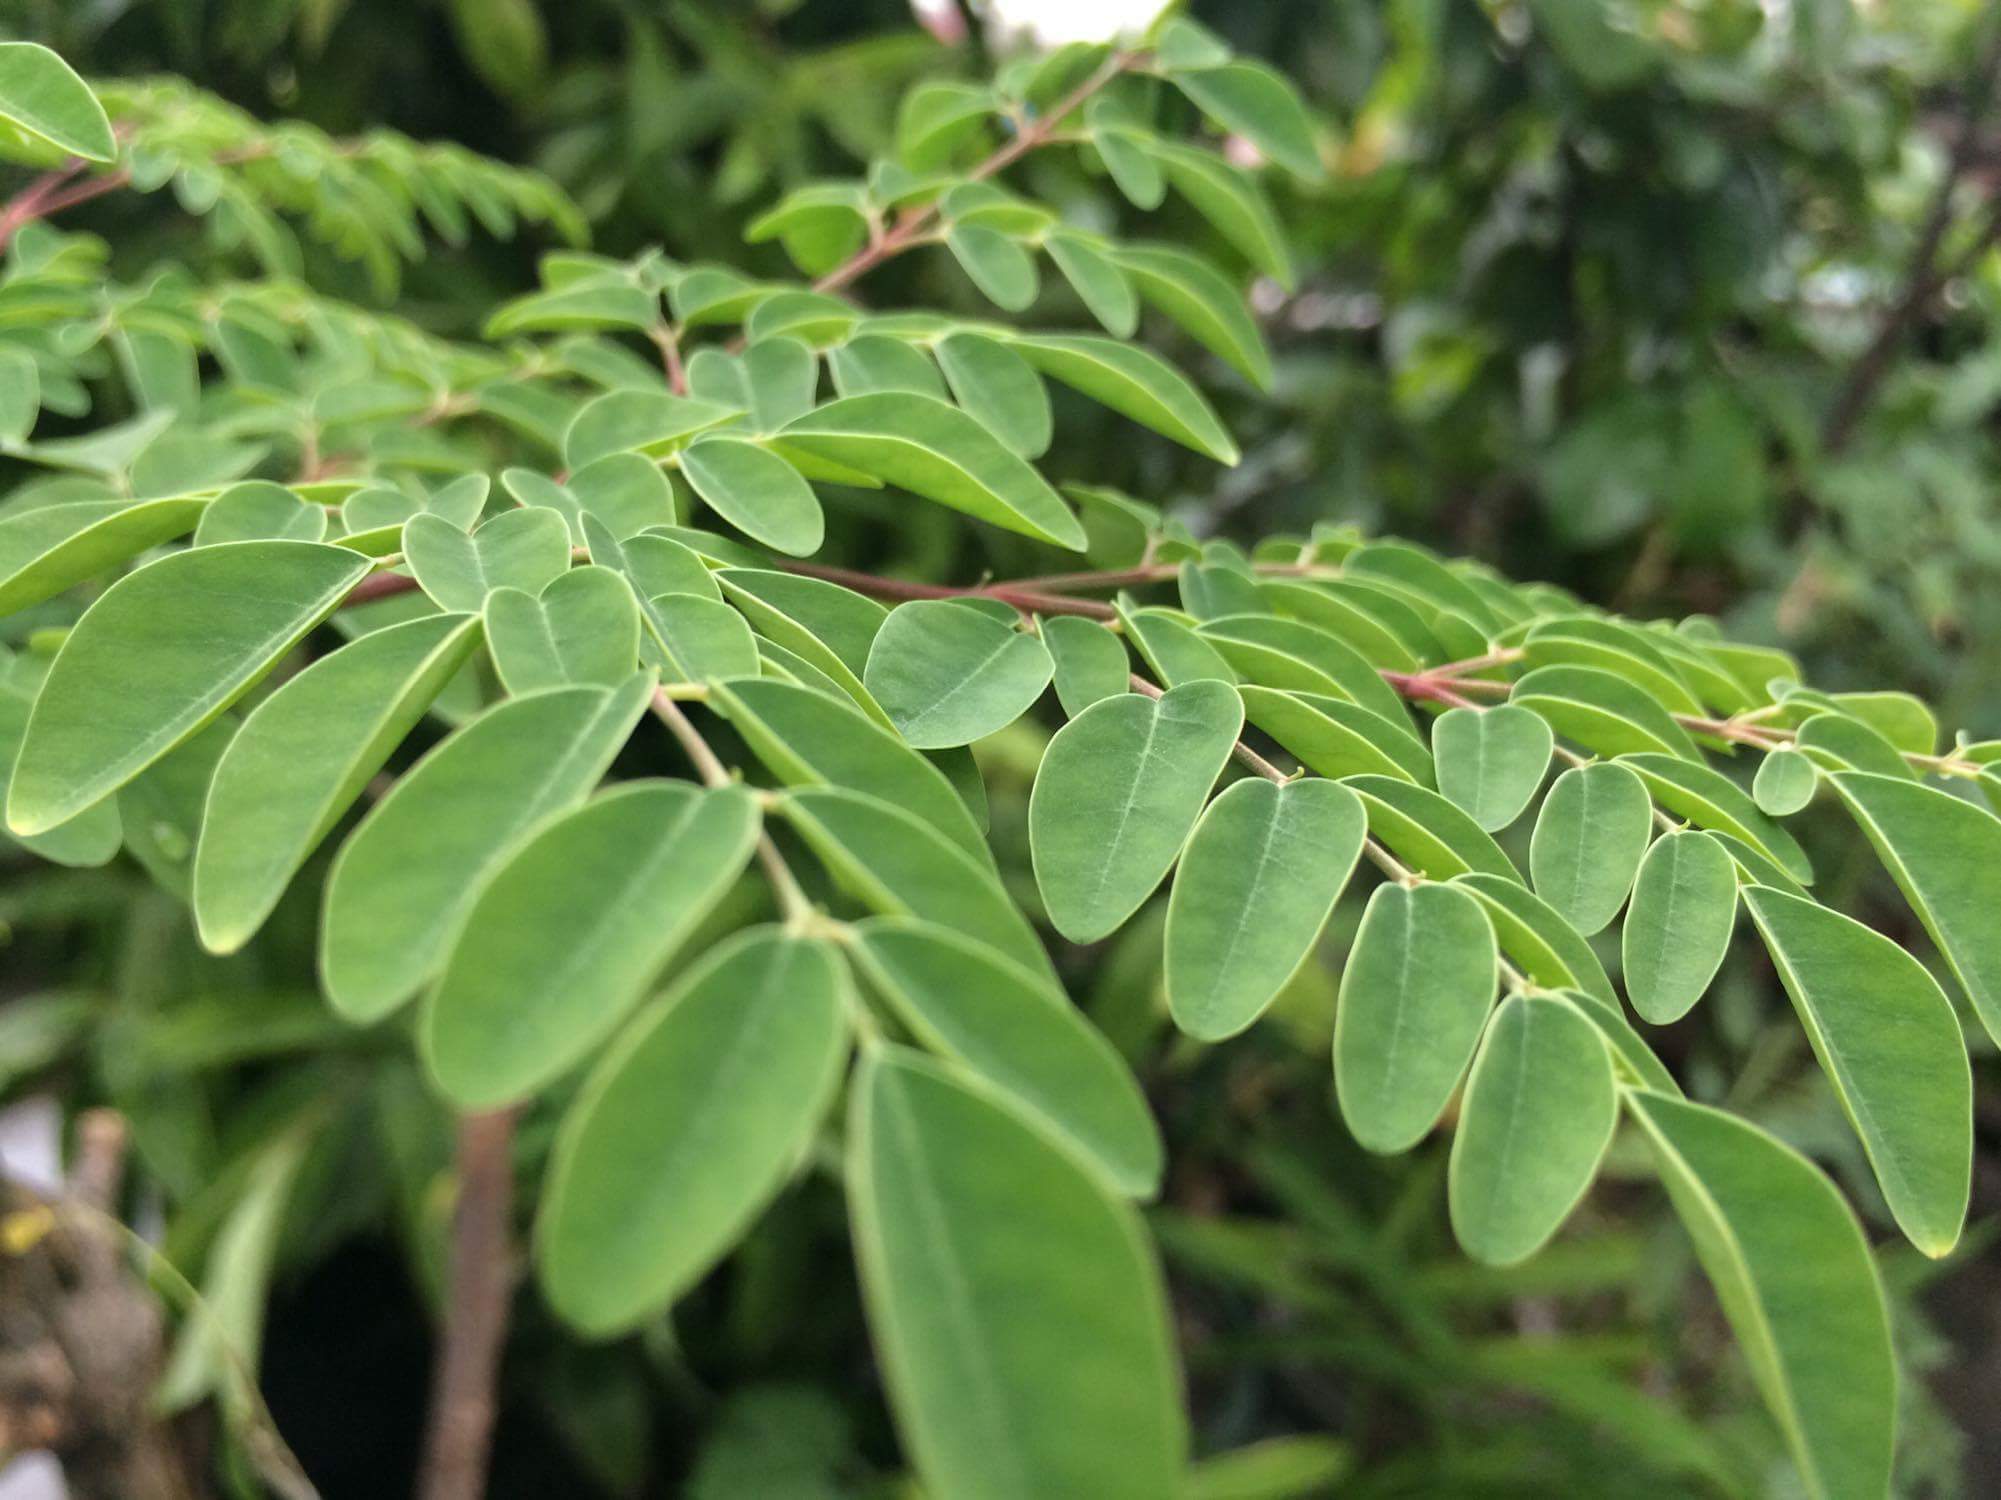 This last photo, is one of my favorites because it highlighted the object I wanted it to, it seemed to be well focused on the design of the plant & it has theae vibrant colors, due to the natural lighting I took the photo with, which is the sunlight. 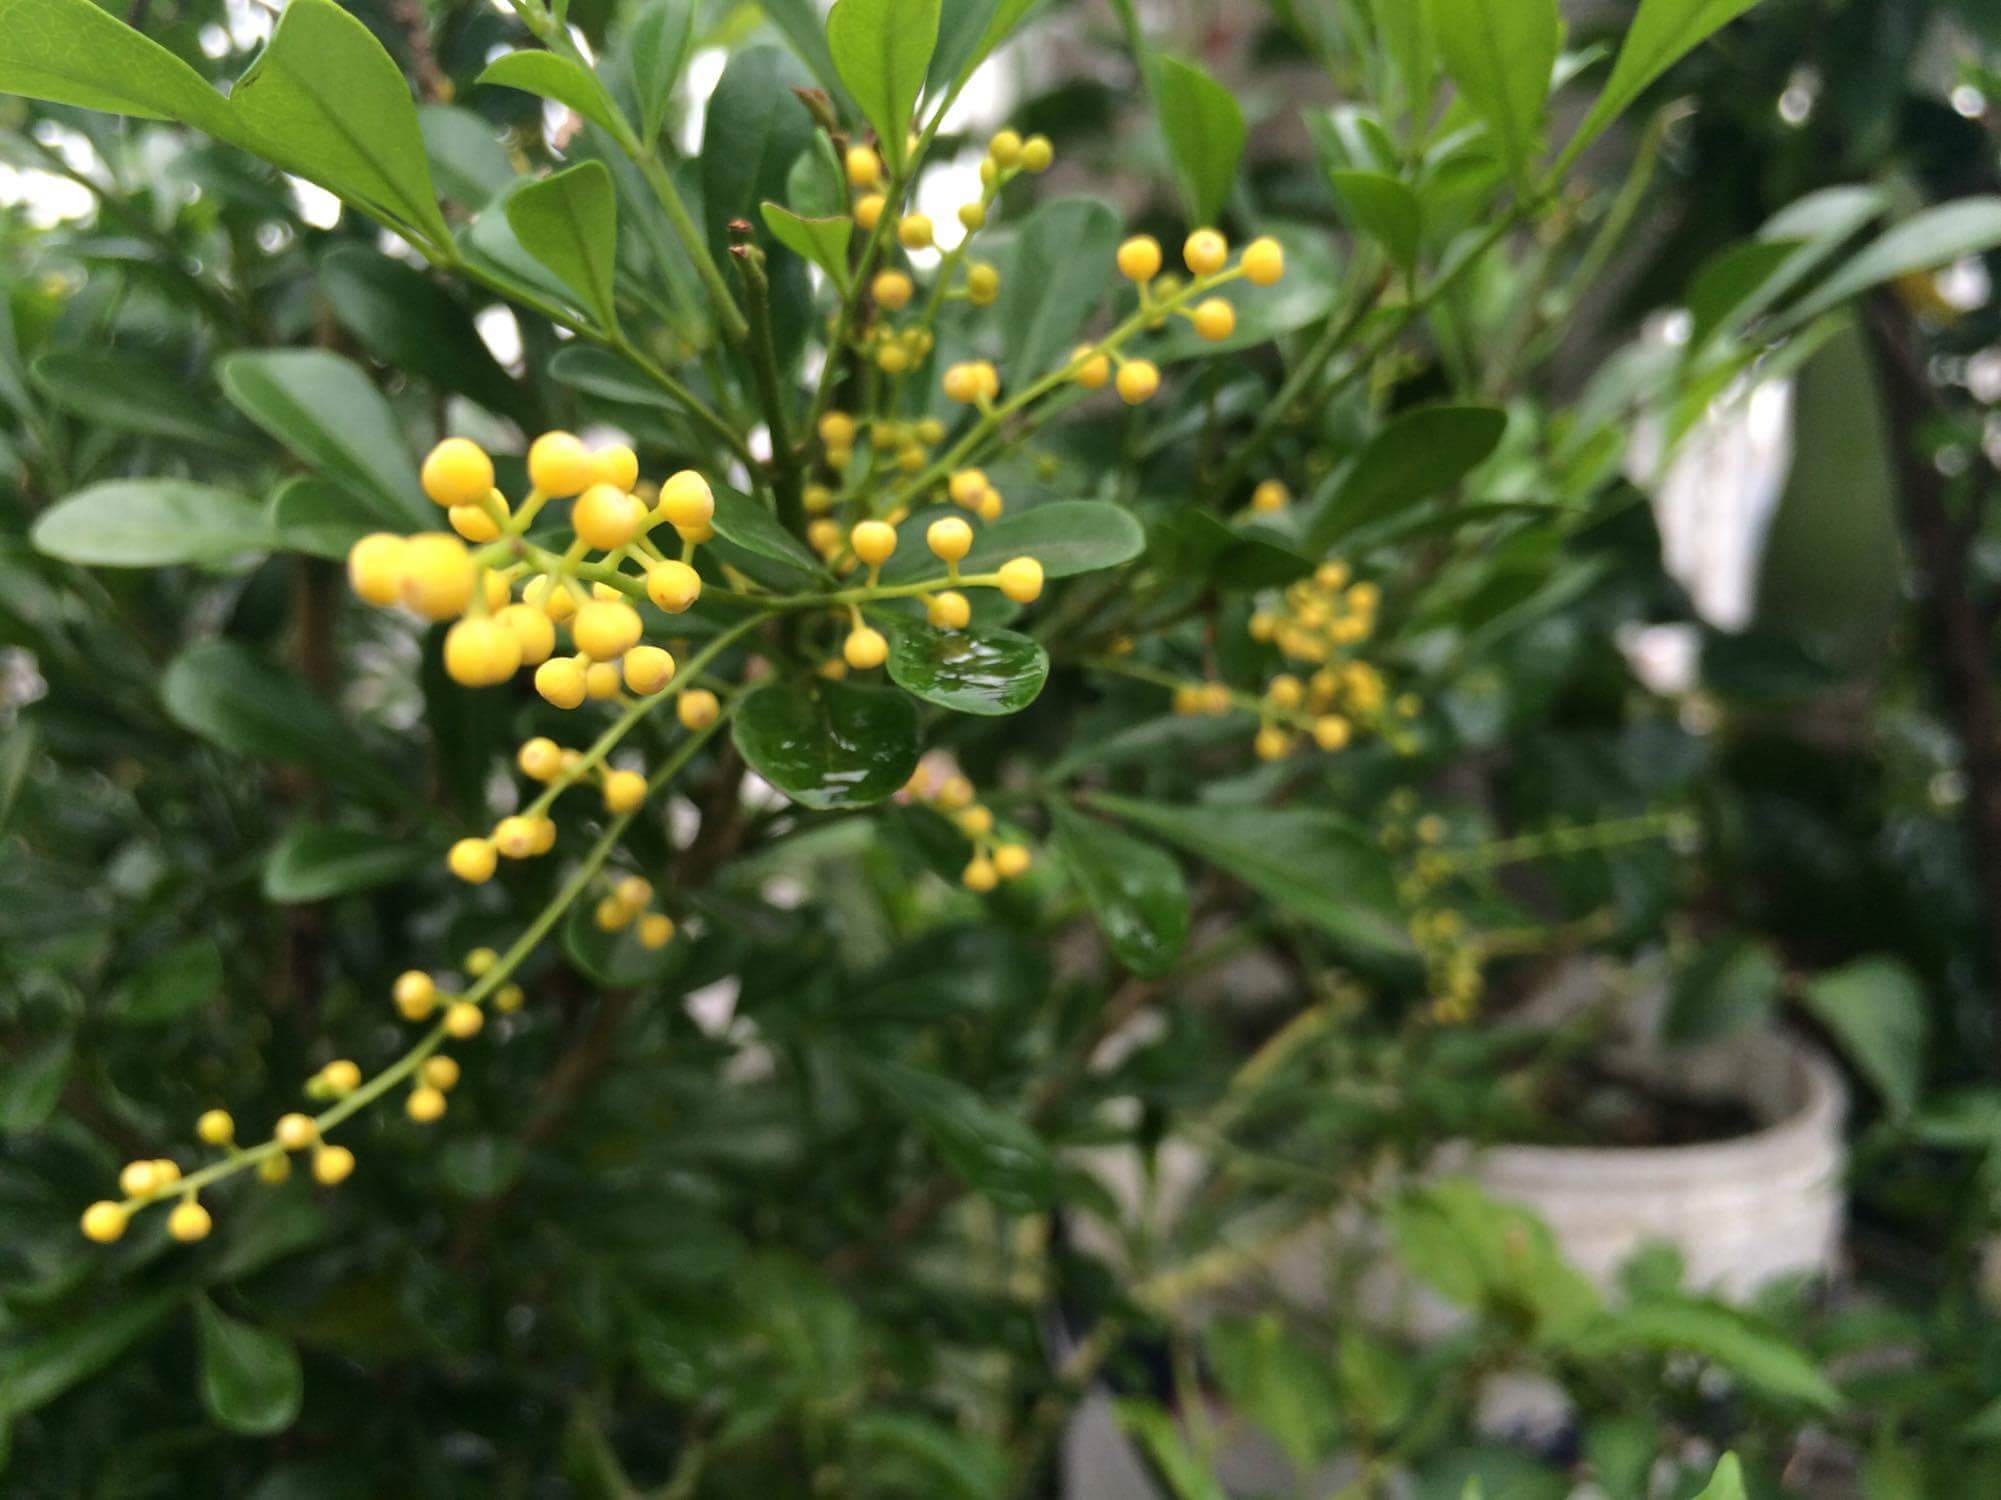 Thankyou so much for reading my blog! I hope my readers enjoyed reading! Thanks! Original photos from @lynrogan