New linocut of the seahorse -Thoughts and process!
art·@mayasky·
0.000 HBDNew linocut of the seahorse -Thoughts and process!
Hello everyone and a good start to the week! Today I wanted to show you guys another linocut that I made, this time of the wonderful seahorse! I've always been fascinated of seahorses, I don't know why.. They just seem a bit unreal, if you know what I mean?! I sometimes think they can even resemble a small dragon, hehe.. 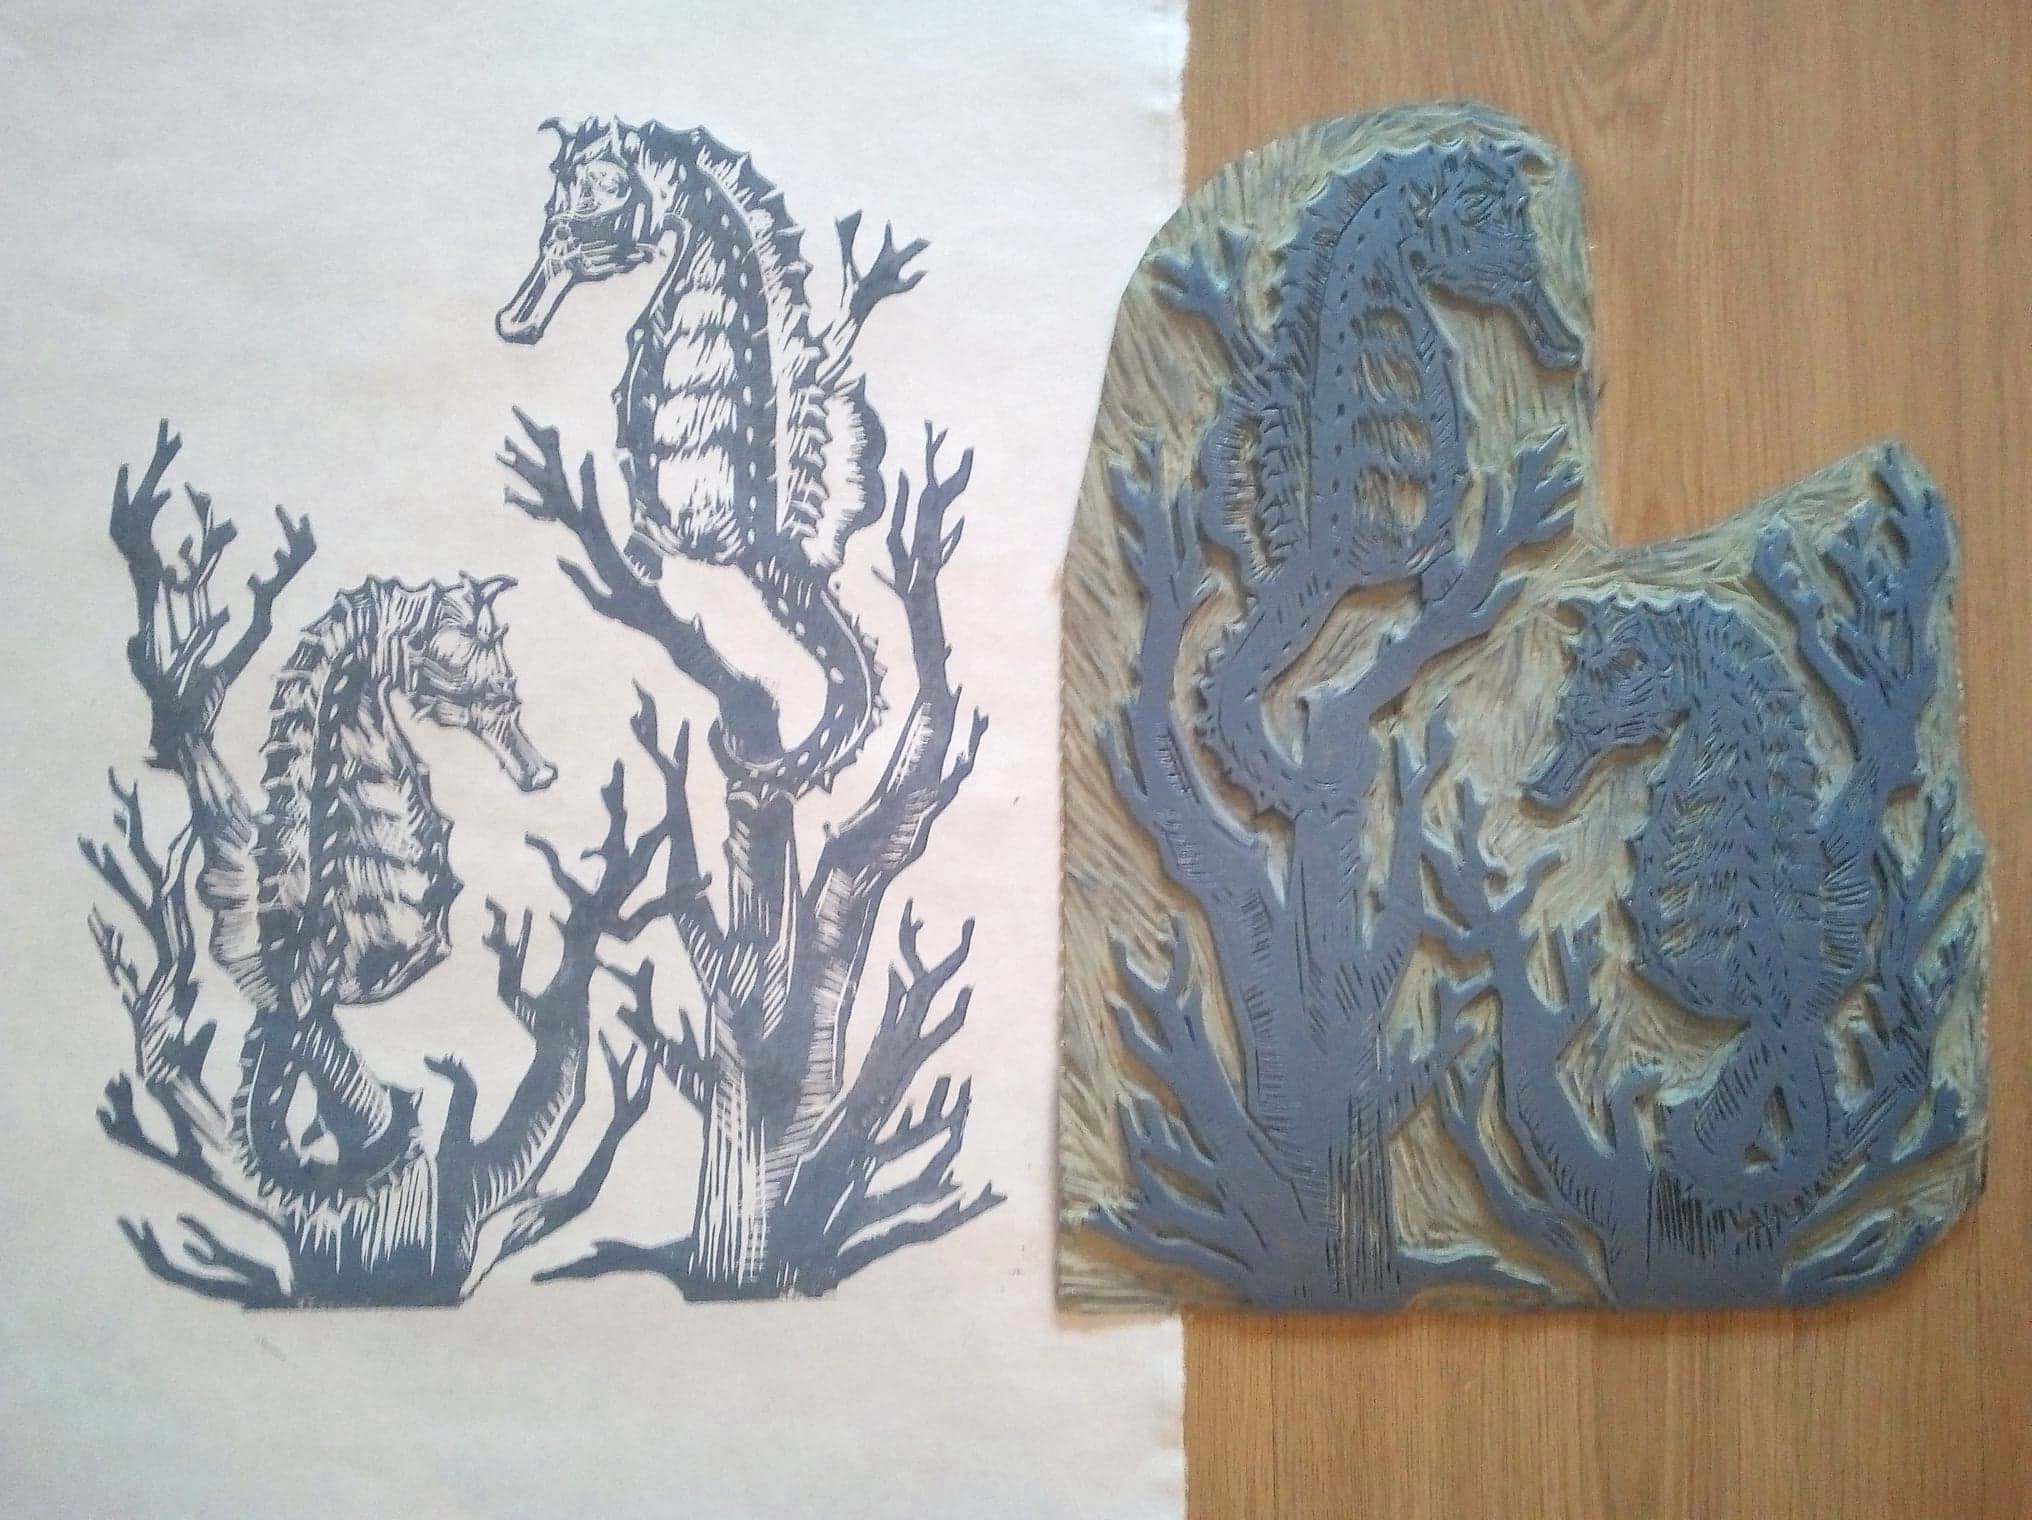 _Print vs.cut plate._ This print has a bit of a roughness to it which I quite like. Usually I am quite obsessive with my planned drawings and details, but this piece got a lot of spontanious carving and I like the slightly sketchy look it gives the final print. As always I've taken some progress shots to explain my process and hopefully inspire some creativeness! ;) Let'sbegin! 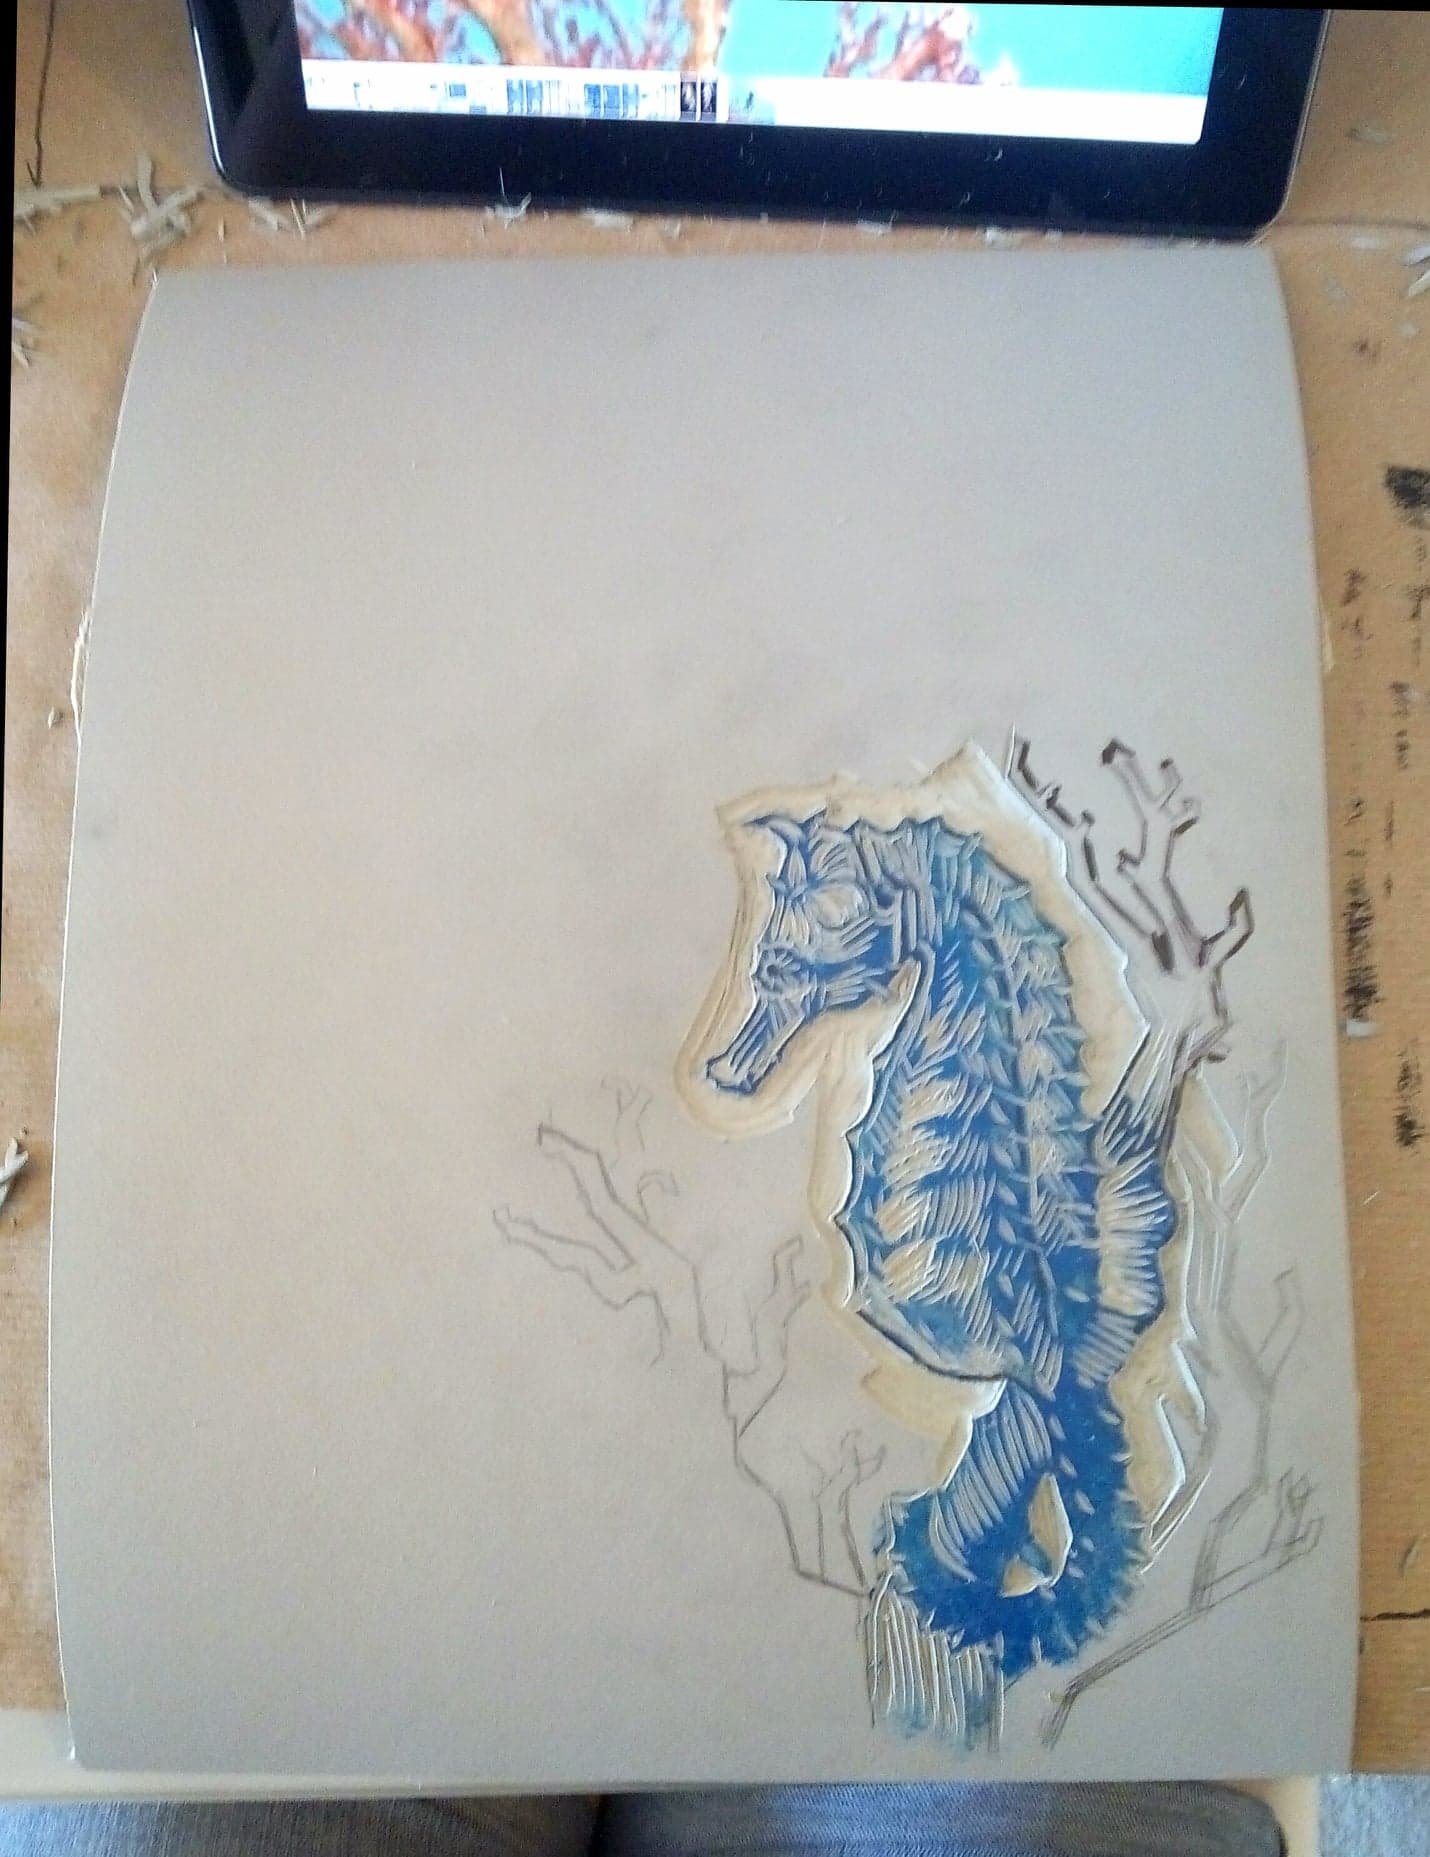 Like I said in the introduction, this print wasn't very pre-planned, that also goes for the composition and drawing of it. I just started with one seahorse and then later put in the other. The first thing I do to get my image down is to sketch it with apencil, then when I am happy I go over it with a waterproof pen. To make the carving easier I dab a bit of light acrylic paint on the area I am carving to get a greater contrast that will resemble the impresion of the final print. 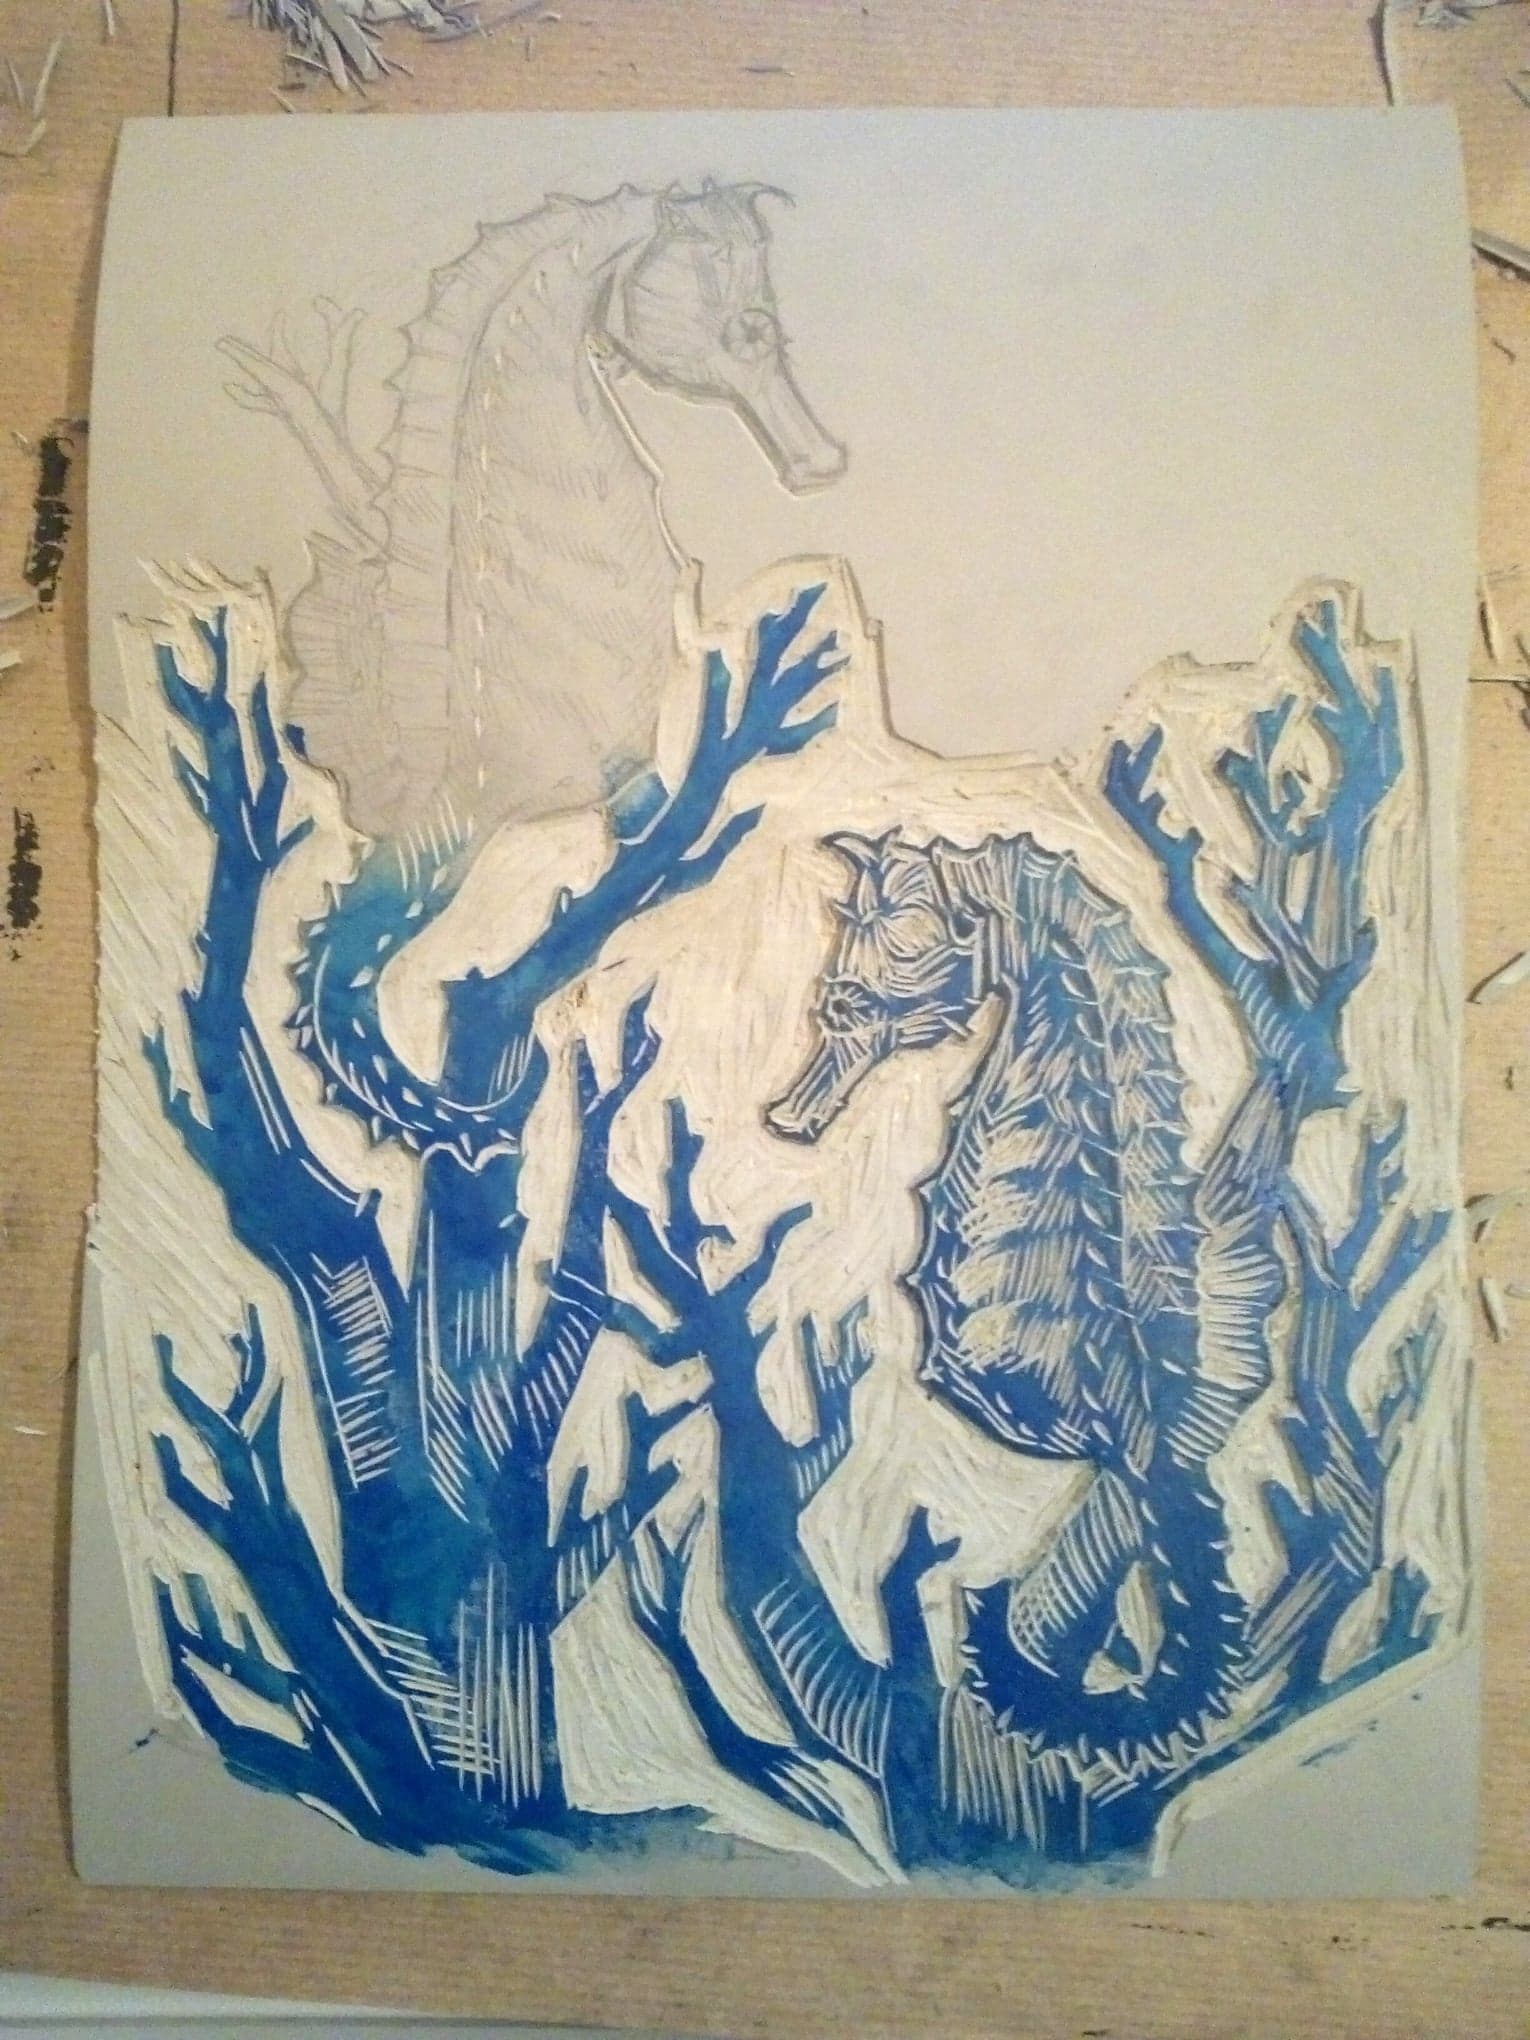 Above you can see thedrawing and carving coming along. I use a thin v-blade to cut out details and a larger u-blade to carve away bigger areas of linolium. 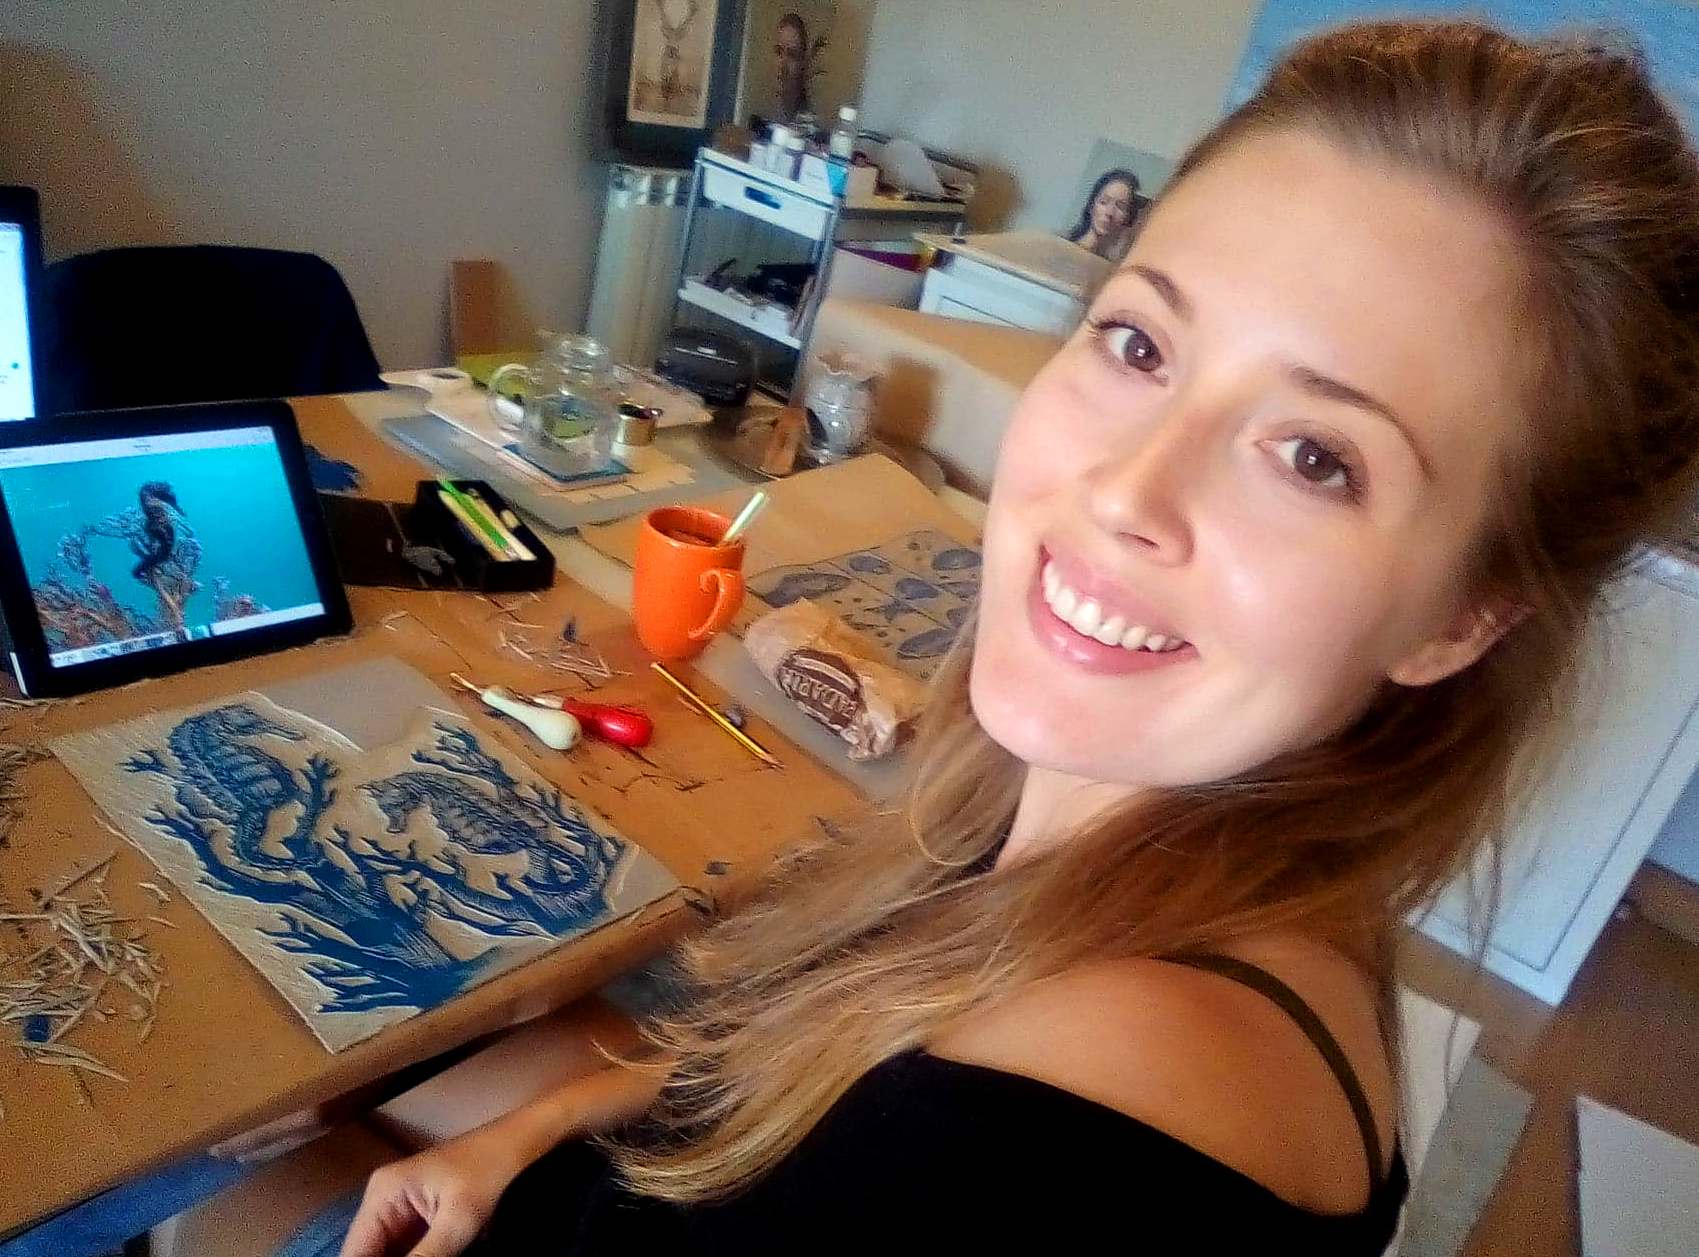 _A little carving selfie of a very happy carving lady, hehe... :)_ 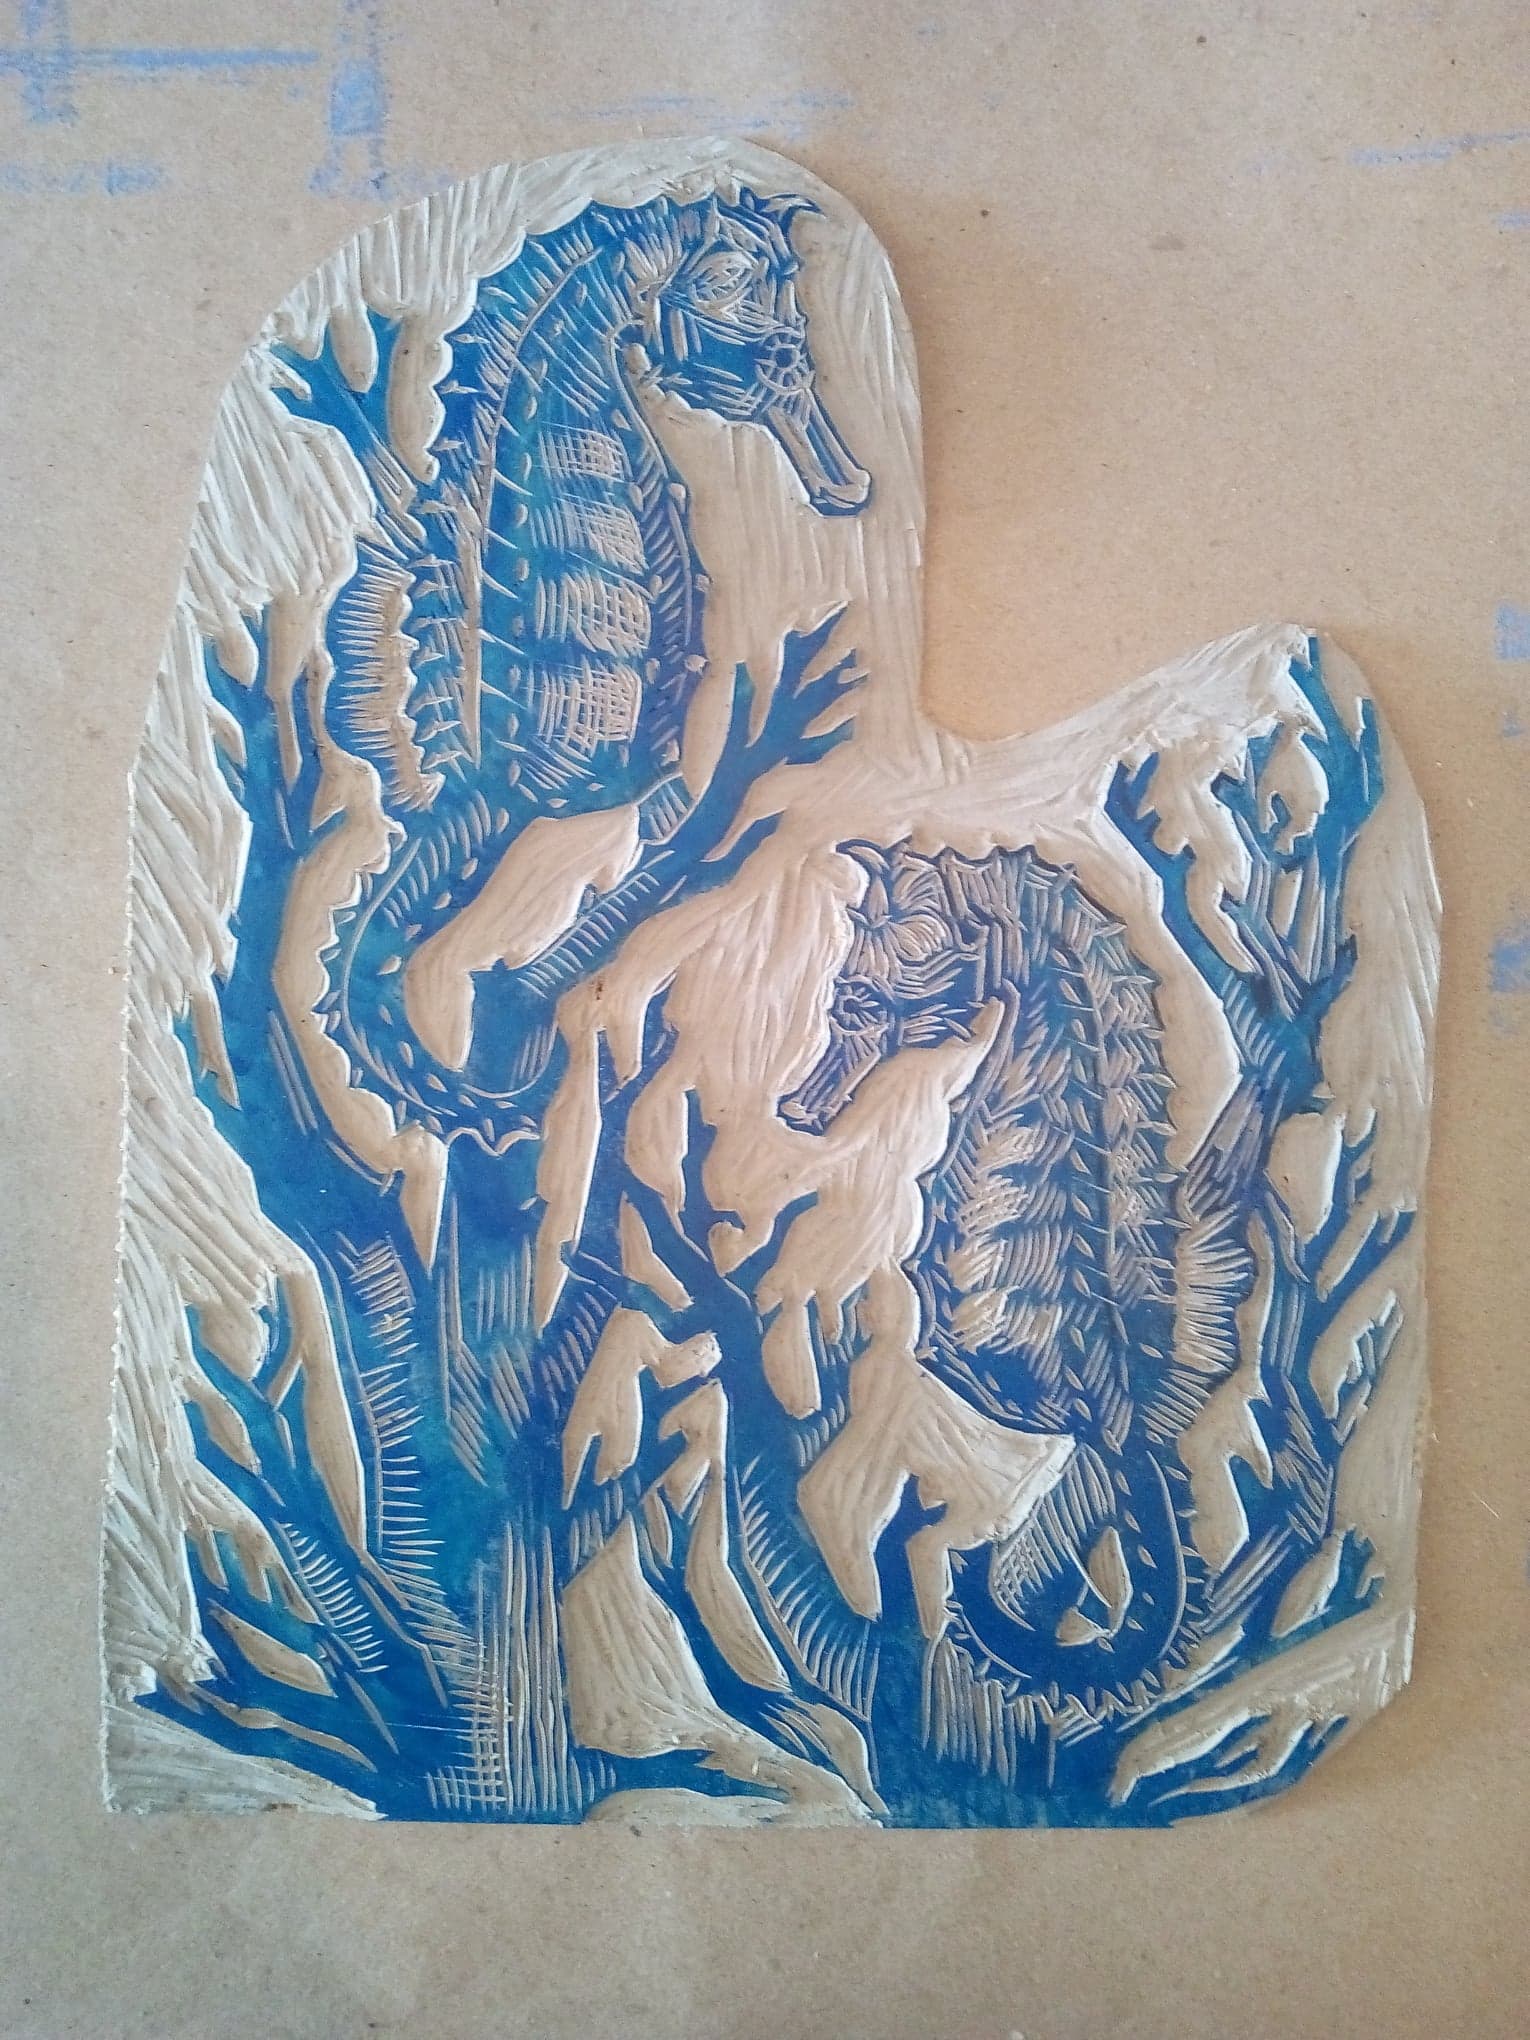 ... And, carving finished! :) I also cut away the larger areas in the background that doesn't have any carvings on them. This is so that when I ink up the print this area wont get any potential ink spots on it that wil appear in the background. Then I mix the color I want to use! 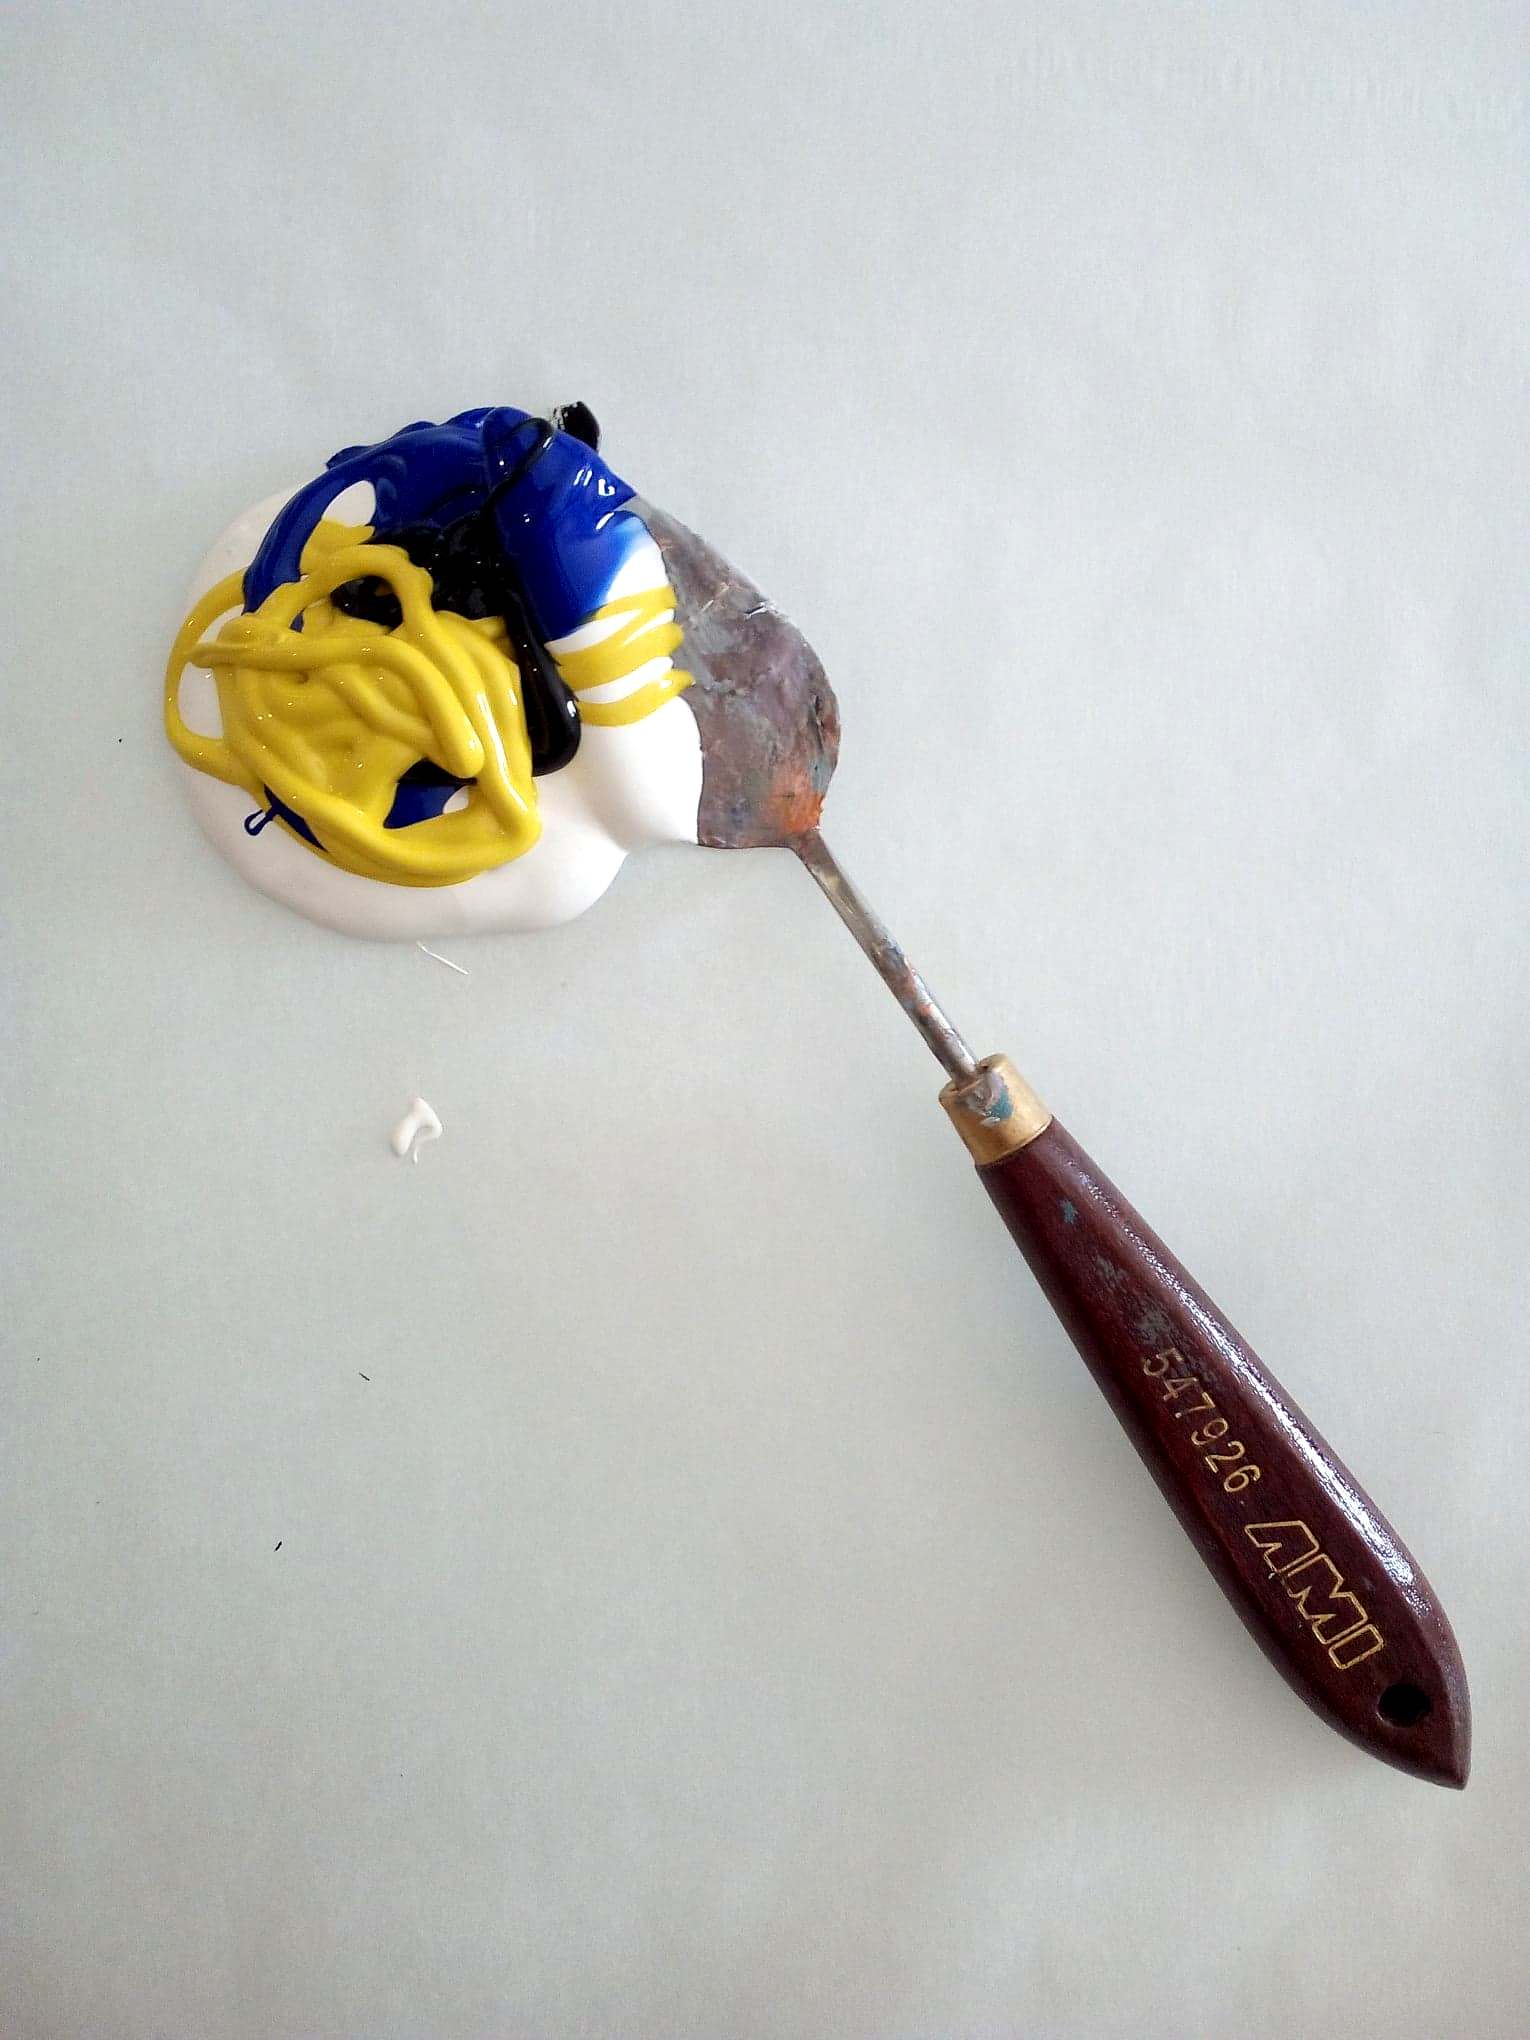 I want the first color I try to be a greyish green so I mix up blue, white, blue and yellow. 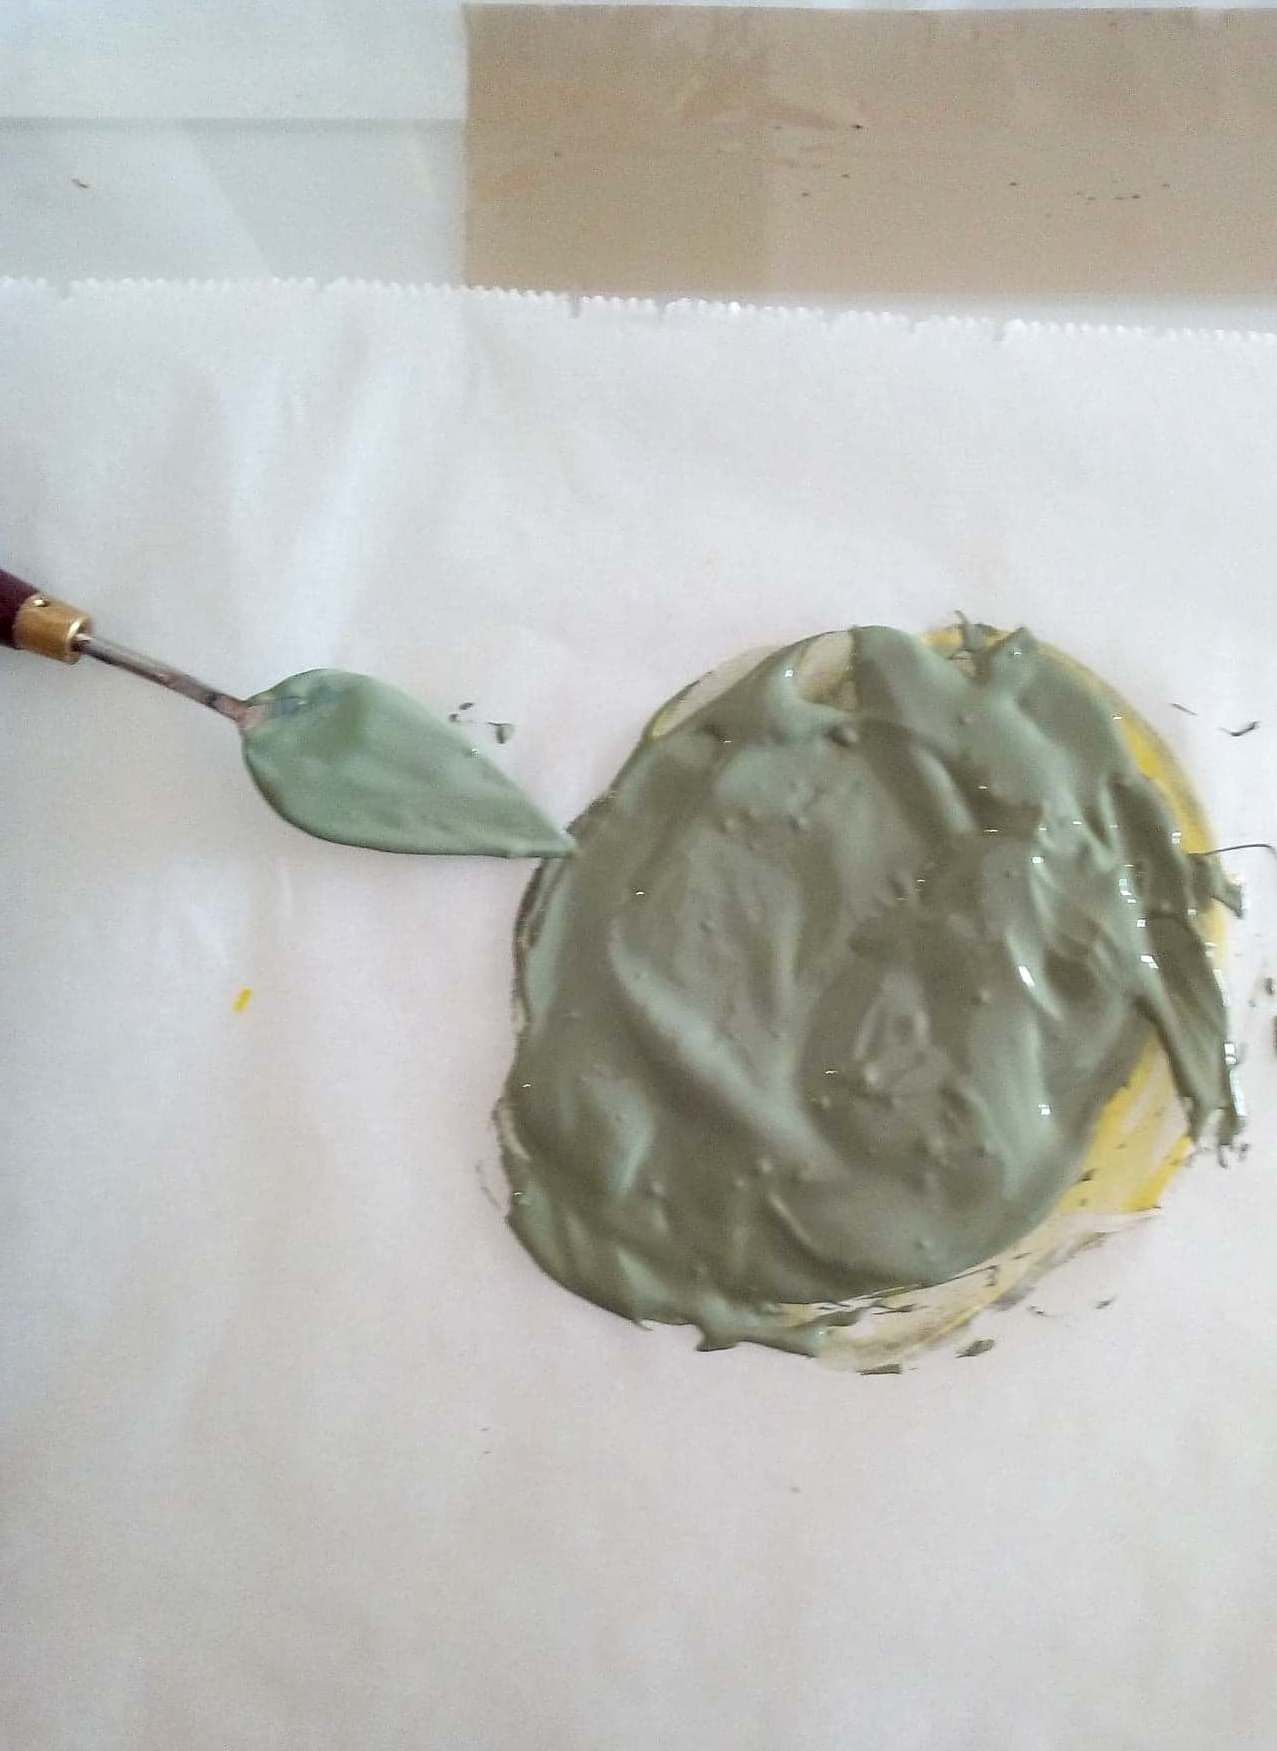 I mix it well and end up with thecolor above. By the way, in printmaking a lot of the mixing and rolling of the ink is done on glass. If you dont have a large glass plate available I can recommend a sheet of plastic that is taped down flat. It does more or less the same thing and you can just throw it away when you're done. 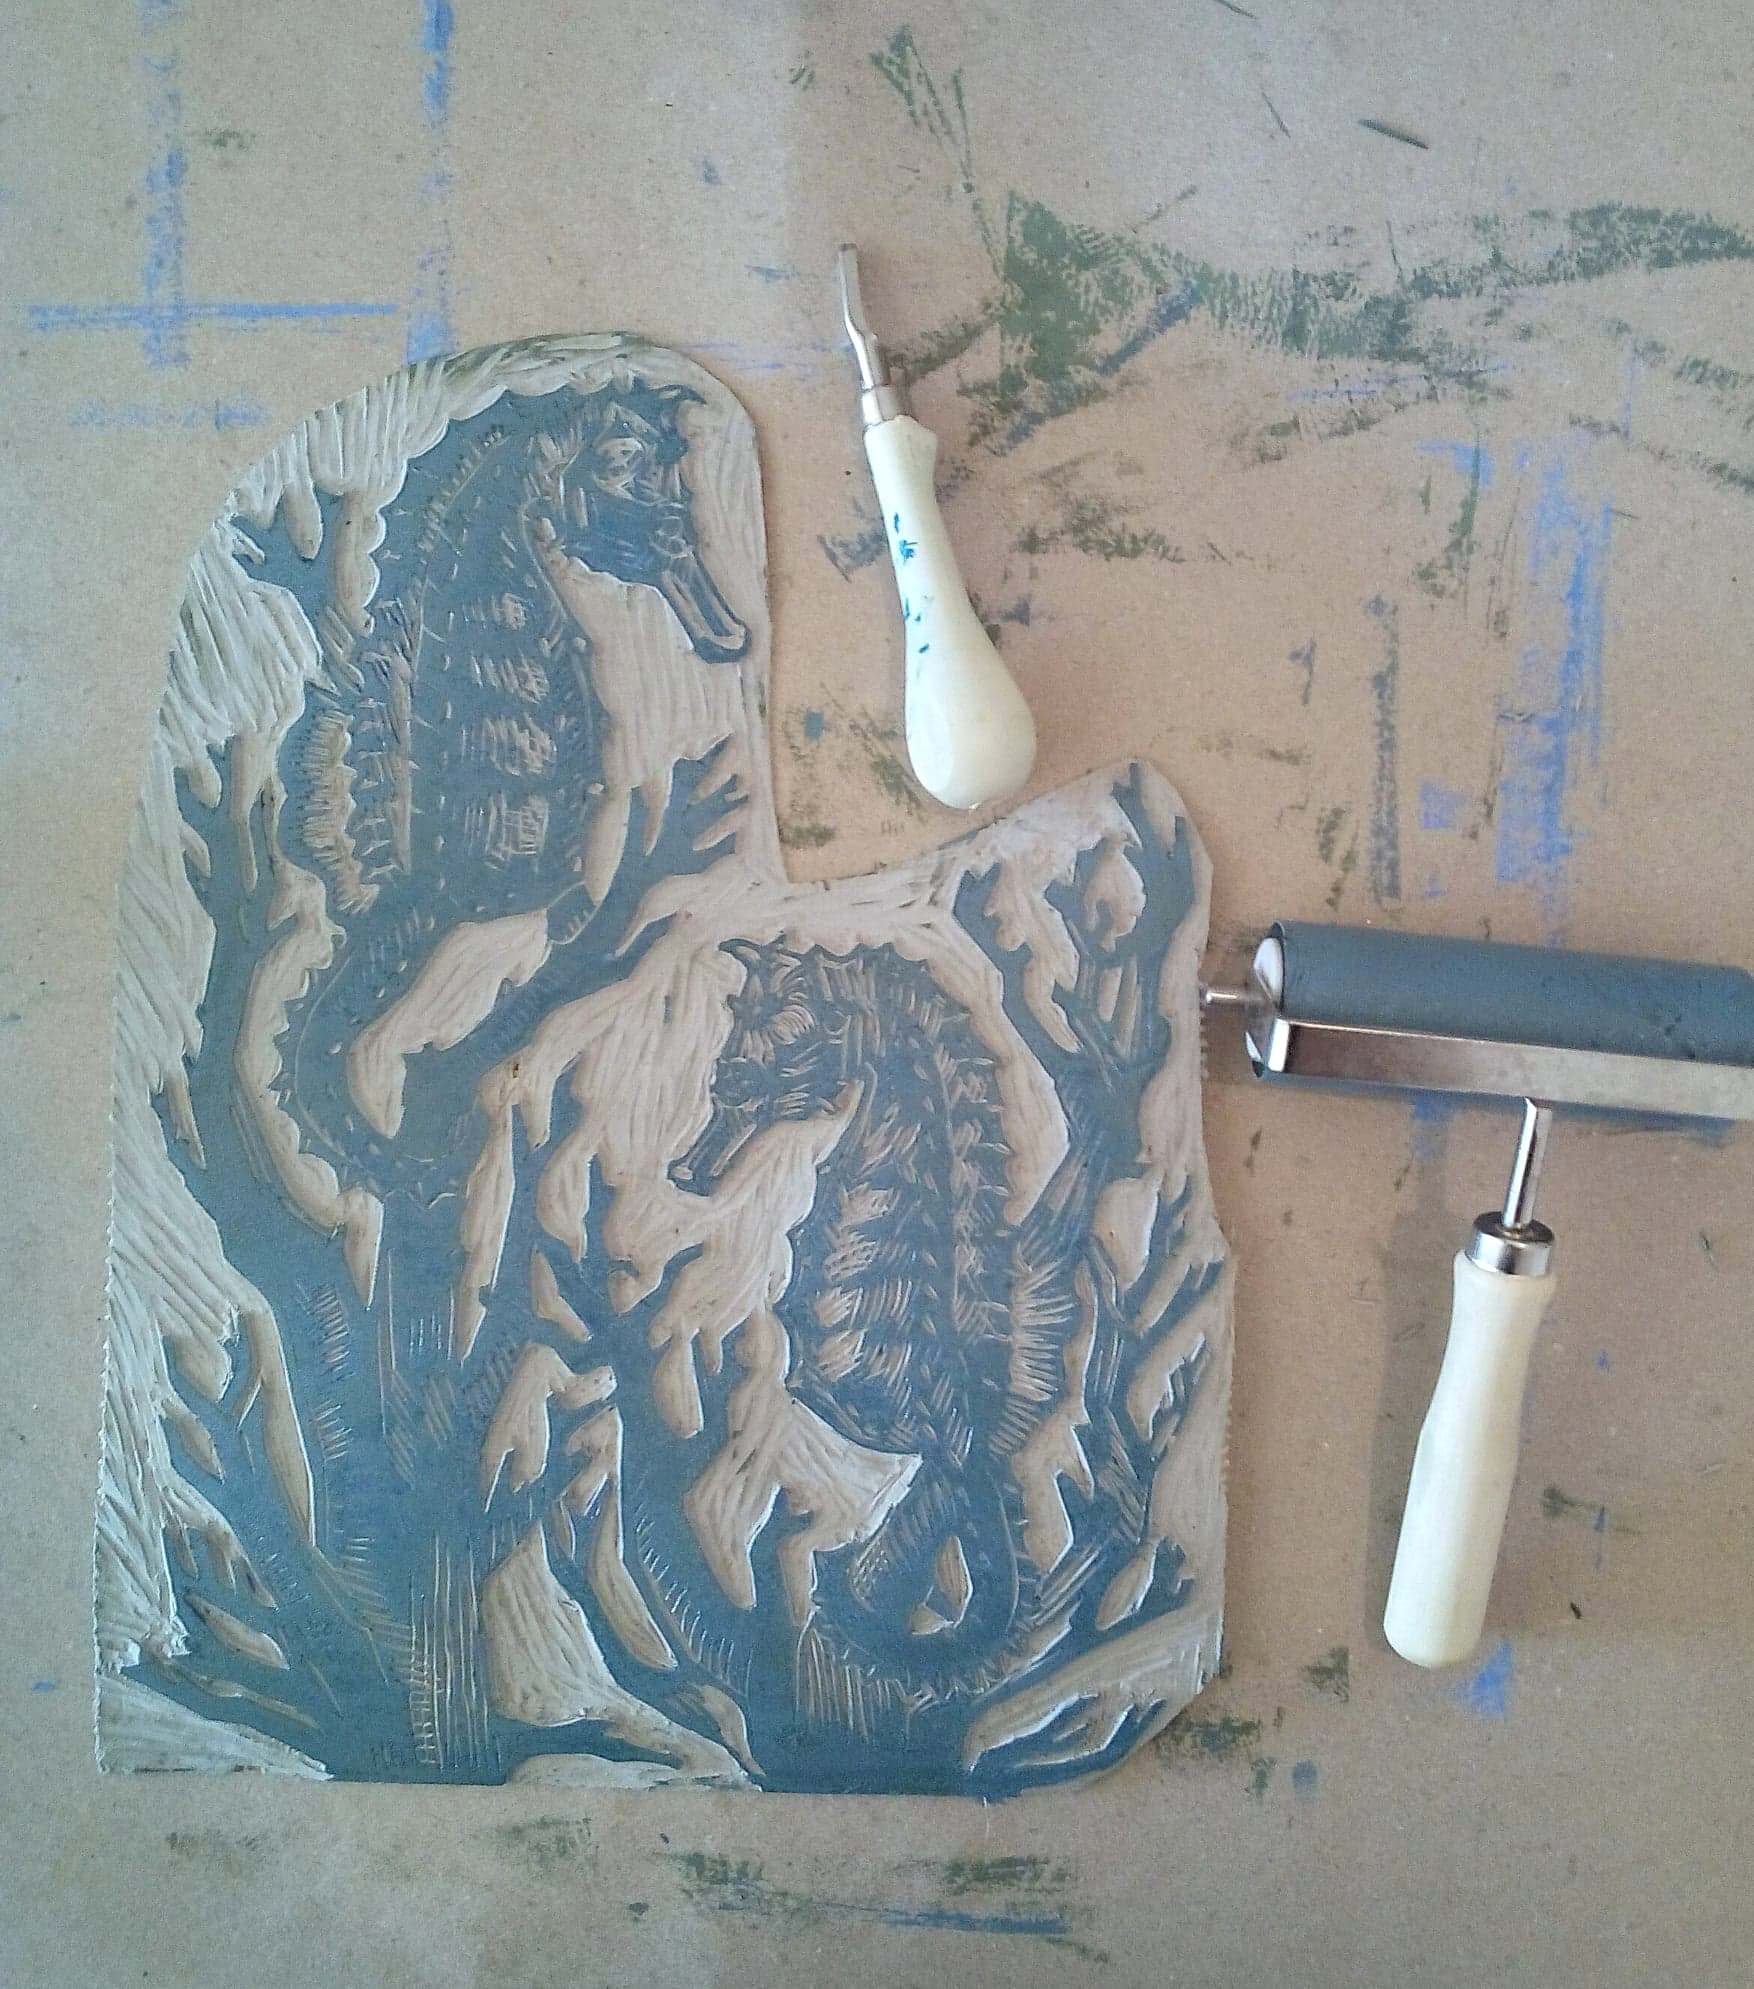 In the photo above I have rolled on a layer of the green color in an even layer. How much ink you need is something yu will have to feel out, I still struggle. One tip though is when you roll out your ink with your roller to keep on going until you heara nice ''Smacking'' sound. Then the amount ofink is usually good. 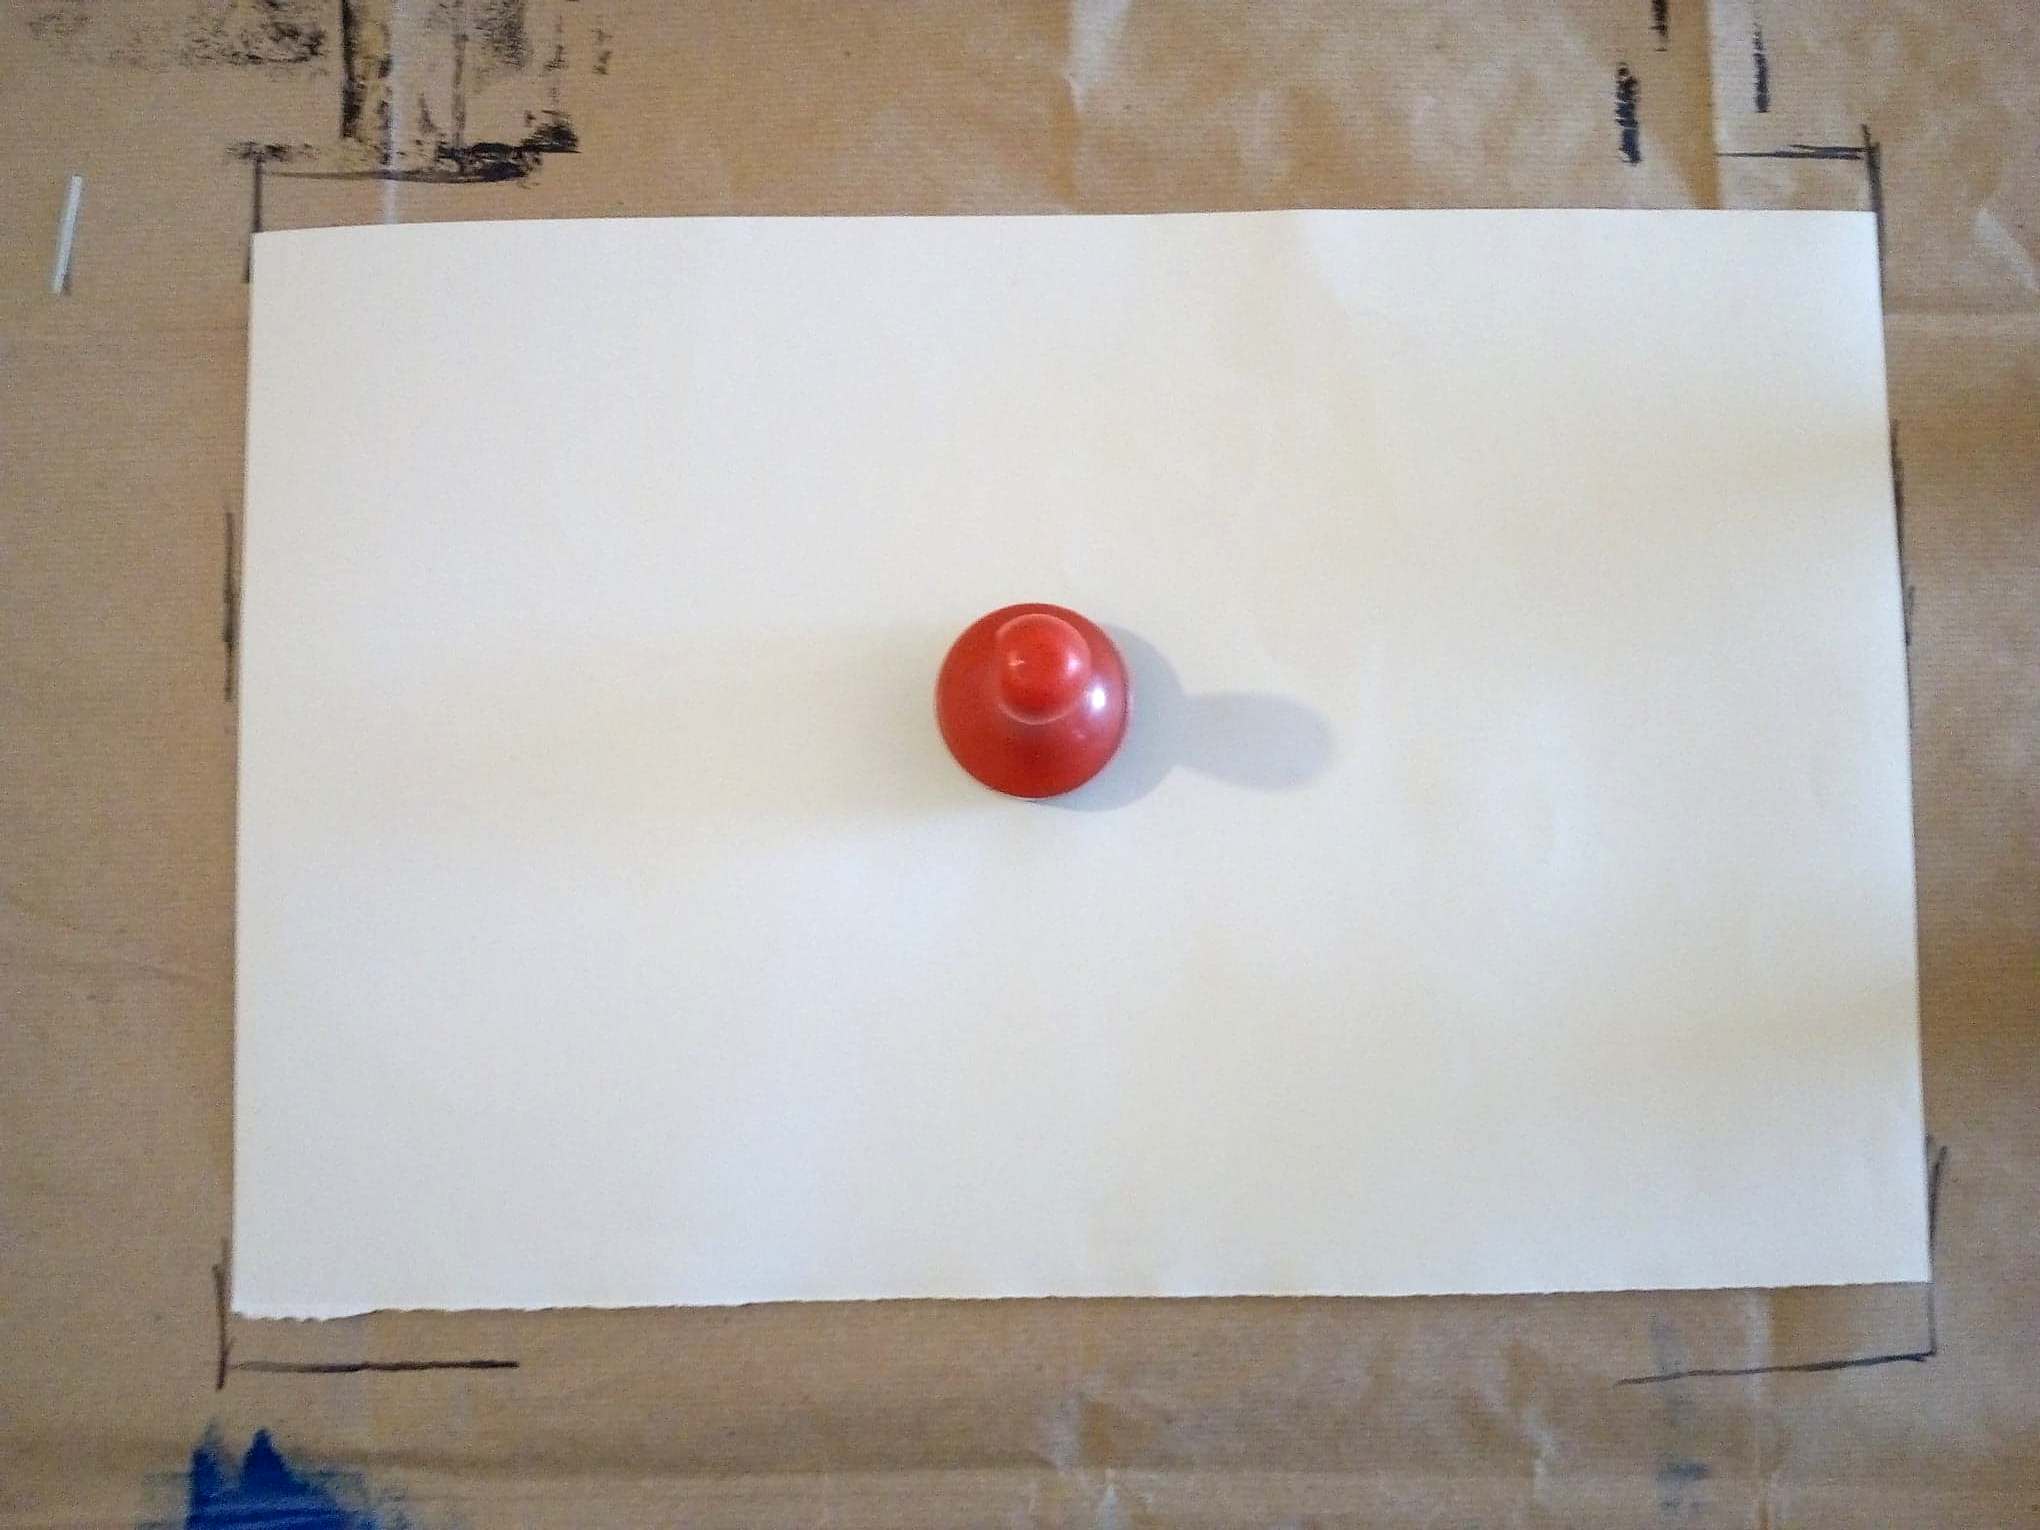 After the plate is inked up I place a sheet of paper ontop of it and use the red tool you can see ontop of it in circular movements over the paper to transfer the print. You can alsouse a wooden or metal soon for this part. Another ti is that when printing linocut I do find that the thinner the paper, the better the image transfers. Japanese paper is my favorite.  **Then you just pull off the paper, et voila! Your print is done.**  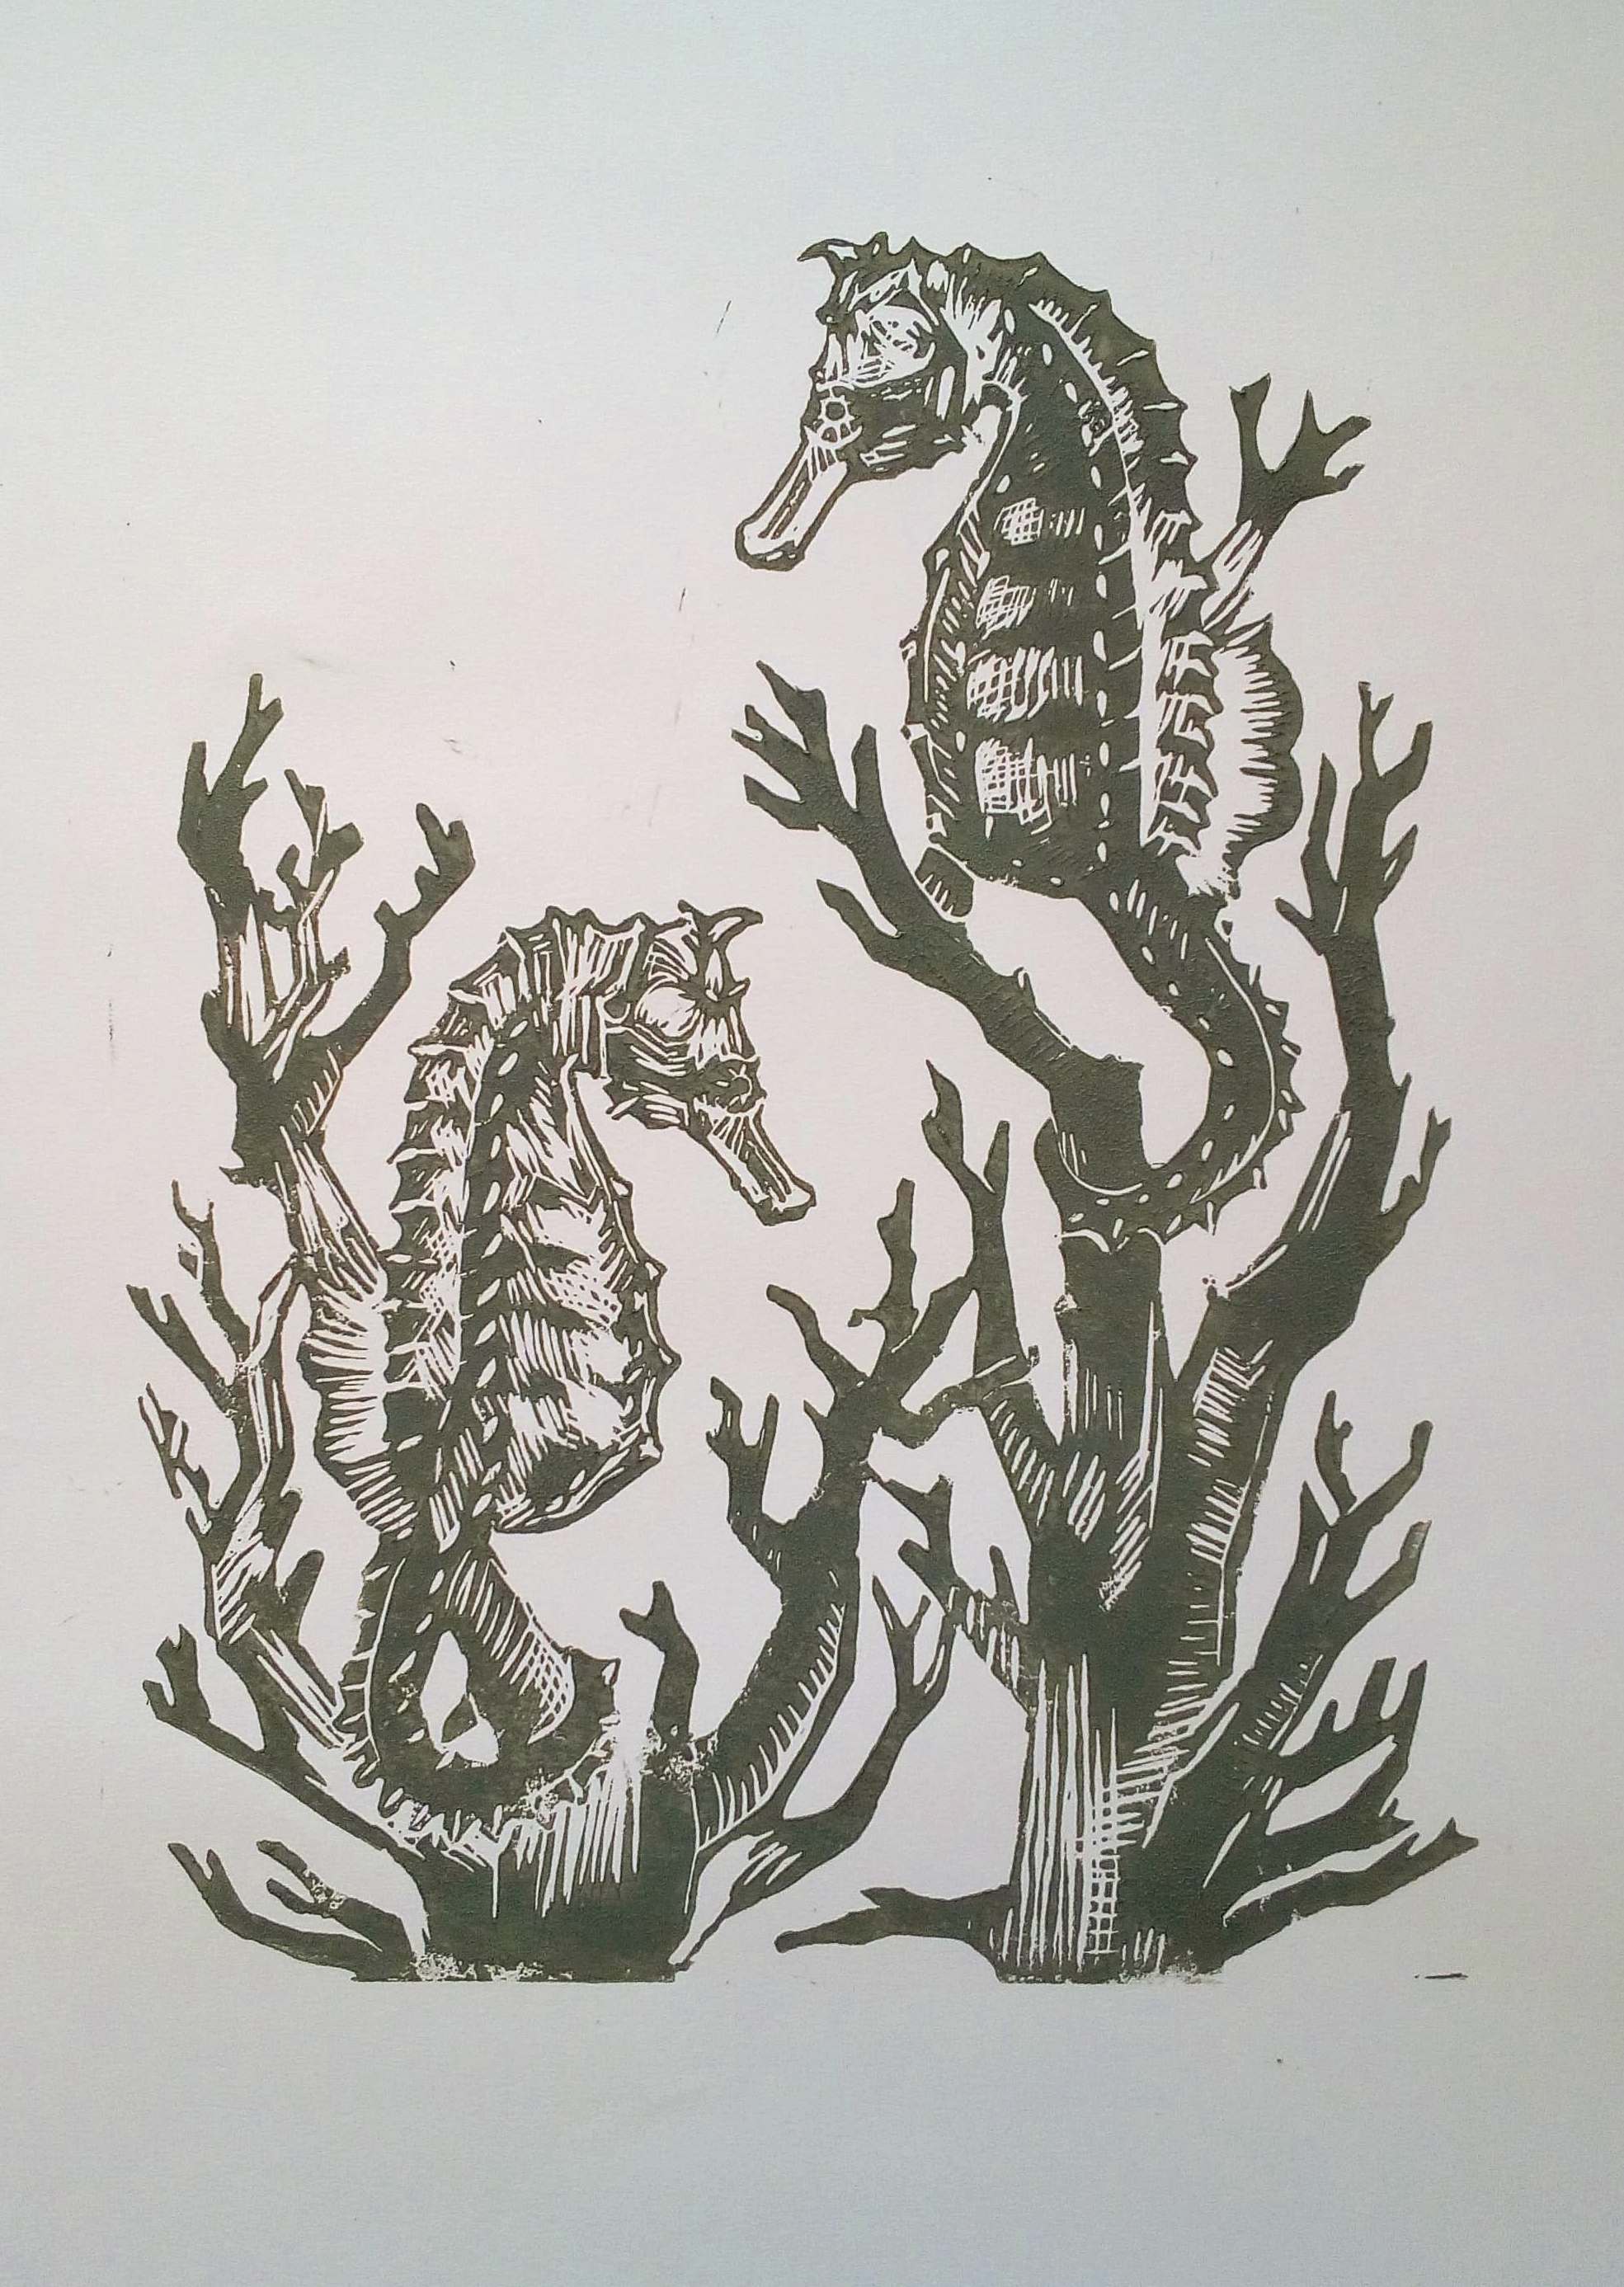 **What do you think?** This one was a lot of fun to make and I don't think it will be the last time I'll attempt the seahorse. 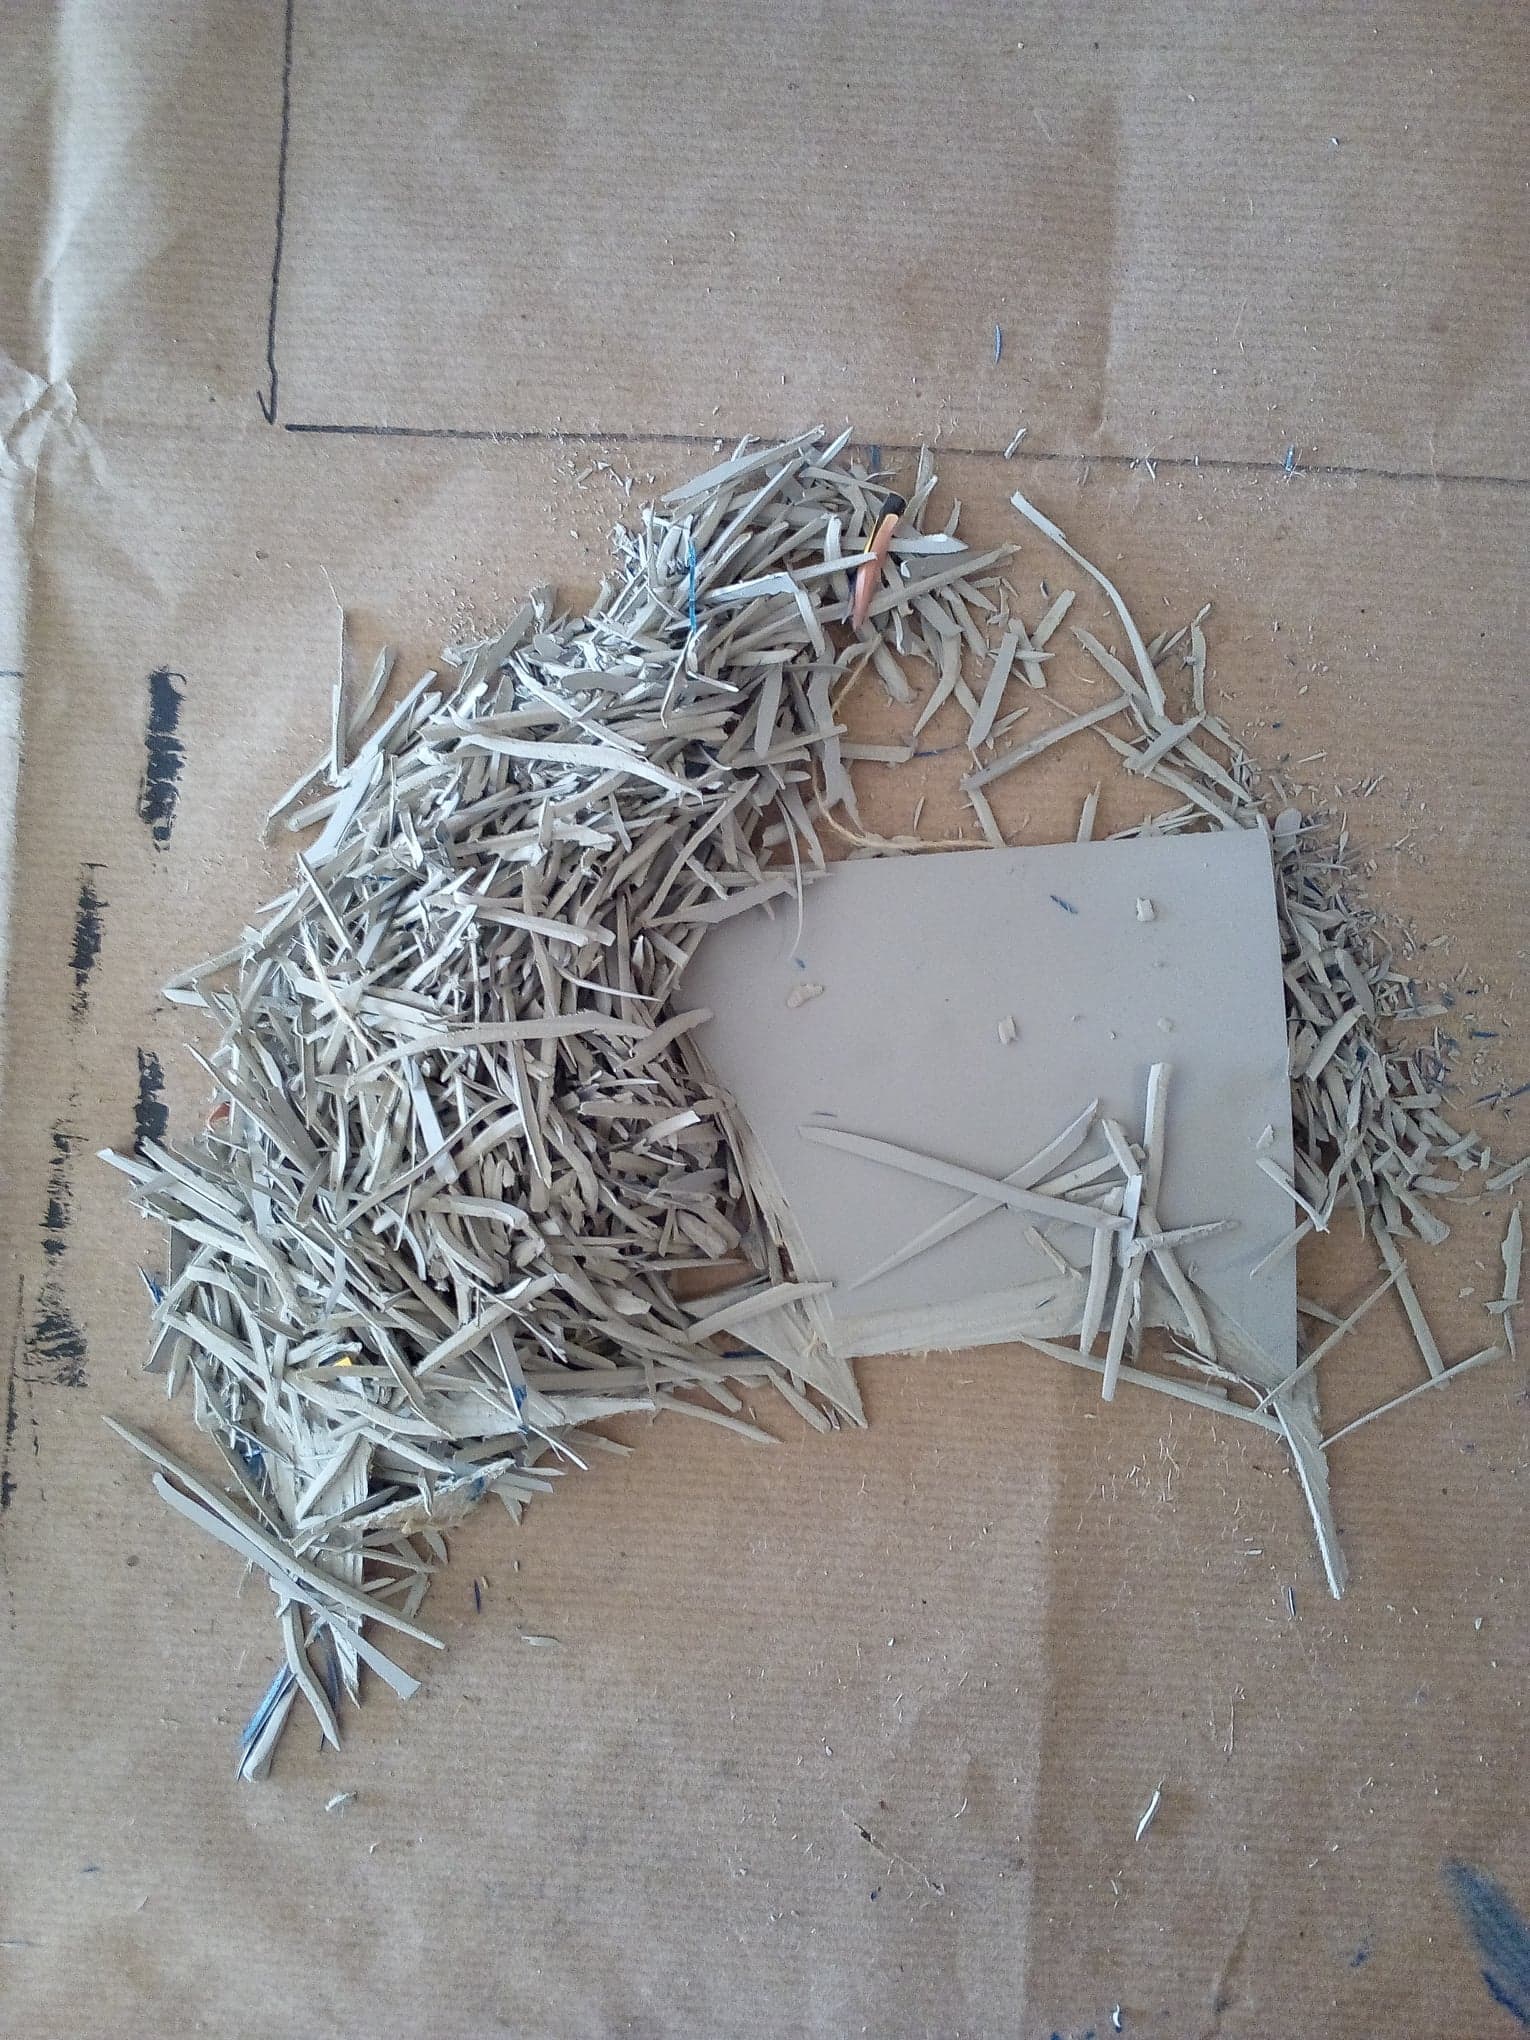 **As always I hope you are having a wonderful and creative day!! <3**
👍 mayasky, sbi2, team, anonimnotoriu, hr1, see.feel.write, silviabeneforti, evilhippie, ubg, steevc, gric, aci7, joechiappetta, streetstyle, pelagija, rf-abol, geronimo, whimsical-magic, iansart, kathleenscarboro, maxjoy, bearone, marinaart, macstyly, talltim, c-squared, choogirl, markangeltrueman, carlgnash, cepul, sunravelme, dillemma, coloringbook, beelzebub, jazzhero, smylie2005, cyclops, hiddenblade, kendallron, thingtwo, zaxan, jorgeddln, alldutchcreation, veryspider, buckydurddle, belial, demogorgon, zuul, tuwore, aidarojaswriter, loveiskey, woodzi, madshoes, marcovanhassel, koto-art, timcliff, libramedia, thermoplastic, jungwatercolor, donnadavisart, inkmud, andywong31, thebigwhitevan, whornung, zgredek, tracer-paulo, rubenalexander, marymik23, offbeatbroad, quetepinto, yoogyart, natureofbeing, anomt, frejafri, elsbeth-upton, roelandp,