❄️💗 handicraft new snowflake design 2025
hive-189641·@mdakash62·
0.000 HBD❄️💗 handicraft new snowflake design 2025
<div class="text-justify">I hope everyone is doing well. Welcome to the world of art. Today I will be joining my beloved #diyhub community and making a new handicraft snowflake using some handy products.  **photo collage used by canva apps** <div class="text-justify">It is really interesting to create an extraordinary art using tissue roll cardboard, discarded biscuit packets and white paper. The creative arts are displayed for everyone to see and create.</div> 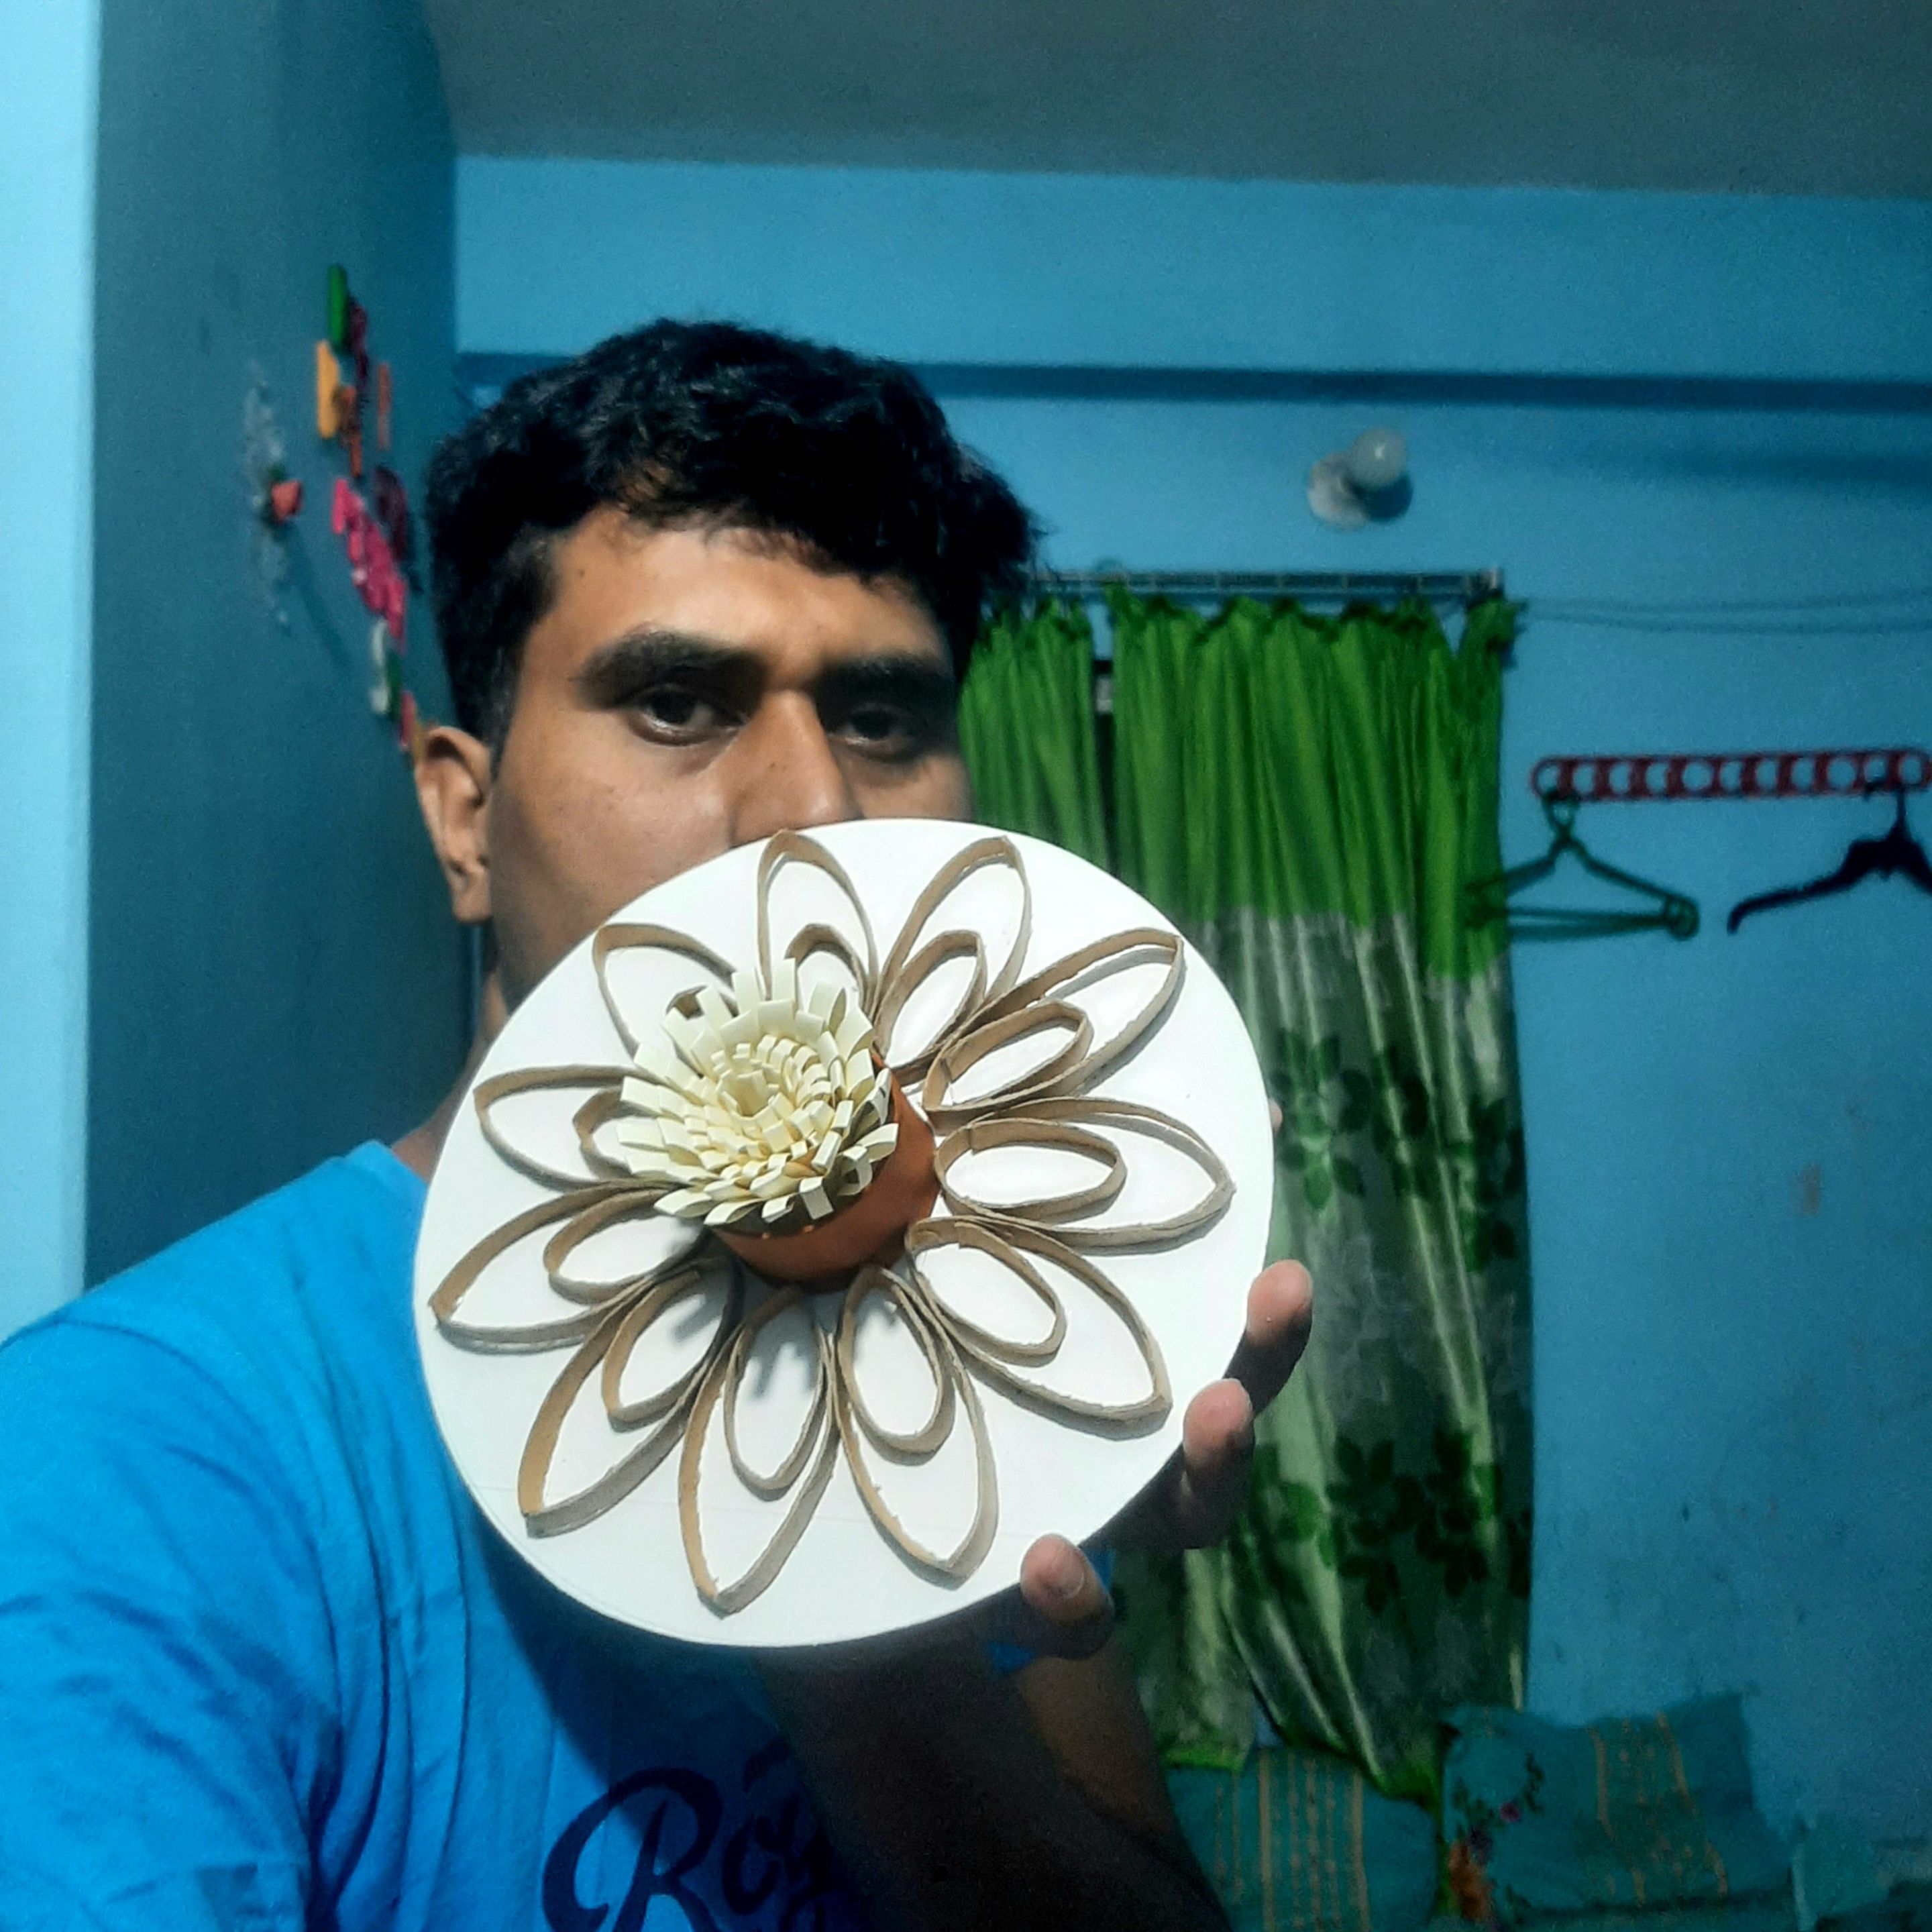 >Also, making beautiful beds out of discarded items is a great way to recycle. I always encourage myself to share this joy with everyone.  <div class="text-justify">Making full use of practical products allows us to promote the care of society. Surely a creative art protects the bed in my house. And the art hanging on the wall makes it known to people. Surely you are interested in making creative arts. So let's look at each step carefully and make a handicraft snowflake with attention.</div>  ❄️brushes ❄️Scissors ❄️2B pencil ❄️White paper ❄️B-6000 glue ❄️Acrylic colour ❄️ Colour paper ❄️Tissue roll cardboard Step by step making tutorial  First I took the tissue rolls. Then I cut them with scissors. Then I cut the thorn rolls into long, round shapes. Then I took out white paper from an abandoned biscuit packet. Then I cut a roll of five centimeters in size.  Then, using an anti-cutter, I cut it out with scissors ✂️ according to the drawing. Very carefully.  Here, I have drawn a circle on the white paper using a wooden plate.  Here, I have beautifully selected my favorite color using a brush.  Here you can see that the color is done. Now I dried it with a fan.  Later I cut it according to the drawing with scissors. Then I placed the colored cardboard piece in the middle using B-6000 glue. Then I firmly glued each cardboard piece using glue and completed the design.  Here I have created a beautiful design by combining pieces of colored paper and cardboard.  Then I cut the white paper into small pieces and prepared a beautiful design. Then I placed a round cardboard in the middle.  Here you can see that all the cardboard designs are complete and the interior design is also complete.  Here you can see a wonderful paper flower has been created that will look stunning as a centerpiece design.  Next, I have attached the paper flower by applying glue to the middle part nicely.    Finally here I have completed today's amazing new handicraft snowflake ❄️ design by arranging all the steps nicely. You can follow all these steps to prepare this amazing design for the beauty of the wall. Of course, the full uses promote environmental care and appreciate the artists. Thank you for your valuable time and cooperation.    **Thank you for reading my creative article blog .Stay safe,stay happy.i think if you find any mistake in writing or something. Please allow me to correct it.And find me on social media.** <center>[Twitter](https://twitter.com/Mdmrakash262?t=RQKbgDAGm72Ta-N2_rPaeA&s=09) [Discord](https://discord.gg/t6CY6qs8)</center> <center>All Prepared by @mdakash62</center>
👍 splinterboost, helpmate, crypt0gnome, holdeck2, sonic.alfa, ladyaryastark, ripperone, unpopular, steemincome, terracore, omor11, yasmarit, diyhub, elizacheng, deepu7, diytube, arita992, lanoican, sabrinah, ladyyunajay, stevenson7, desro, team, sodom, curatorem, rach, fiducia, belkyscabrera, georgeenting, jesuslnrs, joeyarnoldvn, bbarelyseal, blockbeard, yoshitsune, endhivewatchers, limka, playagame,