Photoshop tutorials 101 for beginners # 2
tutorials·@mon072591·
0.000 HBDPhotoshop tutorials 101 for beginners # 2
Hi steeminians! Another day, another tutorials again. In my last post we learn how to extract or delete the background of our picture by using “wand” or by clicking W only to activate the command. Today we will learn how to make our face more fair, radiant and glowing skin. So shall we start now? PS: In this tutorial I used photoshop CS6 version. MAKING SKIN/FACE FAIR, RADIANT AND GLOWING. Step 1. First go to file that you want to edit, or simply you can have you own picture to edit.  You can browse any photos that you want. 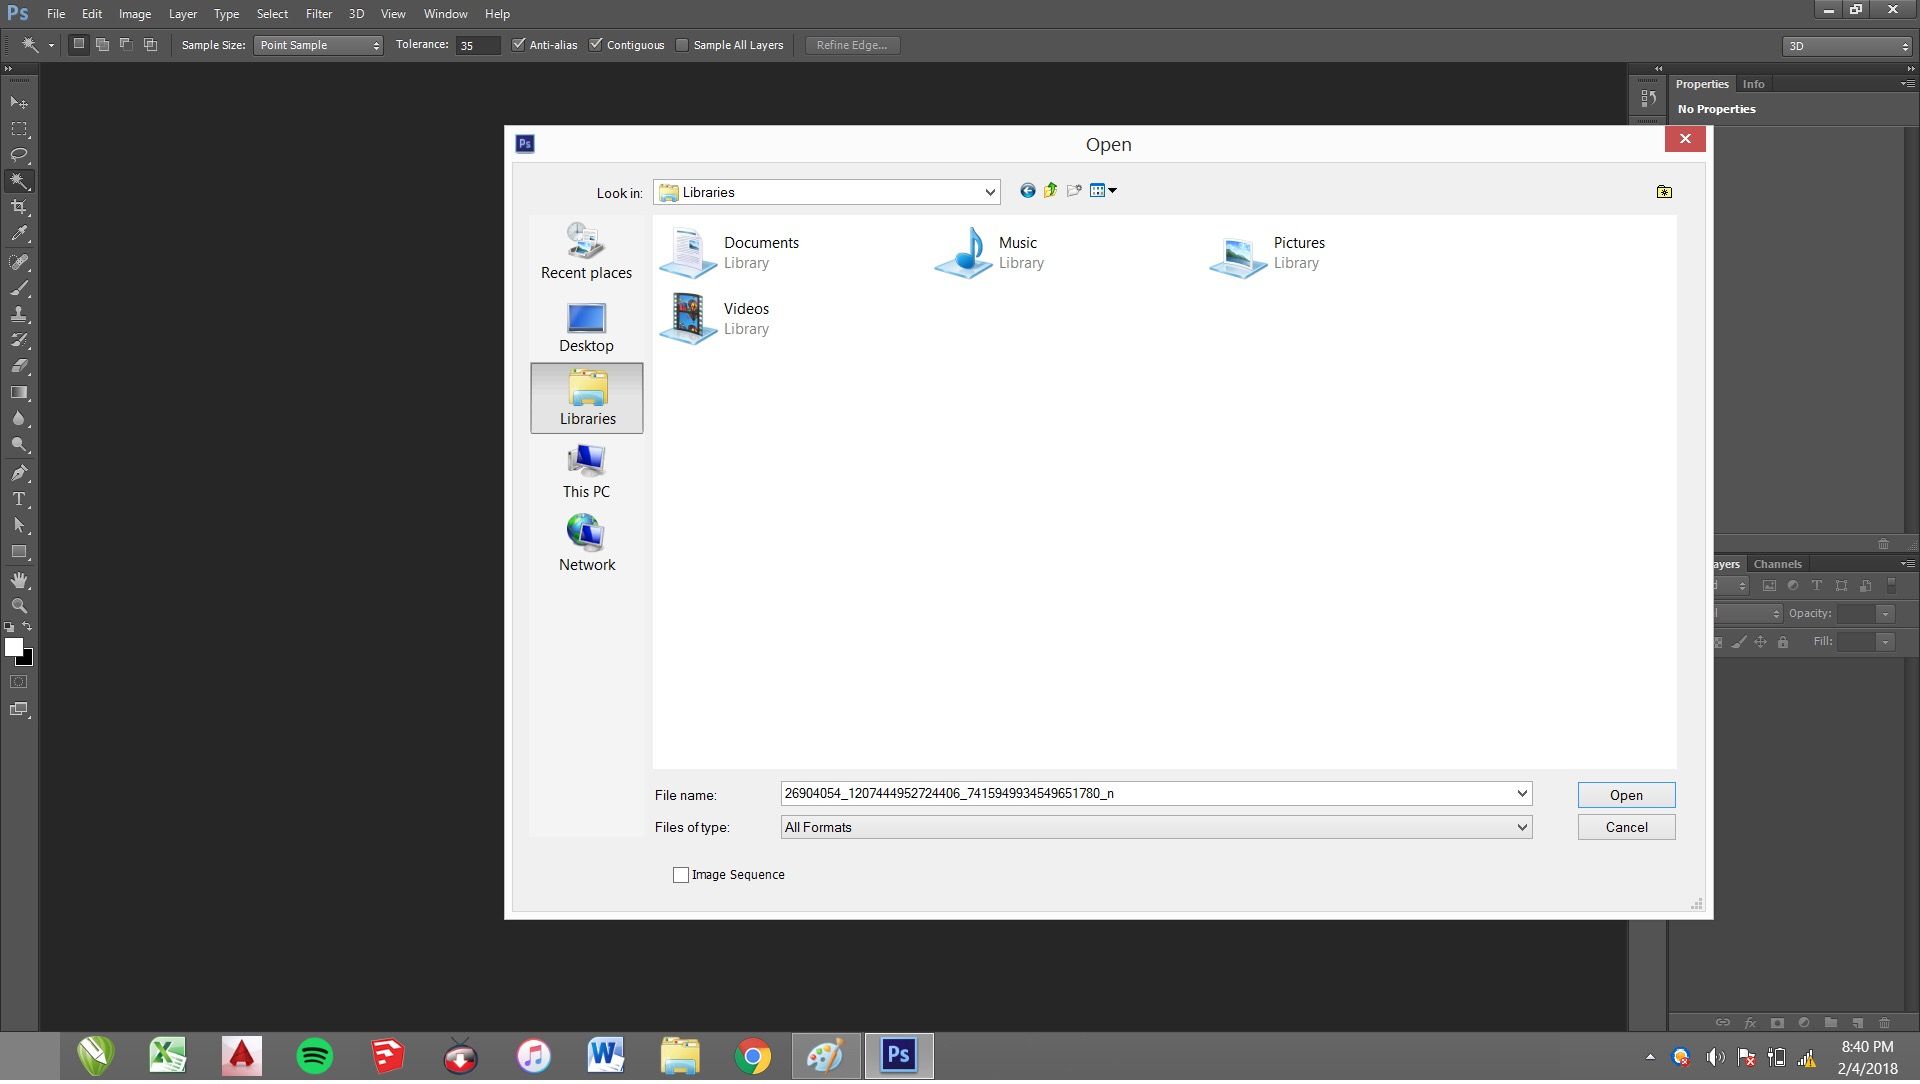 Step 2. After you will decide what photos you want to edit. Zoom the affected area in order to locate the part which we will try to edit. Example: In this photo I will try to edit the face which has a little marks or pimples. Now our main objective is to make it fairer and clear.  Step 3. After that, we will start now editing the face on the picture by clicking the command on the toolbar which is the “laso tool”. Example:  Step 4. After clicking the command, try to draw circles on the affected area, this will serves as spot which we will try to edit. Example: 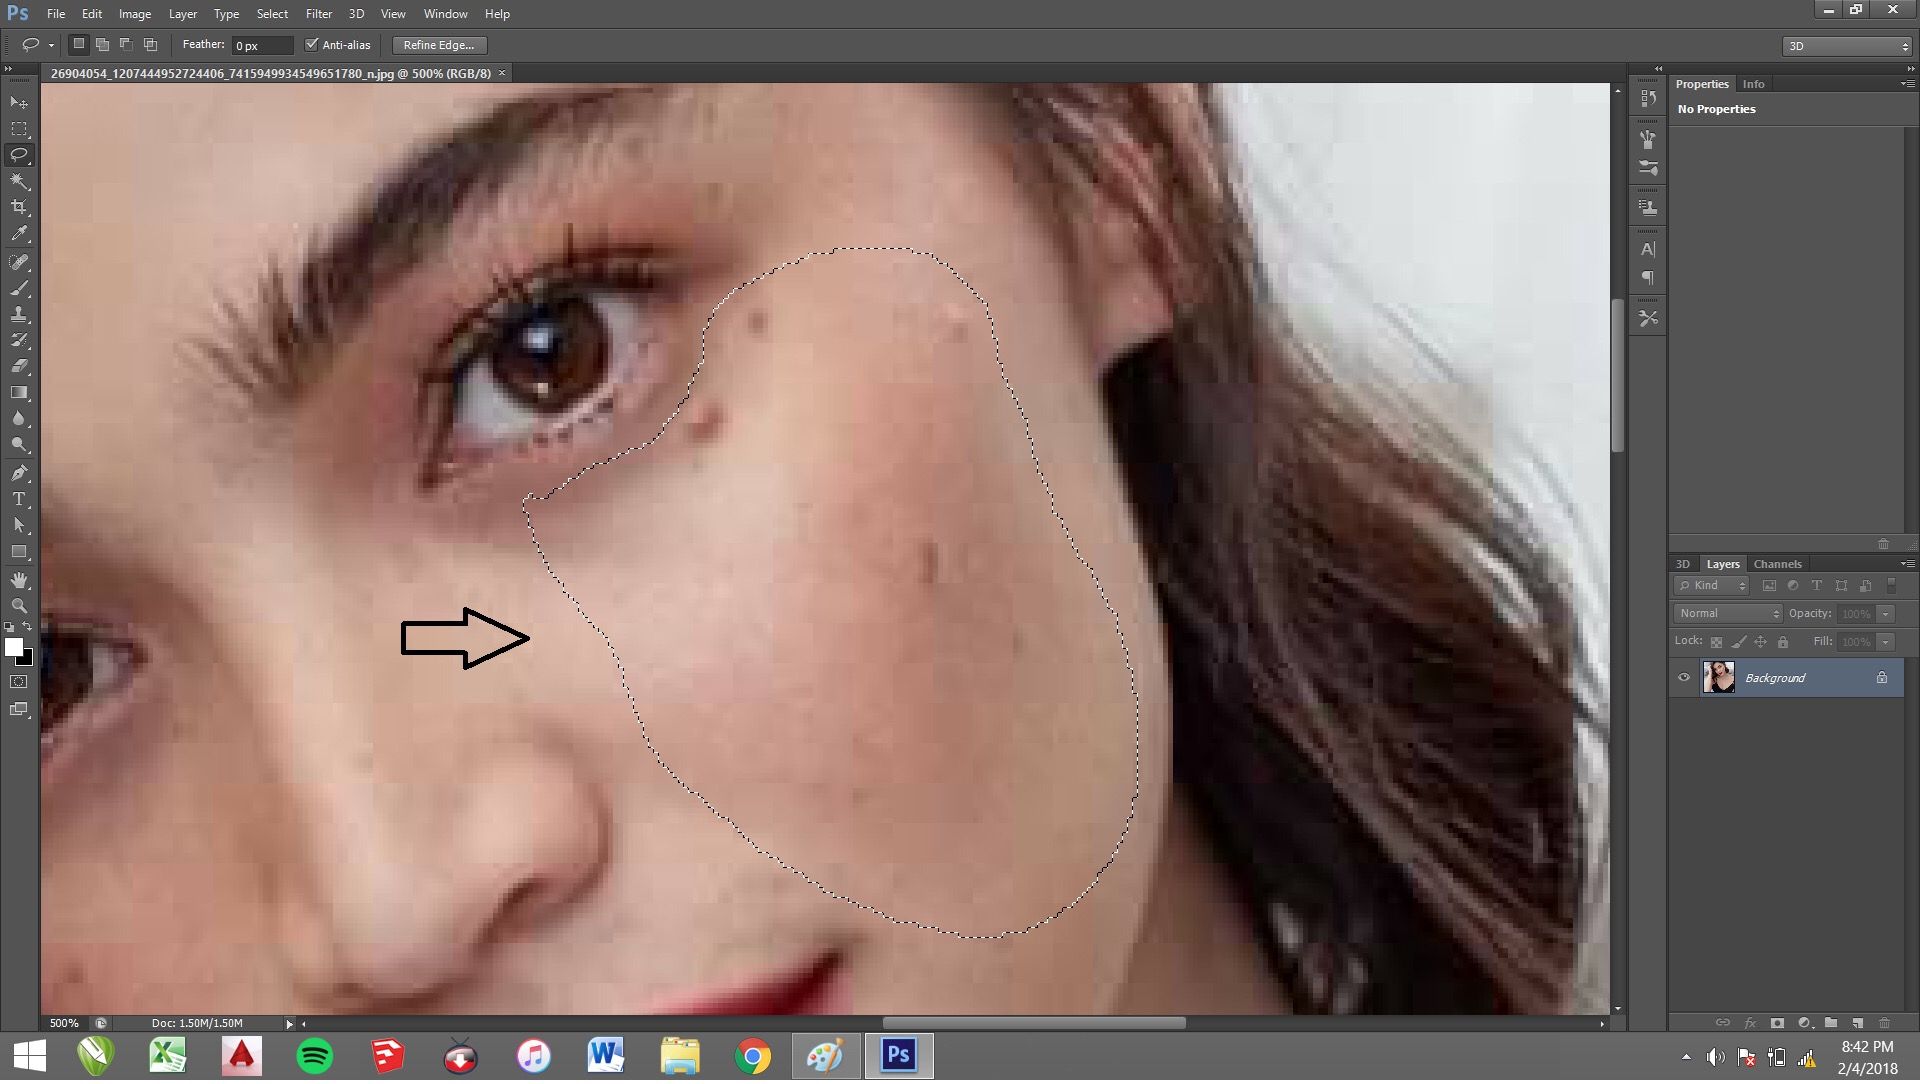 Step 5. After which, go to filters. Example: 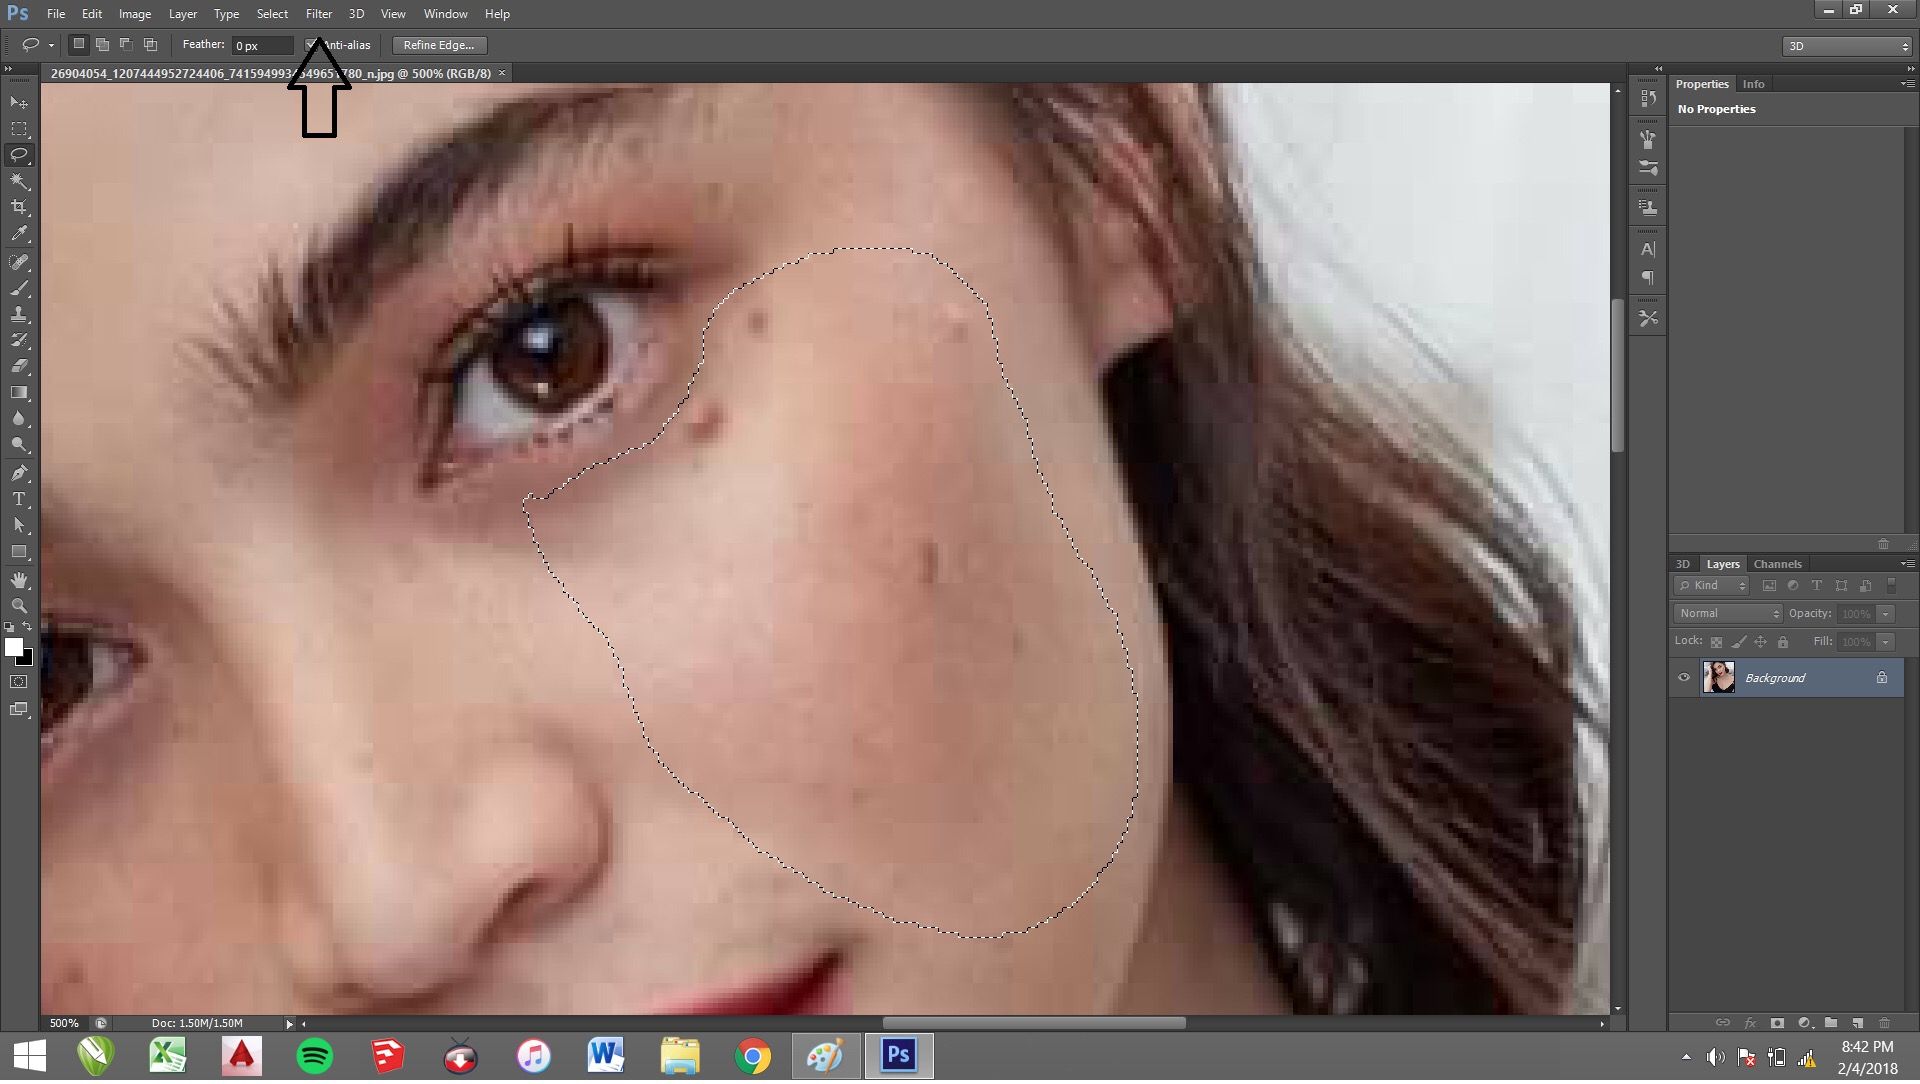 Example: CLICK FILTERS - BLUR - GAUSIAN BLUR 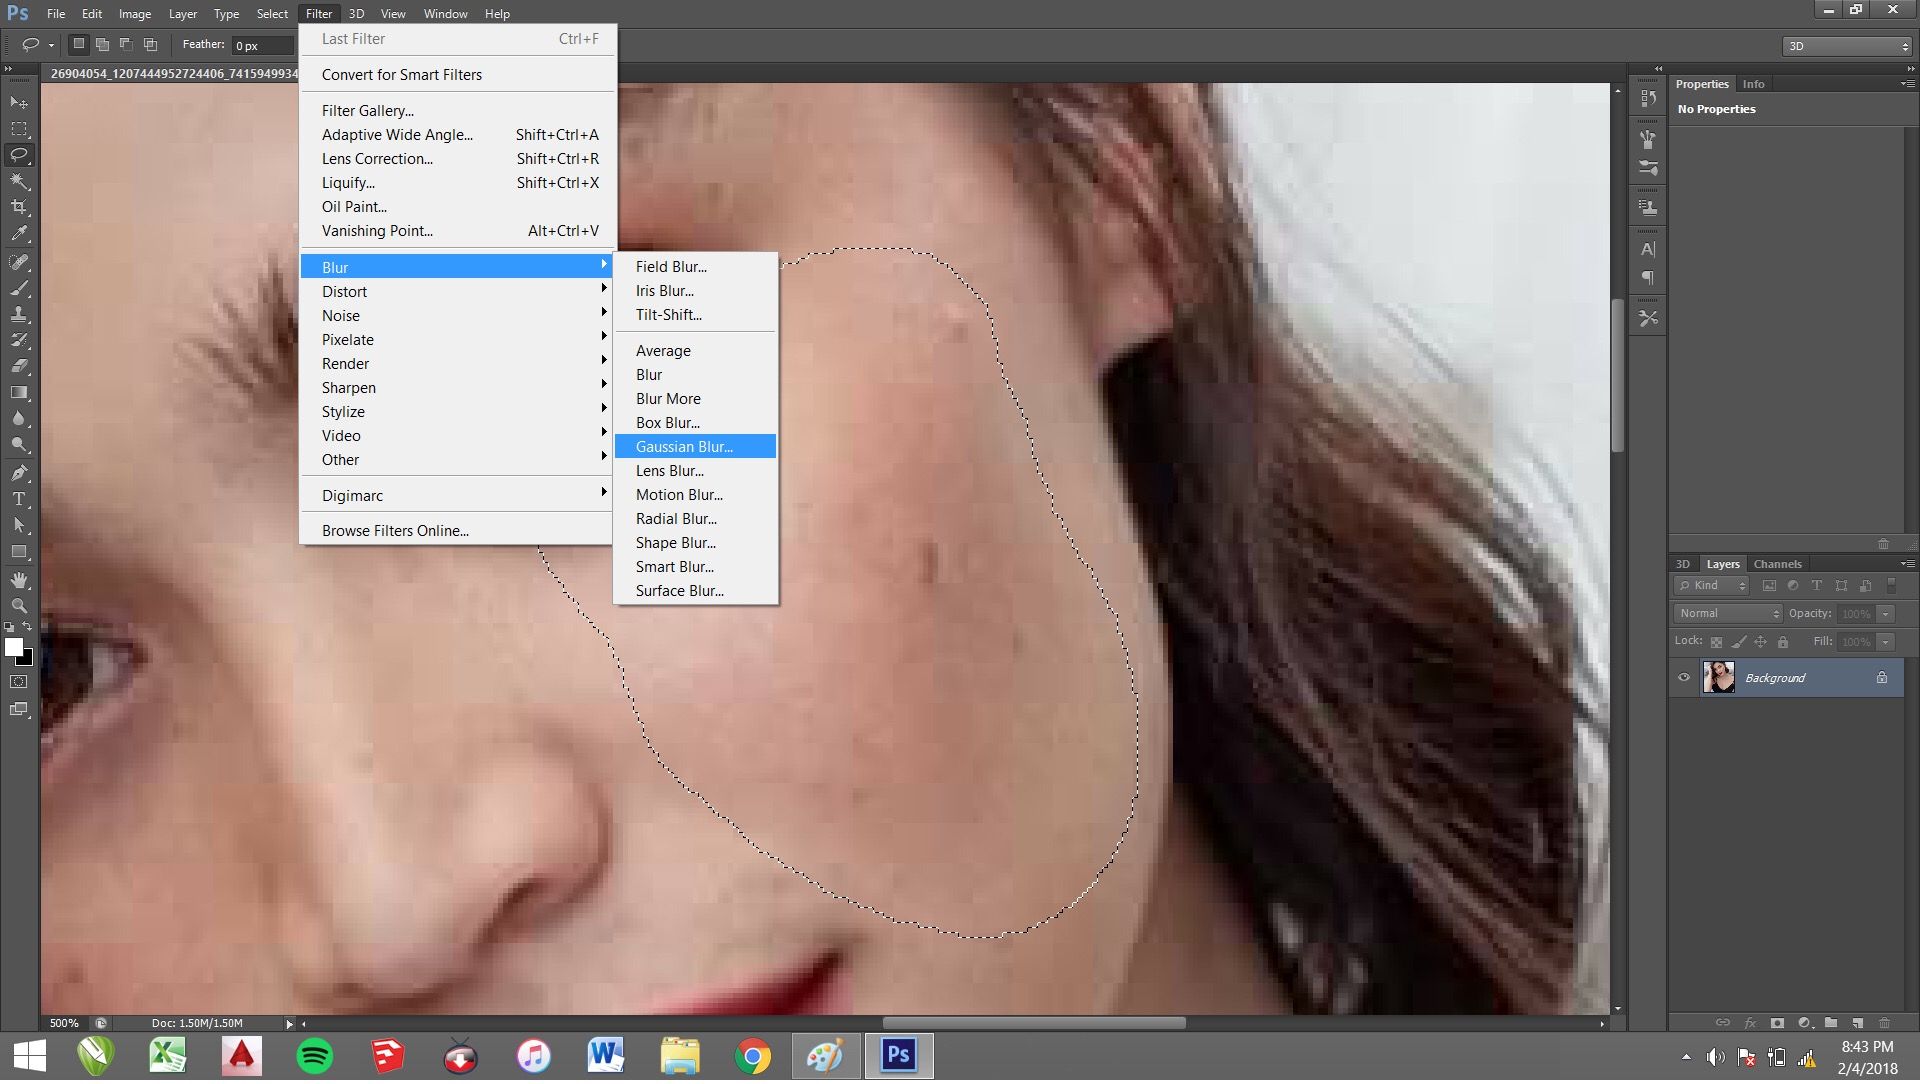 Step 6. A window will pop up. That means you can adjust how fairer or clear the skin is by adjusting the radius. Example: 1.  2. 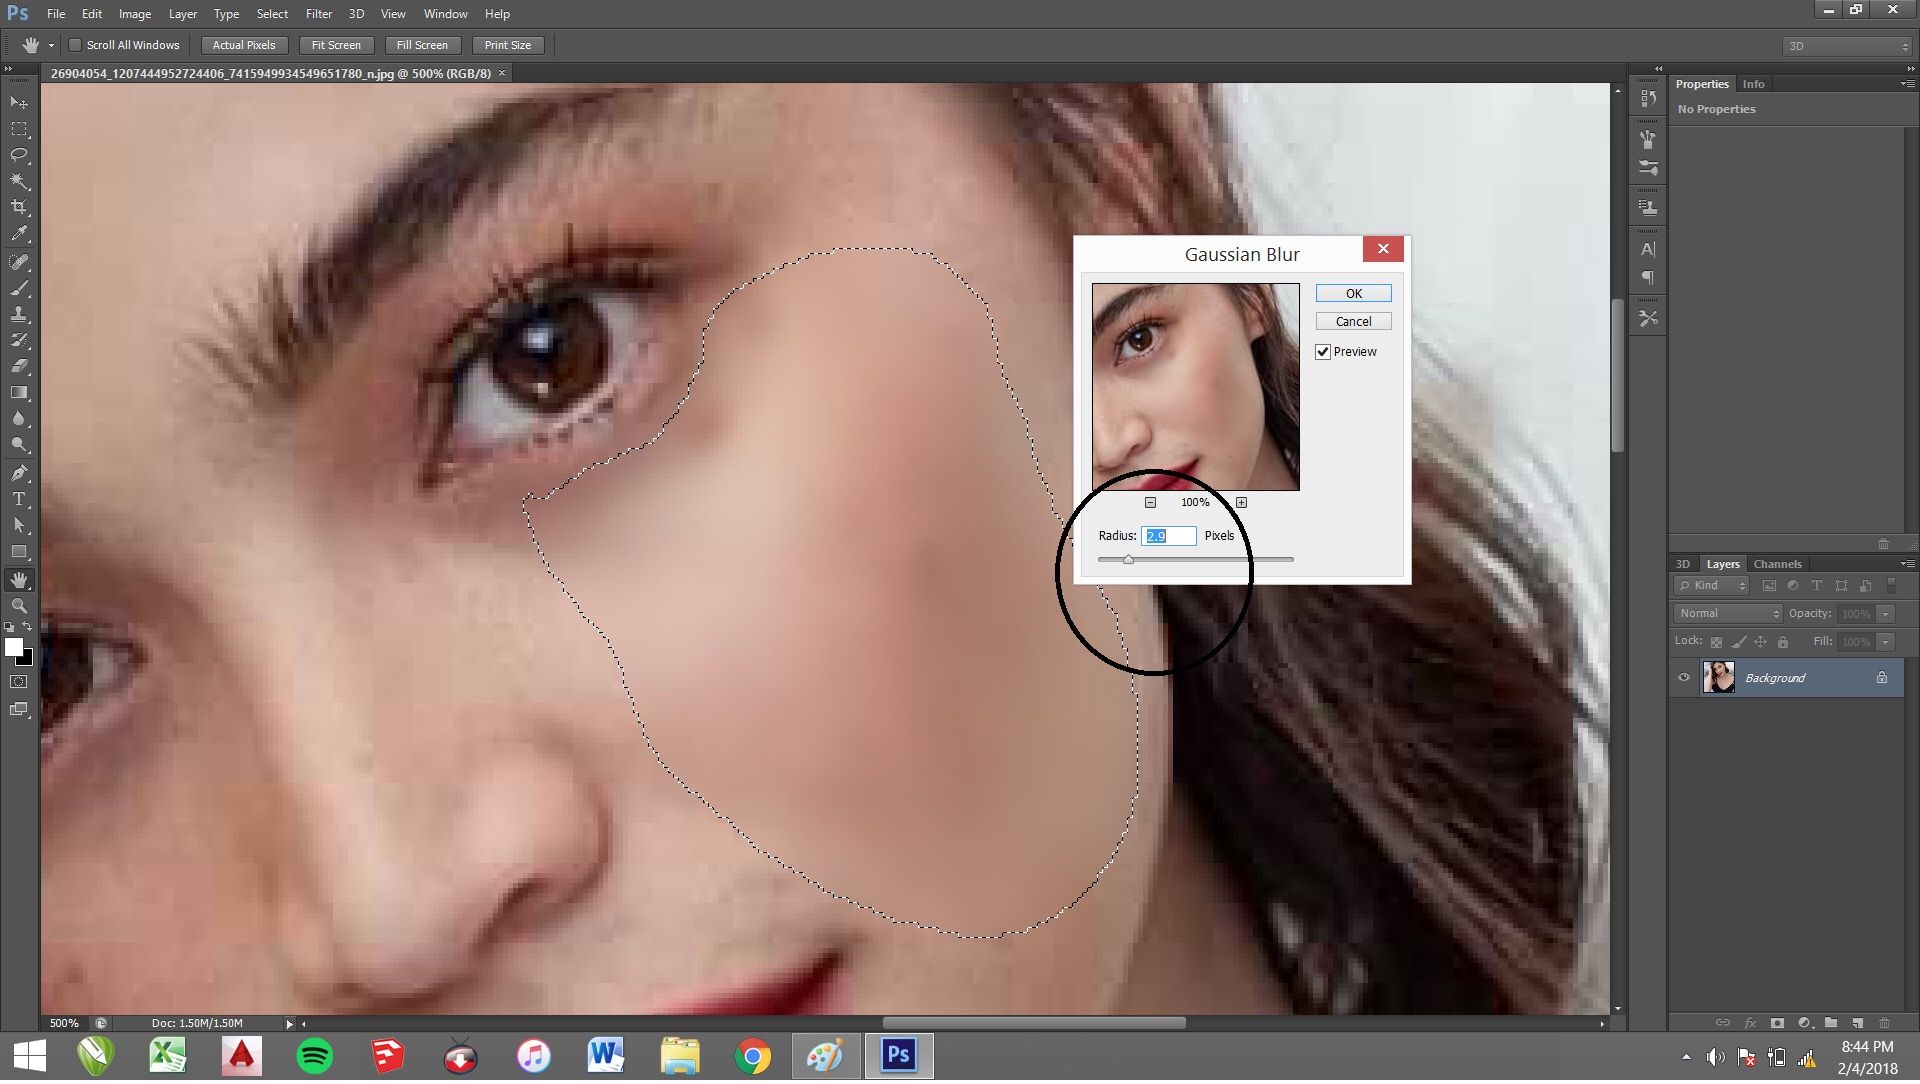 3.  Final step: Save it! Make sure that the format of you picture is JPEG. Final result. It’s MAGIC! 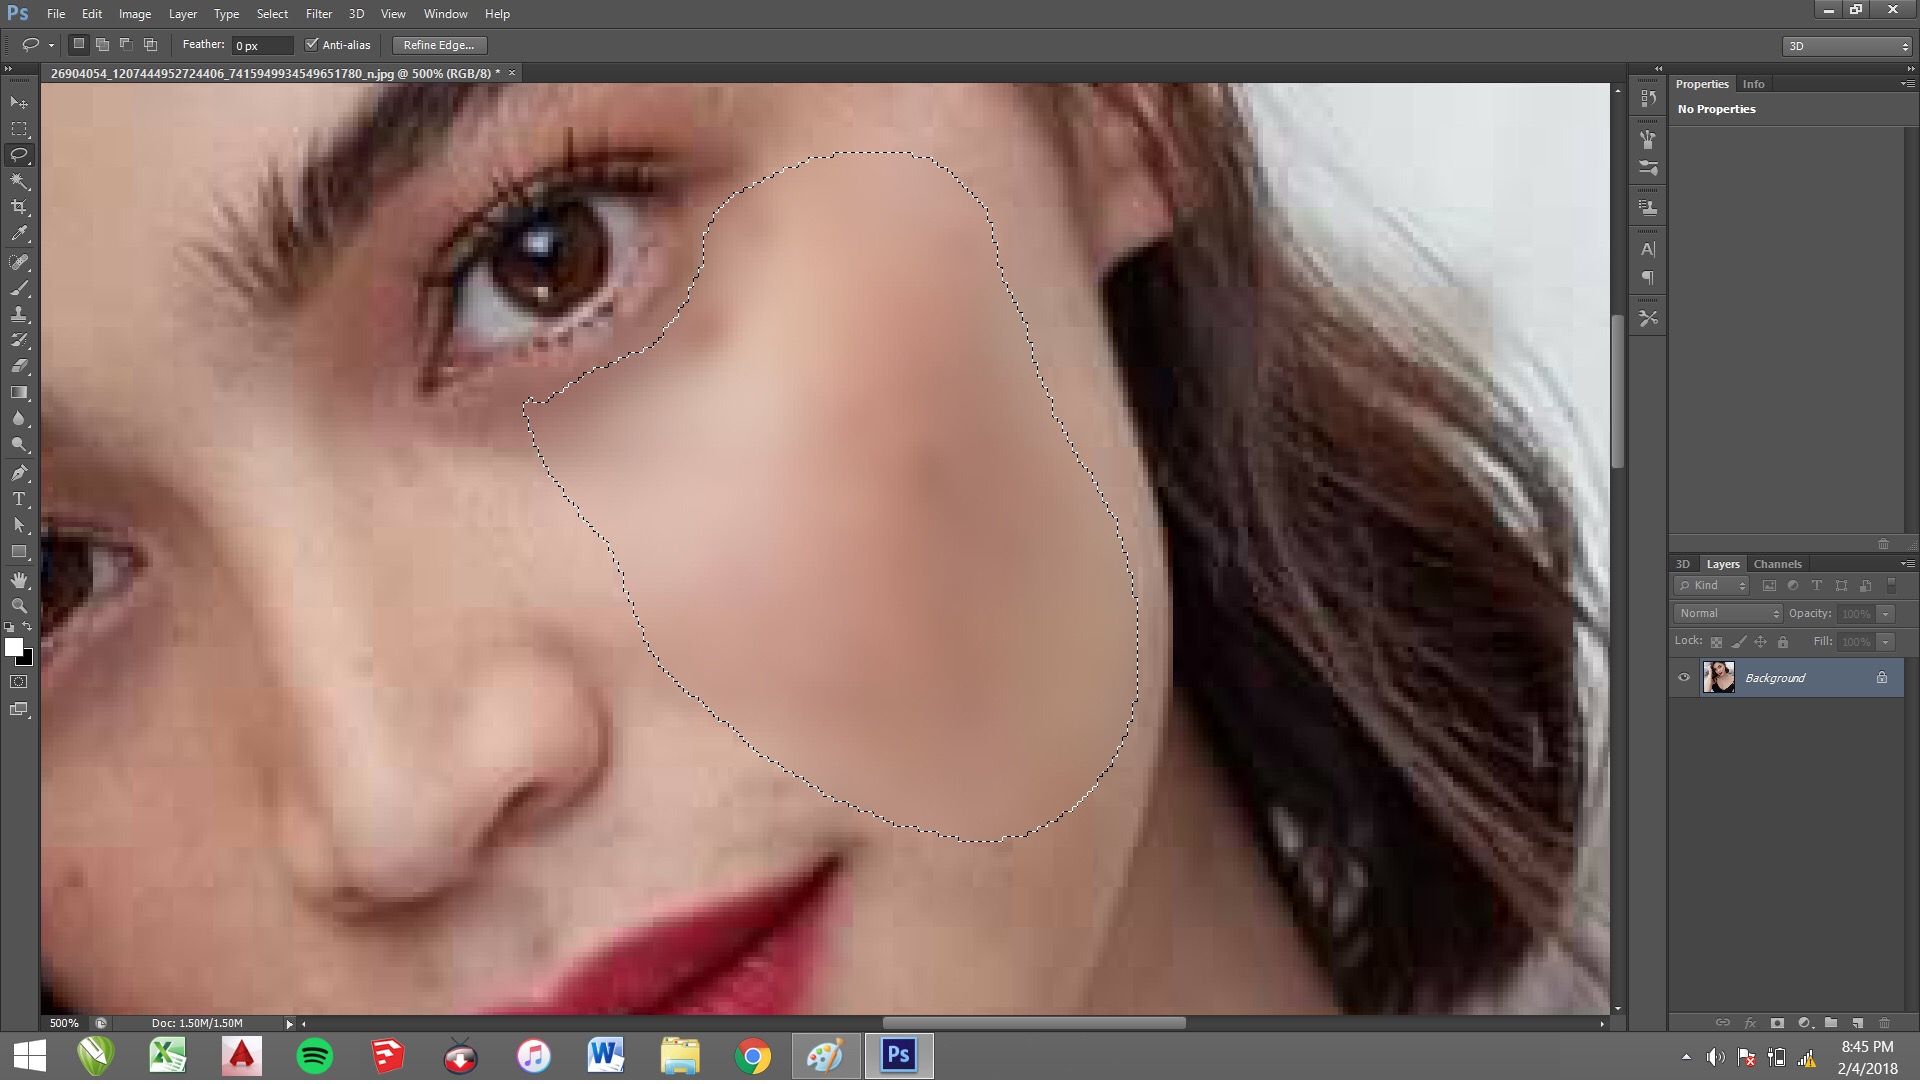 There you go. Enjoy editing!