Cycling: Fix your bicycle tire and move that buttie!
hive-130560·@mrprofessor·
0.000 HBDCycling: Fix your bicycle tire and move that buttie!
### Heeeyho Readers! More updates from our little ranch!
<hr>
**I want you to start exercising.** There's no excuses for those on the northern hemisphere, as summer approaches swiftly *{contrary to us, southerners}*. Furthermore, I don't need to reinforce the *et ceteras* of the benefits associated to exercising regularly. **Move that buttie**; ask questions later.
Now you are motivated. You go to the shed, open the door, move the grass mower to the side, remove your mom's never-used Turbonator 9000 vacuum cleaner out of the way, kick that stinky-ass racoon that's tryna bite you, and untangle the garden hose you Dad threw over everything. *{Uff}*. You reached the beautiful bicycle bought last summer — that you promised to use to loose weight. It's covered in webs, but is ridable.
It's sunny outside and you are all pimped to go for a ride. Earphones, helmet, water bottle, snacks. Your friend is waiting. **You look down and the tire is flat**. Fffffff me. You give up.
### No more excuses!
I'm going to teach you how to fix a bicycle's flat tire. Less go.
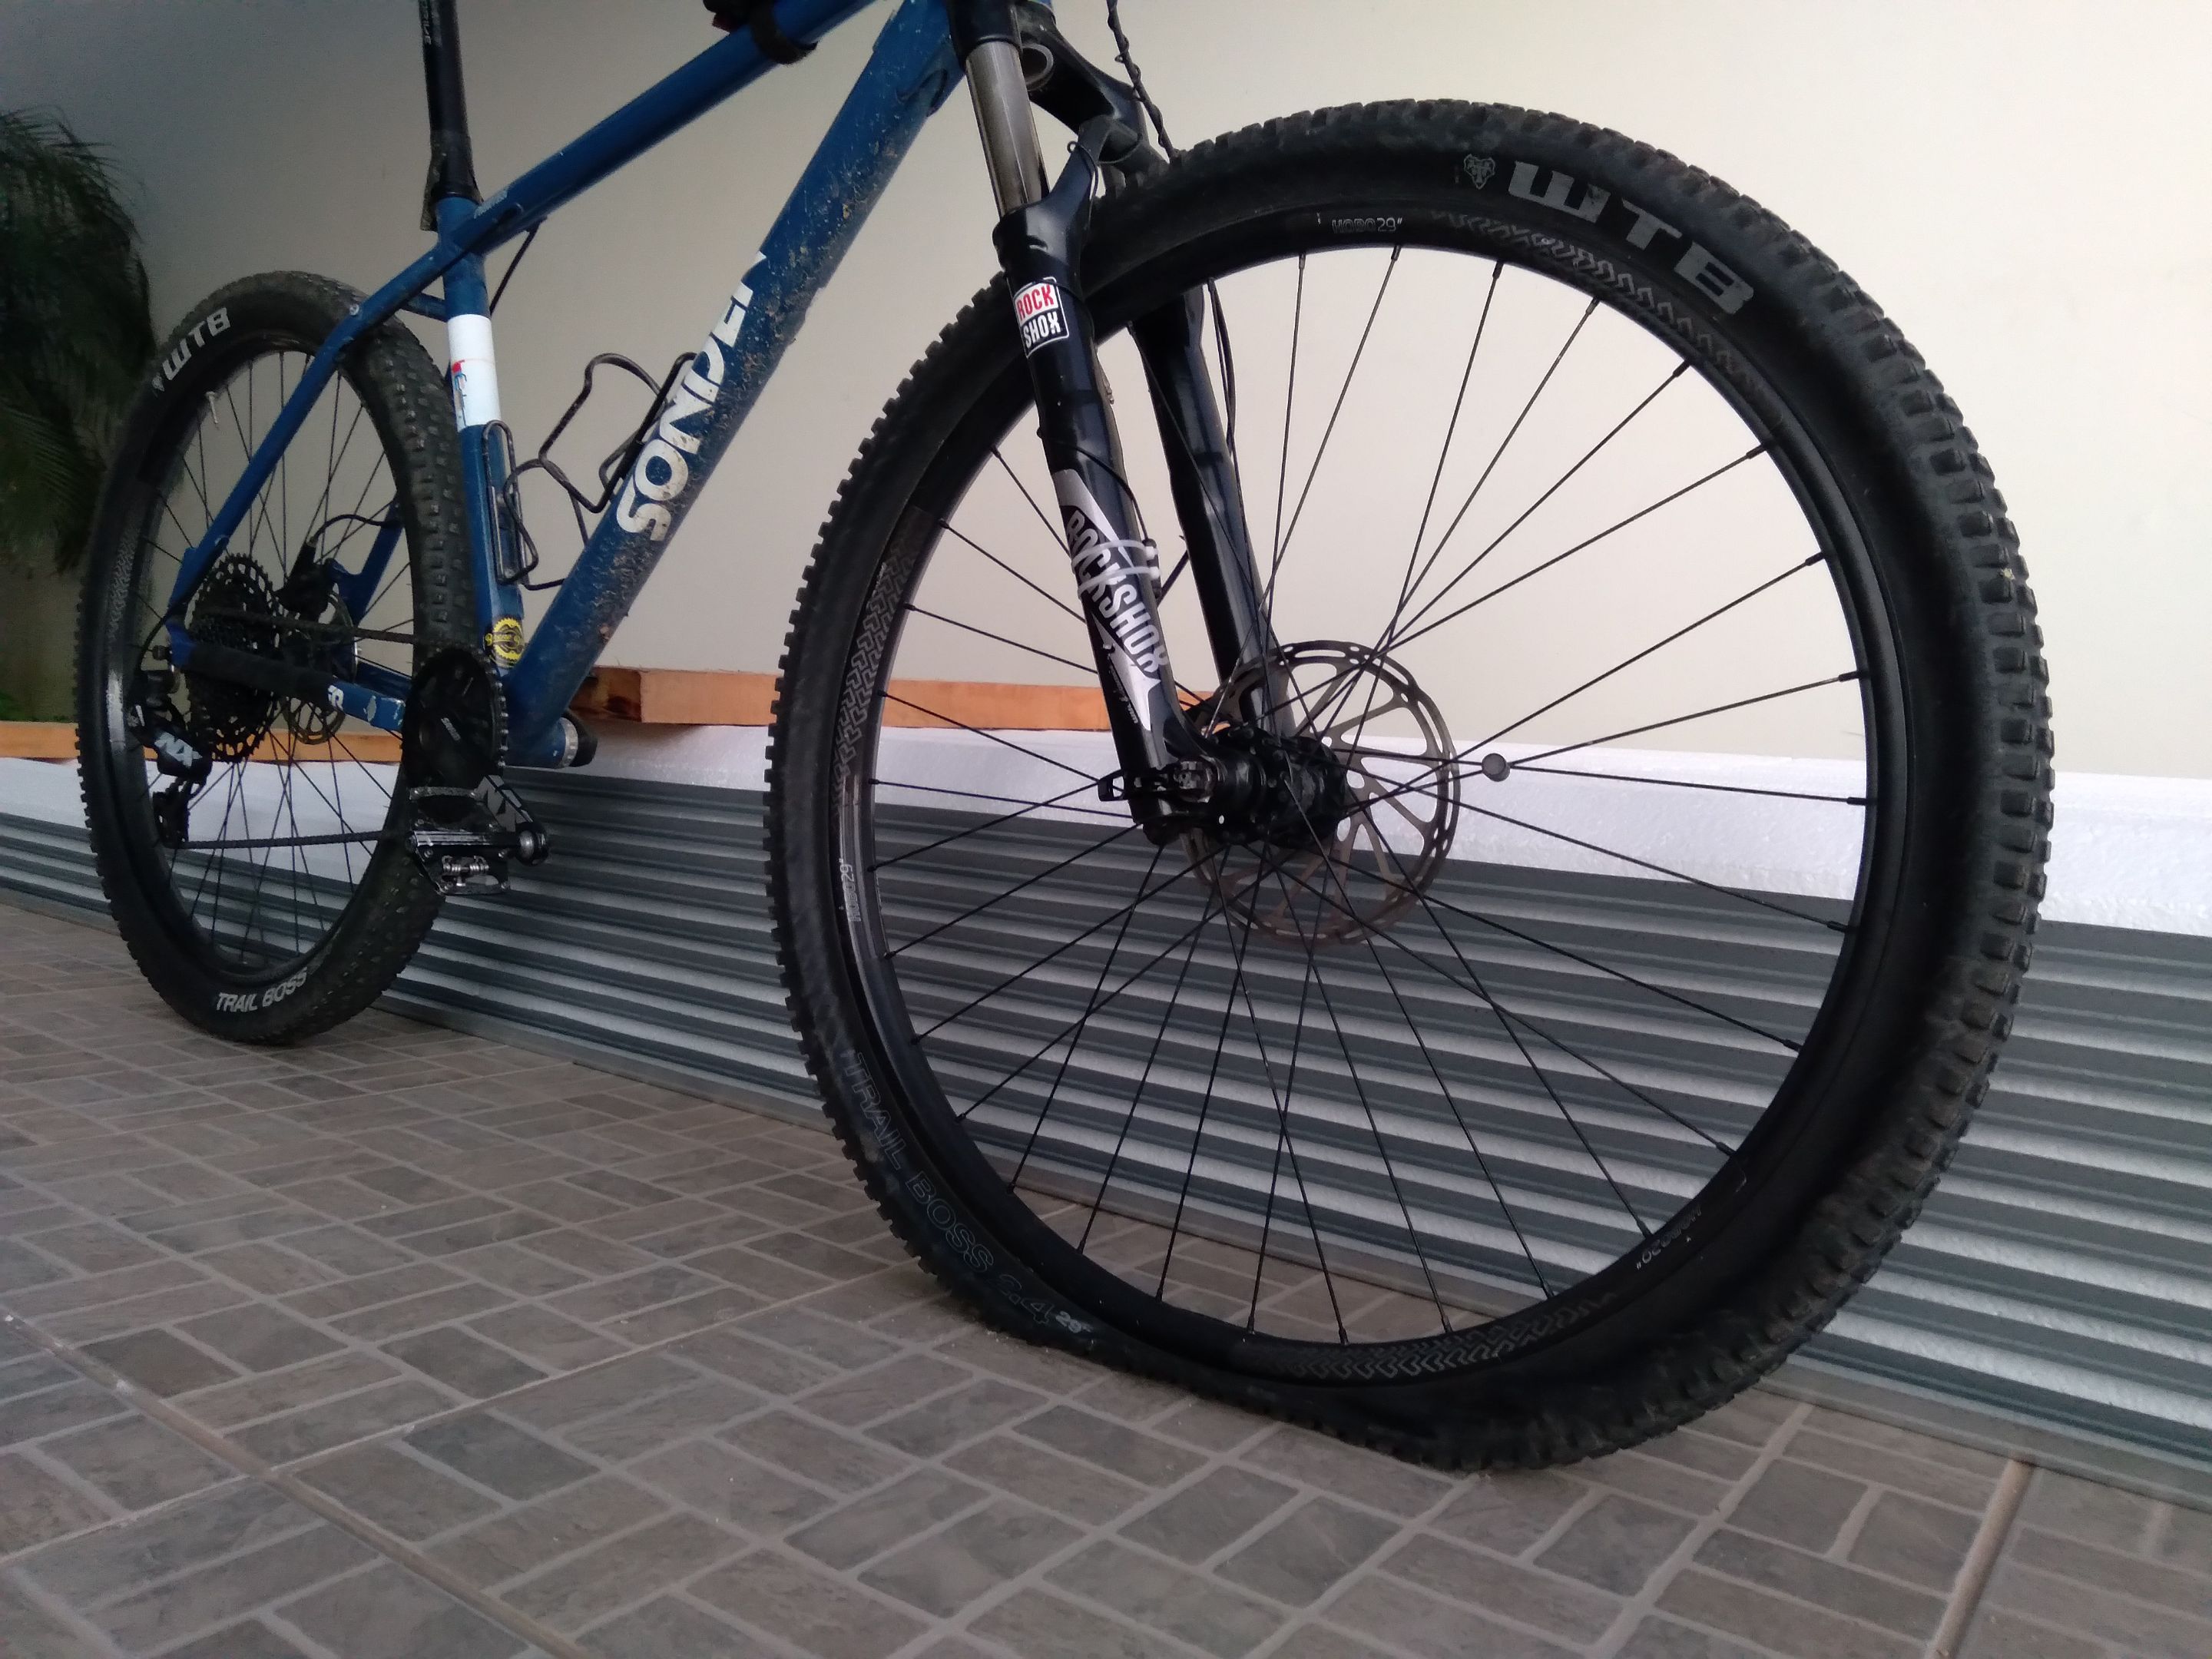
<center><sup>Here's the nemesis</sup></center>
<hr>
**First**: Remove the wheel. You gotta figure out how to remove your wheel *{sorry}* because there are three main types: bolted, quick release, or bolt through. Mine is bolt through.
<div class="pull-left">
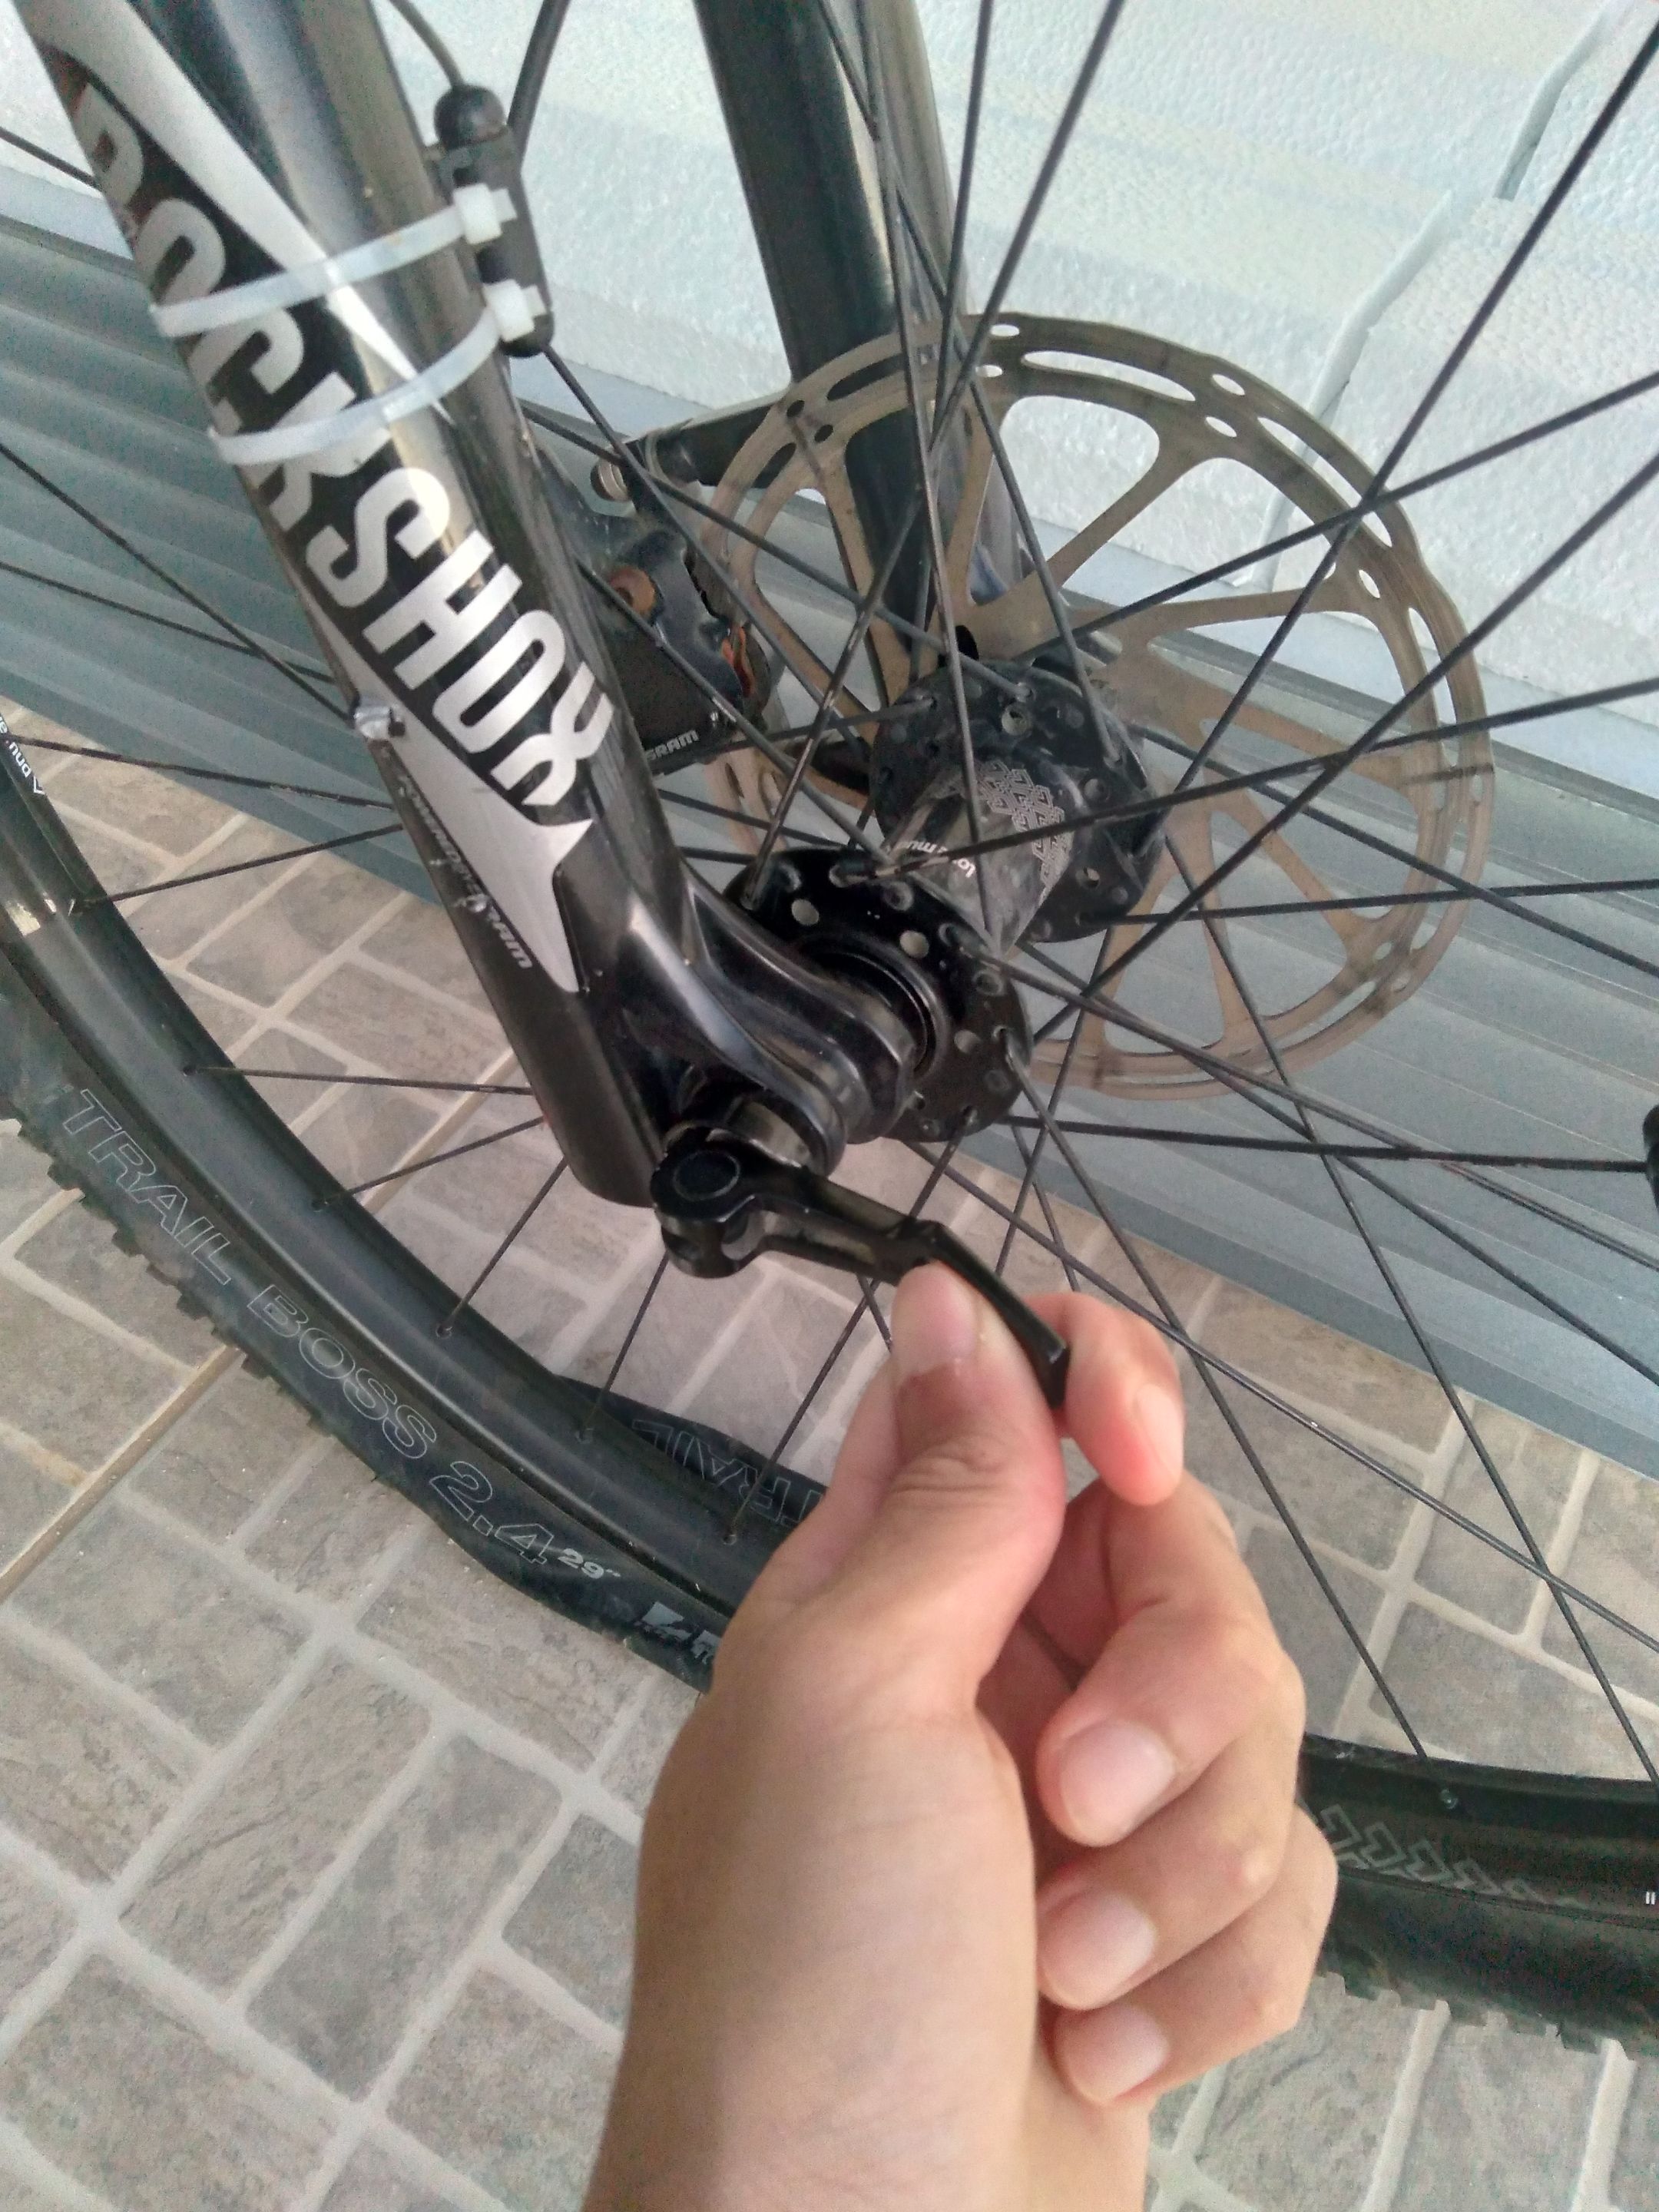
<center><sup>Open the clamp</sup></center>
</div>
<div class="pull-right">
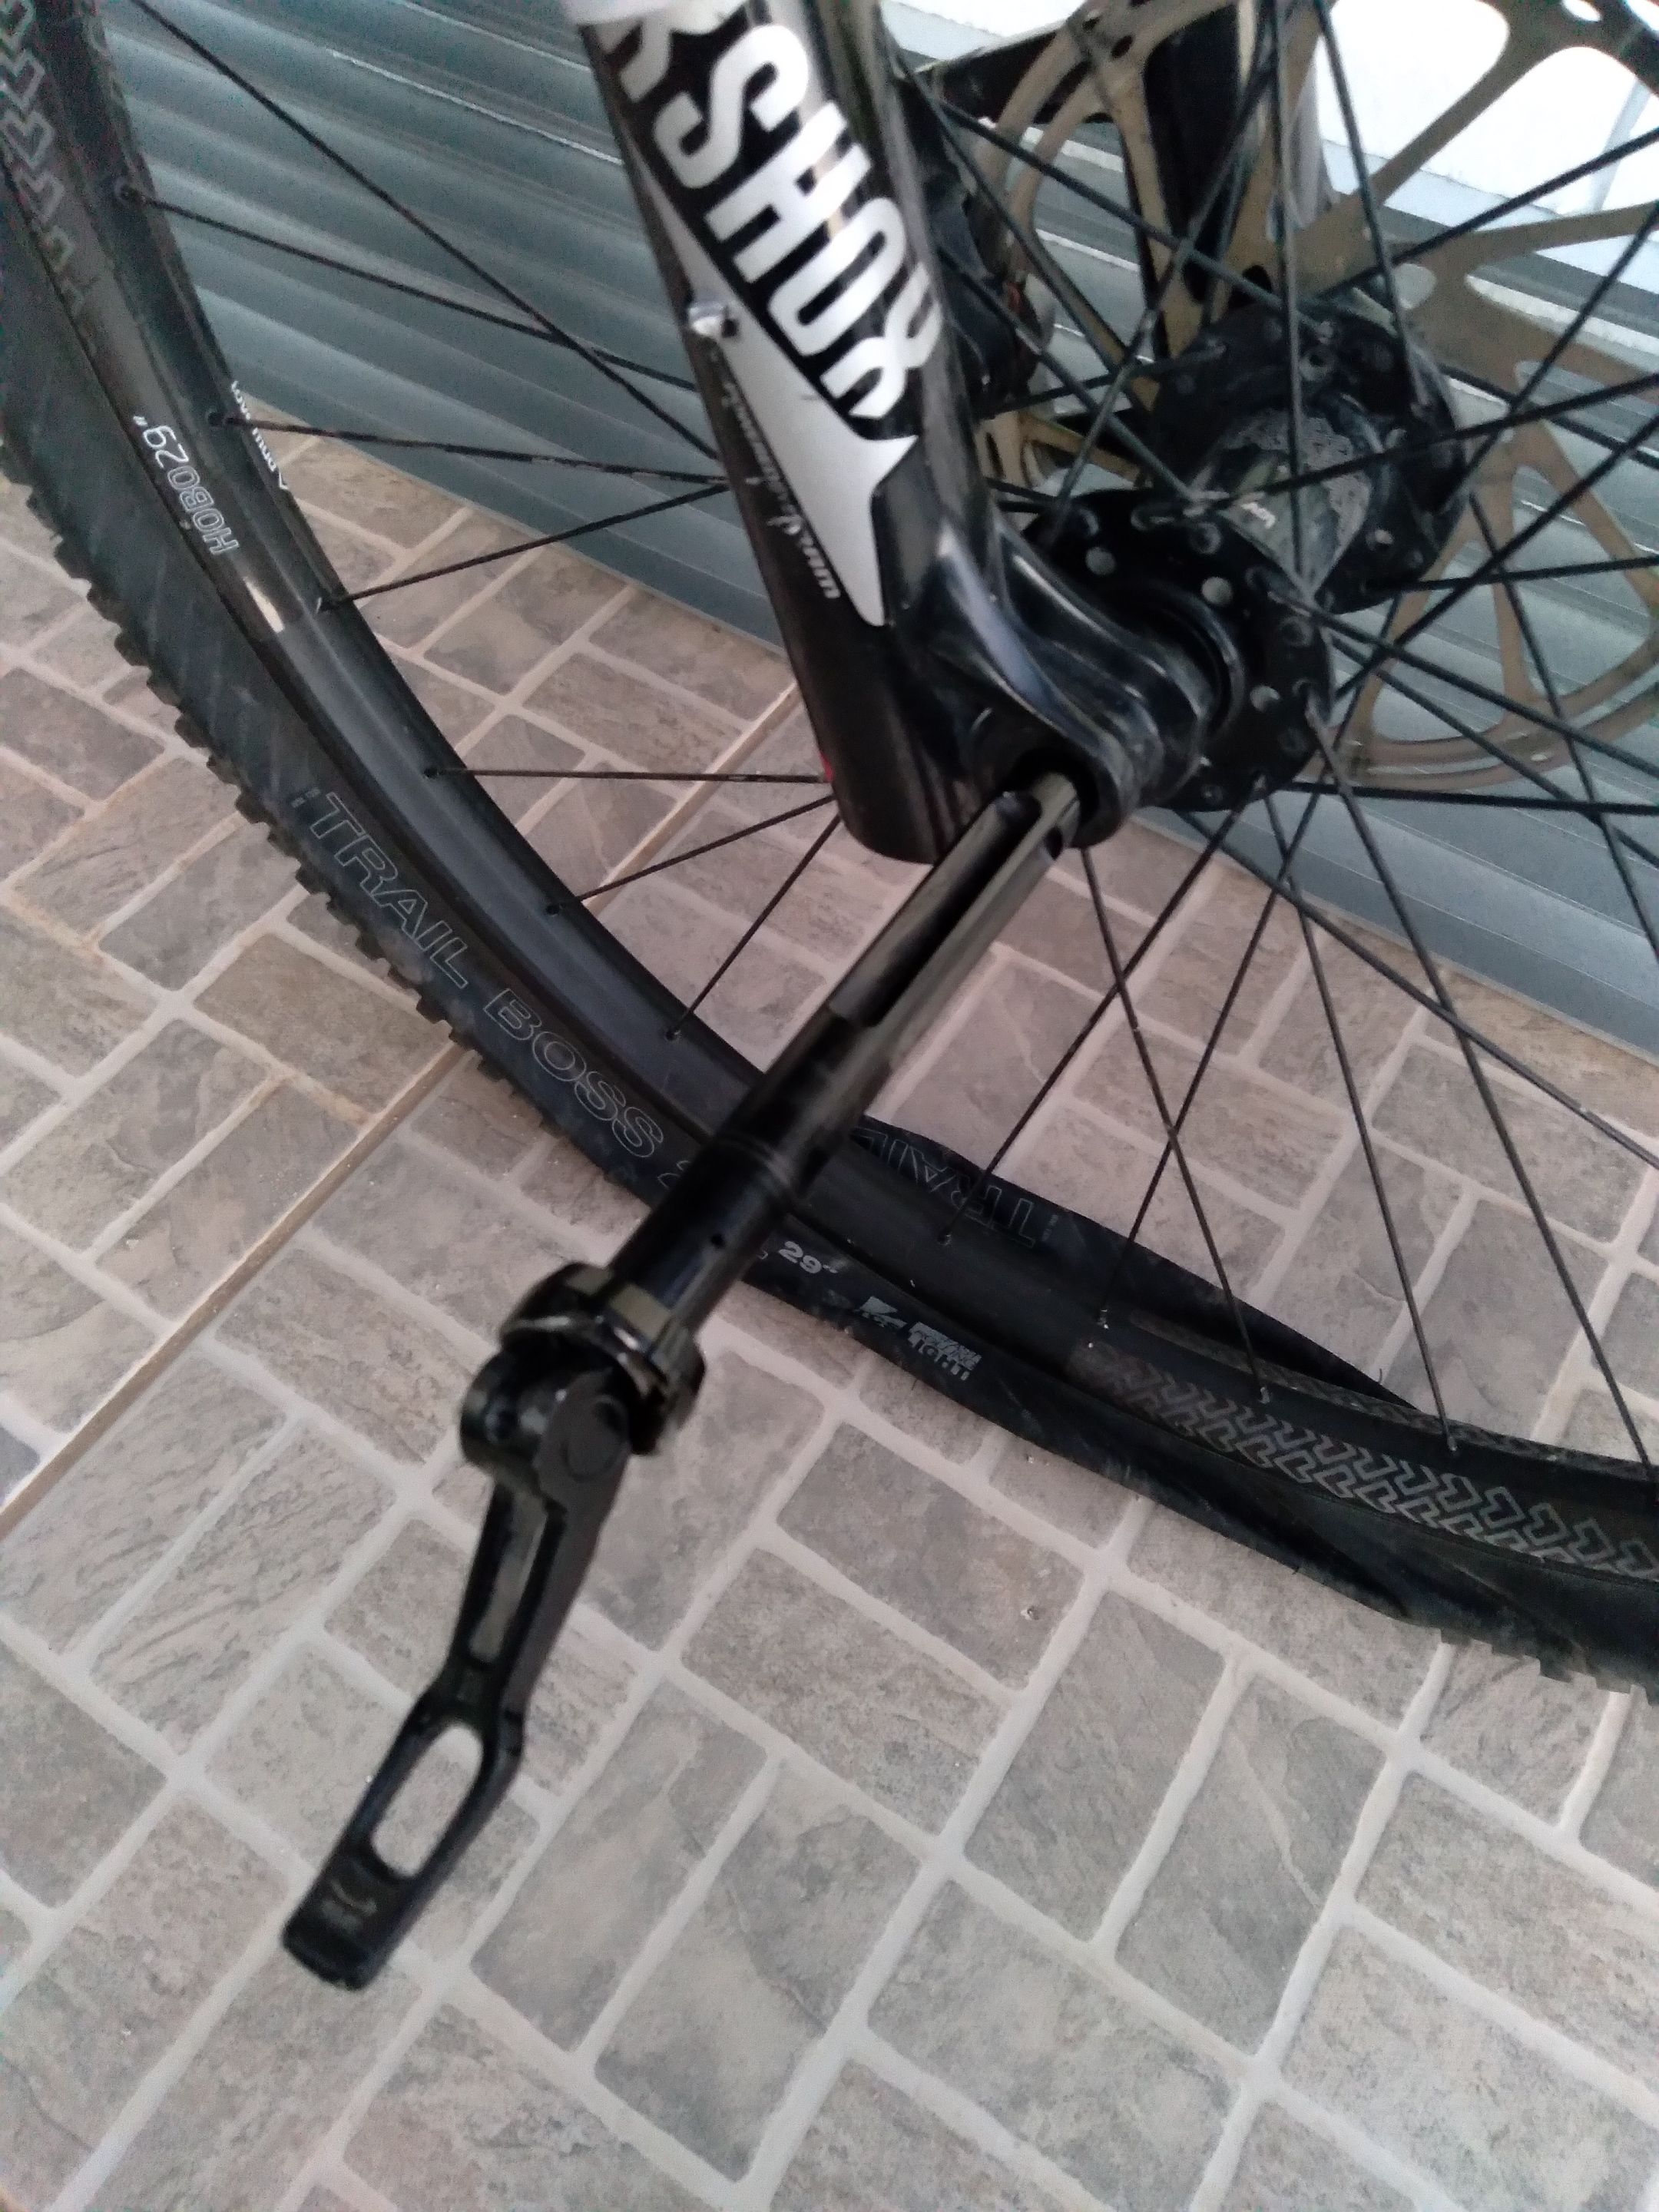
<center><sup>Usain Unbolt</sup></center>
</div>
<hr>
**The wheel is off. Now what?** Breath. Sip some beer. You are going to need some basic stuff.
**Take note**: Tire removal levers, glue, sandpaper, and tire repair (patch). Ah! Don't forget an air pump.
<div class="pull-left">
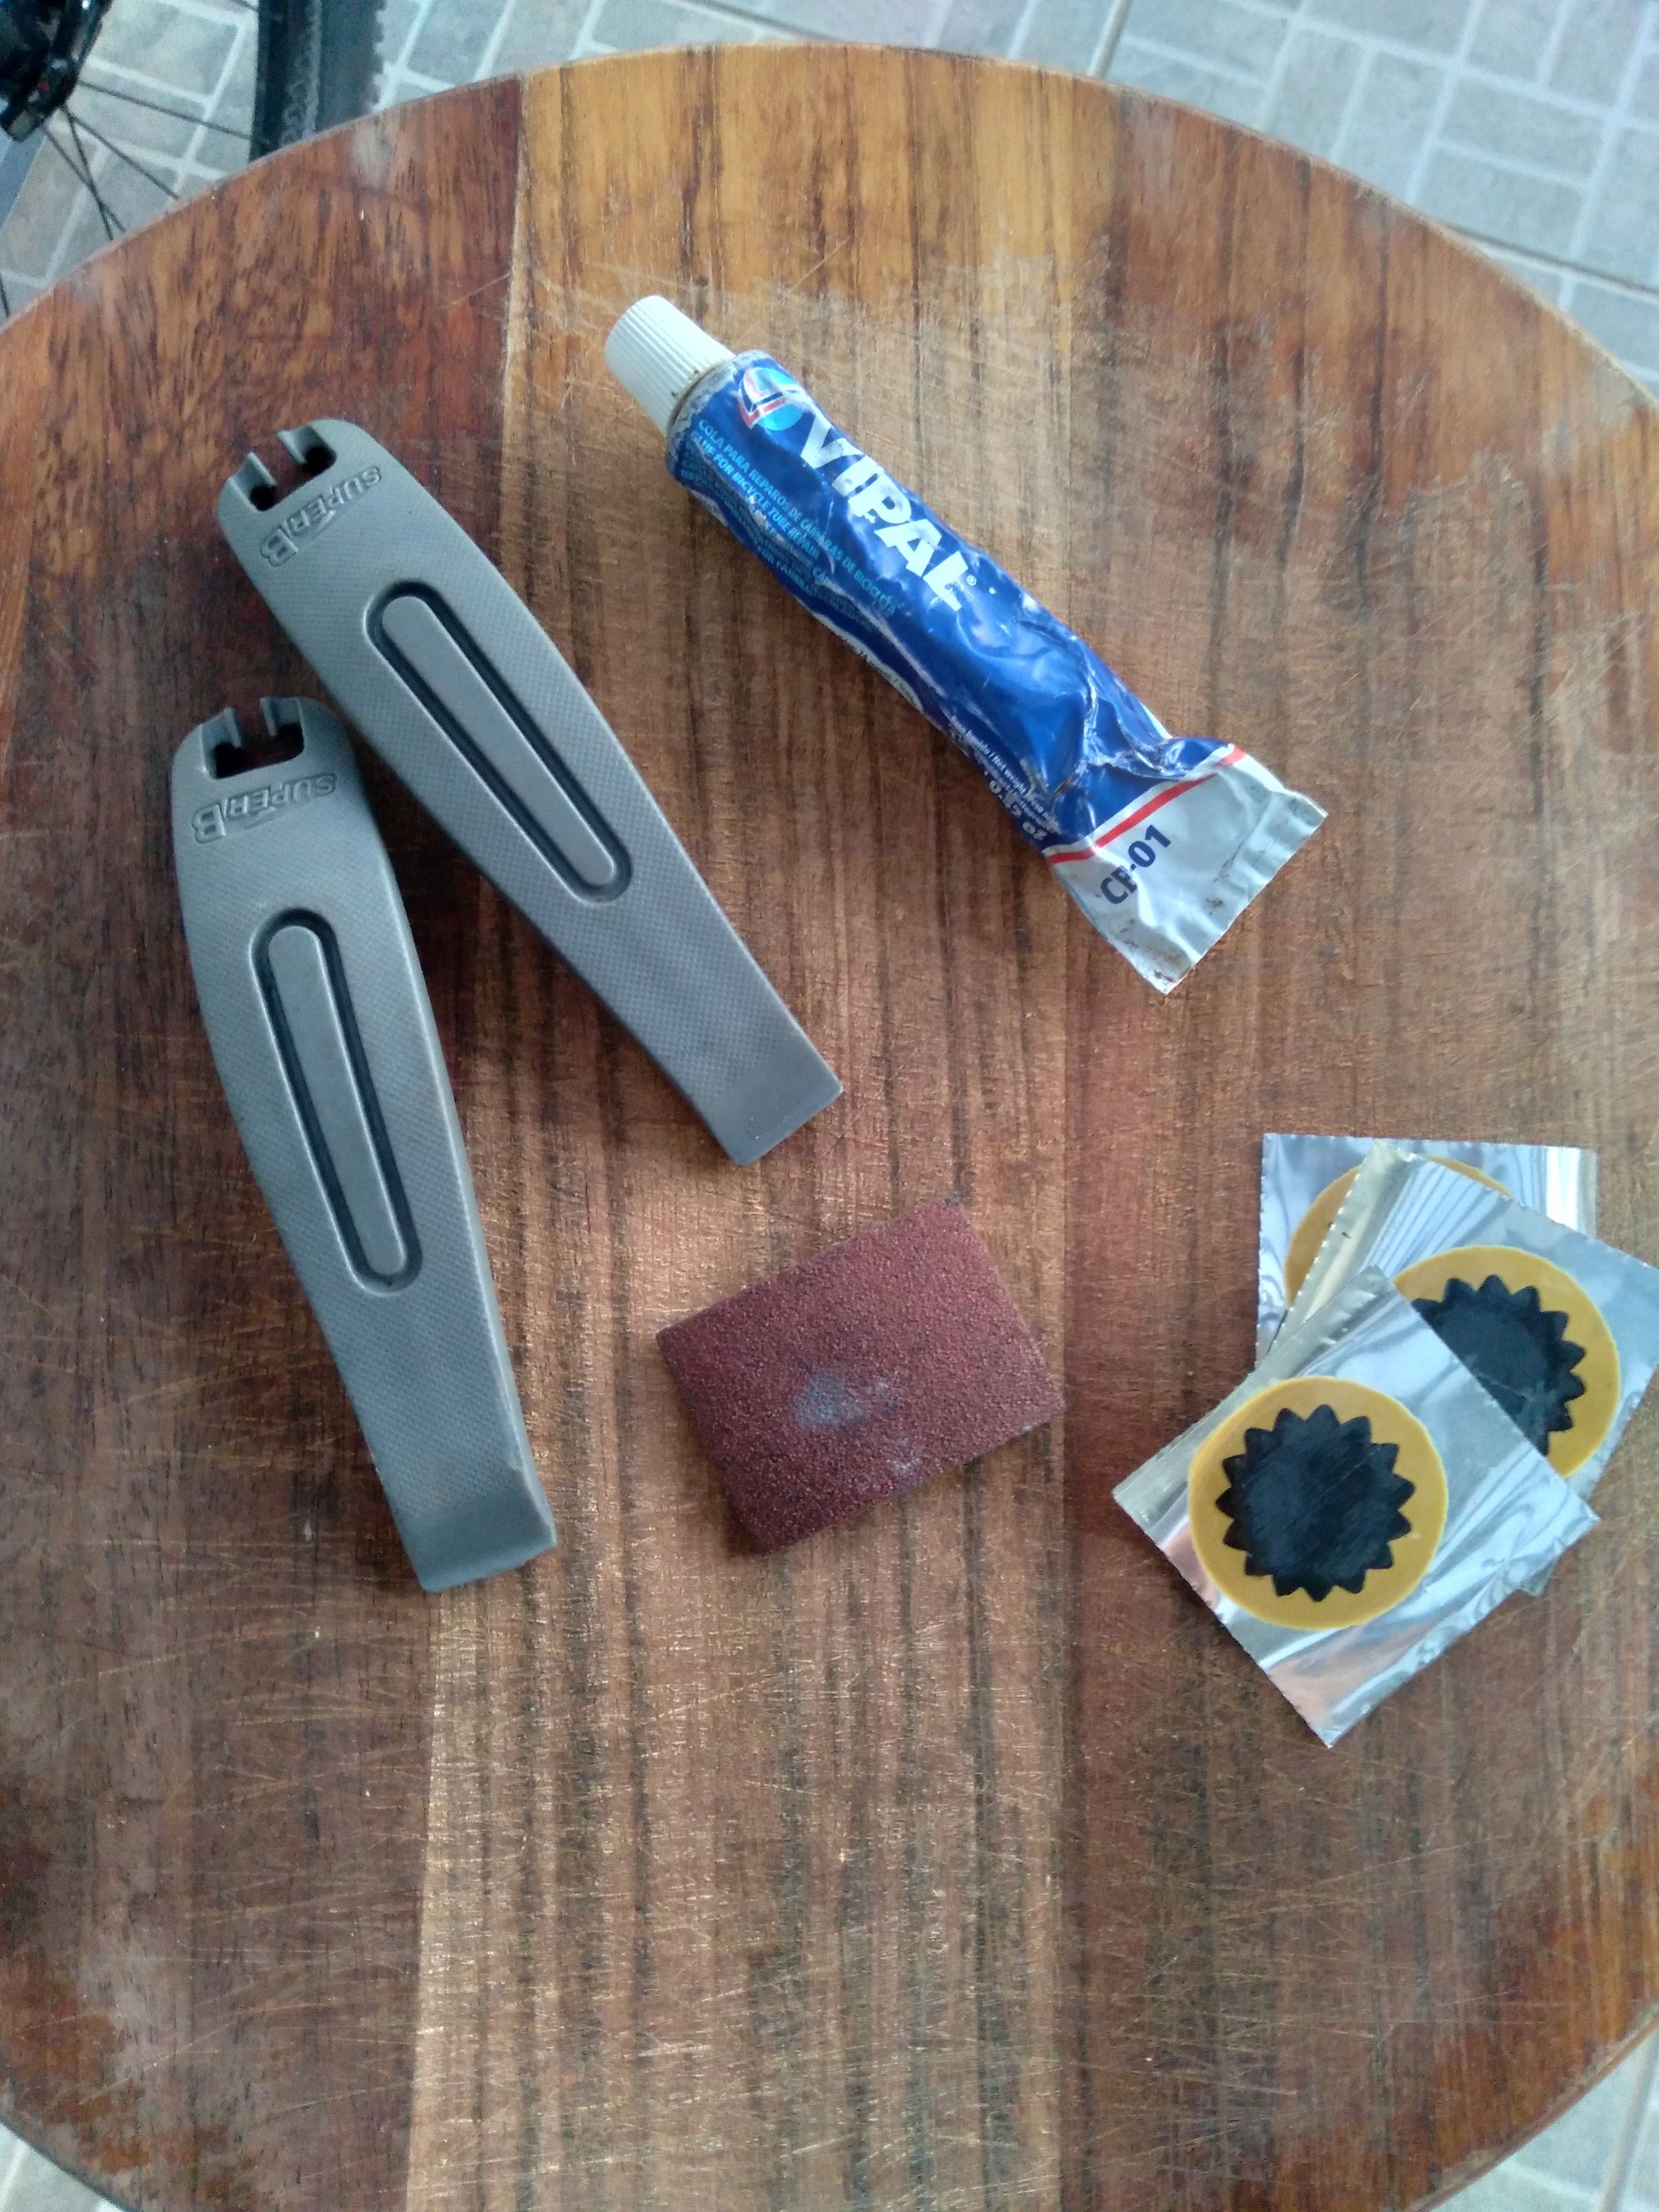
<center><sup>Tire repair kit</sup></center>
</div>
<div class="pull-right">

<center><sup>Pump</sup></center>
</div>
<hr>
**Second:** Use the levers to remove the tire from the wheel. If it's too tight, don't hit your fingers on the spokes *{it hurts}*.
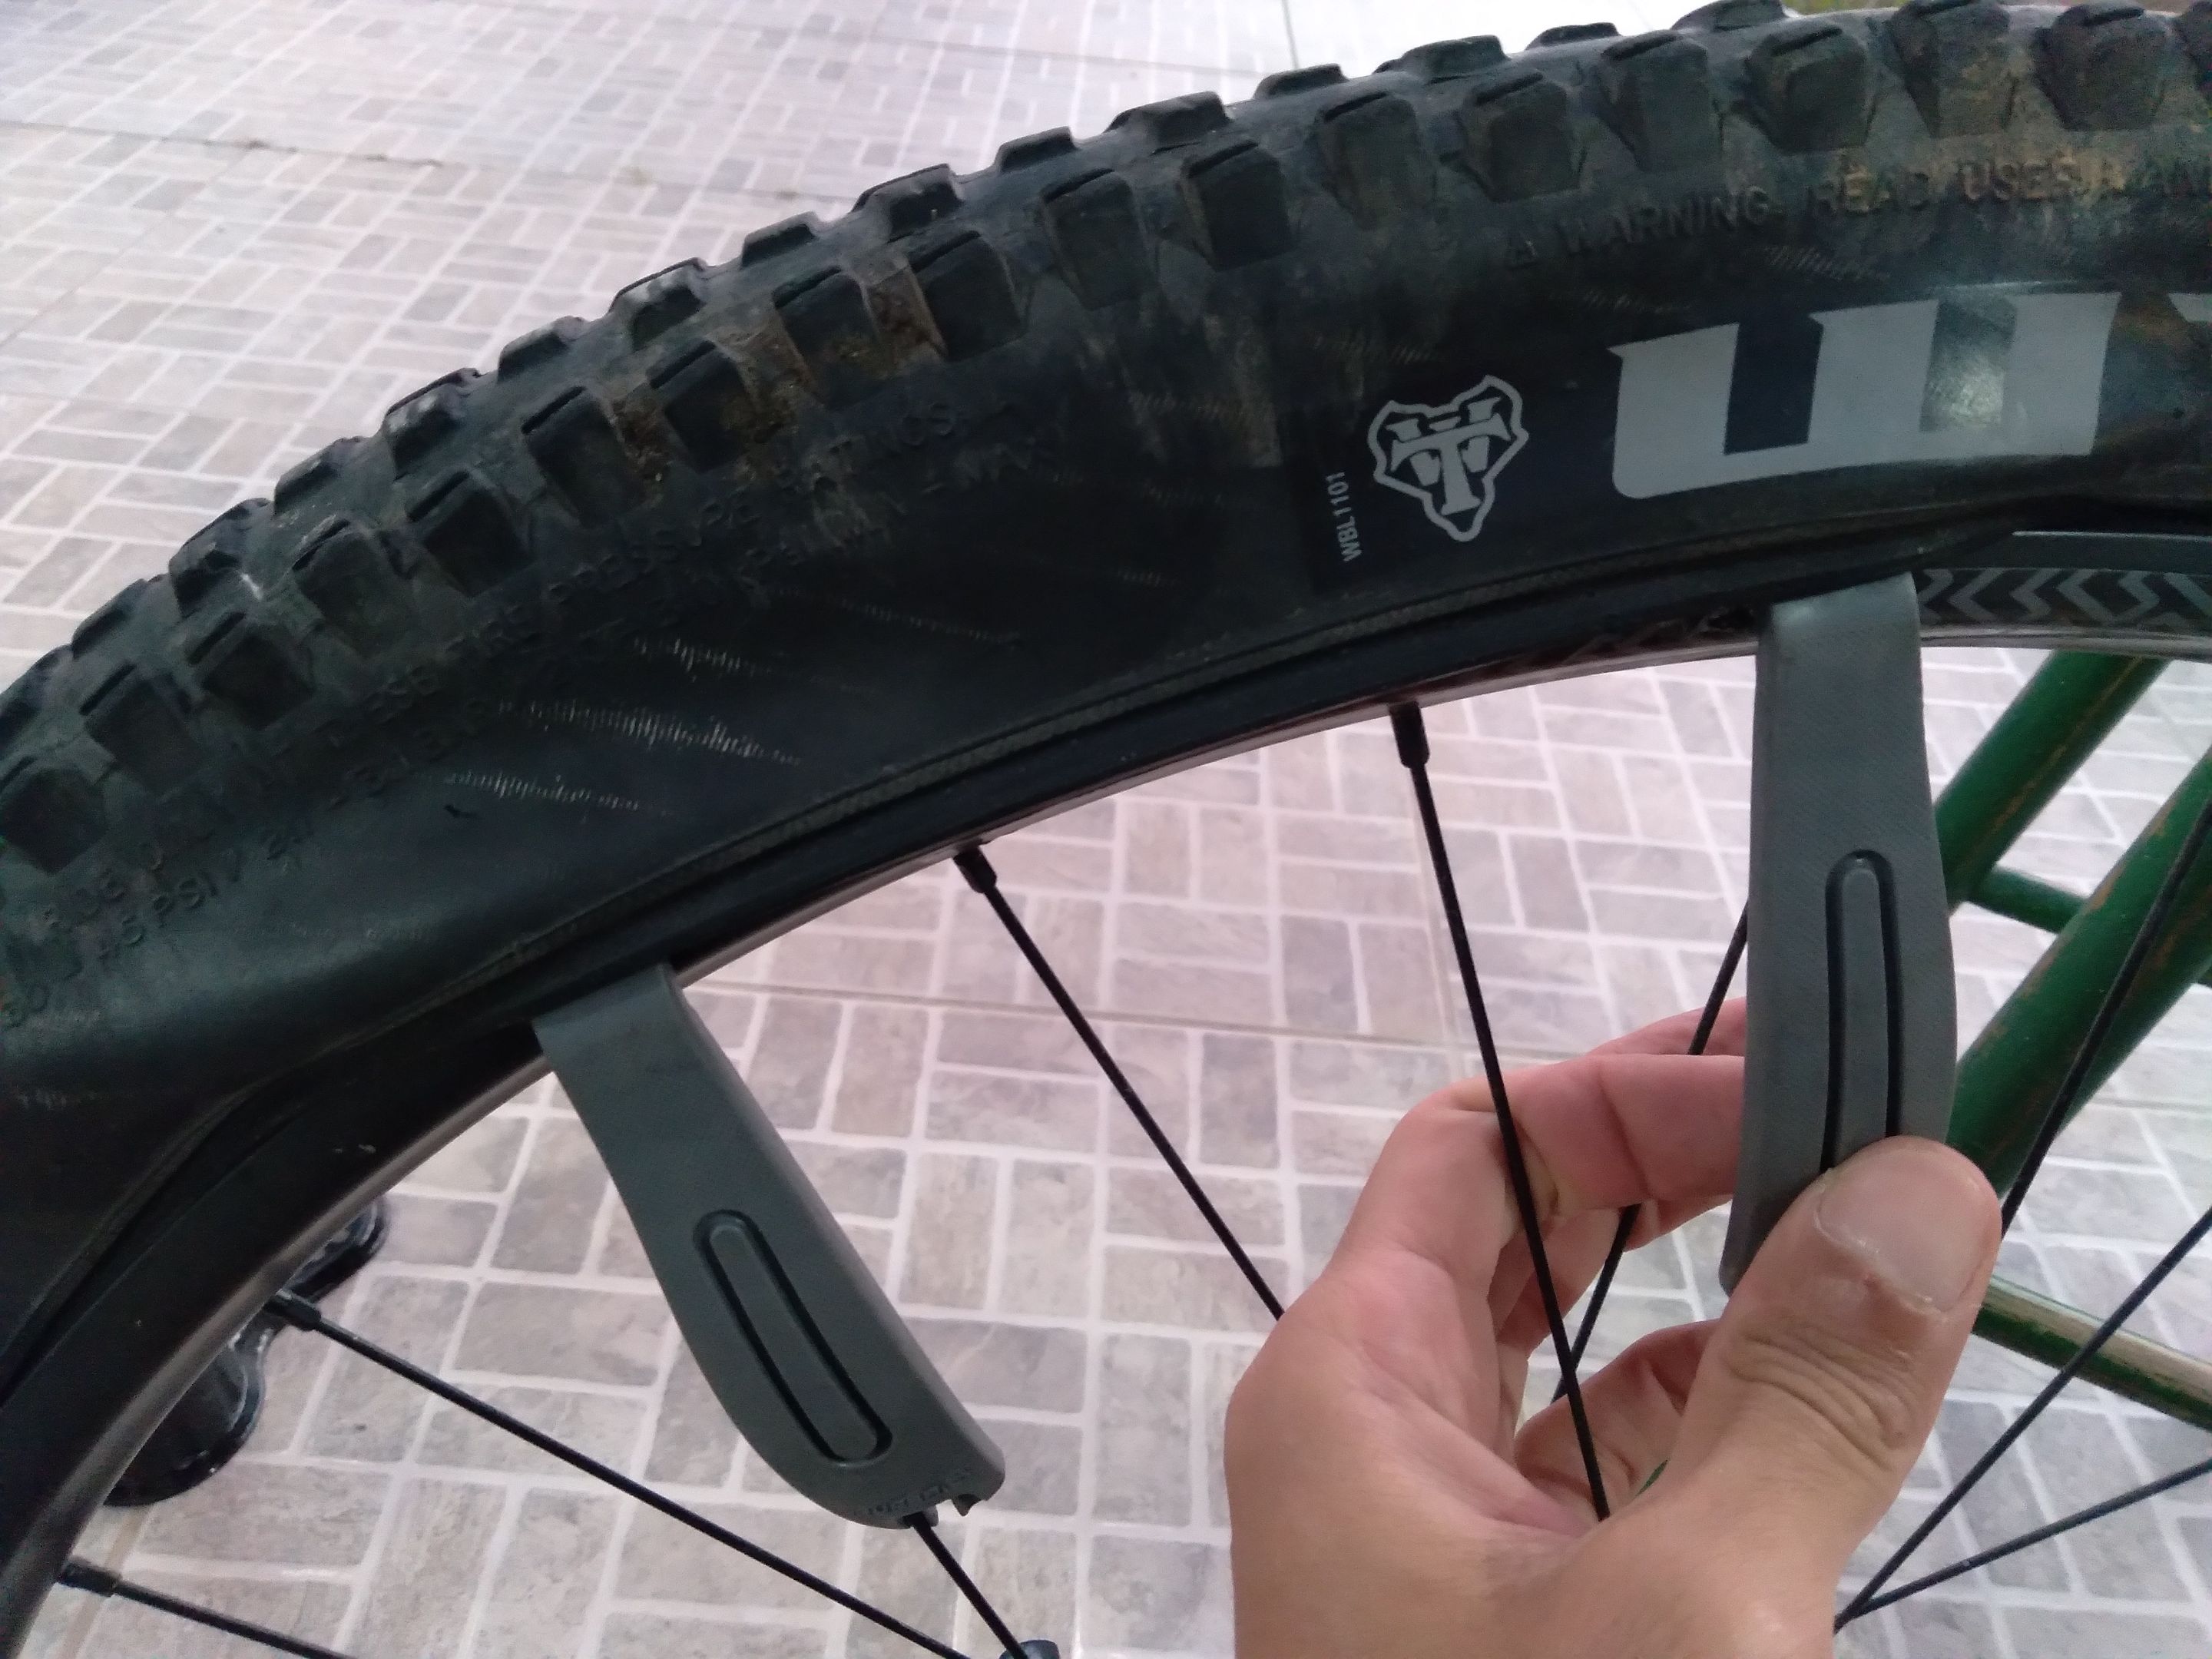
<center><sup>Like this</sup></center>
<hr>
**Third:** Depending on your valve type, there's a little nut. Remove it. Then, you can remove the inner tube from the wheel.
<div class="pull-left">
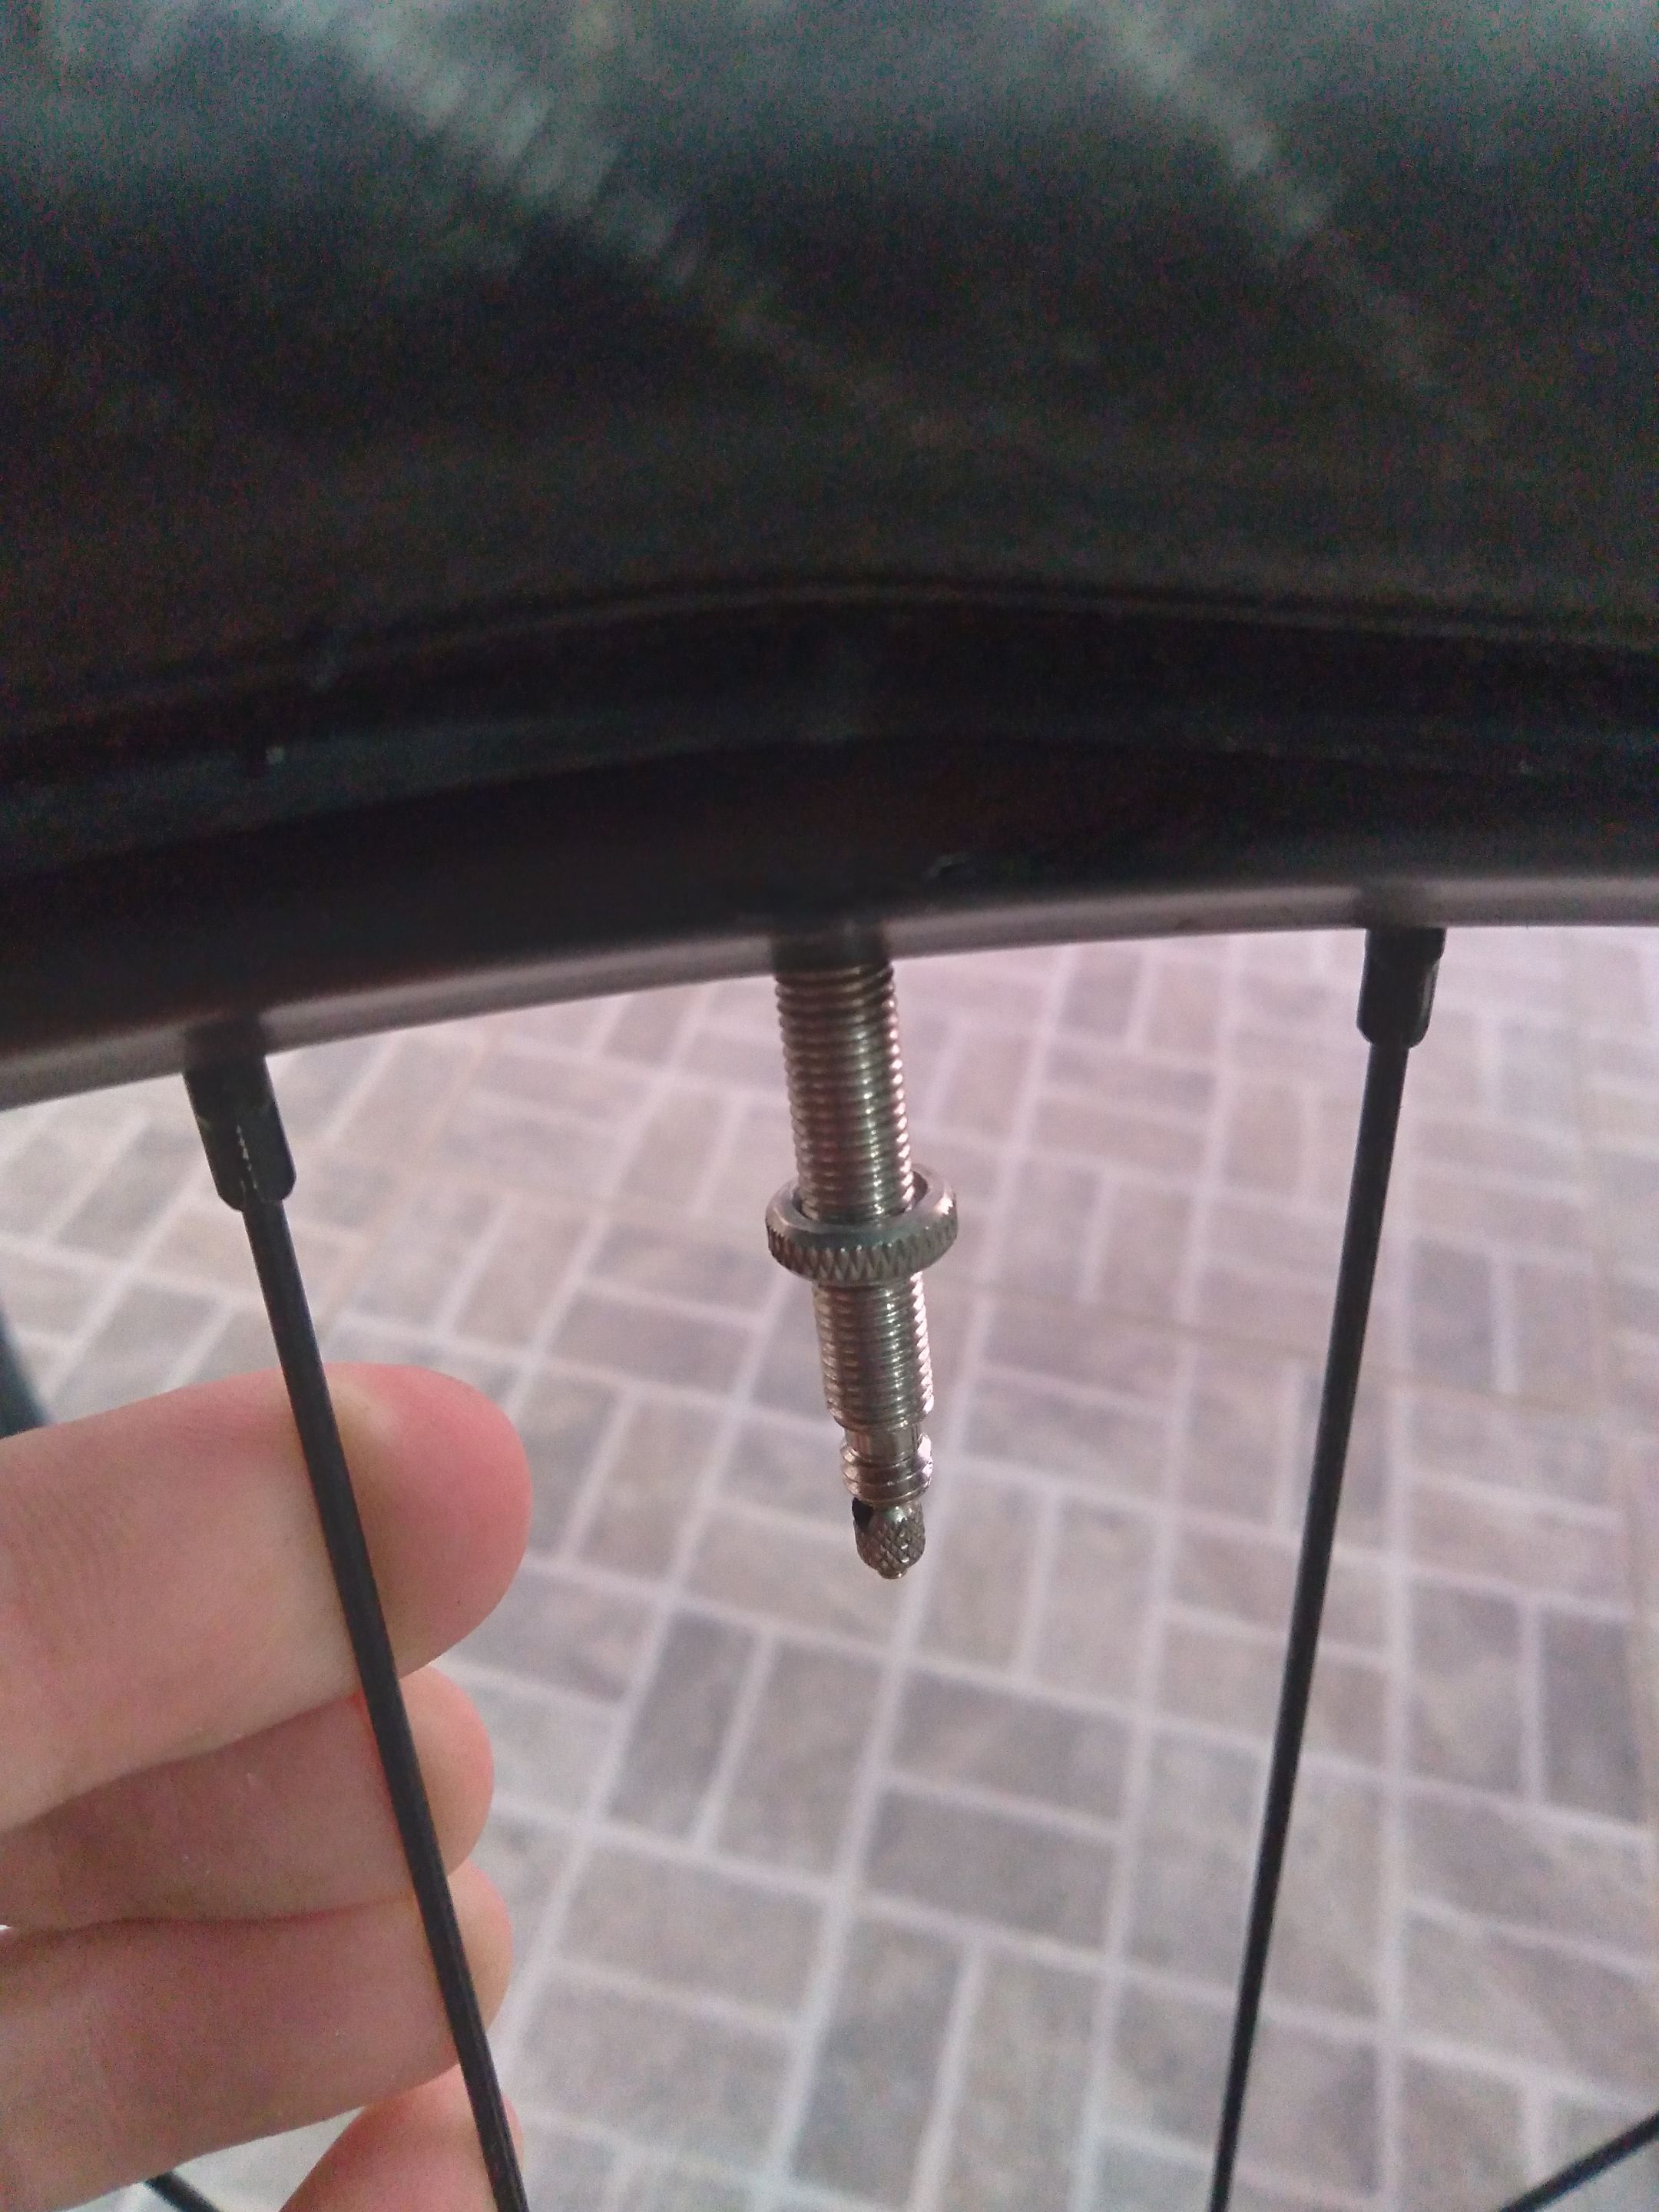
<center><sup>If nutted, remove. If not nutted, not remove.</sup></center>
</div>
<div class="pull-right">
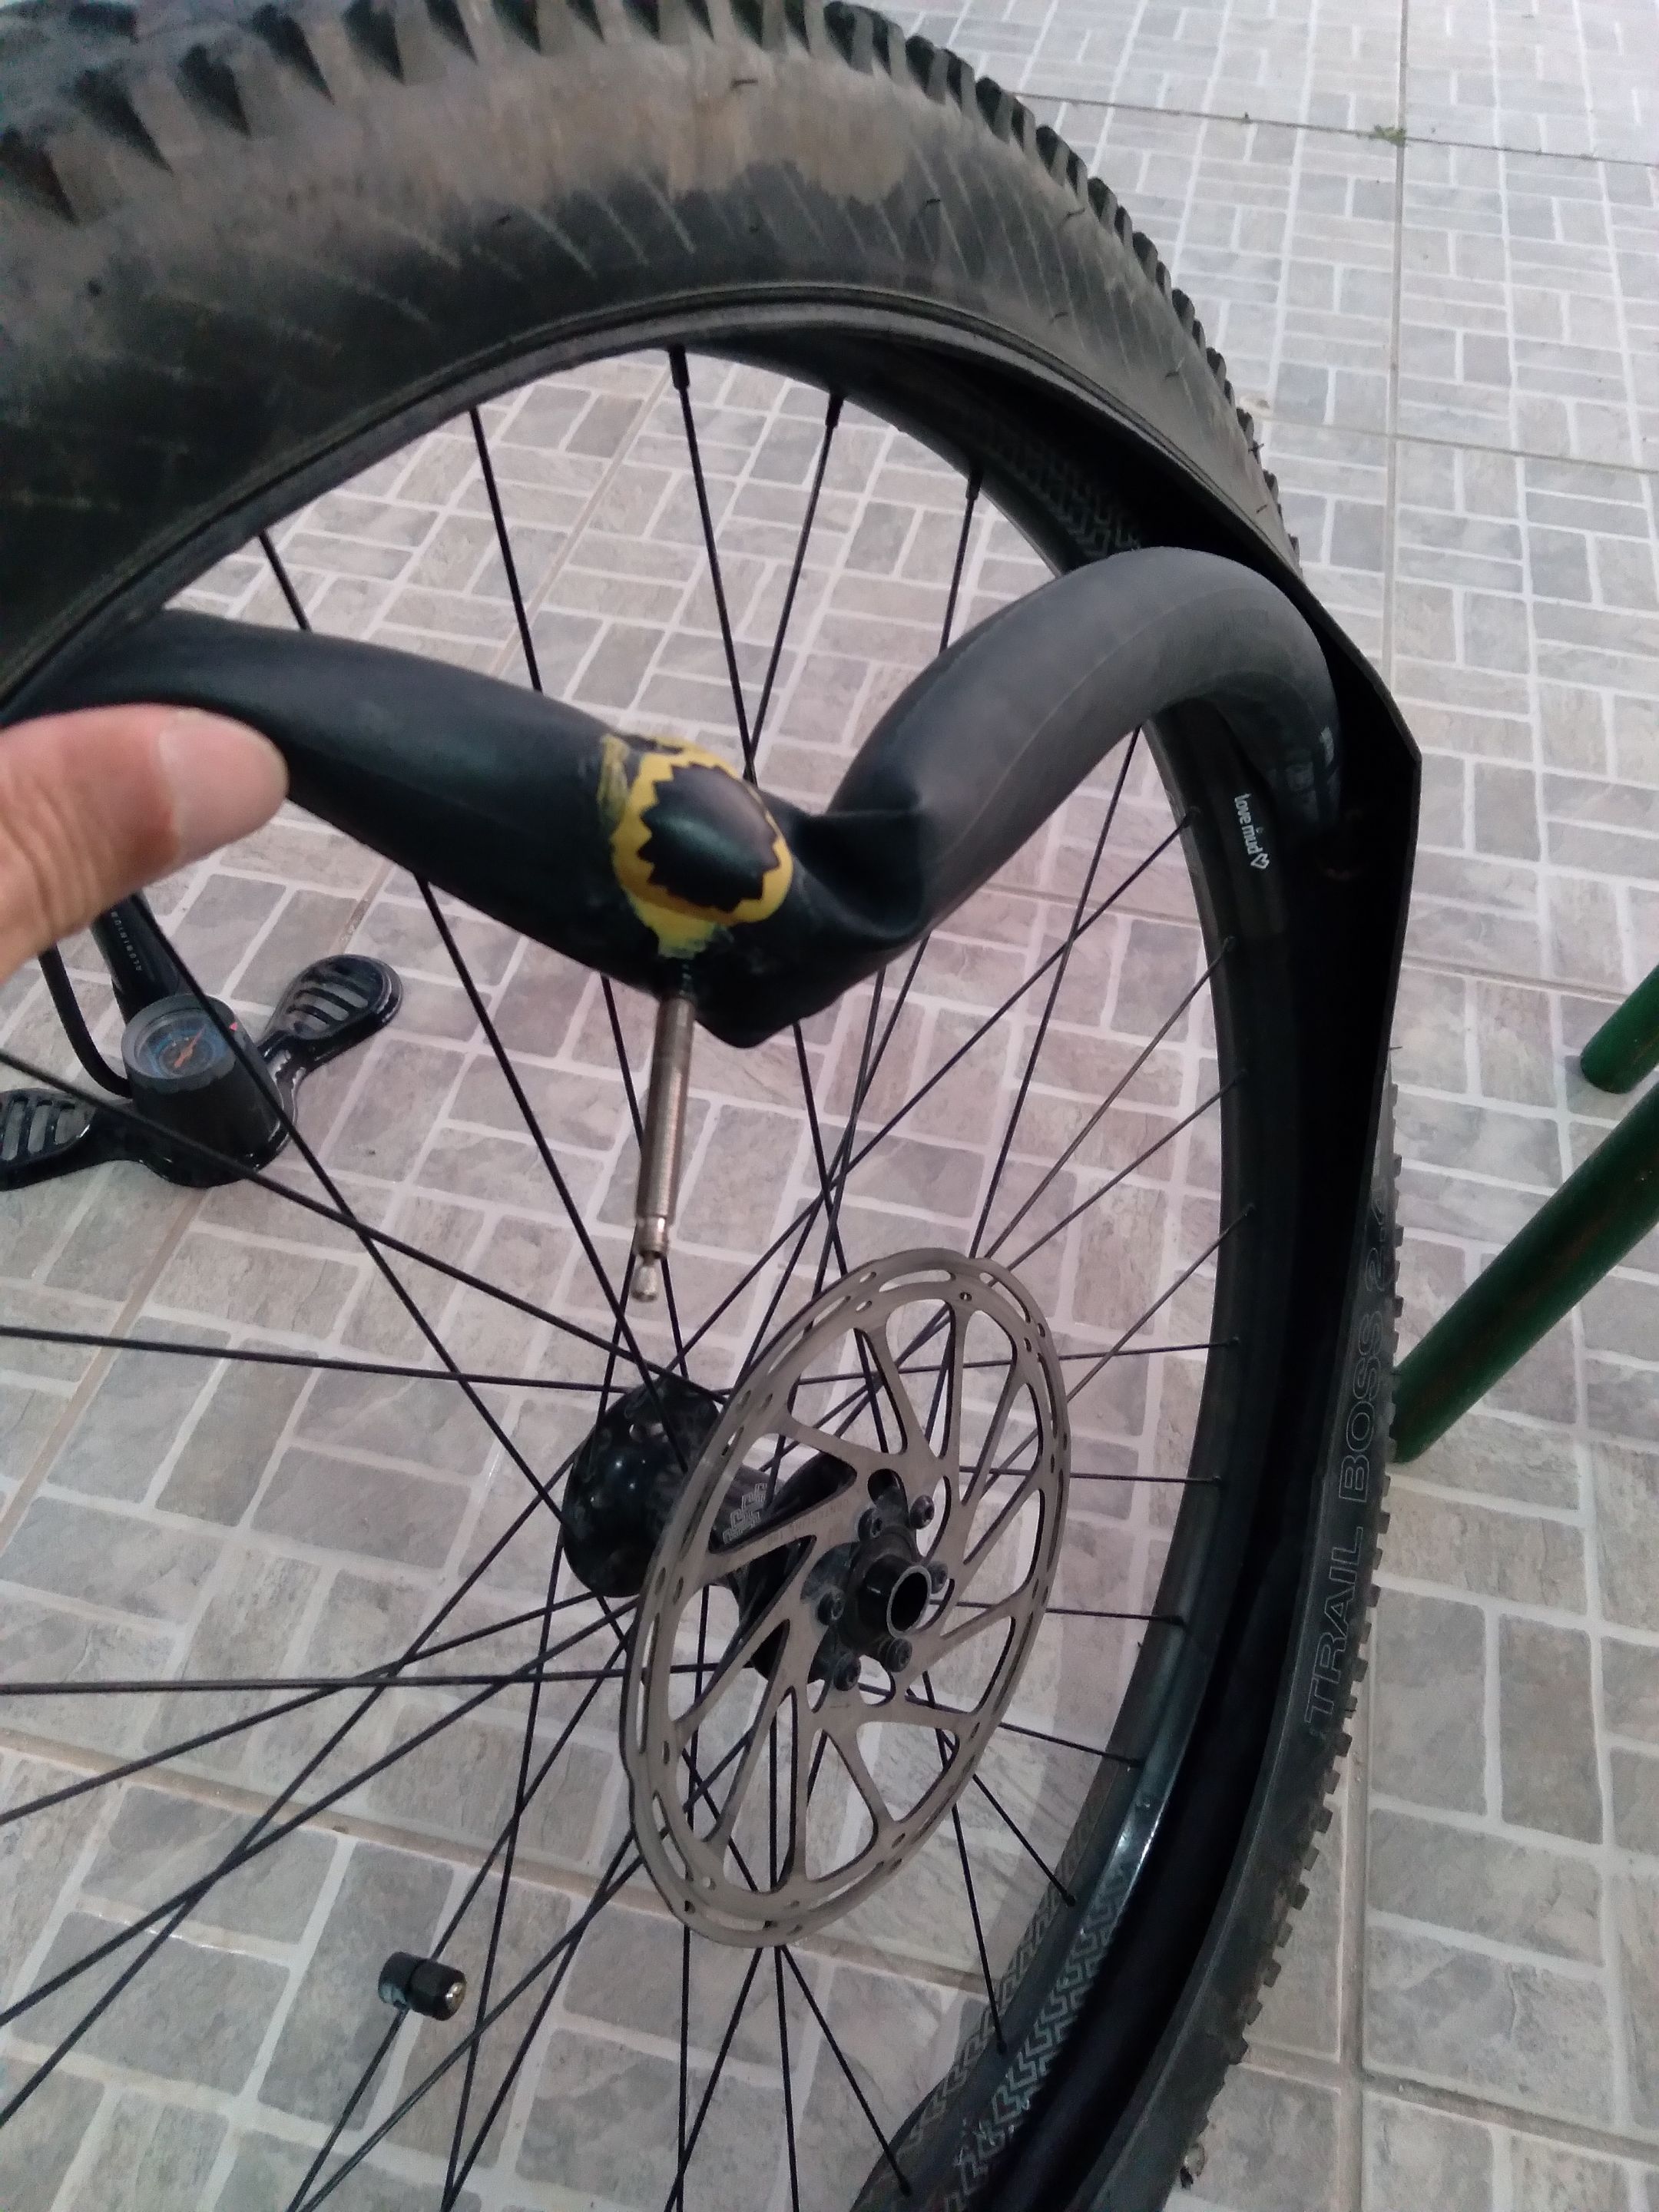
<center><sup>Remove inner tube</sup></center>
</div>
<hr>
**Fourth**: It's time to find the damn punctures. Begin by pumping air into the inner tube. If it's a teeny puncture, you might need to bury the tube under water to see where the bubbles are coming from. If it's a normal puncture you'll hear it. If it's a huge puncture you might need a new tube. **Found it?** I like to use a toothpick to mark the puncture.
<div class="pull-left">
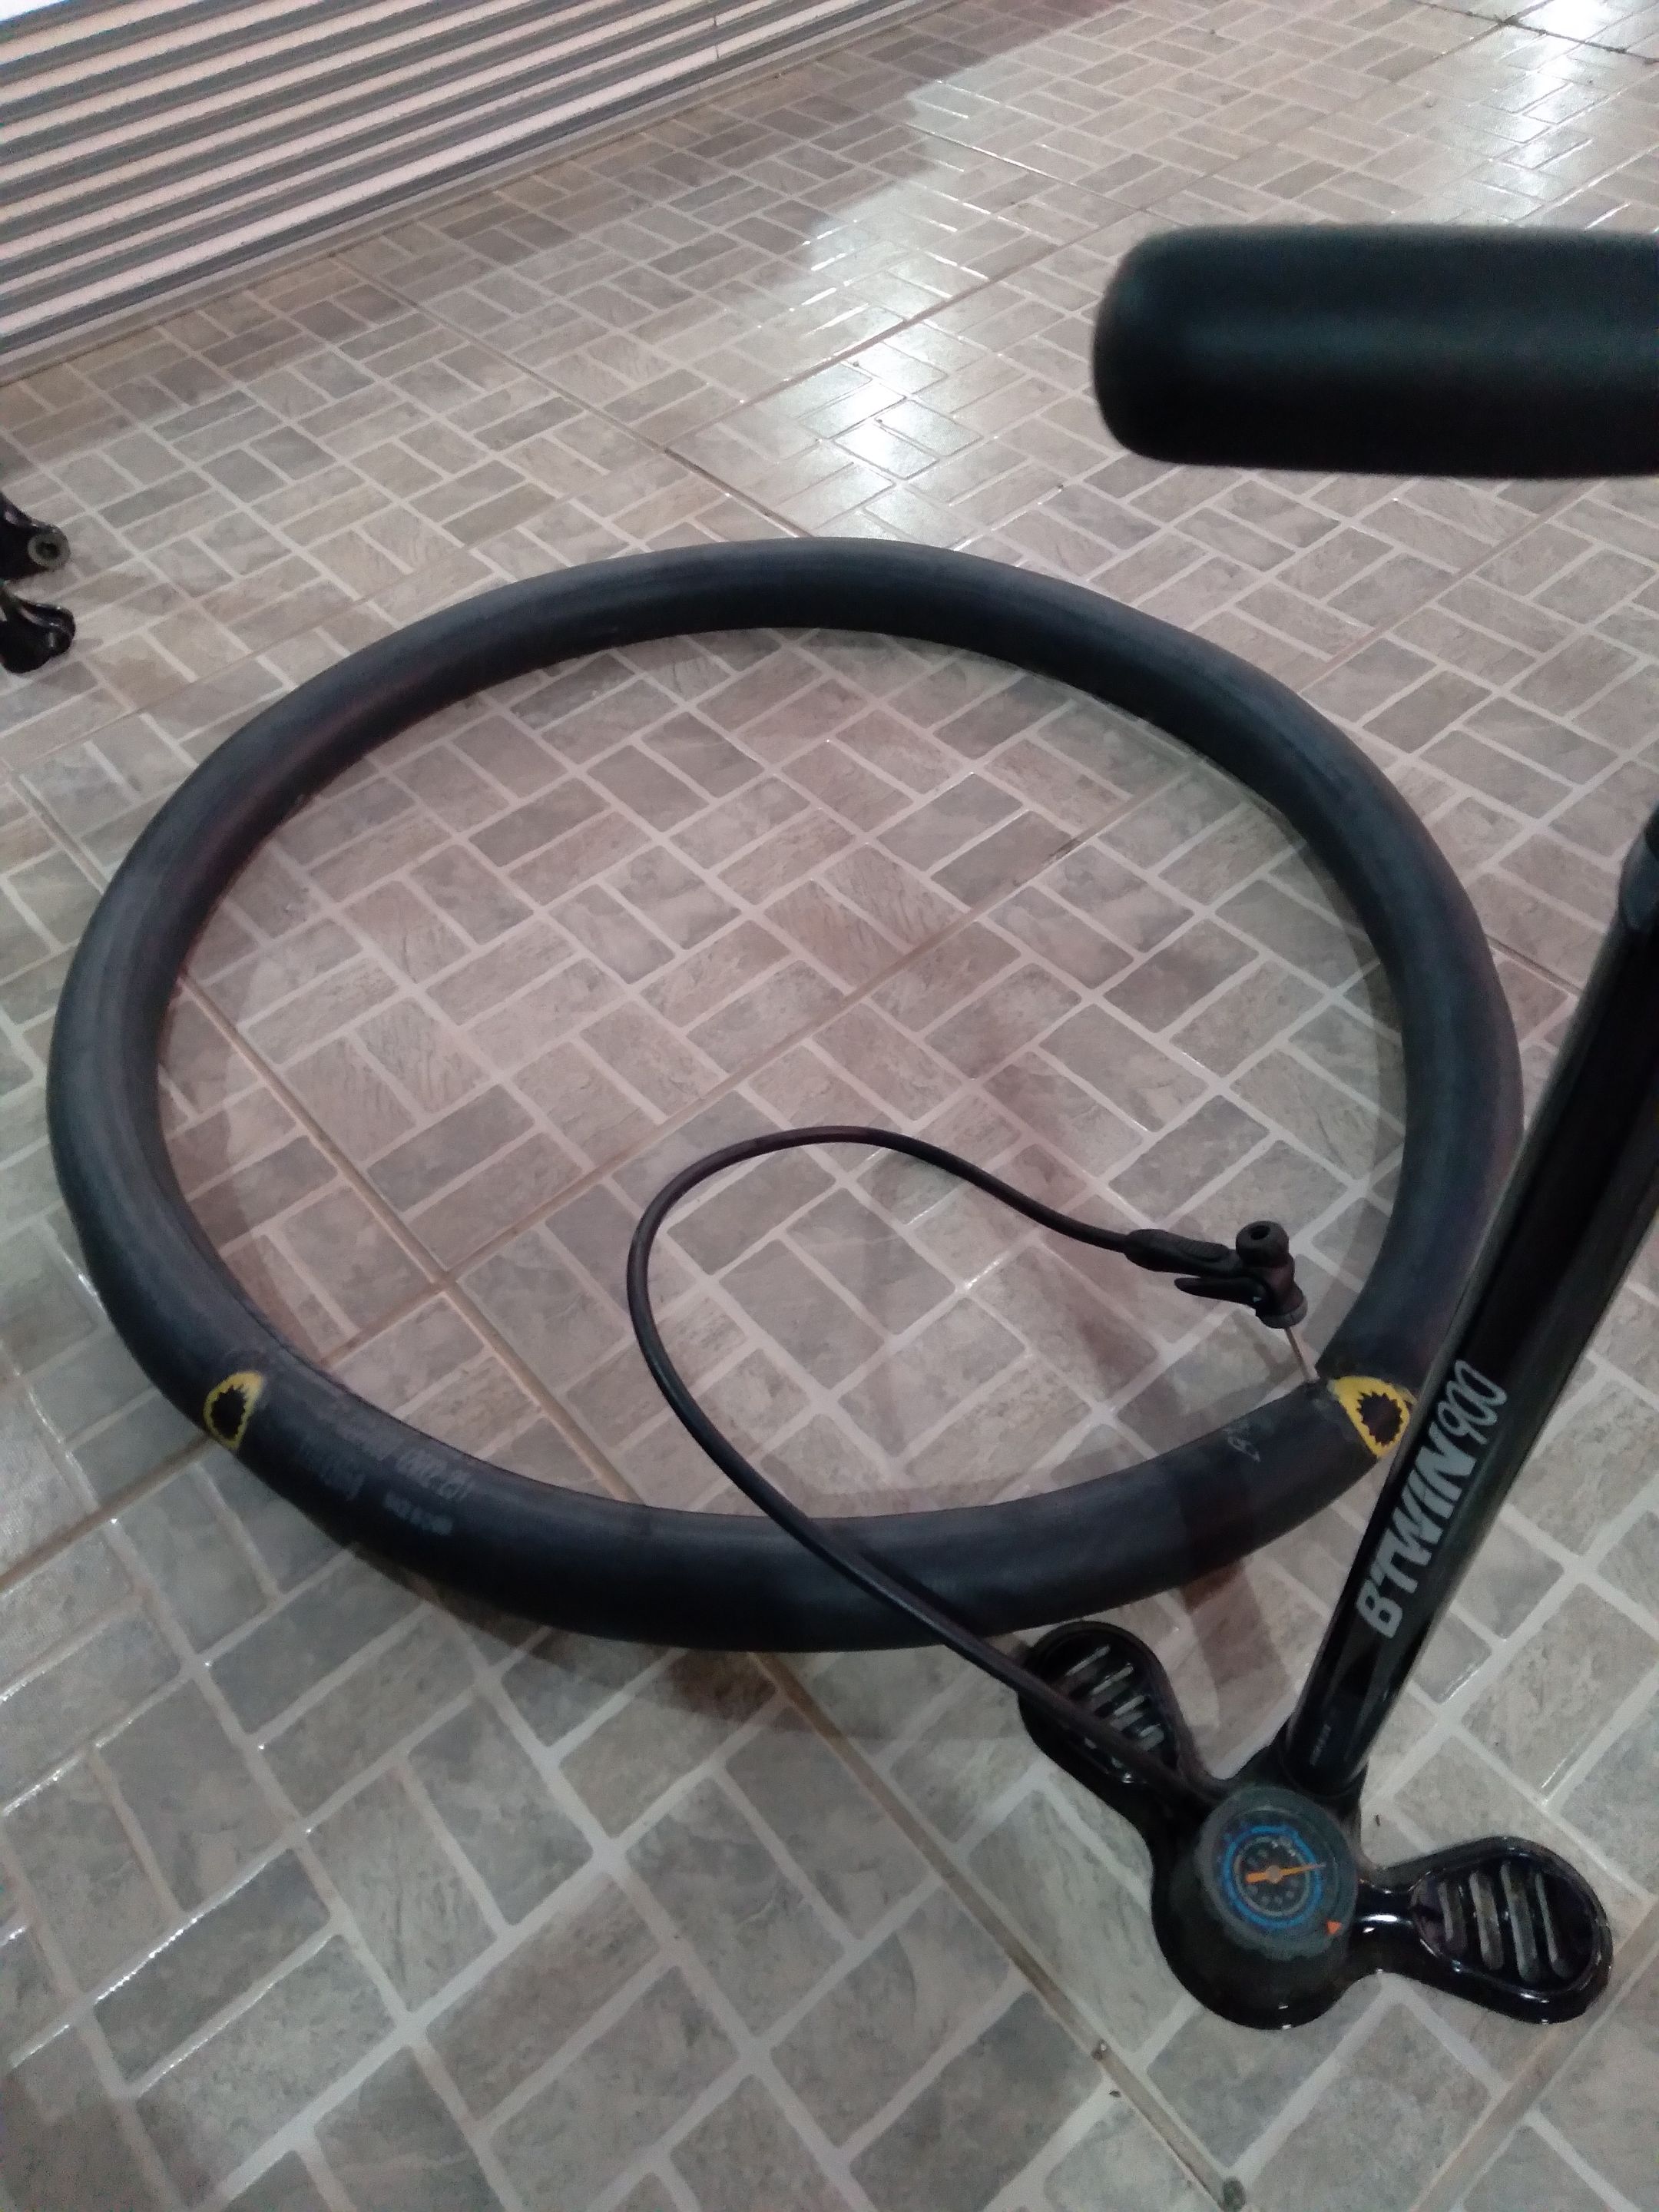
<center><sup>Pump it</sup></center>
</div>
<div class="pull-right">

<center><sup>Mark it</sup></center>
</div>
<hr>
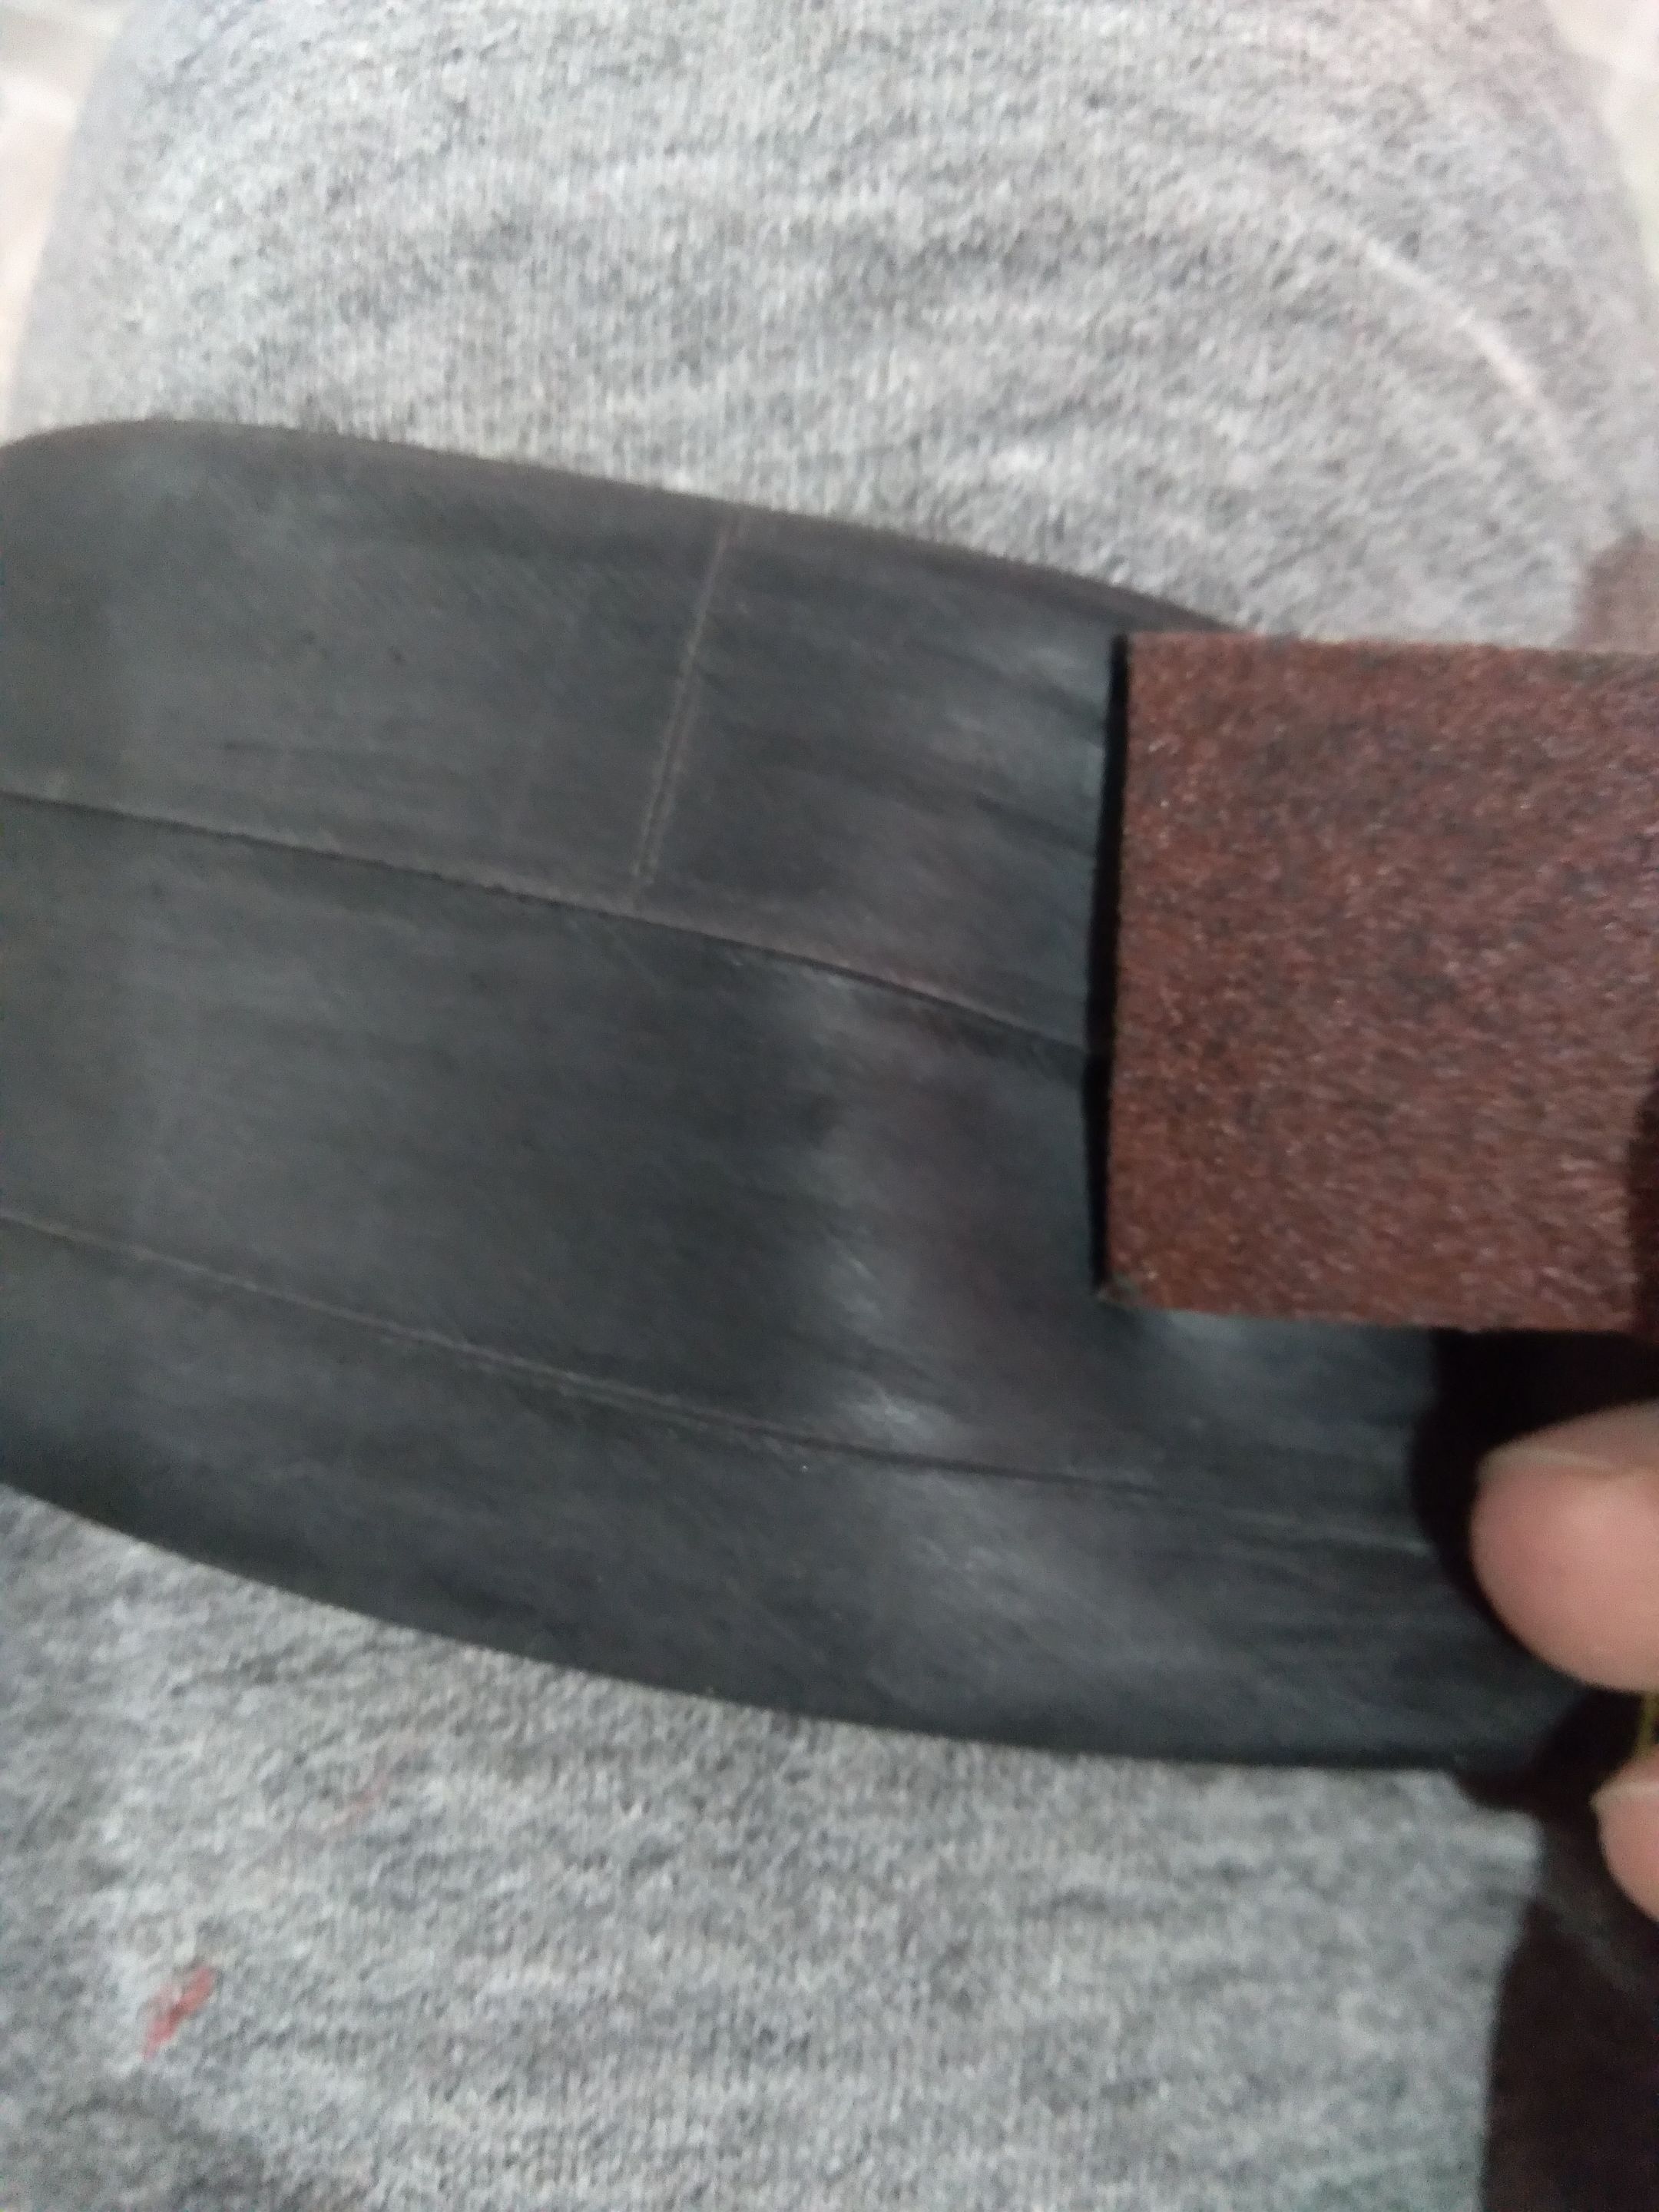
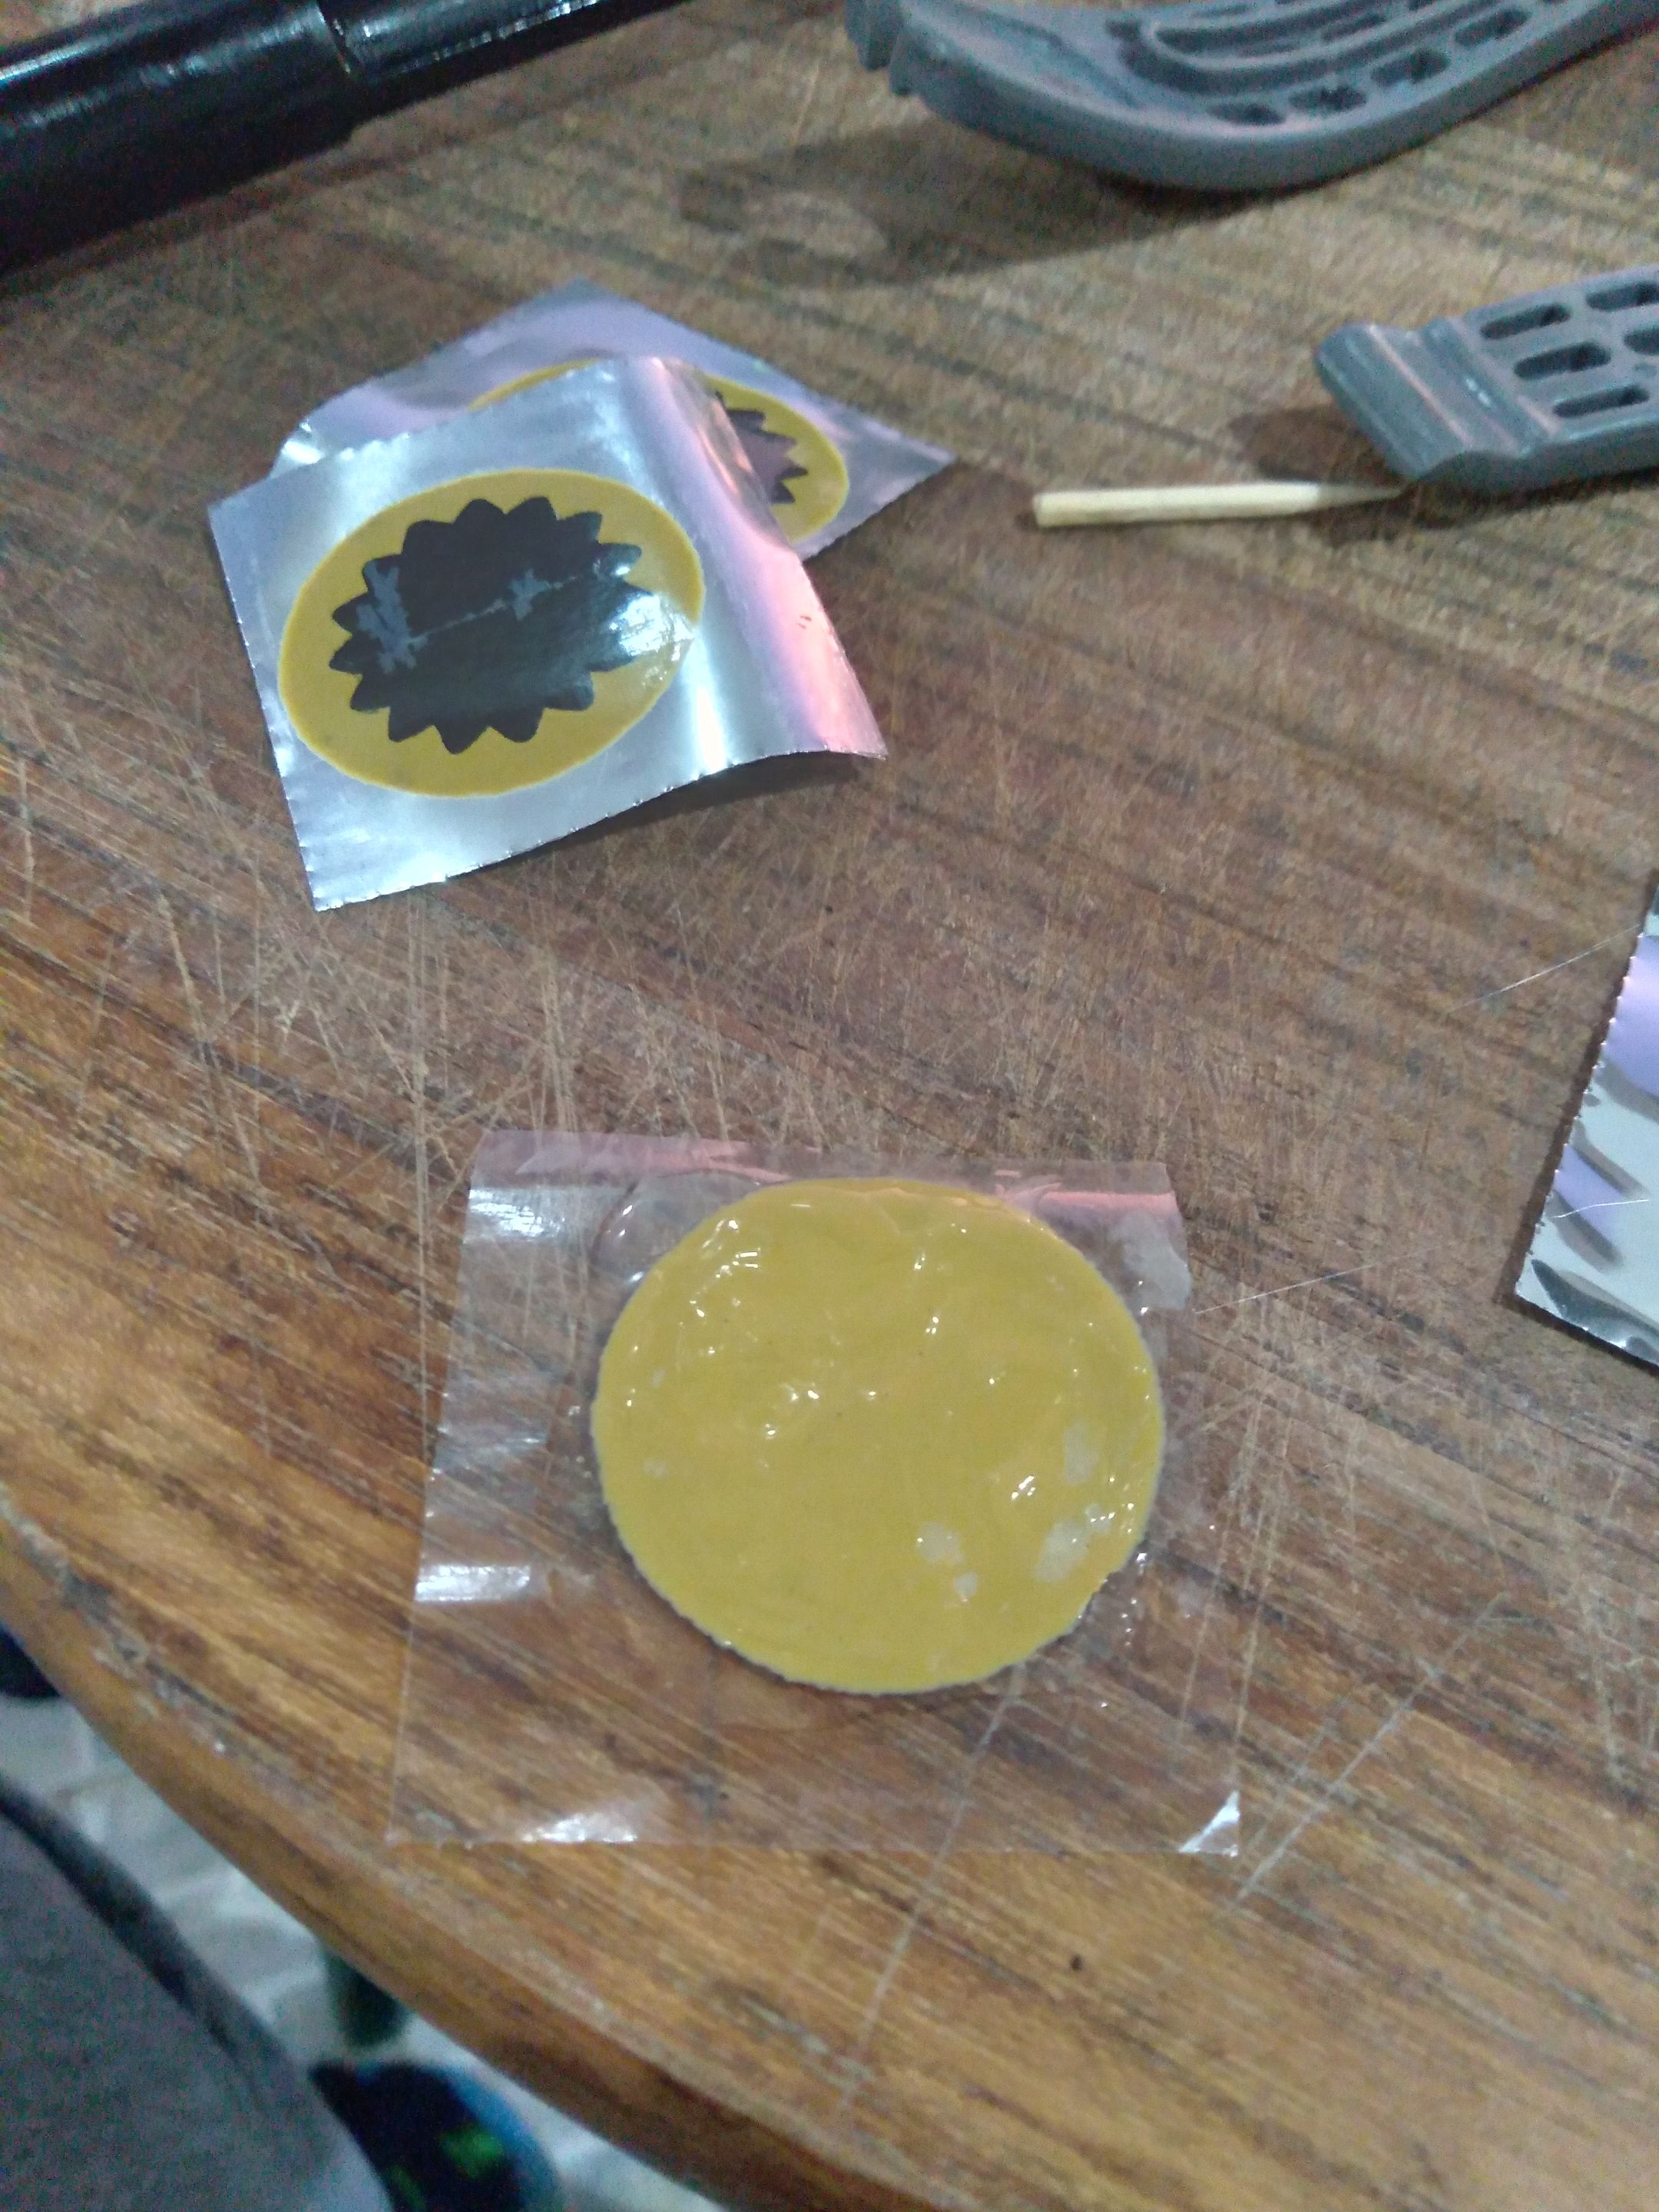
**Fifth:** Use your sandpaper to scratch the rubber over the puncture. It grants better grip to glue the repair. Then, remove the back of the repair and apply some glue.
<div class="pull-left">
<center><sup>Scratch</sup></center>
</div>
<div class="pull-right">
<center><sup>Glue</sup></center>
</div>
<hr>
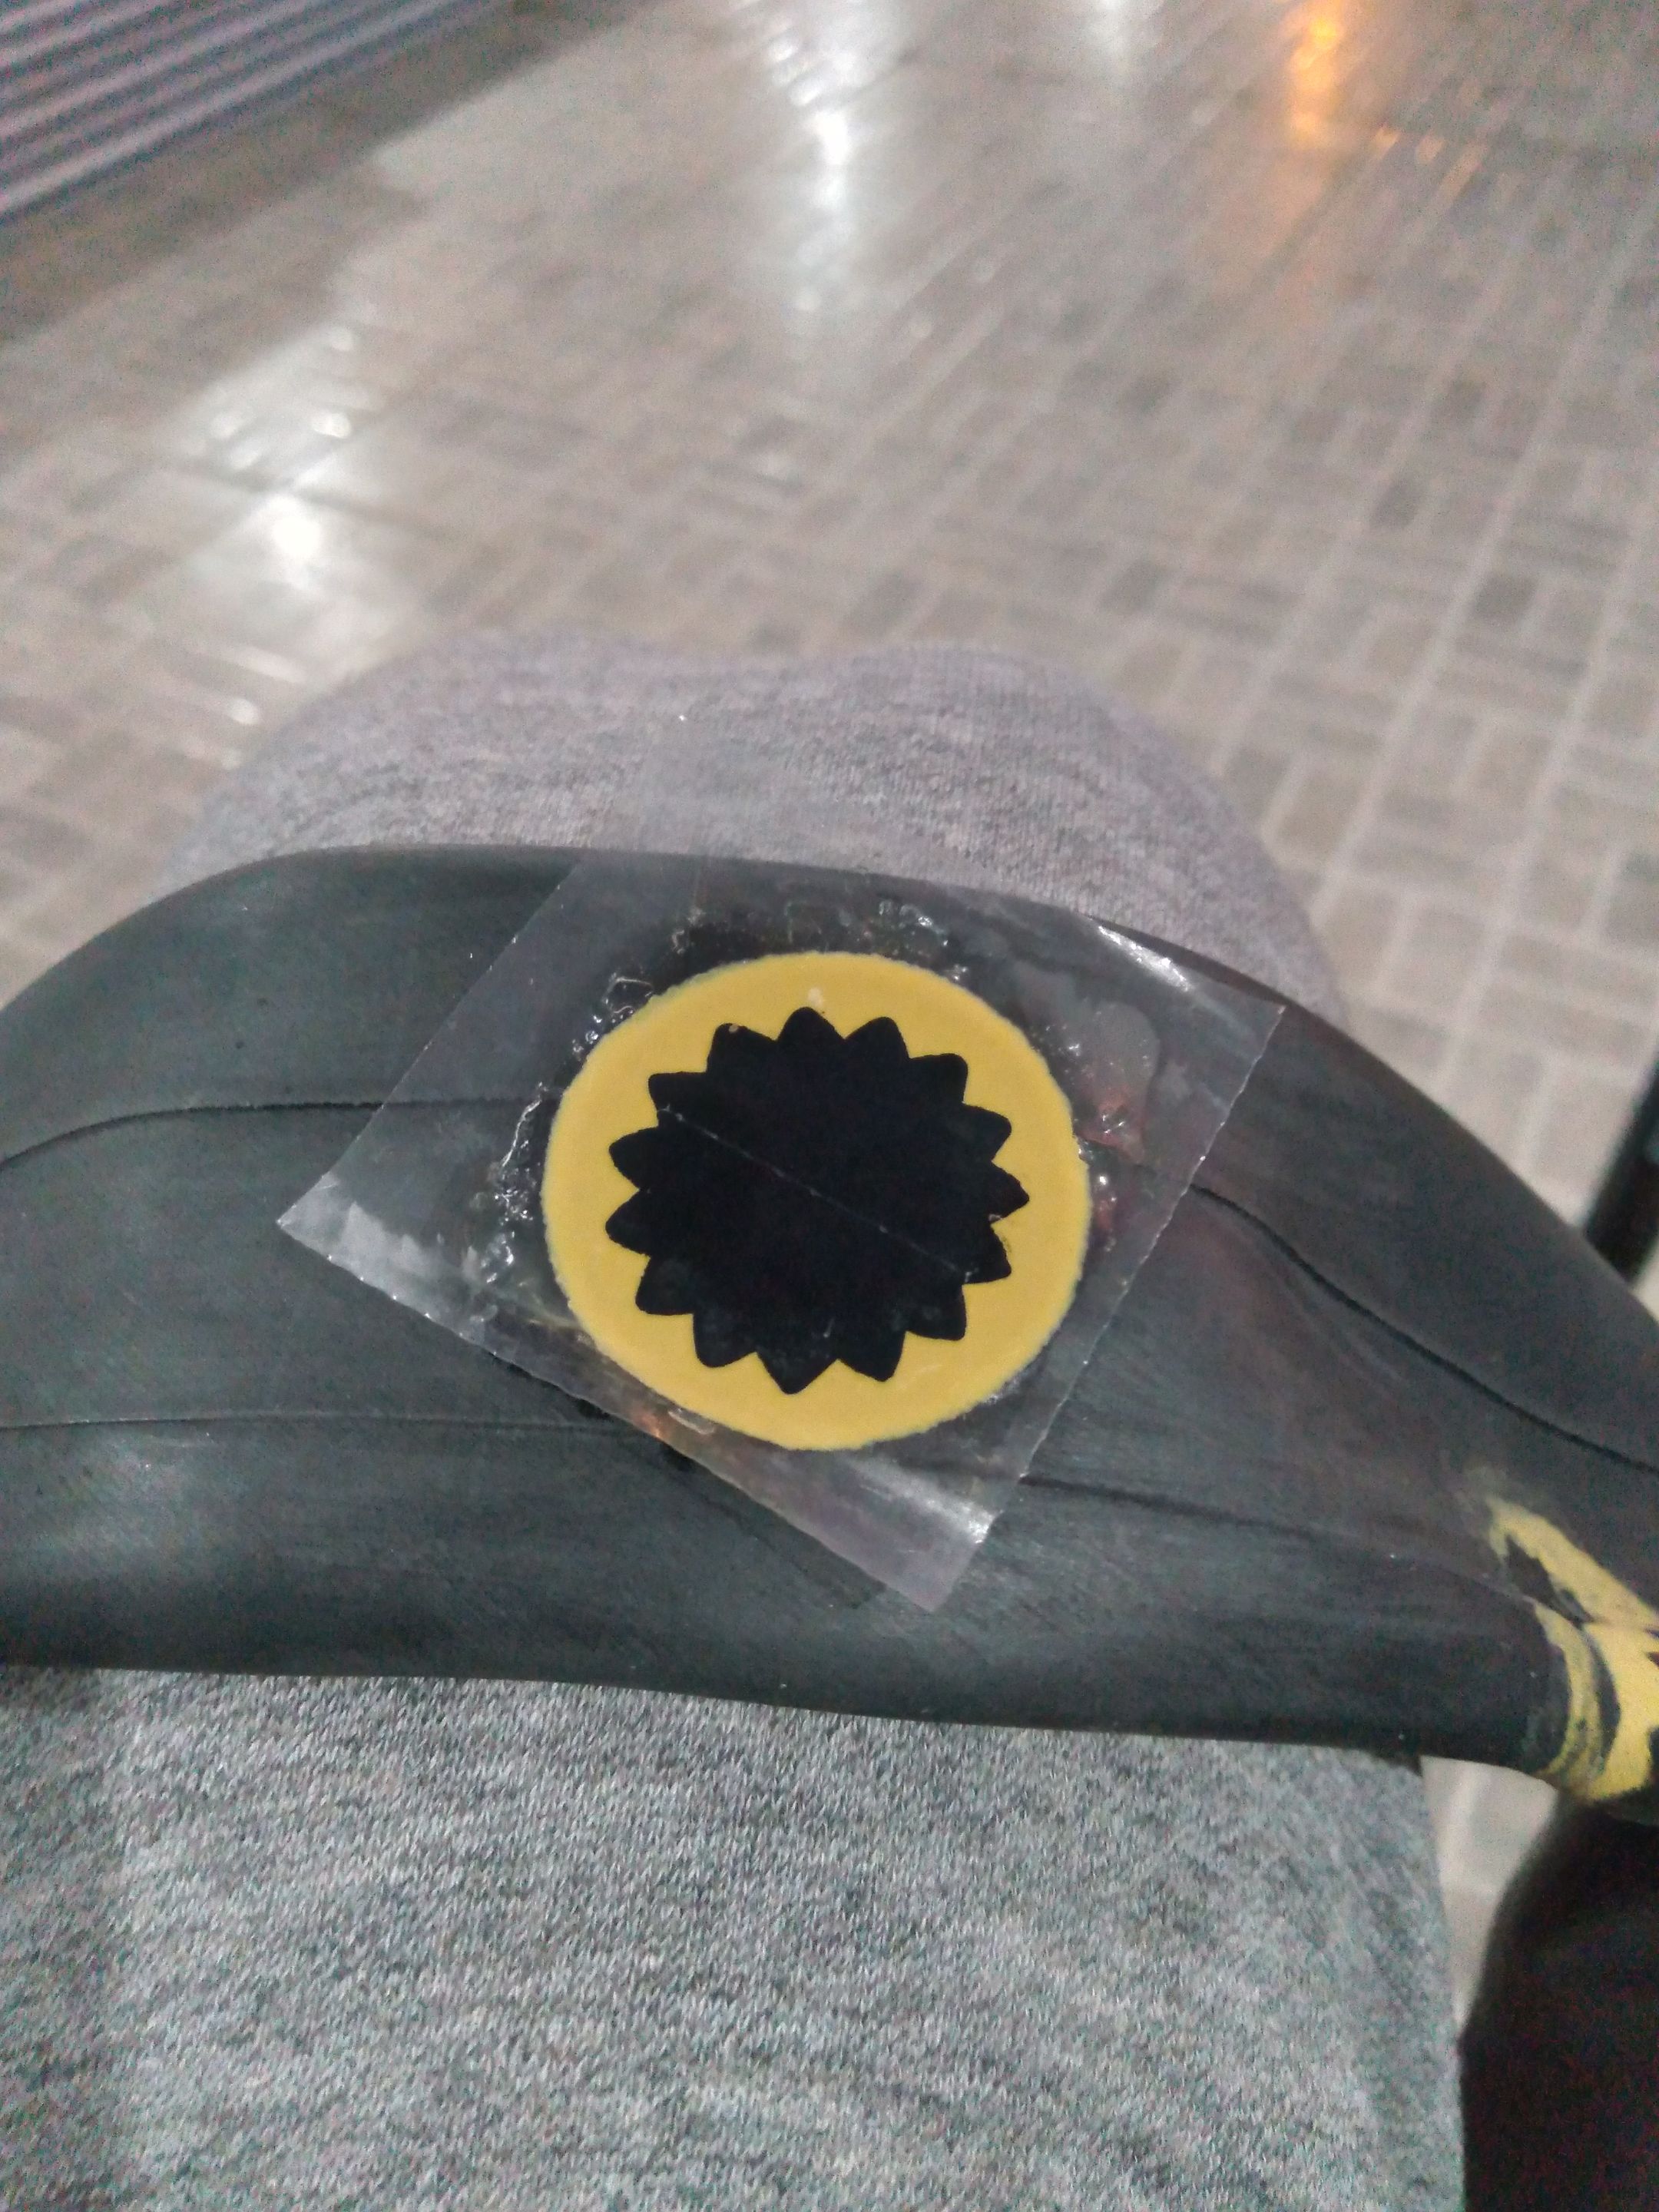
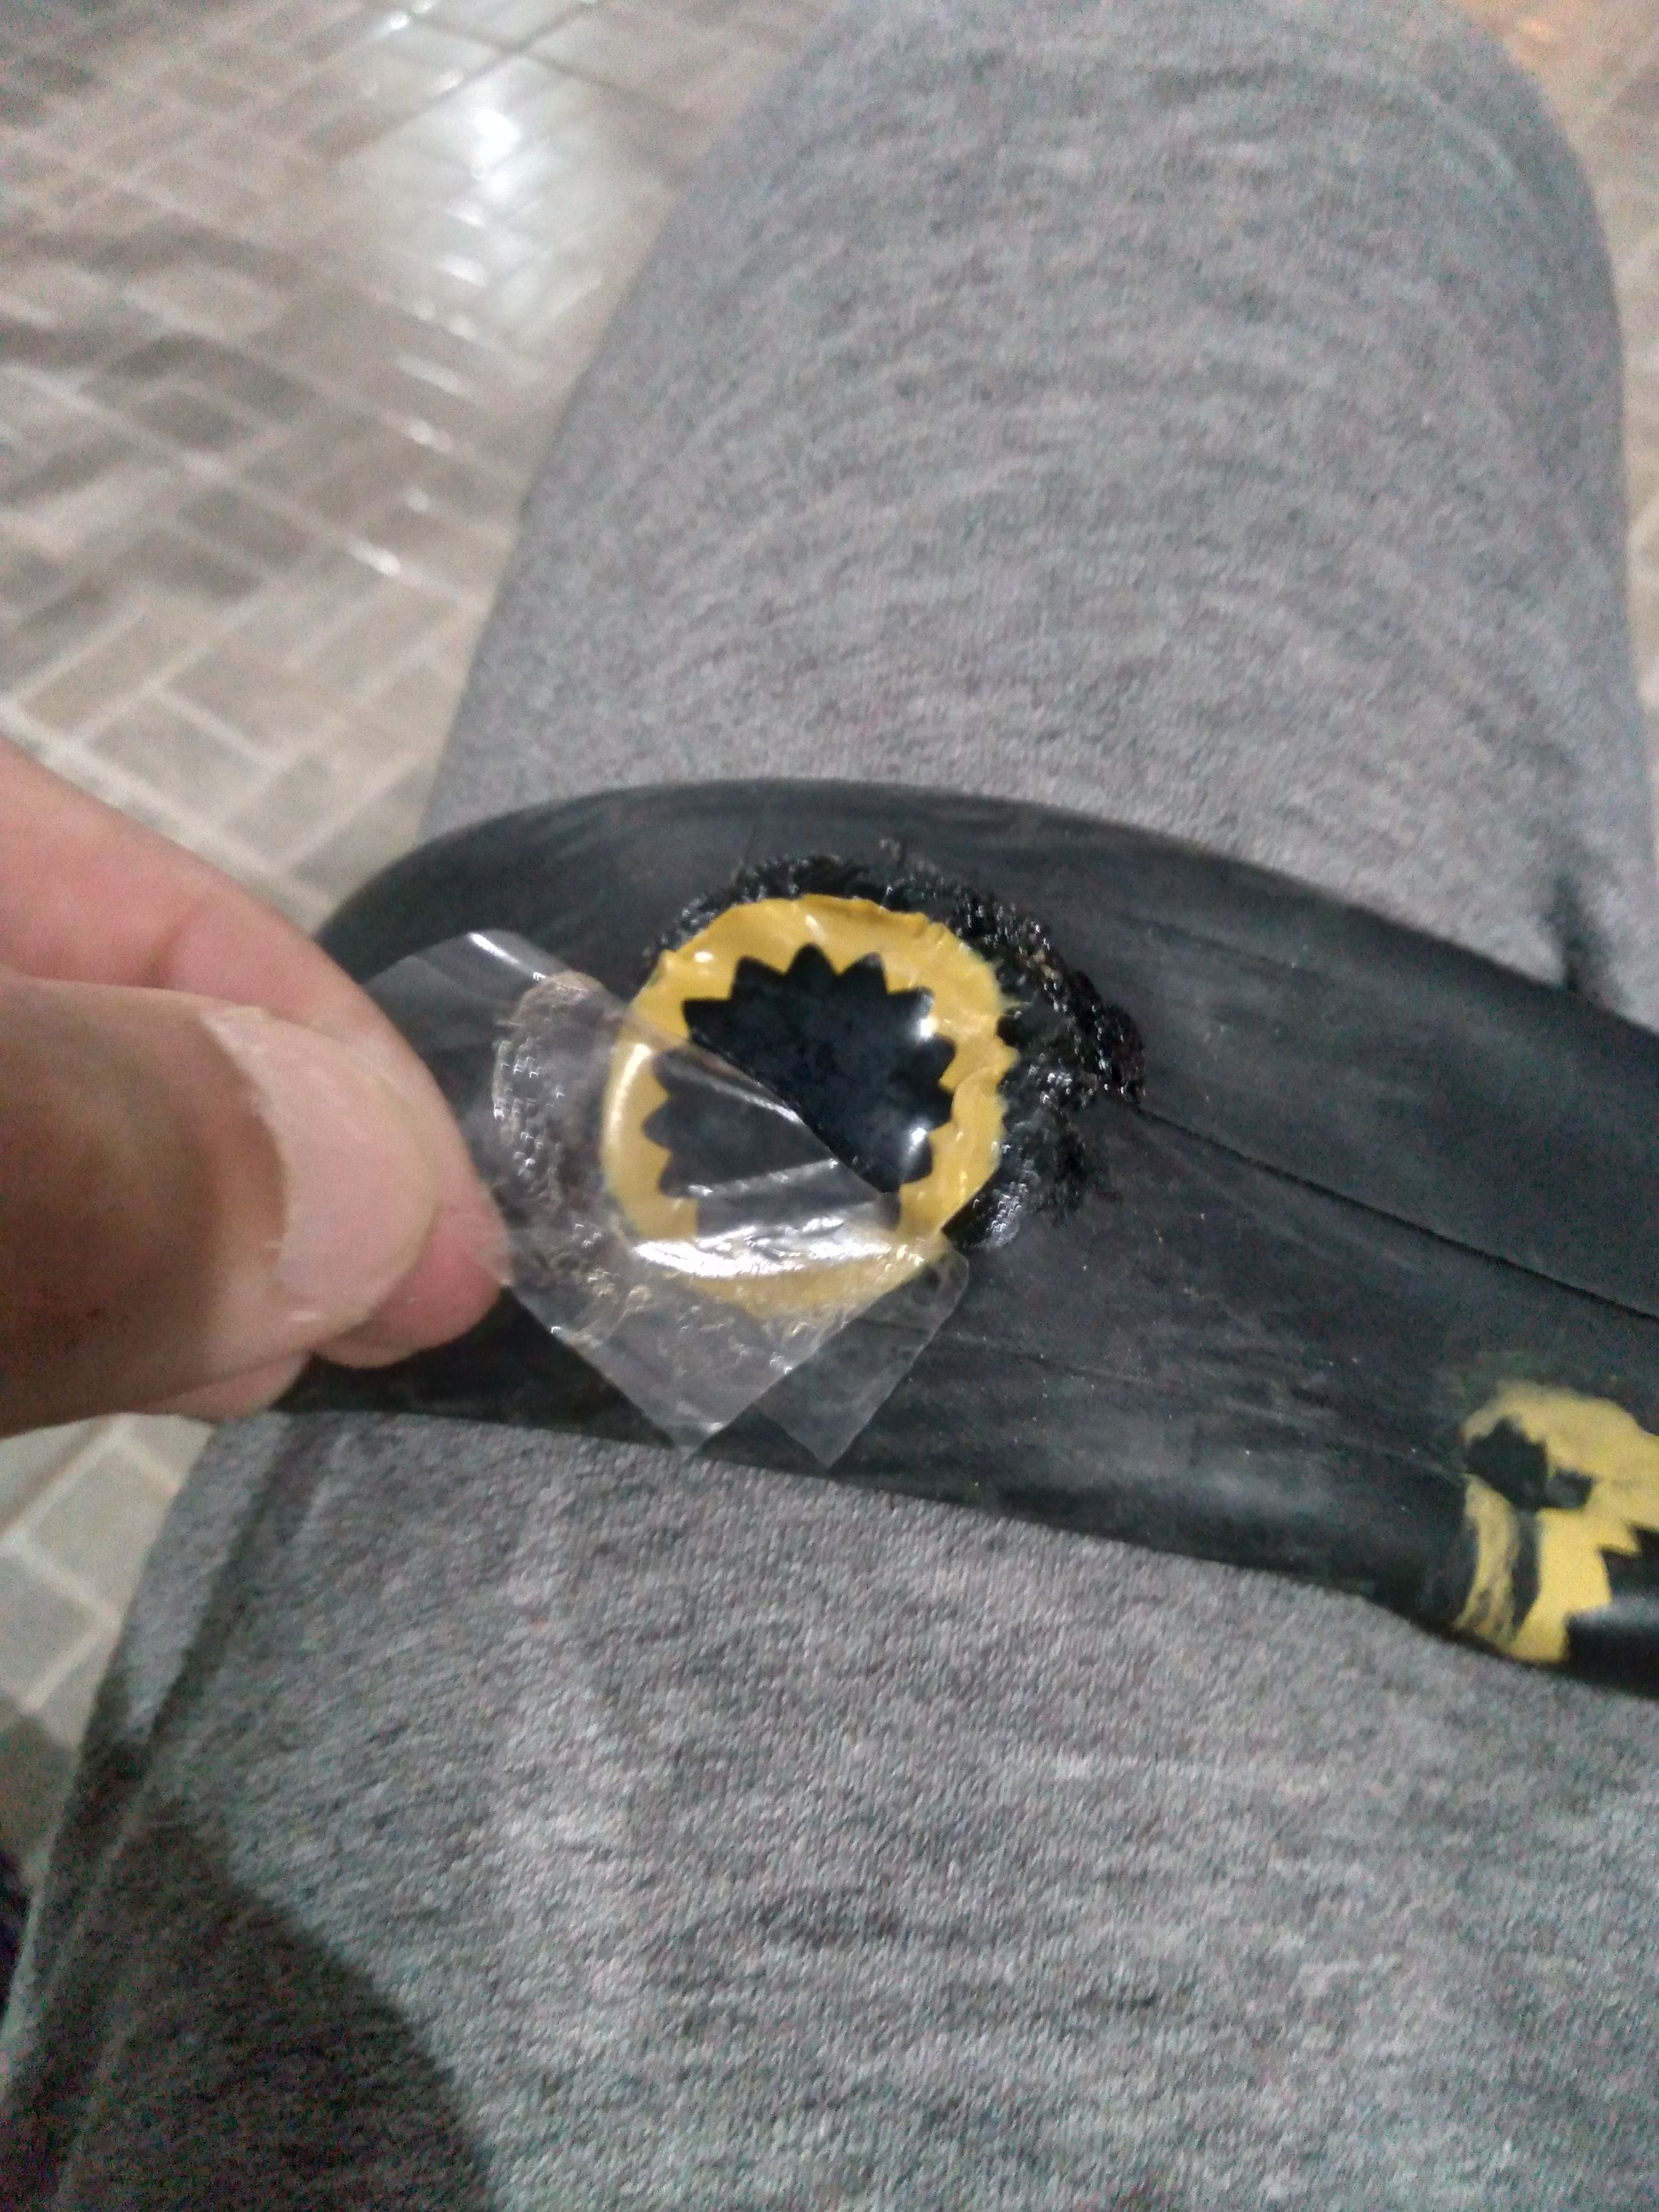
**Sixth:** Place the repair over the puncture and let the glue dry. Applying some pressure helps. Once it's glued, you can peel the plastic.
<div class="pull-left">
<center><sup>Patch the puncture</sup></center>
</div>
<div class="pull-right">
<center><sup>Peel</sup></center>
</div>
<hr>
**Seventh:** You are about ready to assemble everything back. Before that, run your hand inside the tire and try to find if there's something in there, like a thorn, nail or anything else. Remove whatever might be there. Now you can assemble the wheel again.
> **Tip:** Pump some air into the tube as it's easier to assemble.
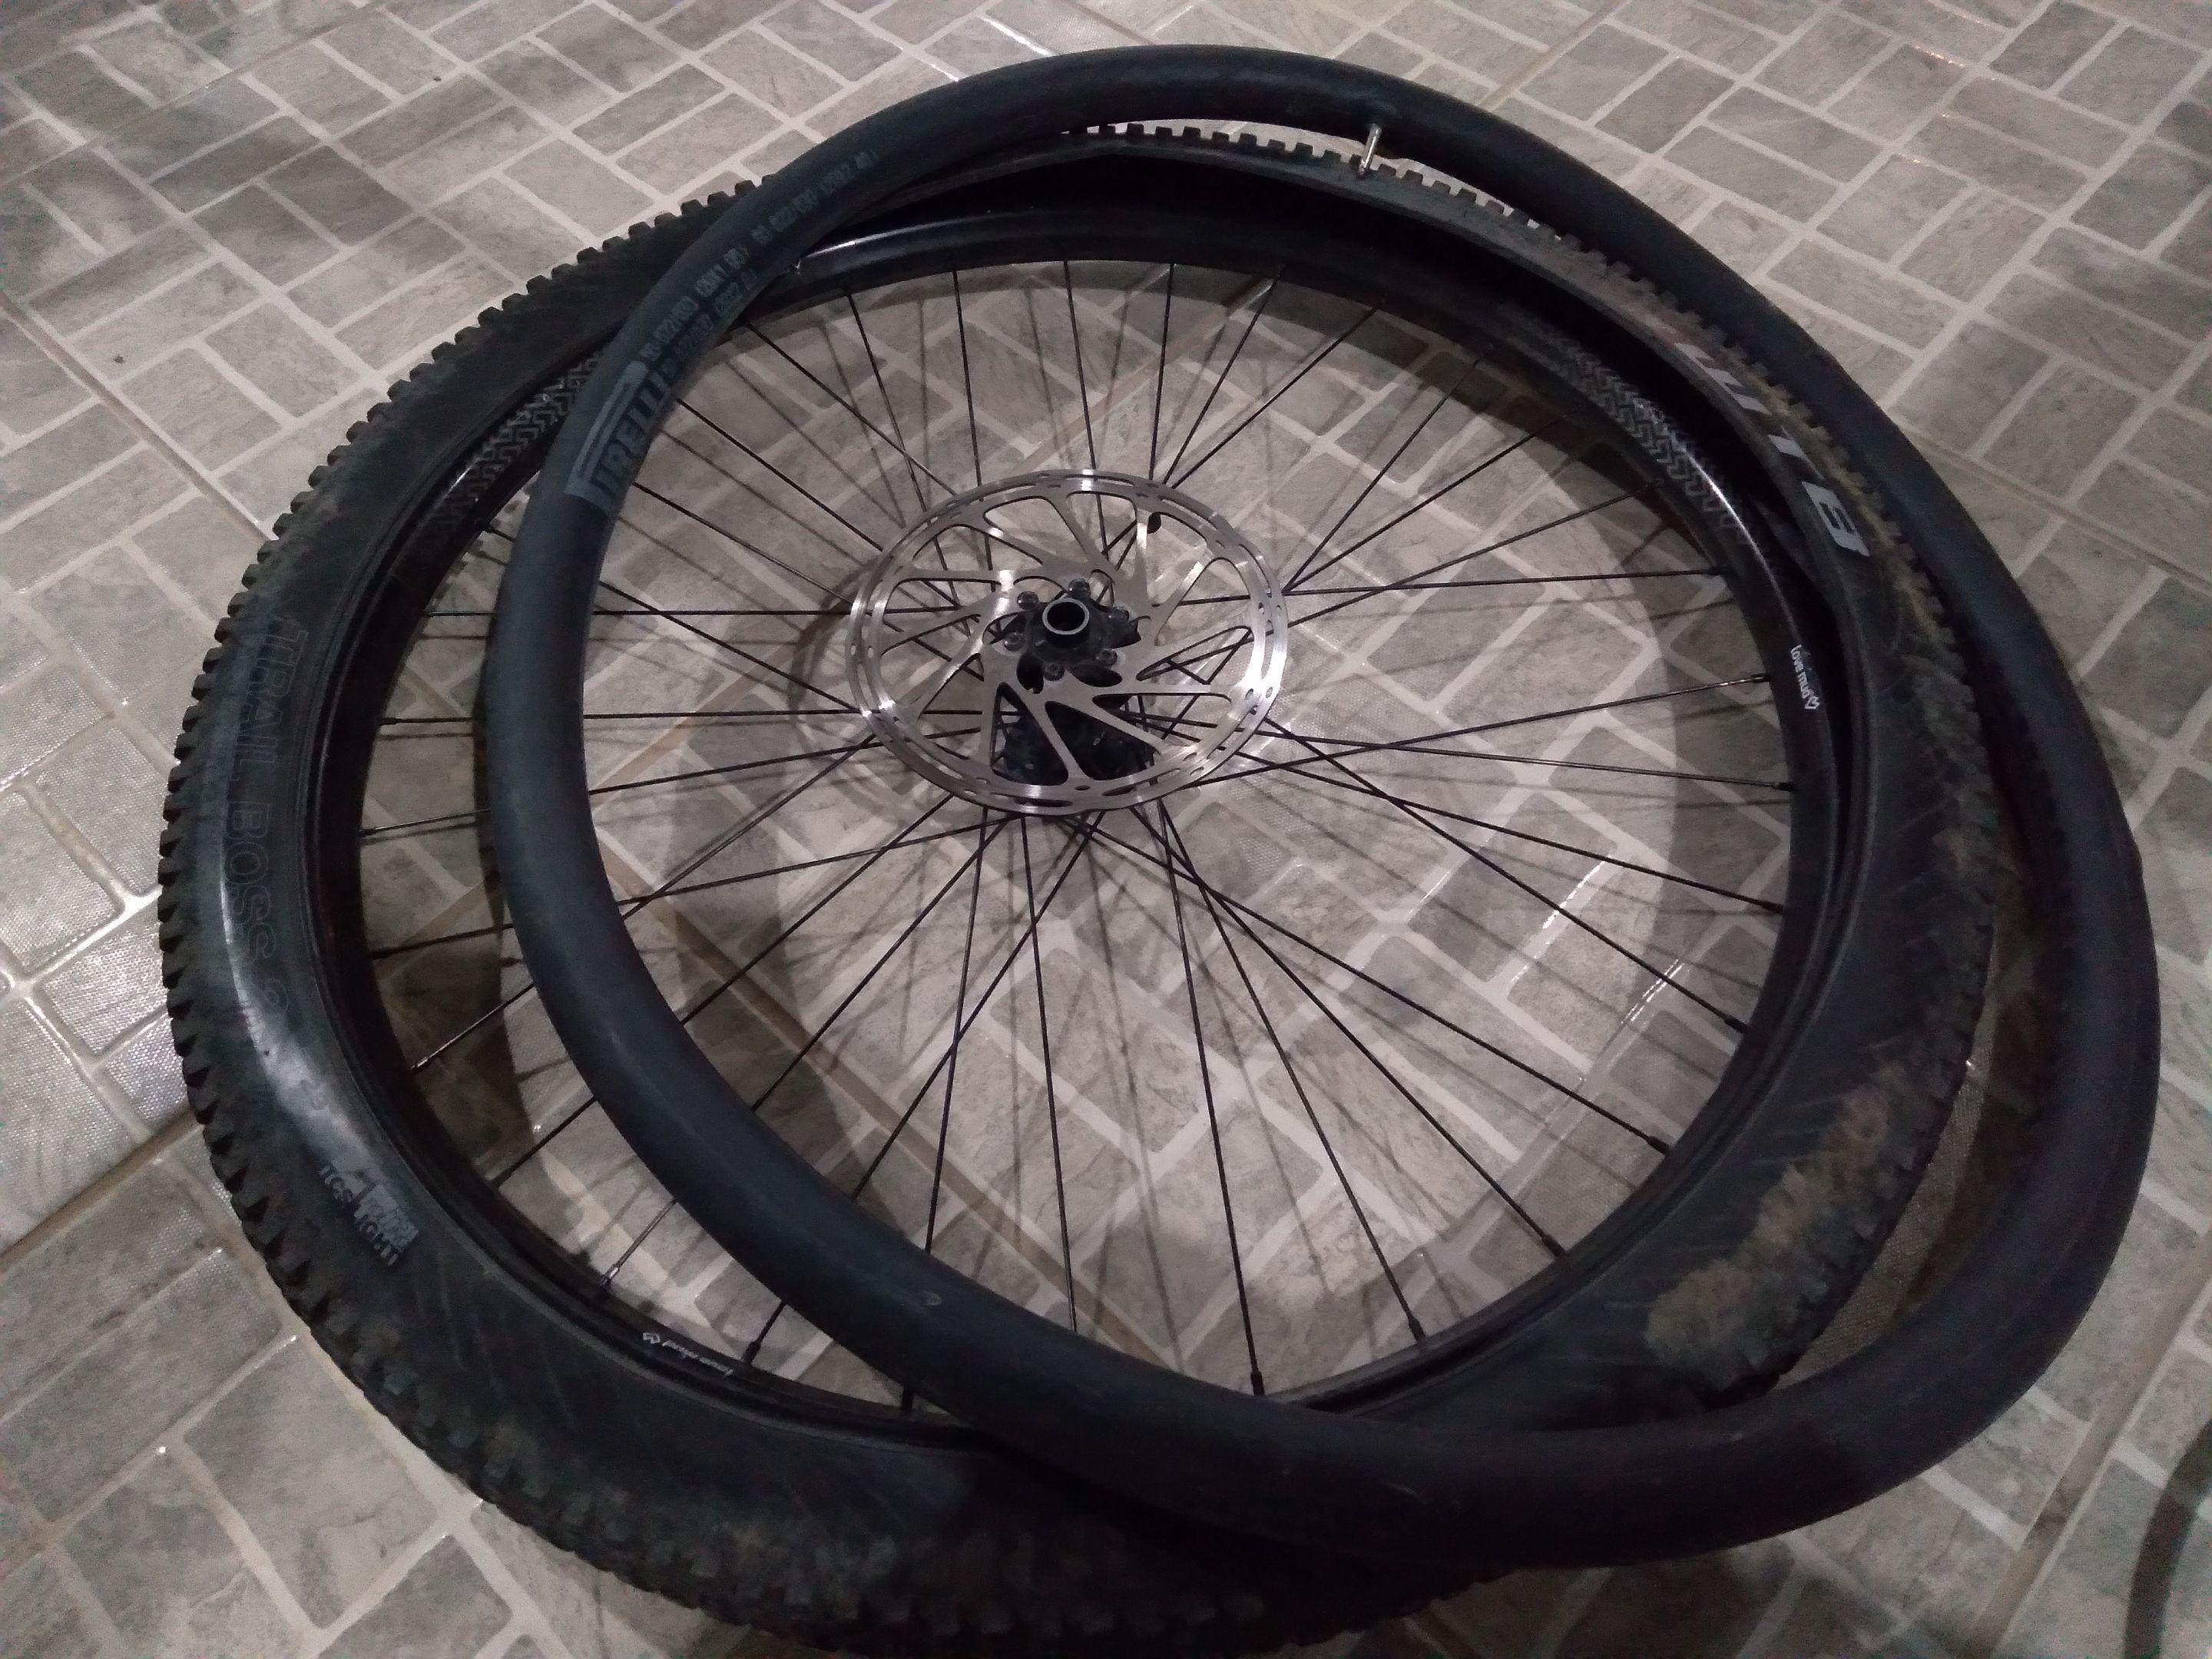
<center><sup>Assemble everything</sup></center>
<hr>
**Now you are ready to move that buttie!** If this tutorial is confusing, take your bike to a repair shop, but don't give up. Take the opportunity and ask the mechanic to teach you how to fix your own tire.
Enjoy the summer.
Peace.
<hr>
### Did you know that I have a book out? Check this!
**Access Link:** https://www.amazon.com/dp/6500272773?
[](https://www.amazon.com/dp/B09B4JQTS7)
<hr>
### If you enjoyed this post consider leaving your upvote for a hot coffee.
### Find me on Twitter: https://twitter.com/mrprofessor_
### ~Love ya all,
<img src="https://steemitimages.com/DQmckKMaBQJwyZHdwahLhN7eZDjum3ykHfB6erArtc853QH/signature.gif"/>
<hr>
**Disclaimer:** *The author of this post is a convict broke backpacker, who has travelled more than 10.000 km hitchhiking and more than 5.000 km cycling. Following him may cause severe problems of wanderlust and inquietud. You've been warned.*
<hr>
<center>
<p><img src="https://steemitimages.com/DQmVYDiwocRNdSvmRhbh4TWjtGJ6VwFm2D4wB9fS8ZZoTps/PROFILE2.jpg"/></p>
<center>
### I'm Arthur. I blog about Adventure Stories, Brazil, Travel, Camping, & Life Experiences.
### Follow me to stay tuned for more craziness and tips.
</center>👍 mininthecity, brazilians, dudutaulois, mynotsofitlife, truthtrader, leodelara, aleister, onlavu, ultrabiker, gerber, ezzy, exyle, steem.leo, mice-k, dcityrewards, reazuliqbal, someguy123, iansart, felander, bestboom, steem.services, linco, dlike, bobby.madagascar, cakemonster, mfblack, milu-the-dog, triplea.bot, ribary, dcrops, discovereurovelo, heyitshaas, for91days, olgadmitriewna, robmolecule, wanderein, perronegro, sbi3, freedomtribe, fatman, thefoundation, randomgoodstuff, chipdip, helgalubevi, steem-tube, wongbraling, yogacoach, offoodandart, meanbees, craftingwithreny, exator, alphacore, steemexperience, promo-mentors, dante31, futurethinker, osarueseosato, tinyhousecryptos, podanrj, perfilbrasil, equipodelta, eleazarvo, angelesdesteemit, ang.spc, badtman, uncafeyalgomas, jorgedr0id, stortebeker, curangel, roelandp, pharesim, gikitiki, sunshine, shaunmza, gingerninja, dandesign86, jayna, diegoameerali, lenasveganliving, markjason, outlinez, taldor, coloneljethro, bdmillergallery, cooltivar, remotehorst23, lifeskills-tv, nsfw-power, thevil, babytarazkp, dpend.active, maitt87, issymarie2, altleft, meritocracy, robvector, jessicaossom, yasern, wendy0520, uncorked-reality, bryan-imhoff, abh12345, keuudeip, askari, erikaflynn, joeyarnoldvn, diabolika, scrodinger, gentleshaid, straykat, sco, ronpurteetv, lemony-cricket, bertrayo, azircon, greddyforce, tijntje, mlrequena78, cmplxty, adalger, epicdice, myfreshes, emybaby, janettbrito76, warpedpoetic, stemng, doctor-cog-diss, voter002, milky-concrete, ssiena, samest, kingabesh, the.chiomz, djoi, temitayo-pelumi, jlsplatts, filler, powercompound, voxmortis, obsesija, maonx, mrhoofman, rodnellys31, mister.reatard, disconnect, macoolette, yiobri, bil.prag, daveks, artonmysleeve, lesiopm, racibo, browery, ratelmiodozer, pl-travelfeed, lesiopm2, saunter, lynxialicious, velmafia, merthin, verticallife, ybanezkim26, xsasj, mrnightmare89, mrnightmare.net, misslasvegas, hetty-rowan, hirohurl, wagnertamanaha, riansilva, opochtli, m31, growandbow, johncarpenter, skatergirl, bawltricka, kiwibloke, quduus1, gadrian, digi-me, amirtheawesome1, raj808, phortun, pavelsku, trangbaby, babeltrips, thu172, lynnnguyen, kimloan, dora381, whynotcamp, crazy-bee, sunnyvo, hyhy93, ivypham, danghao, tuyenmei95, ecotrain, elamental, jerrybanfield, eco-alex, steelborne, fenngen, binkyprod, nutritree, bia.birch, vegan.niinja, captainbob, senorcoconut, puregrace, build-it, amberyooper, oredebby, cruisin, letalis-laetitia, anonymousman1, tokenyzzy, viking-ventures, whywhy, generikat, roninrelax, tobago, trucklife-family, rcaine, holovision.make, alente, therealtseries, successchar, b0s, diveratt, millycf1976, rimicane, liltammy, elianaicgomes, blainjones, cbridges573, jongolson, jasonbu, bulldog1205, cryptoccshow, divinebeingness, nevies, proofofbrainio, vyb.curation, rollingbones, dwinblood, richardcrill, calumam, topbooster, khoola, trostparadox.vyb, vyb.pob, solominer, whangster79, traisto, cribbio, gasaeightyfive, gaottantacinque,