Gingko Tile Project, Progress and Firing
art·@natureofbeing·
0.000 HBDGingko Tile Project, Progress and Firing
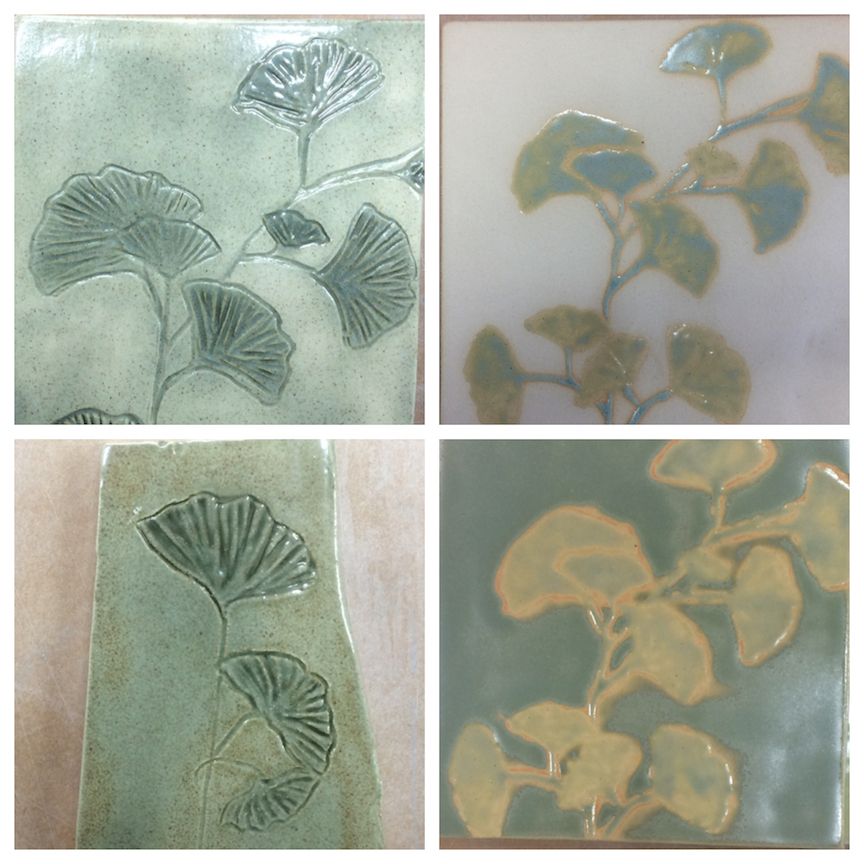 # Firing Gingko Leaf Tiles <h1> Over the past month or two I’ve been posting bits of progress on a commission for a master bathroom remodel here in Portland, Oregon. The order consisted of creating an art piece that would serve as the focus of the bathroom as well as a field tile backsplash to match. [(see previous post showing the field tiles)](https://steemit.com/design/@natureofbeing/process-process-process) The client loves Gingko trees and the English Arts & Crafts style of the early 1900s (think William Morris, Charles Voysey, Louis Comfort Tiffany). I began with making some samples trying out different techniques of glaze painting and carving - see top photo - and the client chose the top and bottom left which use the same glaze applied differently. The space for this ornamental art piece is 14” wide x 52” tall so I chose to divide the space up into 5 tiles. Fewer would have made the tiles overly prone to warping and more would have disrupted the flow of the imagery too much. 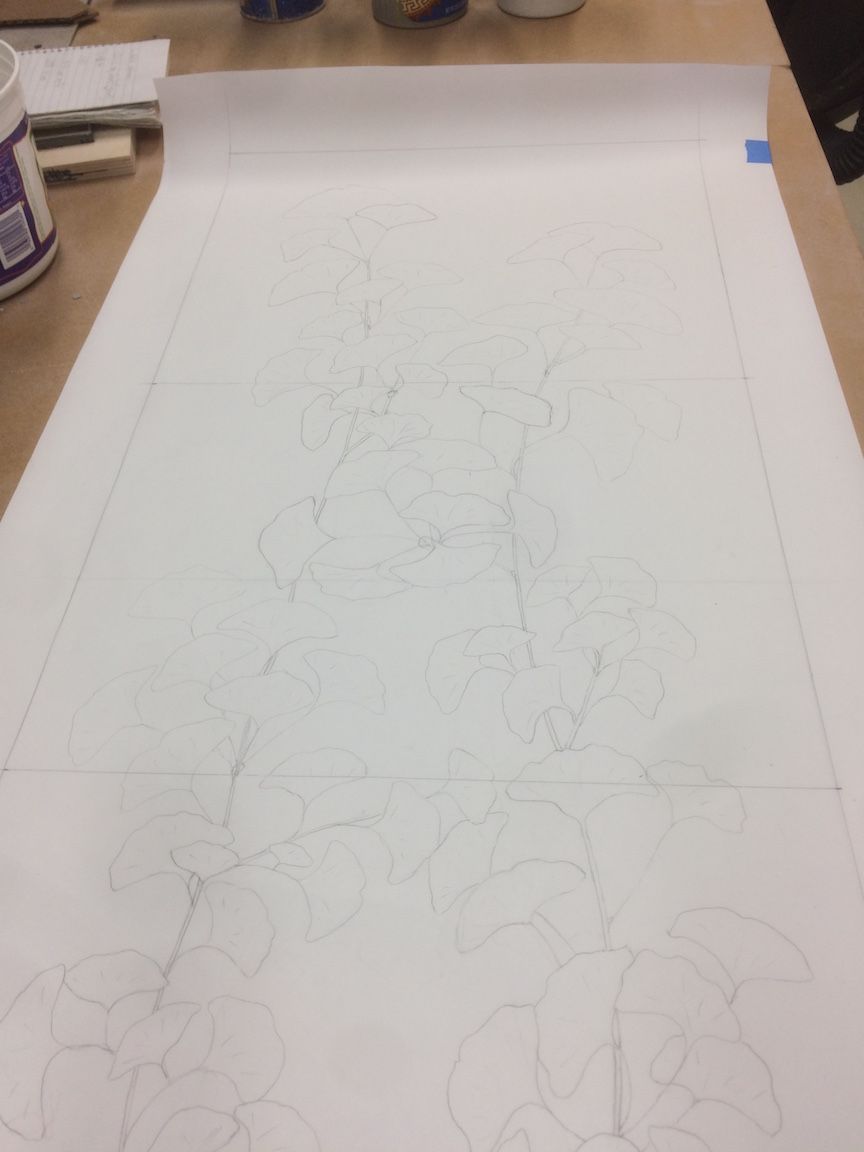 I made the working drawing and once approved I rolled the large slabs of clay, cut the 5 tiles and carved the Gingko branches and leaves into the wet clay. 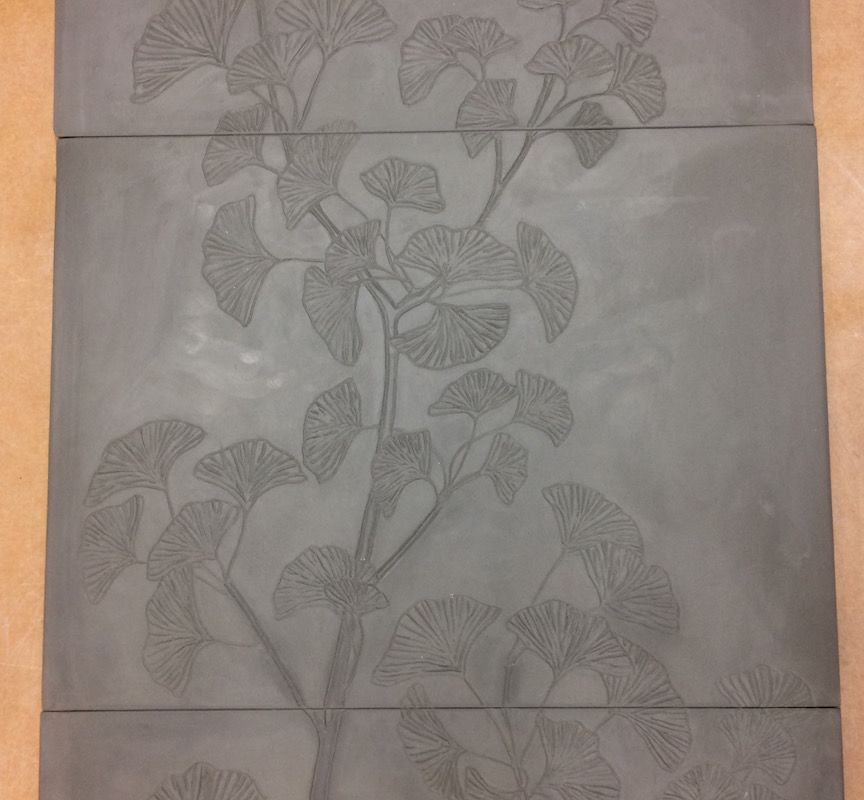 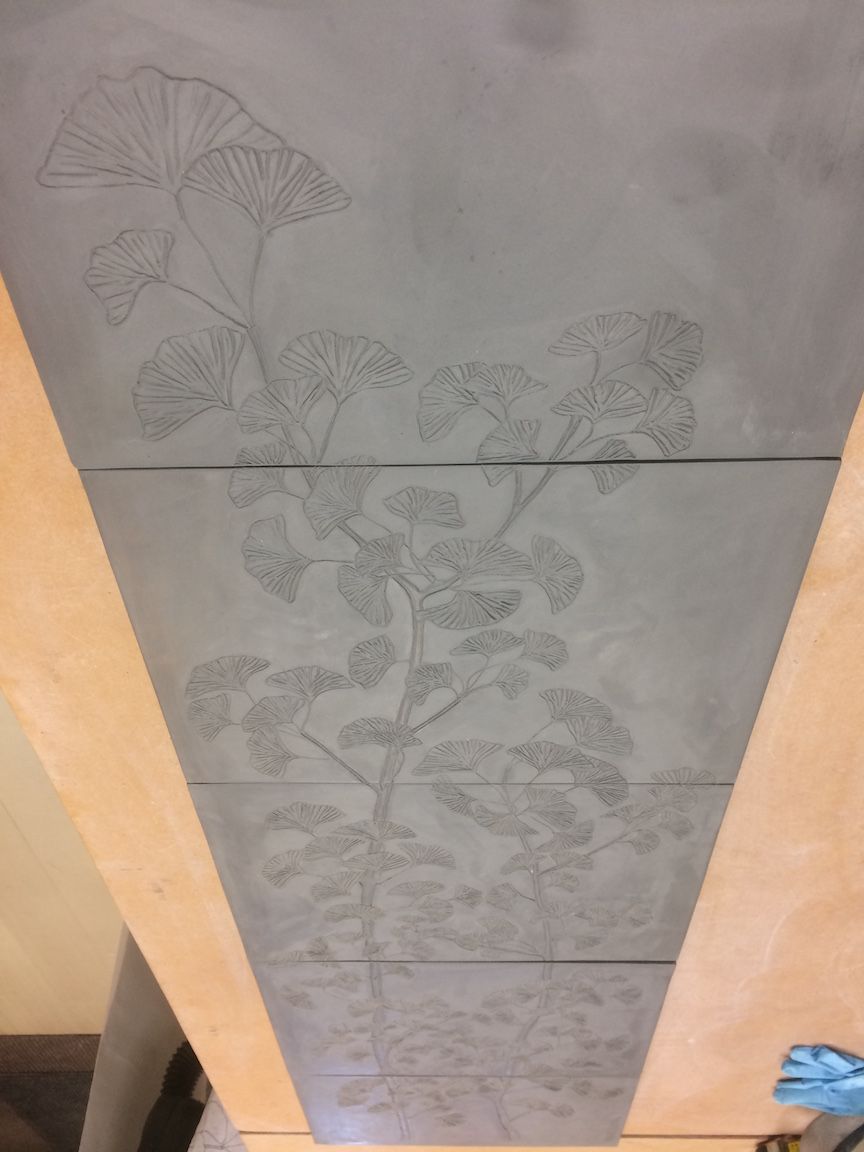 These tiles dried for about 5 days pressed between drywall because even drying + compression= flat tiles. Preparing them for firing included sanding the bottoms of each tile to insure flatness and gently sanding any marks on the surface: 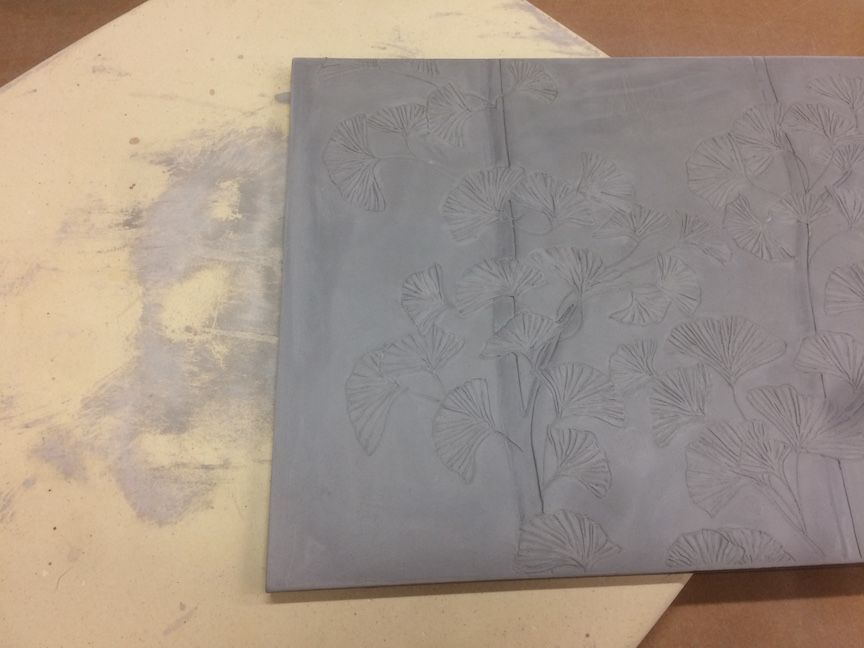 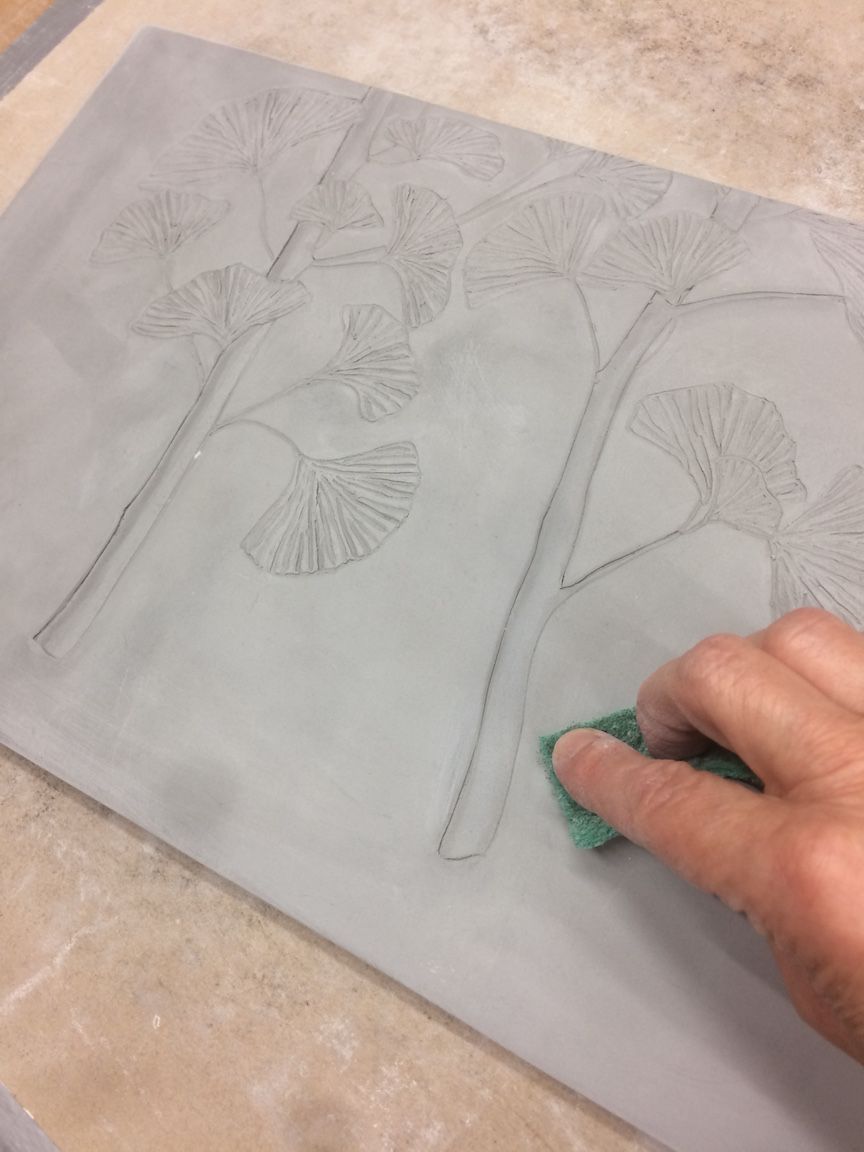 Because these tiles are so large (15” x 11”) I put sand on each kiln shelf so that the clay molecules can easily move around as they shrink during firing which prevents cracking: 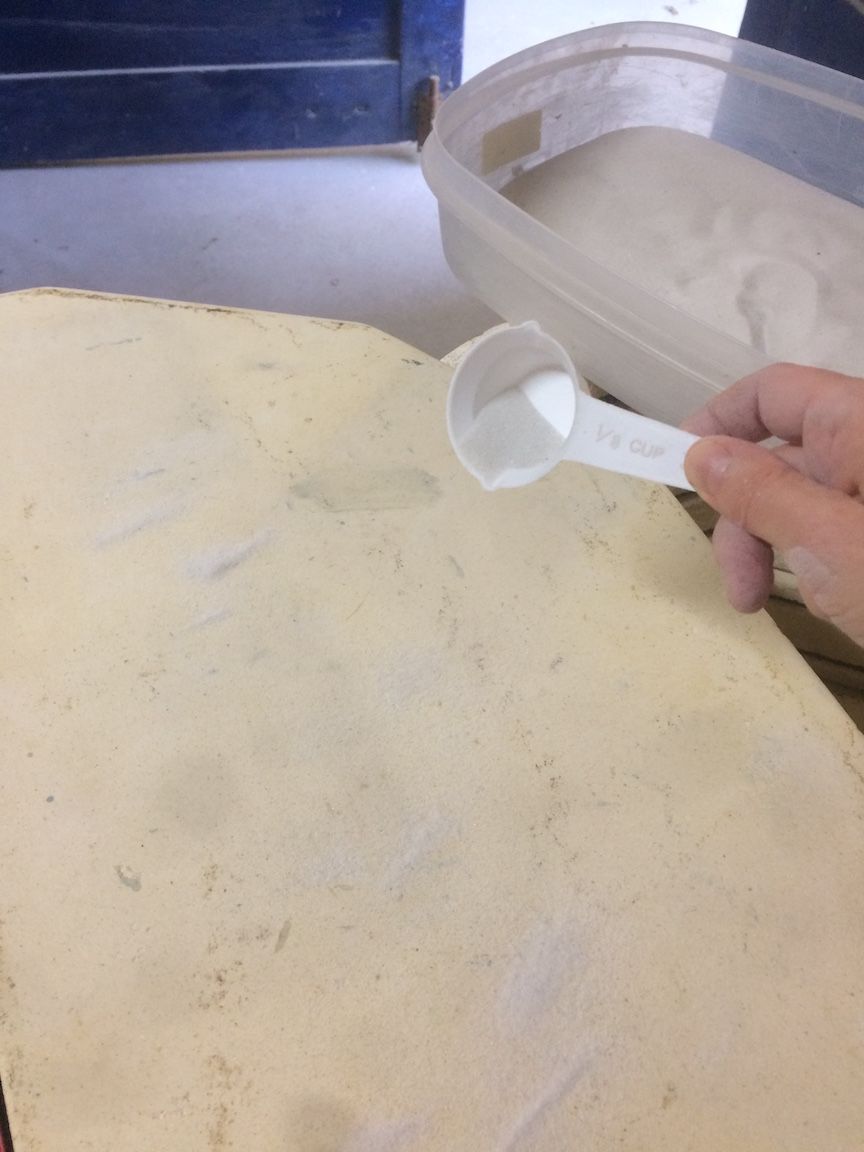 I loaded the electric kiln for a 18 hour “candling” which is when the temperature is raised in very slow increments of 30 degrees per hour and then held at specific temperatures to allow the moisture to slowly exit the clay. For these tiles, I programmed the computer to hold at 180 degrees F for 10 hours, at 300 degrees F for 3 hours and 500 degrees F for 3 hours all with the kiln lid propped up to allow moisture to exit the kiln. 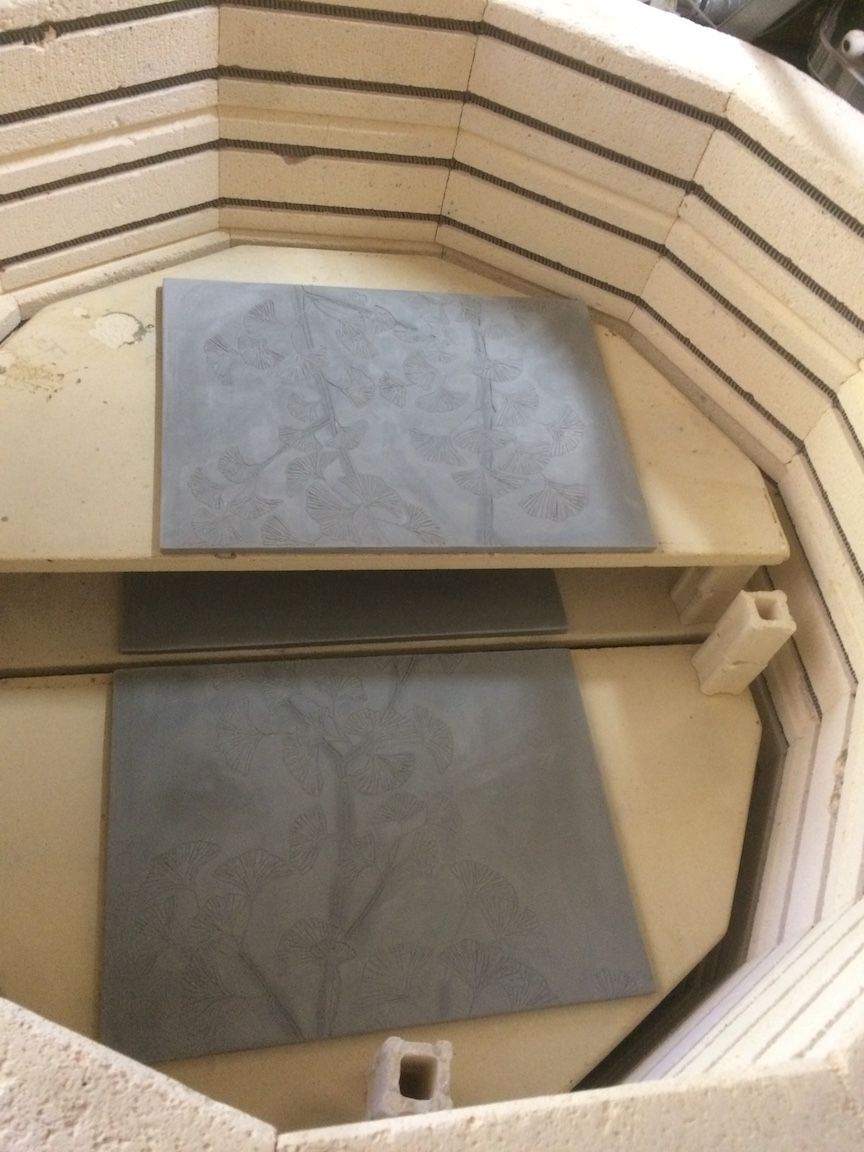 Back in grade school when your ceramics pieces blew up, it was because the water inside the clay would reach boiling point while the temperature was rising too quickly for this water to exit the clay. The pressure built up would literally blow either a piece of the clay off or the whole piece apart depending on the amount of pressure. Candling slowly and with the lid partially open makes it possible to fire even very thick pieces without cracking or blow-ups. 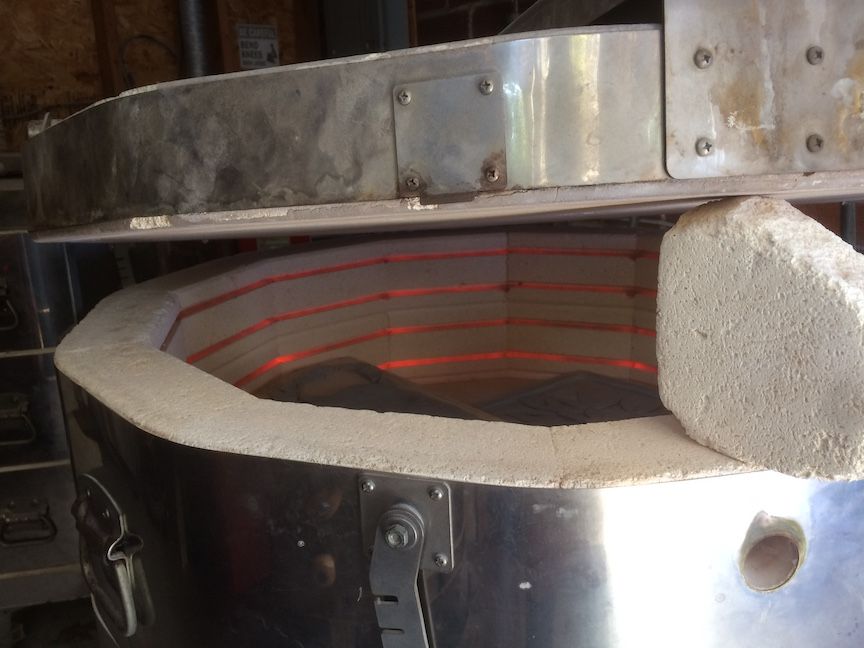 *you can see the electric elements are heating up, this photo was taken at about 650 degrees F* The bisque firing will complete at 1923 degrees F (pyrometric cone 04). In school I learned to determine temperature by the color of the fire, from hot to hottest - red (1200 deg F), yellow-orange (1700 deg F), yellow (2400 deg F), white (2500 deg F) - but now the computer does the job. Below the top peep hole is open so you can see the yellow-orange color developing.  Tomorrow I’ll show you the results :-) Thanks for visiting my blog, I appreciate your support! 
👍 cainplant, eltapatio, natureofbeing, timbot606, livingfree, wbulot, proctologic, akinloluayobami, superfreek, iliketoast, ubg, speda, beervangeer, penguinpablo, fraterralph, cmp2020, remlaps1, lisa.palmer, cub1, sandra, ihashfury, jason, vi1son, pozitivityspace, t-bot, nanzo-scoop, ak2020, mafeeva, mummyimperfect, dimimp, runridefly, siniceku, glitterfart, yuslindwi, black-eye, bbrewer, studiohyperion, rarebooksleuth, steppingout23, thewoolynettle, luckyfellow, voronoi, ekpickle, serkorkin, wickedcute, bloomview, greatdabu, rosarosa, handsolo, style, steemed, itsascam, steemroller, dashpaymag, donaldtrump, lovelace, badger311, badger3101, badger3102, badger3103, badger3104, badger3105, badger3106, badger3107, badger3111, badger3112, badger3113, badger3114, badger3115, badger3116, badger312, badger3121, badger3122, badger3123, badger3124, badger3125, badger3126, badger313, badger3131, badger3132, badger3133, badger3134, badger3135, badger3136, badger314, badger3141, badger3142, badger3143, badger3144, badger3145, badger3146, badger315, badger3151, badger3152, badger3153, healthcare, badger3154, daniel.pan, badger3155, bunny, helen.tan, badger3156, badger316, craigslist, badger3161, badger3162, badger3163, badger3164, badger3165, badger3166, badger317, badger3171, badger3172, badger3173, badger3174, badger3175, badger3176, badger318, badger3181, badger3182, badger3183, badger3184, badger3185, badger3186, badger319, badger3191, badger3192, badger3193, badger3194, badger3195, badger3196, slowwalker, bue-witness, cryptolife1, wayfaraway, ericvancewalton, boy, bue, mini, moon, hackbot, googly, ponlinebusiness,