[ESP-ENG] Tutorial: Elaborando Una Decorativa Imagen Utilizando La Técnica Del Vitrificado.// Elaborating A Decorative Image Using The Glazing Technique.//
hive-130560·@nhaydu·
0.000 HBD[ESP-ENG] Tutorial: Elaborando Una Decorativa Imagen Utilizando La Técnica Del Vitrificado.// Elaborating A Decorative Image Using The Glazing Technique.//
<div class="text-justify"> Hola, hola, un saludo grande, grande, para todos los Artistas Creativos de la maravillosa comunidad hivediy; esperando que todos se encuentren muy bien. Hoy les voy a compartir como realizar la técnica del vitrificado casero. Cuando aprendí a vitrificar lo hice con una resina que llaman gemelos, porque se usan dos porciones iguales que hay que unir, empaletar hasta que no le queden grumos para realizar el vitrificado. Bueno cuando hoy fui al trabajo, encontré que tenían que hacer varias piezas gemeladas y no encontraron el material. Cómo siempre, hay que resolver, así que sin apuros, sigan leyendo este tutorial y vean como realice una decorativa imagen japonesa ,para mesa esquinera, consola , escritorio o para cualquier ambientación. Utilizando vitrificador casero. >Hello, hello, a big, big hello to all the Creative Artists of the wonderful hivediy community; hoping that everyone is very well. Today I am going to share with you how to perform the homemade vitrified technique. When I learned to vitrify I did it with a resin called twins, because two equal portions are used that must be joined, palletized until there are no lumps left to carry out the vitrification. Well when I went to work today, I found that they had to make several twin pieces and they couldn't find the material. As always, it has to be resolved, so without rushing, keep reading this tutorial and see how I make a decorative Japanese image for a corner table, console, desk or for any setting. Using homemade vitrifier. 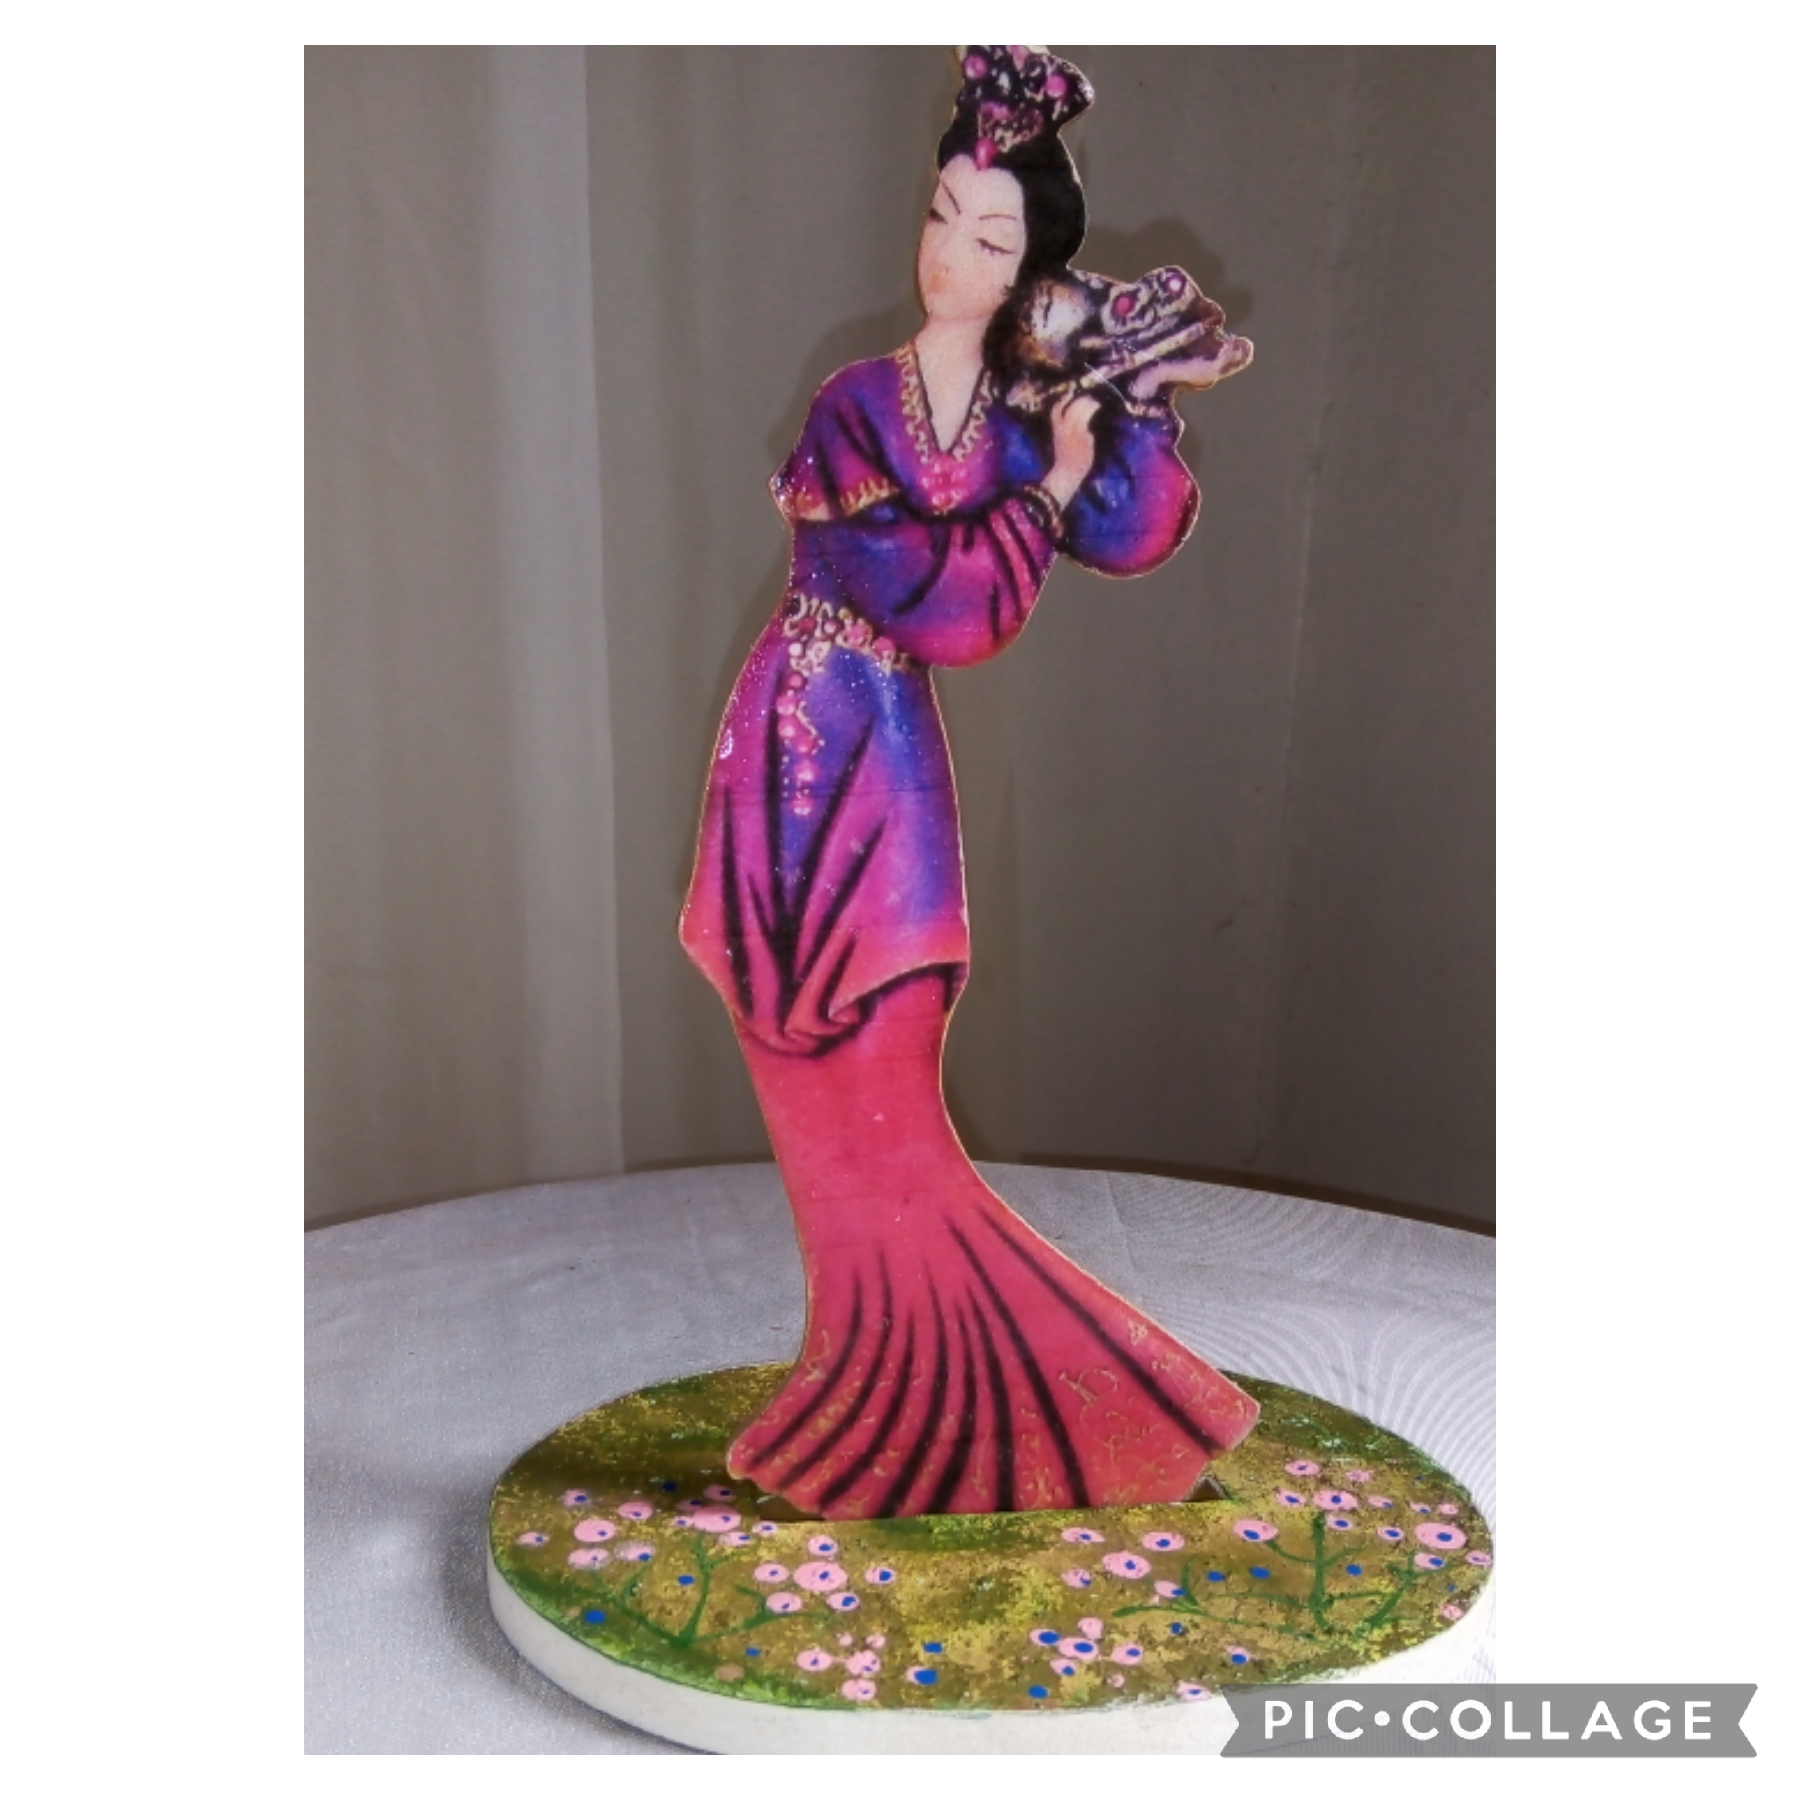 MATERIALES QUE USE Una imagen cortada a láser De una japonesa. Una copia a color de la figura. Pega blanca. Pinturas acrílicas. Pincel. Tijeras. Un óvalo de madera con un corte en el medio para parar la figura. Silicón frío. Alcohol 70 grados. Glicerina. >MATERIALS YOU USE A laser cut image From a Japanese. A color copy of the figure. White glue. Acrylic paintings. Brush. Pair of scissors. A wooden oval with a cut in the middle to hold the figure. Cold sylicon. Alcohol 70 degrees. Glycerin. 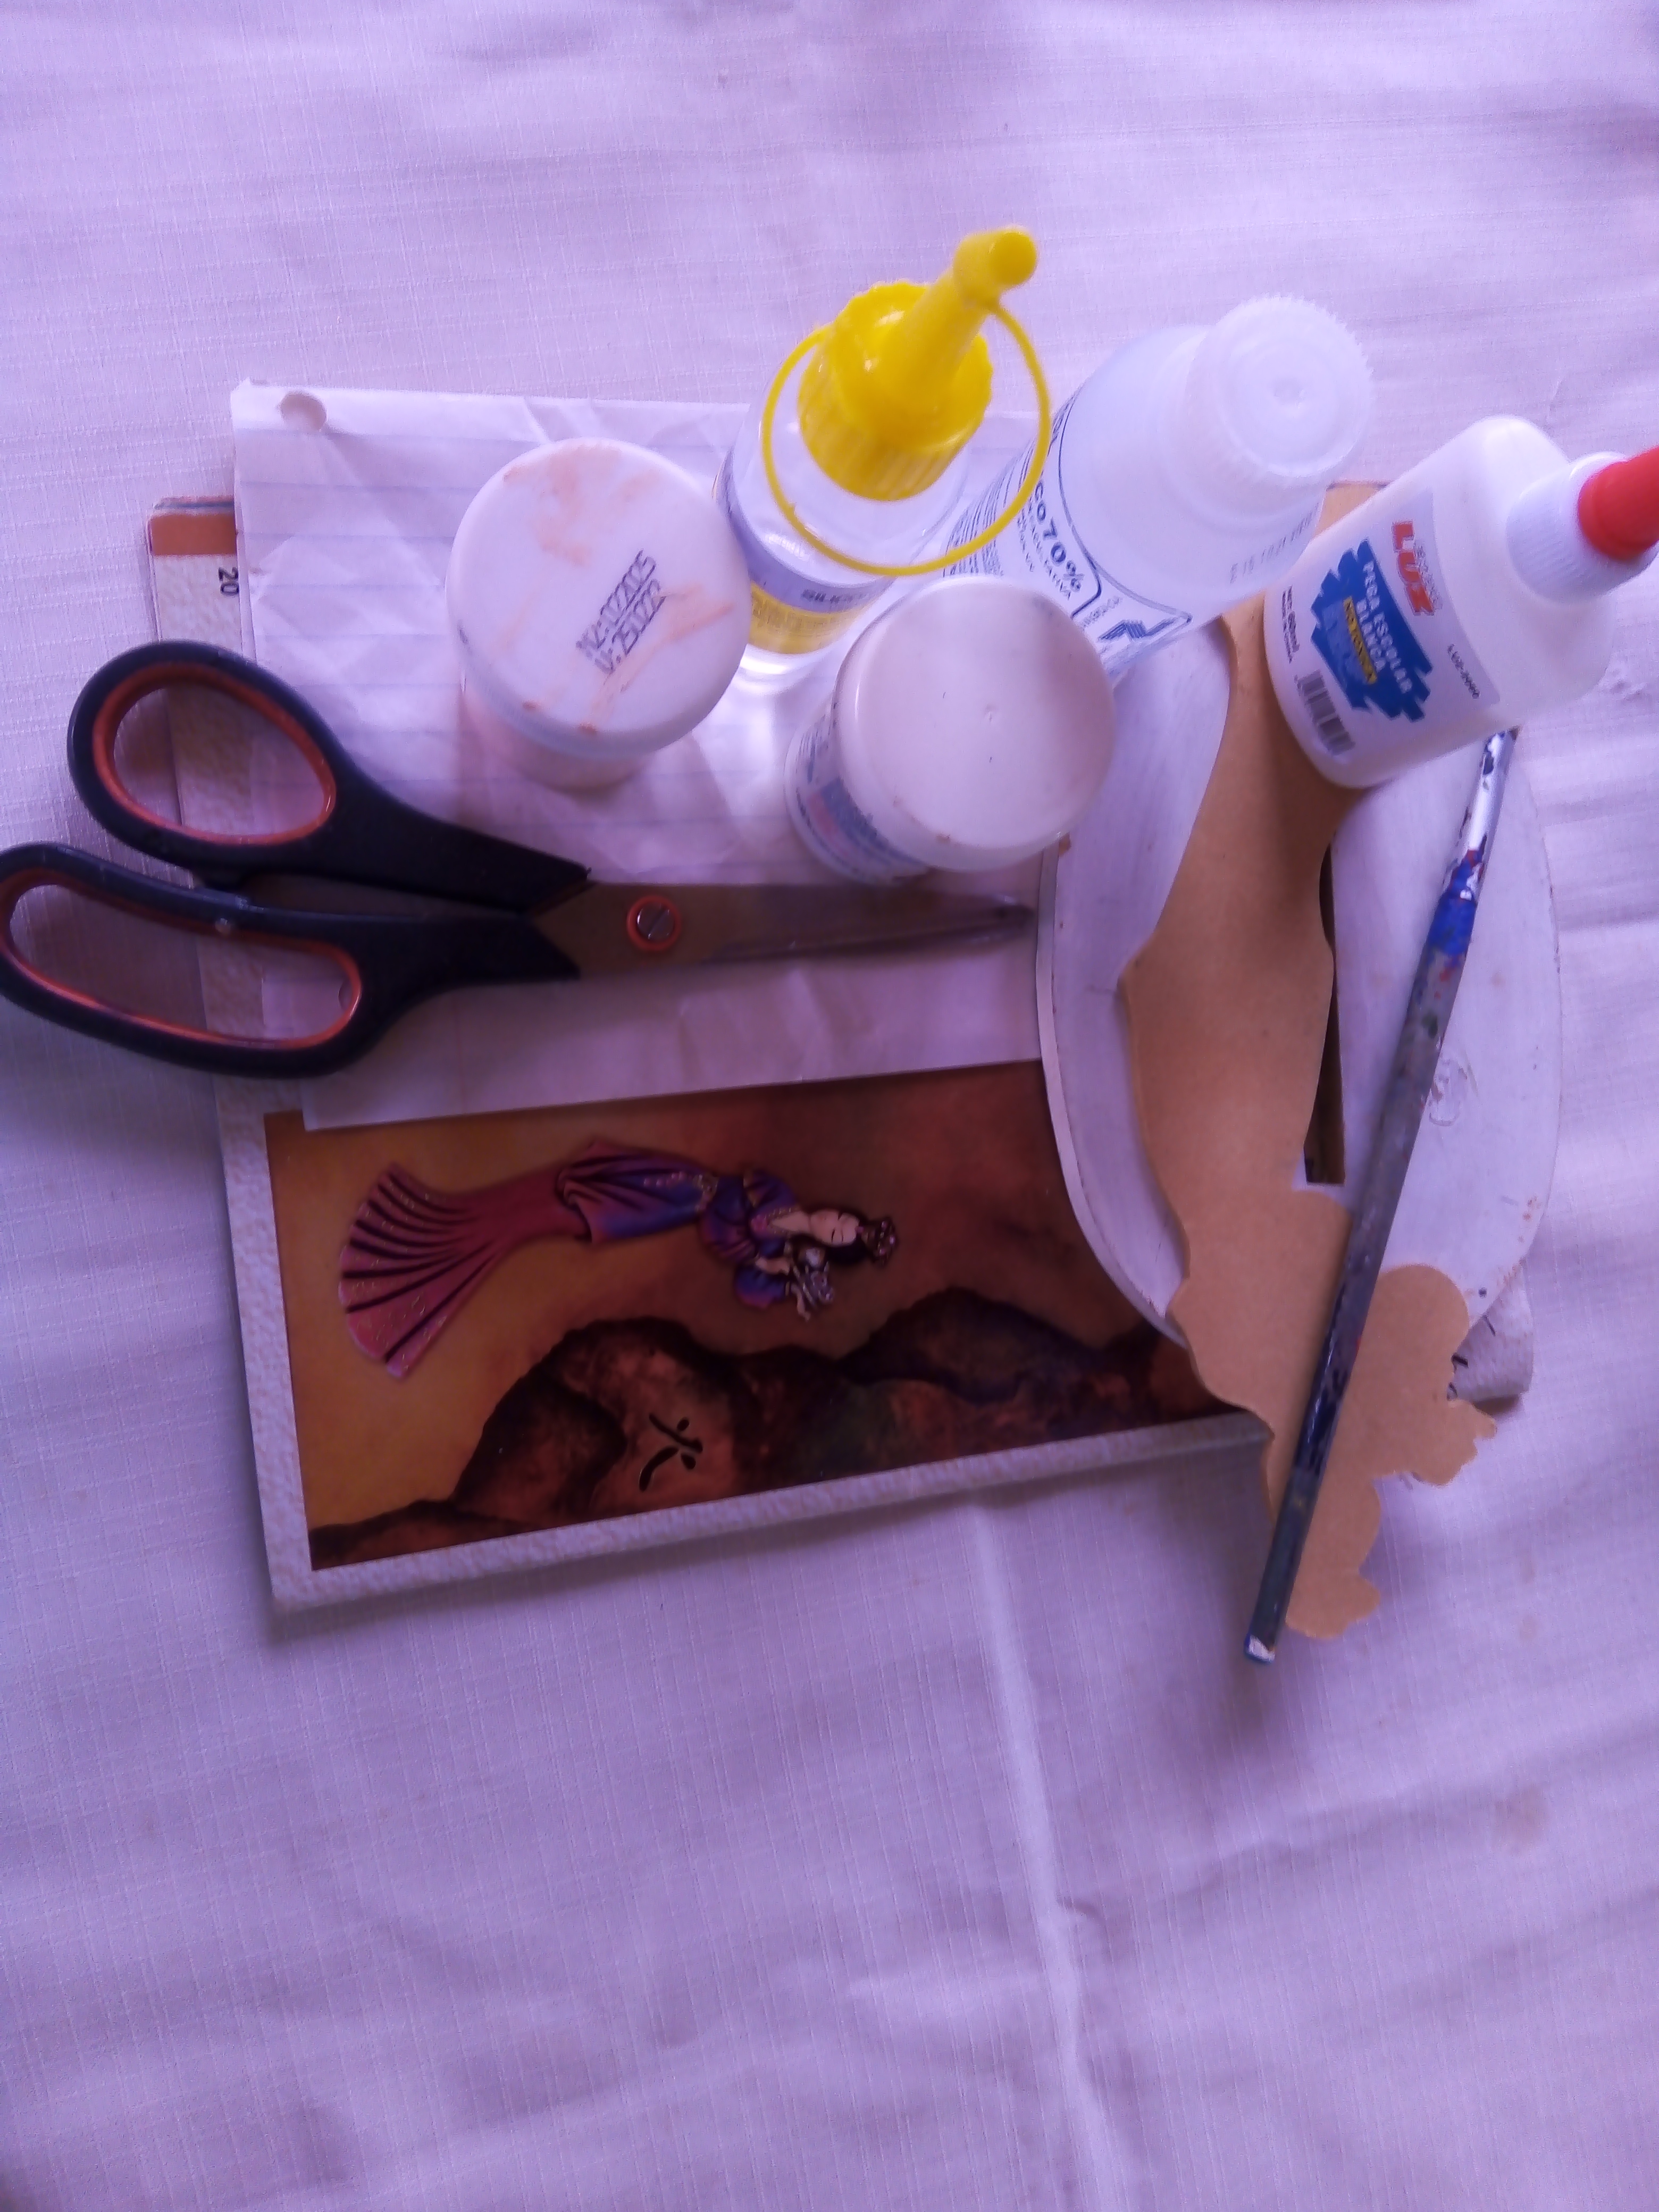 ELABORACIÓN: Comenzamos tomando la figura y la pintamos de blanco y dejamos secar. Cuando ya está seca. Usamos pega blanca y pegamos la copia con la imagen de la japonesa. Dejamos secar. Ahora tomamos la pieza de madera con forma ovalada y pintamos de blanco, luego con pintura al frío verde. Rosa y azul decoramos y dejamos secar (ver fotos) >ELABORATION: We start by taking the figure and painting it white and letting it dry. When it's already dry. We use white glue and paste the copy with the image of the Japanese. We let dry. Now we take the oval-shaped piece of wood and paint it white, then with green cold paint. Pink and blue we decorate and let dry (see photos) 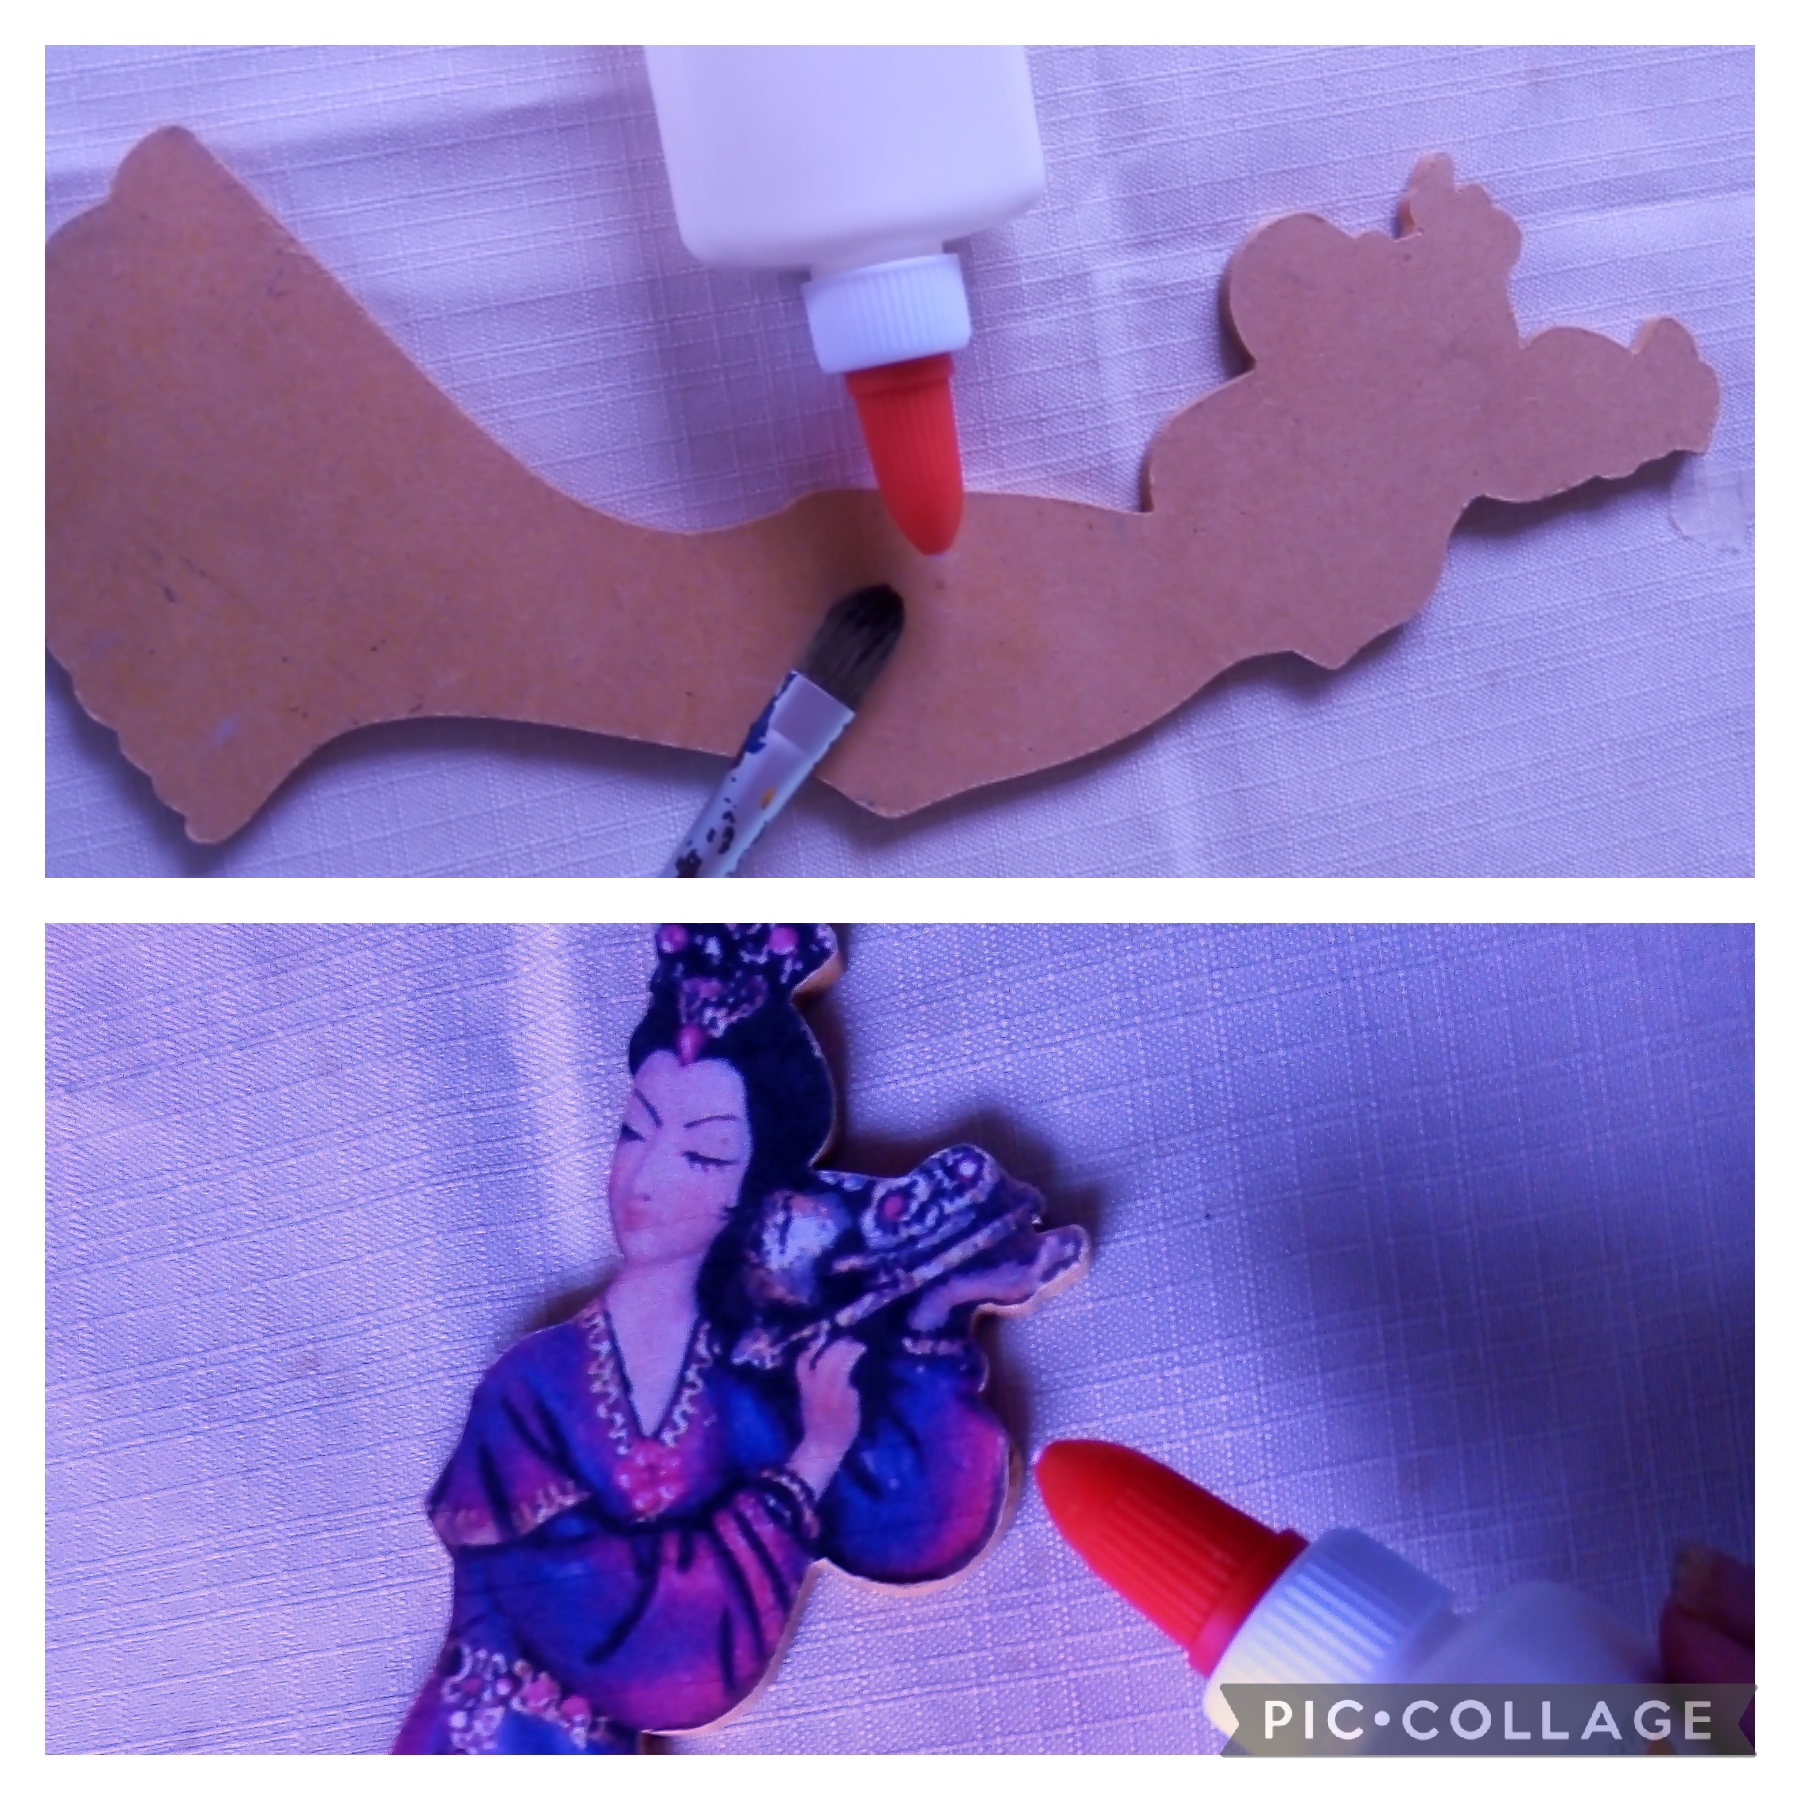 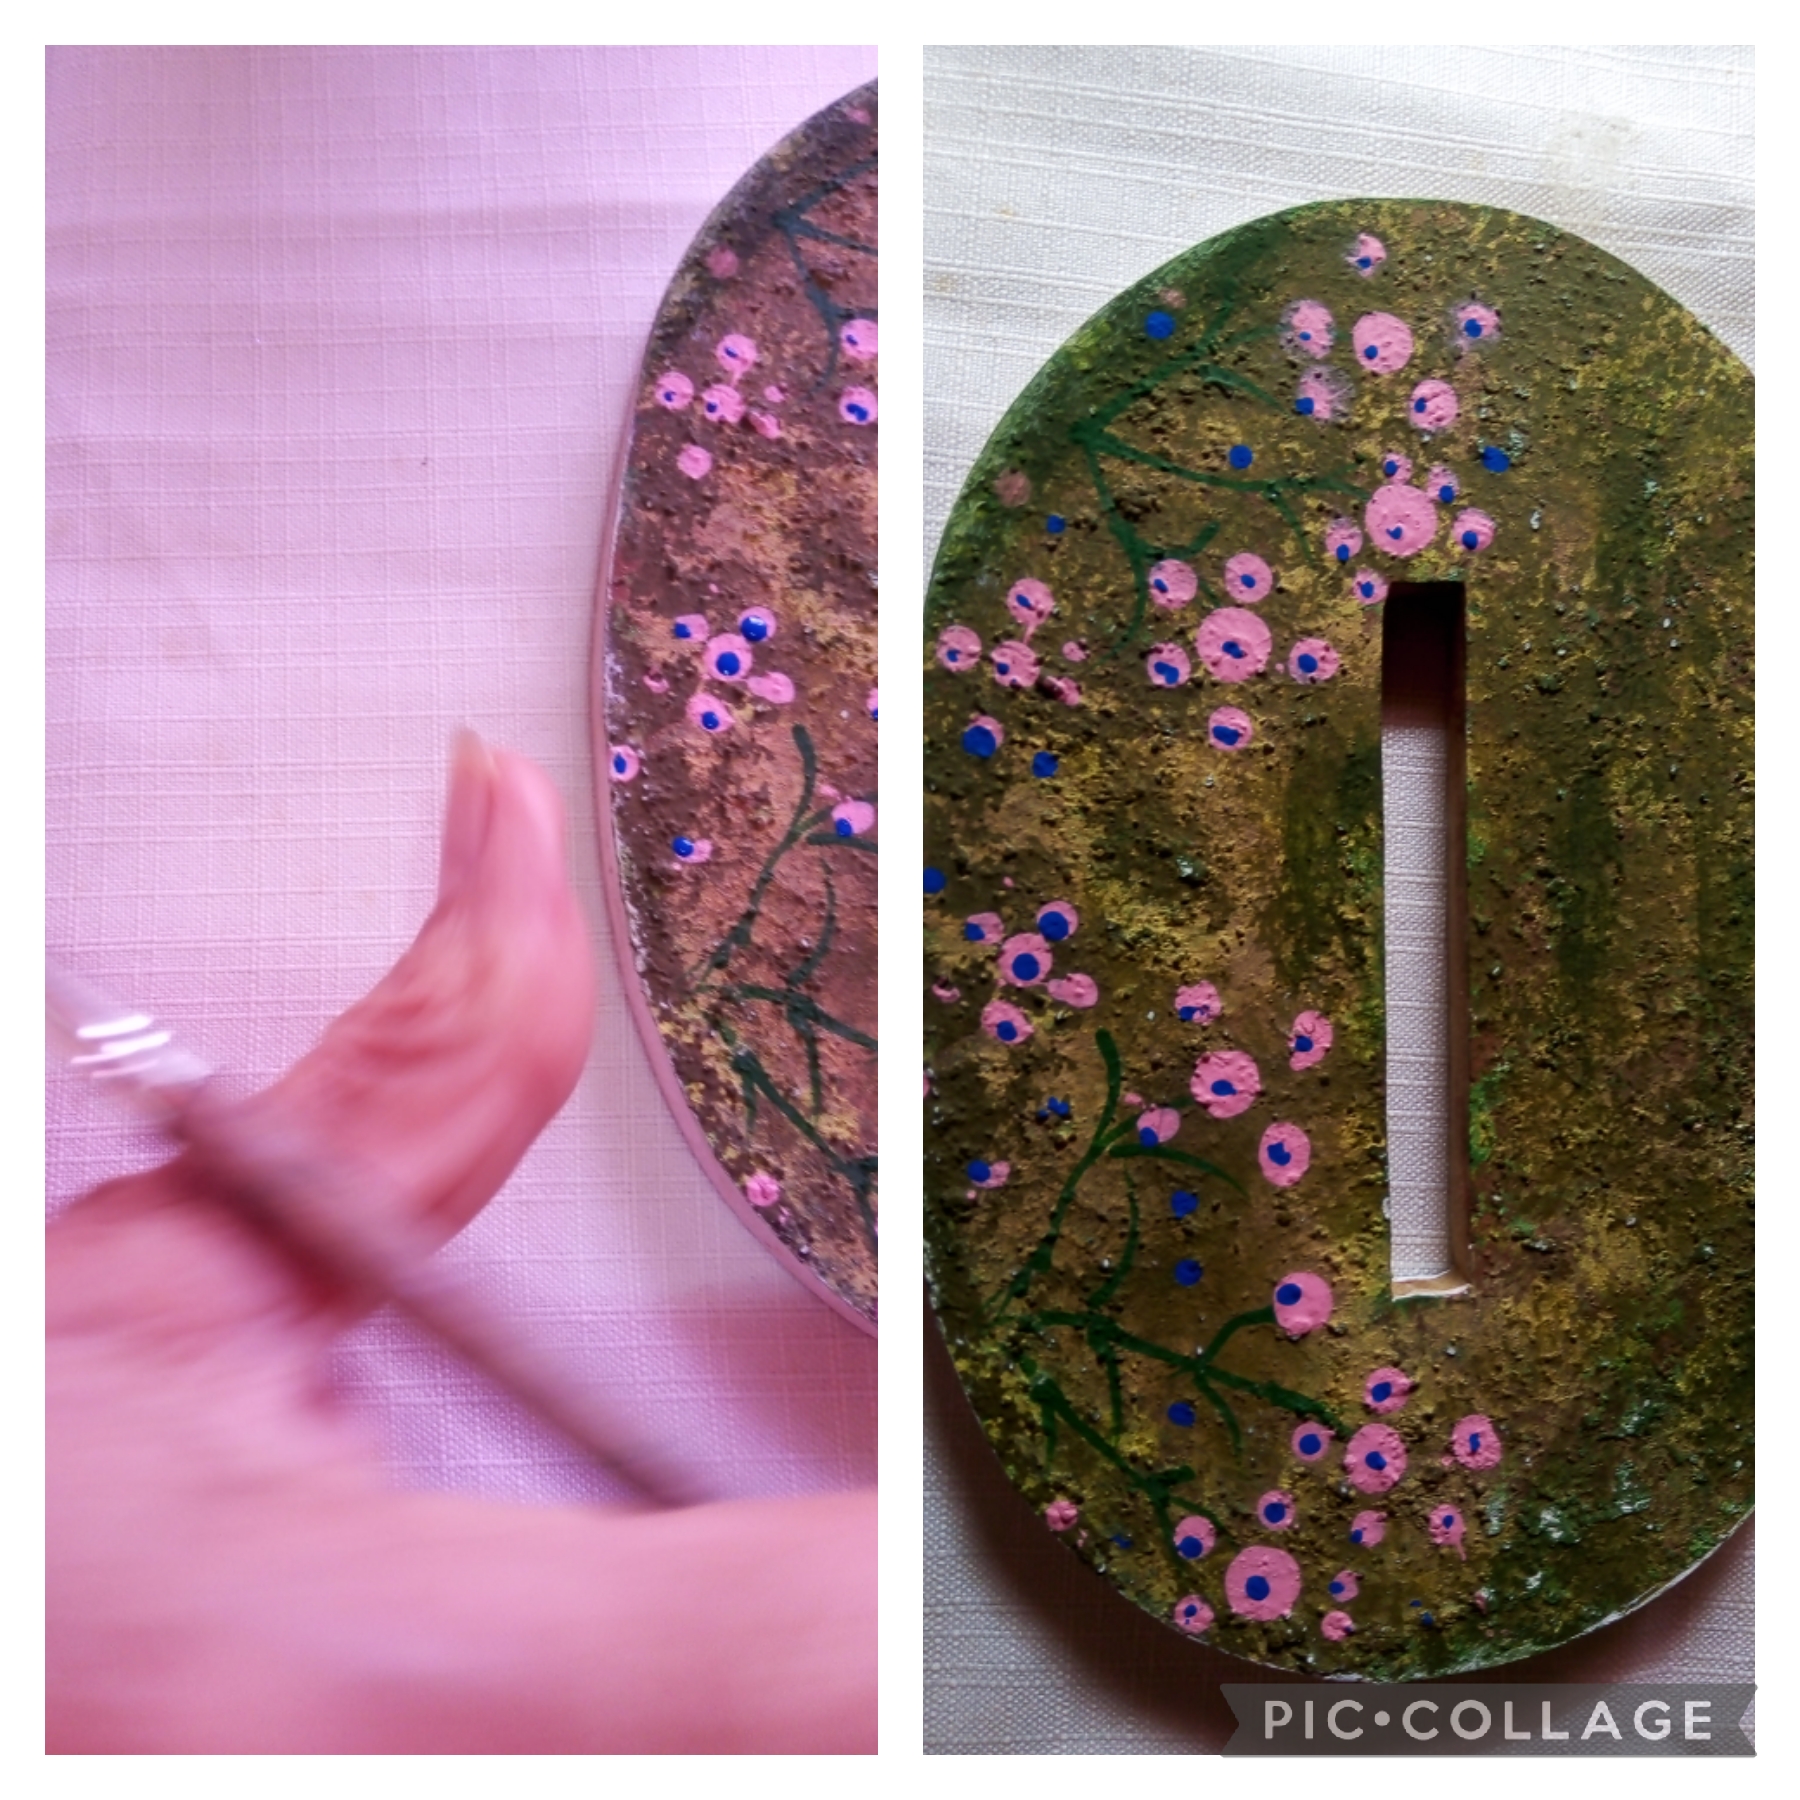 Ahora vamos a realizar el vitrificador, como en los gemelos original, aquí también vamos a utilizar un medidor y se hace así: si tomas un medidor de 50cc., Echas 50cc de silicón frío y 50cc., de alcohol 70 grados, 5 gotas de glicerina y vas a revolver hasta que se una bien y no tenga grumos. A diferencia de los gemelos que después que los unes tienes que usarlo todo, porque si te queda algo se daña se pone duro, este vitrificador casero lo puedes guardar tapándolo bien y es duradero. >Now we are going to make the vitrifier, as in the original twins, here we are also going to use a meter and it is done like this: if you take a 50cc meter, you add 50cc of cold silicone and 50cc of 70 degree alcohol, 5 drops of glycerin and you are going to stir until it comes together well and there are no lumps. Unlike twins that after you put them together you have to use everything, because if you have something left it gets damaged and hard, you can store this homemade vitrifier by covering it well and it is durable. Vamos a vitrificar: tomamos la figura ya seca y vamos regando el líquido en forma uniforme yo utilice el dedo, pero lo hacemos con un palito de altura o la cola de un pincel (nunca debemos hacerlo con el pincel). Dejamos secar bien por espacio de dos horas , luego para que quede con bastante textura echamos otra mano y dejamos secar por tres horas, depende del tamaño y grosor del proyecto es el tiempo del secado ; yo utilice 5 horas porque es un proyecto pequeño. We spread the liquid evenly. I use my finger, but we do it with a tall stick or the tail of a brush (we should never do it with a brush). We let it dry well for two hours, then to make it quite textured we apply another coat and let it dry for three hours, the drying time depends on the size and thickness of the project; I use 5 hours because it is a small project. 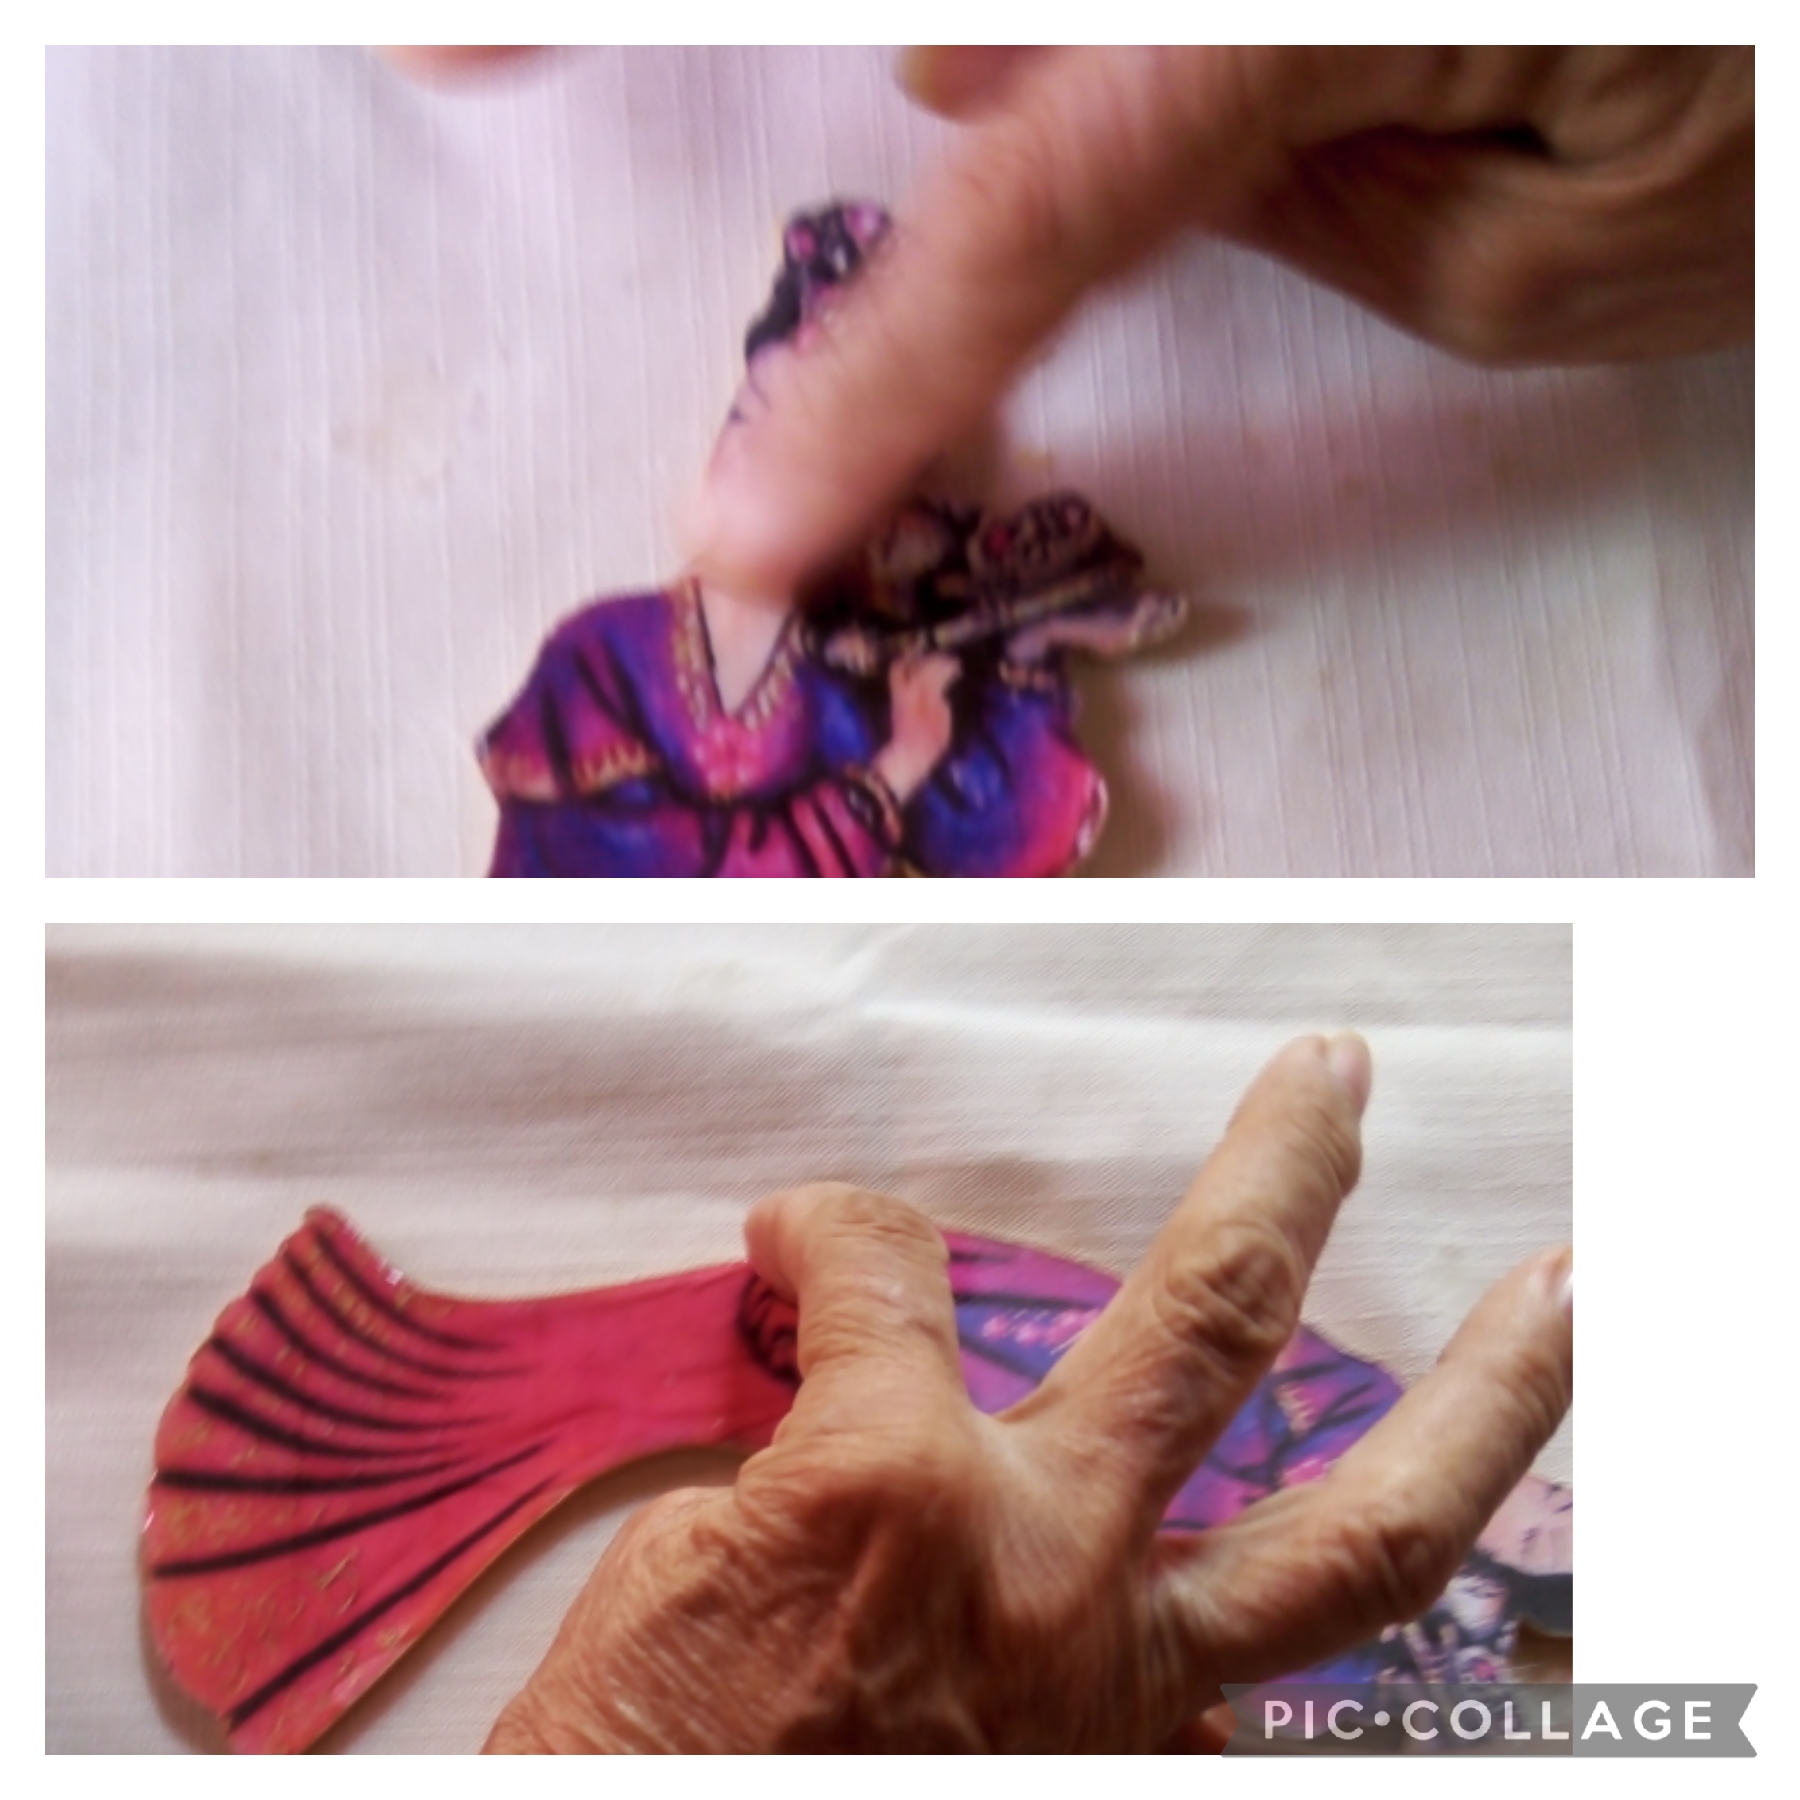 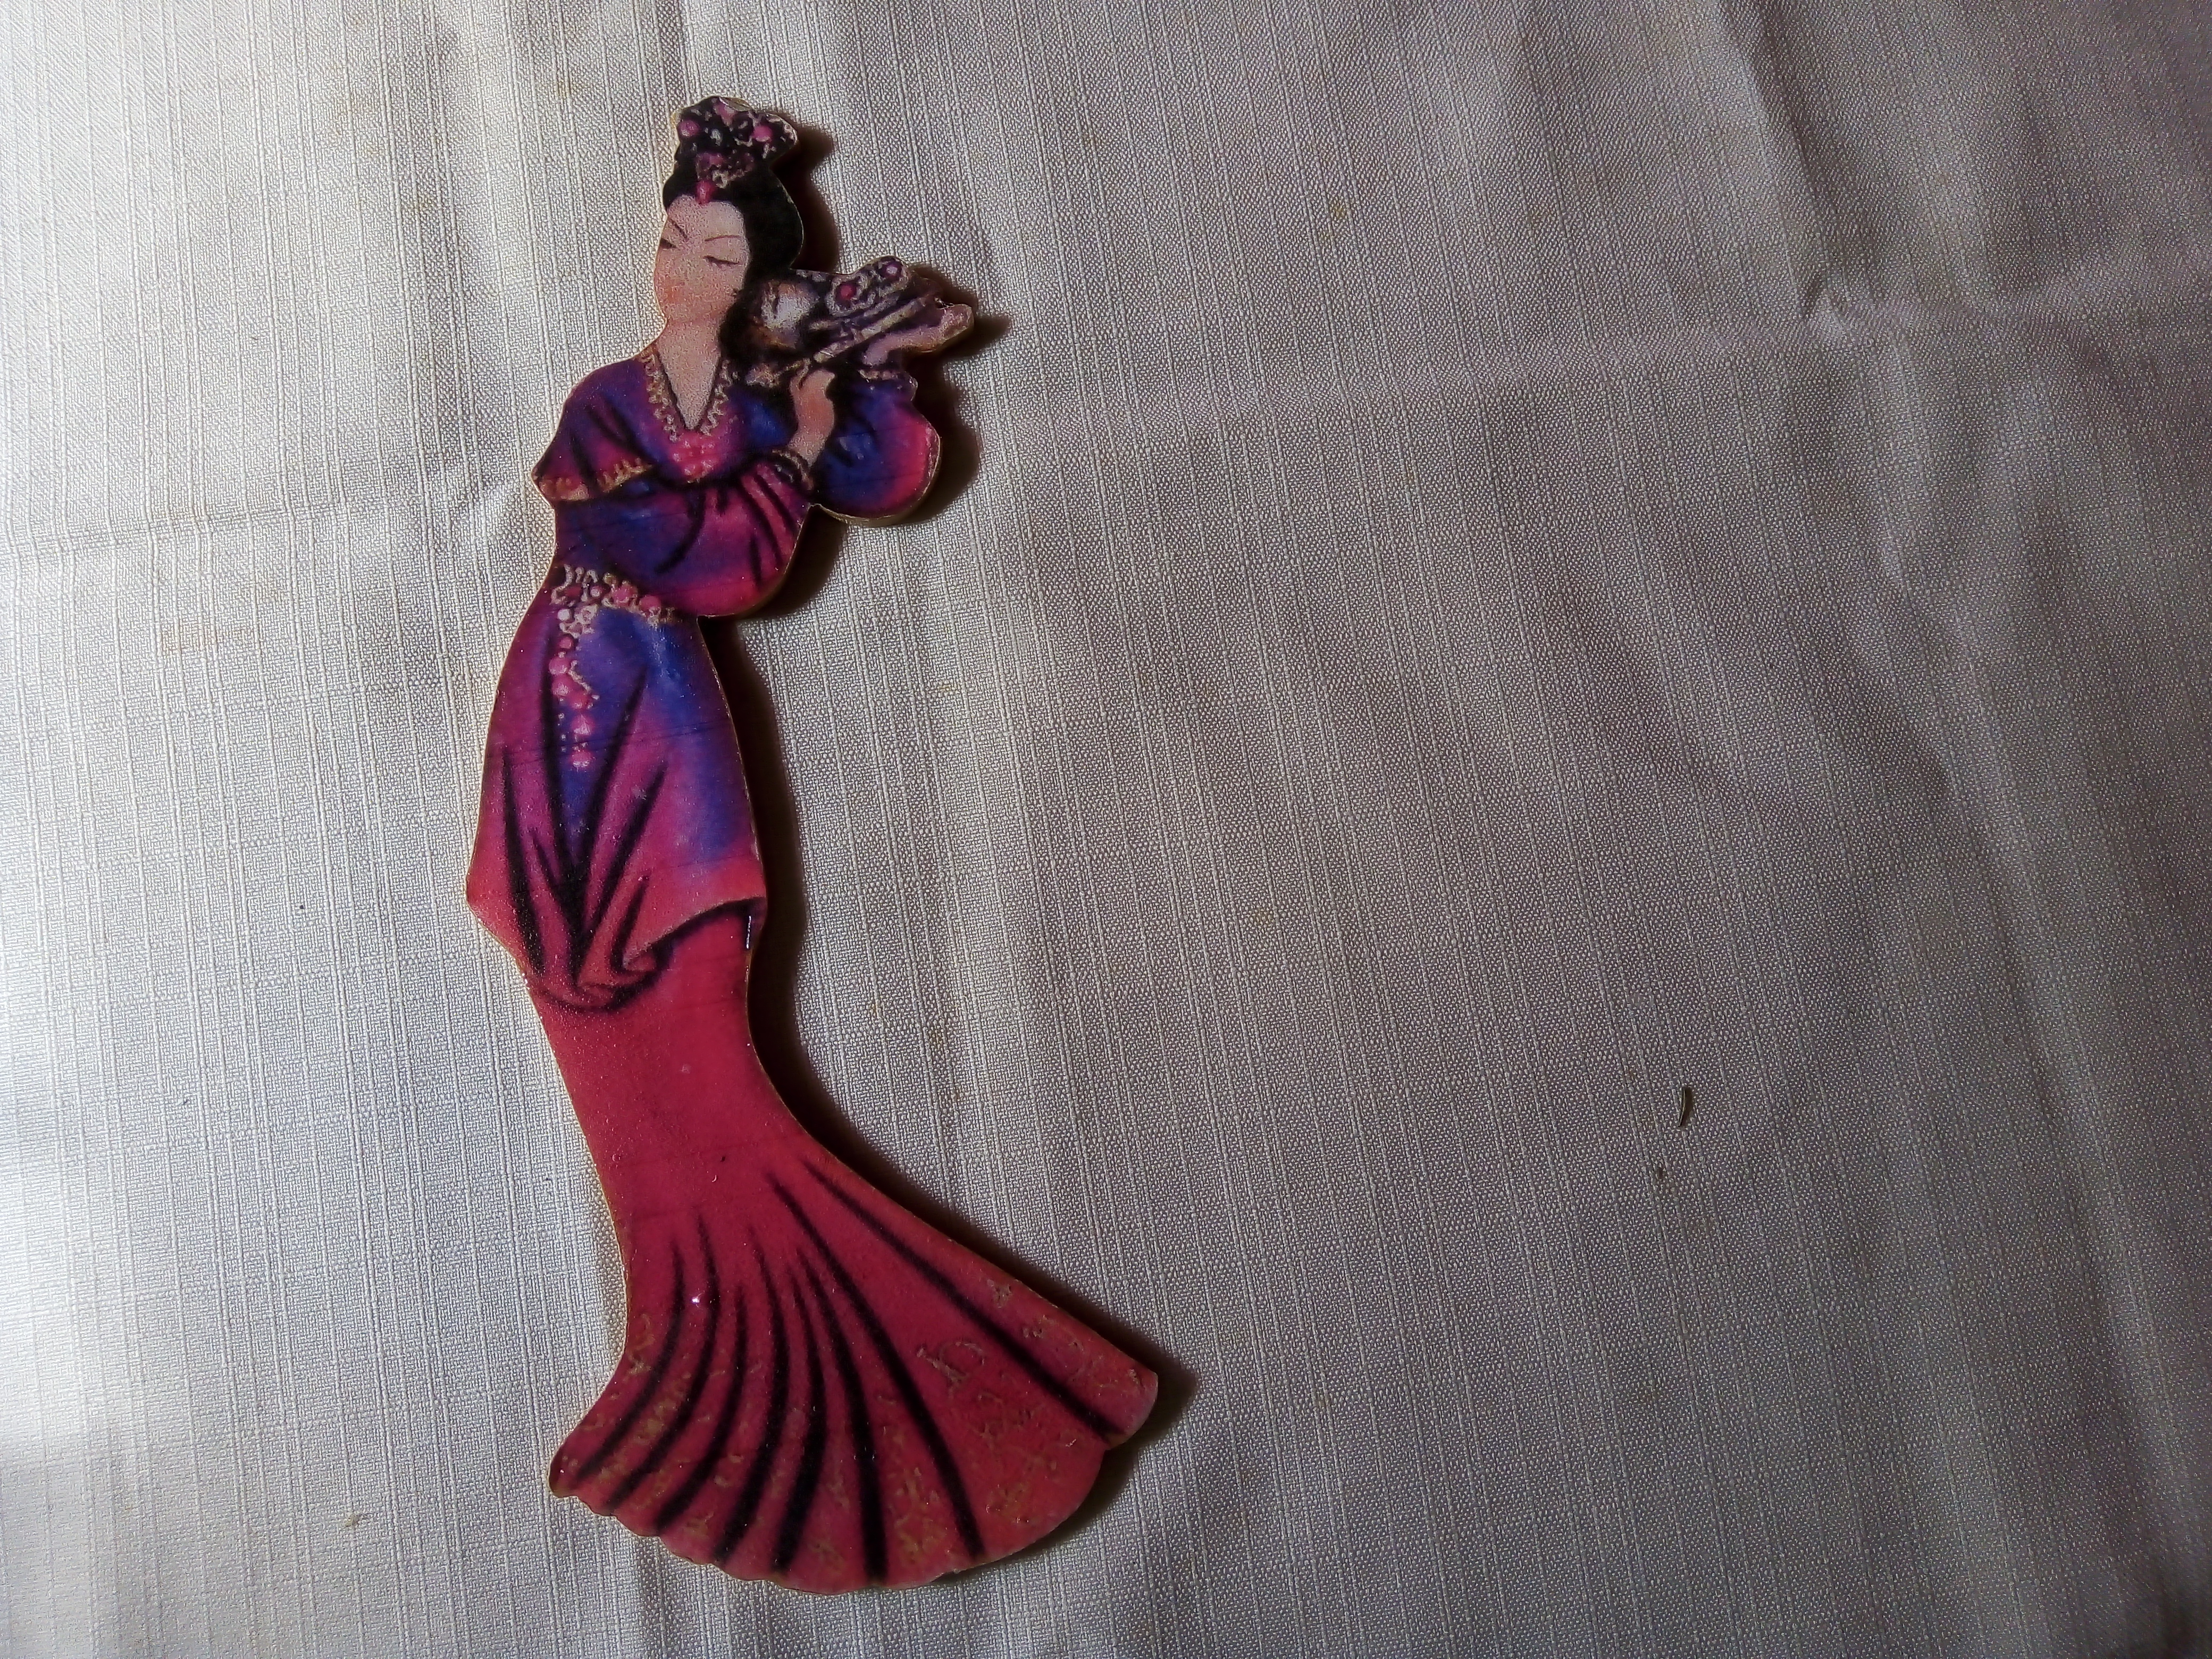 Mis artistas creativos este es el resultado final de mi proyecto, espero que usen esta técnica en sus manualidades porque le dan mucho brillo y larga vida. Tengo otros proyectos que les compartiré ya que se le puede añadir color y además de madera se puede utilizar en otros materiales. Gracias por ver y comentar mis publicaciones, nos vemos en una próxima manualidad. >My creative artists this is the final result of my project, I hope you use this technique in your crafts because they give it a lot of shine and long life. I have other projects that I will share with you since color can be added and in addition to wood it can be used in other materials. Thank you for viewing and commenting on my posts, see you in an upcoming craft.  Las imágenes de este tutorial son de mi propiedad las fotos las tomé con mi celular Motorola E6 y las edite con una aplicación gratis del mismo. Para traducir texto usé geogle traduuctor. >The images in this tutorial are my property, the photos were taken with my Motorola E6 cell phone and I edited them with a free application of the same. To translate text I used geogle translator.  </div>