WHAT DID I CROCHET? 🧶 #3
hive-127911·@philomenob·
0.000 HBDWHAT DID I CROCHET? 🧶 #3
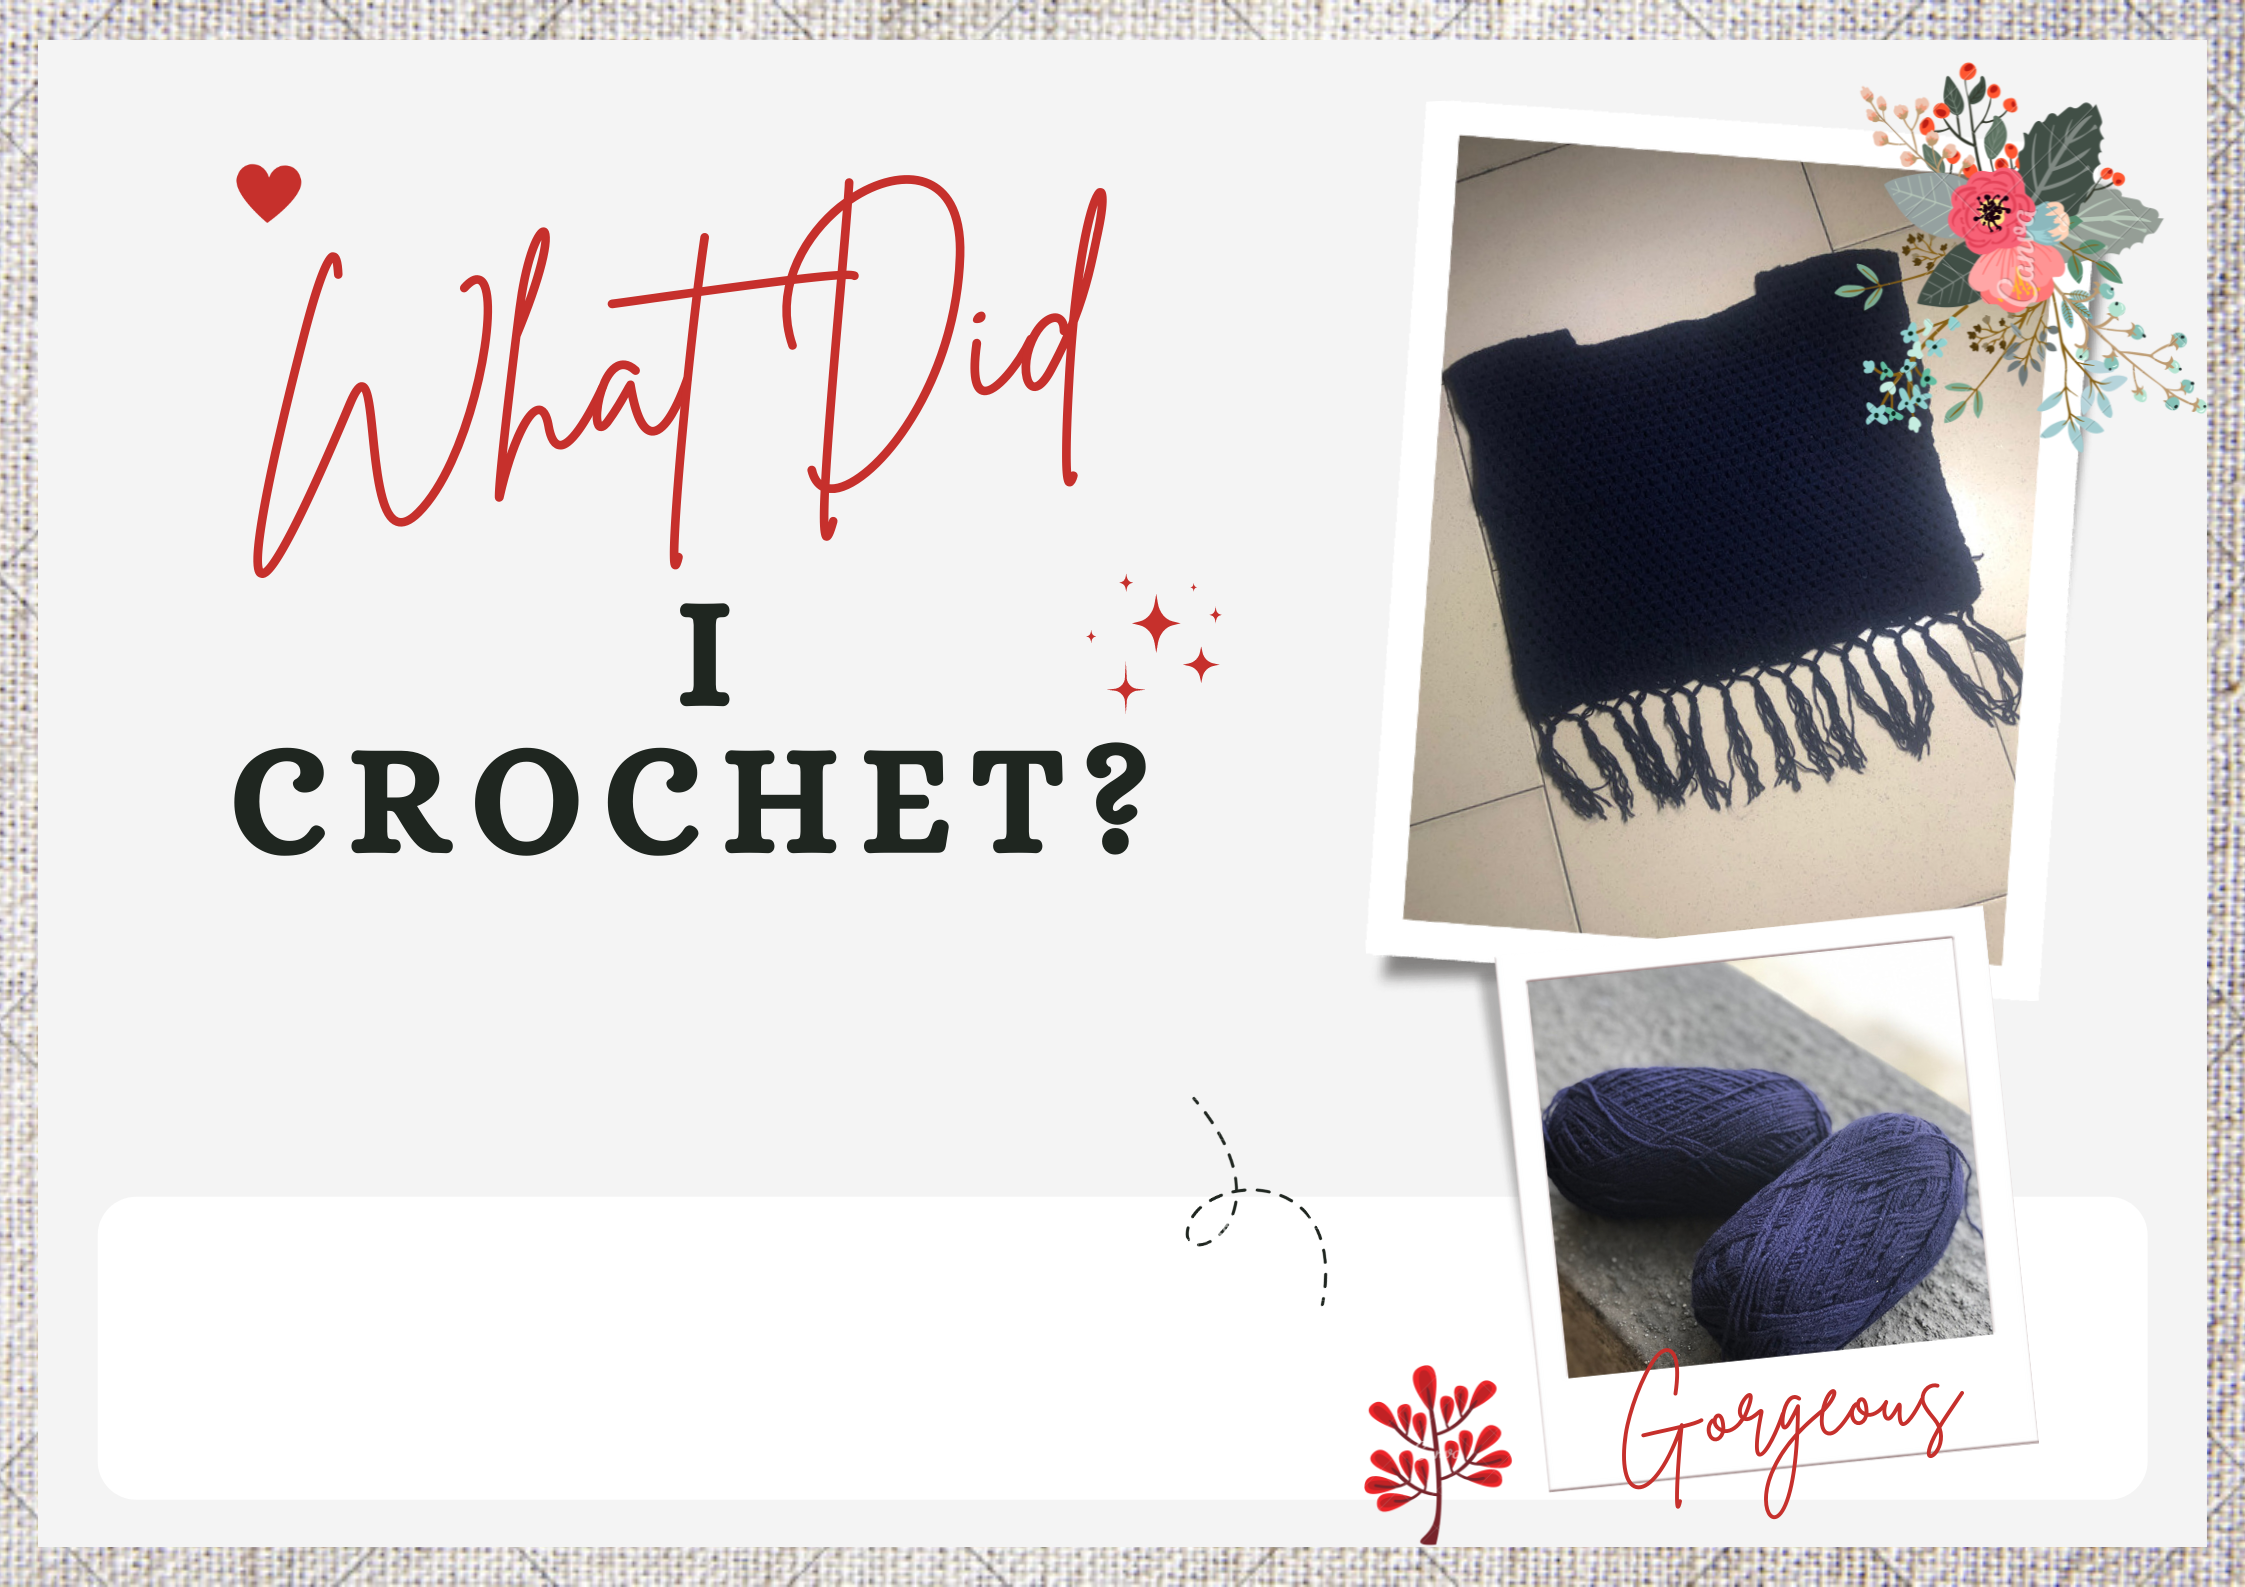 <sub>*Image designed by me on Canva.*</sub> Hey Hivers! I’m here with another crochet piece. Like the previous ones, it’s a top, but this one is a whole lot different — it’s netty and has some fringe. Unlike the other tops, I made this one by crocheting the front and back panels separately and then joining them together. Unfortunately, I completely forgot to take pictures as I went along. I only remembered when I’d completed both panels. Shame! <div class="pull-right"> 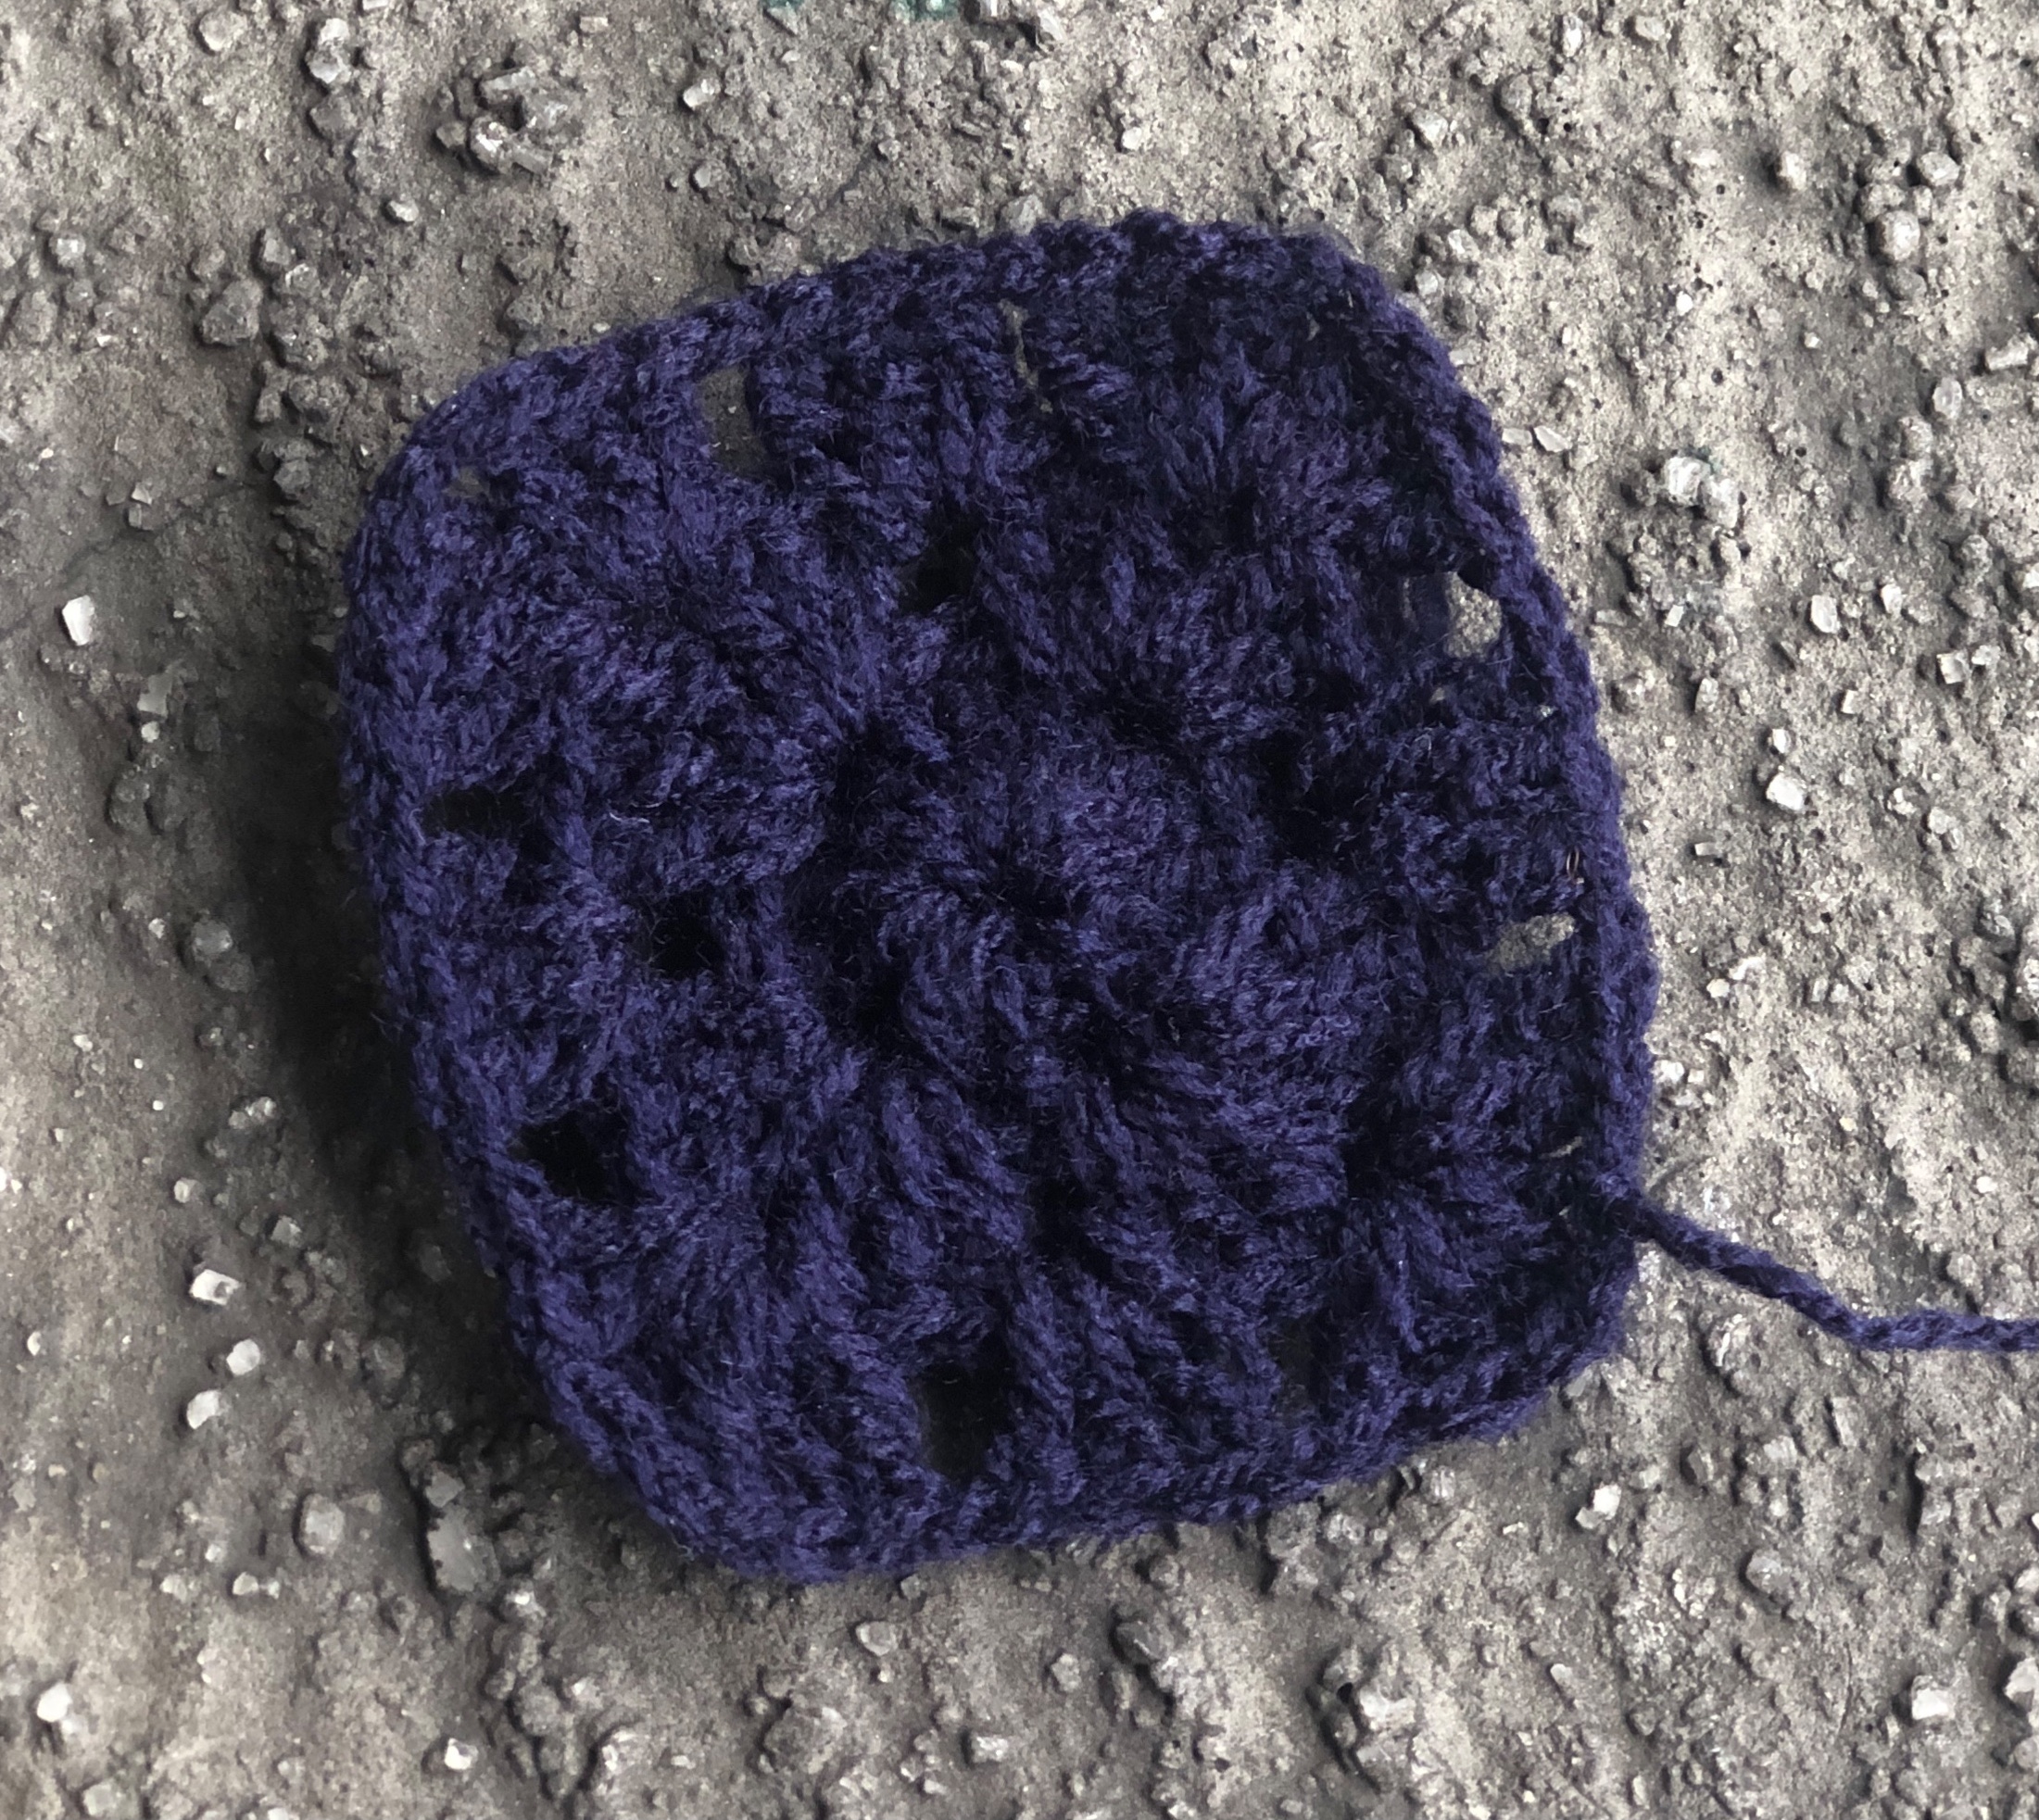 </div> <br> <br> To begin, I started with some granny squares. <br> <br> I kept crocheting more squares till they were long enough to go from one waist to the other. They were eight squares in total. Then, I joined them together and began to crochet upward in double crochet stitches. <div class="pull-right"> 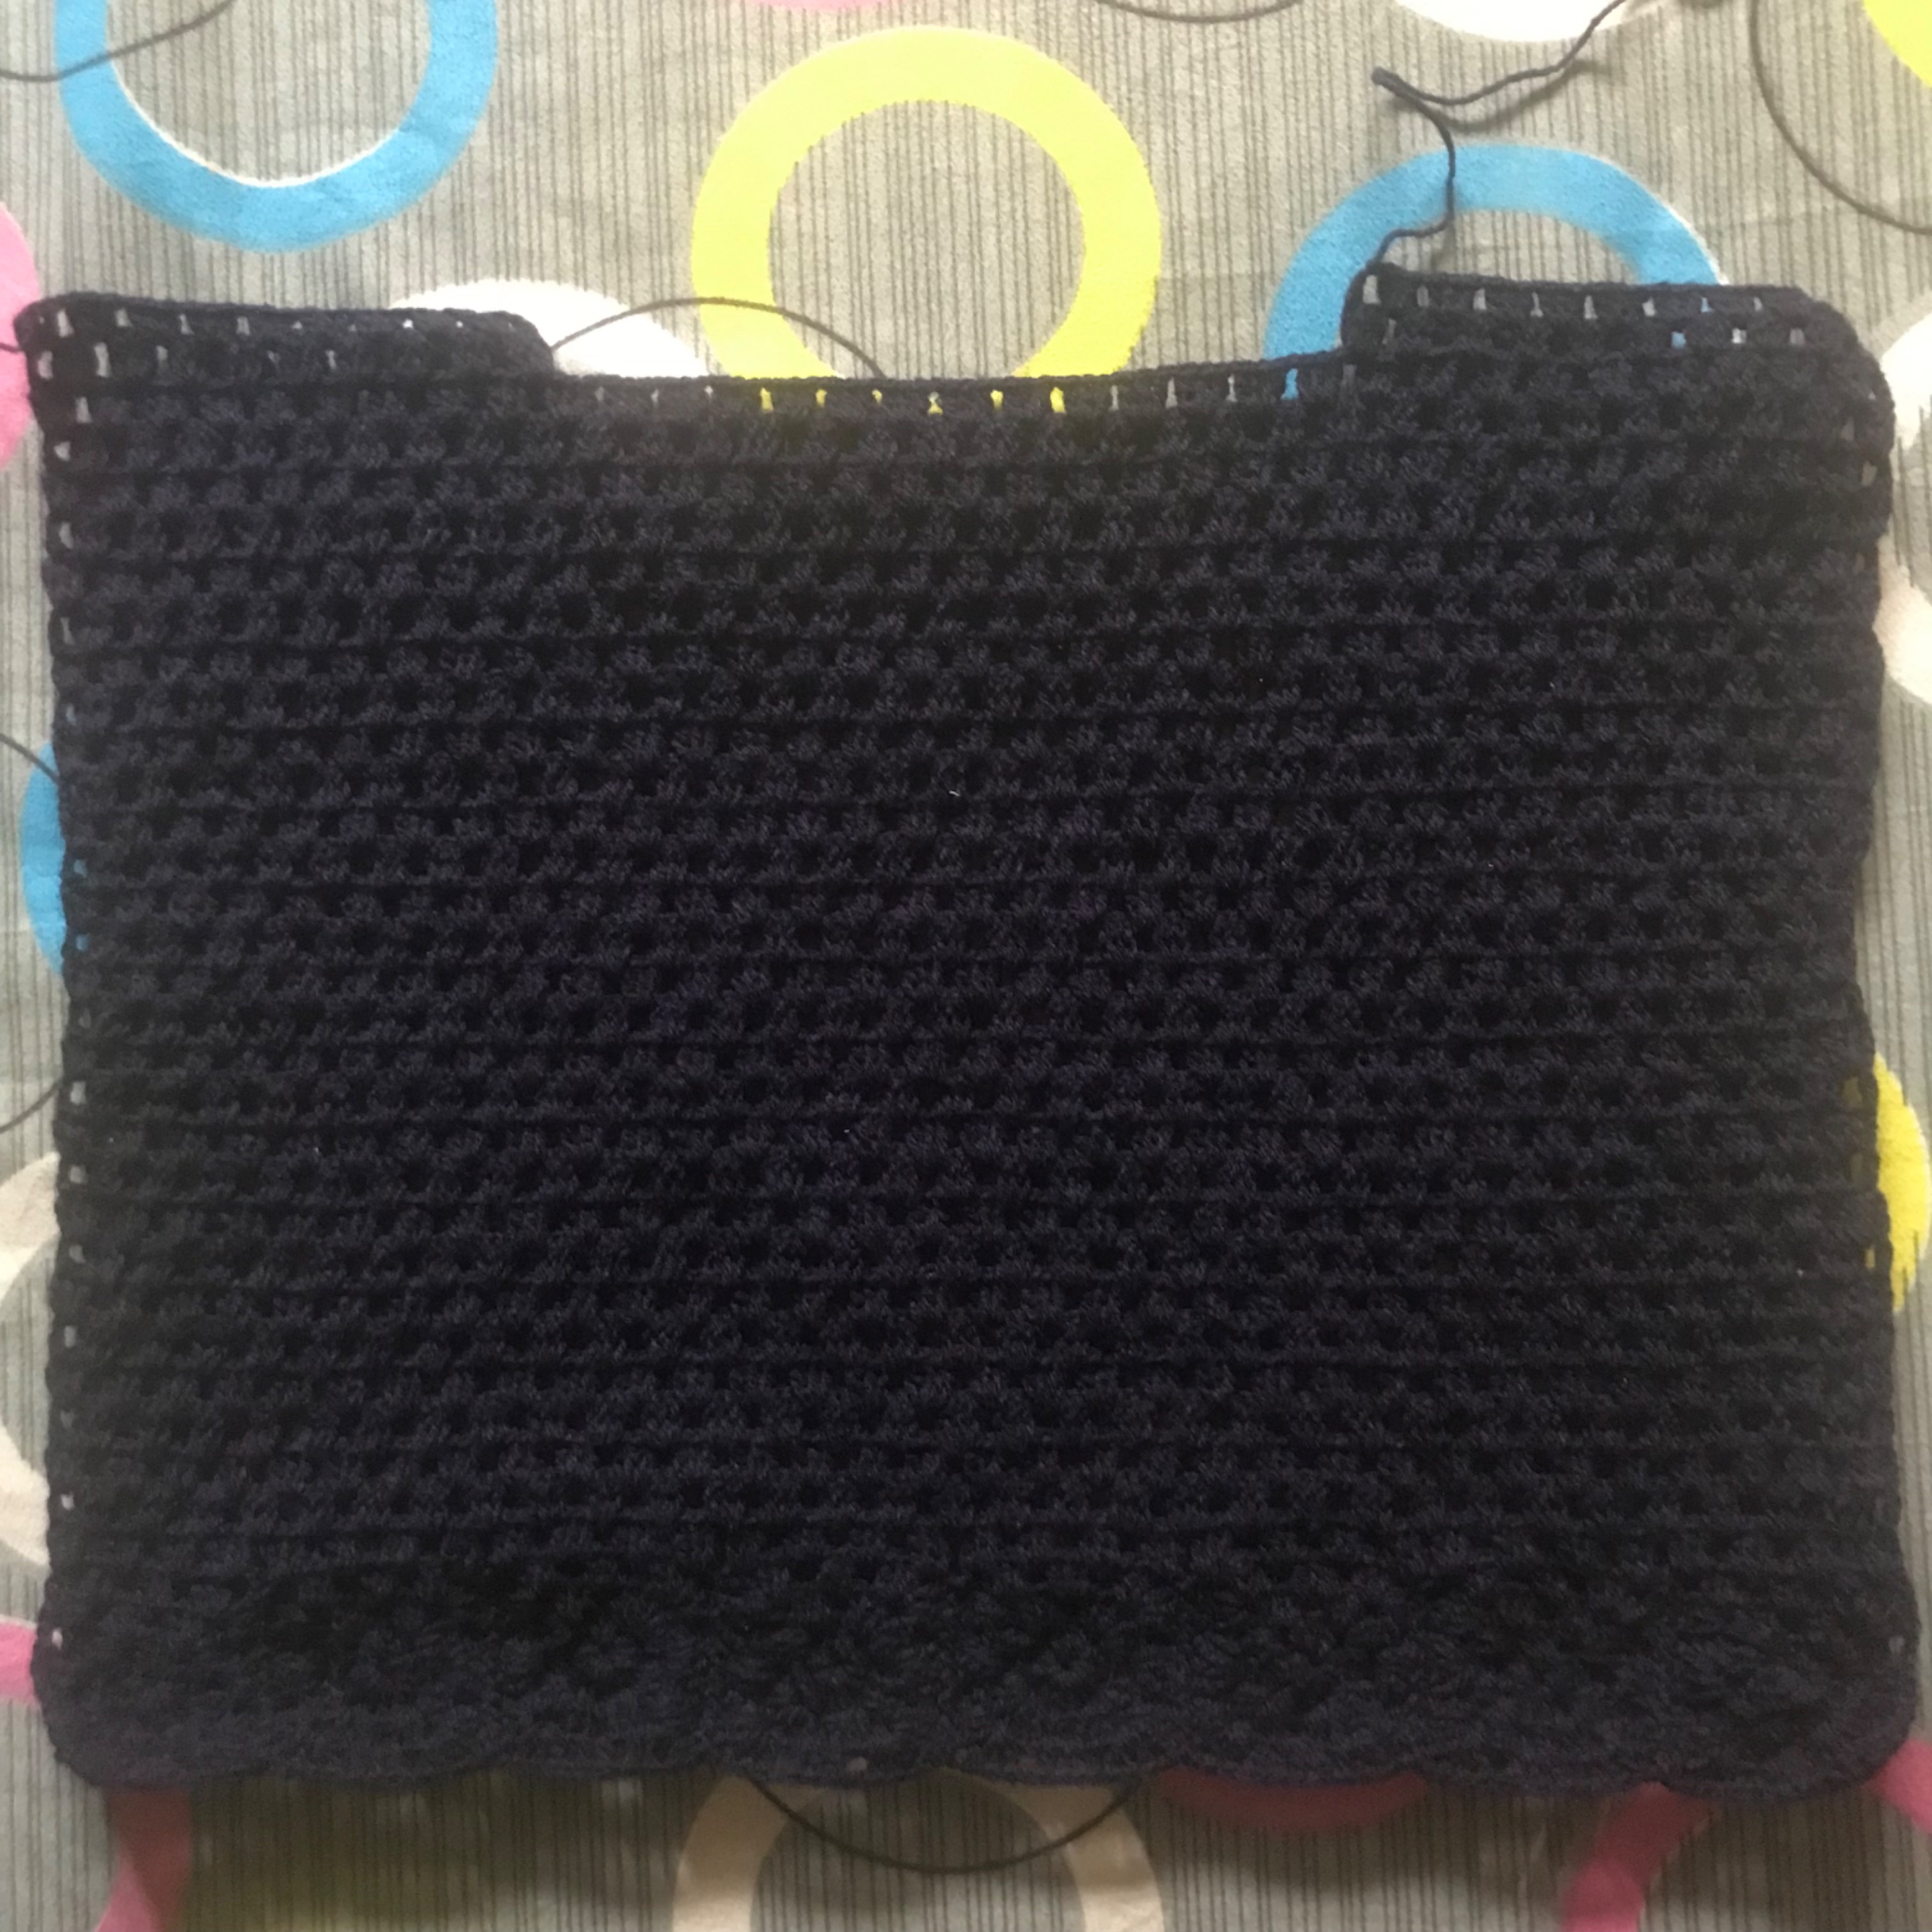 </div> When I’d crocheted enough length to reach my neck, I left some inches in the middle for my neck and only crocheted two rows at the right-hand side and left-hand side. And the front panel was complete. I crocheted the back panel the same way. Then, I joined the two panels together, leaving some inches for the arm holes and the neck. The next thing I did was hem the arm holes with two half-double crochets in each space. When that was done, all that was left was to add the fringes. <div class="pull-right"> 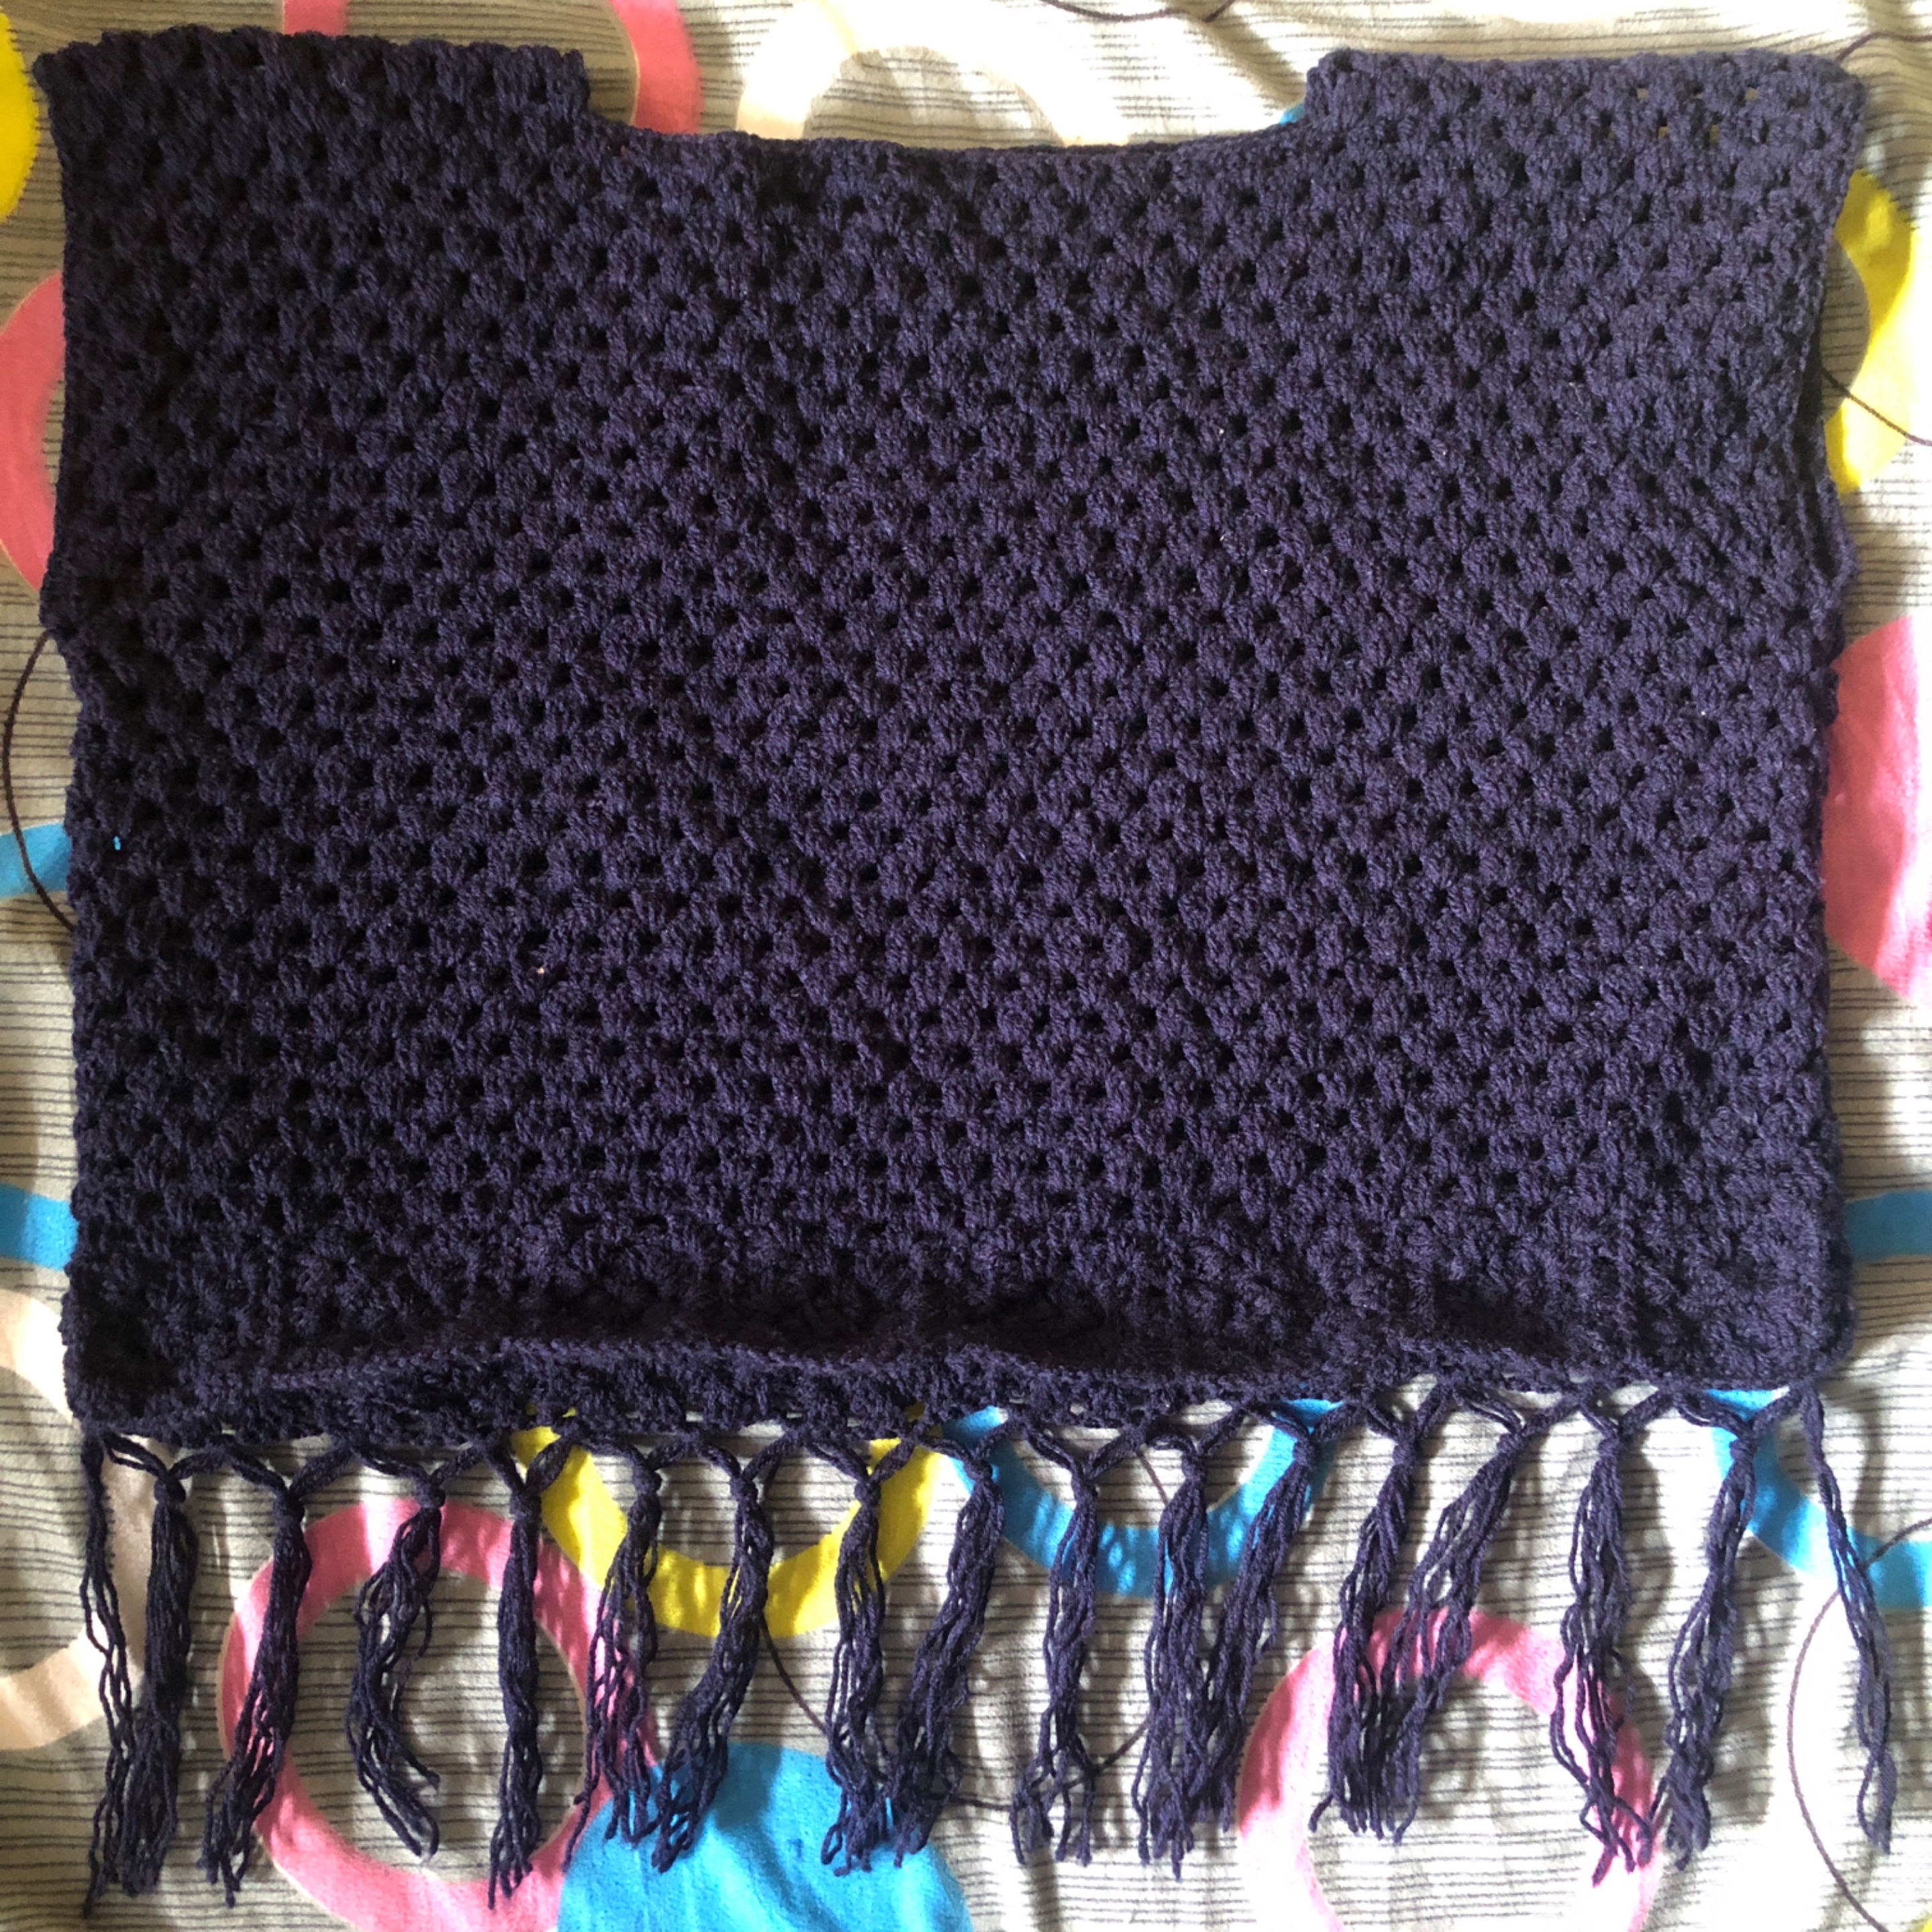 </div> I cut four pieces of yarn in twelve inches and then folded and inserted them in the holes I wanted the fringes in. After completing the front of the top, I decided to leave the back without any fringe. Well, I was too tired to continue, and when I tried on the top, I saw that it looked nice the way it was. So, it was just fine. After five days, the top was finally complete. <center>*<sub>front view</sub>*</center> <div class="pull-left">  </div> <div class="pull-right"> 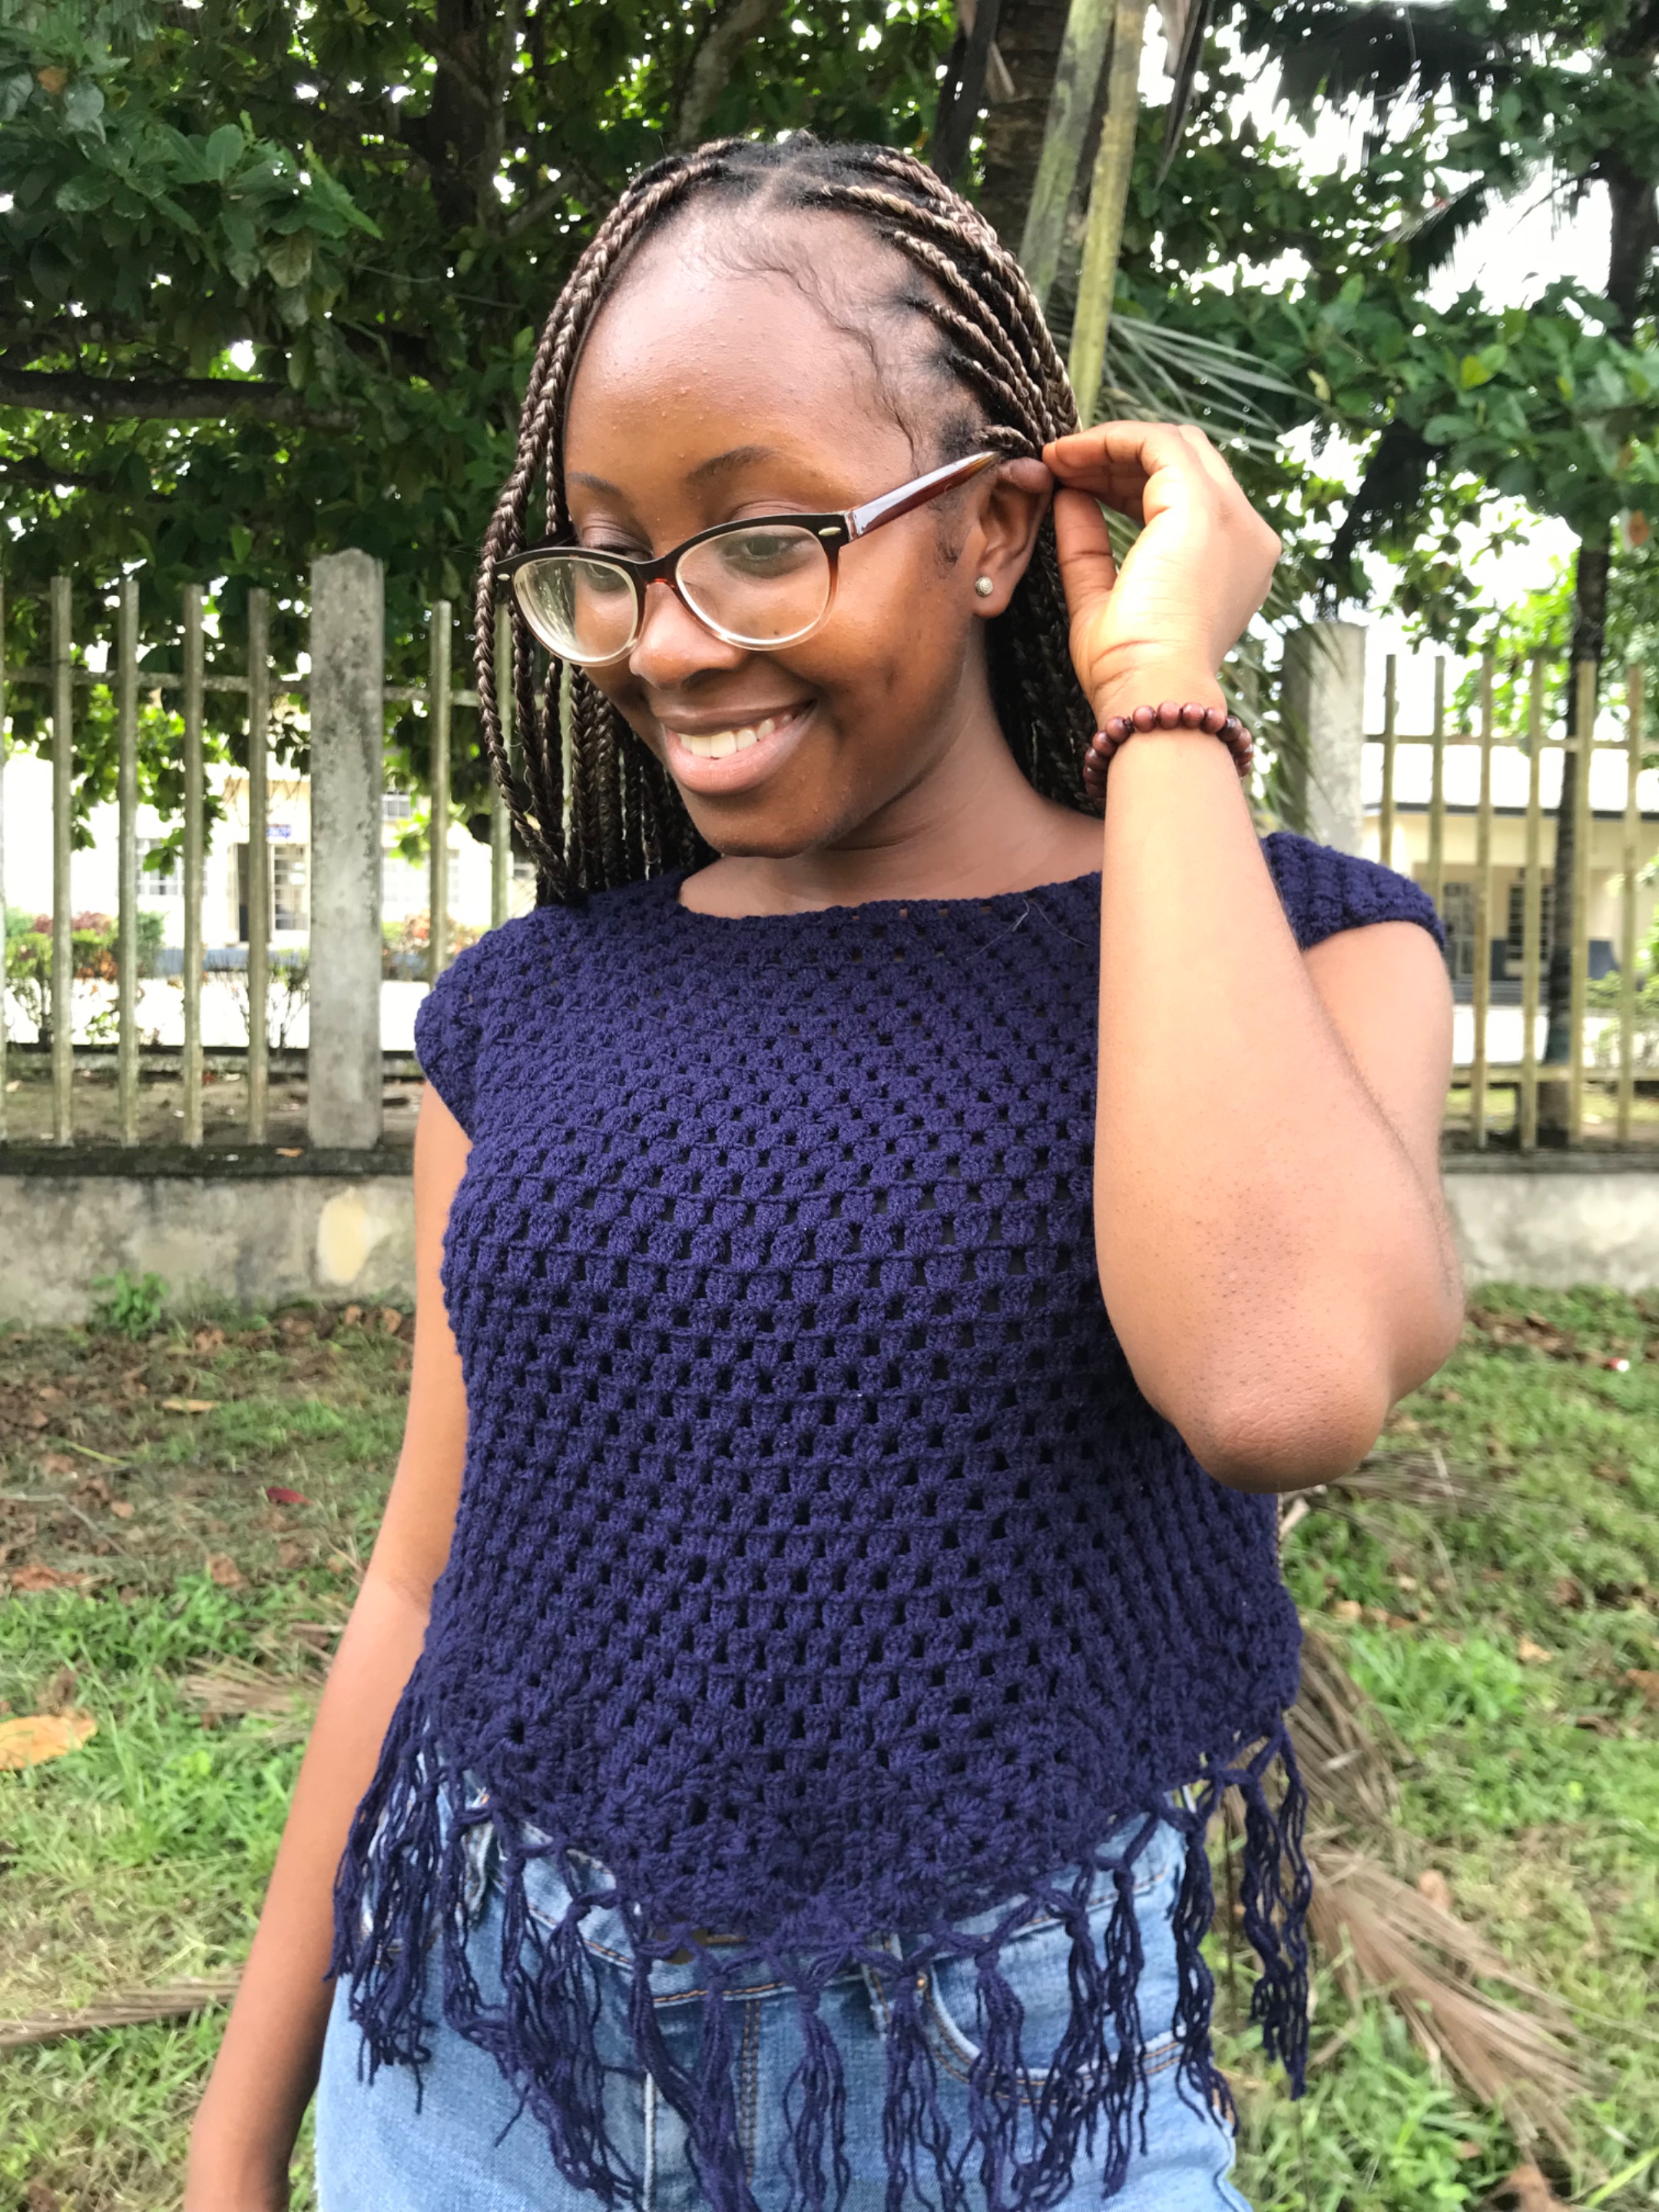 </div> <center>*<sub>back view</sub>*</center> 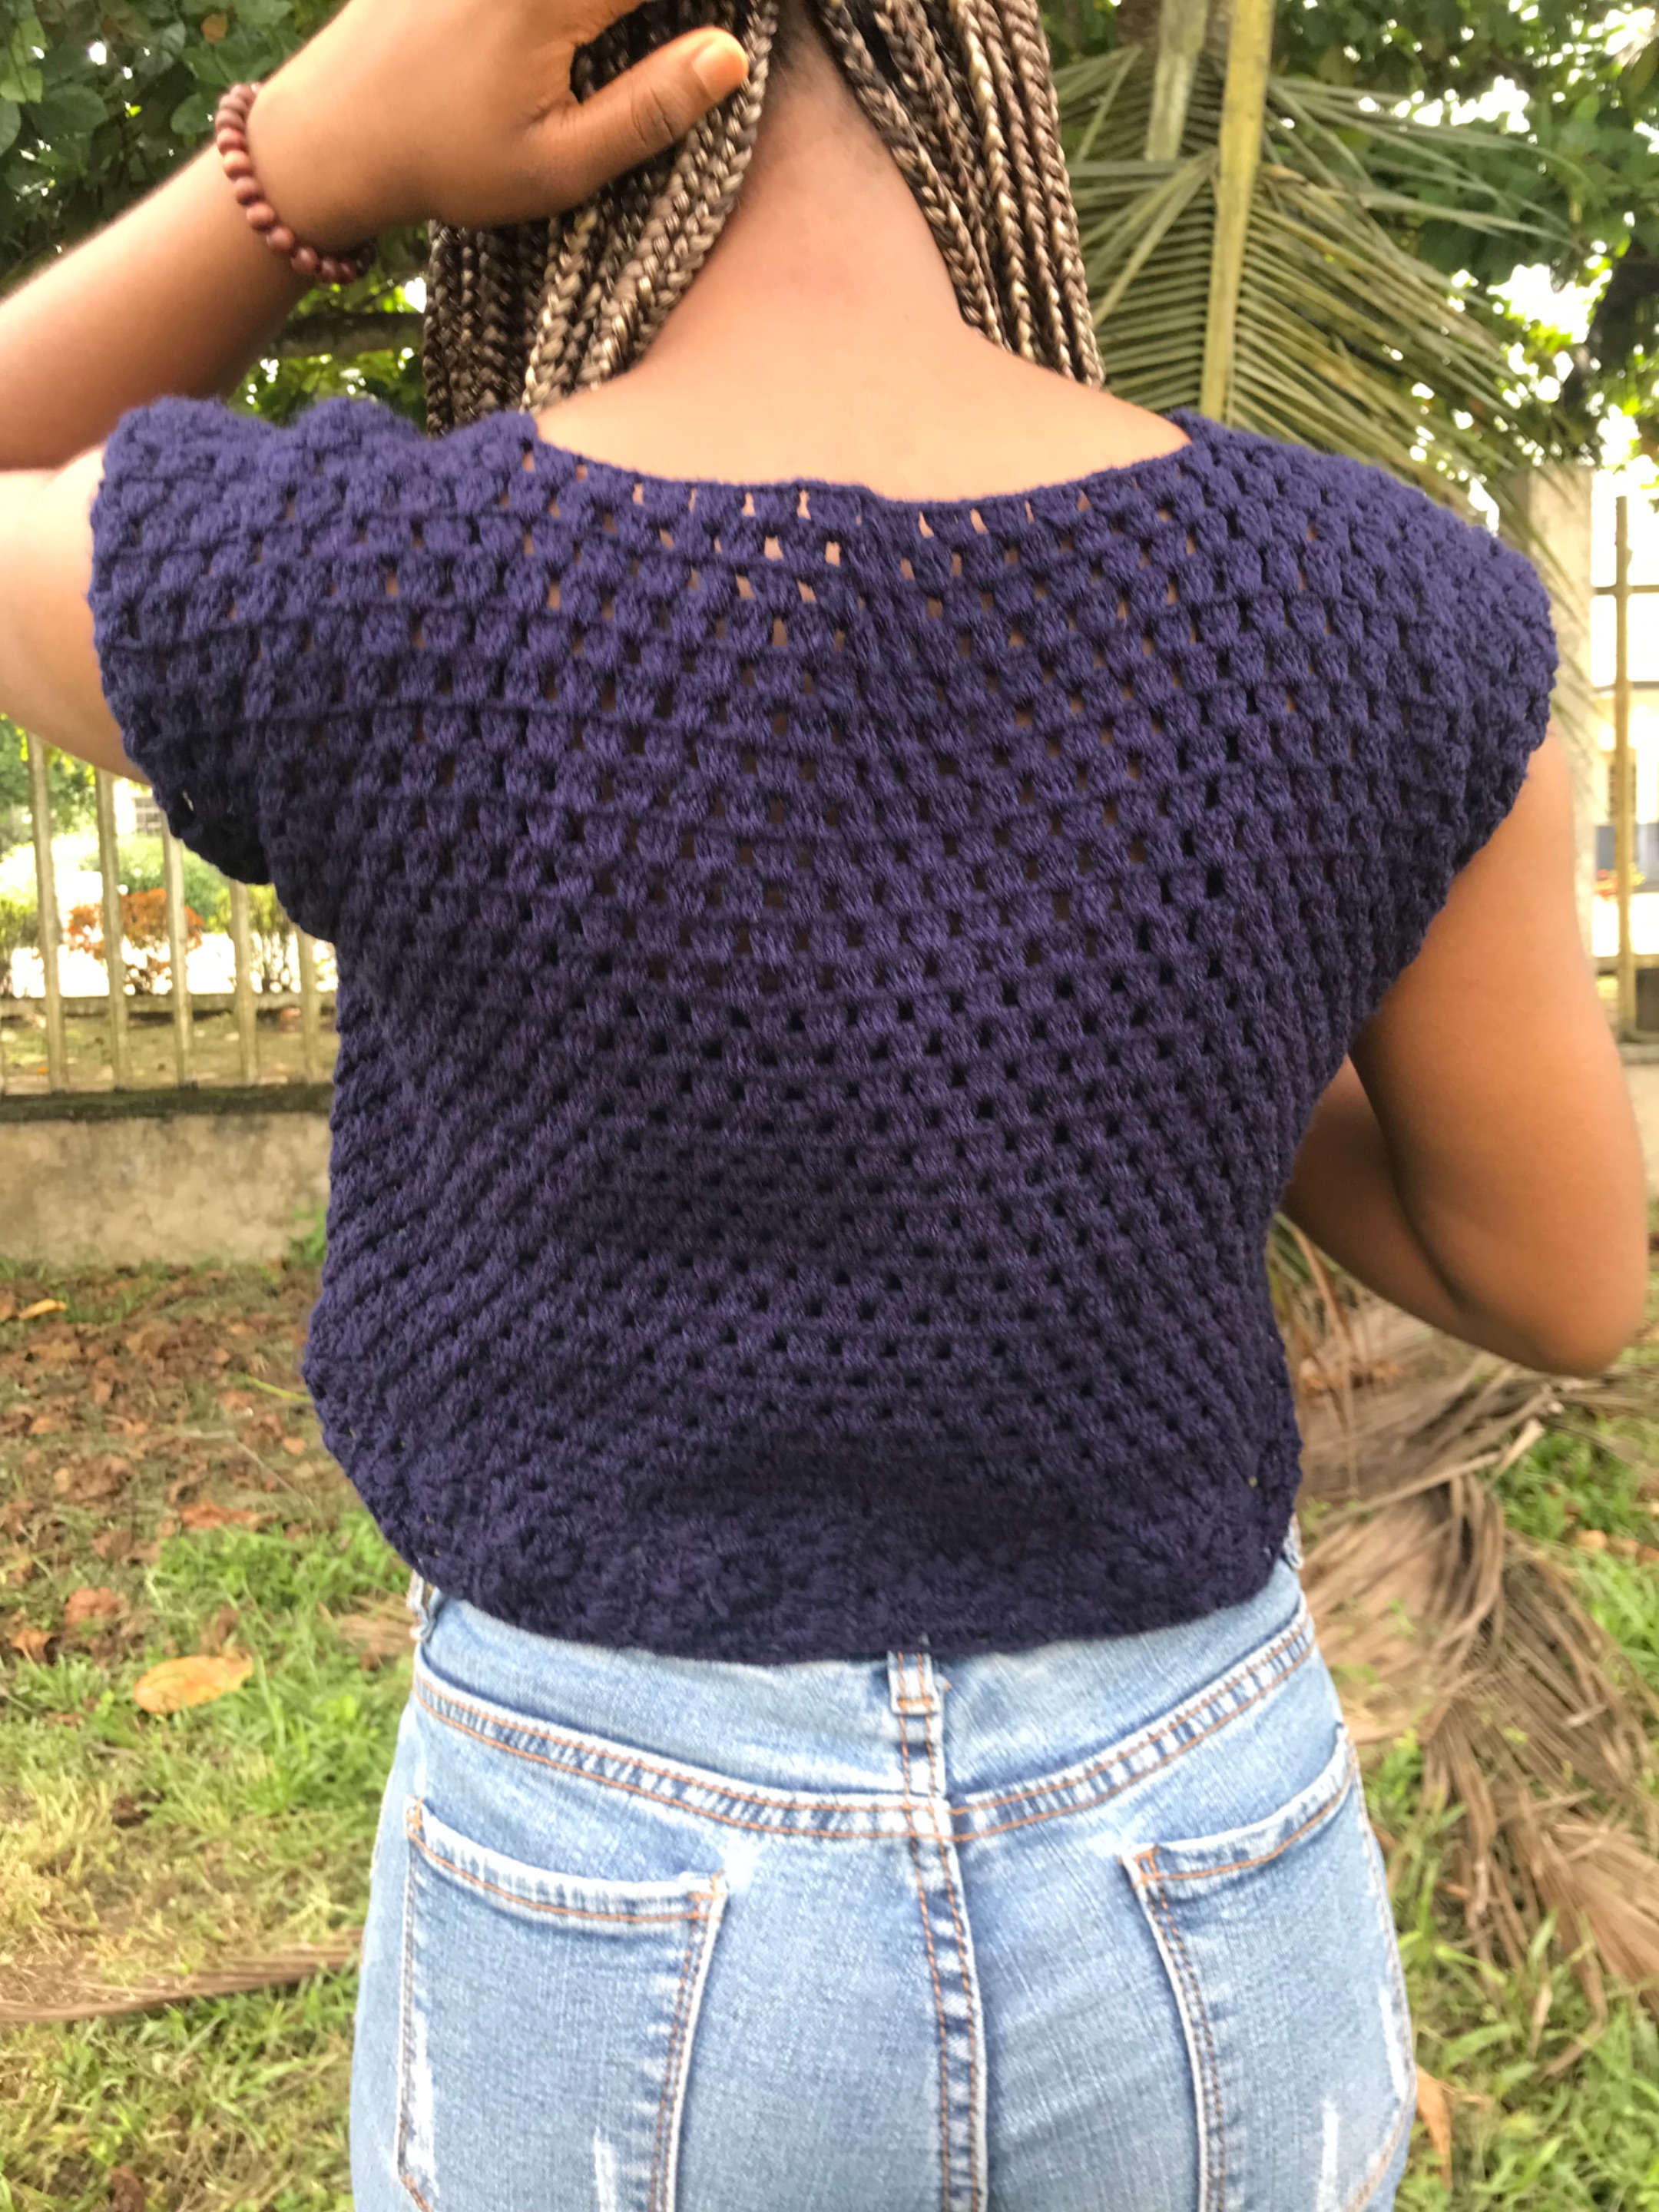 The top was super easy to crochet. I used up three balls of 40g yarn and a 3mm hook, and I’m pleased with the outcome because it turned out exactly how I wanted it to. *Till next time, guys. Ciao!* <sub>*All images are mine unless stated otherwise.*</sub>
👍 quelled, trifecta-tt, geminimissy, lauramica, imena, kattycrochet, ocd, roelandp, yadamaniart, walterjay, rt395, newsflash, rawselectmusic, howo, eonwarped, ocd-witness, miroslavrc, sanderjansenart, indigoocean, haccolong, olumzy, ocdb, javyeslava.photo, athunderstruck, tsunsica, devann, zeesh, leveluplifestyle, partiesjohall, jessicaossom, makerhacks, betterdev, rishi556, giftgiver, hextech, mafia.wallet, nftmart, thecouncil, macchiata, redrica, postpromoter, lifeskills-tv, variedades, kawsar8035, meritocracy, dcrops, aprasad2325, alphacore, cadawg, hivetrending, tomiscurious, fatman, detlev, jlsplatts, gabrielatravels, obsesija, beerlover, mammasitta, pradeepdee6, yiobri, fengchao, olaunlimited, build-it, amberyooper, cruisin, letalis-laetitia, tokenyzzy, viking-ventures, ukulima, sbi10, arcange, achimmertens, shainemata, jasonbu, apunawu, laruche, pboulet, hivequebec, ykretz, roozeec, lemonade1, smilestitches, onwugbenuvictor, holovision.make, yoginiofoz,