[SPA-ENG] INVASION | BLENDER TUTORIAL
hive-158694·@pinkgirl4·
0.000 HBD[SPA-ENG] INVASION | BLENDER TUTORIAL
<center> .png) </center> <div class="text-justify"> <div class="pull-left"> <b>Hola Hivers</b>, saludos a todos, hoy vengo con un modelado 3d en blender, practicando las partículas y experimentando con modificadores. También agregue un poco de photoshop para duplicar la figura y mejorar el color. </div> <div class="text-justify"> <div class="pull-right"> <b>Hello Hivers</b>, greetings to all, today I come with a 3d modeling in blender, practicing the particles and experimenting with modifiers. Also add some photoshop to duplicate the figure and enhance the color. </div> <center> https://images.hive.blog/DQmYp9DVPfEwrcRGN8SpzWC8HDEunaSDsAHGC5ufP5qv6Mg/gif%20separadores.gif </center> <div class="text-justify"> <div class="pull-left"> 1. Comencé creando una ico sphere, y le agregue modificadores de subdivision y wireframe. 2.Agregue otra ico sphere que seria el emisor y le agregue shade smooth. 3.Añadi un emisión de partículas y modifique su valores. 4. Agregue las fuerzas que darían el movimiento a las partículas, las cuales son turbulencia, fuerza y vortex. 5. Coloque el vortex hacia abajo y modifique el strength y el inflow. 6. Hice click en bake para crear el path de las partículas en la pestaña cache. 7. Convertí las partículas generadas en malla y quite las partículas que no necesitaba. 8. Convertí la maya en curva y aumente del Depth. Agregue una curva seleccionada la figura coloque de target la curva creada. 9. Convertí nuevamente la figura a malla y seleccione non manifold, y cerre con F, luego merge by distance. 10. Agregue una ico sphere y a la figura le volvi a agregar partícula pero esta vez de hair y en render has object y el instance seleccione la ico sphere creada. 11. Agregue una Cámara y la coloque como quería que saliera el renderizado. Luego Renderice con f12. 12. En photoshop corregí el color y agregue duplicados de a figura con blur. </div> <div class="text-justify"> <div class="pull-right"> 1. I started by creating an ico sphere, and added subdivision and wireframe modifiers to it. 2.Add another ico sphere that would be the emitter and add shade smooth to it. 3.Add a particle emission and modify its values. 4. Add the forces that would give the particles motion, which are turbulence, force, and vortex. 5. Put the vortex down and modify the strength and inflow. 6. I clicked on bake to create the particle path in the cache tab. 7. I converted the generated particles to mesh and removed the particles I didn't need. 8. I converted the mesh to a curve and increased the Depth. Add a selected curve to the figure and place the created curve as the target. 9. Convert the figure back to mesh and select non manifold, and close with F, then merge by distance. 10. Add an ico sphere and to the figure I added a particle again but this time from hair and in render has object and the instance select the created ico sphere. 11. Add a Camera and position it how you wanted the render to come out. Then Render with f12. 12. In photoshop I corrected the color and added duplicates of the figure with blur. </div> <center> 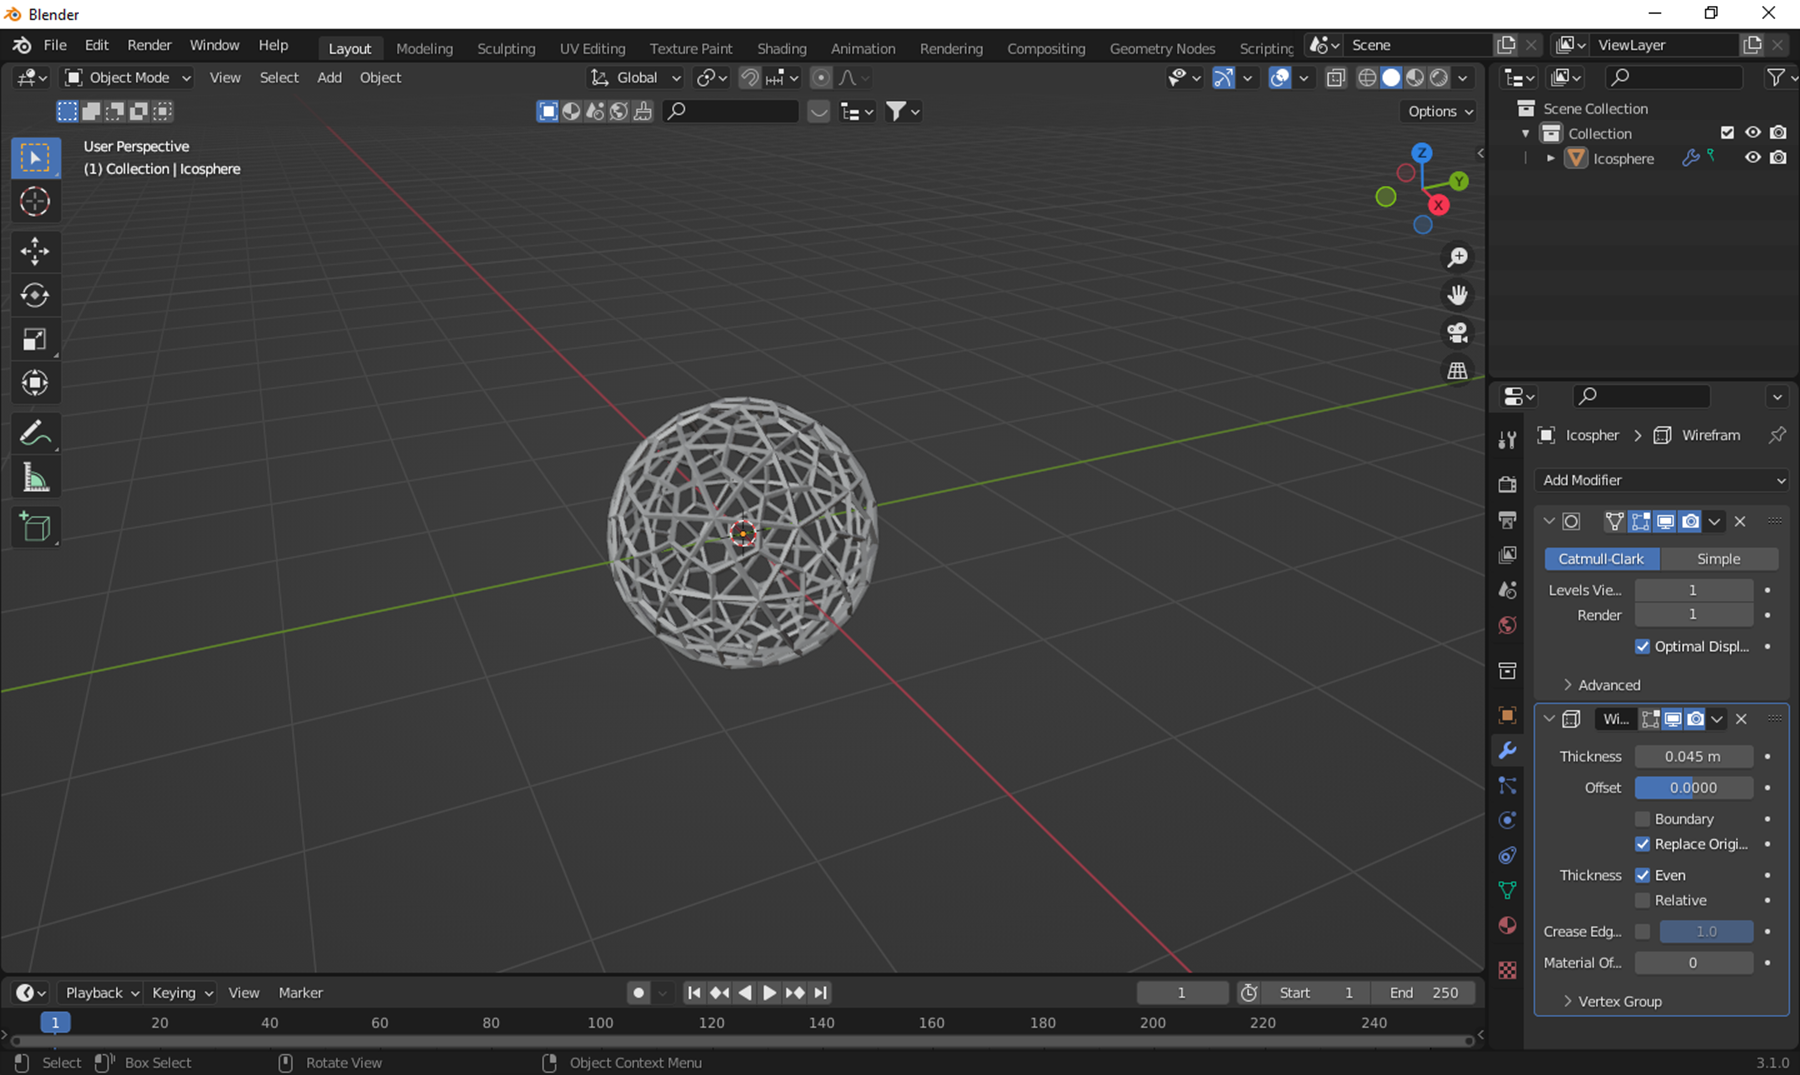 PASO 1 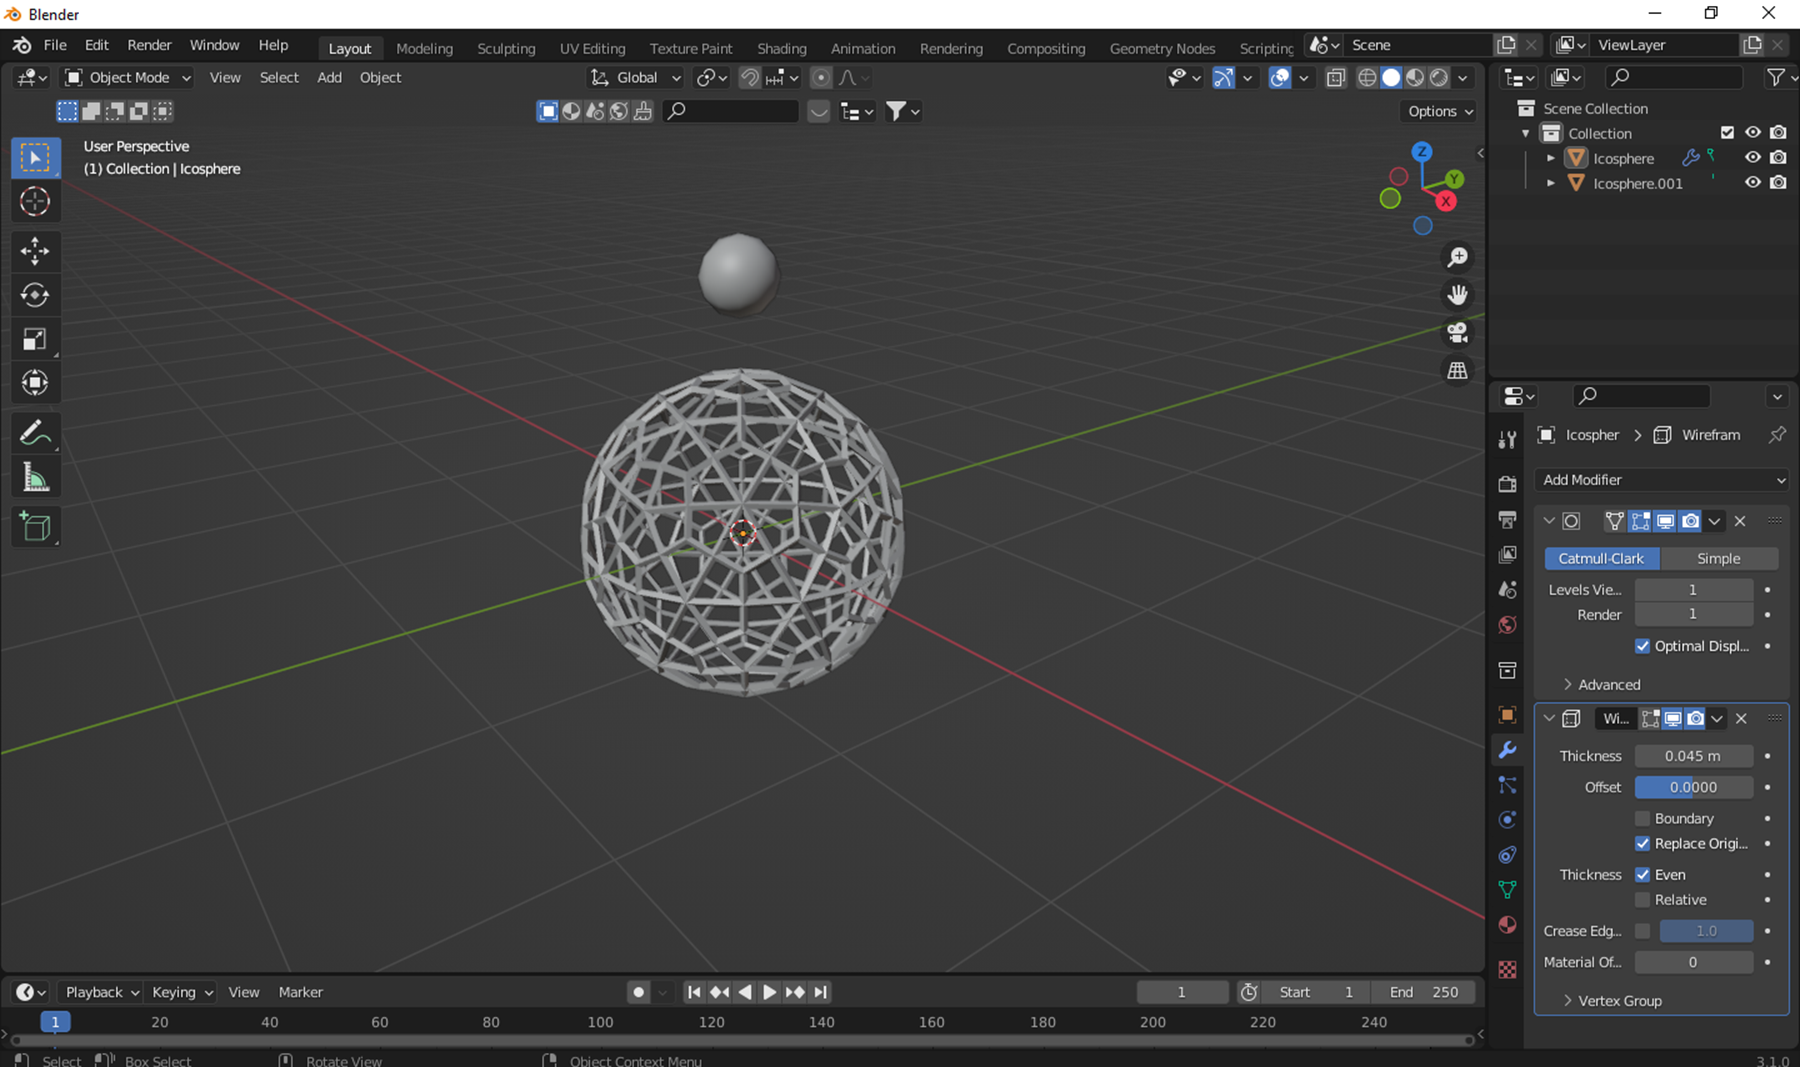 PASO 2 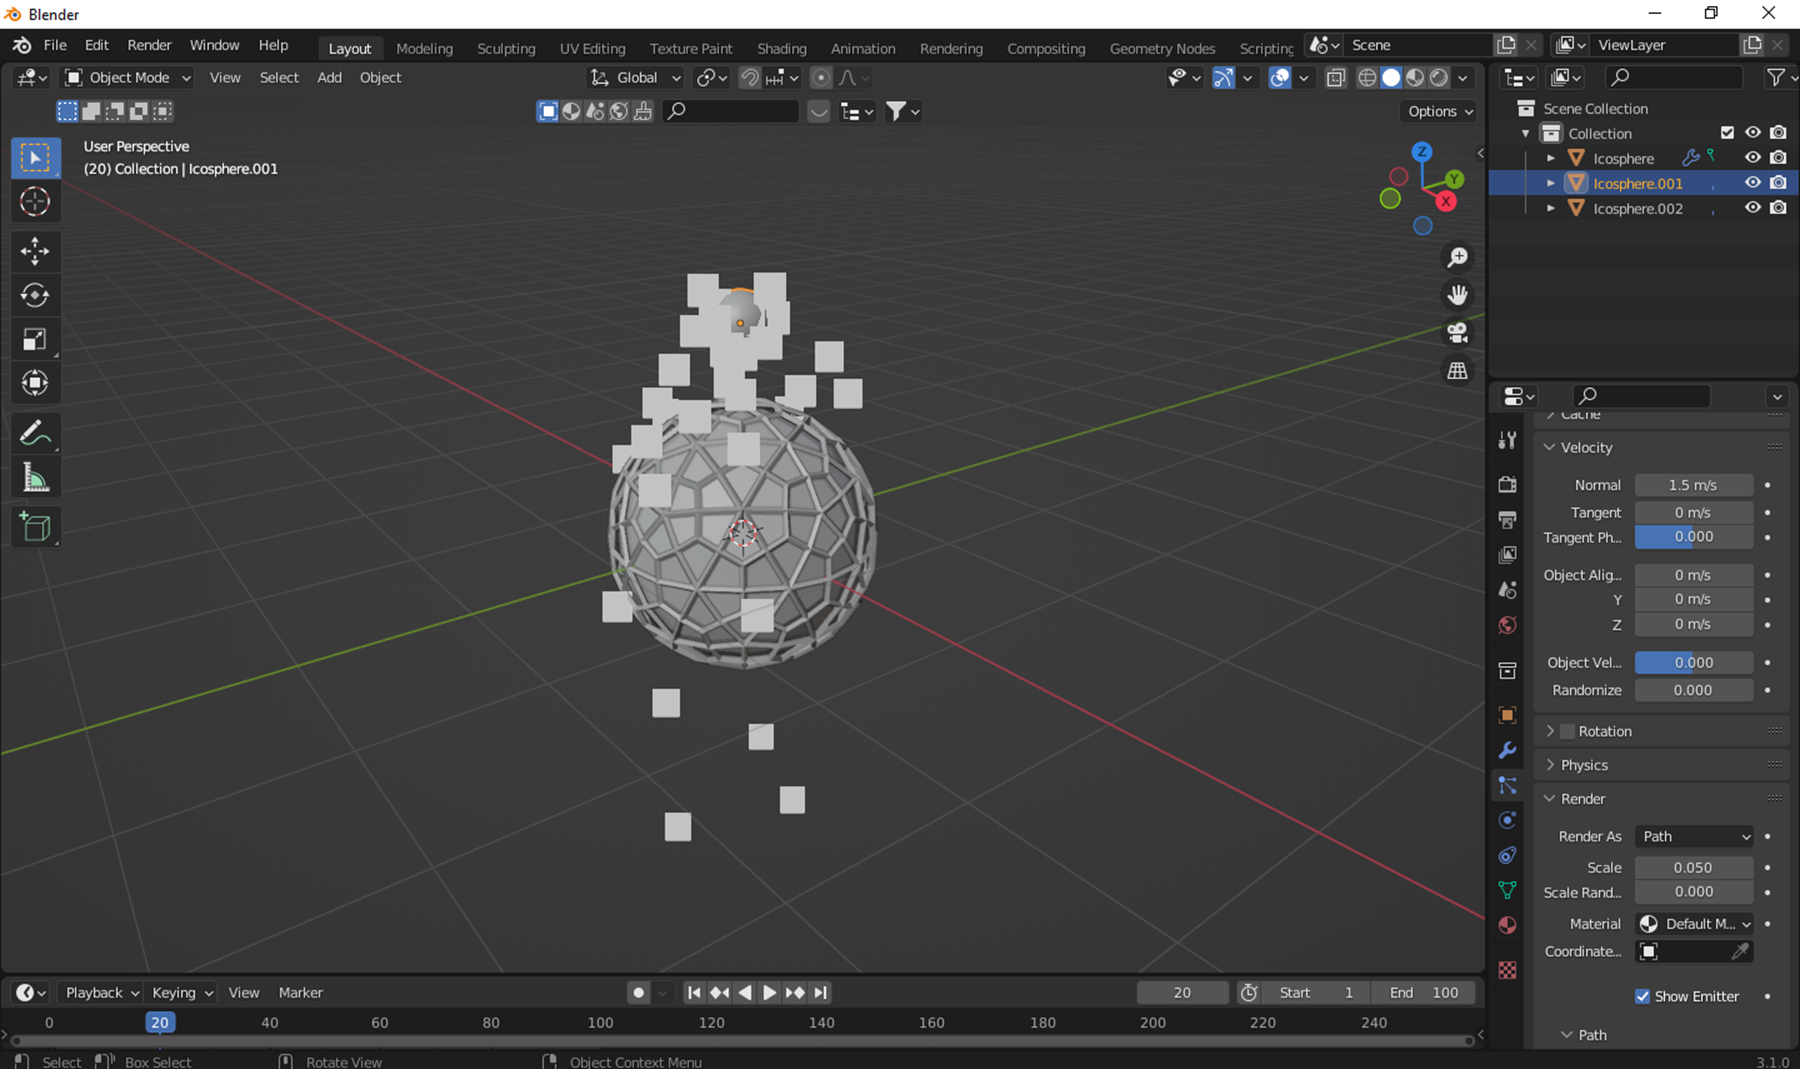 PASO 3 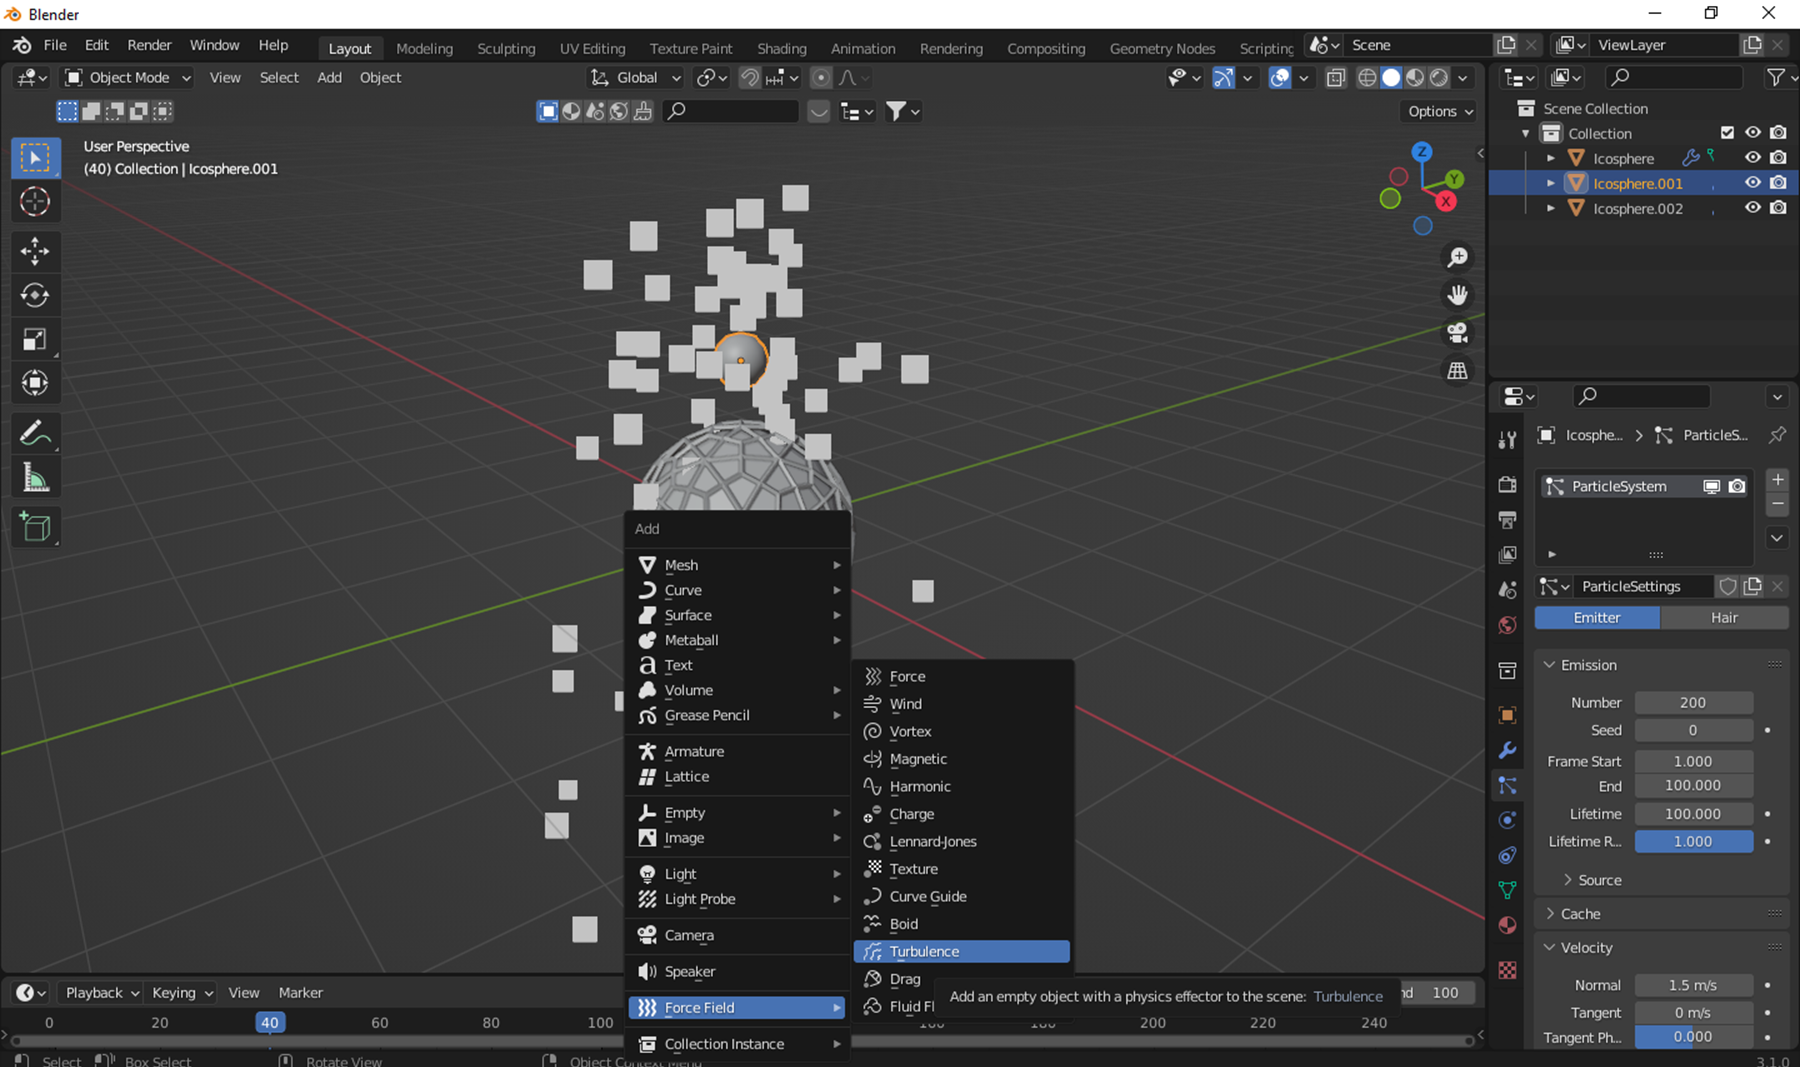 PASO 4 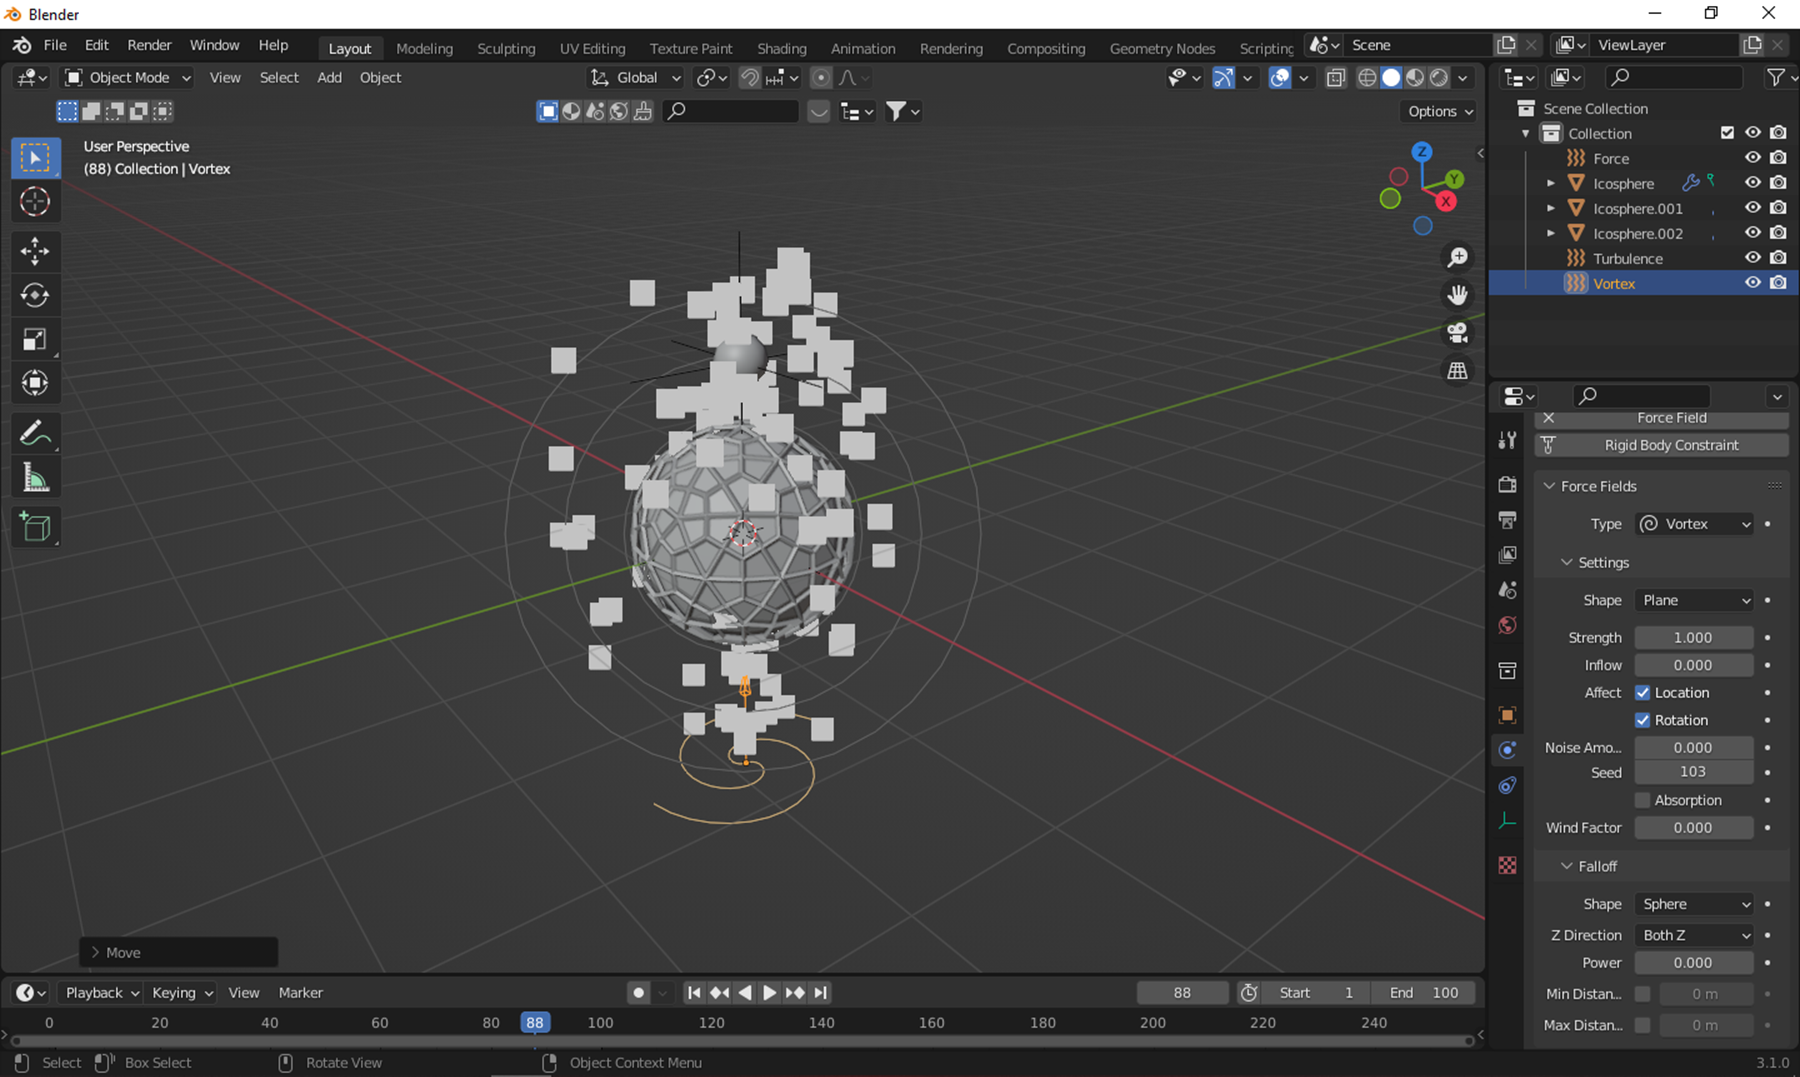 PASO 5 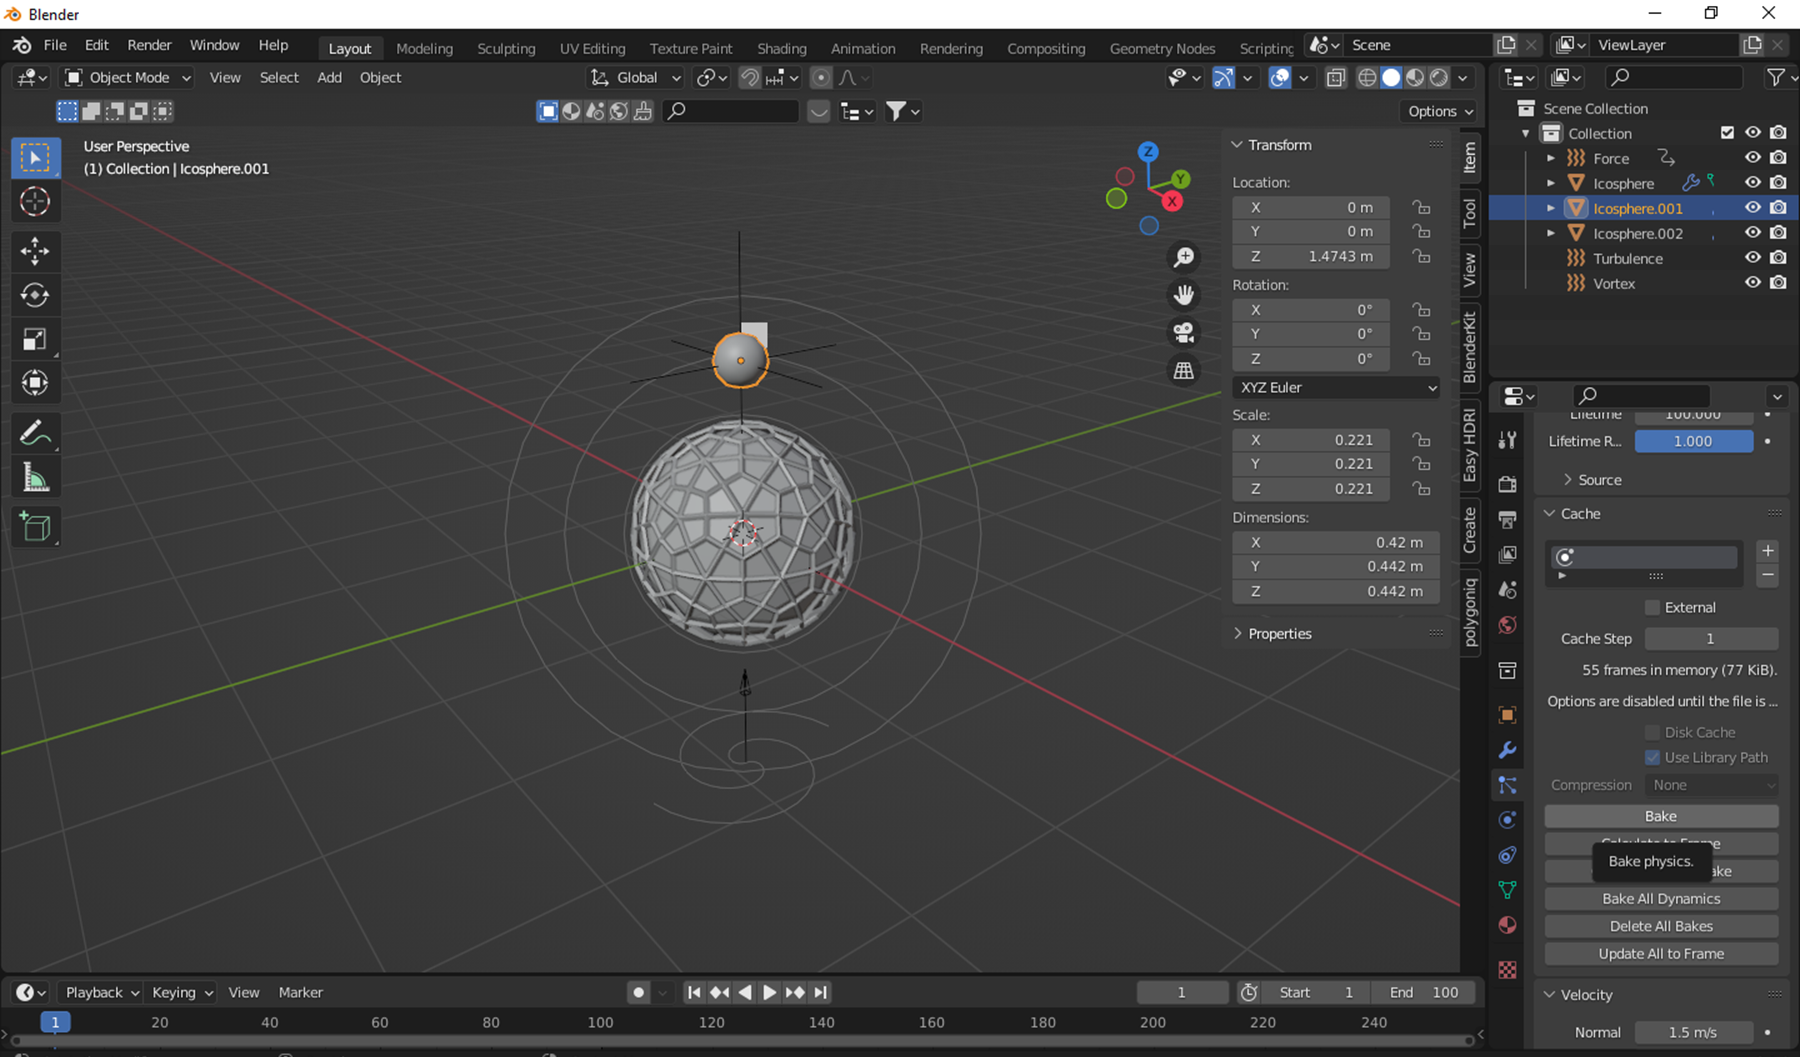 PASO 6  PASO 7 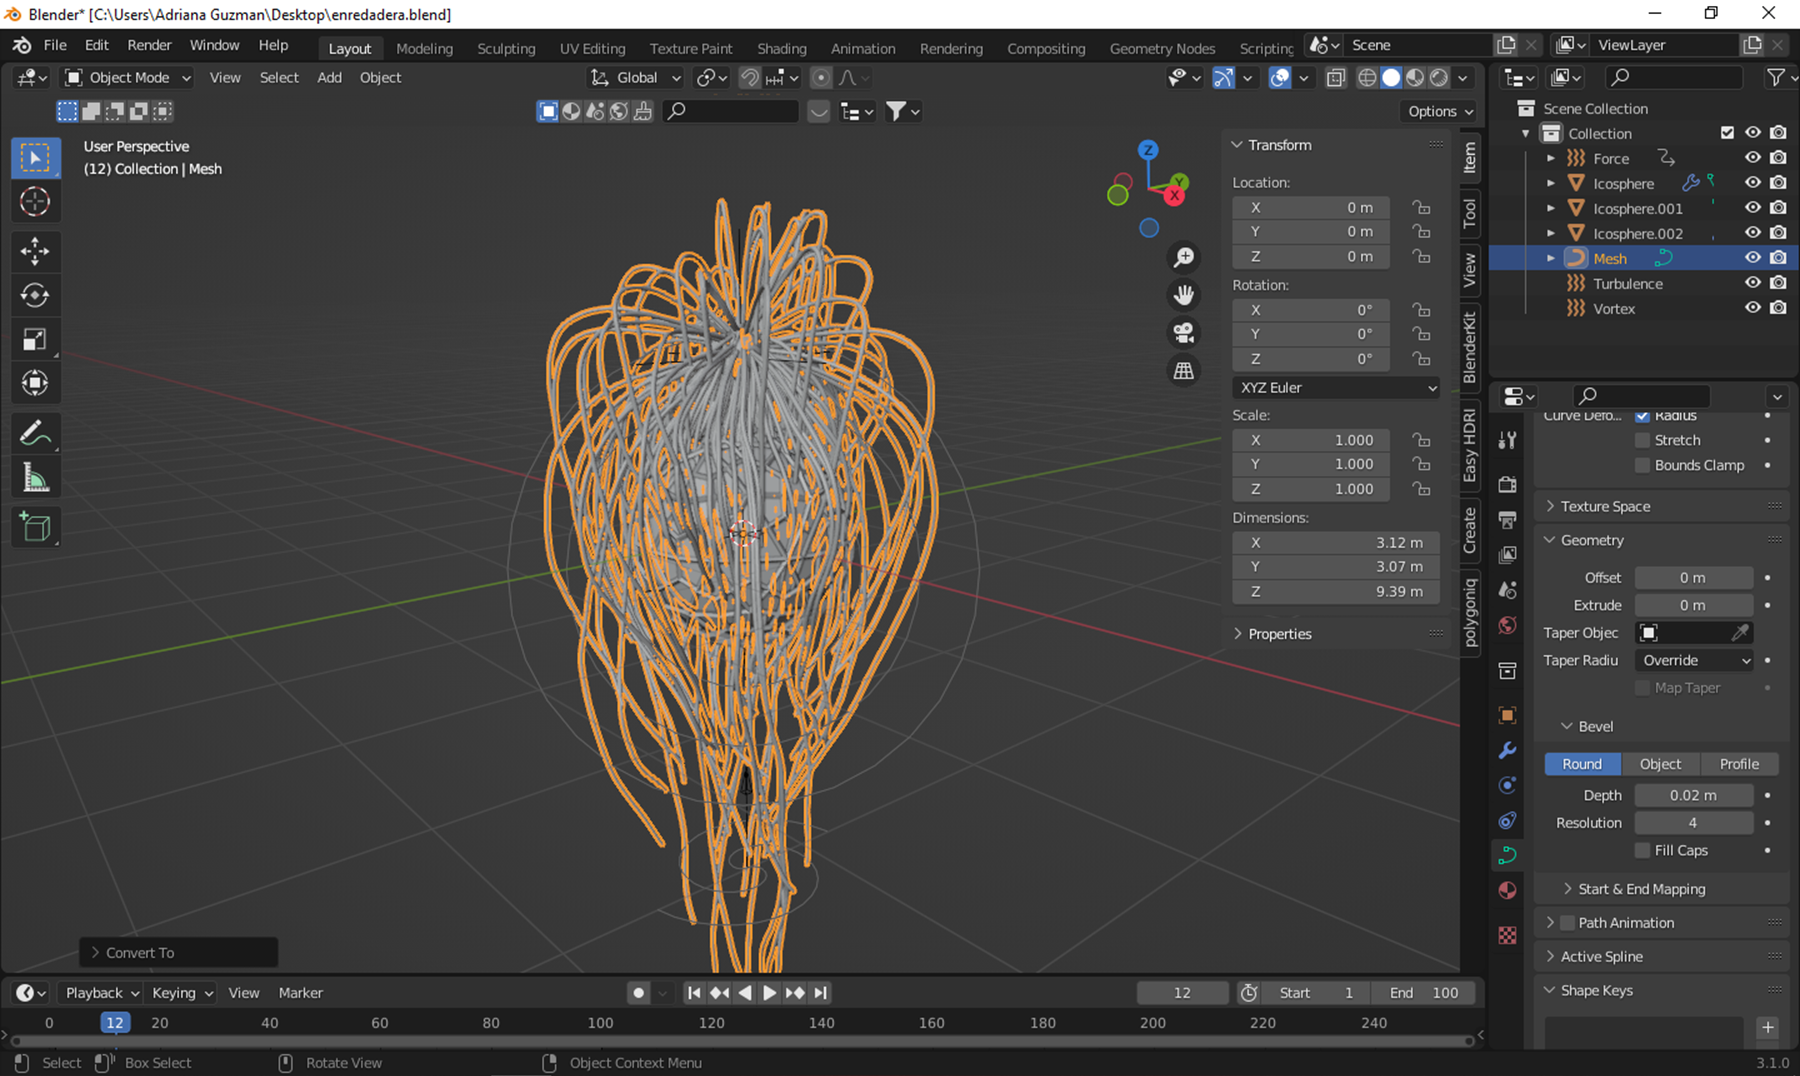 PASO 8 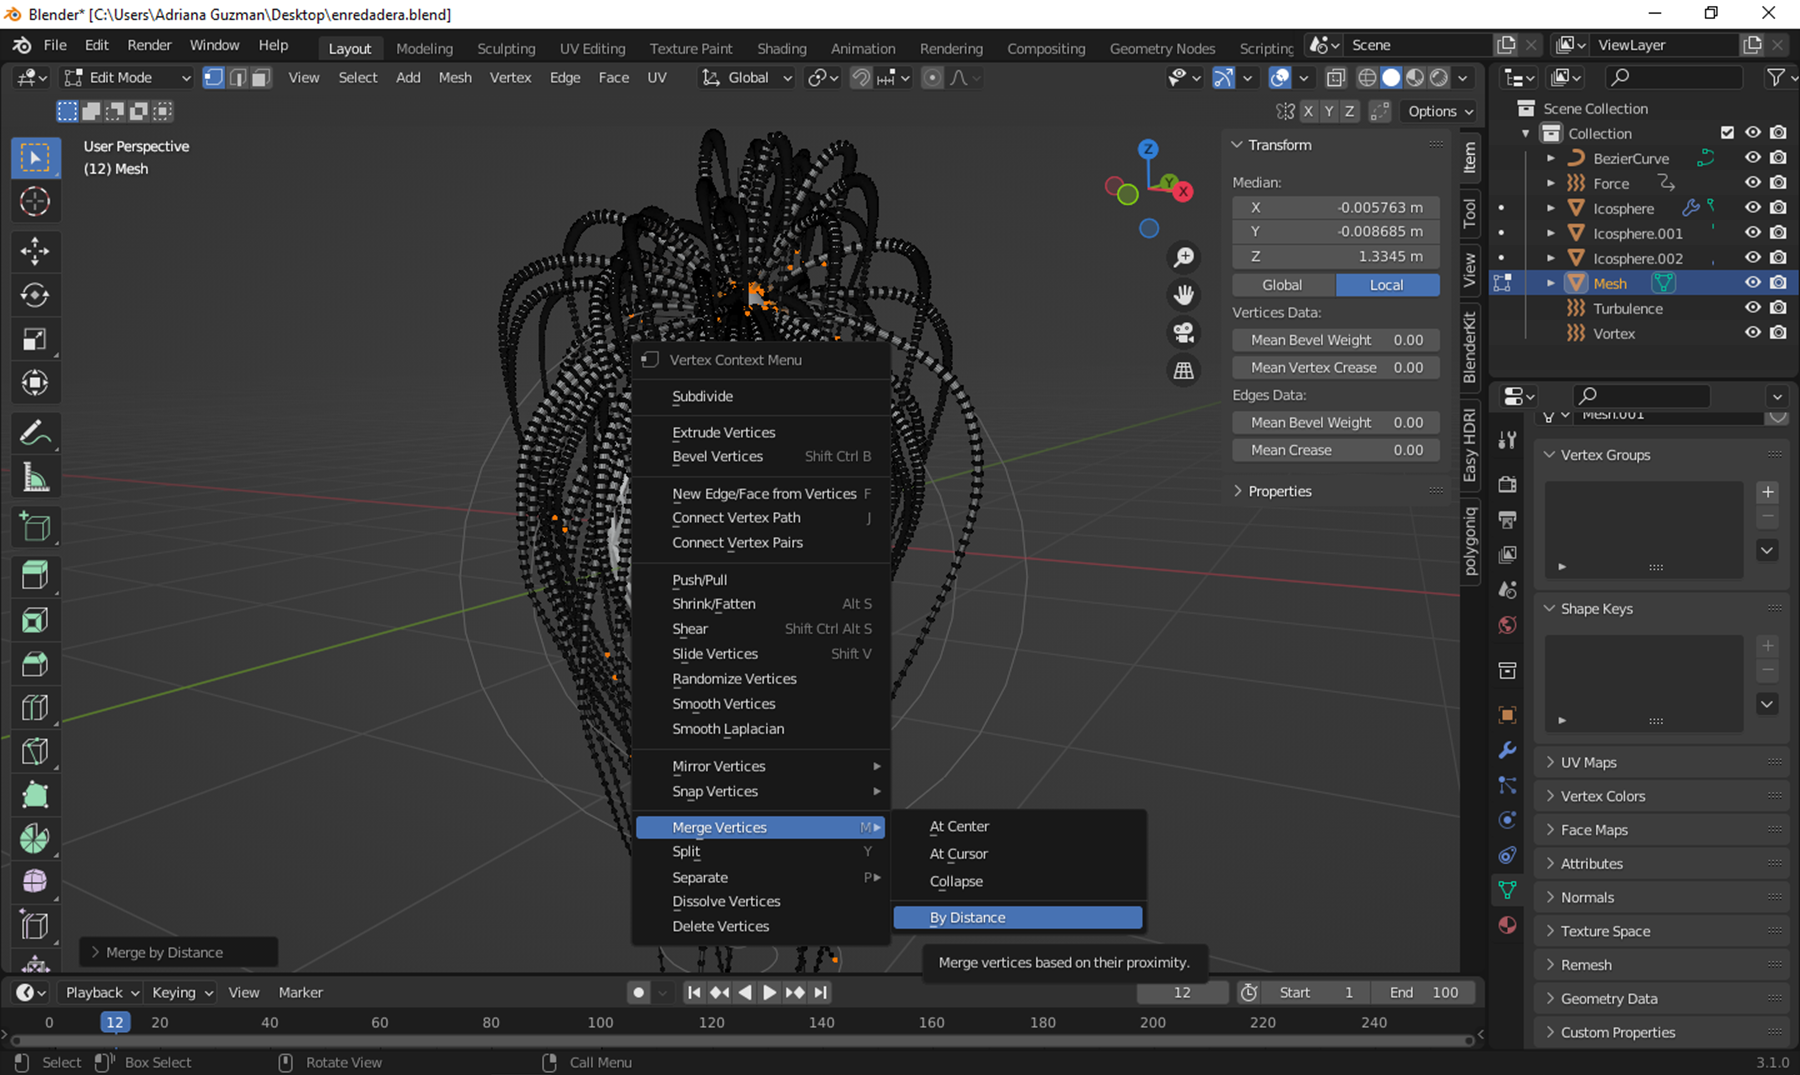 PASO 9 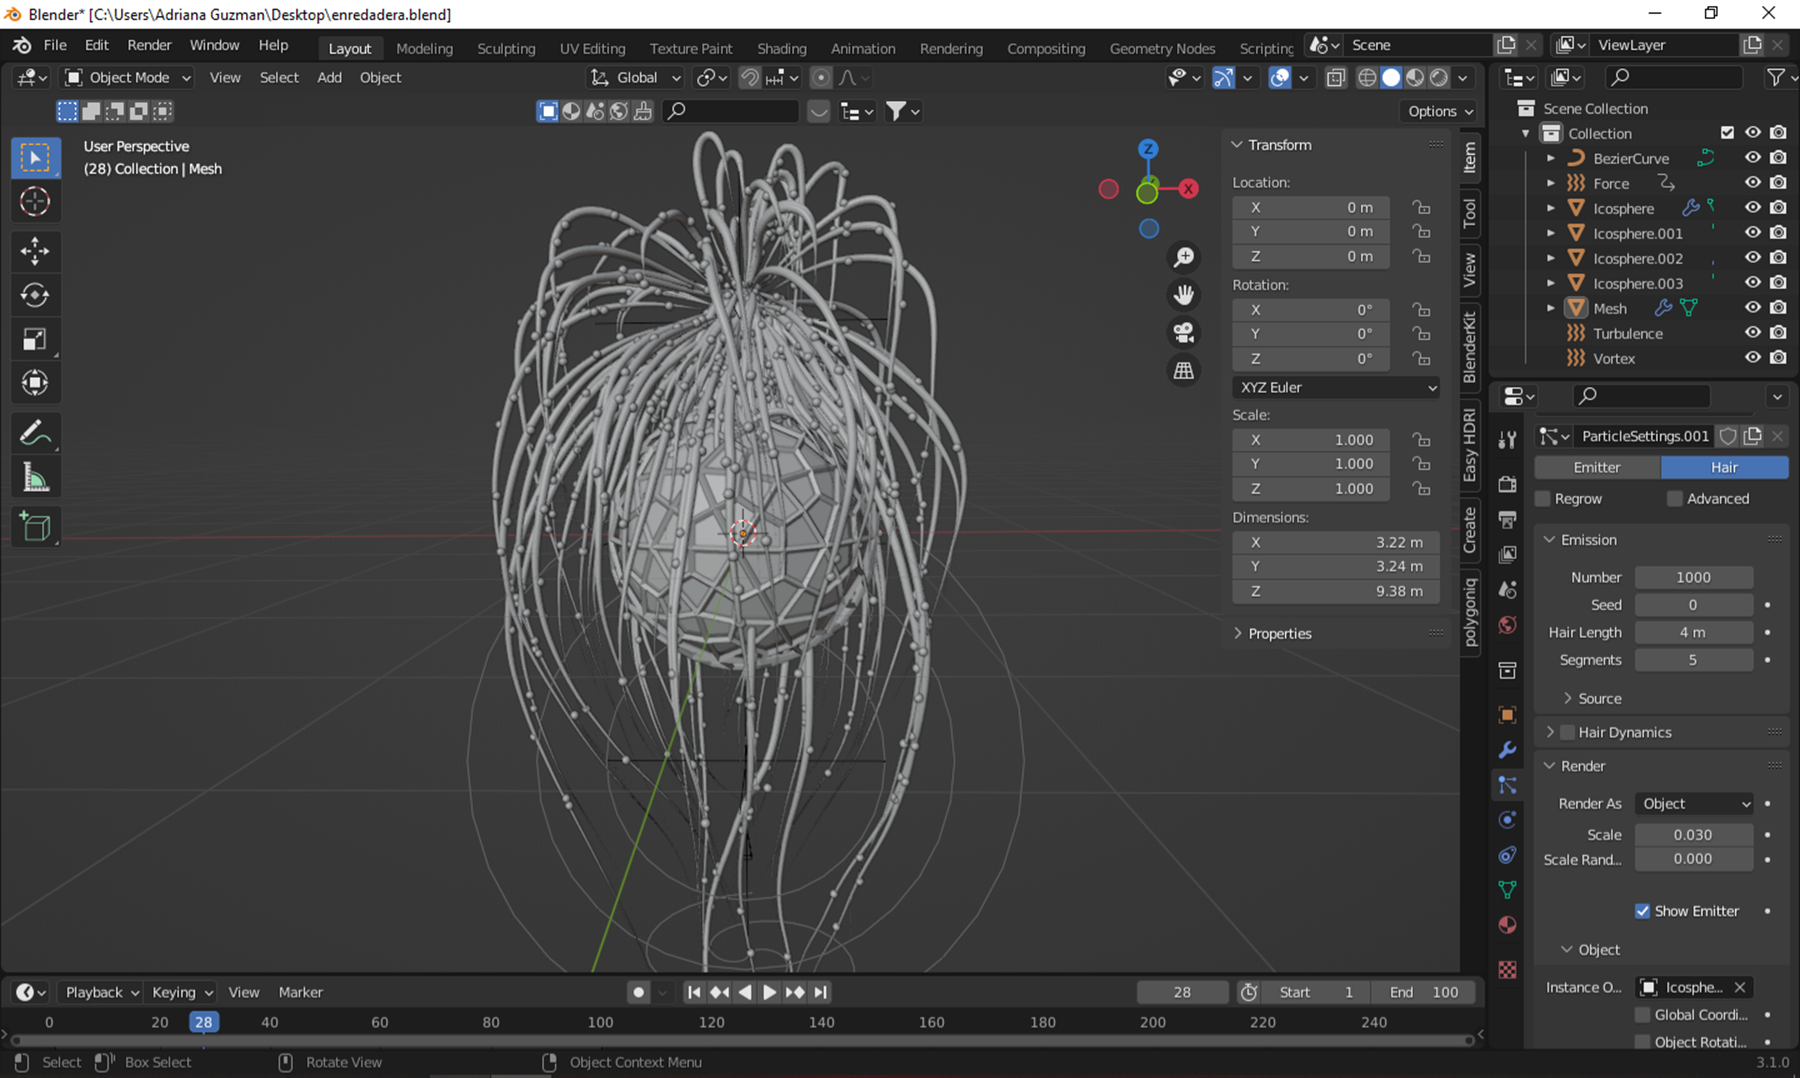 PASO 10 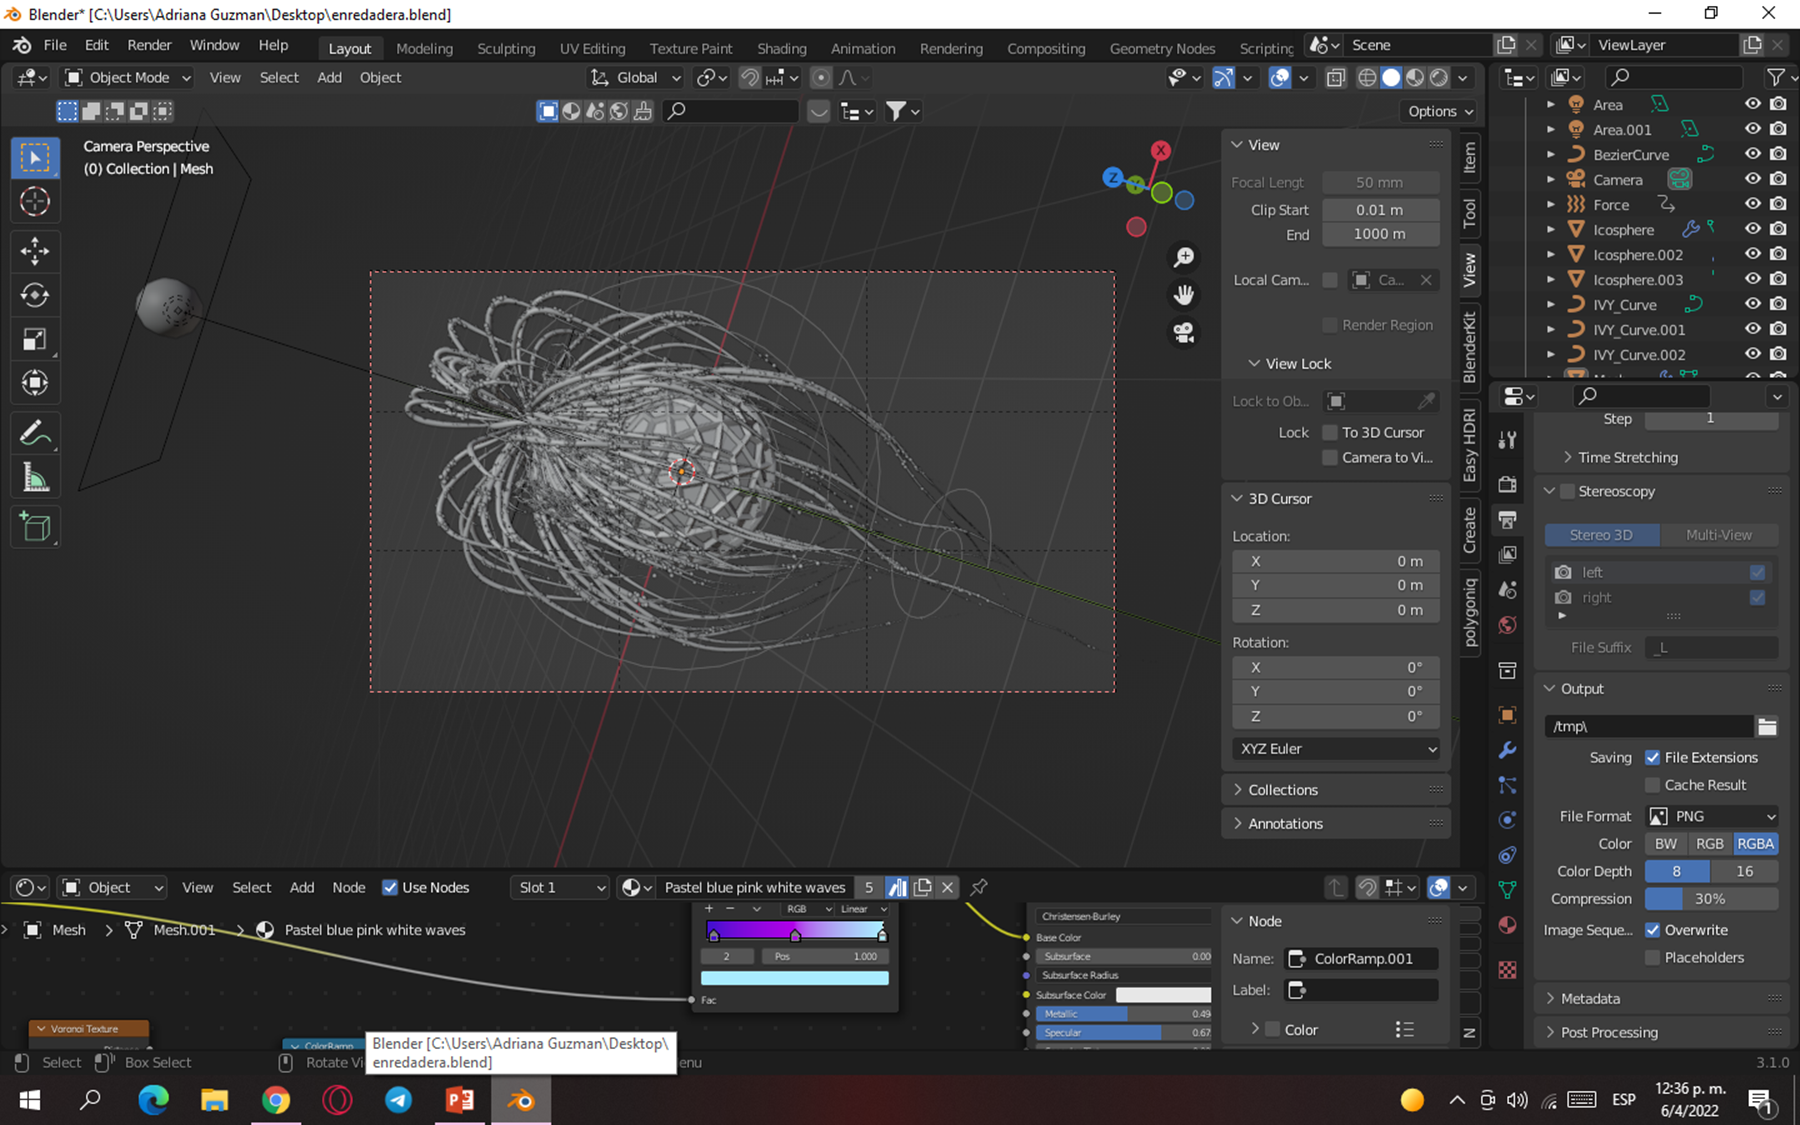 PASO 11 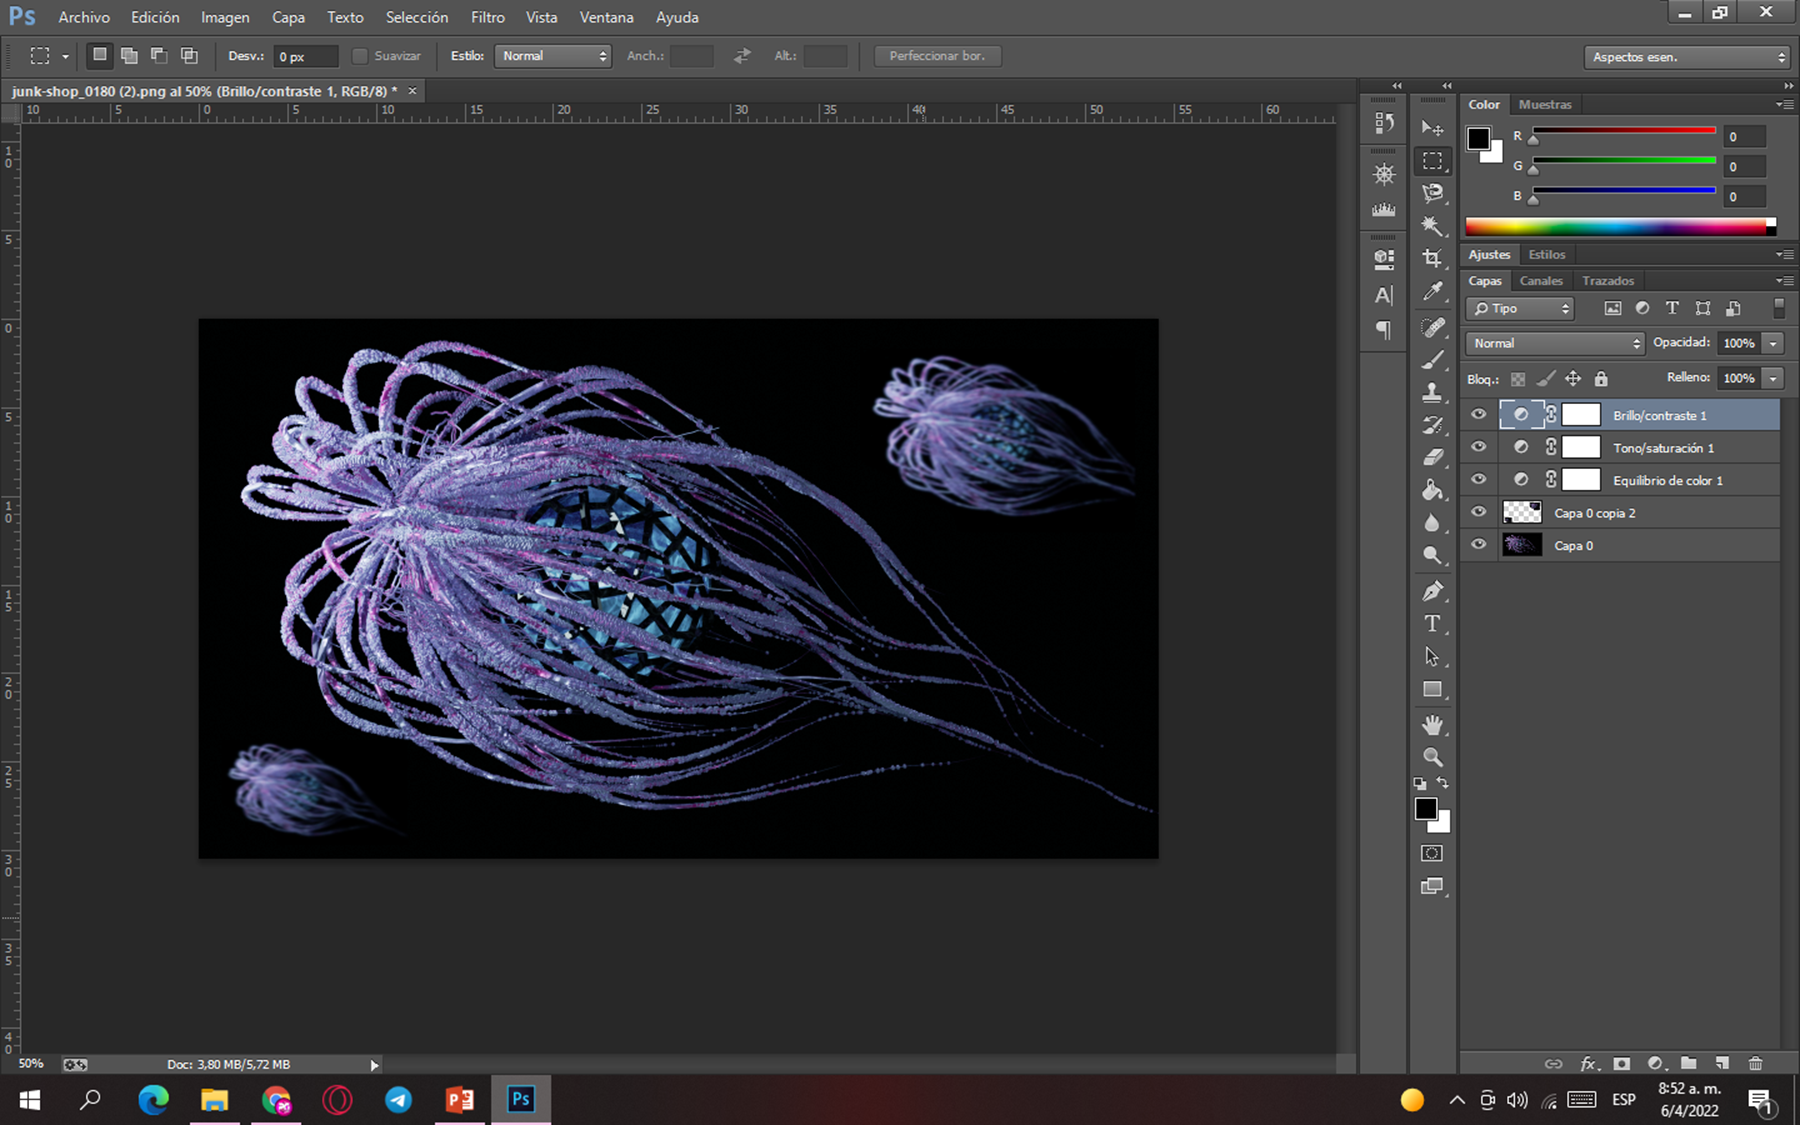 PASO 12 https://images.hive.blog/0x0/https://files.peakd.com/file/peakd-hive/pinkgirl4/23swkfXosiCdT2PrCwcmsFuvBbYeVJnXtVnYzk9PDMtzms58dN2TqP7sT9R3ez6VyNgSx.gif </center>
👍 edwardstobia, gerber, ezzy, exyle, steem.leo, mice-k, dcityrewards, reazuliqbal, iansart, felander, unconditionalove, bestboom, steem.services, bobby.madagascar, mfblack, milu-the-dog, triplea.bot, therealyme, ribary, dcrops, netaterra, drricksanchez, yogacoach, sbi5, meanbees, mrarhat, lice91, rikarivka, castleberry, soufianechakrouf, gehenna08, splintercell-01, life-timer, ross92, nautilus-up, billytercero, alebrijes, spliddash, elsan.artes, diomusic, divadstrokes, shimozurdo, shimozurdogames, helengutier2, equipodelta, bil.prag, thecuriousfool, curangel, roelandp, pharesim, gikitiki, bryan-imhoff, moretea, askari, erikaflynn, gingerninja, dandesign86, diabolika, diegoameerali, scrodinger, lenasveganliving, markjason, straykat, sco, ronpurteetv, lemony-cricket, bertrayo, azircon, louis88, tijntje, romeskie, bdmillergallery, cooltivar, remotehorst23, thevil, epicdice, babytarazkp, dpend.active, hiveart, hivechat, altor, janettbrito76, jessicaossom, yasern, wendy0520, agilecur, coloneljethro, coccodema, thelittlebank, abh12345, braveboat, taldor, cmplxty, pavanjr, artmedina, nsfw-power, adalger, altleft, meritocracy, emybaby, warpedpoetic, doctor-cog-diss, gaottantacinque, milky-concrete, dollayah, nancybmp, gasaeightyfive, cribbio, ssiena, xcurangel, jlsplatts, filler, xaltleft, josepimpo, saboin, koenau, voxmortis, obsesija, mrhoofman, rayshiuimages, robmojo, mister.reatard, disconnect, macoolette, yiobri, solymi, mariano123, an-man, alienarthive, drwom, juliakponsford, peachymod, rootdraws, limn, vachemorte, nftshowroom, julesquirin, nfthypesquad, rowell, abstrads, lucianaabrao,