📌 Tutorial: cintillo de cumpleaños || Tutorial: birthday headband 🎂🎊
hive-148441·@raineth0224·
0.000 HBD📌 Tutorial: cintillo de cumpleaños || Tutorial: birthday headband 🎂🎊
# <center>Como realizar un cintillo de cumpleaños | How to make a birthday headband</center> <center>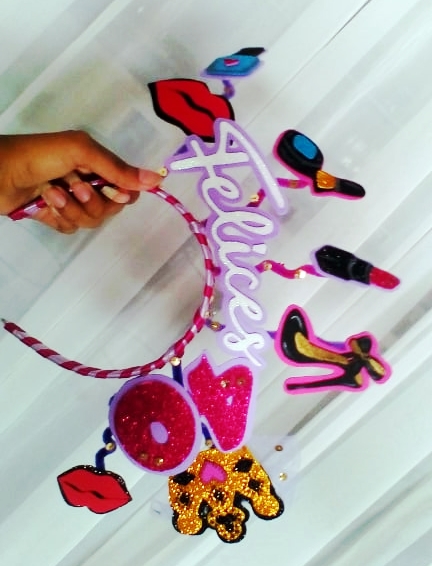</center> ### <center>✨ °Hola chicas y chicos | Hello girls and boys° ✨</center> Espero estén súper bien. Hoy quiero mostrarles los pasos que realicé para elaborar este cintillo de cumpleaños, y así ustedes también puedan realizarlos, la verdad es muy fácil de hacer y será un toque muy divertido y especial para tu celebración. >I hope they are super good. Today I want to show you the steps I took to make this birthday headband, and so you can also do them, the truth is very easy to do and it will be a very fun and special touch for your celebration. <div class = pull-right>https://images.hive.blog/DQmSq7hvLBoqFDrLgEWPmhKHoowcjbbfuyq8f3UjfaLC3bY/separador%201.png</div> # Materiales | Materials <div class = pull-left>Para ello vamos a necesitar los siguientes materiales: Foami de diferentes colores y texturas – moldes – tijeras – silicón – base de cintillo – limpiapipas – cintas – pinturas – lápiz 6B – implementos para decorar a su gusto como lentejuelas, piedritas brillantes, tela de tul, entre otros.</div> <div class = pull-right>For this we will need the following materials: Foam of different colors and textures - molds - scissors - silicone - headband base - pipe cleaners - ribbons - paints - 6B pencil - implements to decorate as you like such as sequins, sparkling pebbles, tulle fabric, among others.</div> *** <div class = pull-right>https://images.hive.blog/DQmSq7hvLBoqFDrLgEWPmhKHoowcjbbfuyq8f3UjfaLC3bY/separador%201.png</div> # Proceso | Process 🔴 Como primer paso elegiremos las fuentes, tamaños y figuras que usaremos como molde, imprimimos y recortamos cada uno de ellos.| 🔘 As a first step we will choose the fonts, sizes and figures that we will use as a mold, we print and cut each one of them. 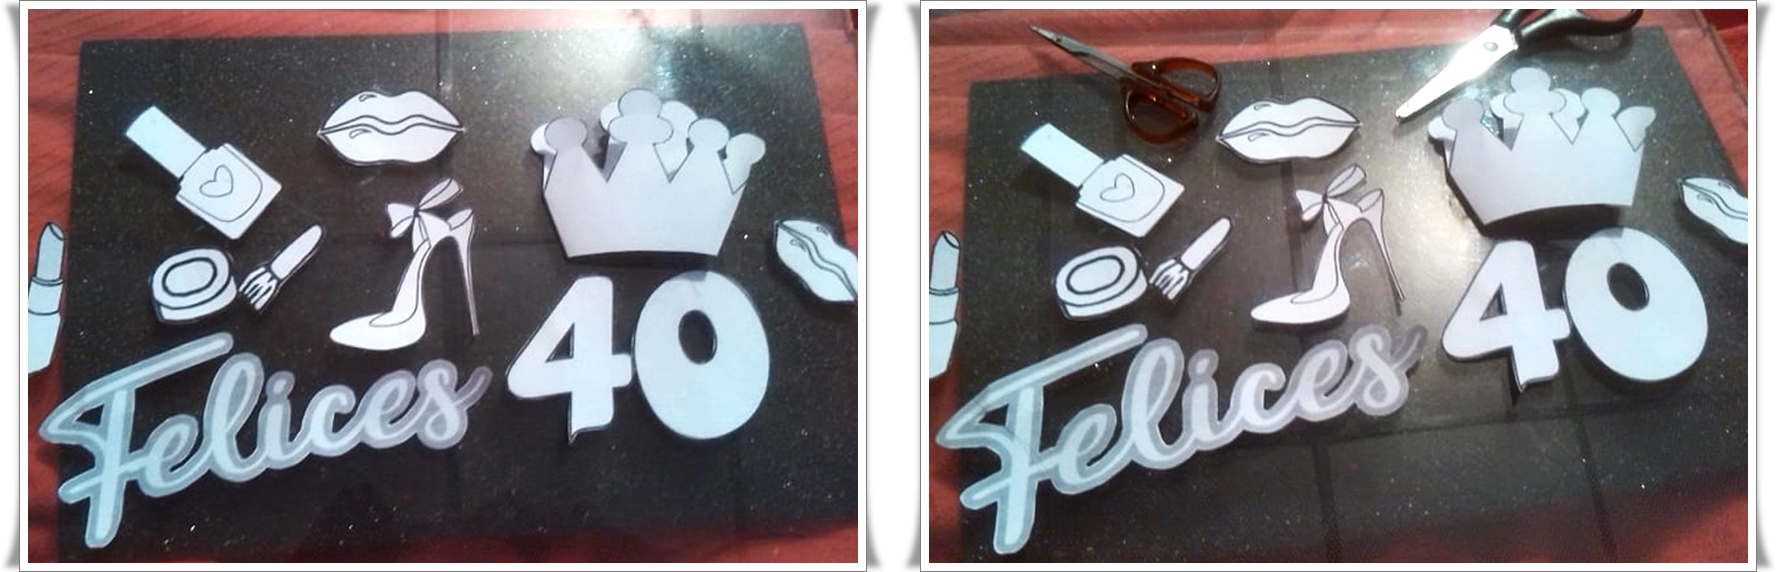 🔴 Colocamos el molde que recortamos previamente en el foami para marcar la figura y poder recortarla a la perfección, es importante saber que el molde siempre debemos ponerlo al revés para que cuando cortemos, el frente no sea donde realizamos la marca y pueda tener un buen acabado. | 🔘 We place the mold that we previously cut in the foami to mark the figure and be able to cut it to perfection, it is important to know that the mold must always be turned upside down so that when we cut, the front is not where we make the mark and can have a good finish . 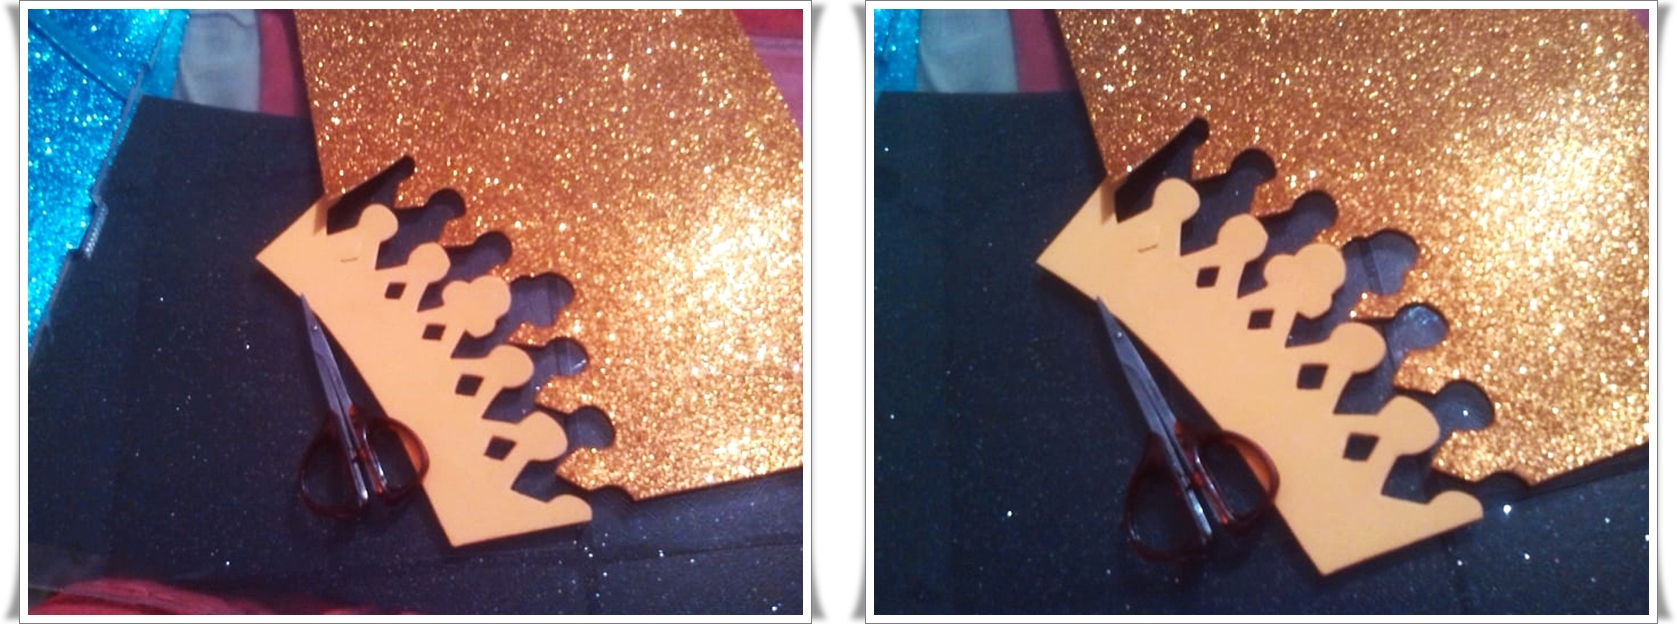 🔴 Siempre que recortemos letras debemos ser muy cuidadosos porque estas suelen ser muy delgadas, especialmente cuando la fuente es corrida, un truco que utilizo para no marcar directamente con el molde porque suele moverse mucho cuando la palabra es muy larga es tomar un lápiz 6B marcar el borde de las letras haciendo un poco de presión el lápiz y luego lo coloco en el foami y con el dorso de la tijera presiono y el grafito se traslada al foami dejándome la línea guía impresa. | 🔘 Whenever we cut letters we must be very careful because they are usually very thin, especially when the font is run, a trick that I use to not mark directly with the mold because it usually moves a lot when the word is very long is to take a 6B pencil to mark the edge of the letters pressing the pencil a little and then I place it on the foami and with the back of the scissors I press and the graphite is transferred to the foami leaving me the printed guide line. 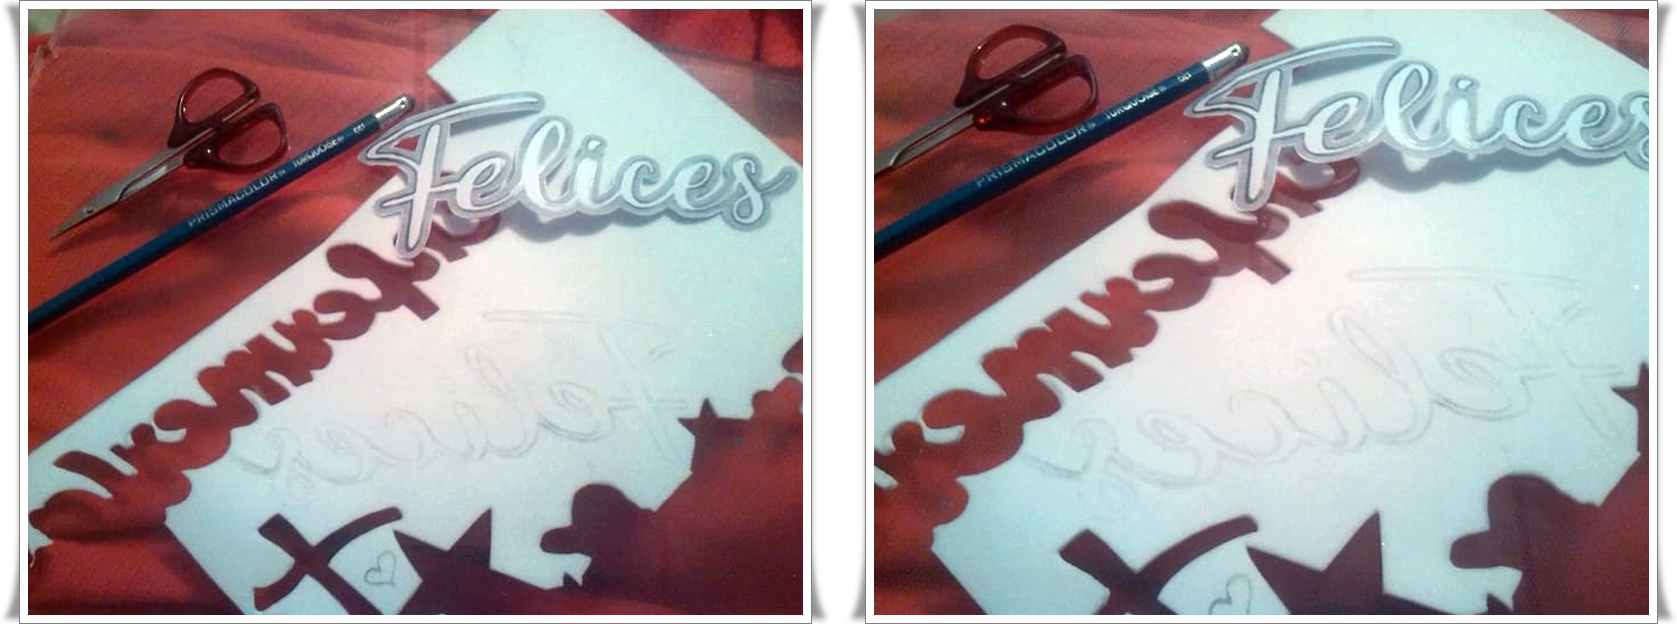 🔴 Una vez que recortemos todas las piezas volvemos a tomar los moldes y elegimos otro color que contraste con las figuras que recortamos previamente o que vaya con la paleta de colores que elegimos para realizar el cintillo y colocándolo en el foami volvemos a marcar pero esta vez dejado un pequeño espacio en el borde, recuerda siempre poner el molde al revés. | 🔘 Once we cut out all the pieces, we take the molds again and choose another color that contrasts with the figures that we cut previously or that goes with the color palette that we chose to make the headband and placing it in the foami we mark again but this time left a little space on the edge, always remember to put the mold upside down. 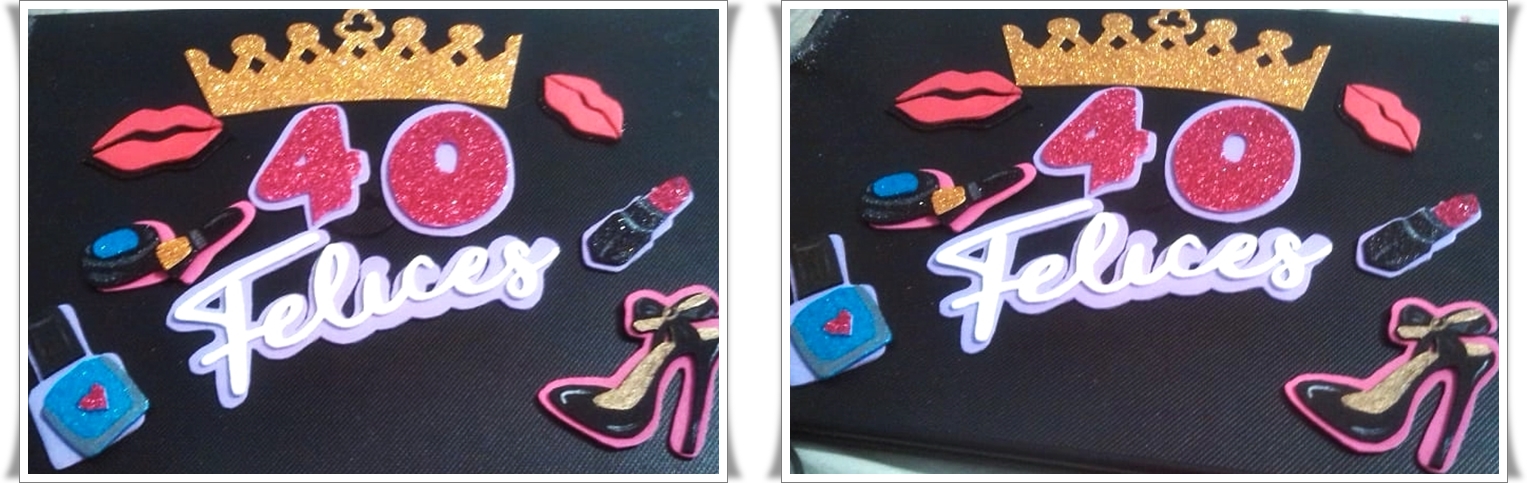 🔴 Cuando tengamos todas las piezas de foami listas podemos empezar a darle detalles con pintura a lo que sea necesario en mi opinión siempre queda bien agregar un punto de luz con pintura blanca siento que esto hace que resalte, sin embargo este paso es opcional o a tu gusto personal. | 🔘 When we have all the pieces of foami ready we can start giving details with paint to whatever is necessary in my opinion it is always good to add a point of light with white paint I feel that this makes it stand out, however this step is optional or to your liking personal.  🔴 Cuando ya estén bien secas todas las piezas pasamos a pegarlas, preferiblemente con silicón caliente, pero debemos ser precavidos, ya que una vez que este pegado no podrá moverse. | 🔘 When all the pieces are well dry we go on to glue them, preferably with hot silicone, but we must be careful, since once it is glued it will not be able to move. 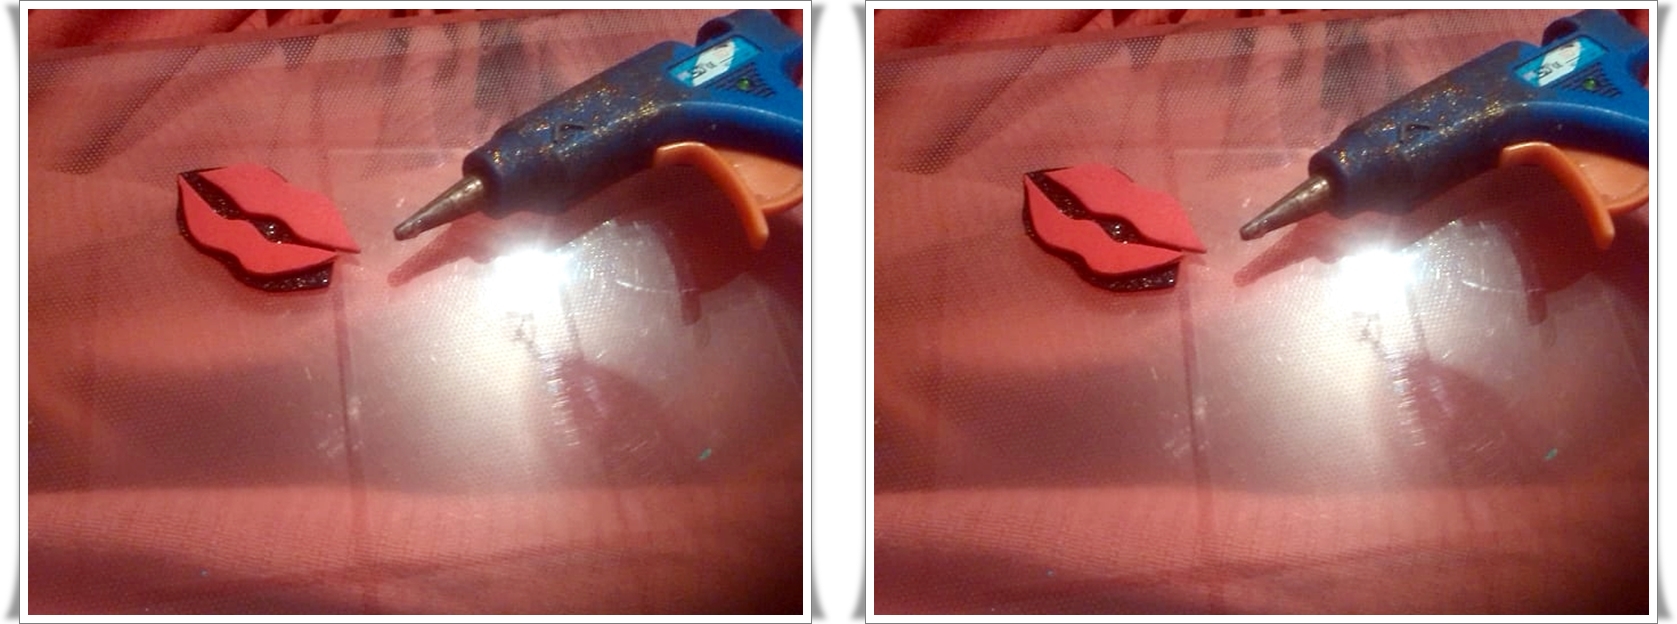 🔴 Ya podemos empezar a decorar nuestro cintillo, primero debemos amarrar muy bien los limpiapipas de la base de cintillo una vez que tengamos las posiciones donde los queremos procedemos a decorar con cinta del color de preferencia, por último pegamos todas la piecitas de foami previamente realizadas en el orden que considere y agregamos detallitos para hacerlo lucir muy llamativo y divertido. | 🔘 We can now begin to decorate our headband, first we must tie the pipe cleaners very well at the headband base once we have the positions where we want them, we proceed to decorate with tape of the preferred color, finally we glue all the pieces of foam previously made in the order you consider and we add details to make it look very striking and fun. 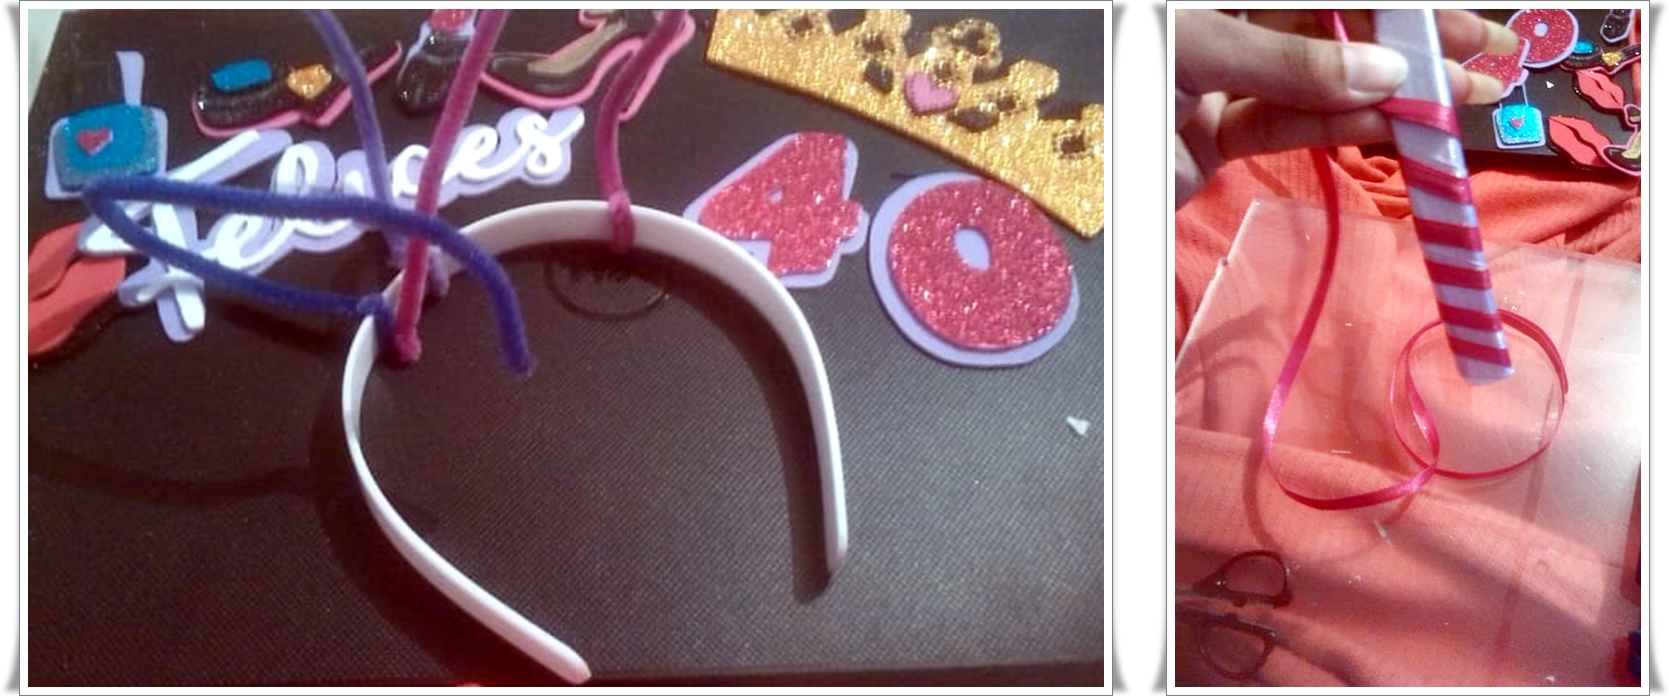 <div class = pull-right>https://images.hive.blog/DQmSq7hvLBoqFDrLgEWPmhKHoowcjbbfuyq8f3UjfaLC3bY/separador%201.png</div> # Resultado final | Final score Y así quedo nuestro cintillo espero se animen a realizar el suyo, si tienen alguna duda con gusto las responderé en los comentarios <3 >And so it is our headband I hope you are encouraged to make yours, if you have any questions I will gladly answer them in the comments <3 <center>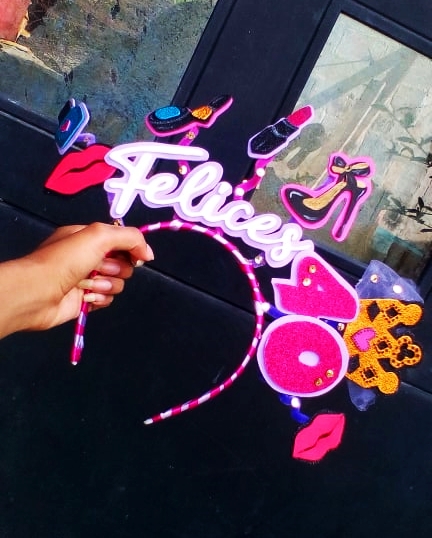 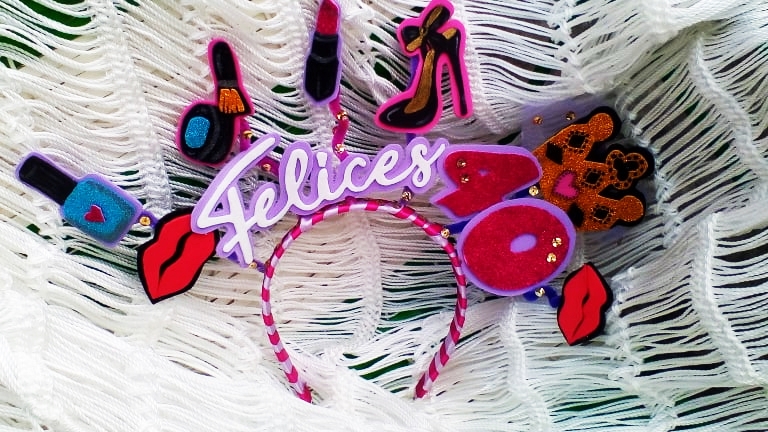 </center> # Otros modelos que realice previamente. >Other models that you previously made. 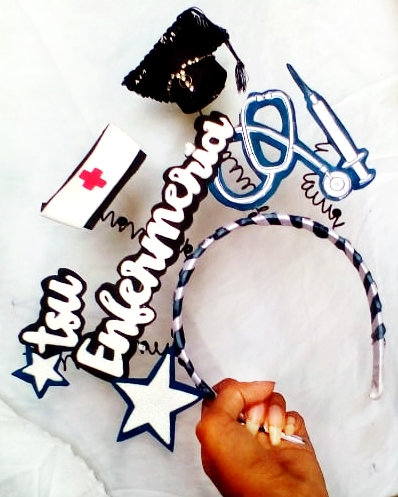   <center>https://i.picasion.com/gl/90/dfUW.gif</center> <center>[](https://twitter.com/raineth0224)</center> <center>[](https://www.instagram.com/raineth0224/)</center> <center>[](https://www.facebook.com/raineth.art)</center> <center>[](https://hive.blog/@raineth0224)</center>
👍 laissez-faire, steemflow, indiaunited, hardikv, jatinhota, inuke, bobinson, shonyishere, frames, bala41288, shahaan, raqibul, paragism, rainbowbala, ashley4u, indiaunited-bot, tasri, mk-sports-token, olaexcel, sayee, silenteyes, pradeep.sidd68, payroll, vishalsingh4997, bsameep, mchandra, fermionico, monster-one, maeugenia, entropia, azulear, migueliglesias, vjap55, ydavgonzalez, samueladams314, sawko, isisfemale, joseleogon, yooerlyn, isgledysduarte, bitsisteem, gracielaacevedo, carmencitavdc, libe, fabielblanchard, severianx, noritza, jjmarquez, criptoanarquista, victoria97, chaman10, kikegil, issymarie, vmbenitezz, juancho10, mariolbi, nazer, renataboreal, hivevenezuela, yugimuto, actioncats, hivebtc, joseq1570, mtzrene, constantinopla, bellaciao, jesucristo, yodinzaku, lordarianthus, spiritminer, drfate, confucio, splintergod, magnor, patriciaurbaneja, meele, kretchtallevor, onyxsentinel, khymeria, sicmundus, lainiwakura, roymustang, darkarmy, reiayanami, kaiosama, pitagoras, steinitz, anillounico, juancrdrums, leviackerman, rafaelj, carl3, mauricioteran, victoriaxl, robertsv, kyleana, magodelcaosnegro, sagadegeminis, petterjosph, yomismosoy, lauracguzman, ojap02, alfarofranudy,