Original 3d printed adjustable Z-Axis for my K40 Laser cutter
maker·@rativiv·
0.000 HBDOriginal 3d printed adjustable Z-Axis for my K40 Laser cutter
So one of the most useful modifications to do when you get a K40 laser cutter is to remove that horrible stock bed that comes with it that is set at a standard height, that probably isn't in focus from the factory. and don't even mention that really bad clip mechanism. Although it is not the first mod you would do, it is definitely one of the more useful ones as it allows you to cut various materials easier. (I suggest fixing the grounding on the machine before anything else). After initially just putting a 300x200mm honeycomb bed that was bought from ebay on top of scrap plywood cuts to get the right focus height, I looked to thingiverse for a solution as I didn't really want to spend much money on something that I wasn't sure at the time would make much difference... So i decided on this https://www.thingiverse.com/thing:2299337 as the parts were easy to get, most I had lying around. So here it is fully made  I used a dremel cutting tool to make a groove for a flat head screwdriver in one of the 8mm rods 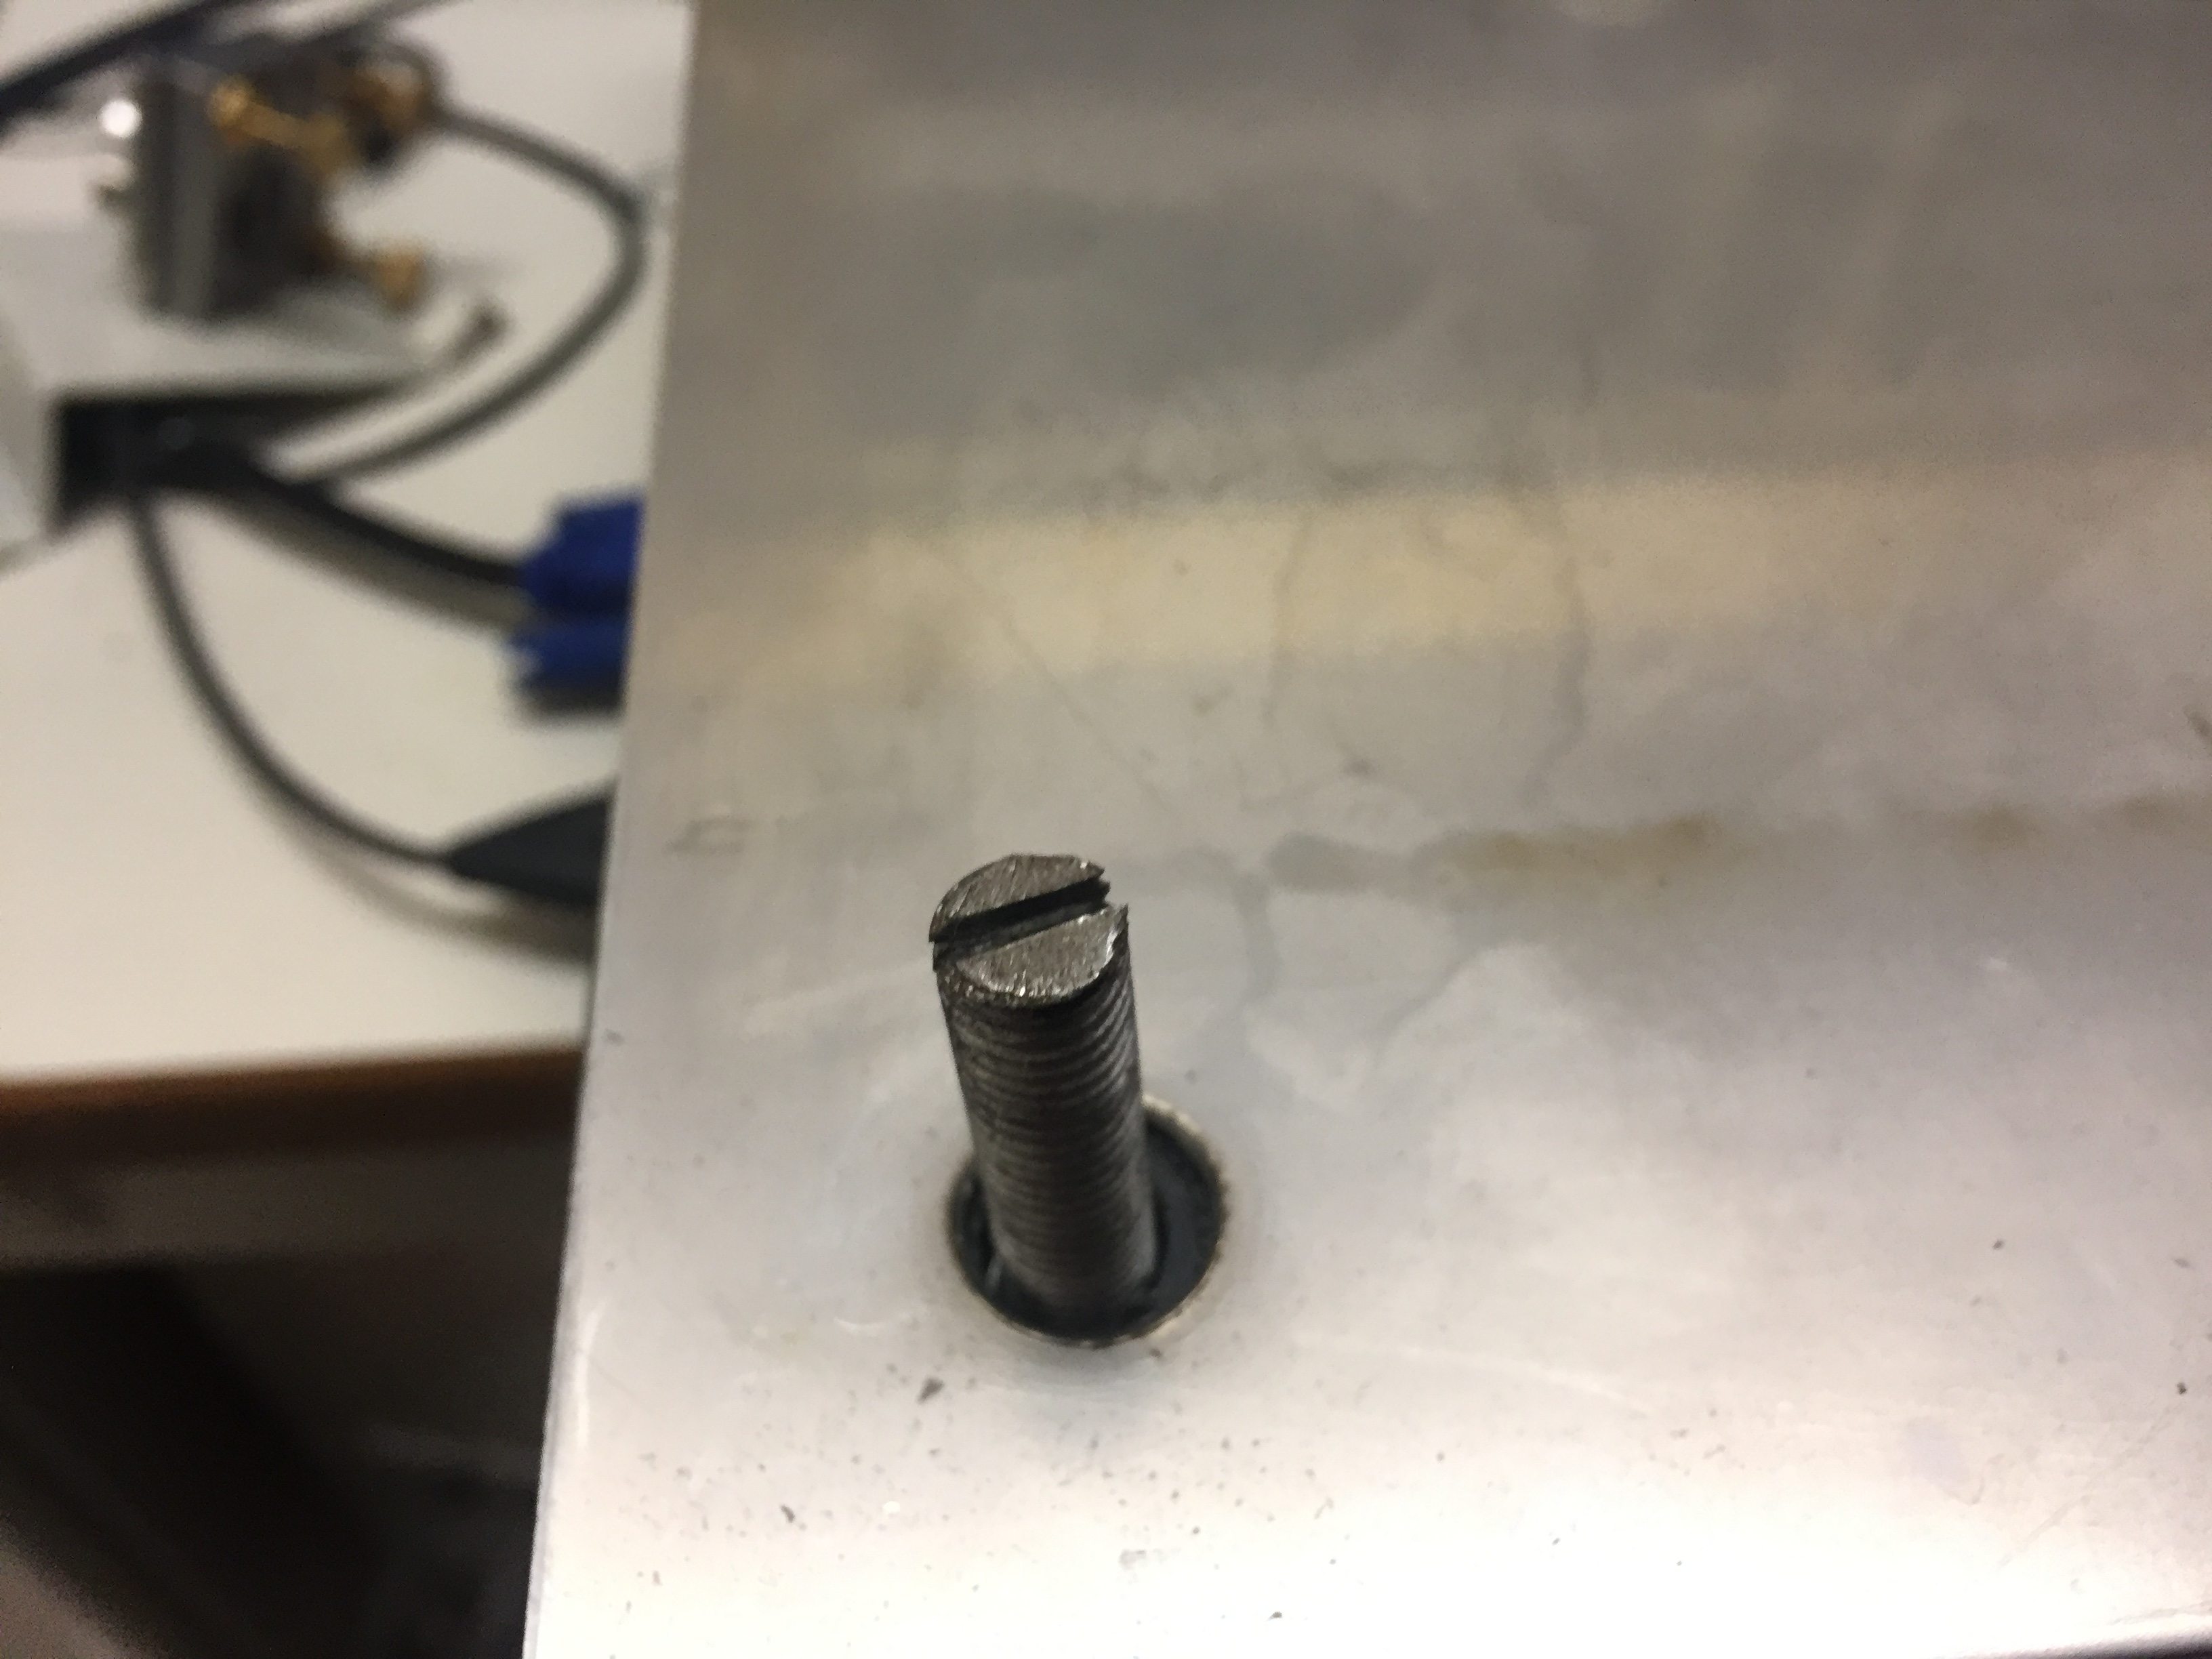 Here is the 1.6mm stainless steel sheet that was used as the bed 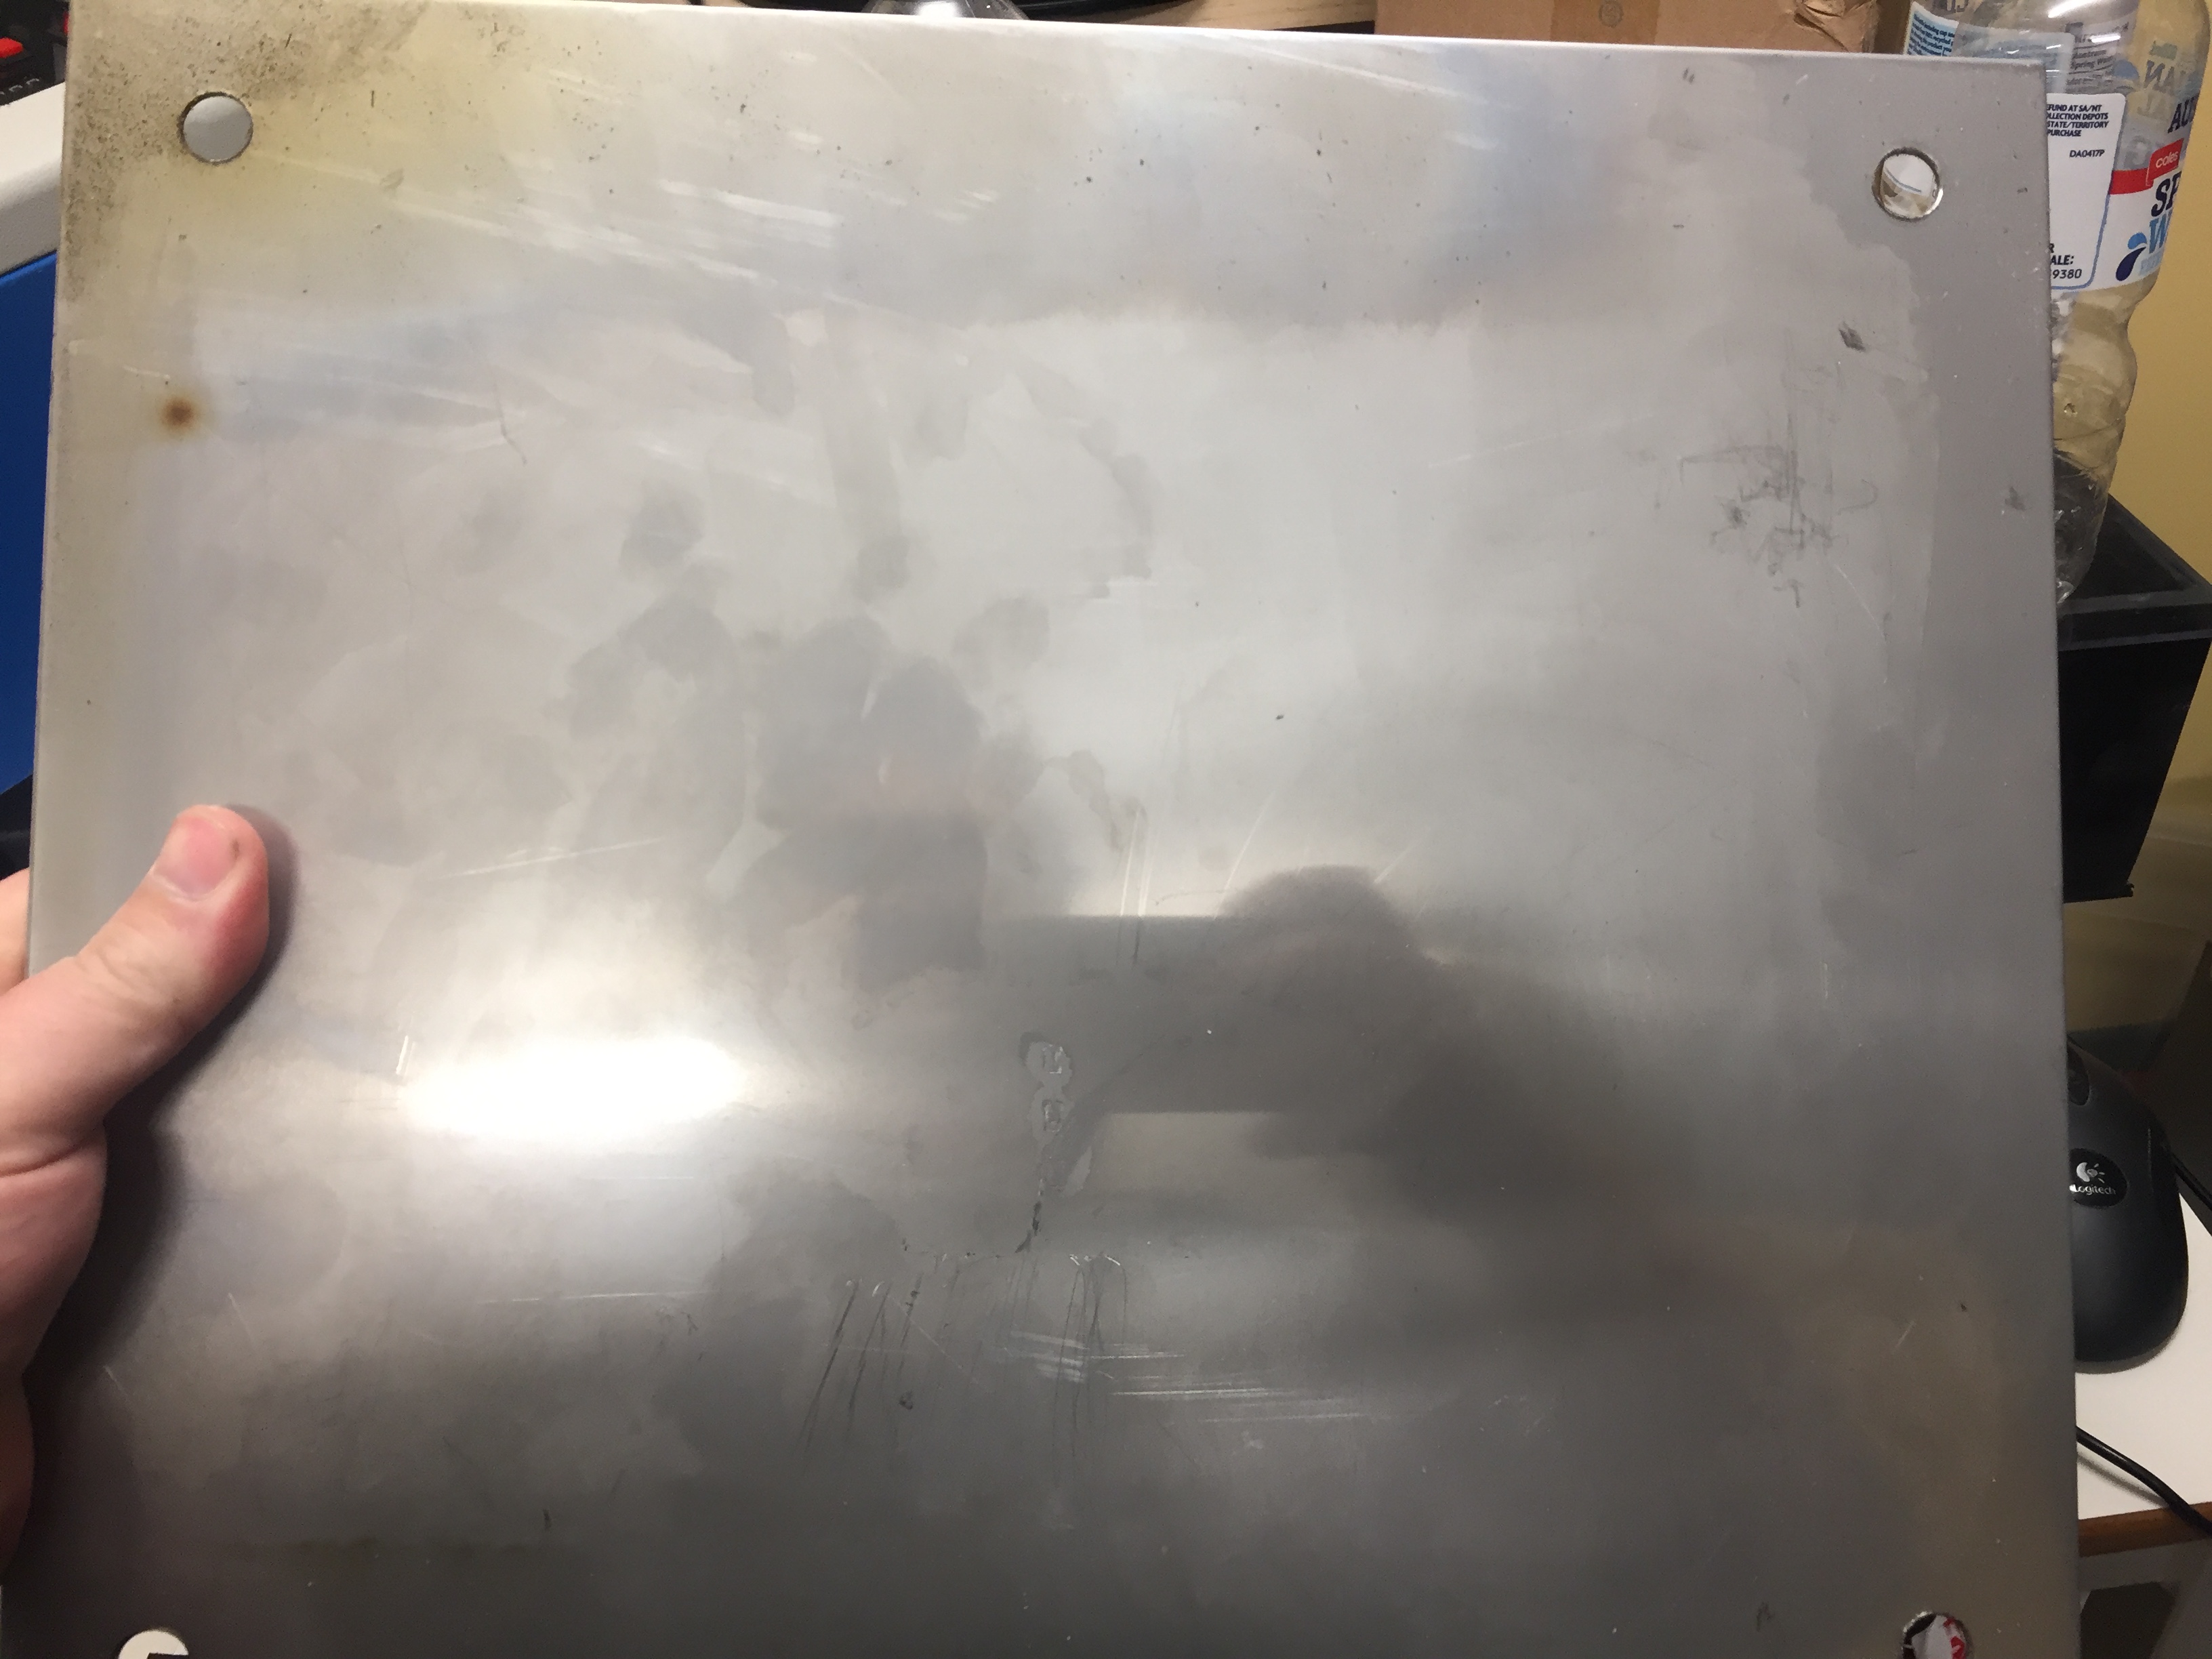 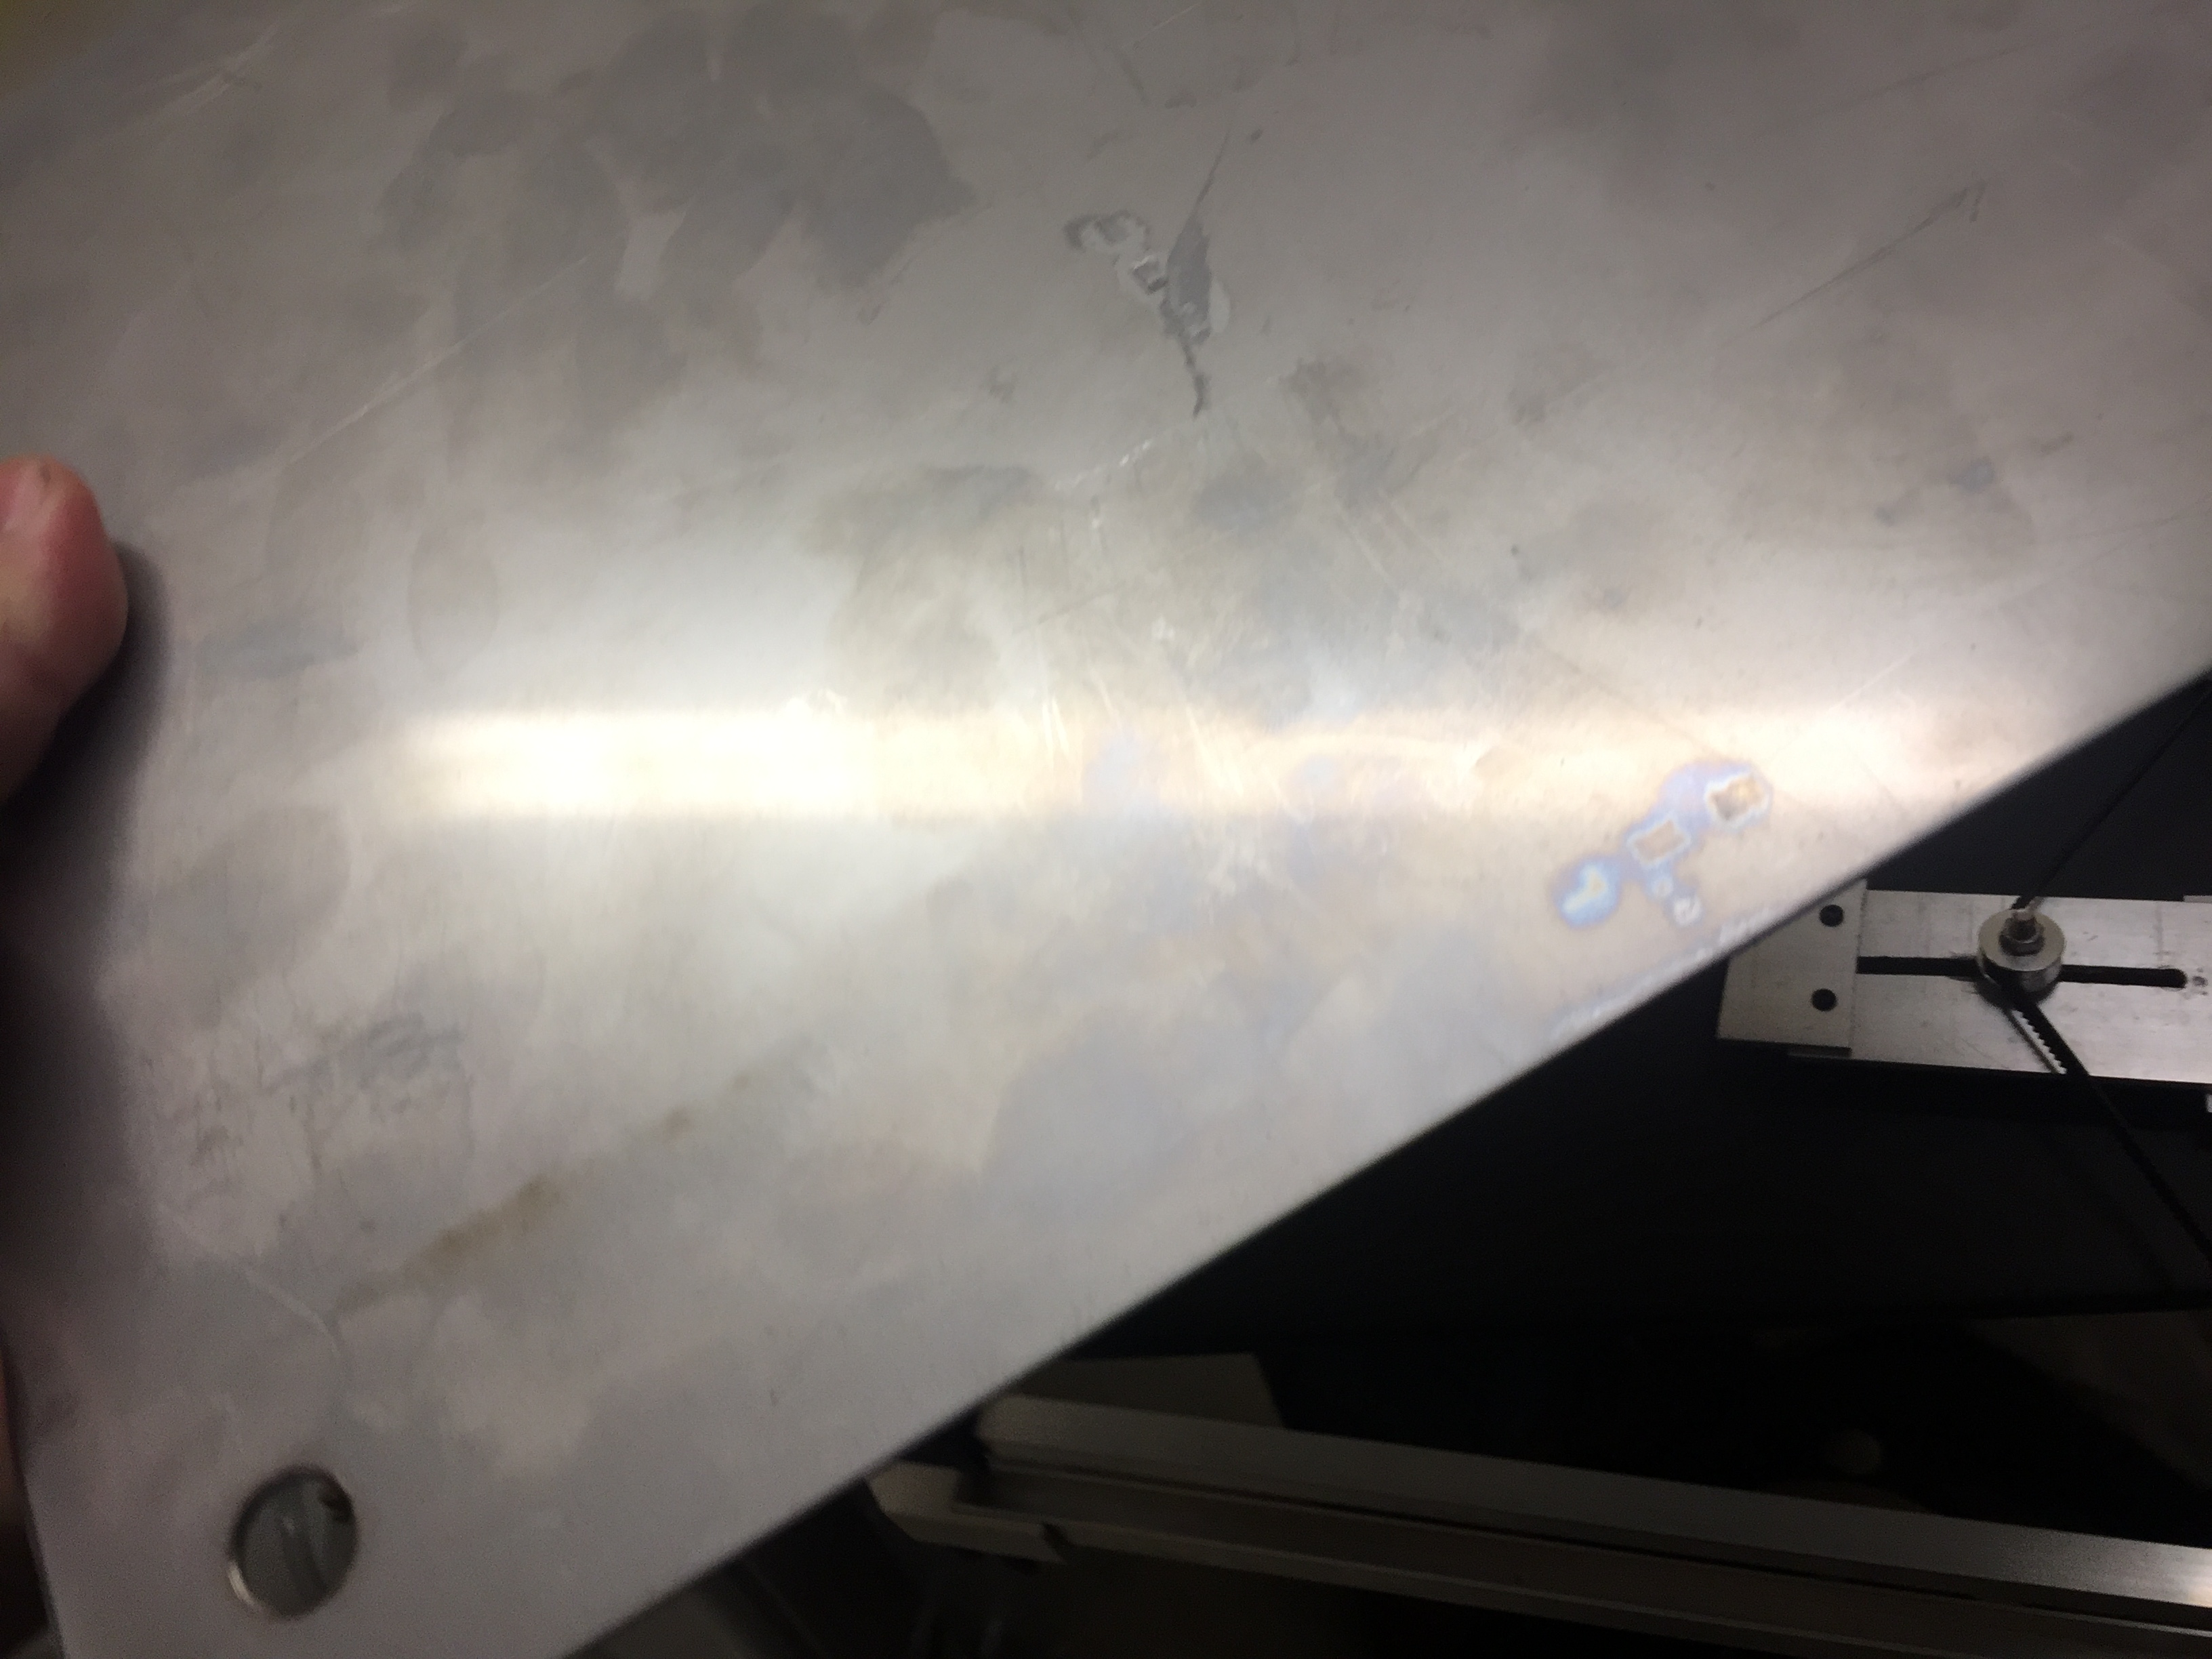 Here is the completed make without the bed on top.. gotta love the belt tension mechanism.. lol 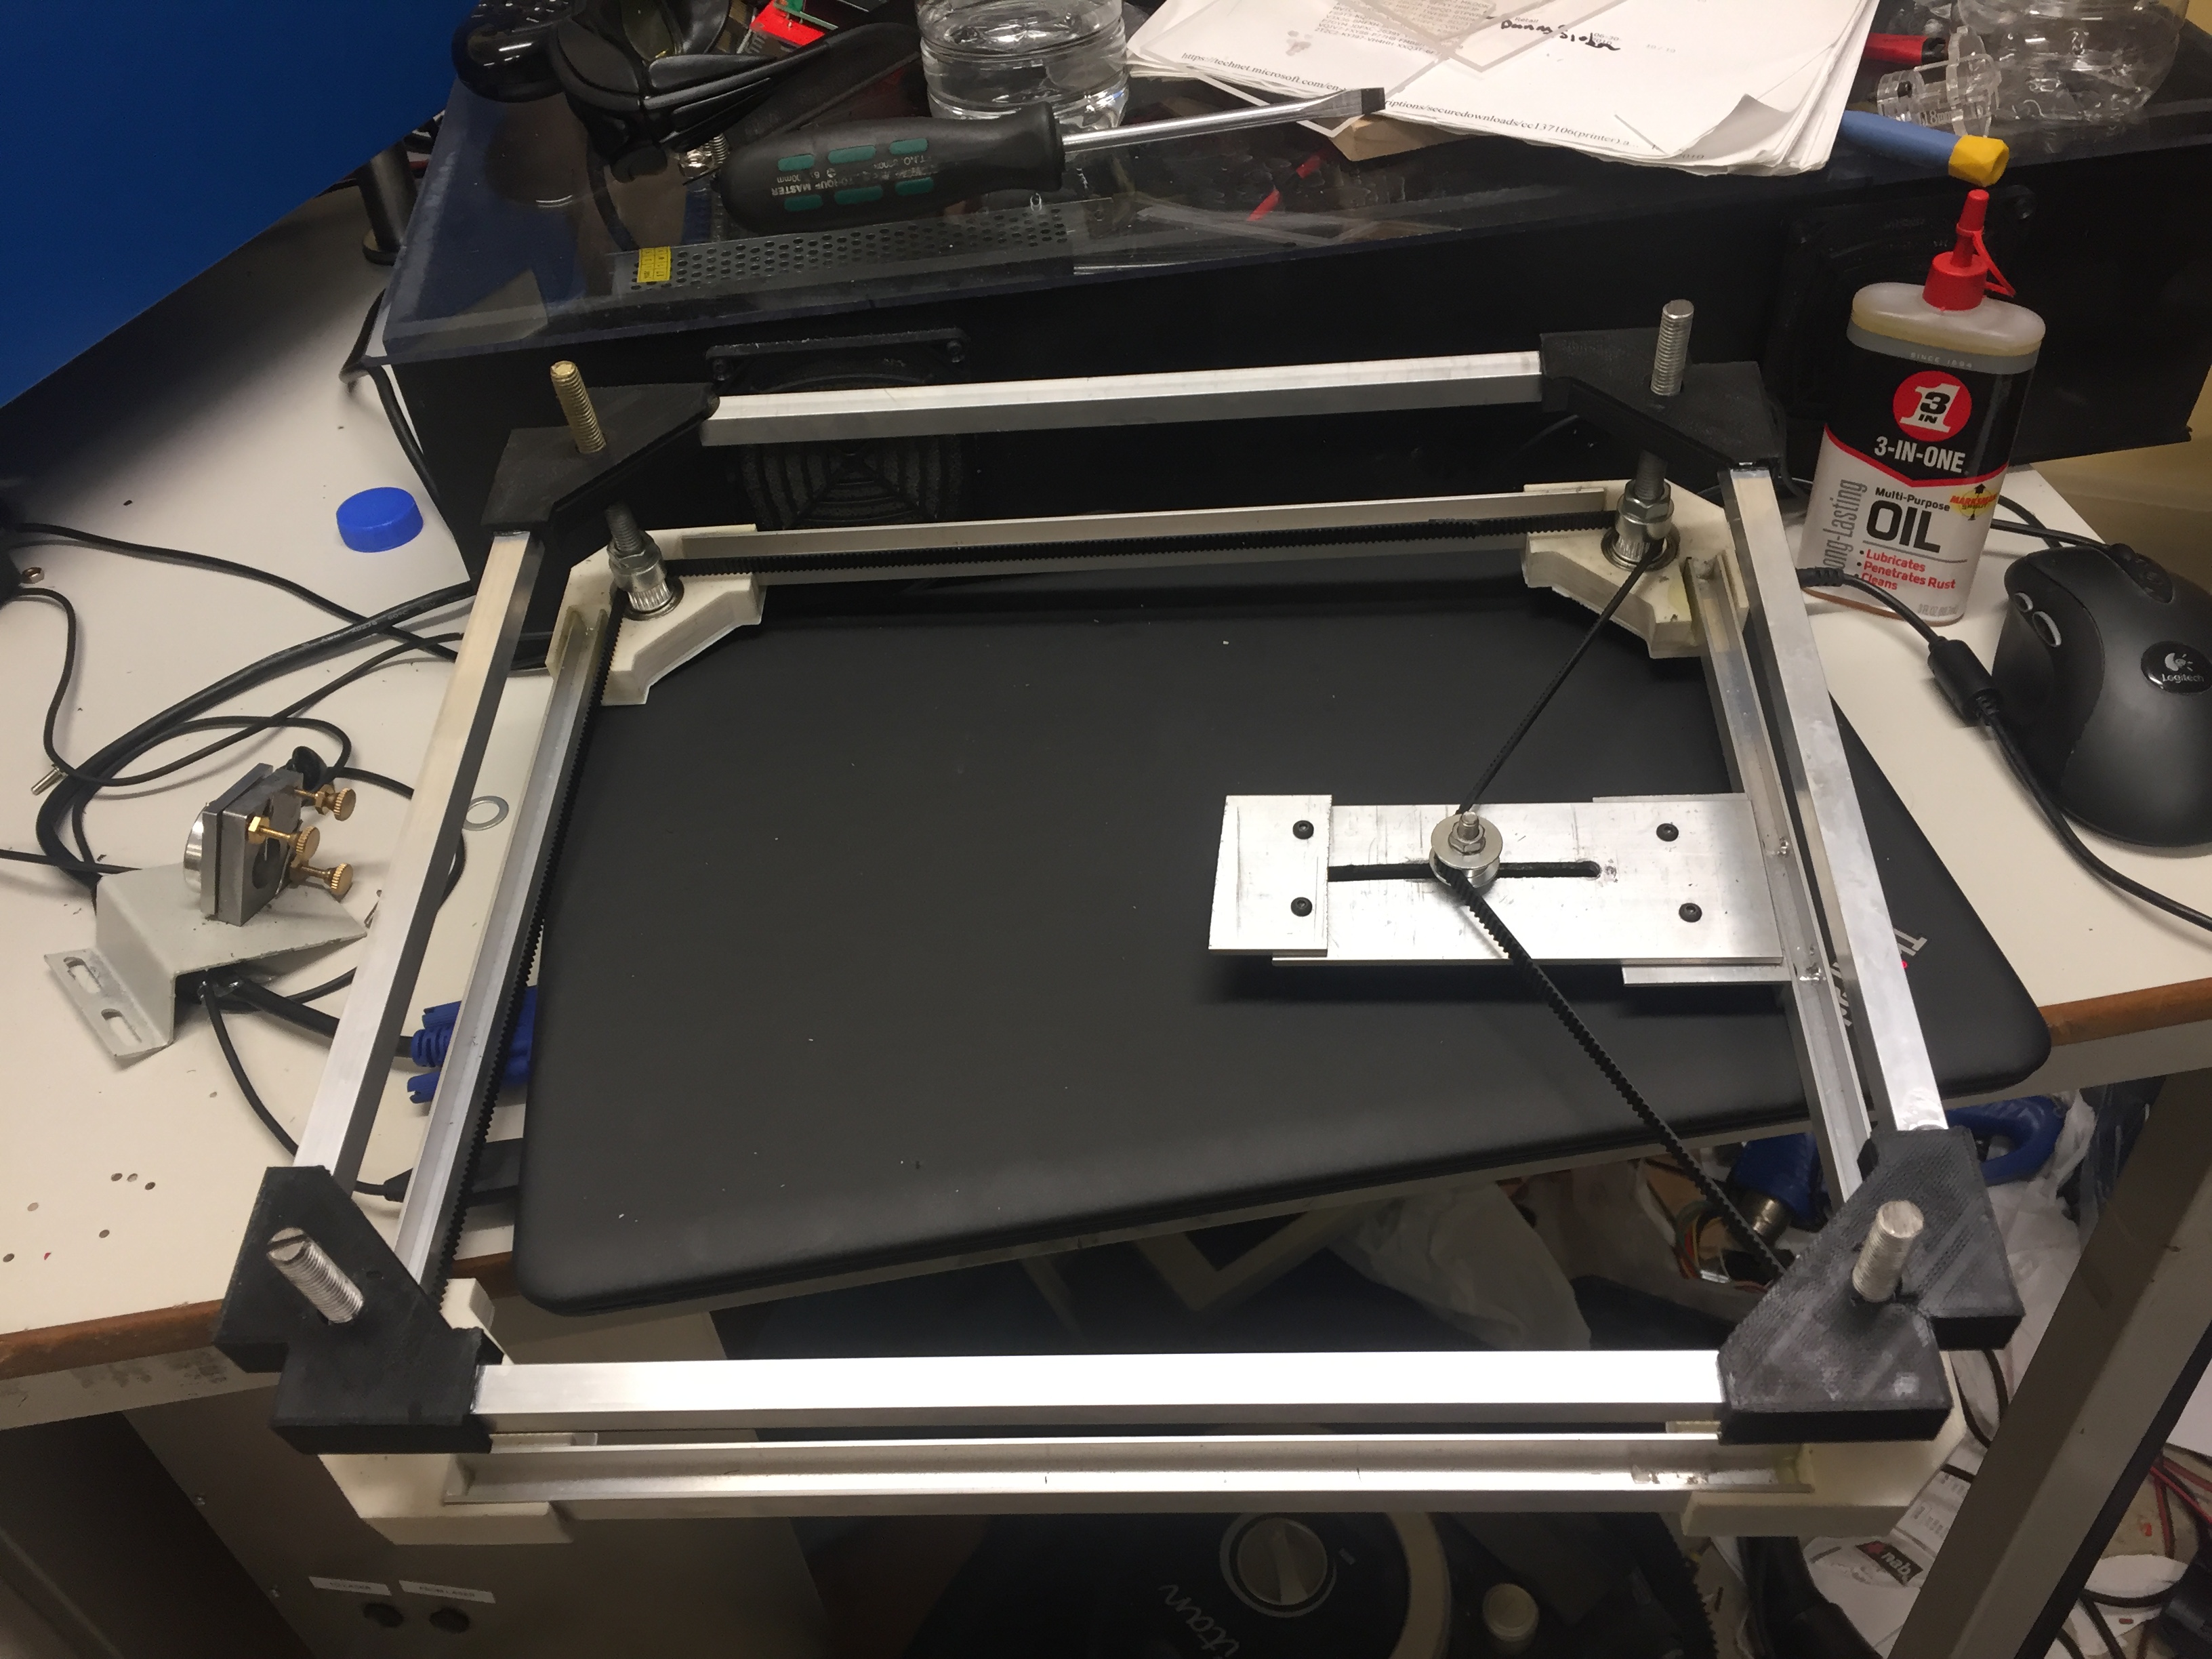 Here you can see the 3d printed part, with a 608 roller skate bearing pressed into it and just a simple threaded rod through the middle 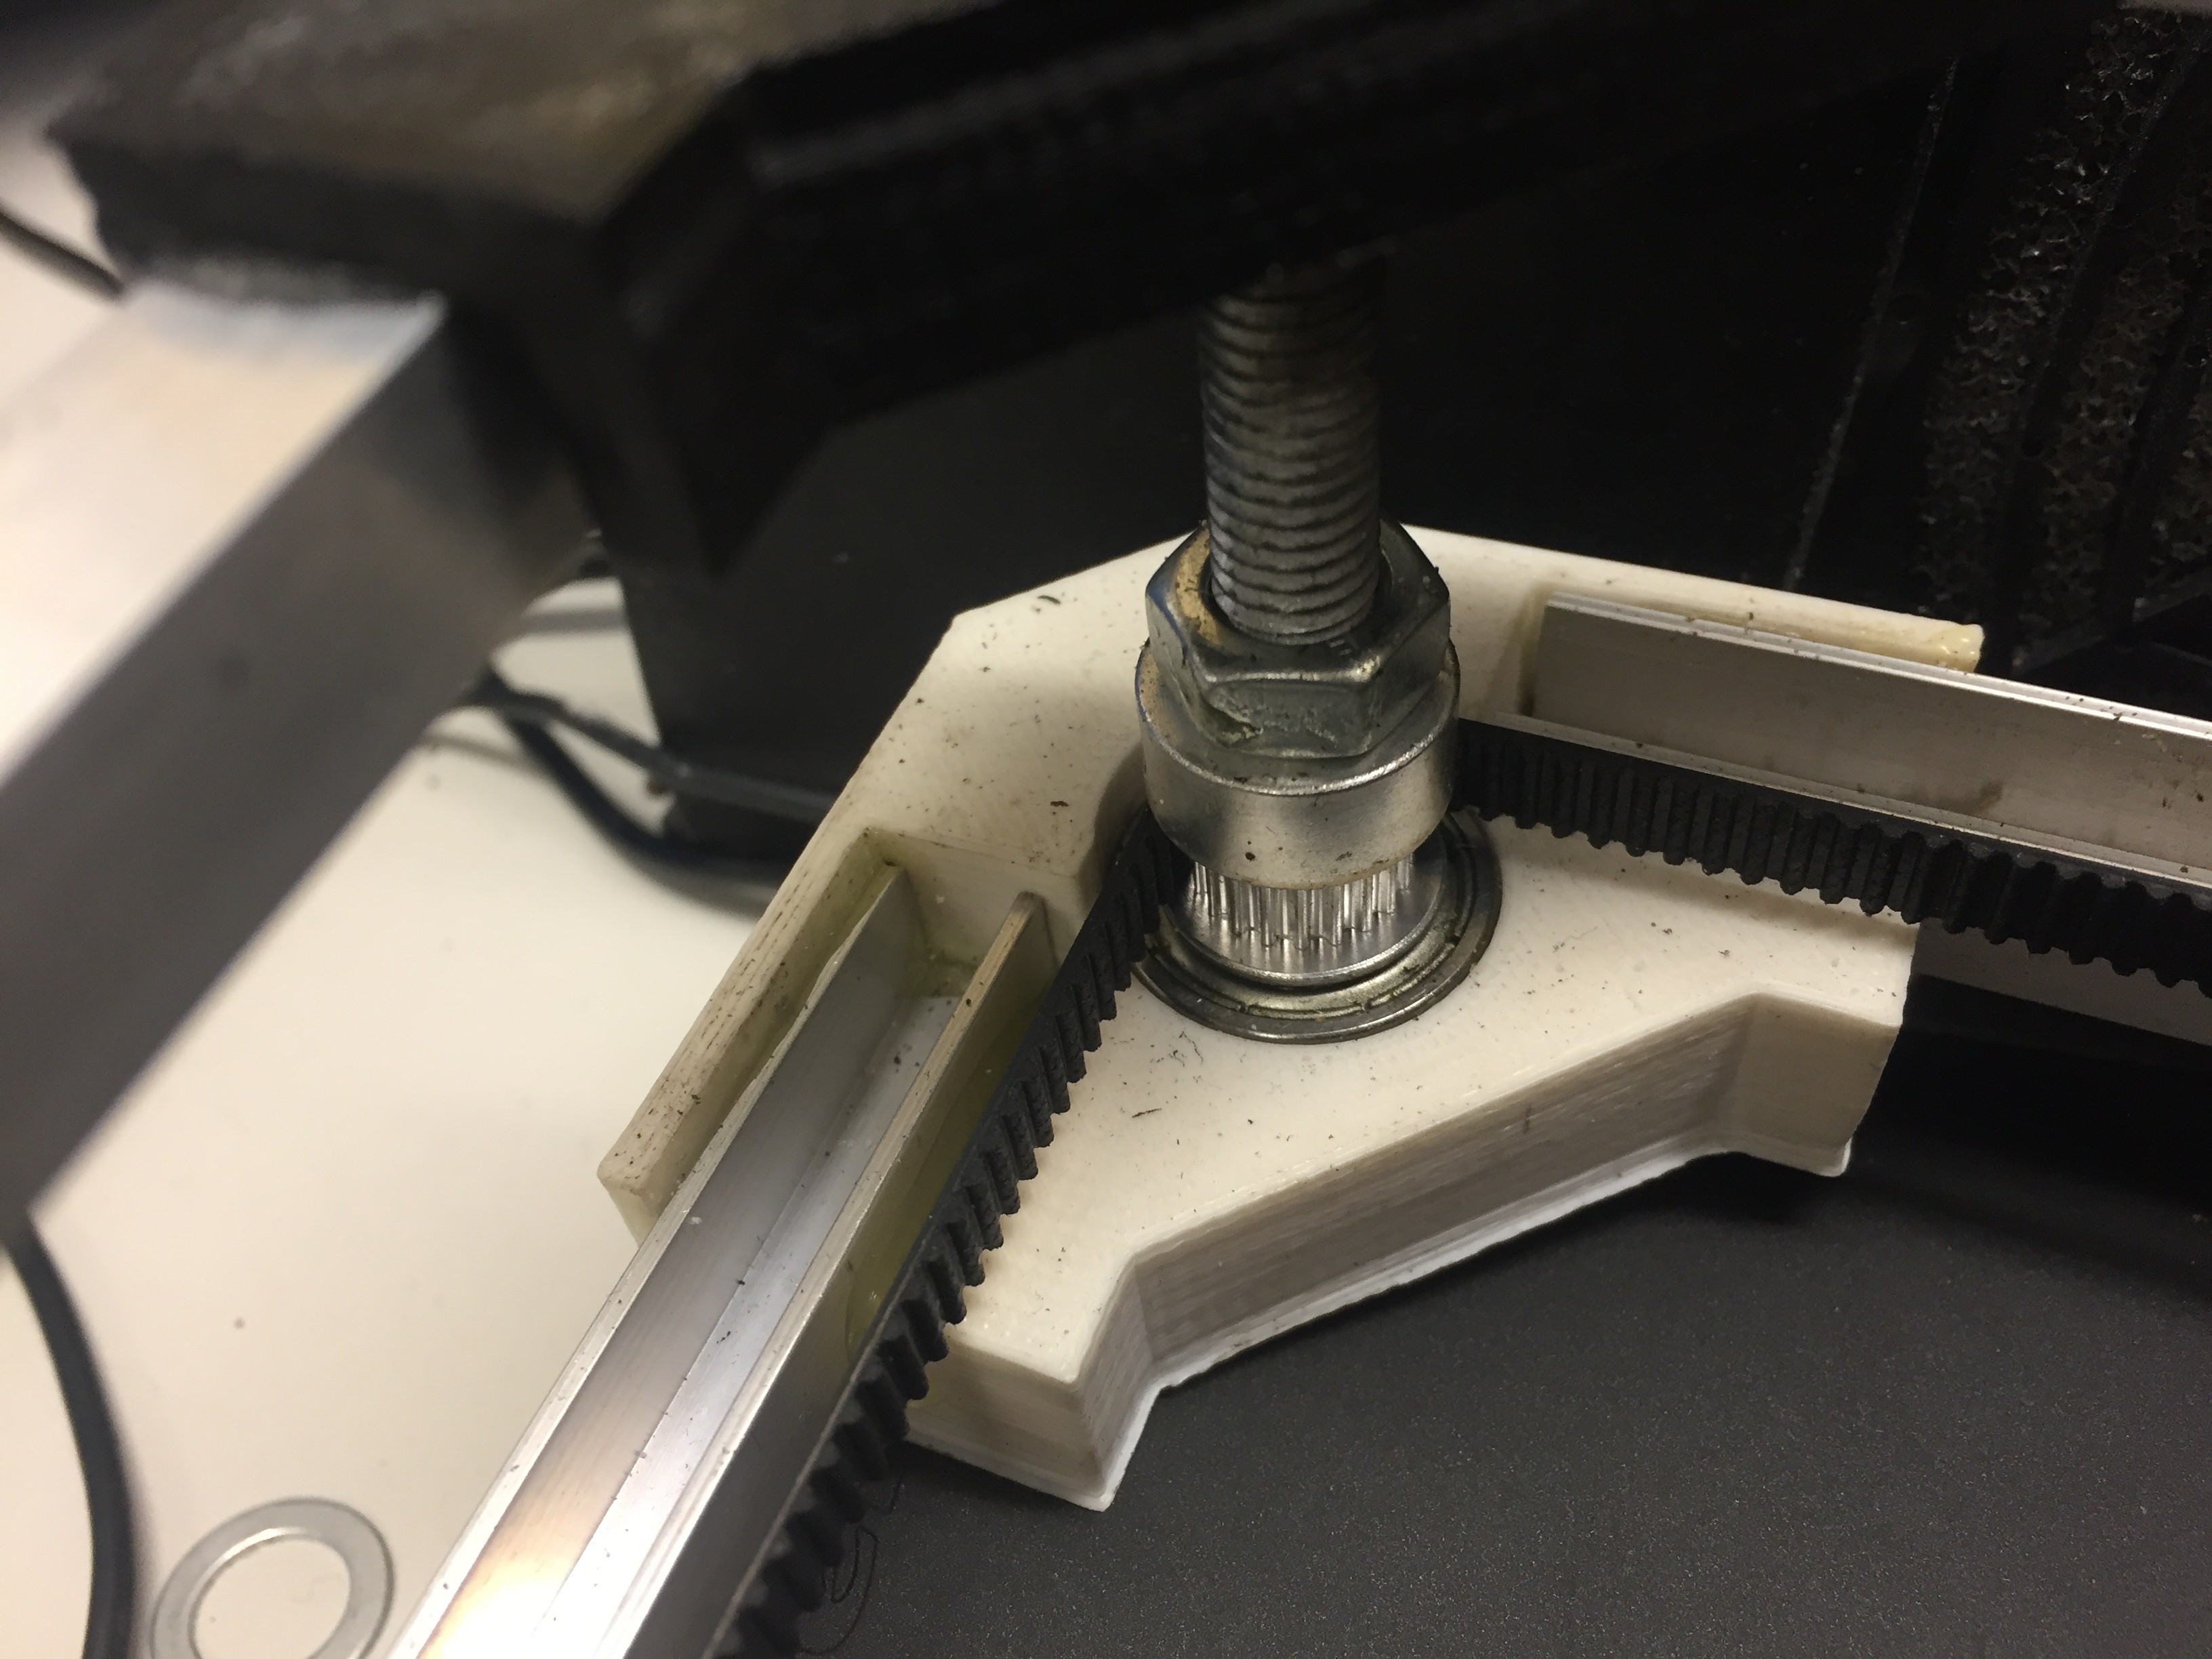 Here is a close up of the tension idle pulley and its professional mounting system... (hey it works tho!)  another close up of the base. They are joined together by 1cm square U shaped aluminum 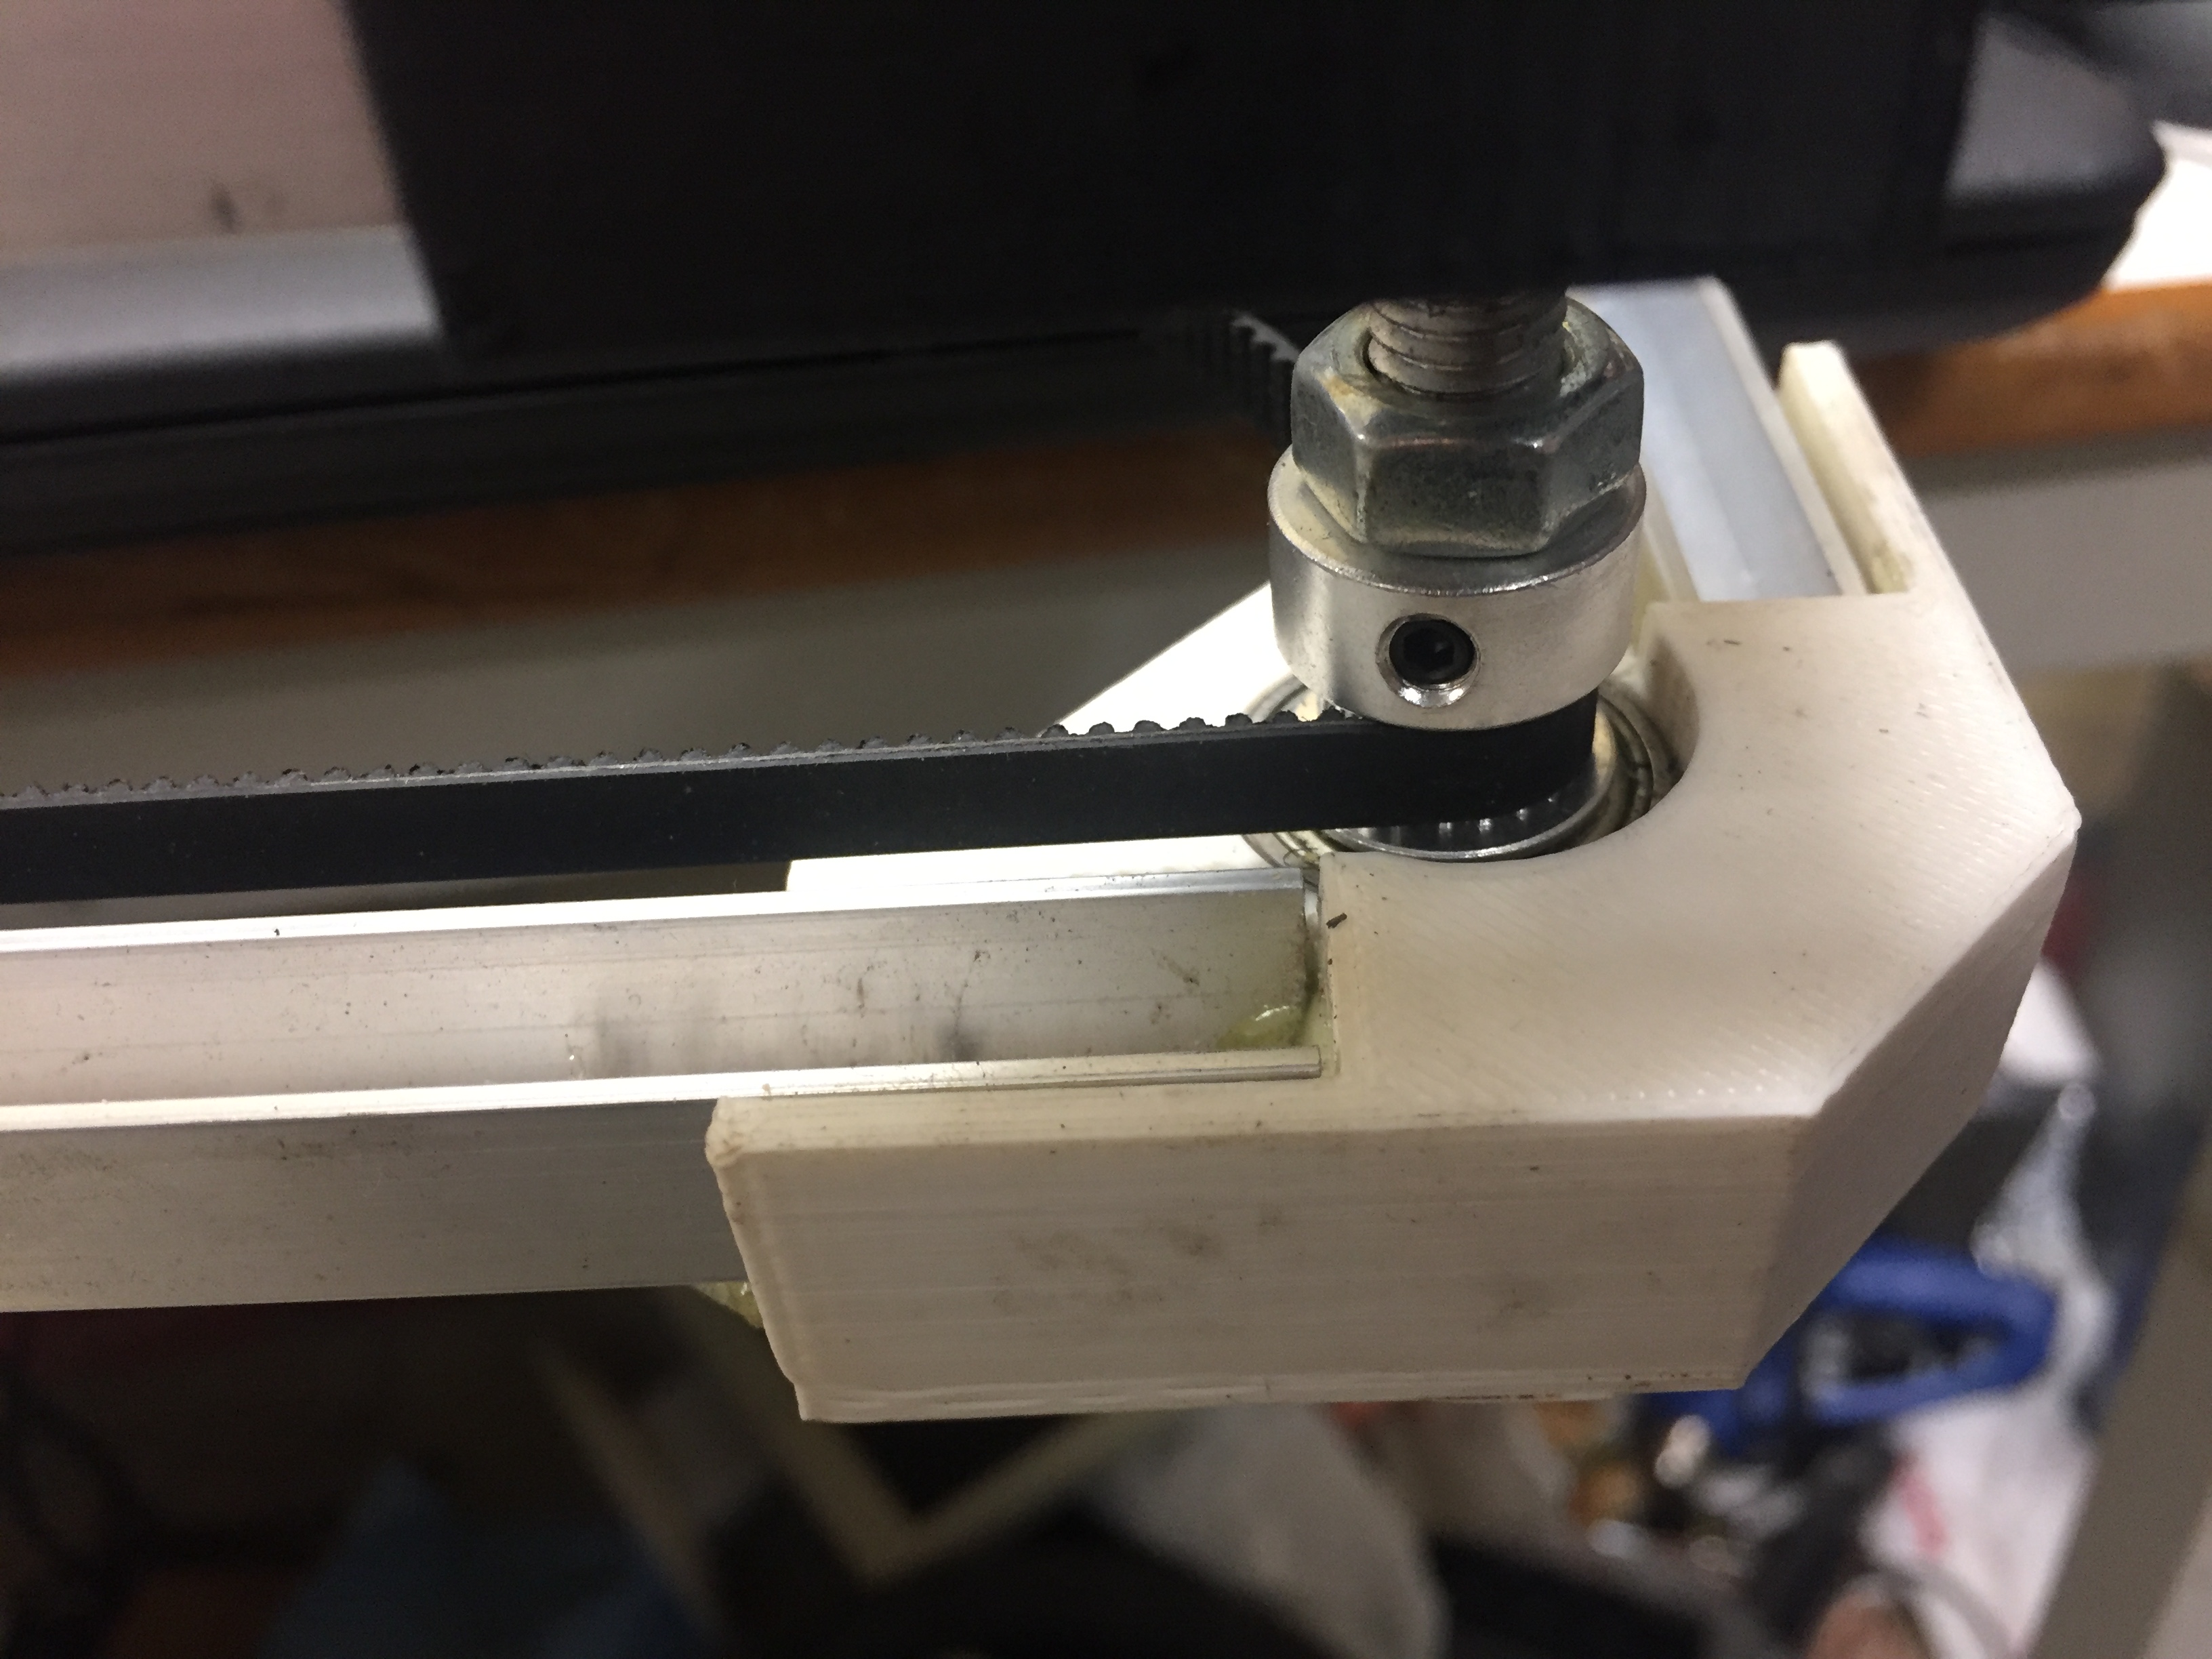 The under side.. as you can see held on by just a nut 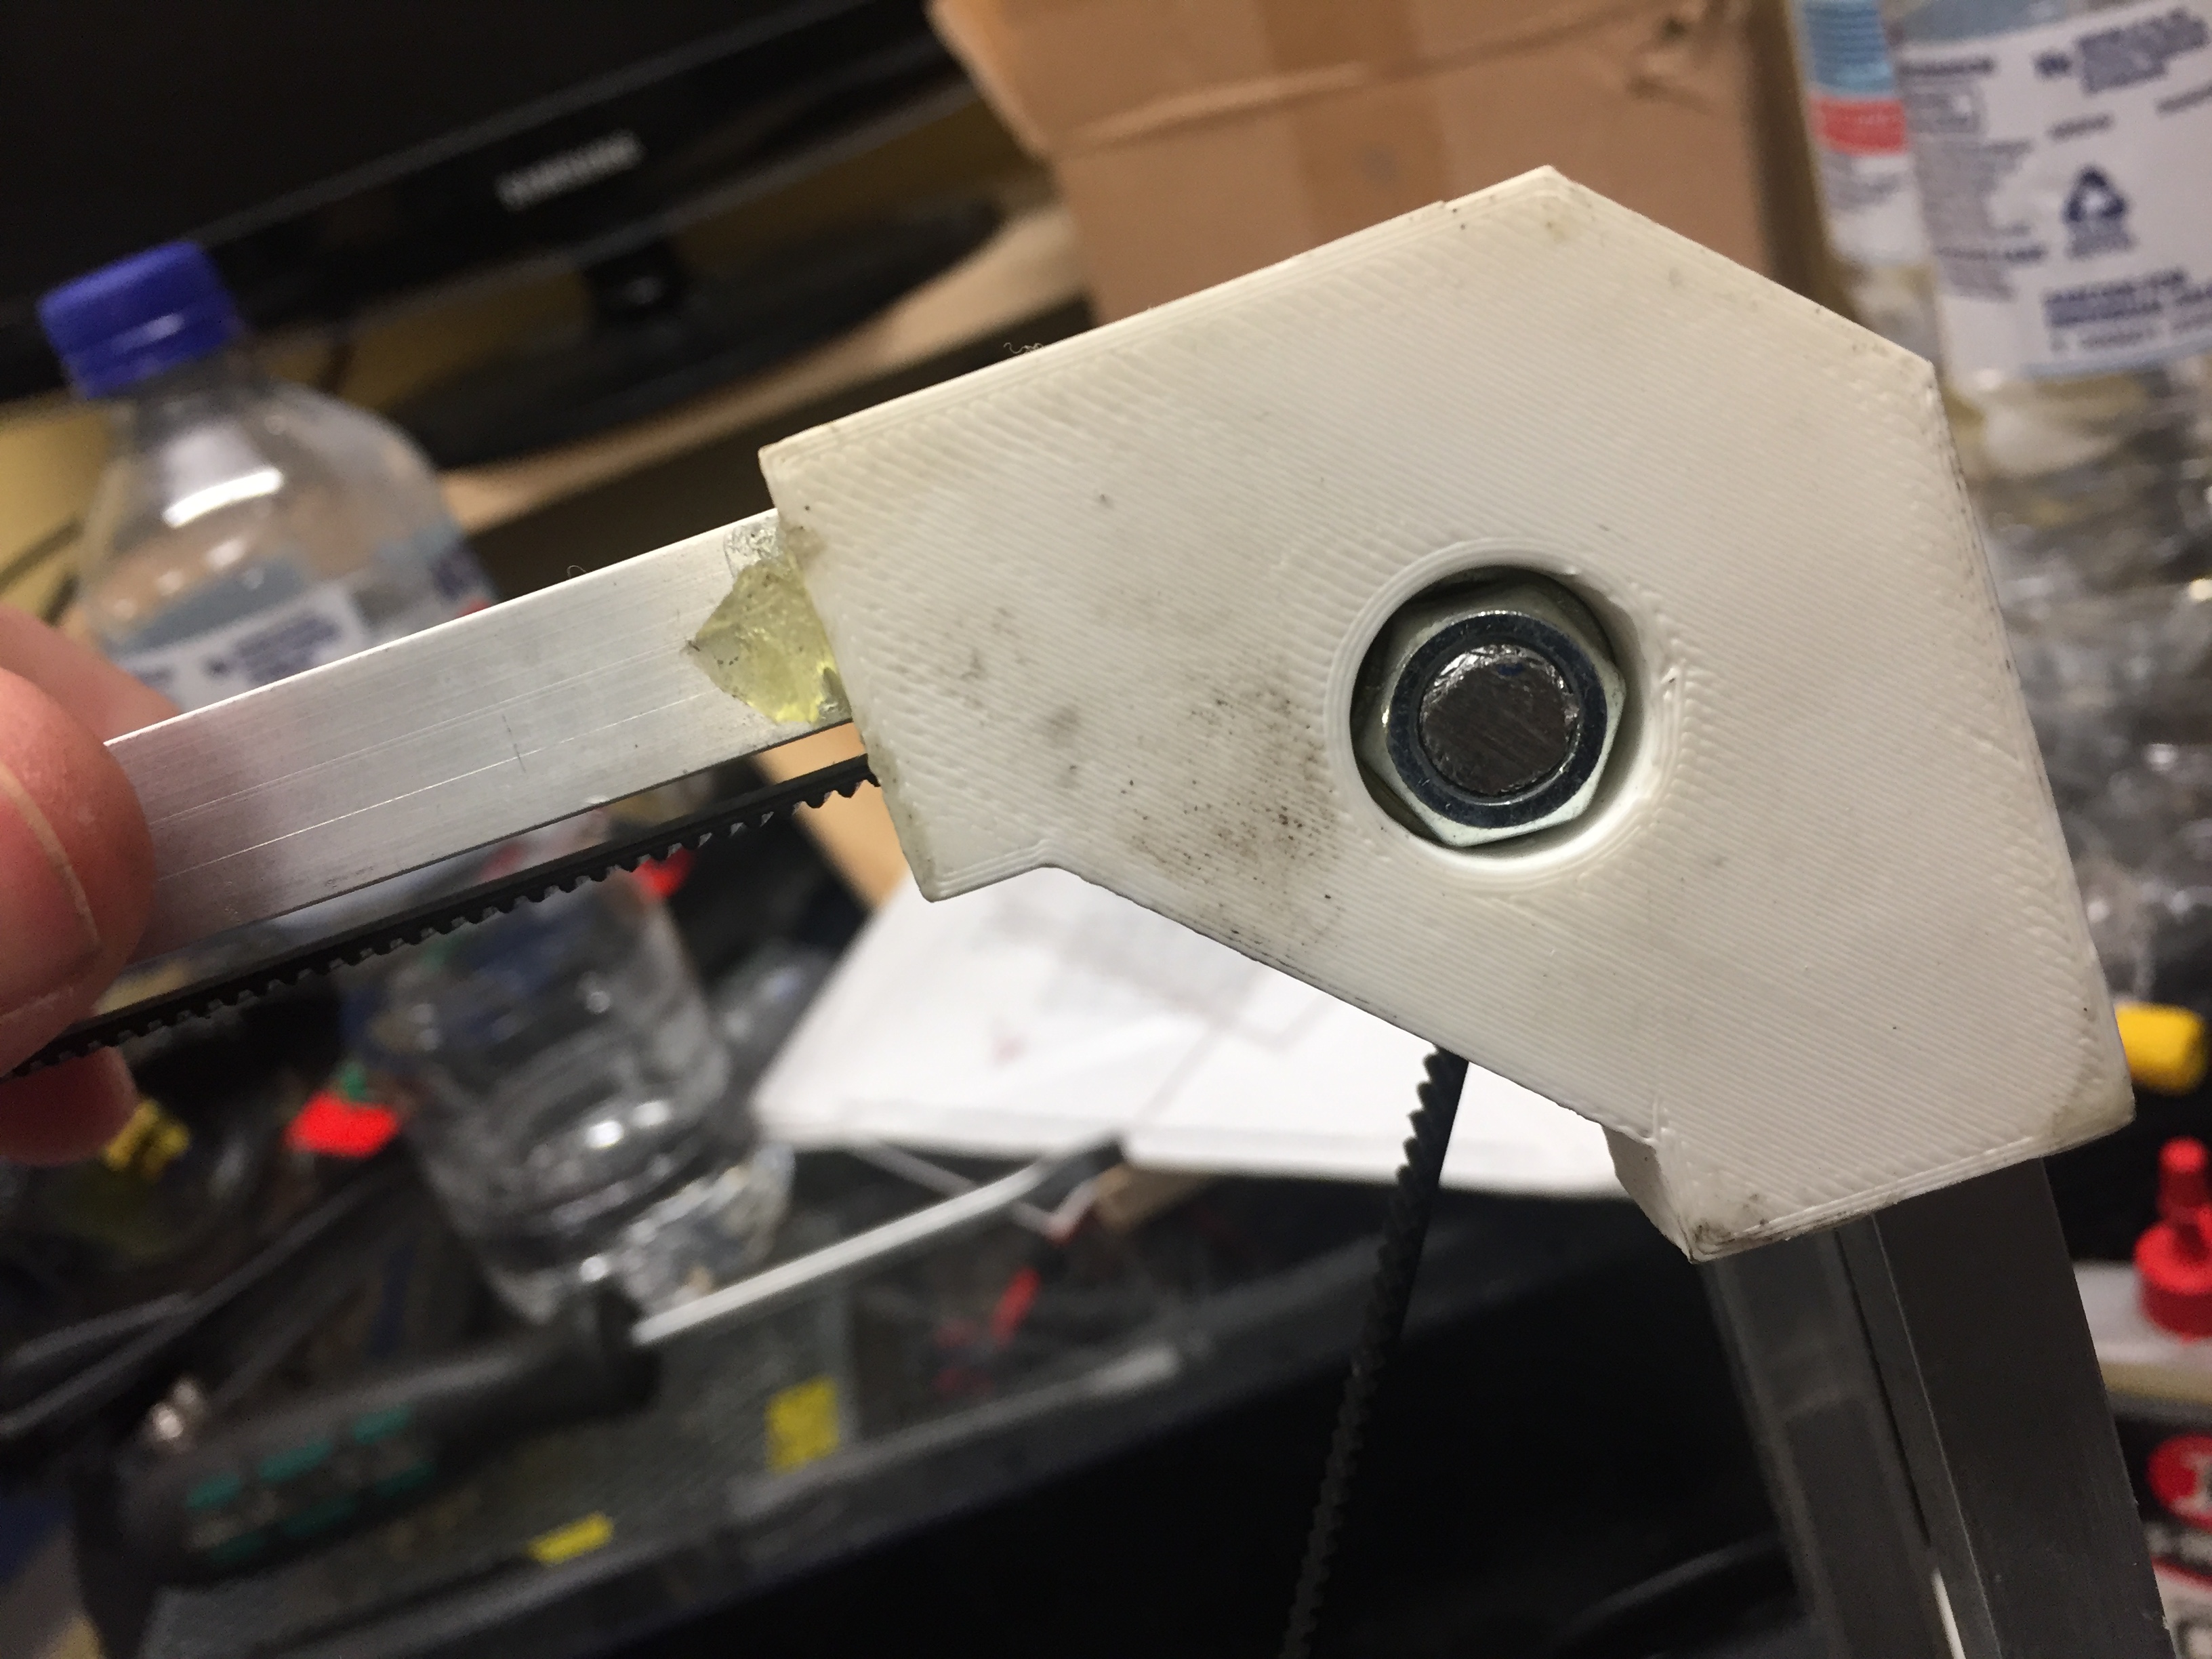 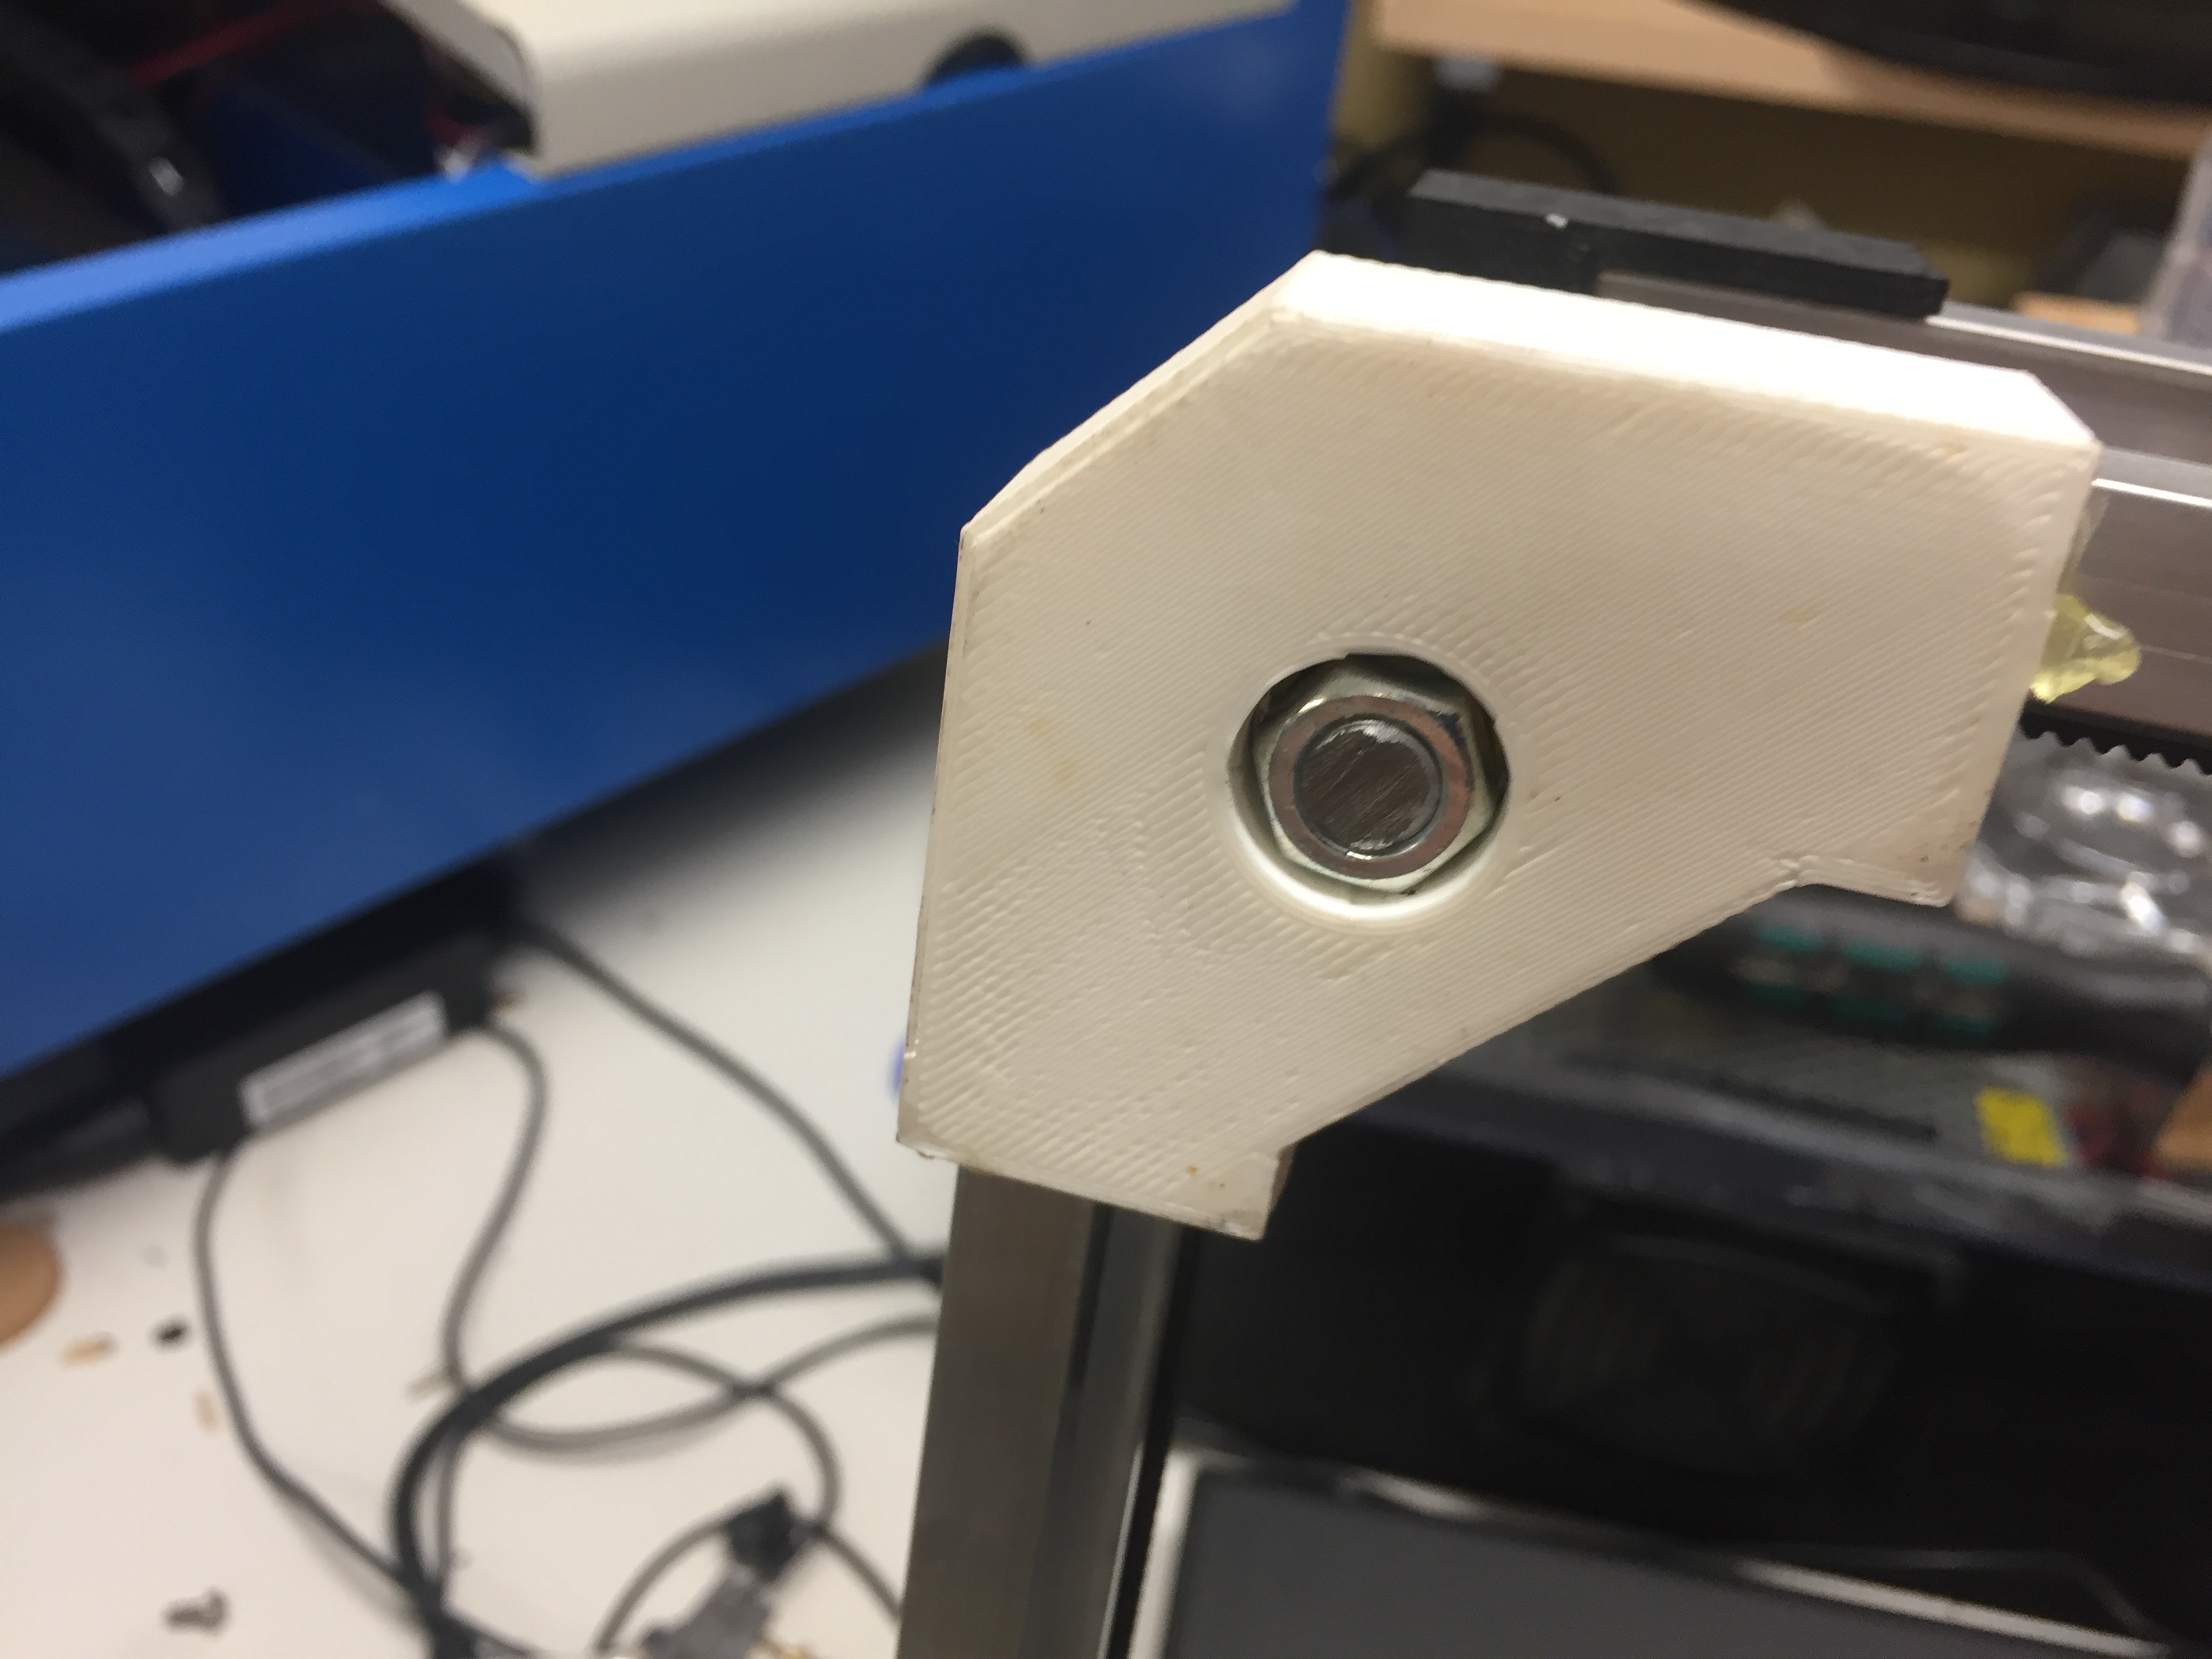 Here is a picture of the top 3d printed part - they are similar, except instead of a bearing pressed into the, its just a nut. 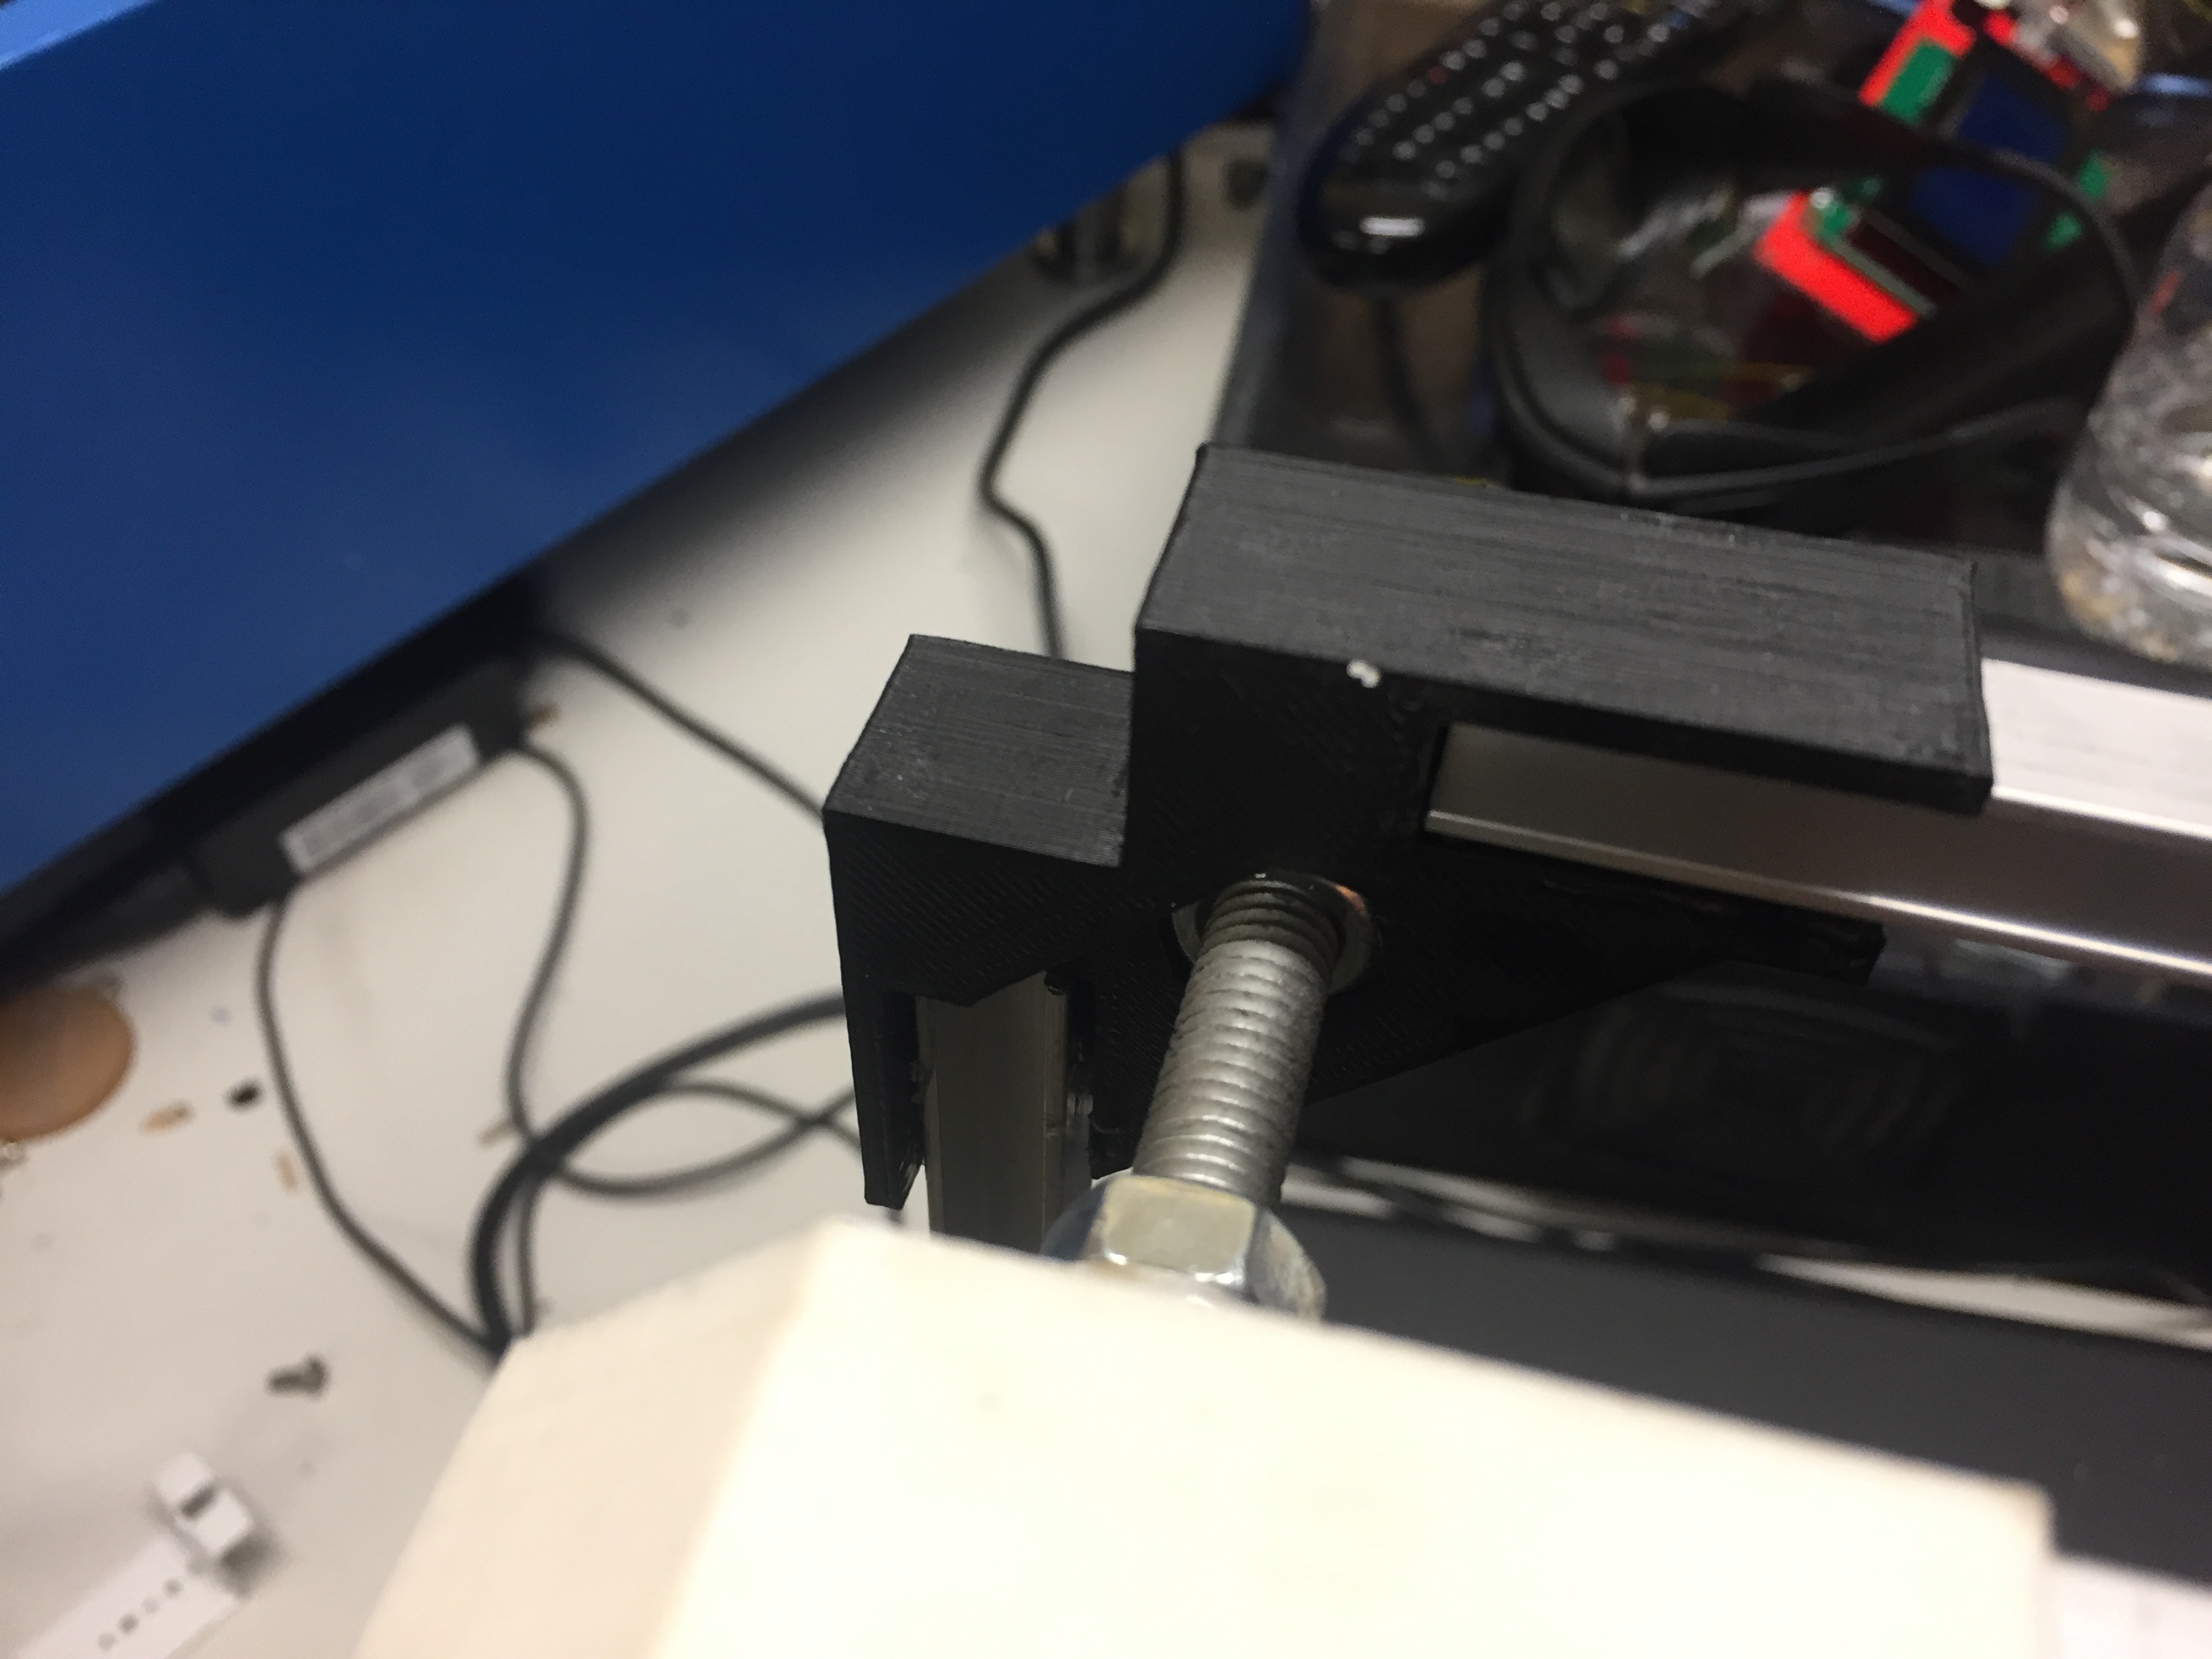 And here we can see how the bed can go up and down with a screw driver. 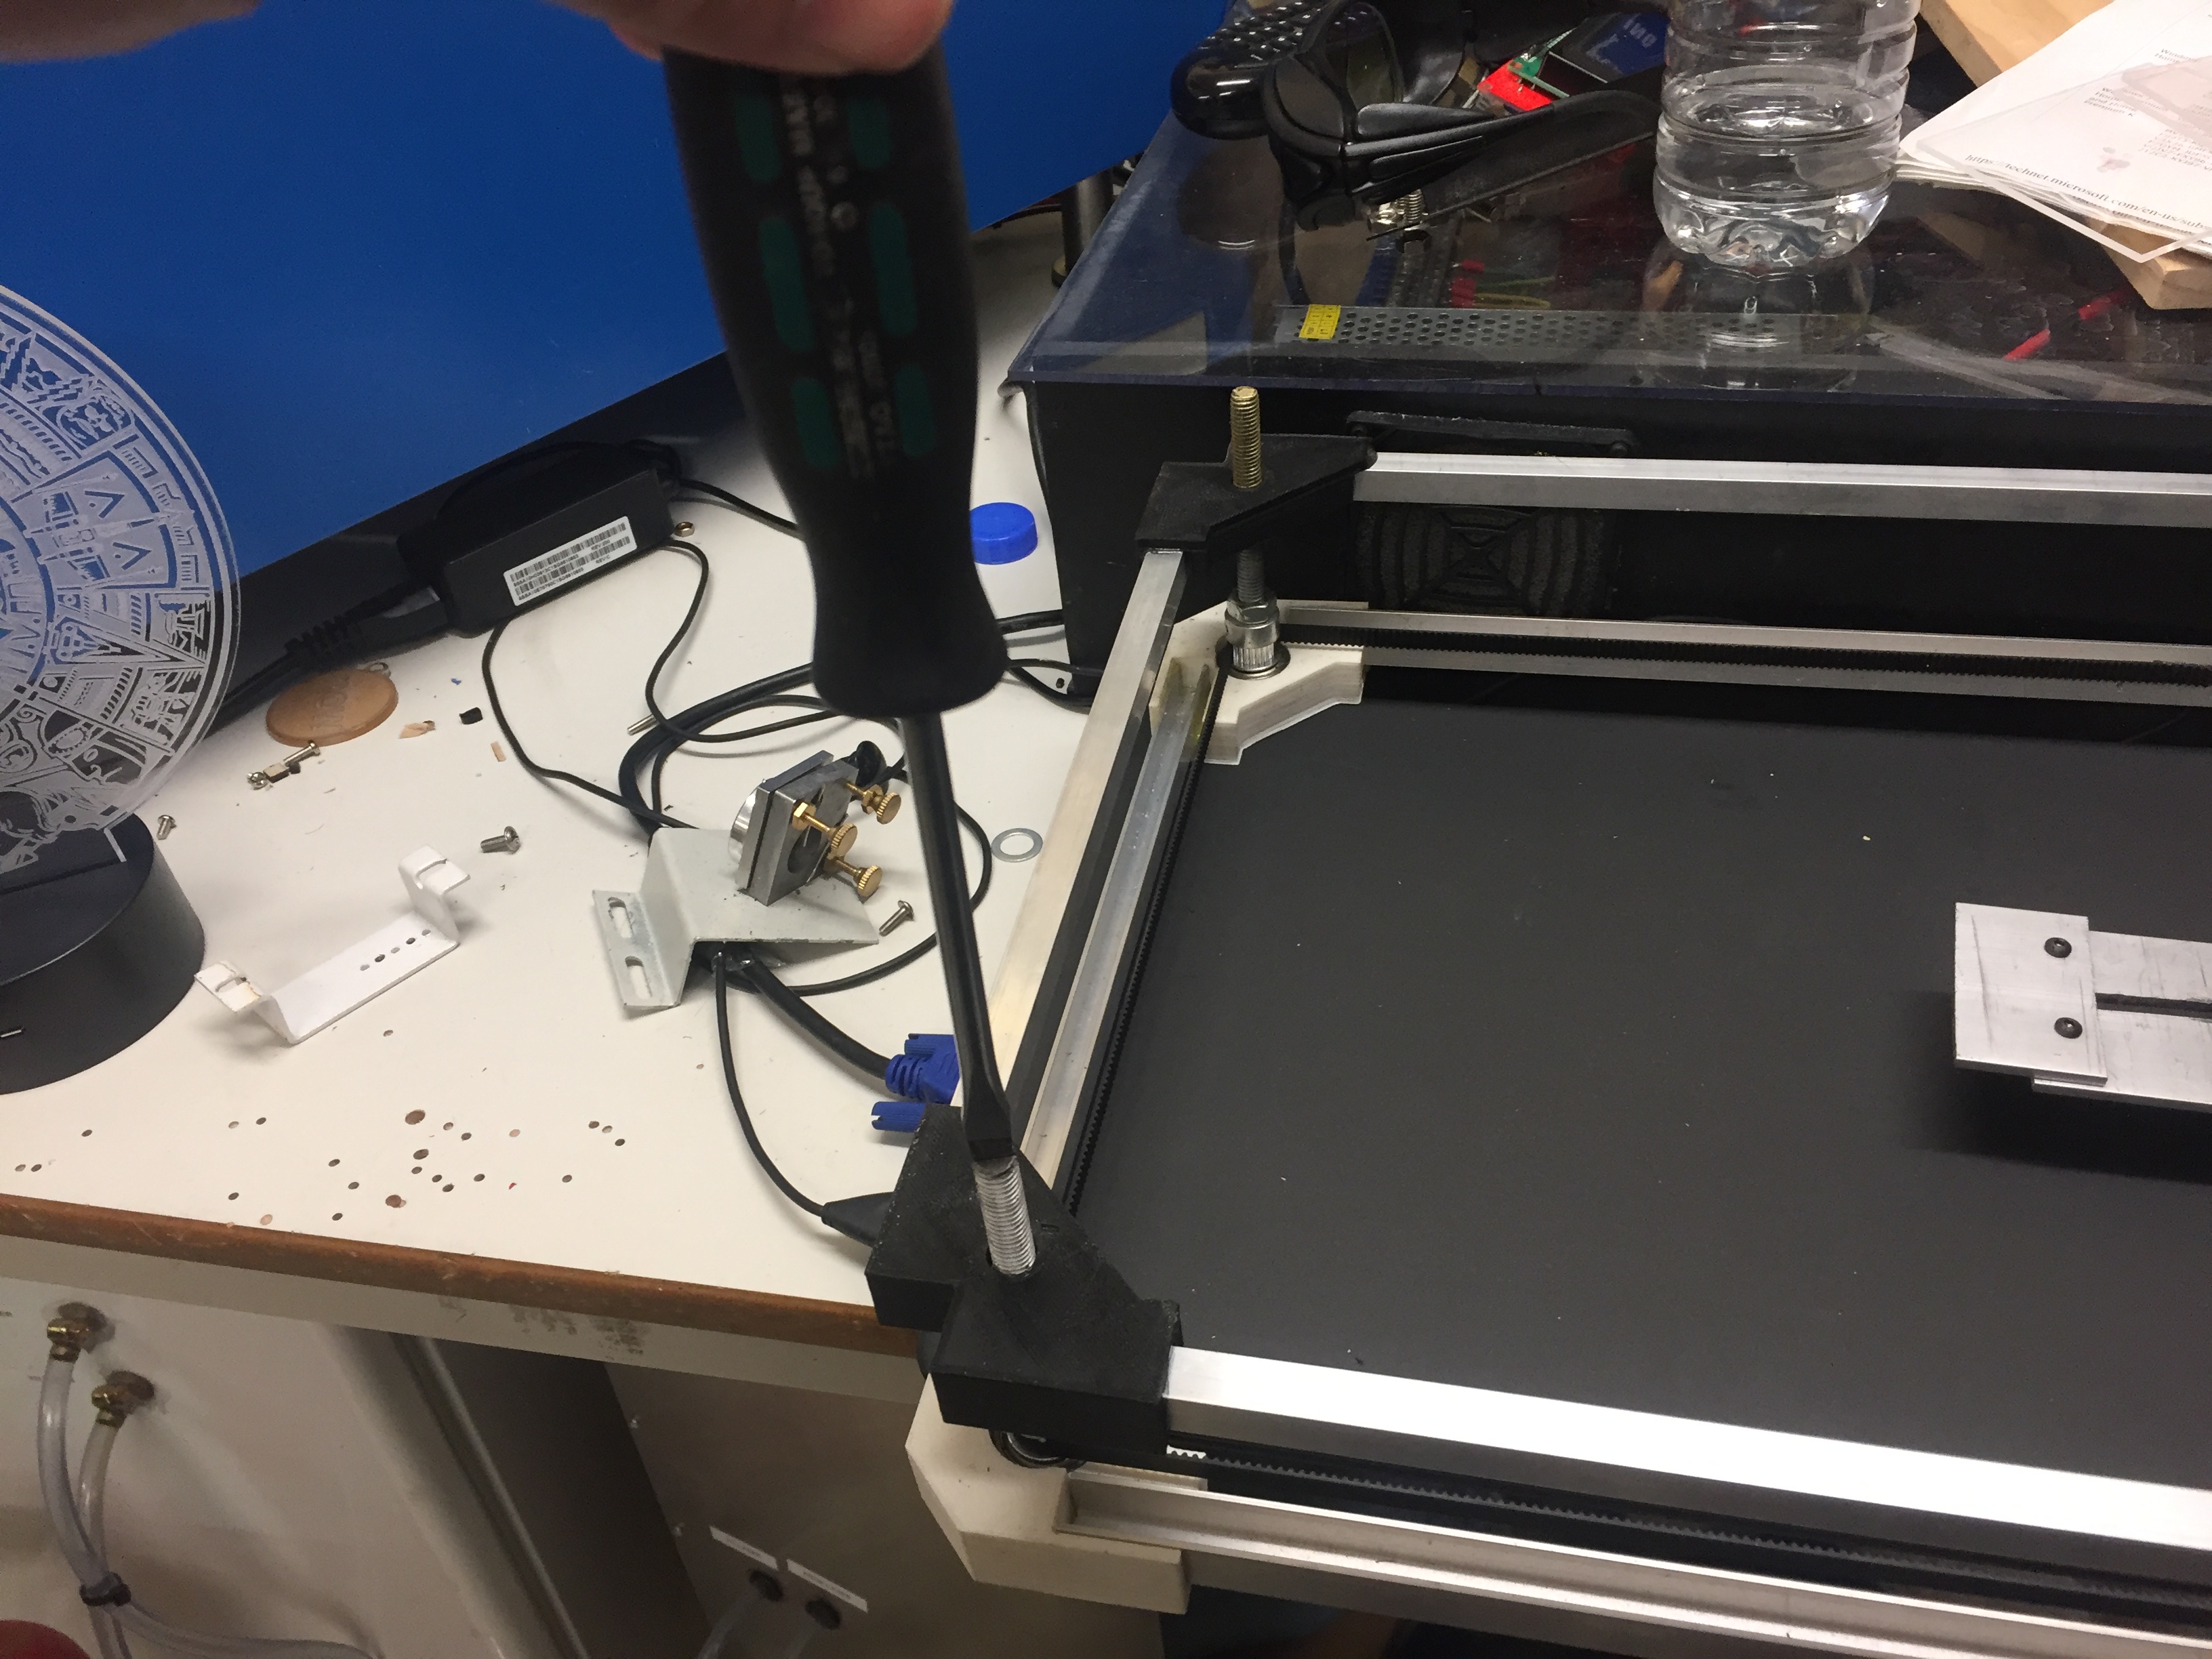
👍 henry.englert, ionov57, plopclone, yaroslav199, twistlumber, alabama2018, yarondrei, lana1970, miki20336, blindjab, elitestrake, onis, ai01, imajone, trevon, gmedley, batman0916, beyondthecrypto, allcapsonezero, charliekerper, doctorspence, truce, rawn, crip-toe-joe, lifenow, cgp, wordofmouth, ghost-train, space-smx, mikits, rapp, arantuil, johhnnyturbo20, lordgod, vanoss, hiatus, inature, lloyddavis, adamhole, thelordsfinest, reloadbeatbox, bitfook, coincutie, failsafedata, ashmodz, yamcha, edgarr, nenafit, mimidee74, thomasbrown, julypalma, karega, theceltictraders, rightwing670, blockfreak, inkasatorrr, cedpete389, mitchadventures, joey-cryptoboy, onhiatus, randumb, katcat, lifefun, steemitsarah, domirep, lilcryptita, lagtv, trevonjb, cryptocommand, whenhowwho, fturner19, rativiv, duval904, imranlouis, jaforce, genre, tripjammer, ryanblue7s, enjgold, hello.totoro, numberofthingz, bitches, retrospect, whitedynasty, willjj85, hers, terrenceh, lordantoni, cryptogangz, hoxly, fatboyjames, imredryan, boomerang, alfanso, sqamemal, smartsteem, buildawhale, satfit, drbh, fiveboringgames, whalecatcher, vlasmp, cldgrf, hillstech, ocxie, frankydoodle, mickeyvera, spurious-claims, mustafeez, mightywarrior, urs, eddy4king, gnoori, liberta, nauman944, merosalah, jatinarora, protomar, agoric.systems, youngfuego, phuresh, madcool, nicnicy, sqube, proctologic, eloniy, emas-jiujitsu, pickled, belgarath, godsngh1, historyfromworld, alidervash, erikkun28, biglipsmama, scorpionking, hausbau, benniebanana, sethlinson, mrright, ceyksparrow, coingyan, jonasthomas, tehmi, philip.willemse, stonechaisson, mrpirated, cryptotash101, fantomcee, drakmin, tastytrade, zappl-lottery, shawnfishbit, pllo3llo, fernwehninja, jguzman394, abenike, nakedtrader, mmagreat, elgeko, dashdipak, jfkenndy, transhuman, epikcoin, cryptoclick, kingyus, reborn99, oregonpop, kishan, omrii, businesswri, futuredigicoin, frontrunner, bakhtiarzehri, vizualsamuri, mitchiesfoodrace, earningbot, marcosespes1, forever-gala, rest100, cloh76, evesick, mikegun, ahmad.rezk, vannfrik, gellany, truth-be-told, iliketoast, derkon, ant884, zaiyn, joulia, grey580, opinizeunltd, onza, saini11, helmirenggrik, treebuilder, saadithya, s10, natra, realcodysimon, mustafa4101996, deemarshall, photobomber, ketikasharma, skyhooks, beckenbauer, benjy87, vivianka, tim-rumford, olgavdovskikh, aser1111, mlgcrypto, animapaddy, eosint, zulbahri, bitcoinmarketss, deusx, g-dubs, tomtom87, kofibeatz, rikip94, dorthmaen, ozywashere, cryptojake, graytor, embomb701, joklahoma, arithmatic, ladyrednails, nicholasjohn, upvoted, aek081969, nuad01, bjjworldtraveler, maxbullion, treasuregnome, eaposztrof, bien, taisa.gallery, chingpherd, kimph, melvinlumacad, happyclappy, tujan, lawyerup, senor, wishmaiden, btcbaby, brains1ck, mamata, dickdeepdog, osere, silasdavid, voltsrage, abdulrehman, ragnartheking, steemcollator, hafizalam5556, hellmerlin, mohsan0073, amanda46536, iamnotageek, kyawsantun, aylan, showtime, rksumanthraju, finesse203, simplygorgeous, amlehtnewo, jovial-grace, genya.kharitonov, corganmusic, stephanieangel, itchykitten, geggi632, steemdrivingman, jasonmiller2134, zentat, kralizec, videogeek, andysmancave, thaha1, ganandoenbtc, tonimarco, funfacts, sahertanveer, vijbzabyss, jiujitsu, uxmanqaxim, billibong, freemon, sabarniati.aceh, crypto2day, chucknasty, crypt0boy, deaconlee, synrg, hamza77, battlemountain2k, mrslauren, ravenrillay, ronnybat, qxl, kurtringimages, kenhudoy, aungmyinthu, reisronddewereld, co-op.blogs, icedrum, mezmerizer9, jim-borasso-band, mirabdullah, framelalife, arunavabiswas, manfaluthi, merleeyq, abso, thelifestyler, nova-nazirah, da-primate, zuhrareza, ianfreeman, outerground, travelingdiva, brunoaco91, booster, arcange, raphaelle, electronicsworld, steemmakers, shaunmza, pbock, thatsweeneyguy, jefpatat, espoem, makerhacks, drmake, kaking, ivan-g, flash4yard, haunting, thesteemhouse, electricswine, menandyjose, microoo, knfitaly, podanrj, salvadorcrg, beetlevc, dmxmaster, robali123, boucaron,