TEARDOWN OF A 2-STROKE ENGINE; MY ENGINEER'S STORY
steemstem·@rharphelle·
0.000 HBDTEARDOWN OF A 2-STROKE ENGINE; MY ENGINEER'S STORY
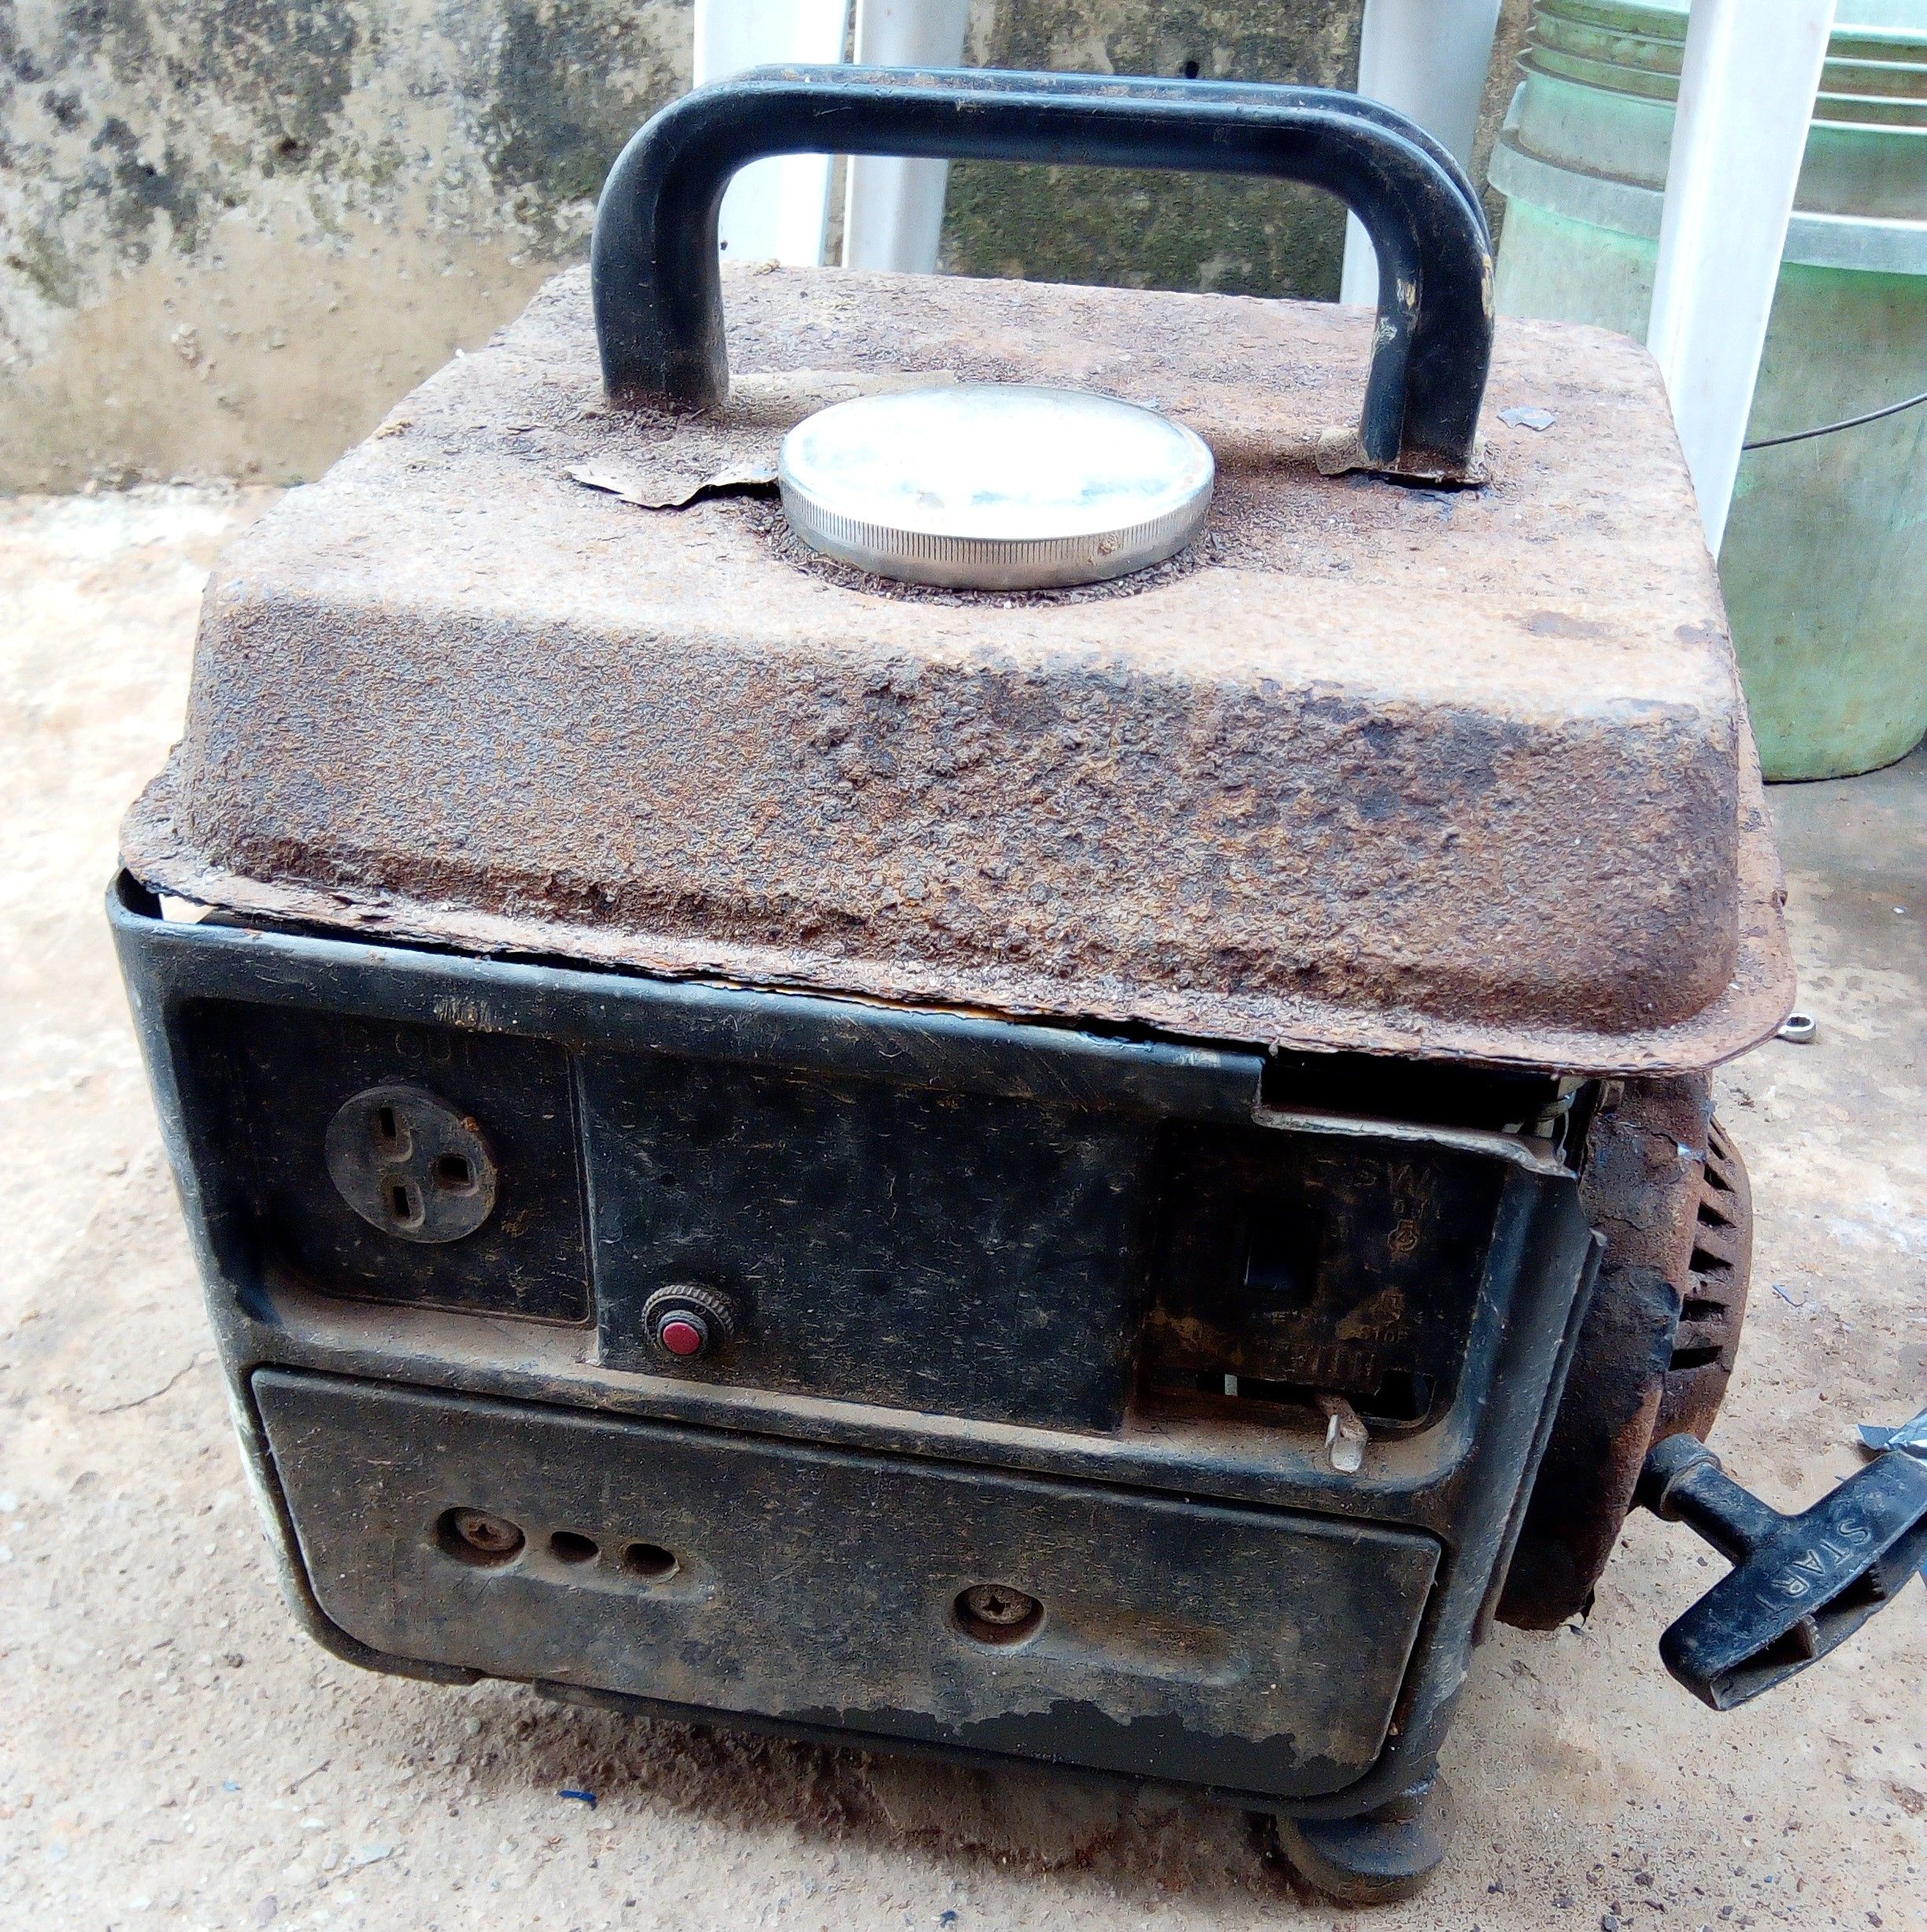
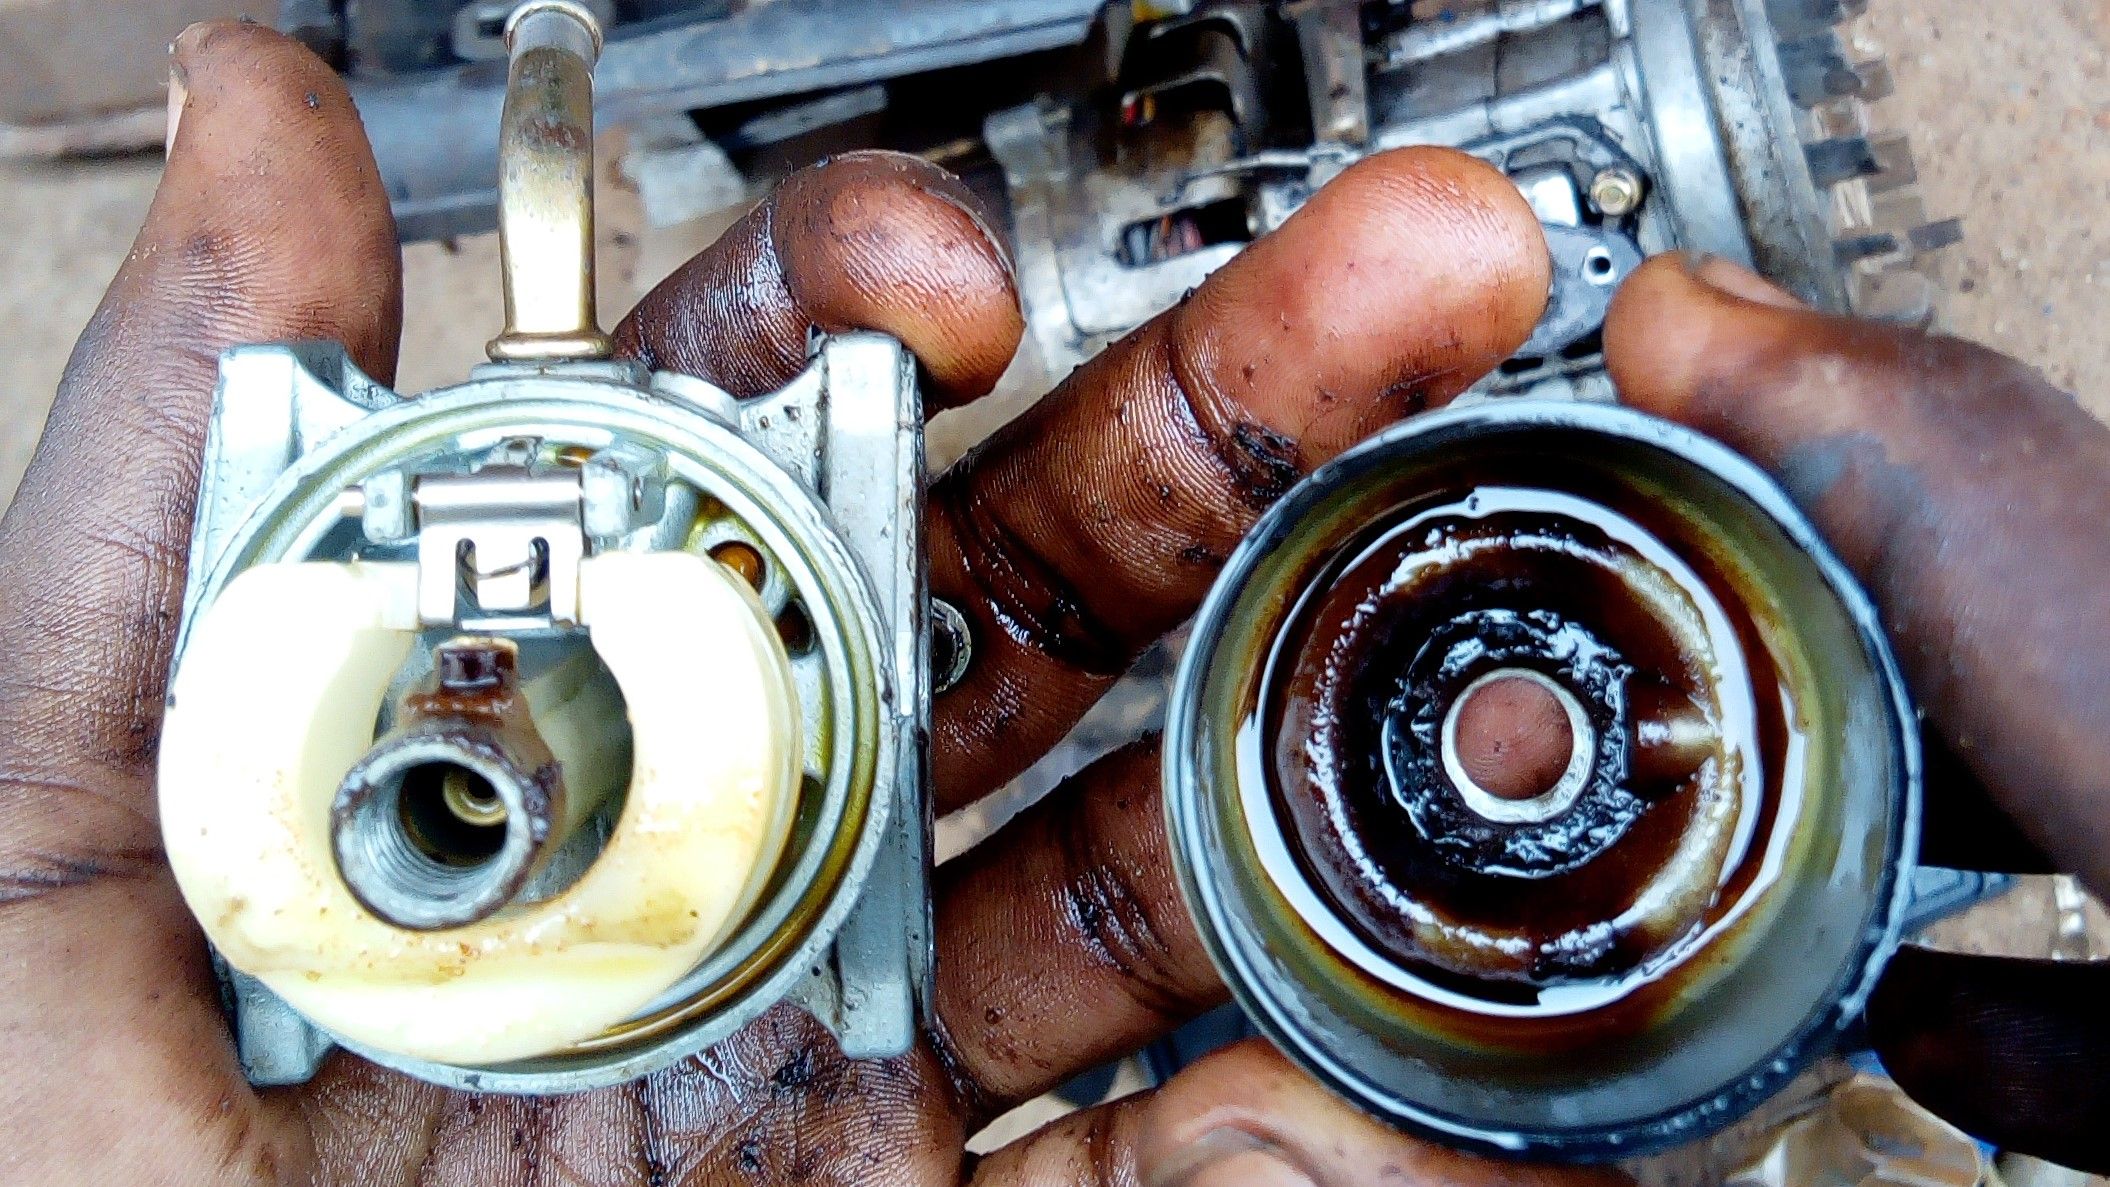
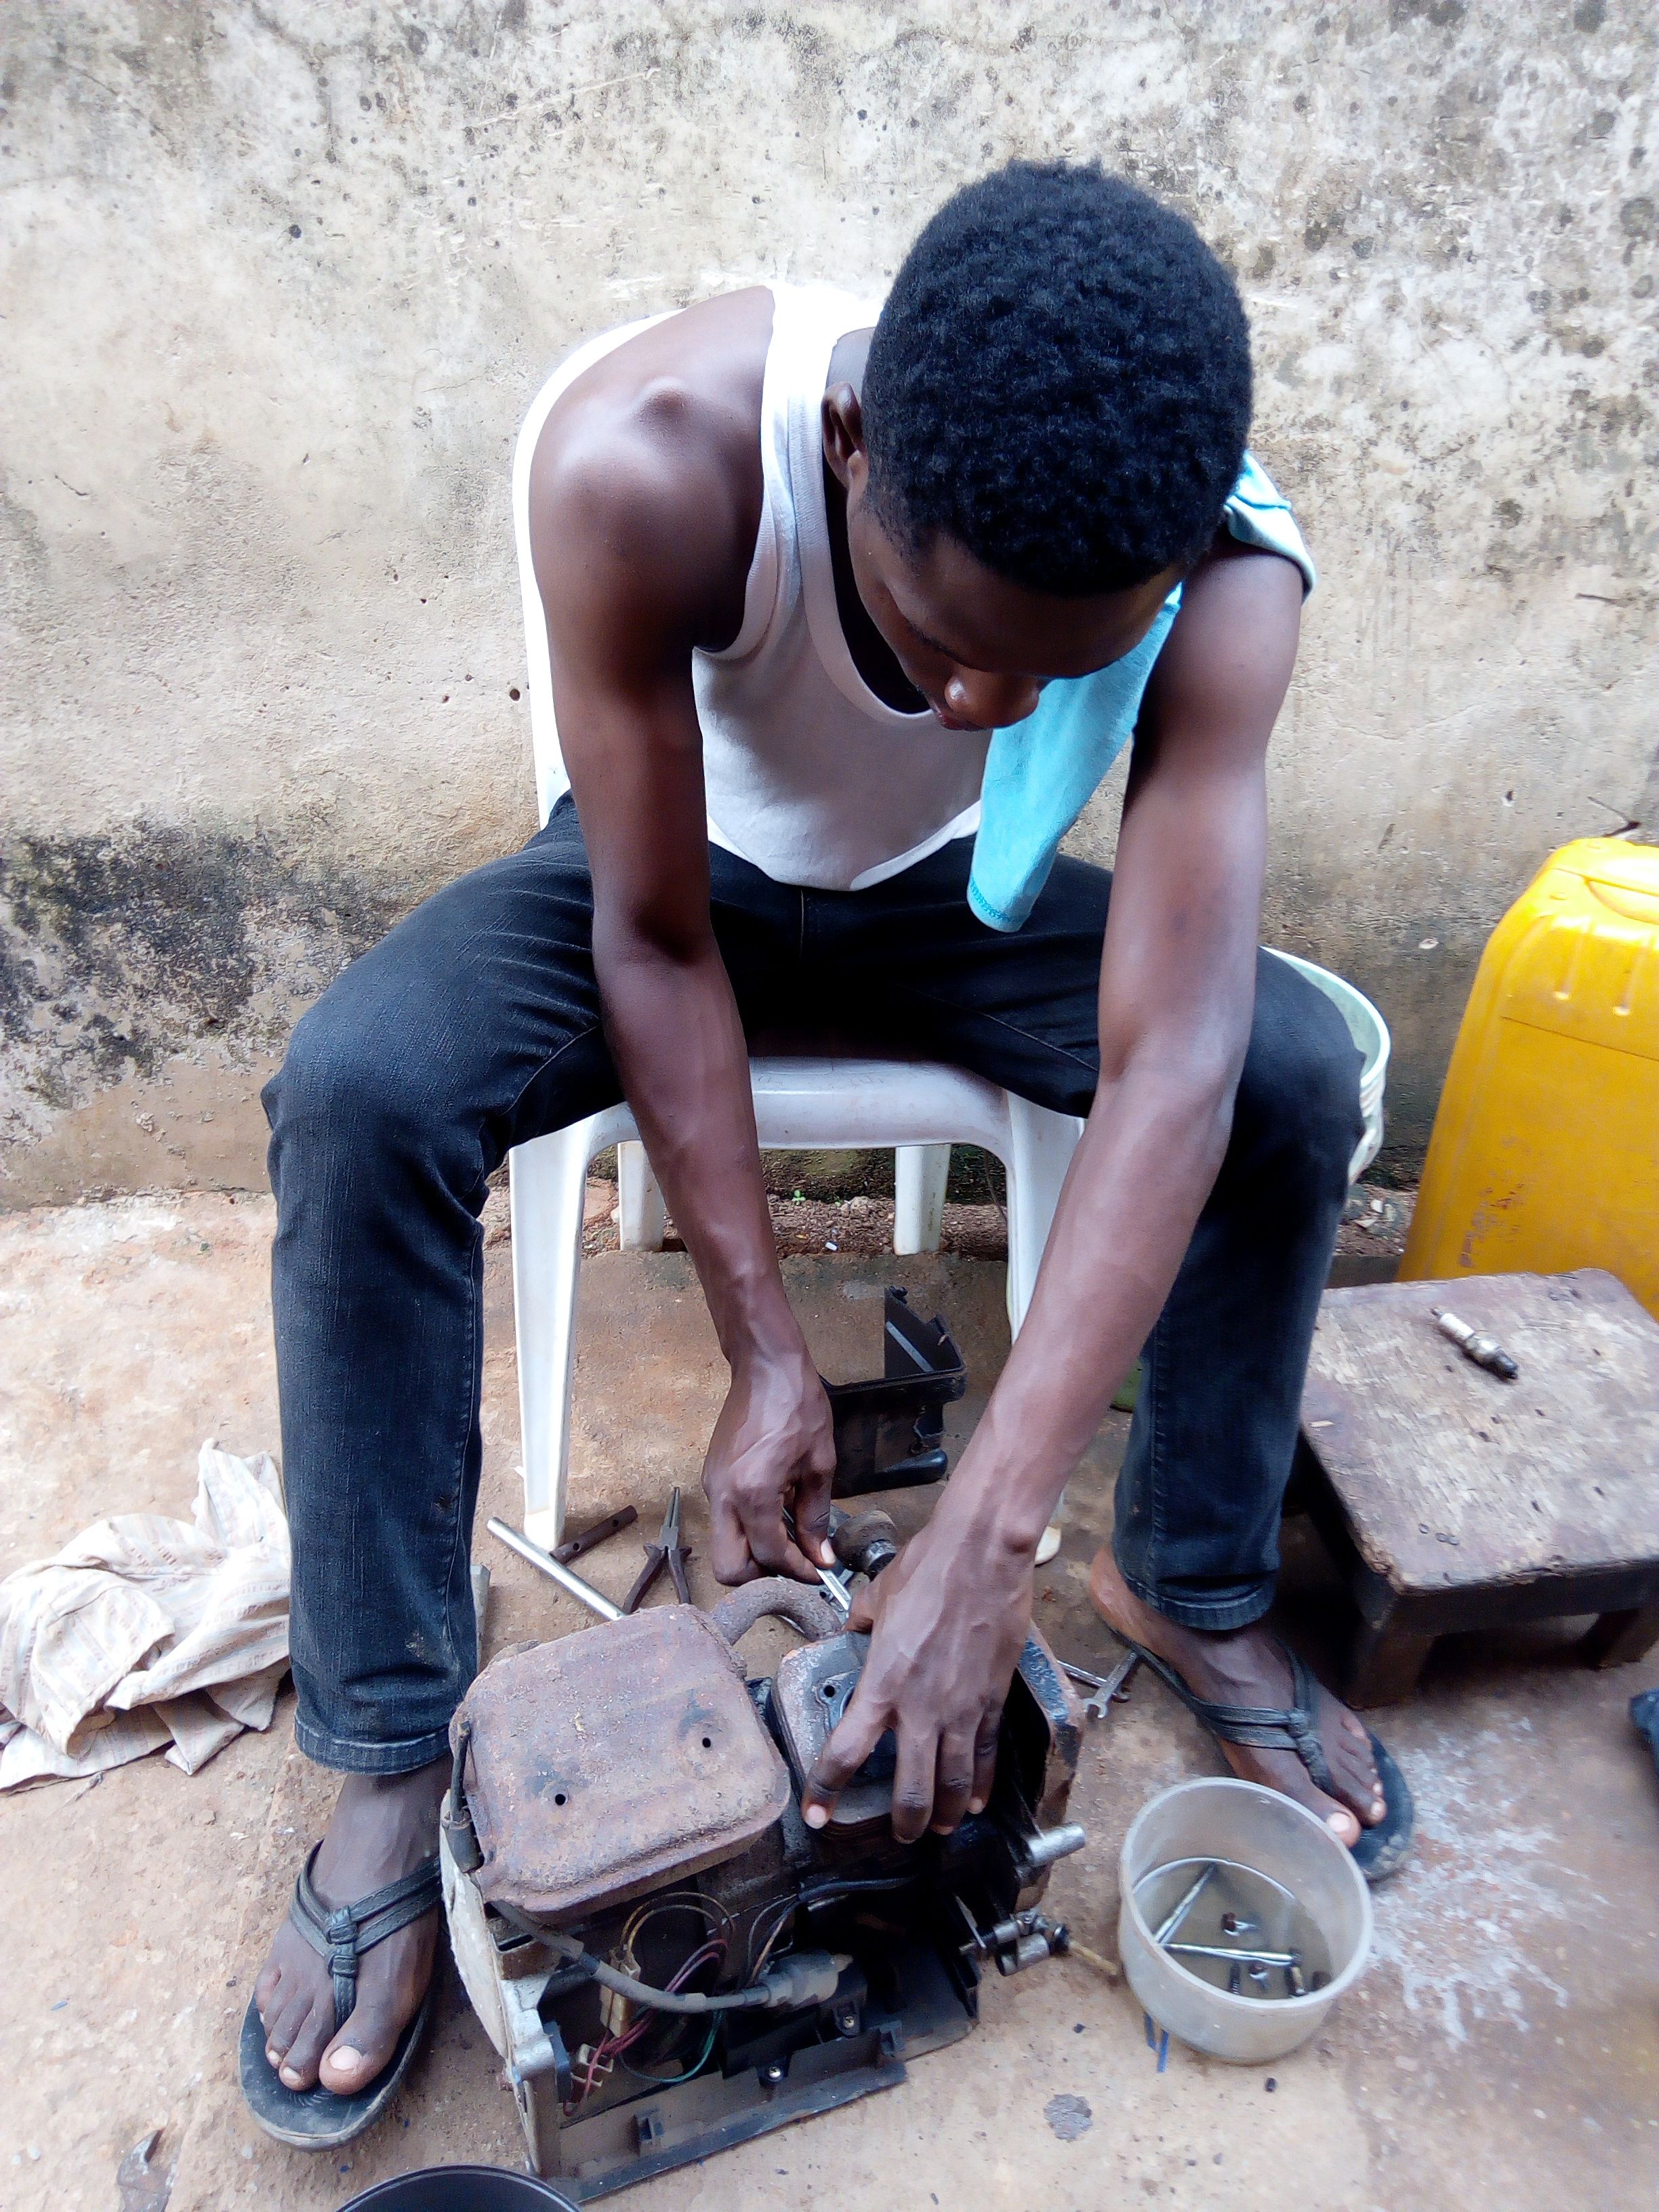
Sometimes in life, situations push us to do things out of the ordinary, things we never knew we could. I know I am beginning to sound like a motivational speaker but the statement applies to what I am writing about today. If you read my last post, you would know that right now, I am back home and relatively free (for the time being) so I have decided to devote a good percentage of my day to building relationships and engaging with people in my community (steemstem) but this plan has not been actualized to the fullest for the past few days since I got back all thanks to the epileptic power supply - a typical experience for any Nigerian. So on Saturday while sitting outside the house trying to get some fresh air as inside the house was hot as hell (well, I don't know how hot hell is though, do you?), something struck me "there is a small generator in the house!" I jumped up and ran inside to confirm the presence of this piece of machinery which could bring smiles to my face. Alas! it was still present. Please pardon me, I would like to tell you a little about the generator. The generator is of the TIGER brand popularly known to Nigerians as **"I better pass my neighbor"** and was bought some years back (all thanks to the unavailability of power). it was used continuously until a few years time when the house began to be scanty (almost everybody left due to marriage or school) and thus, the generator was not being used anymore. The generator was placed in the store which was somewhat moist and thus the fuel tank began to corrode. (@temitayo-pelumi, corrosion is everywhere). Have a look at what it looks like now.  <center><sup> THE GENERATOR </sup></center> **TECHNICAL INFORMATION** I checked online for the details of this generator and all I could see in the results were stores trying to sell the appliance. well i am not surprised as it is widely known and used in this part of the world. Here is what I could gather. * MODEL NAME: TIGER TG950 * RATING: 650VA * OUTPUT: AC single phase * FUEL TYPE: PETROL * ENGINE TYPE: two-stroke internal combustion engine Today, I would be sharing with you a mini-teardown and servicing of the mechanical part of the generator. By mini-teardown, I mean I didn't "visit" some parts. I intentionally didn't visit the electrical part of the generator because I had very little knowledge about how to uncouple it and I was also sure it was in good condition. well, looking from the outside, it looked like there was a lot of work to do but a look inside it proved otherwise. For the sake of this post, I would recommend a little knowledge about the internal combustion engine as I would be mentioning some parts which I might not explain. I did a post on that topic already and you can see it [here](https://steemit.com/stemng/@rharphelle/how-an-internal-combustion-engine-works). Also, you can read [here](https://en.wikipedia.org/wiki/Two-stroke_engine) for what a 2-stroke engine is since the generator is of that type. **TOOLS** <div class="pull-right"><center><img src="https://steemitimages.com/DQmXGBtzLDrRhKZvNXbrijxq4i2o4JoomWr8BHz5hwn6oBb/IMG_20180331_091838%20(2).jpg" /><br/><em><sup><sup> THE TOOLS</a></sup></sup></em></center></div> My dad is a retired automobile technician and I am sure inherited the enthusiasm from him. thanks to his tool box, I was able to get the tools I needed to perform the servicing (or revival) of the generator. The tools I used include * 10mm socket spanner * 8/9 mm spanner * spark plug spanner * flat file * screwdriver * brush I also used about two liters of petrol and some engine oil. <center> **THE TEAR DOWN** </center> While I was gathering the tools I needed, my nephew and nieces rallied around me and were quite happy that I was going to revive the generator. At that point, I realized that I needed to make sure the generator worked or else, I would be termed a "fake engineer". That was not my first time of dismantling the mechanical part of a generator, but this one came with high expectations. I still proceeded with the operation. Removing the (corroded) fuel tank, it revealed the interior of the generator which were still in good condition even after years of neglect. It was quite obvious that it was only the upper part of the tank that corroded as the bottom part was still blue with paint. Seeing the inside of the generator in this condition gave me assurance that nothing serious could have gone wrong as it was still in good condition when we stopped using it. <div class="pull-right"><center><img src="https://steemitimages.com/DQmbWWMHYrckXB6qBbL7E7UGFHYSDdByYU1W1nGE8s3Vrmn/IMG_20180402_164234_484.JPG" /><br/><em><sup><sup> AFTER REMOVING THE TANK</a></sup></sup></em></center></div> From the picture to the right, the left side of the appliance is the mechanical part (which i would work on) and the right side is the electrical part. the electrical part is majorly an alternator which converts the rotating motion gotten from the mechanical part to electric power. This is done via the concept of [electromagnetic induction](https://en.wikipedia.org/wiki/Electromagnetic_induction). The mechanical and electric parts are mechanically connected (unfortunately, I would not be "visiting" that part) I examined the electrical wires and checked if any was disconnected or broken, I found none except the spark plug wire which could easily be re-connected. I was not ready to tamper with any electrical part. <br> Flipping the appliance on its face, you can see the behind of the generator. the left part being the cylinder head showing the spark plug and the exhaust on the right side. The exhaust is also connected to the cylinder <div class="pull-left"><center><img src="https://steemitimages.com/DQma4VjSiCrjT1UHpHQ98jv9Gwpdpe3hXenZ5js123dqwXj/IMG_20180331_092302.jpg" /><br/><em><sup><sup> THE CYLINDER AND PISTON</a></sup></sup></em></center></div> Removing the cylinder head and the spark plug reveals the cylinder showing the piston. the piston head and the inside of the cylinder head are black as a result of combustion products deposited on them. I used the flat file to carefully scrape the "black carbon" (as some call it) off the piston and cylinder head and I used some petrol to wash it clean with the aid of the brush. <div class="pull-right"><center><img src="https://steemitimages.com/DQmYDopgs6JGfF1wAiCCfxC9PsKi4hwZo24ZJrpqUNLgKUq/IMG_20180331_094253.jpg" /><br/><em><sup><sup> AFTER CLEANING THE CYLINDER HEAD</a></sup></sup></em></center></div> <br> <hr> <br> <div class="pull-right"><center><img src="https://steemitimages.com/DQmR5LJyaRbCu6WucceqGry8fzF6TDqueWgo6frzaxeZwhi/IMG_20180402_164212_707.JPG" /><br/><em><sup><sup> THE PISTON</a></sup></sup></em></center></div> Digging further into the engine, I pulled out the cylinder to reveal the piston. The piston is the part of the engine that receives the force generated from the combustion of the fuel and moves up and down in the cylinder. The piston is equipped with rings (2) which functions to prevent escape of the air fuel mixture into the lower part and also prevent oil from entering the combustion chamber (the space in the cylinder where the fuel burns). I really didn't do anything special on the piston, I only inspected the body to check for cracks which were absent and also checked the rings which were also in good condition. that simply means I wouldn't be spending too much to bring the generator back to life (you can imagine the joy that comes with that) <br> <hr> <div class="pull-right"><center><img src="https://steemitimages.com/DQmV5Ud2JyQpjaF7LEQDc6EcCQYdscrEZsEyWtdqAg1VrWh/IMG_20180402_164247_143.JPG" /><br/><em><sup><sup> THE CYLINDER</a></sup></sup></em></center></div> Right here is the cylinder and if you look closely, you would see the space in the wall of the cylinder that allows for intake of air-fuel mixture and escape of the exhaust gases - typical characteristics of a 2-stroke internal combustion engine. Also you can see the exterior has fins to facilitate cooling as it is an air-cooled engine. <br> The cylinder also passed the reliability test and i only needed to clean the wall of the cylinder before proceeding to couple the piston and cylinder back. At first, it was quite a task as I needed to compress the rings into their grooves before the piston can fit into the cylinder (at least I knew what to do) after a while and with a little help from my nephew, the piston slipped in (I already applied some engine oil to the wall of the cylinder). You might be wondering that I didn't touch the crank shaft; well, that's the part I decided not to visit but if you look closely, the connecting rod "connects" the piston to the crank shaft in the case. @adetola made a post on the crankshaft some weeks ago, you can see it [here](https://steemit.com/automobile/@adetola/5pbkly-that-cranky-sound-in-your-vehicle-understanding-the-crankshaft-and-the-functions), its not rocket science. <br> <div class="pull-right"><center><img src="https://steemitimages.com/DQmRGj4g8fS38SJjxLtjWiNQRNhwi68PihZcvhKAKqTsWjQ/IMG_20180331_101052.jpg" /><br/><em><sup><sup> THE SPARK PLUG</a></sup></sup></em></center></div> I didn't forget the spark plug (maybe I almost did). As the name implies, it functions to deliver the "spark" needed to ignite the air-fuel mixture in the combustion chamber. This spark is actually electric current jumping through a gap. yeah, that's basically what it does repeatedly. I examined the spark plug and from outside, it looked quite okay. the gap was good enough and i only cleaned the "black carbon" that had deposited on it and I screwed it back in. Wanna know more about the spark plug? hop in [here](https://en.wikipedia.org/wiki/Spark_plug) <br> <hr> <br> <div class="pull-left"><center><img src="https://steemitimages.com/DQmZtZTG87ZoqBeNJEUir9Ki1CrHX67vdRJ4KpcUHgghb67/IMG_20180402_164225_445.JPG" /><br/><em><sup><sup> THE EXHAUST PIPE</a></sup></sup></em></center></div> Next up is the exhaust. Well, I think we all know what this does, it acts to channel the burnt up gases out of the engine and into the environment (pollution? yes! but there is nothing I can do about that). Shaking the exhaust near my ear, I could hear some particles rattling in it so i proceeded to release the deposits by unscrewing the part meant for that. Here you can see the combustion deposits that were in the exhaust pipe (it was not as much as I expected). <br> <br> Moving on to the right side of the generator is the [recoil starter](https://en.wikipedia.org/wiki/Recoil_start) which basically is used to manually crank the engine to start it. The starter contains a coiled spring which helps to recoil the rope after it is pulled to rotate the crank shaft and thus the piston before the engine takes over. I didn't bother opening because I had already checked its operation by pulling the rope and it responded fine. I was not in the mood to start arranging the coiled metal in the starter. <div class="pull-right"><center><img src="https://steemitimages.com/DQmTffvbVFVW9vqh8XJdZ1FMkvVxEantEa9Lee6ce9DSVvG/IMG_20180331_094938.jpg" /><br/><em><sup><sup> THE CARBURETOR</a></sup></sup></em></center></div> Lastly I "visited" the carburetor. well this is one part that scares me most as I have had quite an history with it in the past but i didn't let that stop me from dismantling it. I'm guessing you would want to know the history i have with it, well, just to summarize, I would say that "it is easier to dismantle than to assemble". what does the carburetor do? It functions to "carburate" the fuel before it enters the engine. By carburate, I mean it helps to mix the fuel with air and thus make it ready for combustion. Other details can be gotten [here](https://en.wikipedia.org/wiki/Carburetor). <br> <br>  <center><sup>INSIDE THE CARBURETOR</sup></center> The carburetor of this generator is a compact one and is accessible from the front. I unscrewed the bolts and here I had the carburetor in my hand. All the carburetor needed was cleaning and that's what I did to it. I was careful however not to lose the pin in it (connect the dots) and i was done in a few minutes. I coupled the carburetor back to the engine and my work seemed finished. I examined the generator thoroughly to make sure there was no loose bolt or missing part and the hour has come - time to start the generator. My sister was watching from a distance and I could read her mind, she was waiting to abuse me for being unable to make the generator work. I summoned courage and pulled the starter and thank goodness, the generator responded with a loud roar. IT WORKED! However, I had to re-open the carburetor to adjust it as it experienced an overfloat. well, that's by the way, at least it worked.  <center> <sup> WORKING ON THE GENERATOR </sup> </center> Here is a video of the generator being tested. I didn't put the fuel tank so, I fed some petrol into the carburetor through the hose. https://m.youtube.com/watch?v=qrEnqSz9O2A **CONCLUSION** The mechanical part of the generator operates in the two-stroke cycle and is similar to other small engines. Automobile engines are different from this engine by the number of cylinders ( four and above), the stroke (4 stroke), the size and a few other things but basically they are also relatable by the processes and presence of things like the spark plug, the carburetor (older vehicles) and the piston. We have not used the generator since then not because it developed fault but because i wanted to replace the fuel tank with a new one before using it as it would be dangerous to operate the generator with a corroded tank, you never can tell if the tank was leaking. This post was inspired by @proteus-h (i always love your posts where you dismantle those gadgets). All pictures were taken and edited by me with my INFINIX HOT5. Thank you for reading and have a nice day. ONLINE SOURCES OF INFORMATION [1](https://en.wikipedia.org/wiki/Spark_plug) | [2](https://en.wikipedia.org/wiki/Two-stroke_engine) | [3](https://en.wikipedia.org/wiki/Electromagnetic_induction) | [4](https://en.wikipedia.org/wiki/Carburetor) | [5](https://en.wikipedia.org/wiki/Recoil_start) | [6](https://www.vconnect.com/Tiger-TG950-Suznou-TG950-Petrol-Generator/skuNDEwODk=) <hr> <sup>If you write STEM (Science, Technology, Engineering, and Mathematics) related posts, consider joining #steemSTEM on discord [here](https://discord.gg/vwzWz3Z). If you are from Nigeria, you may want to include the #stemng tag in your post. You can visit this [blog](https://steemit.com/@stemng) by @stemng for more details. You can also check this blog post by [@steemstem here](https://steemit.com/steemstem/@steemstem/being-a-member-of-the-steemstem-community) and this [guidelines](https://steemit.com/steemstem/@steemstem/helpful-guidelines-for-crafting-steemstem-content) here for help on how to be a member of @steemstem. Please also check this blog post from @steemstem on [proper use of images devoid of copyright issues here](https://steemit.com/steemstem/@steemstem/guidelines-on-copyright-standards-in-steemstem)</sup> <center>https://steemitimages.com/DQmU7Xv1NnXmSE1MAYNN1eM6R5Xs2Cdtczp9DpaopmzopGE/rocket.gif</center>
👍 addempsea, sbi3, marketstack, hr1, pinoy, moby-dick, physics.benjamin, adetola, cmp2020, cub1, sogless, real2josh, irelandscape, technology-trail, sensation, mrbreeziewrites, tormiwah, fololade, ubg, vanessahampton, greenrun, lemouth, steemstem, anarchyhasnogods, followbtcnews, odic3o1, jpederson96, joseg, felixrodriguez, simplifylife, mayowadavid, erodedthoughts, enzor, ifartrainbows, robotics101, tristan-muller, sco, rharphelle, jlmol7, terrylovejoy, rionpistorius, heajin, ajpacheco1610, simplicitytech, effofex, de-stem, derbesserwisser, ari16, beautyinscience, justtryme90, fredrikaa, abigail-dantes, mountain.phil28, jamesbarraclough, monie, deutsch-boost, jaycem, flinter, doctor-cog-diss, biomimi, ksolymosi, dysfunctional, the-devil, foundation, juanjdiaz89, lamouthe, jamhuery, churchboy, himal, zeeshan003, rachelsmantra, kerriknox, nitesh9, pangoli, sakura1012, gra, samminator, rockeynayak, pearlumie, rjbauer85, chloroform, dexterdev, kryzsec, sci-guy, amavi, dber, gentleshaid, dna-replication, carloserp-2000, kenadis, curie, mountainwashere, mrs.agsexplorer, grandpere, timsaid, alexander.alexis, ovij, somethingburger, hadji, markangeltrueman, tantawi, steemanator, locikll, aboutyourbiz, zacherybinx, gambit.coin, justdentist, kerry234, xanderslee, speaklife, chemistry0, bimijay, sikan-eyen, randomwanderings, dyancuex, pacokam8, jacalf, oscarcc89, makrotheblack, helgapn, krazypoet, infinitelearning, circleoffriends, rejzons, markmorbidity, rmz, artepoetico, wandersells, crescendoofpeace, ariffashraff, smanuels, adebayopaul, sephirods, strings, medical-hall, kul0tzzz, chimtivers96, jerscoguth, sissyjill, amirdesaingrafis, wrpx, shawnycx, hendrikdegrote, sethroot, brobear1995, lrsm13, mahdiyari, kofspades, onethousandwords, runningman, vadimlasca, marialefleitas, bobdos, enjoyy, paulthebeloved, hasan086, evernew, cerventus, laritheghost, aaronteng, the-doubled, ikeror, the-tourist, anwenbaumeister, jgpro, galberto, jordanx2, meetmysuperego, giddyupngo, jpmkikoy, caitycat, v1tko, johnrel, wisata, trpolice, niouton, kushed, steem-id, velourex, steemedia, cebymaster, cotidiana, robertvogt, dreamien, pharesim, lenin-mccarthy, tito36, blerdrage, neneandy, e-troubled, i-have-tested, damzxyno, ponpase, hatuvera, jdc, wdoutjah, modernmclaire, mindscapephotos, gio6, spederson, aarontaggert, benleemusic, positiveninja, happychild, coloringiship, jaeydallah, nonsqtr, delph-in-holland, drakkomaximo1234, thatterrioguy, fidelpoet, dynamicrypto, antigenx, kingabesh, steemitboard, katerinaramm, michaelwrites, altherion, temitayo-pelumi, qadri.mag, irza, florae, lafona-miner, edumurphy,