🎨📝 Cómo Hacer Un Dibujo a Lápiz del Rostro de mi Tía Iris ✏️✨
hive-125730·@robertoasl·
0.000 HBD🎨📝 Cómo Hacer Un Dibujo a Lápiz del Rostro de mi Tía Iris ✏️✨
## 👋 ¡Saludos, amigas y amigos de Hive! Soy **Roberto Antonio** y hoy quiero compartirles unas fotos que tomé con la cámara de mi teléfono, mostrando unos pasos **propios, de mi estilo, forma y talento**, sobre cómo hice un **dibujo a lápiz de una de mis tías que me quiere y me ama tanto**. 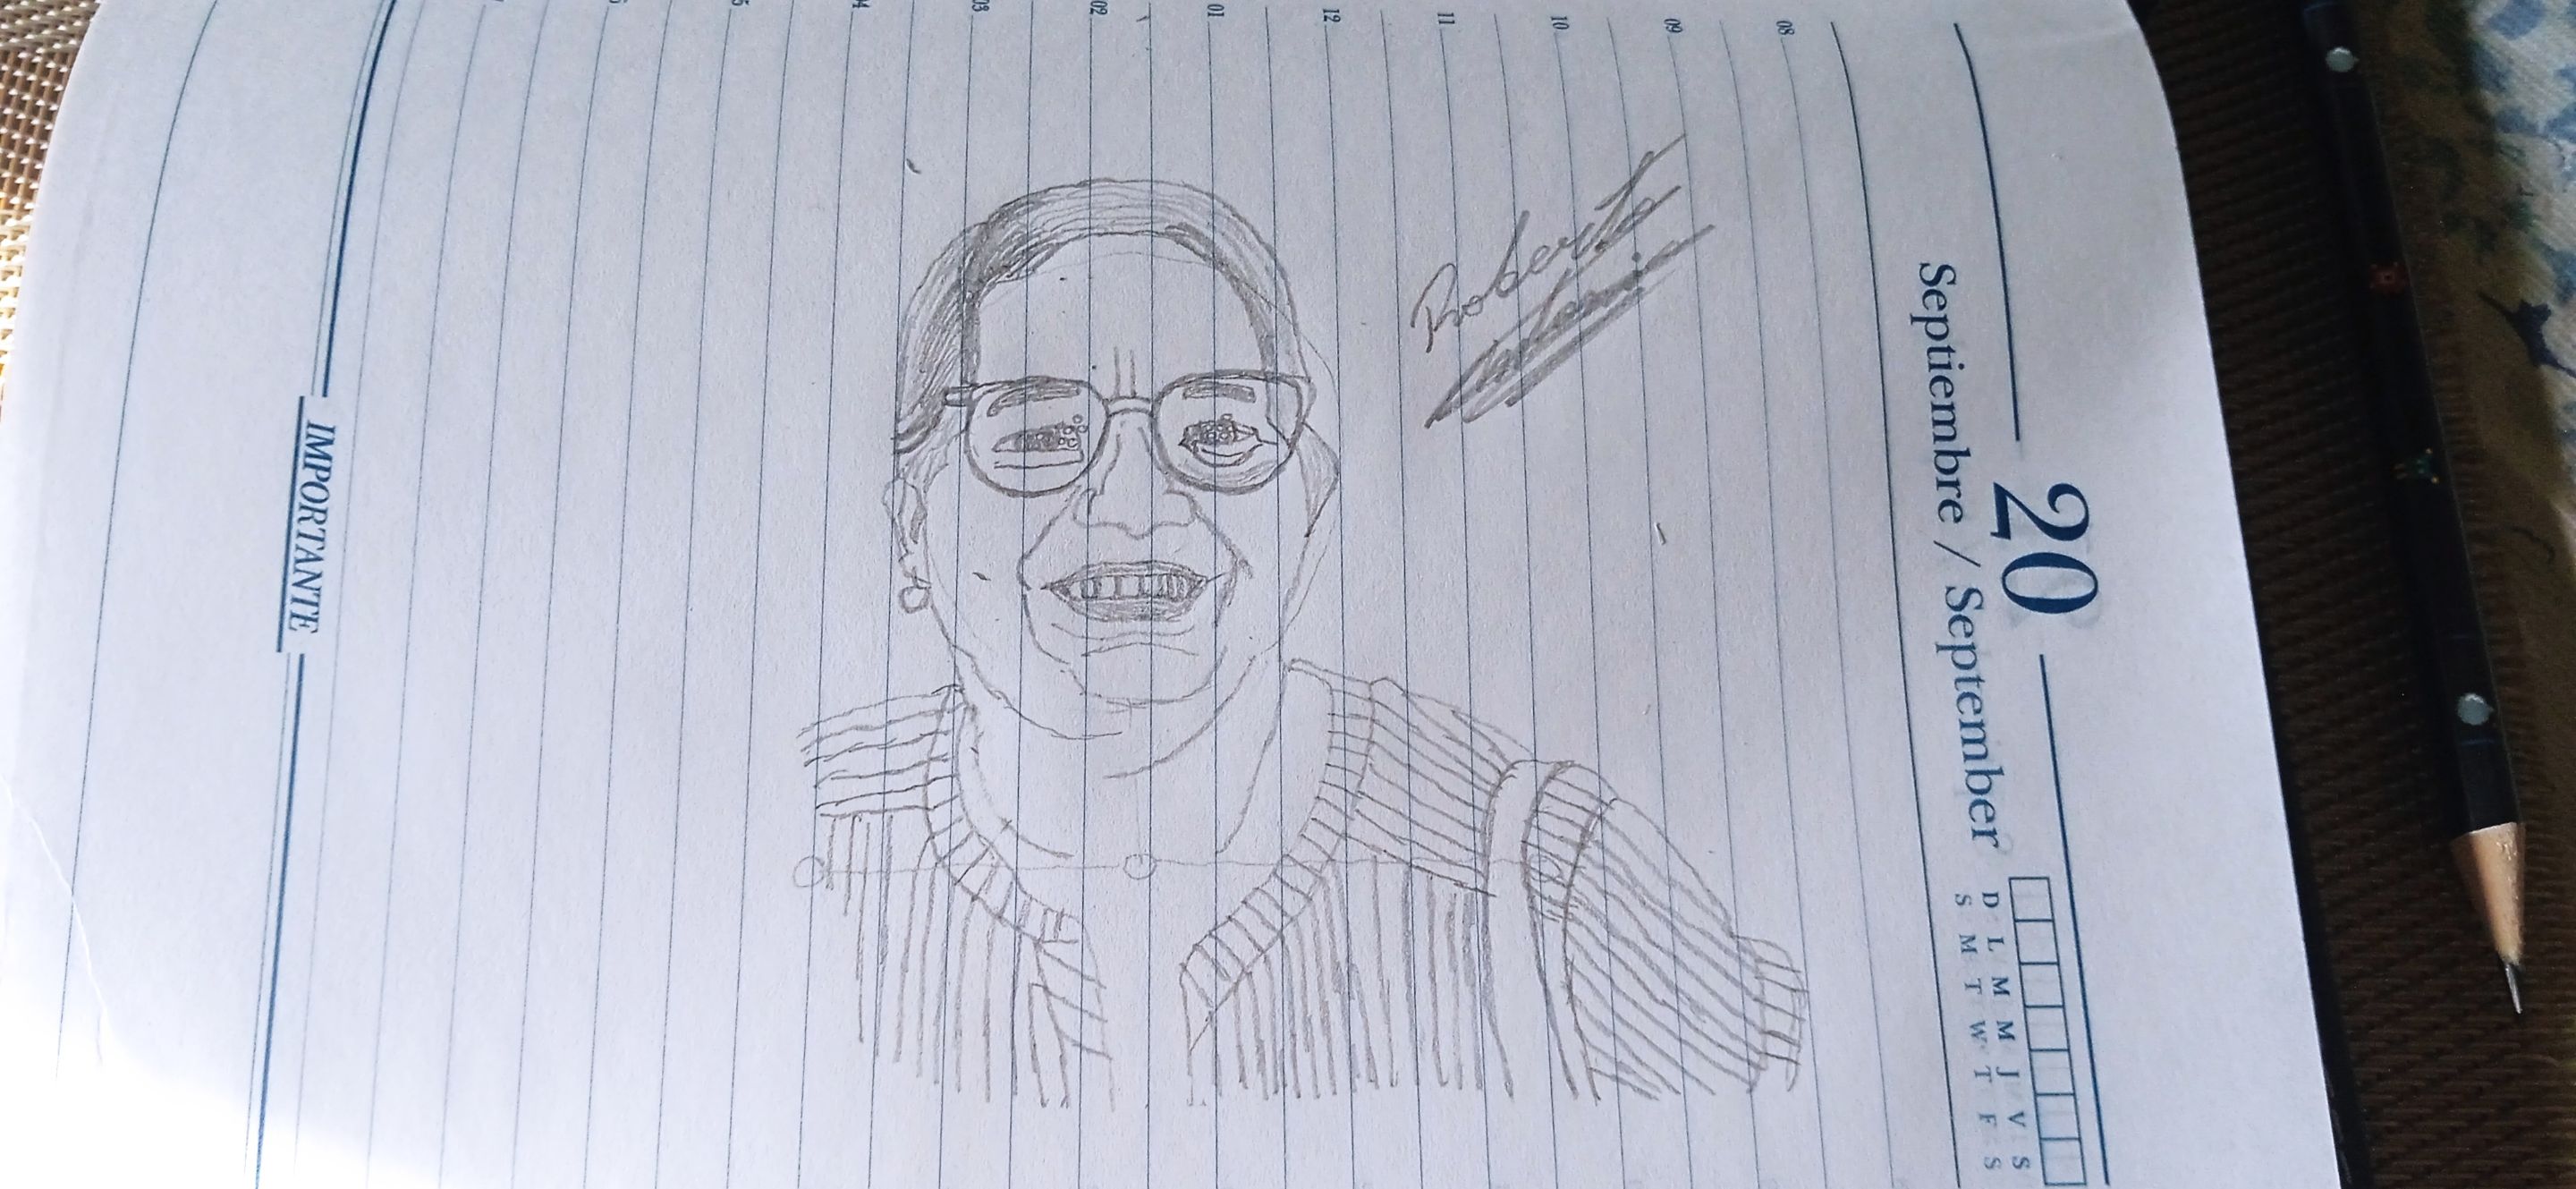 Se llama **Iris** y quiero contarles que me sentí **feliz, contento, emocionado y tranquilo** cuando hice este dibujo. Les mostraré cómo es mi tía Iris en una foto real y cómo quedó el dibujo. Espero que les guste mucho y que con **paciencia, calma, paz, tranquilidad y tiempo** puedan apoyarme con muchos votos. 🙏✨ --- ## 📝 Paso a Paso: Cómo hice mi dibujo 🎨 **Paso 1.** ✏️ Usa un lápiz, puede ser de dibujo o de escribir, para hacer **un círculo para el rostro** y **unas líneas con pequeños círculos** para guiarte. 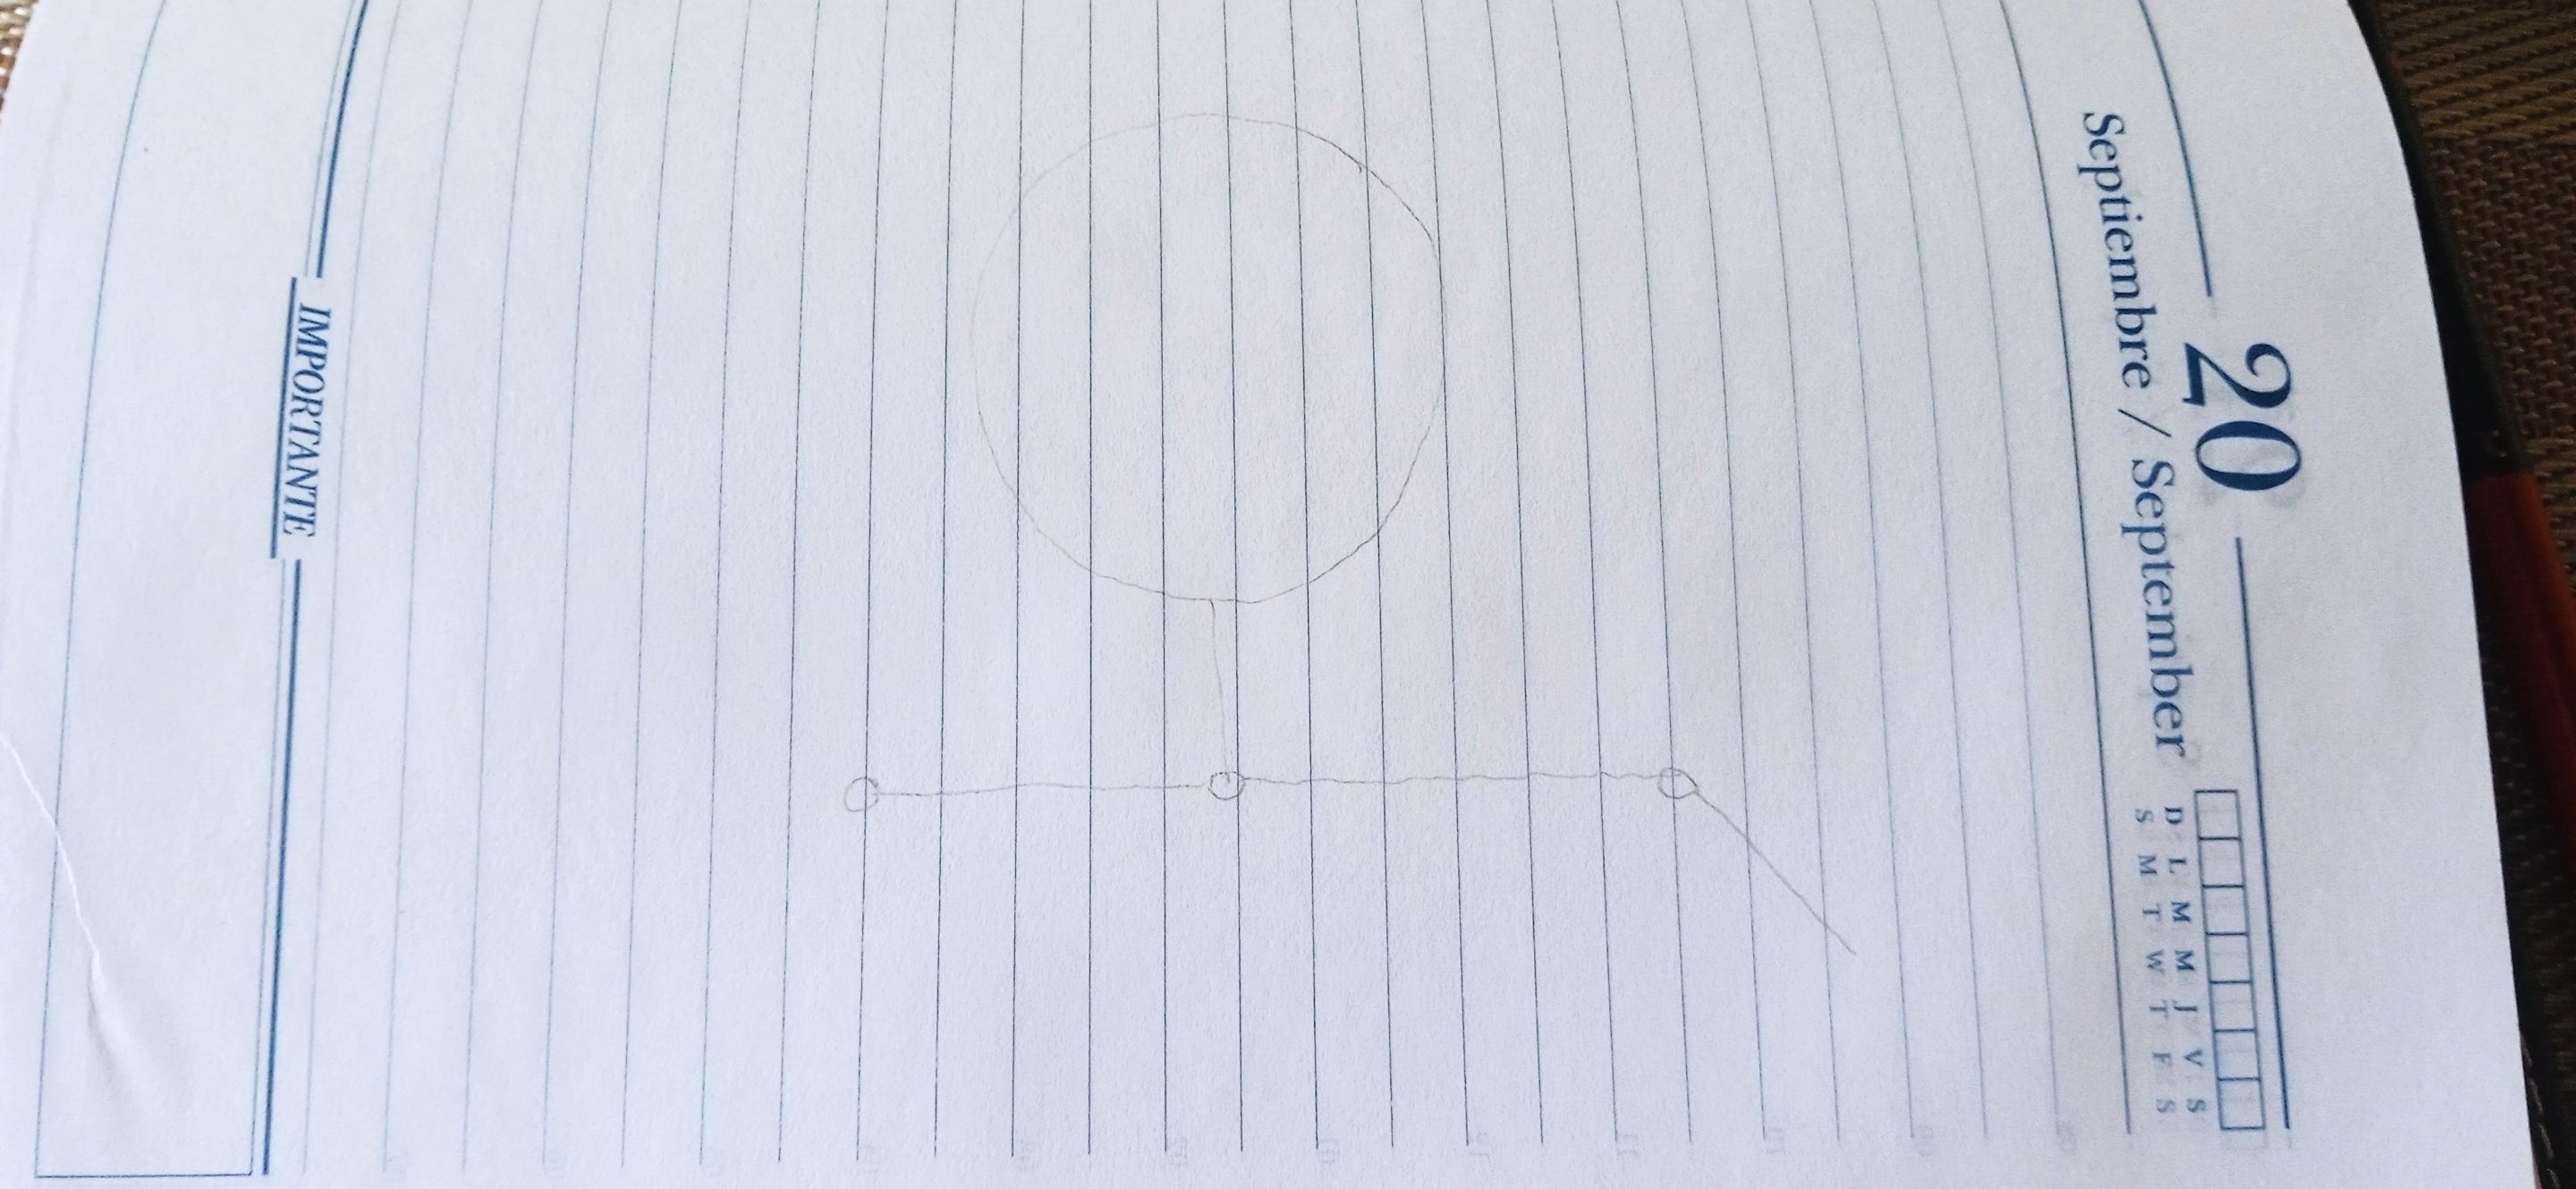 --- **Paso 2.** ✏️ Observa el tamaño de los **hombros, ropa, cuello, rostro, cabello, oído, lentes y nariz**. Luego, **haz la forma de los hombros, la ropa, el cuello, el rostro, el cabello, el oído, los lentes, la nariz y las líneas cerca de la nariz**.  --- **Paso 3.** ✏️ Fíjate en el tamaño de las **cejas, ojos, boca, dientes y las líneas debajo de la boca**. Después dibuja **las cejas, los ojos, la boca, los dientes y las líneas que van debajo de la boca**. 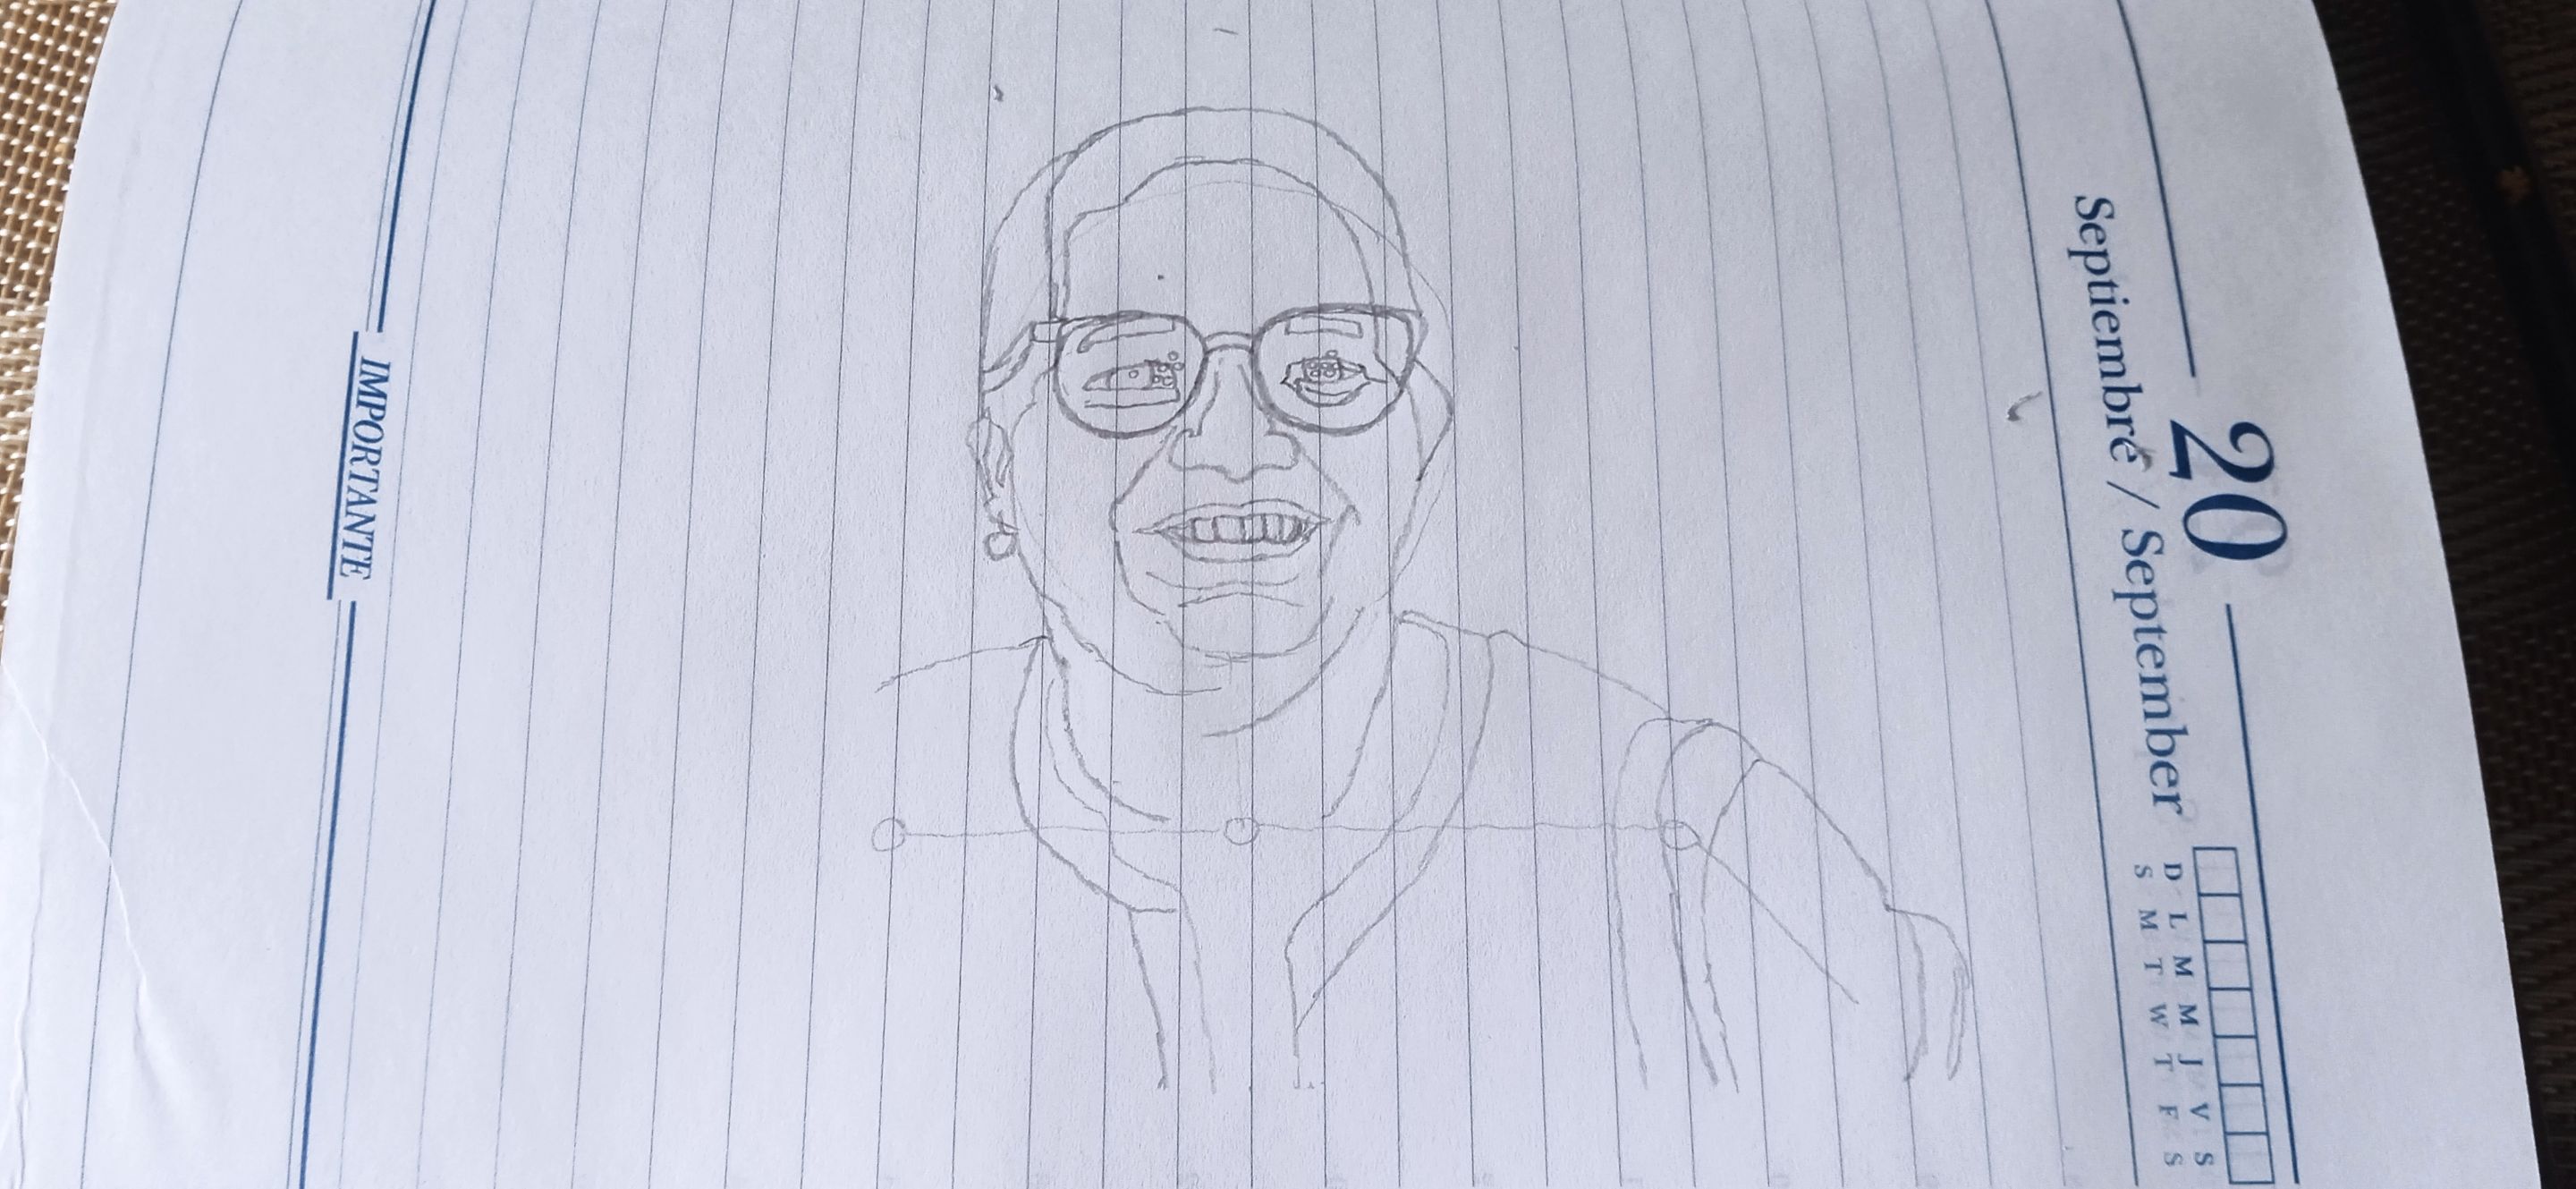 --- **Paso 4.** ✏️ Observa los **toques claros, oscuros, medio claros y medio oscuros** que tiene la imagen y ve **pintando con el lápiz según corresponda**. 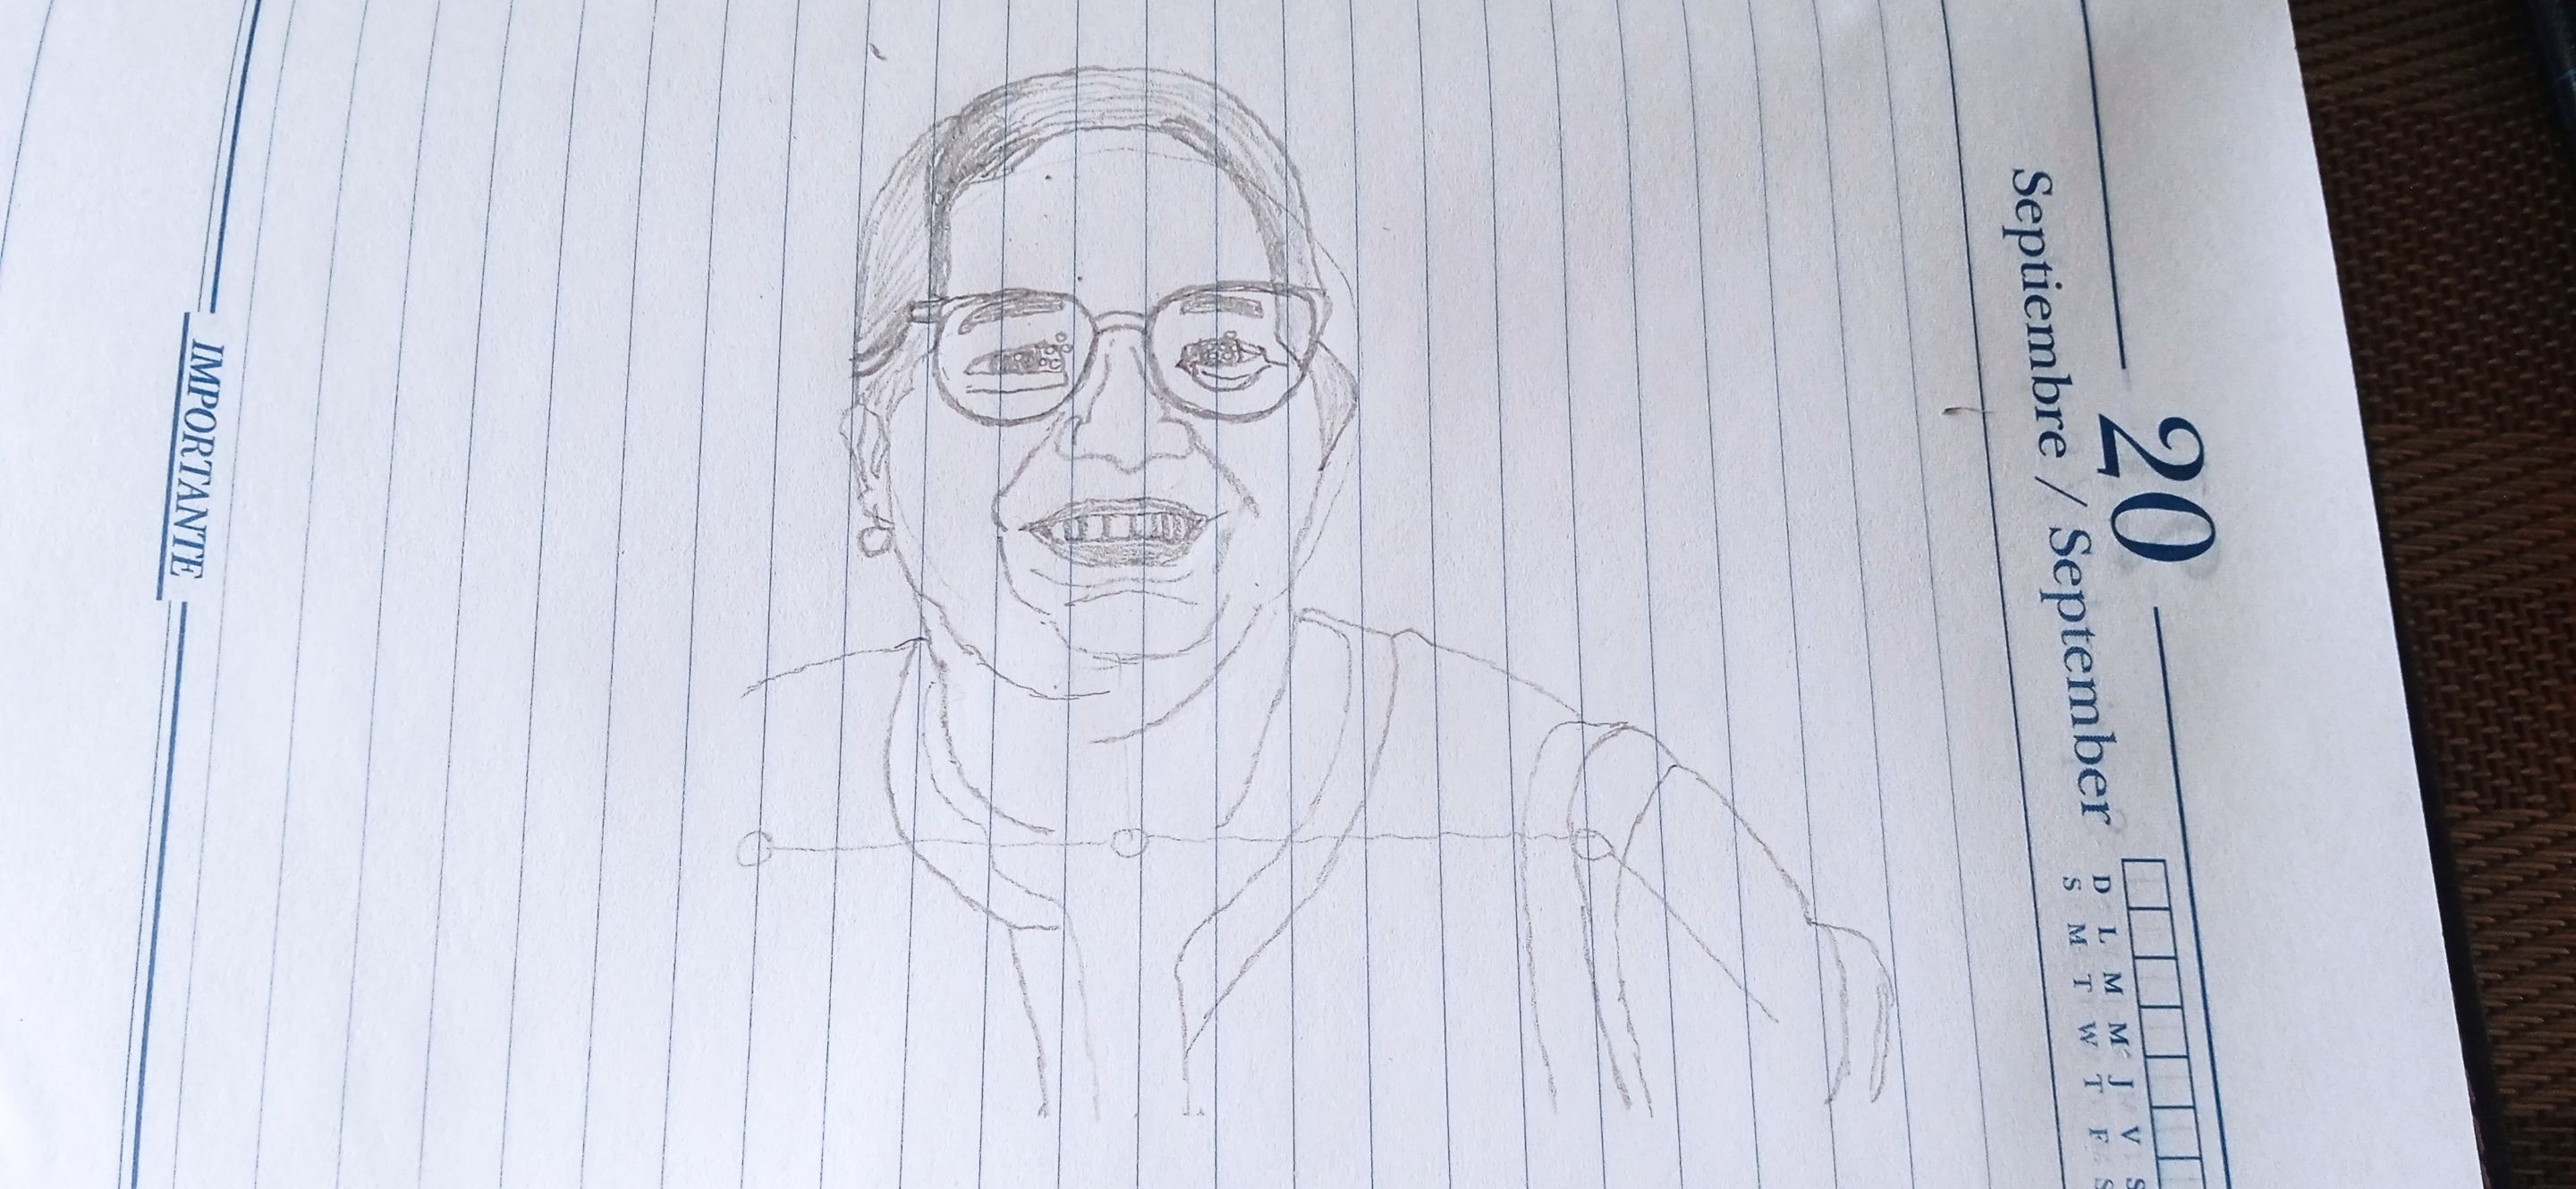 --- **Paso 5.** 👕 Haz los **detalles en la ropa**, tal como se muestra en la imagen, **fijándote bien**. 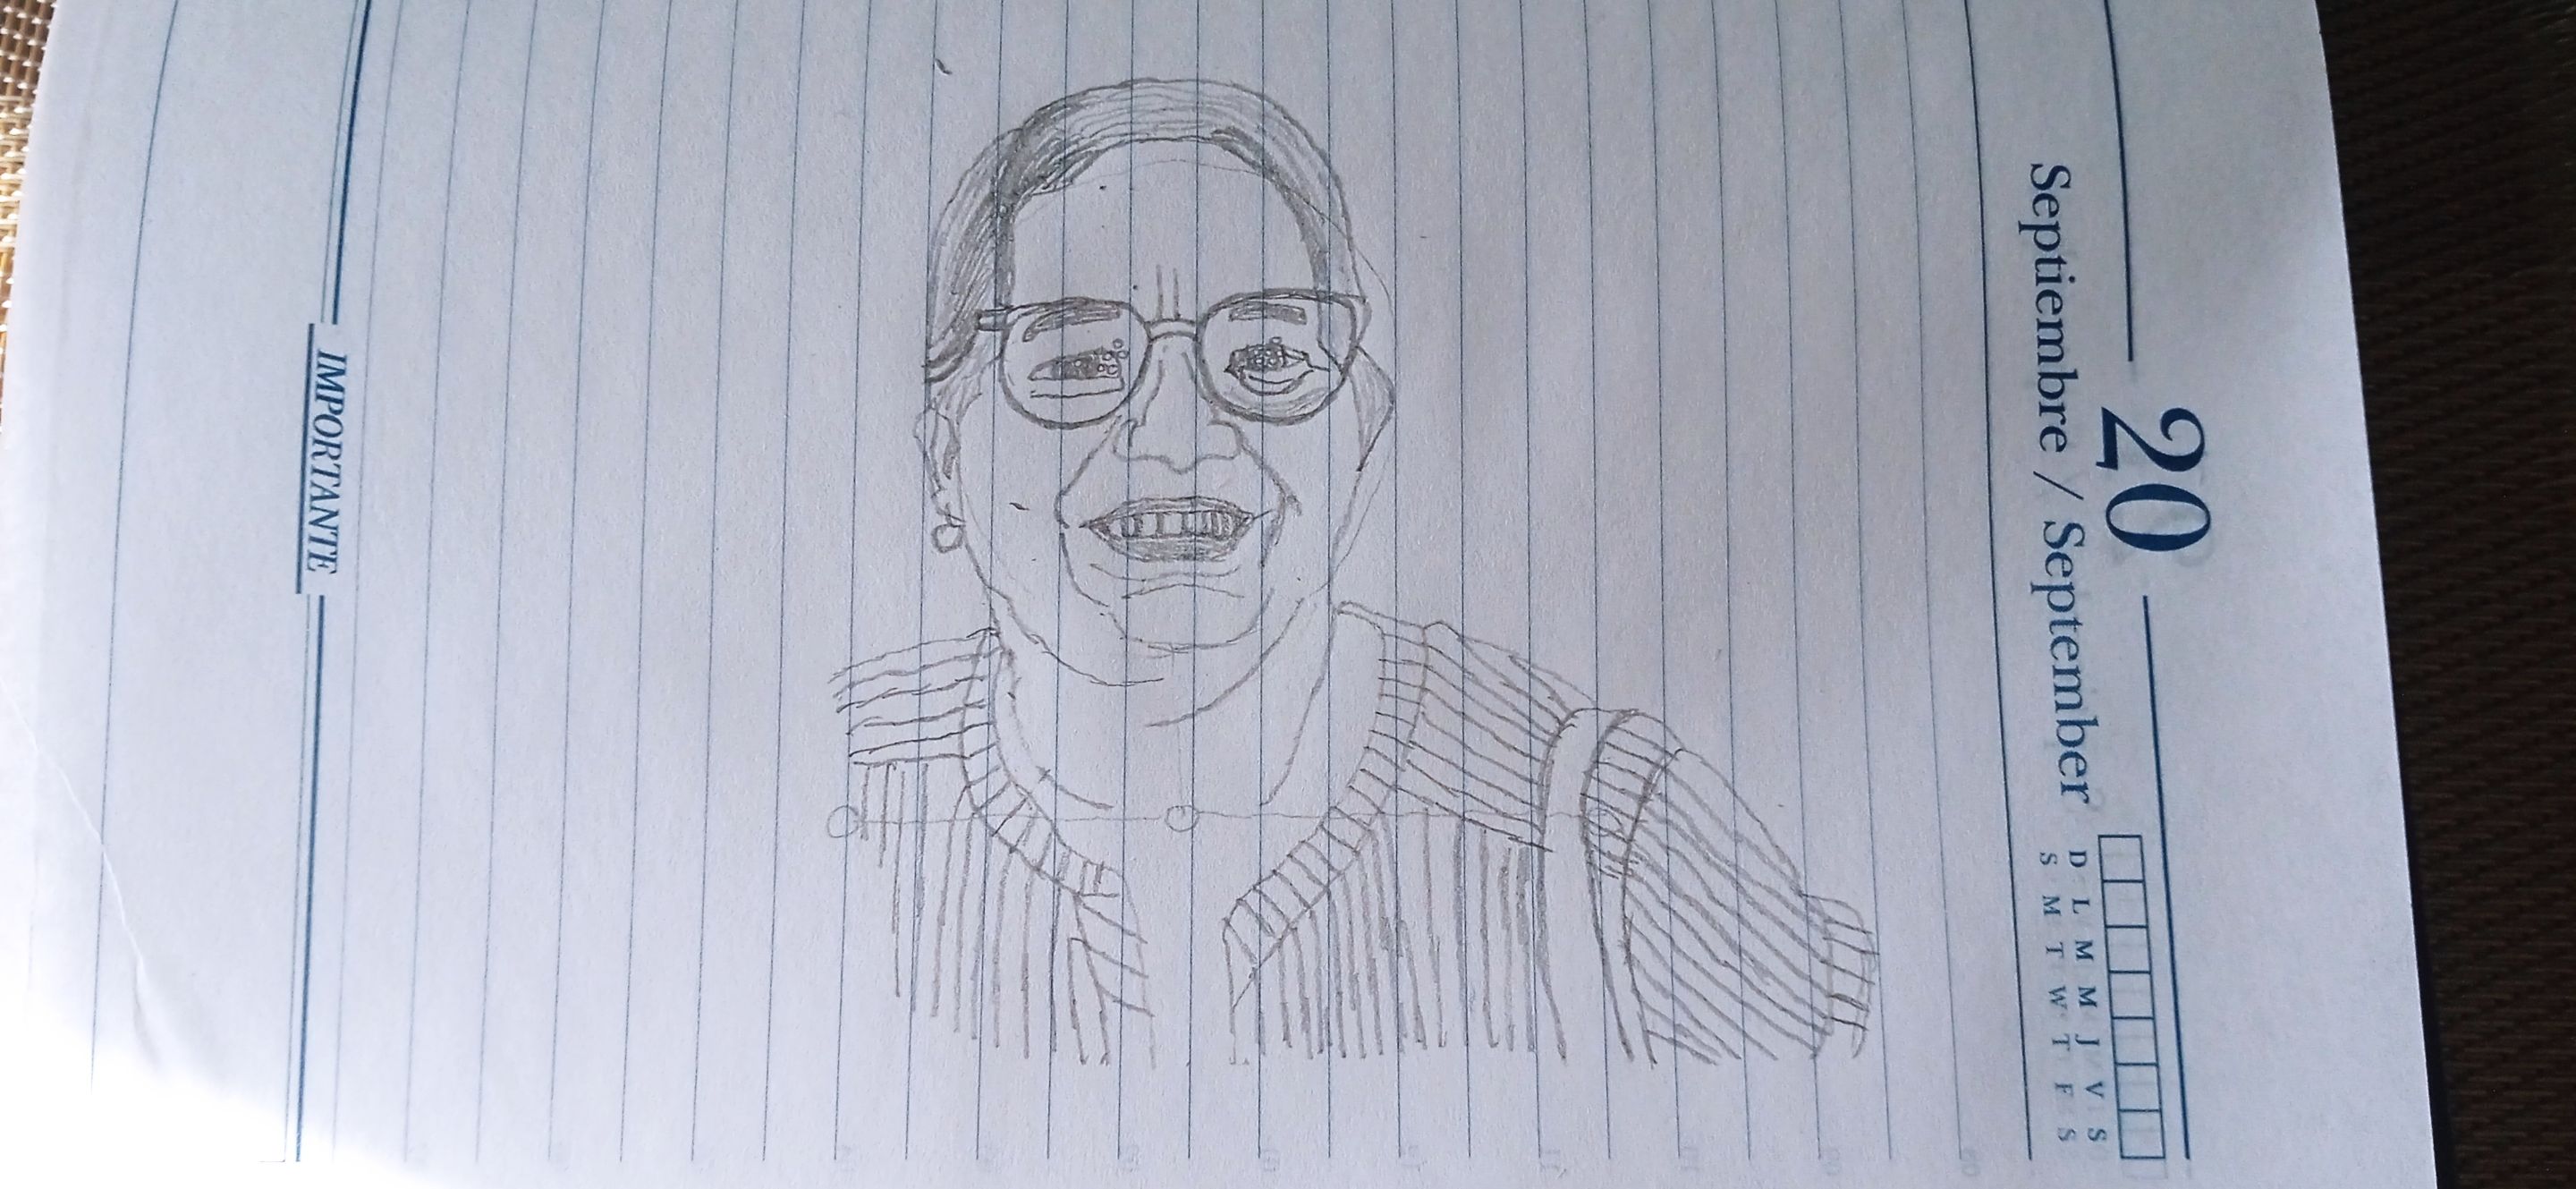 --- **Paso 6.** 🖊️ Por último, **firma tu dibujo** con el lápiz.  --- ## ✅ ¡Y LISTO! Así es como quedó mi dibujo de mi querida tía Iris. 🖼️ --- ## 📸 La Fotografía de Referencia *Esta es la fotografía que dibujé.* 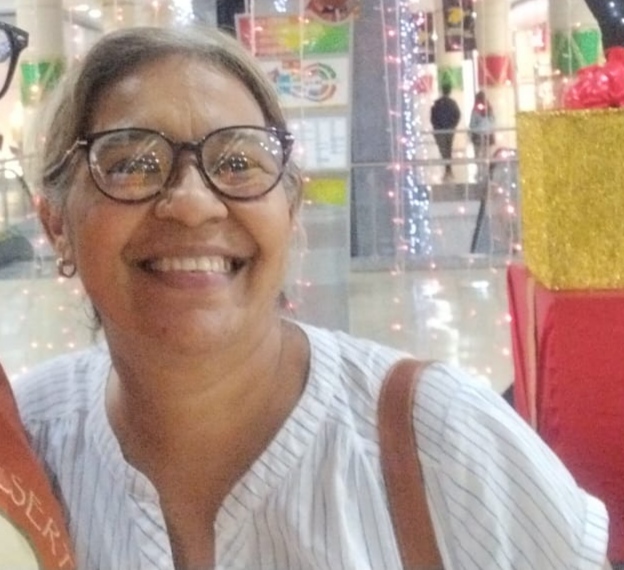 --- ## 📌 Reflexión Final ✨ Lo que he aprendido es que hay que **observar bien los tamaños y los toques** de cada parte de la fotografía o imagen que queremos dibujar. Luego, **practicar y tratar de copiar esos tamaños y toques**, pero lo más importante es **no rendirse**. Un **verdadero dibujante nunca se rinde**. Hay que tener **paciencia, calma, paz, tranquilidad y tiempo** para lograr que algo nos quede parecido. --- ## 🙏 ¡Gracias por leer! Eso es todo. Espero que les haya gustado mi post y con **paciencia, calma, paz, tranquilidad y tiempo** estaré esperando sus **votaciones** y sus **comentarios o respuestas**. 📝✨ # 🎨📝 How to Make a Pencil Drawing of My Aunt Iris' Face ✏️✨ --- ## 👋 Greetings, friends from Hive! I'm **Roberto Antonio** and today I want to share with you some photos I took with my phone camera, showing **my own steps, style, and talent** on how I made a **pencil drawing of one of my aunts who loves and cares for me very much**.  Her name is **Iris**, and I want to tell you that I felt **happy, joyful, excited, and calm** while making this drawing. I'll show you what my aunt Iris looks like in a real photo and how my drawing turned out. I hope you like it very much and that with **patience, calmness, peace, tranquility, and time**, you can support me with many votes. 🙏✨ --- ## 📝 Step by Step: How I Made My Drawing 🎨 **Step 1.** ✏️ Use a pencil, it can be a drawing pencil or a regular one, to **draw a circle for the face** and **some guiding lines with small circles**.  --- **Step 2.** ✏️ Look at the size of the **shoulders, clothes, neck, face, hair, ear, glasses, and nose**. Then, **draw the shape of the shoulders, clothes, neck, face, hair, ear, glasses, nose, and the lines near the nose**.  --- **Step 3.** ✏️ Pay attention to the size of the **eyebrows, eyes, mouth, teeth, and the lines below the mouth**. Then, **draw the eyebrows, eyes, mouth, teeth, and the lines below the mouth**.  --- **Step 4.** ✏️ Observe the **light, dark, medium light, and medium dark touches** in the image and **shade them with the pencil accordingly**.  --- **Step 5.** 👕 Add the **details in the clothing**, as shown in the image, **paying close attention**.  --- **Step 6.** 🖊️ Finally, **sign your drawing** with your pencil.  --- ## ✅ And That’s It! That’s how my pencil drawing of my dear aunt Iris turned out. --- ## 📸 The Reference Photo *This is the photograph I drew.*  --- ## 📌 Final Thoughts ✨ What I’ve learned is that you have to **carefully observe the sizes and shading** of each part of the photo or image you want to draw. Then, **practice and try to match those sizes and touches**, but the most important thing is to **never give up**. A **true artist never quits**. You need **patience, calmness, peace, tranquility, and time** to achieve something that looks similar. --- ## 🙏 Thank You for Reading! That’s it. I hope you liked my post and with **patience, calmness, peace, tranquility, and time**, I’ll be waiting for your **votes and comments**. 📝✨
👍 takeru255, sawcraz.art, malos10, hendersonp, sayury, roadstories, lunaticpandora, wisejg, nayita238, tesmoforia, silher, sunsethunter, reinaldoverdu, vicent21, quorum4, melaniesaray, parauri, guerreroots, mafalda2018, ronaldjfs, amart29, indianapatt, franz54, anira.art, albaandreina, capybaraexchange, manclar, kyleana, elcomentador, yggdrasilwind, mey12, kimberlinhh, elisaday7, gislandpoetic, culebro, hive-125730, itzchemaya, razzi11, chelle0891, soylegionario, yris89, zeli, kombatvzla, cjmorillo, ushiro.snow, nane2004, alexstrike30, eliezerboyer, eniolaformula, lix.kogane, angi.arts, perezpetit12, frankches, fmbs25, zhanavic69, sorprendente, santiagolaw, yeceniacarolina, perazart, fulani, veronik28dic, maleidamarcano, daniel2001, helengutier2, jennyzer, elamaria, graciel-chan, ineyashami, ivannap, sarix, gardenofcarmen, krommus, cryptosharon, sandracabrera, roadstories.trib, hiveshout, magnacarta, sannae.art, yacobh, fragozar01, garybilbao, carmary, josewilchez, amjdancer, alandesign, atma.love, jesustiano, pablo1601, belkyscabrera,