SMRAZA Raspberry Pi case; modifying for the Rock 64
cryptocurrency·@scalextrix·
0.000 HBDSMRAZA Raspberry Pi case; modifying for the Rock 64
Recently I purchased a [Rock 64](https://steemit.com/cryptocurrency/@scalextrix/my-latest-toy-rock-64-single-board-computer) to host 4 blockchains and the associated wallets, specifically for #Gridcoin, #SolarCoin, #PinkCoin and #MannaBase. It was a bit of an experiment so I didnt buy a case. As the little fella was also going to be running #BOINC and be at 100% CPU load most of the time, I wanted some heat-sinks and some active cooling. The SMRAZA case seemed like a nice solution as it had everything for a very reasonable price. # Assembly The first clue that things might be a little tricky was that it came with an instruction manual.  You know a real manual with actual instructions in it. OK so we begin, its a case made of 9 plastic layers that all have to stack in a specific order, easy enough. Except remember this is a Raspberry Pi case, and I have a Rock 64, which is 99% the same, but differs in some specific ways. 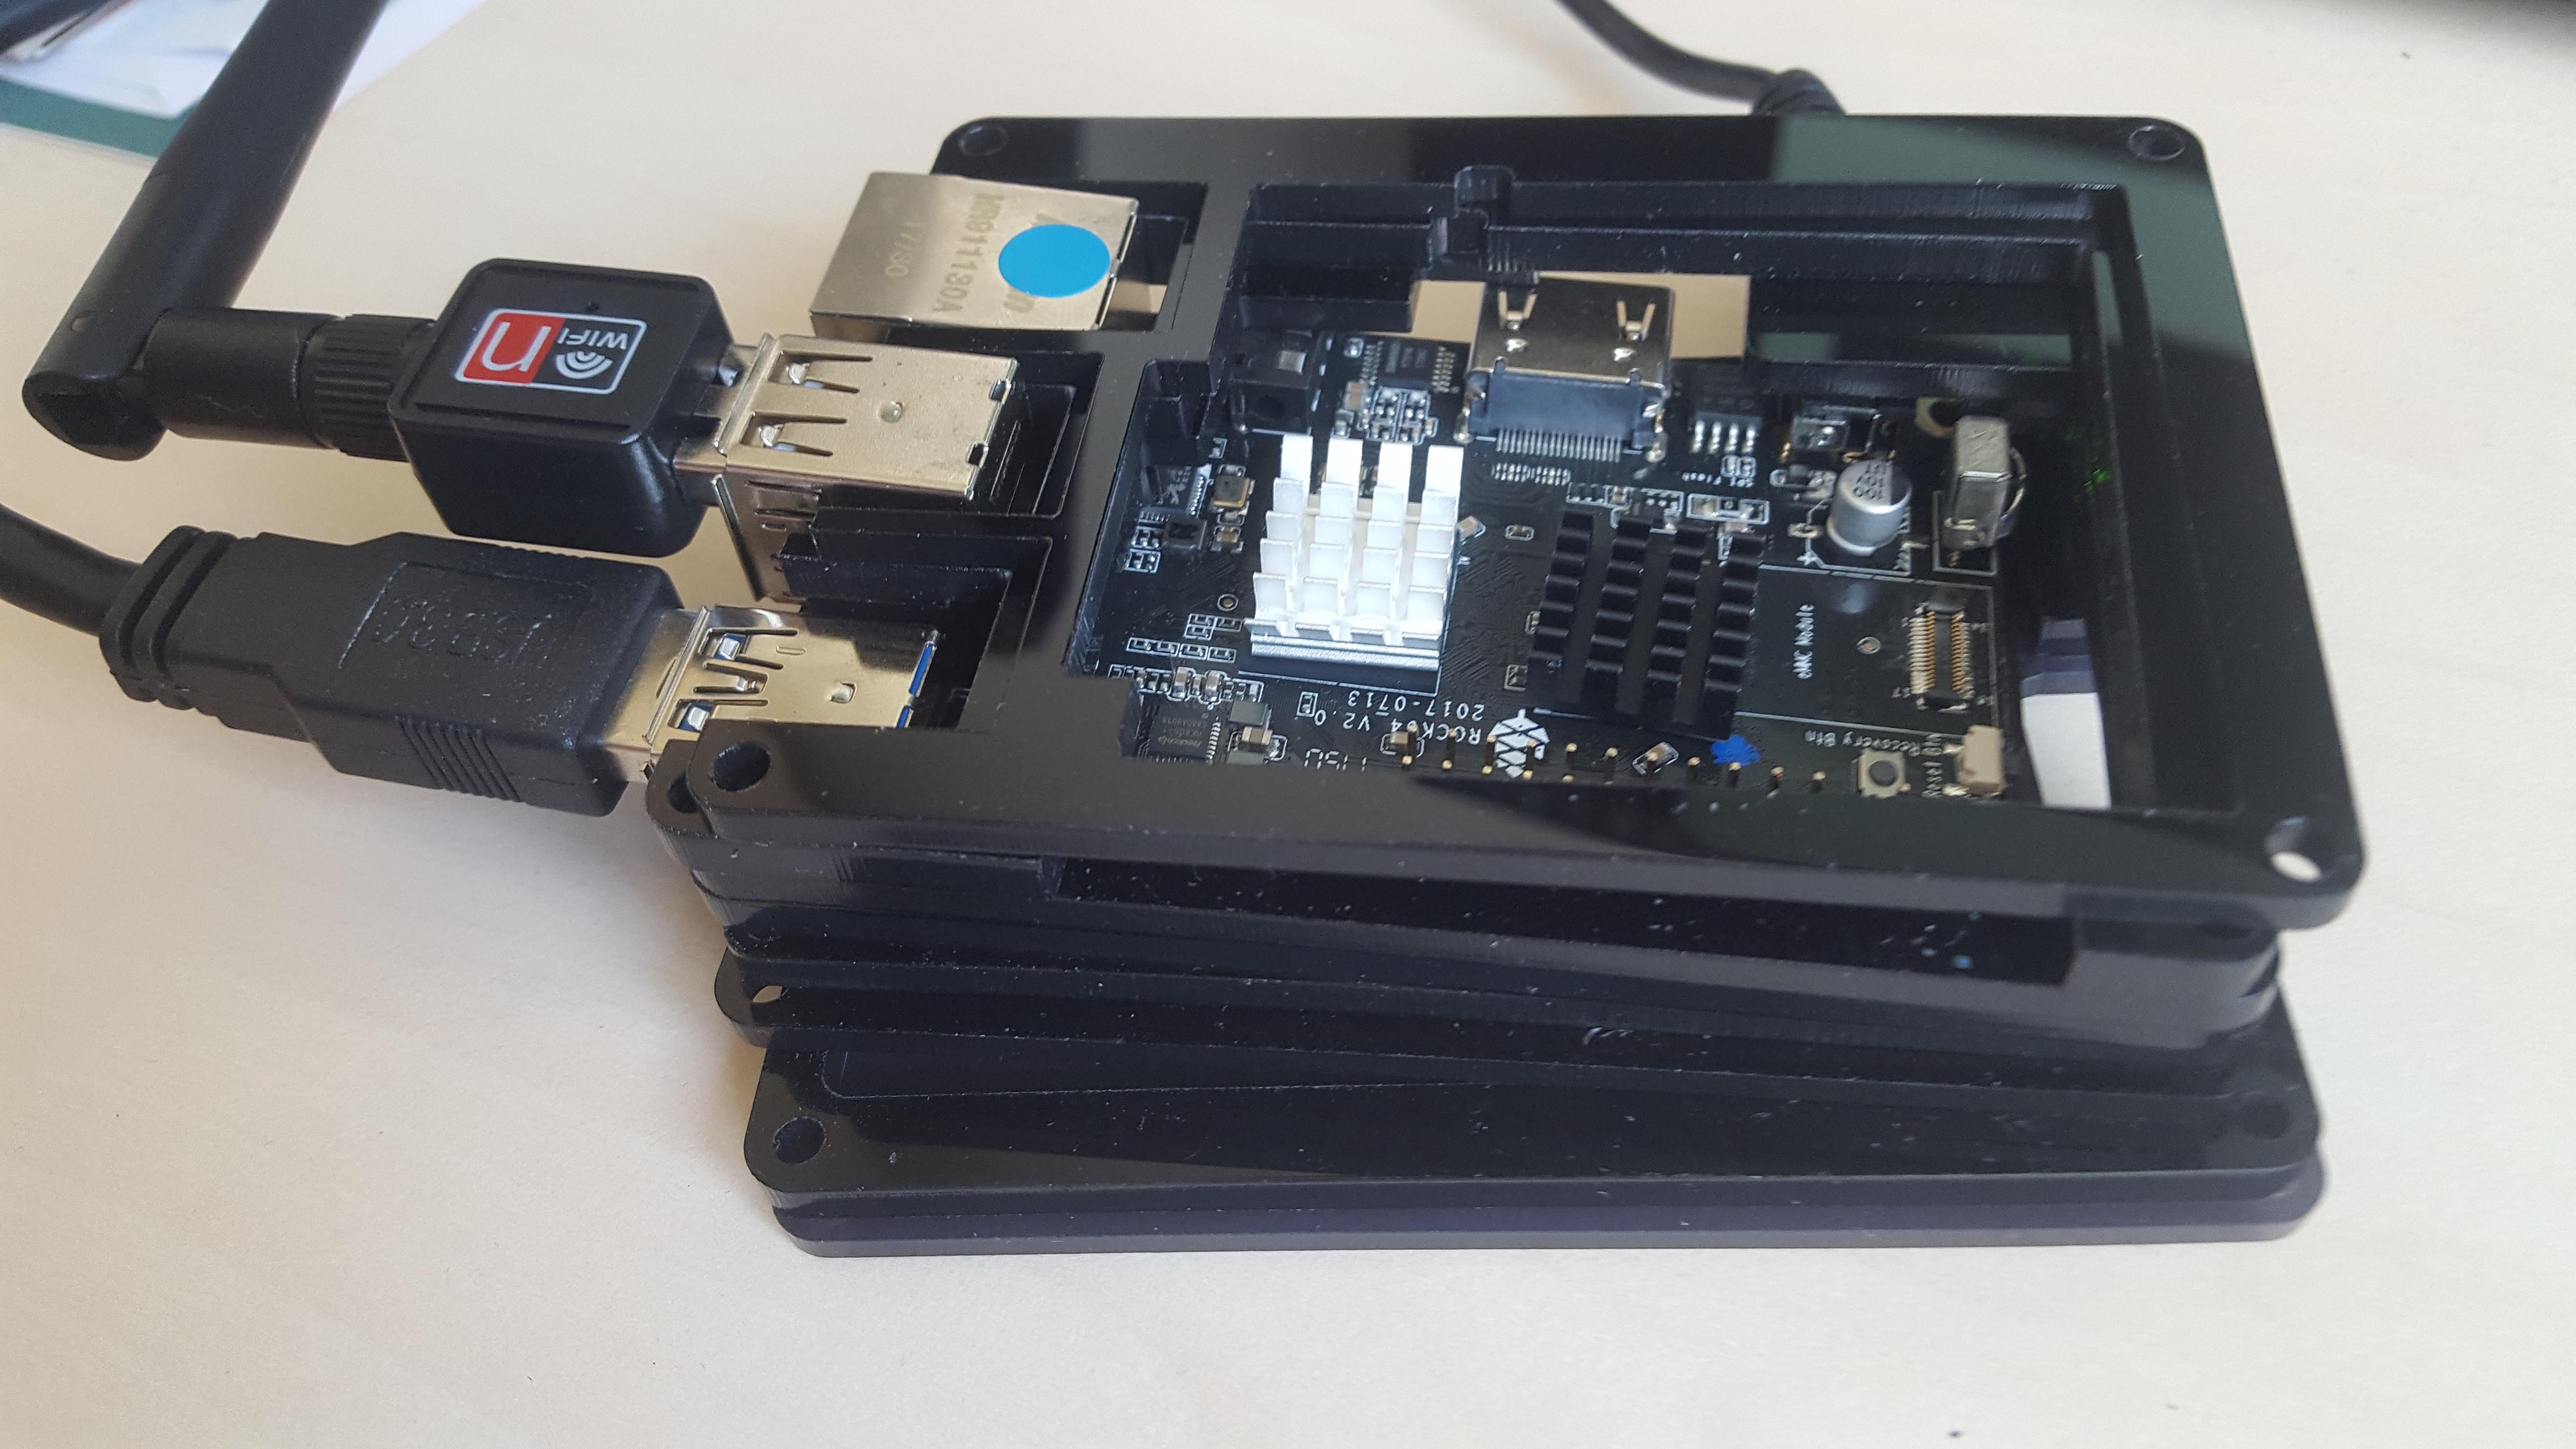 To say things wern't stacking up right (pun intended) would be an understatment, the pieces around the power connectors needed some 'adjustment', by which I mean after a trip to the garden shed they had been broken to the extent that they still existed, but only just: 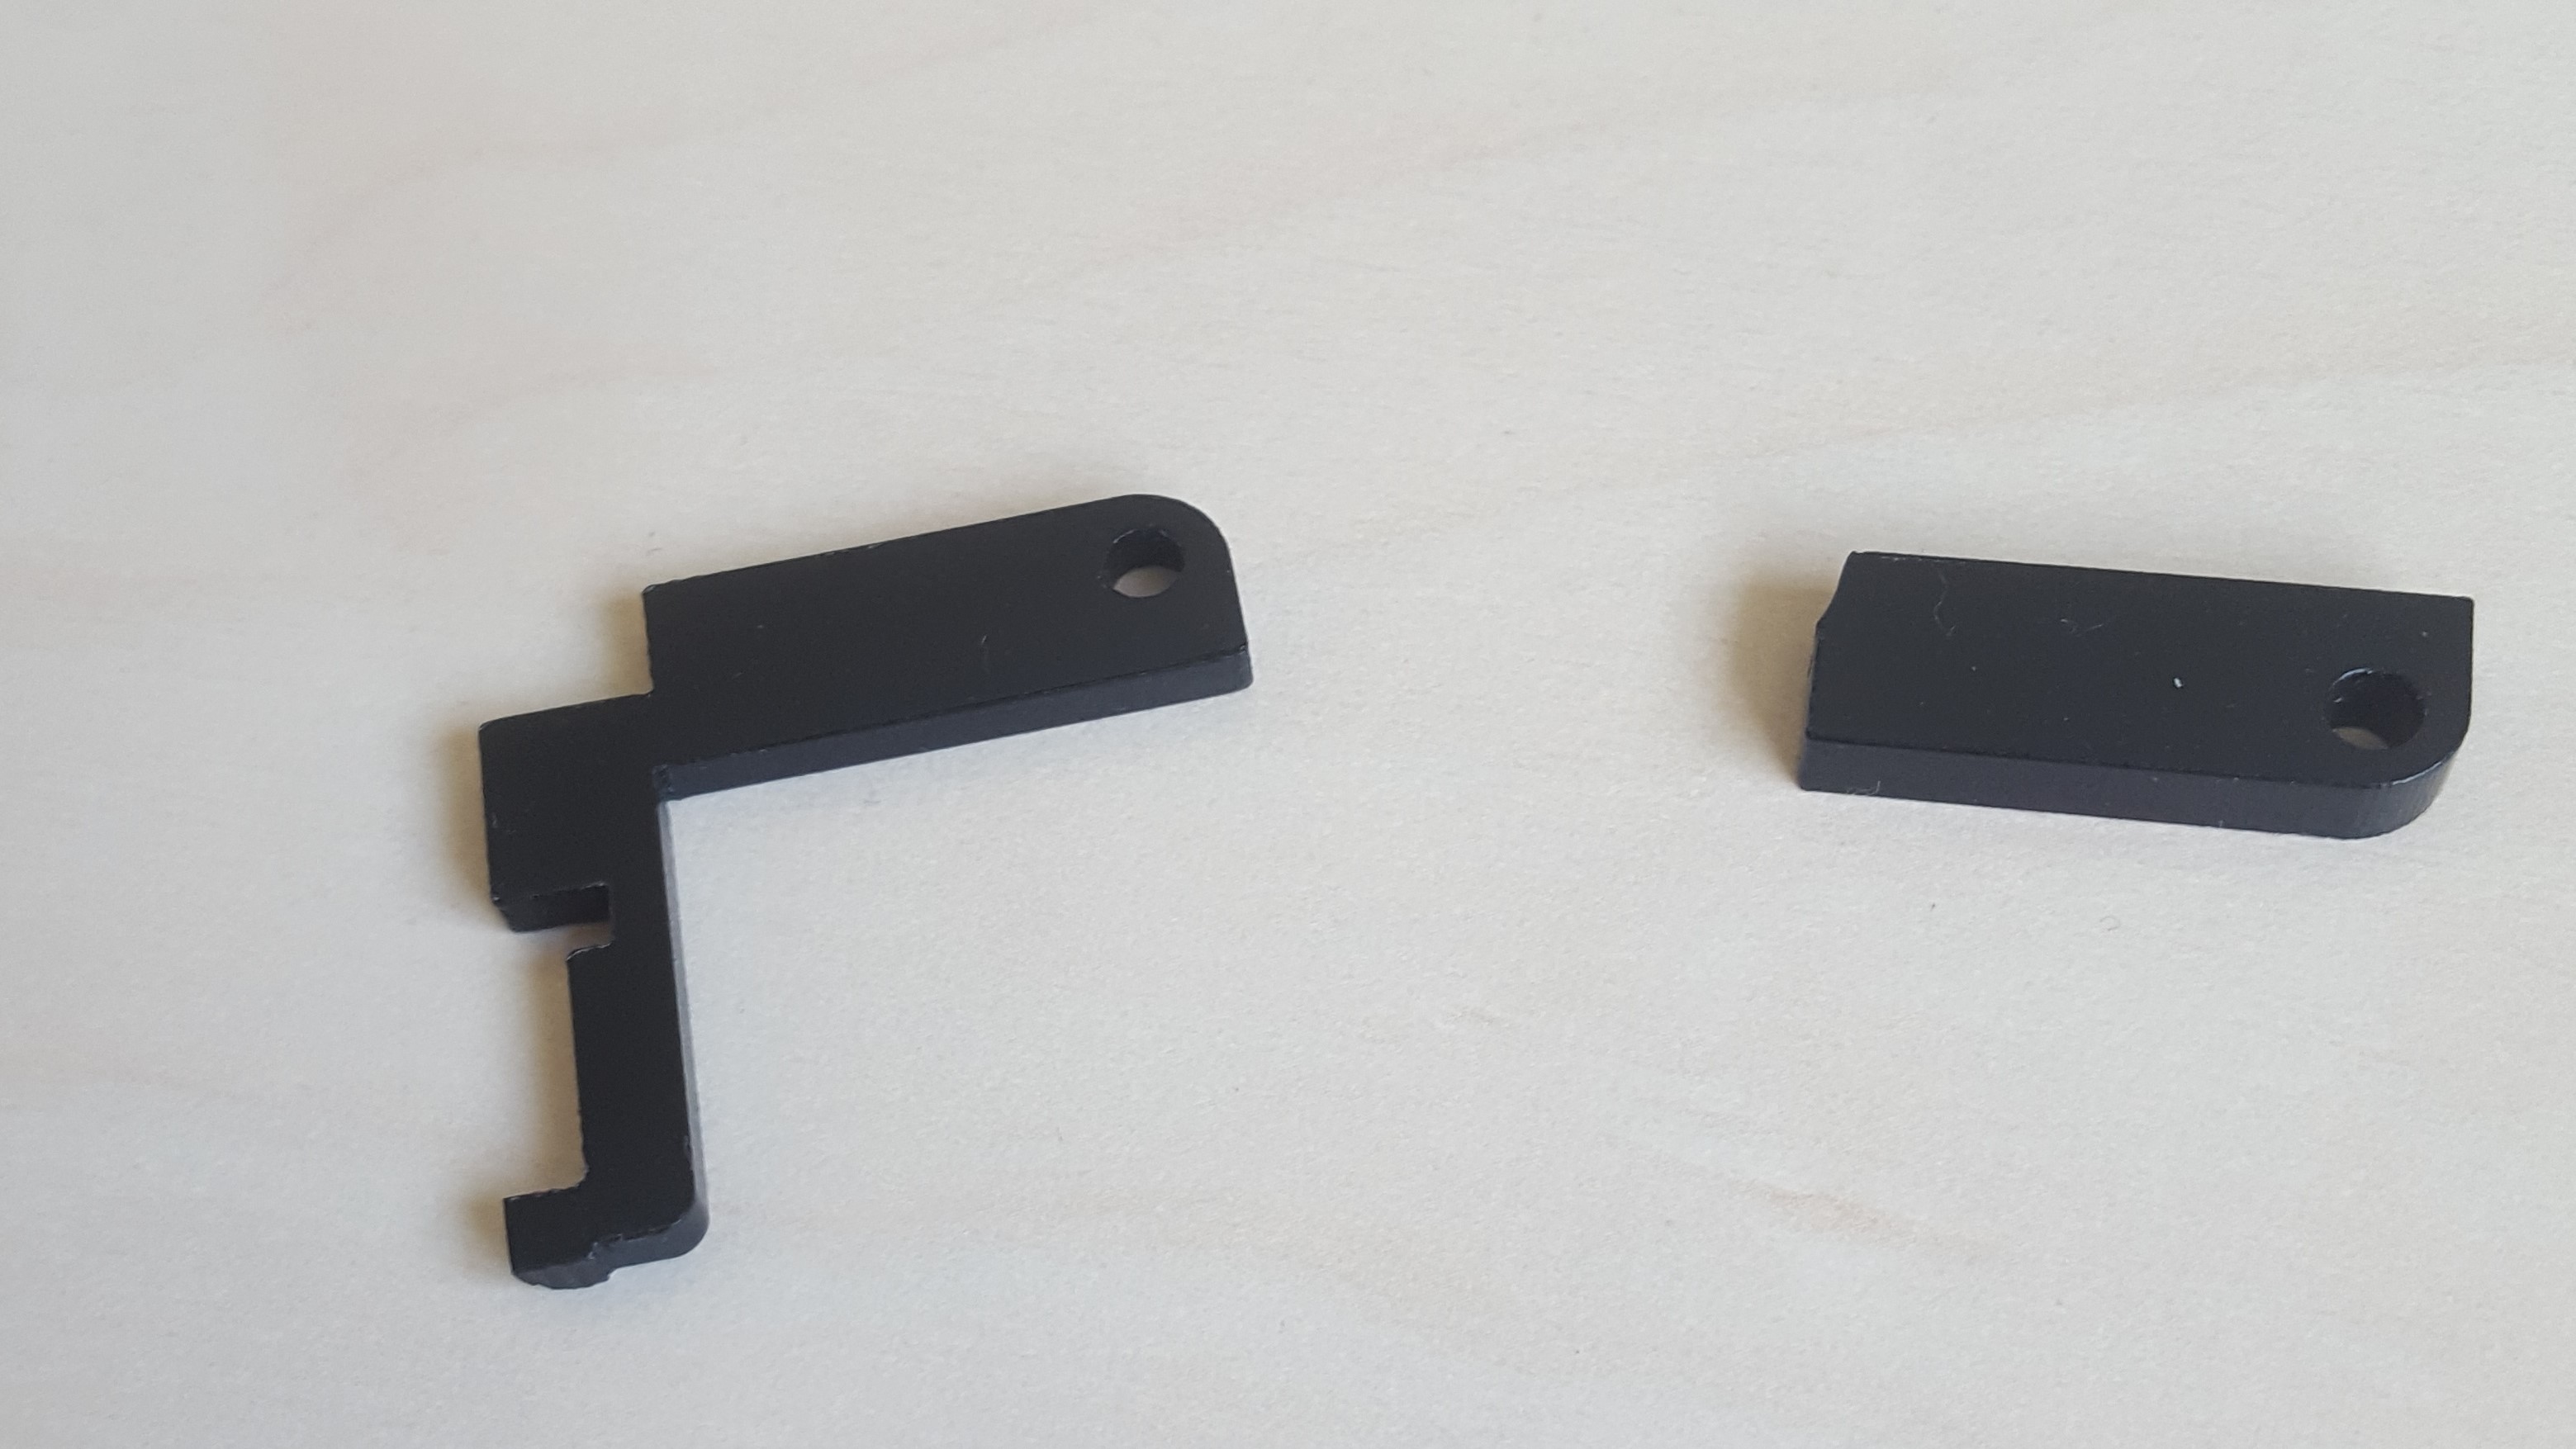 After this I needed to assemble the fan with the top cover:  Then plug the fan in to the GPIO power pins, there are two options, either 3.3volt which is slower fan speed and quiter or 5volt which is faster and a little more noise. After testing the 3.3volt was utterly silent, and the 5volt was still whisper quiet, so its a pretty decent little fan (I had some really noisey ones before): 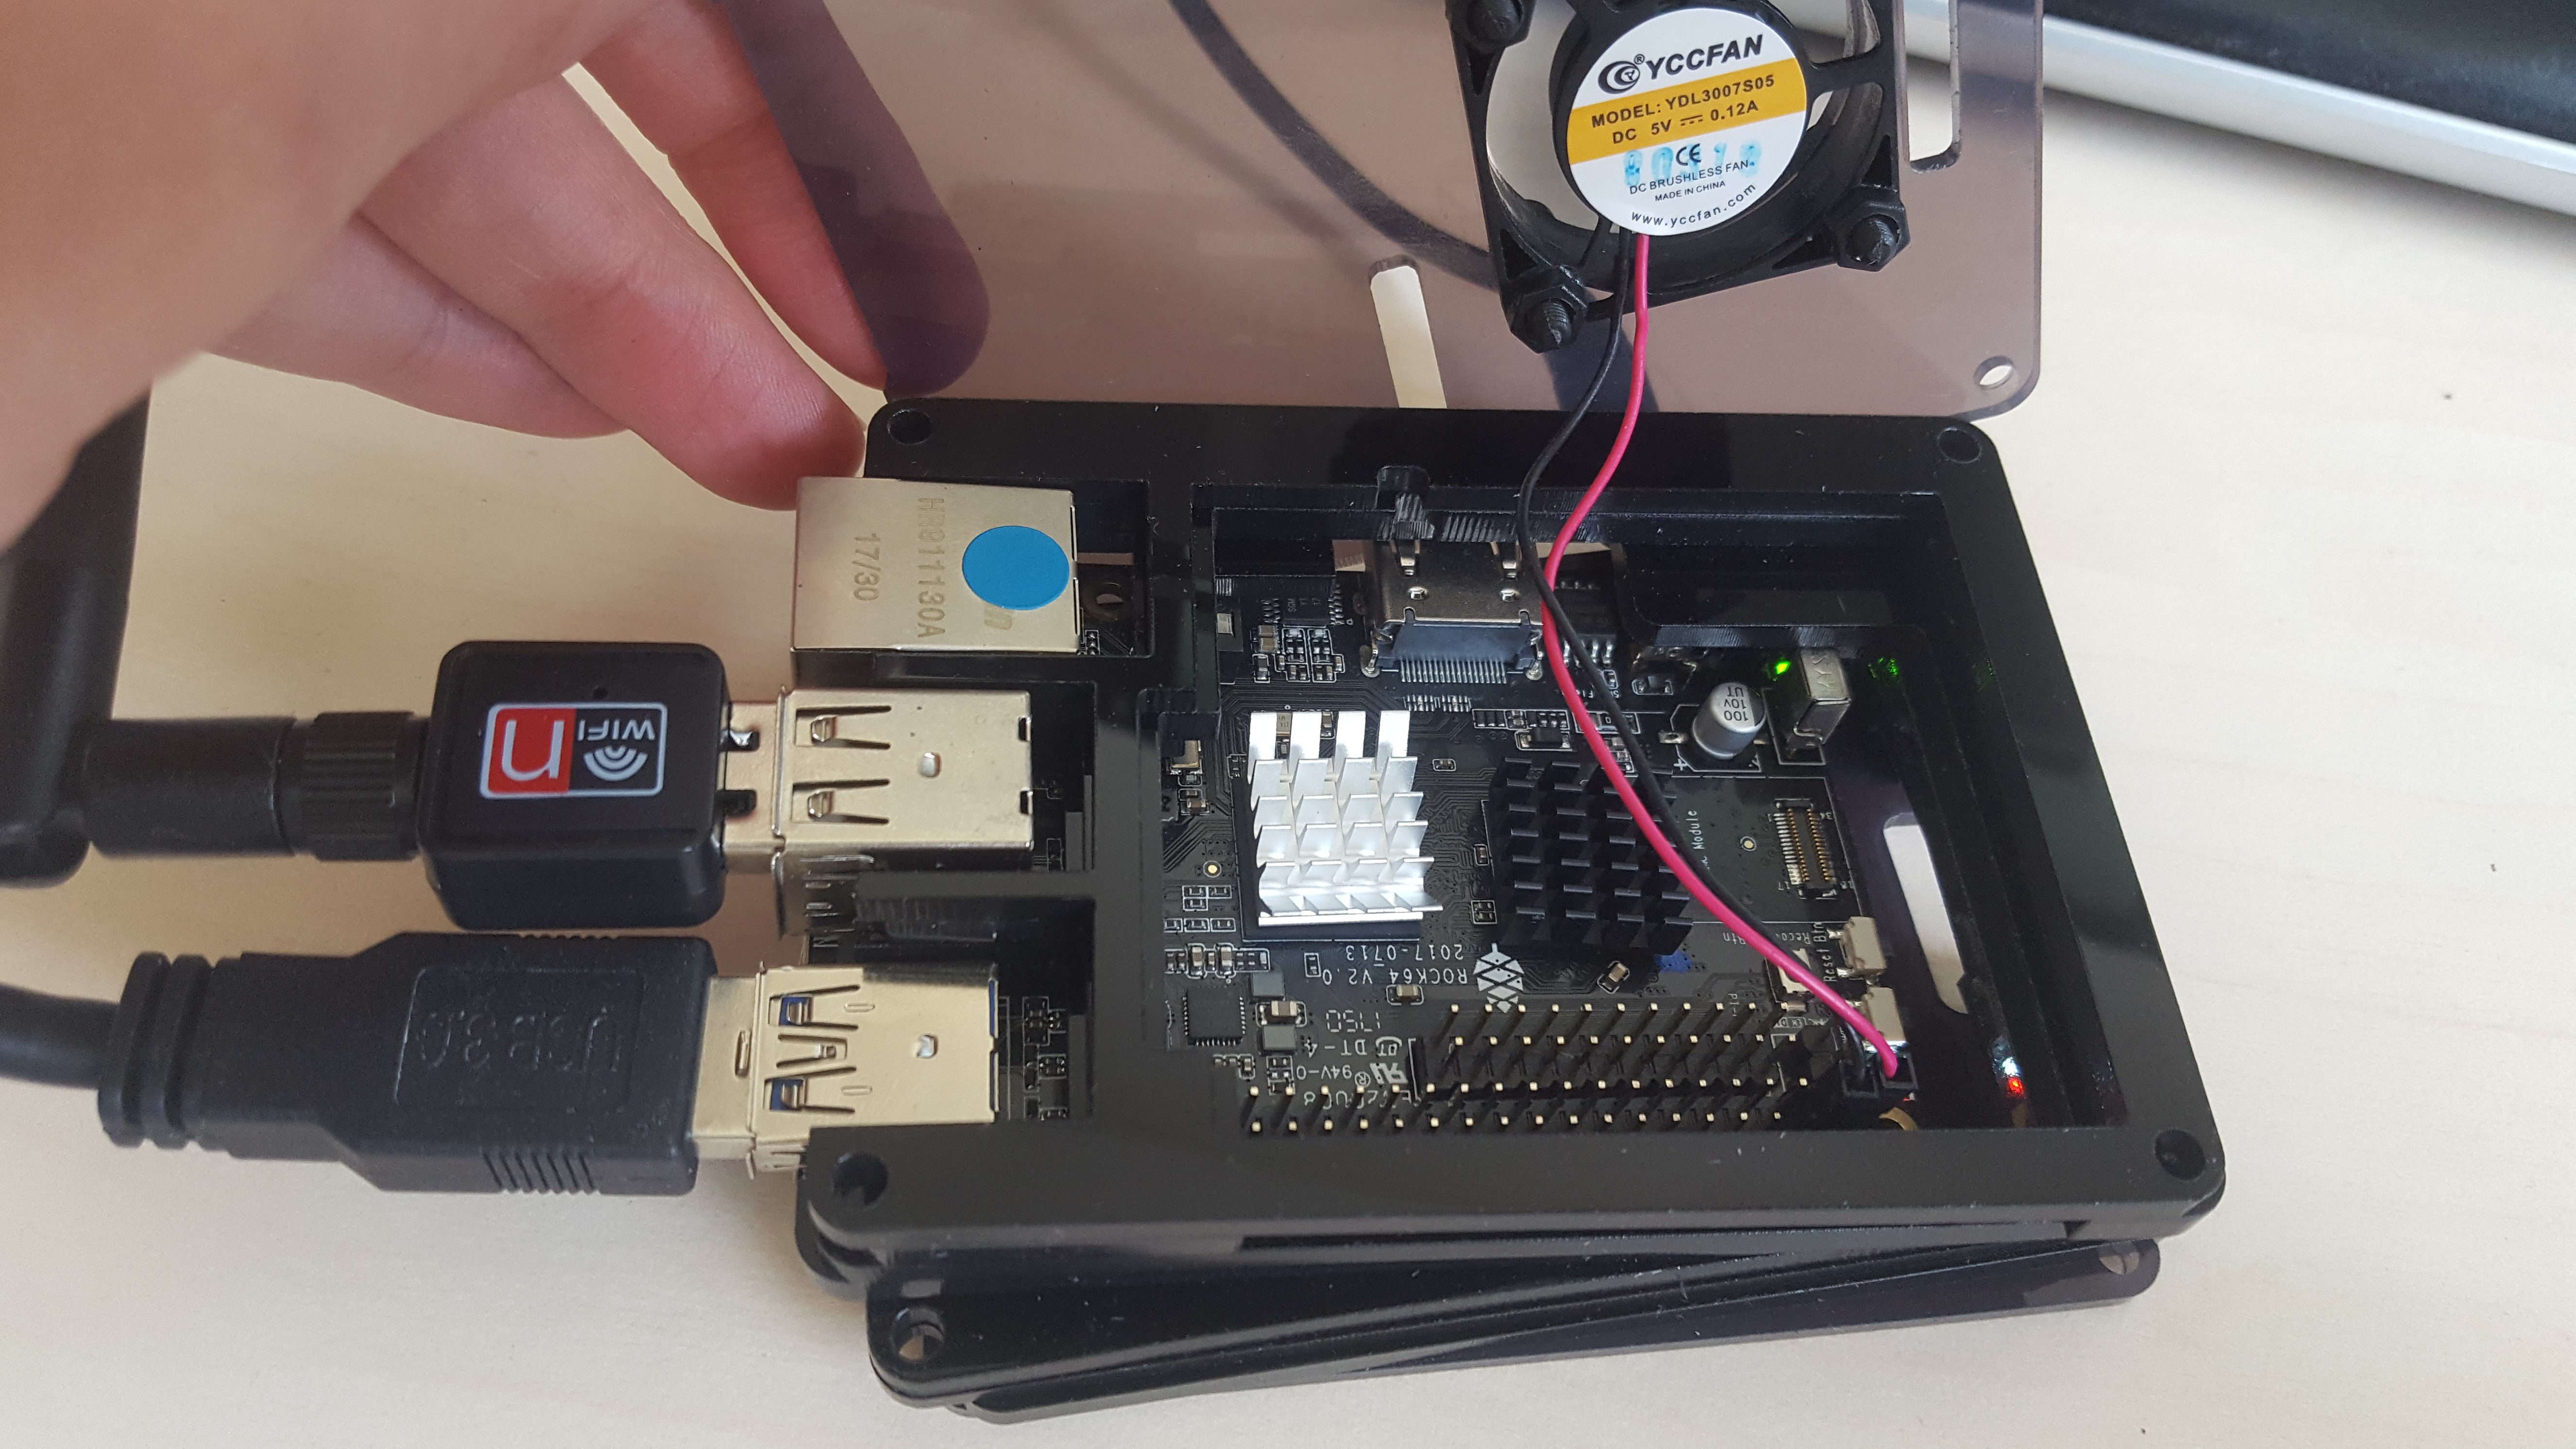 Then just some final assembly, inserting the corner screws and nuts, plugging in peripherals and its all done: 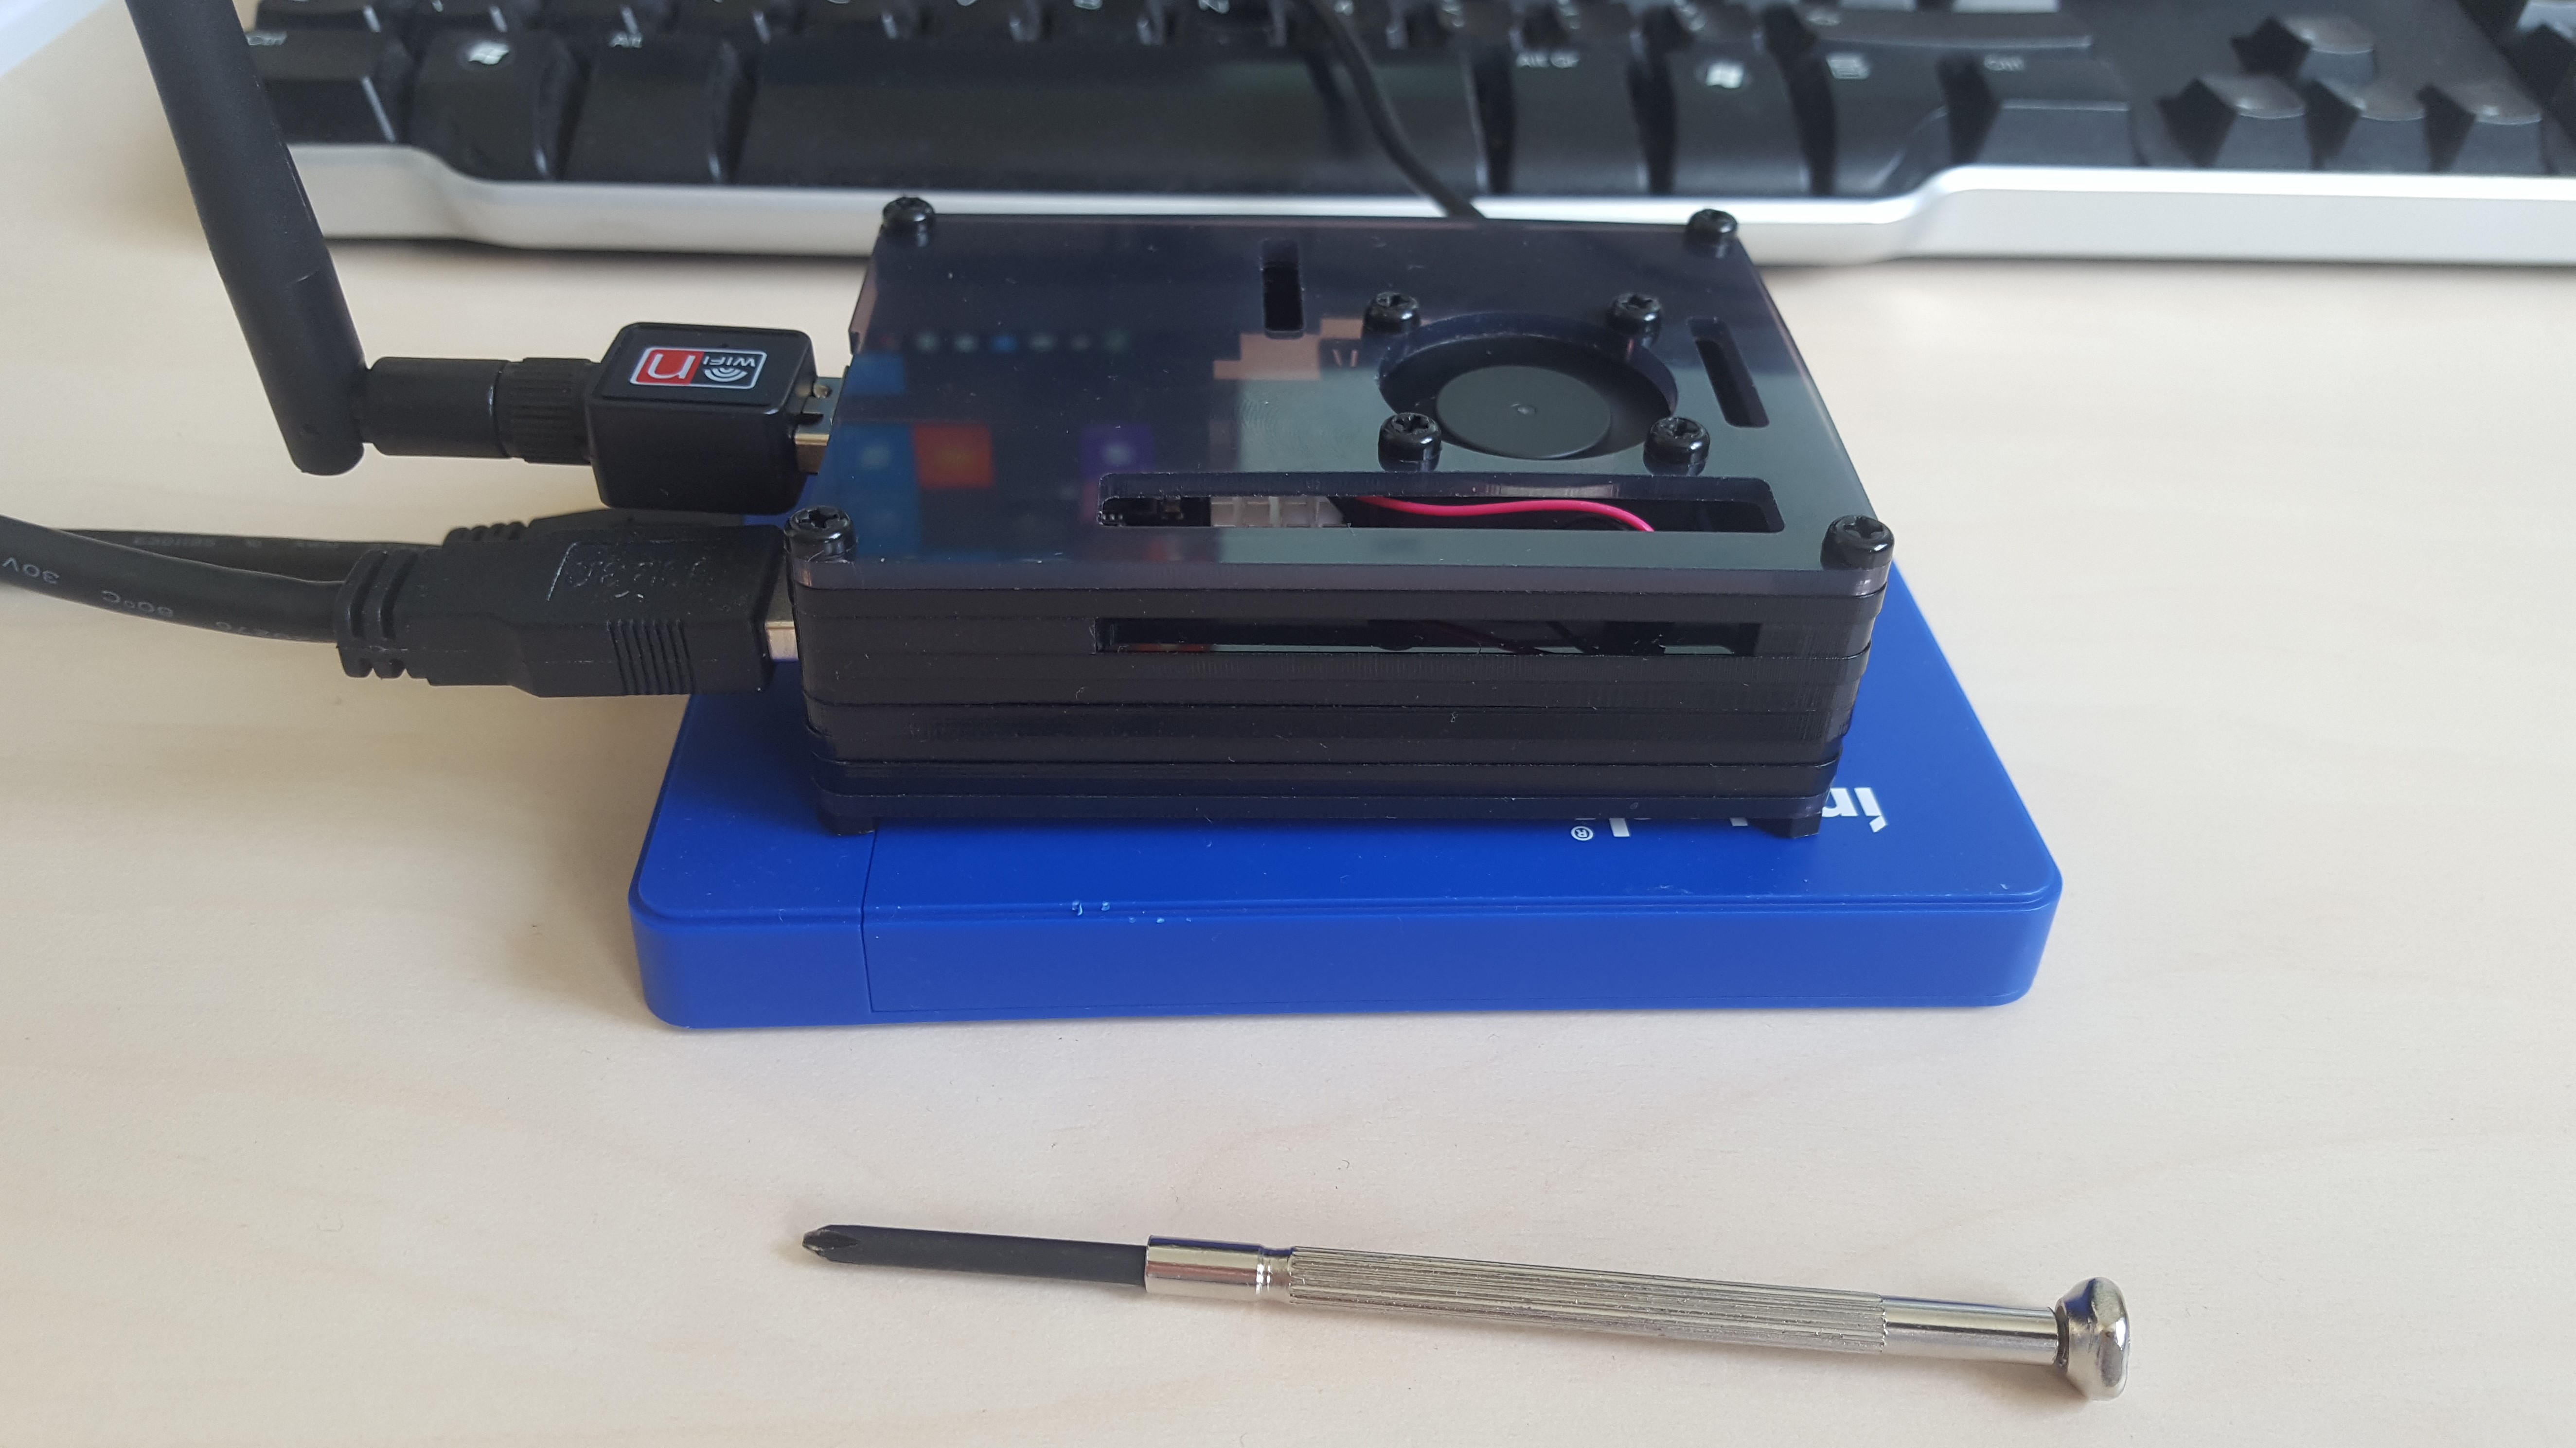 # Verdict The case elements are all unique, so following instructions is easy. The plastic is quite brittle though, I was lucky in the way the parts broke, I was trying to cut them by hand but with little success. However the final construction is sturdy, seems to have good airflow and the fan is quiet. Still I had easier cases to use for Raspberry Pis, and drilling a hole in the top to add a fan isn't much harder than modifying this case to fit the Rock 64. I'd give the experience 7/10
👍 theissen, nuad01, lablockchain, sc-steemit, dick.sledge, moisesmcardona, mursielago, hyatographic, sodom, kryptokt, steevc, barton26, grider123, steemgridcoin, gregan, steemmakers, shaunmza, pbock, thatsweeneyguy, jefpatat, drmake, aussieninja, kaking, flash4yard, tibfox, electricswine, menandyjose, podanrj, salvadorcrg, dmxmaster, hotbit, alexmaksto, donkeykong9000, jimbo88, vortac, techtek, nathanielcwm, guk, scalextrix, ilikechocolate,