How I Self-Published My First Book of Poetry - Part 3 - Designing the Cover of Your Book
books·@sgtechservices·
0.000 HBDHow I Self-Published My First Book of Poetry - Part 3 - Designing the Cover of Your Book
<center> </center> [Click for part 1 of the tutorial](https://steemit.com/books/@sgtechservices/how-i-self-published-my-first-book-of-poetry-part-1-getting-started-and-buy-my-book-with-steem) [Click for part 2 of the tutorial](https://steemit.com/books/@sgtechservices/how-i-self-published-my-first-book-of-poetry-part-2-designing-the-interior-of-your-book) In this post, I am going to show you how to design the cover of your book. Create Space makes it very easy to create your cover either by uploading your own design or by using their cover creator. For my first book, I used the cover creator and it turned out nicely. You do have more control over the cover if you create it and upload it yourself, but you also have to do more work to ensure that the cover is the right size and design for your book. Let's get started. Log in to your Create Space account and click on the title of your book just as we did to begin the last lesson. This time, we are going to click on Cover. Remember, you can go back and review any of the steps that you've already completed at any time you want. 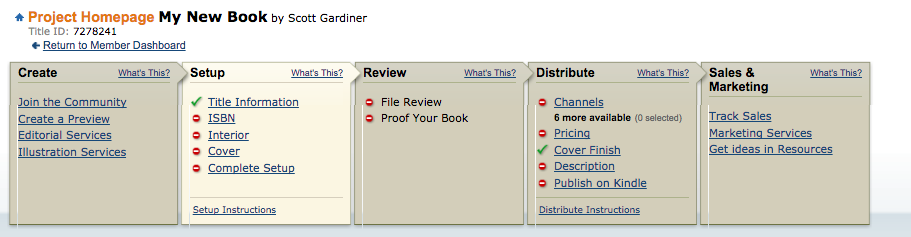 Our first choice is a Matte or Glossy cover. This is all down to personal preference. I chose a glossy cover for my first book and it looks nice. For my next book, I might choose matte just for the sake of comparison. For this example, I will choose matte.  Now comes the big decision. We now have to decide if we will build our cover online, hire a designer, or upload a print ready PDF. We're going to ignore the option to hire a designer because the purpose of this series is to do it yourself. First I will select Upload a Print Ready PDF, although we won't actually be doing that I want to show you how it works. 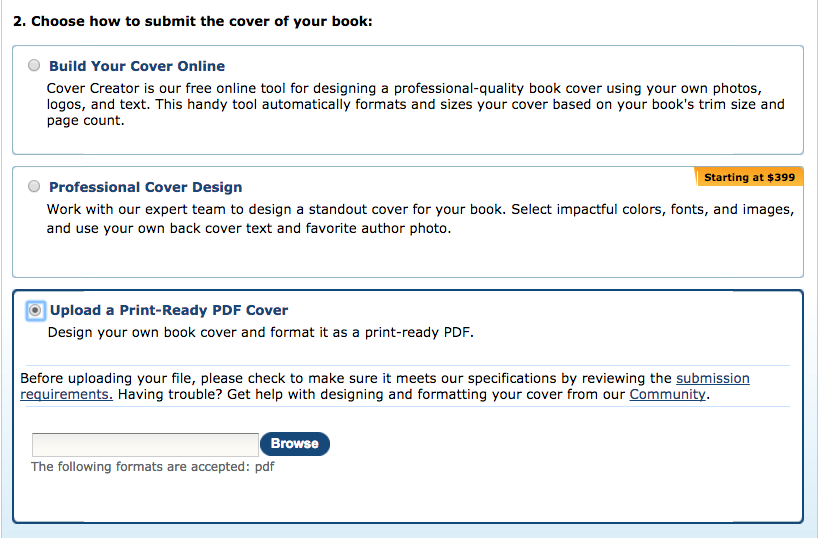 As you can see, all you have to do is select a PDF file from your computer to upload. The reason I wanted to show this to you is to highlight the link to view the submission requirements. This is a very important read because if you do design your own cover and fail to ensure that it matches Create Space's requirements it can either be rejected, or it will not end up looking good at all. If you are going this route make sure that you READ THE SUBMISSION REQUIREMENTS. Now that we have that out of the way, let's choose the option for building our cover online and click the Launch Cover Creator button so that we can begin building our cover. 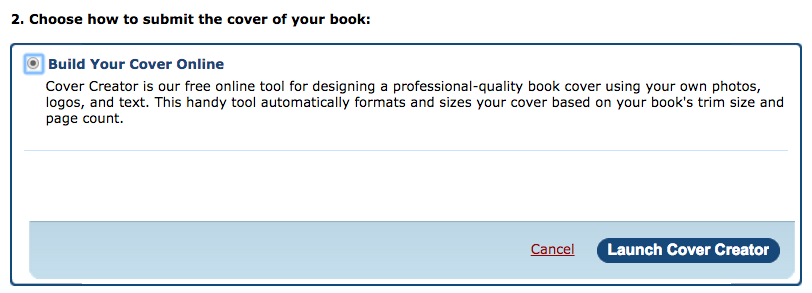 The cover creator should now have launched. The first choice we have is to choose a design. Much like this whole process you can go back and change your selections at any time, so don't be afraid to experiment. You can always change things later. I'm going to randomly choose a design from the 5 pages of options. Note: There may be more or fewer options depending on the design that you choose because some designs have different elements that others do not have. 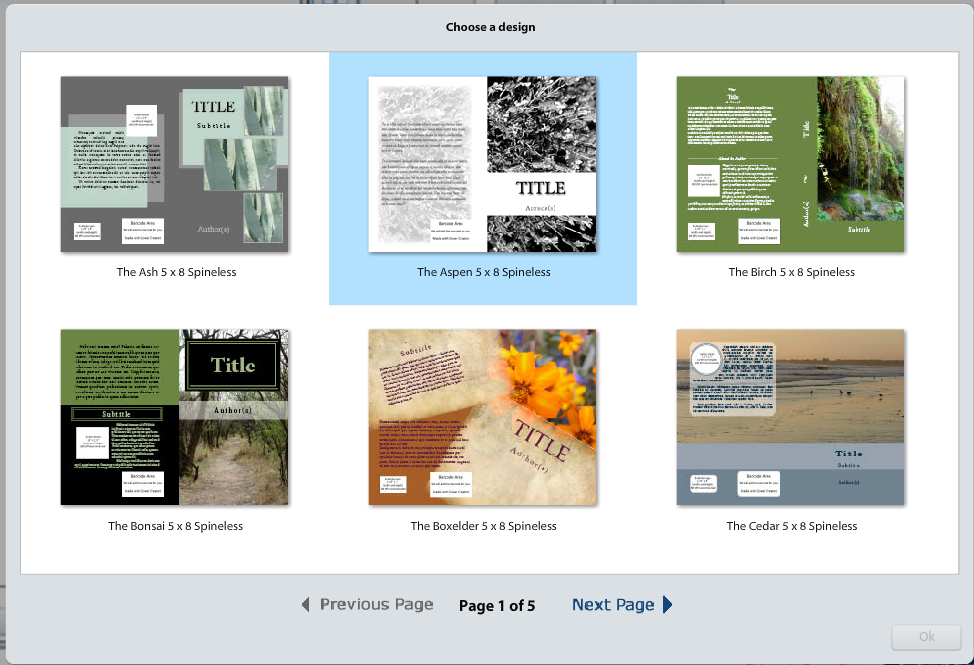 Now that we have chosen a design we can control all of the elements on the cover by utilising the options down the right. I'm not going to go through each option for the sake of brevity but I will point out a couple of the options that I think are the most important. 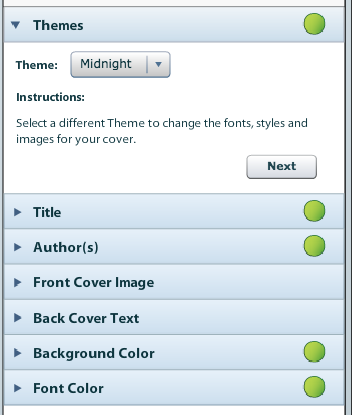 The front cover image option is to me one of the most important options. This is where you can select the image for your front cover. You can use one of Create Space's stock images, or you can upload one of your own. Make sure that if you do upload an image of your own that you have the rights to use that image. This is an incredibly important step because this is what people will see first when they see your book. 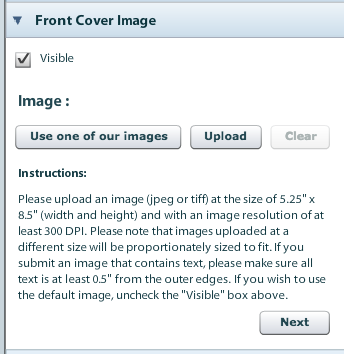 The other option that you should be aware of is the Change Design button at the bottom. If you create your cover and at any time decide you want to change it, simply click the Change Design button at the bottom. This will take you back to the first step where we chose our design. I would suggest trying a bunch of different designs and working with the different elements until you are CERTAIN that you are happy with your cover. When you are happy with your cover click on the Submit Cover button. Remember that this can still be changed even after you submit the cover.  I hope you enjoyed this post. Stay tuned for the most post in this tutorial series in a couple days. [Click for part 1 of the tutorial](https://steemit.com/books/@sgtechservices/how-i-self-published-my-first-book-of-poetry-part-1-getting-started-and-buy-my-book-with-steem) [Click for part 2 of the tutorial](https://steemit.com/books/@sgtechservices/how-i-self-published-my-first-book-of-poetry-part-2-designing-the-interior-of-your-book) --- Images are my own or screenshots. <center>https://img1.steemit.com/0x0/http://i.imgsafe.org/4682da34af.jpg</center> <center>I am Scott. I write poetry and lyrics and sometimes I write about life. Please upvote and follow. I always follow back. : **To buy an ebook please send me what you think the book is worth to you in Steem or SBD and send your email address in the memo and I will send you a PDF version of the book.**
👍 sgtechservices, ericvancewalton, strangerarray, michaellamden68, ekwedavid, teutorigos, dontstopmenow, pressurepointau, preparedwombat, sflaherty, czechmate, ukrainian, fahimmuktadir, robyneggs, tfeldman, inrhya, asksisk, crisgojar, adilsontsilva, exyle, awakealiveaware, ronneda, canadian-coconut, mandibil, shauna27, sammosk, wallacemom, kurtcorthout, museofthelake, pulpworx, kalimor, seattlesal, abir20129,