Sand Casting Skeleton Keys with Hot Glass (Tutorial)
art·@spc·
0.000 HBDSand Casting Skeleton Keys with Hot Glass (Tutorial)
**Sand Casting:** Sand casting is the process of pouring molten substances into a bed of sand which contains the imprinted negative of desired object. In this case, the substance being poured is molten glass and the objects being casted are a collection of skeleton keys. The process leaves you with a block of glass with the positive of the imprinted object. In theory you can cut away all excess glass and have just the positive, but as this is an art piece and for practical purposes I chose to let the block of glass frame the positive and remain. **The Final Products** 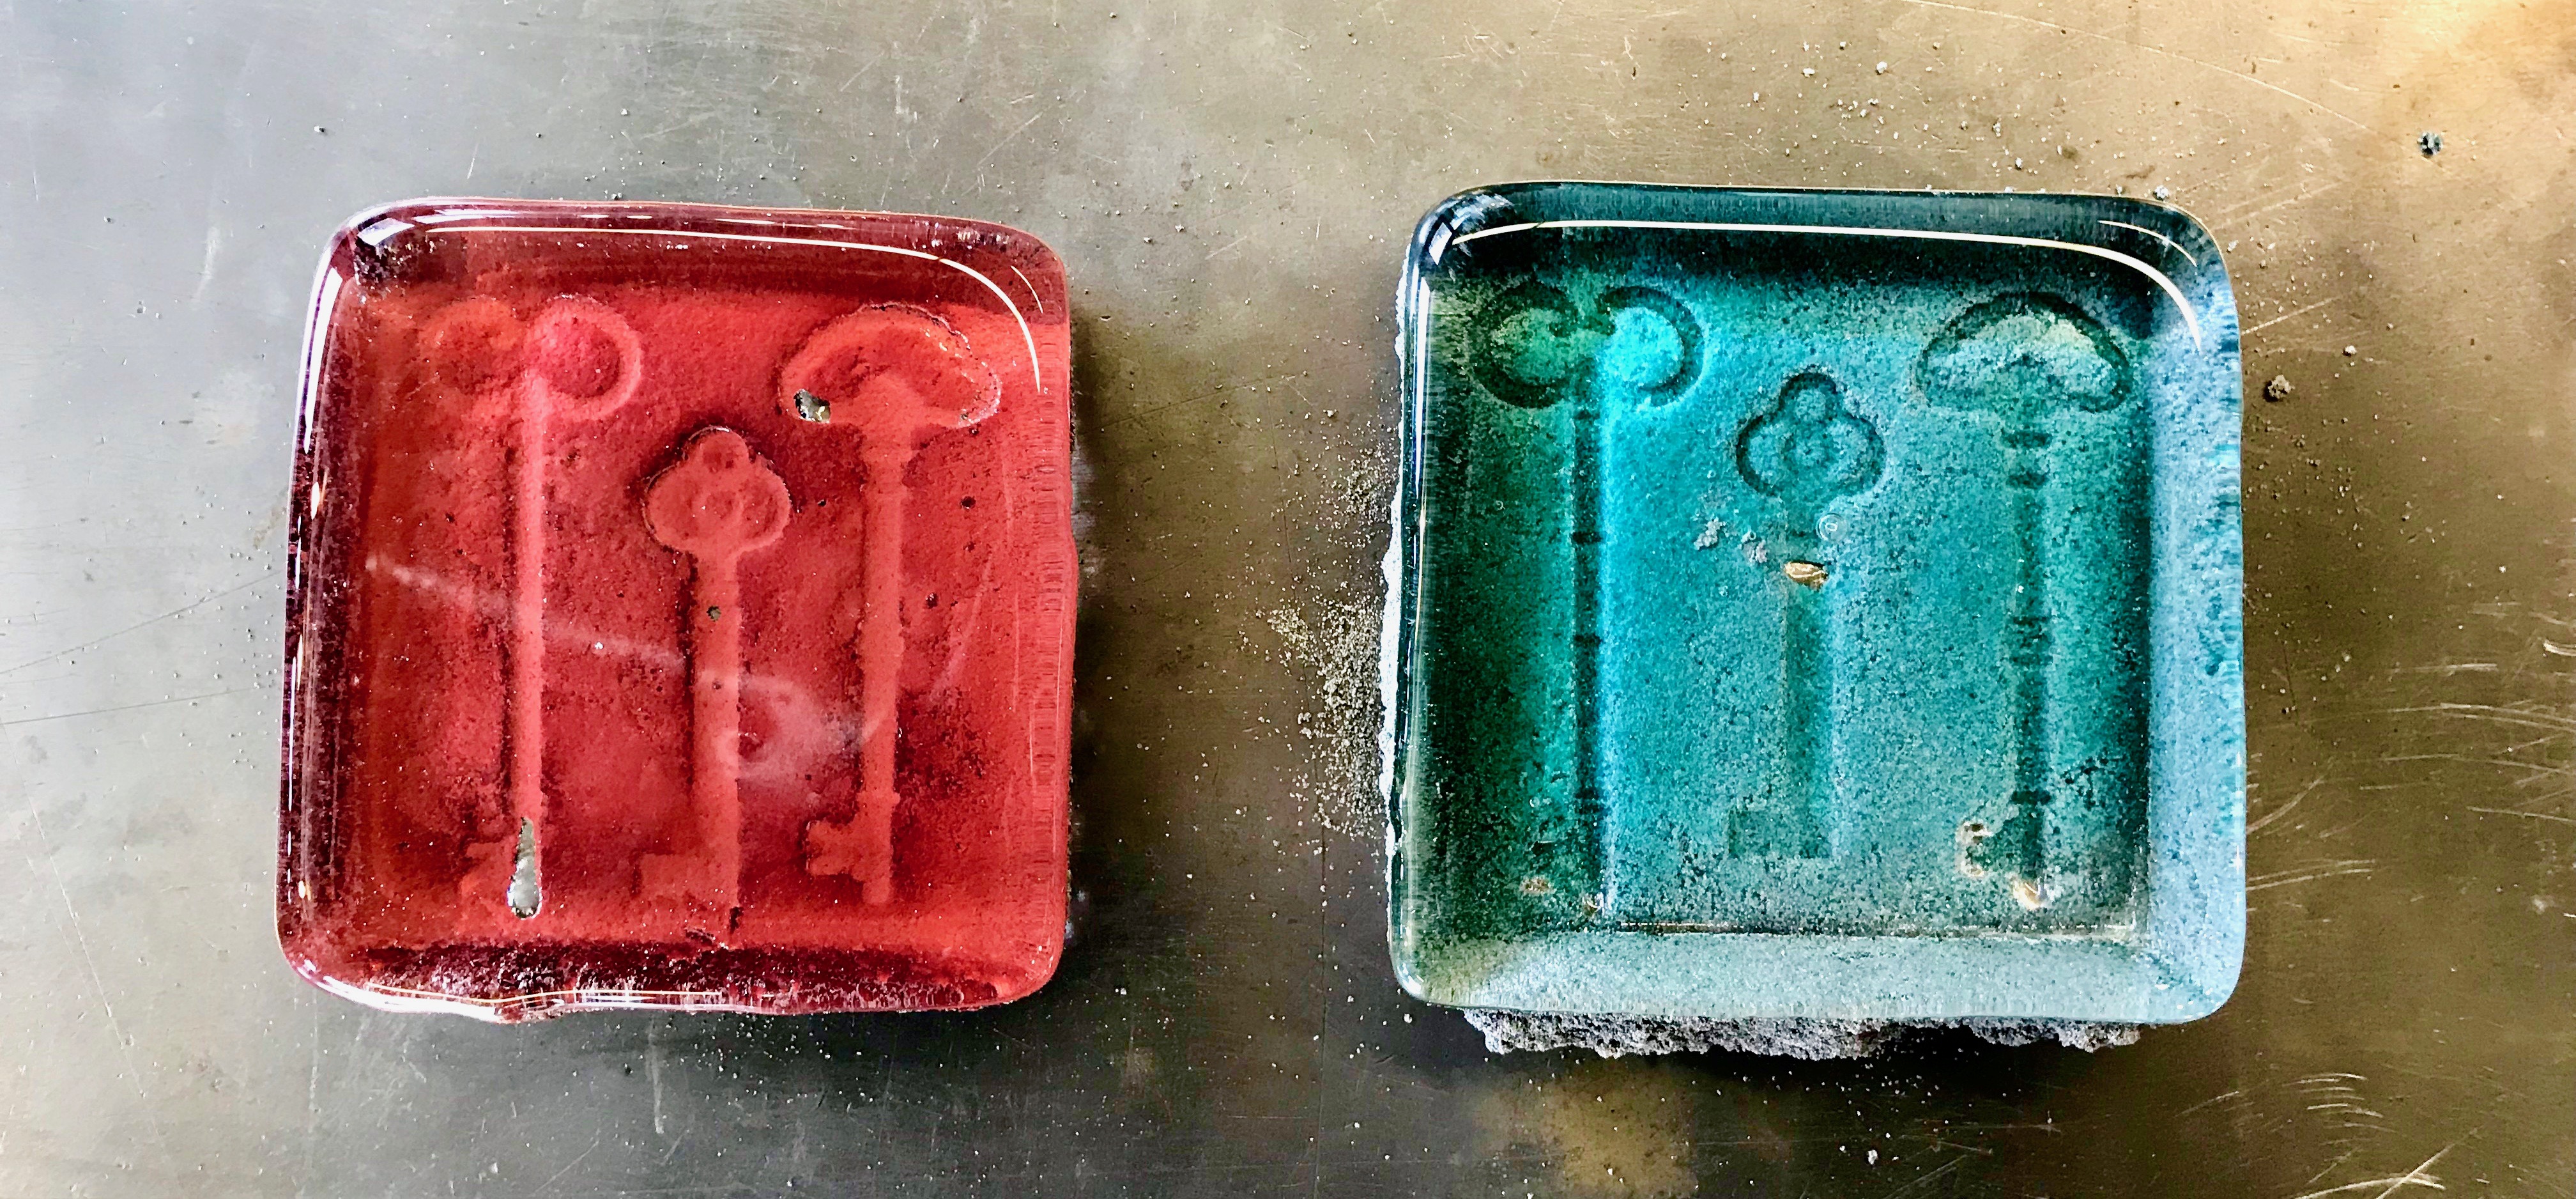 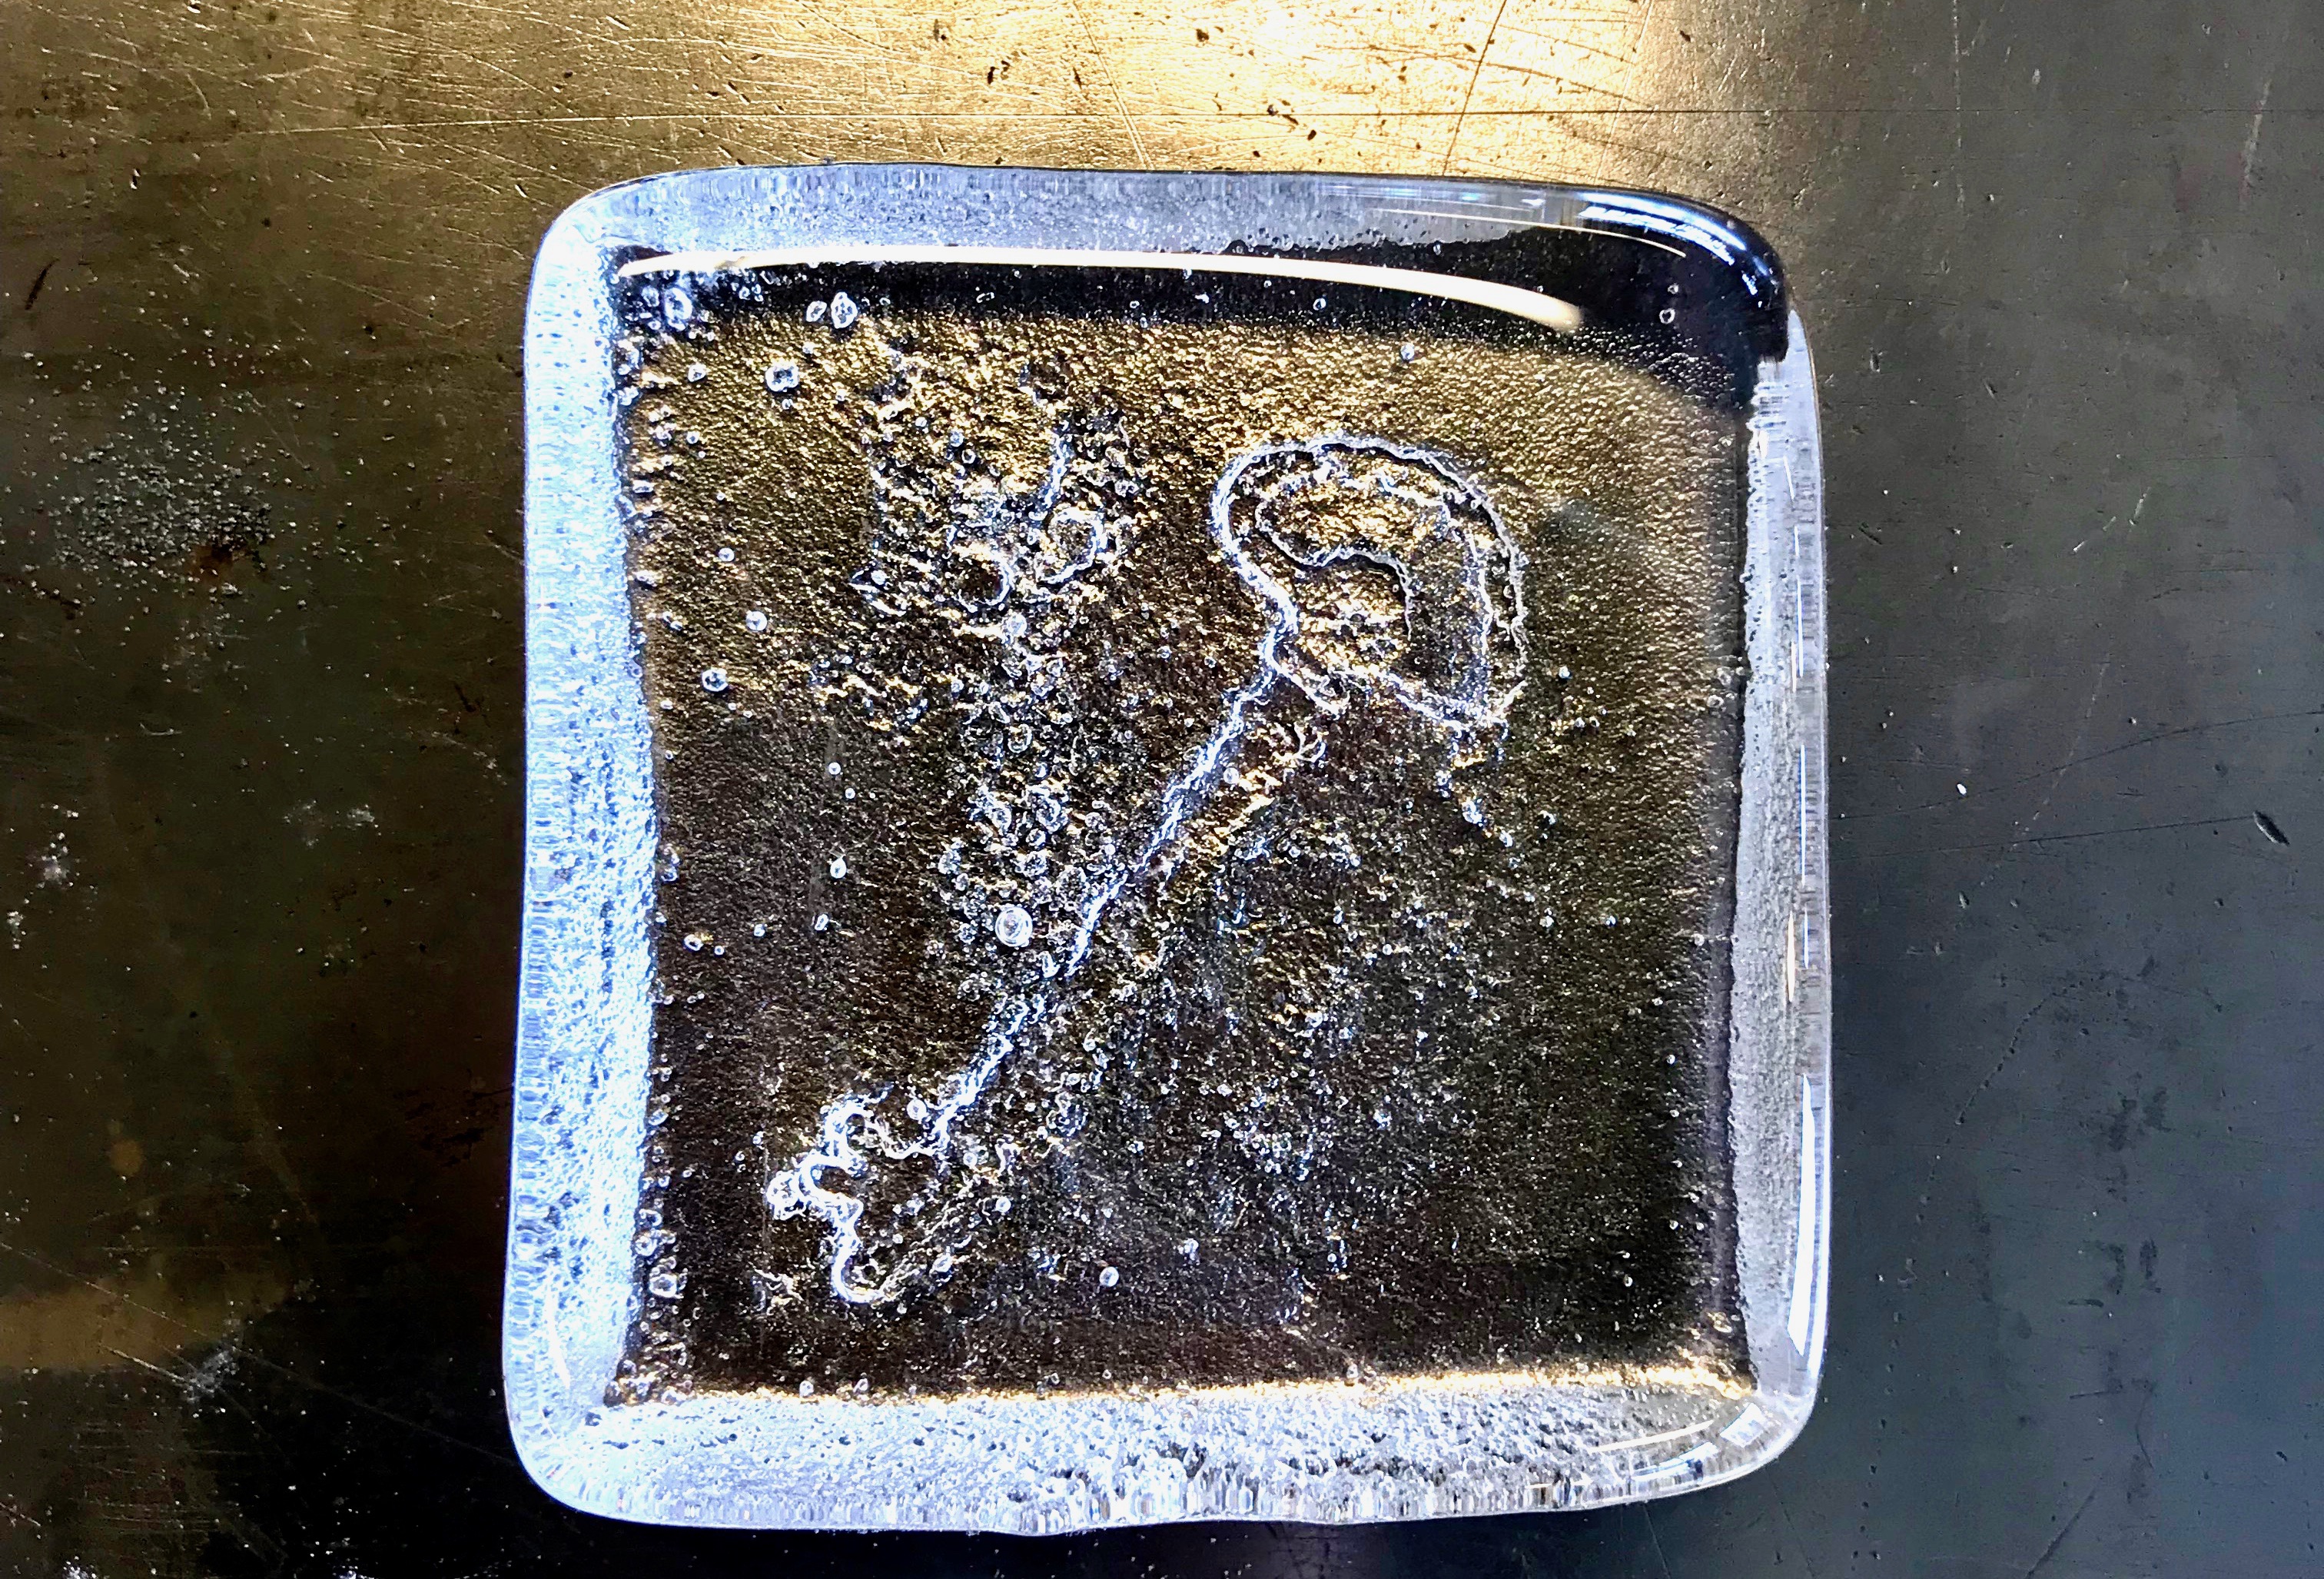 **The Process** The first step is preparing the sand. To do this I used a finely ground casting sand, which was mixed with water to add moisture to sand. The moisture helps keep the sand from crumbling after pouring the glass into the mold. It also helps retain detail of the object you are casting. Once the sand is well mixed and has uniform moisture throughout it, place it in an open container. I used a wooden box. Wood is nice because it won't absorb too much heat and can be handled after the casting is complete. A metal box would get very hot in the process and plastic would likely melt. The container should look like this, with an indent in the sand to hold the glass. 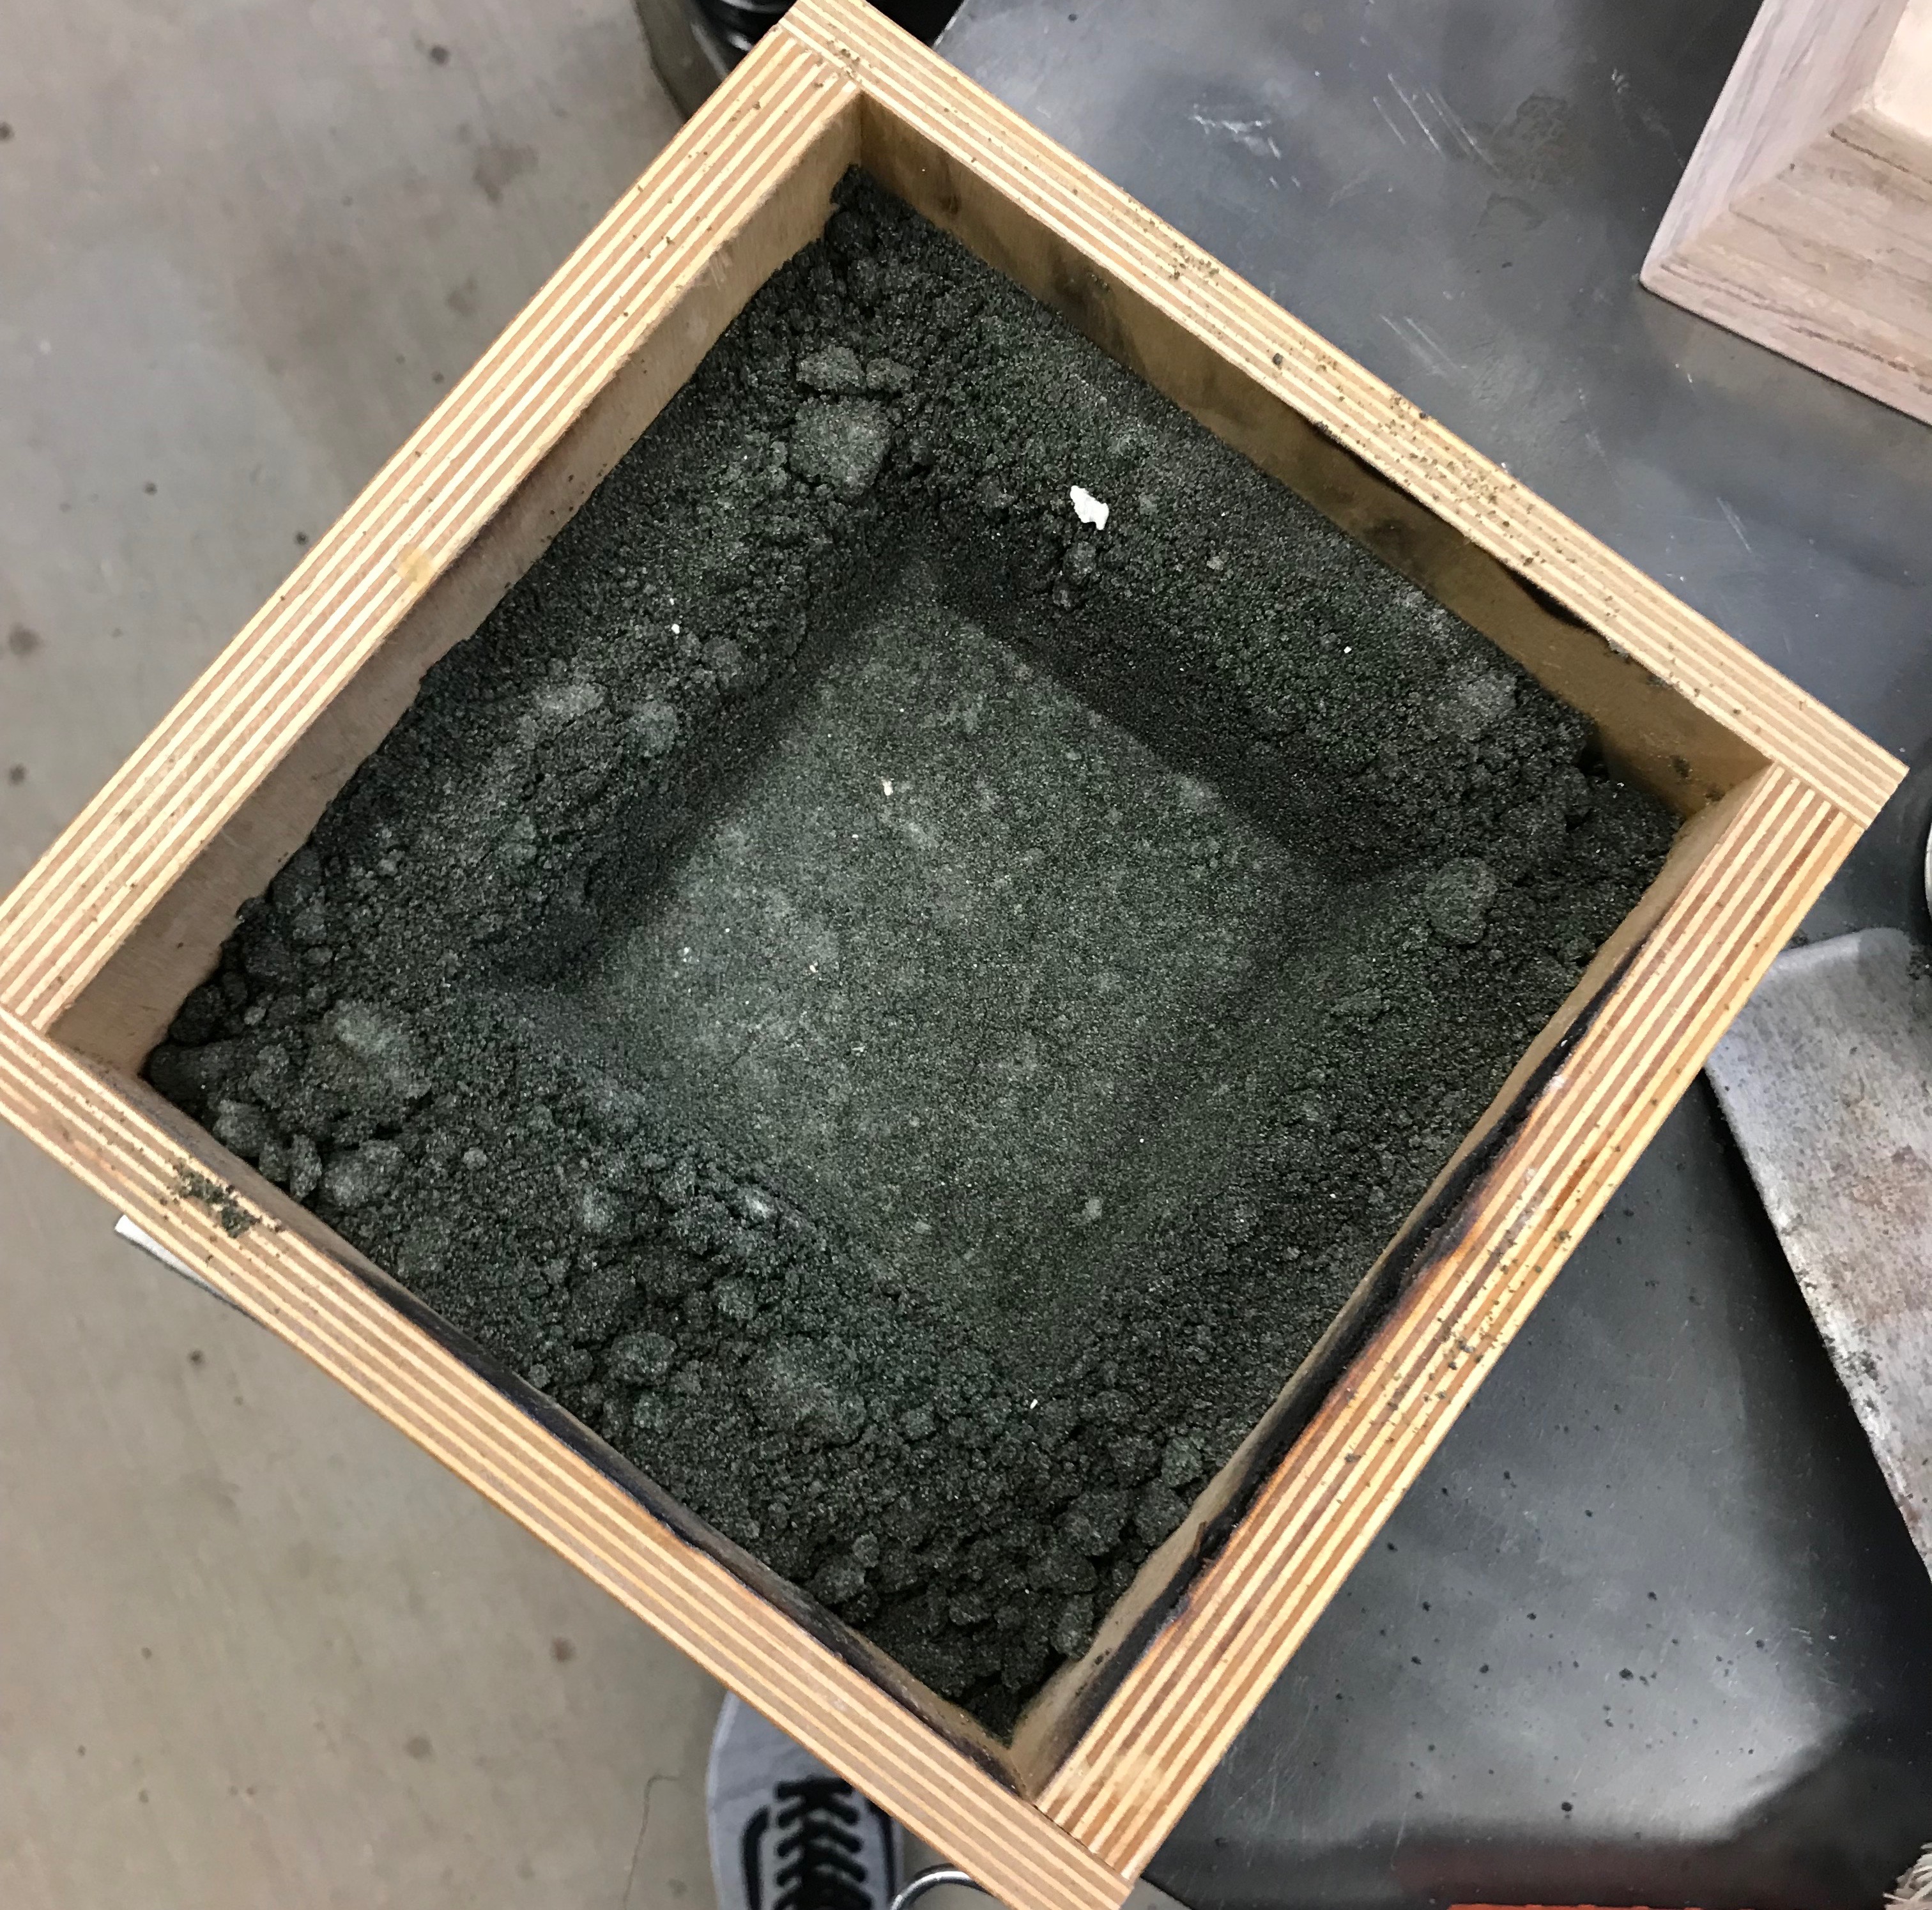 You can create the indent with any shape but tapered edges are ideal to avoid sand crumbling during the pour. The next step is adding your negatives. I used these skeleton keys because they are unique shapes and don't have too much fine detail: 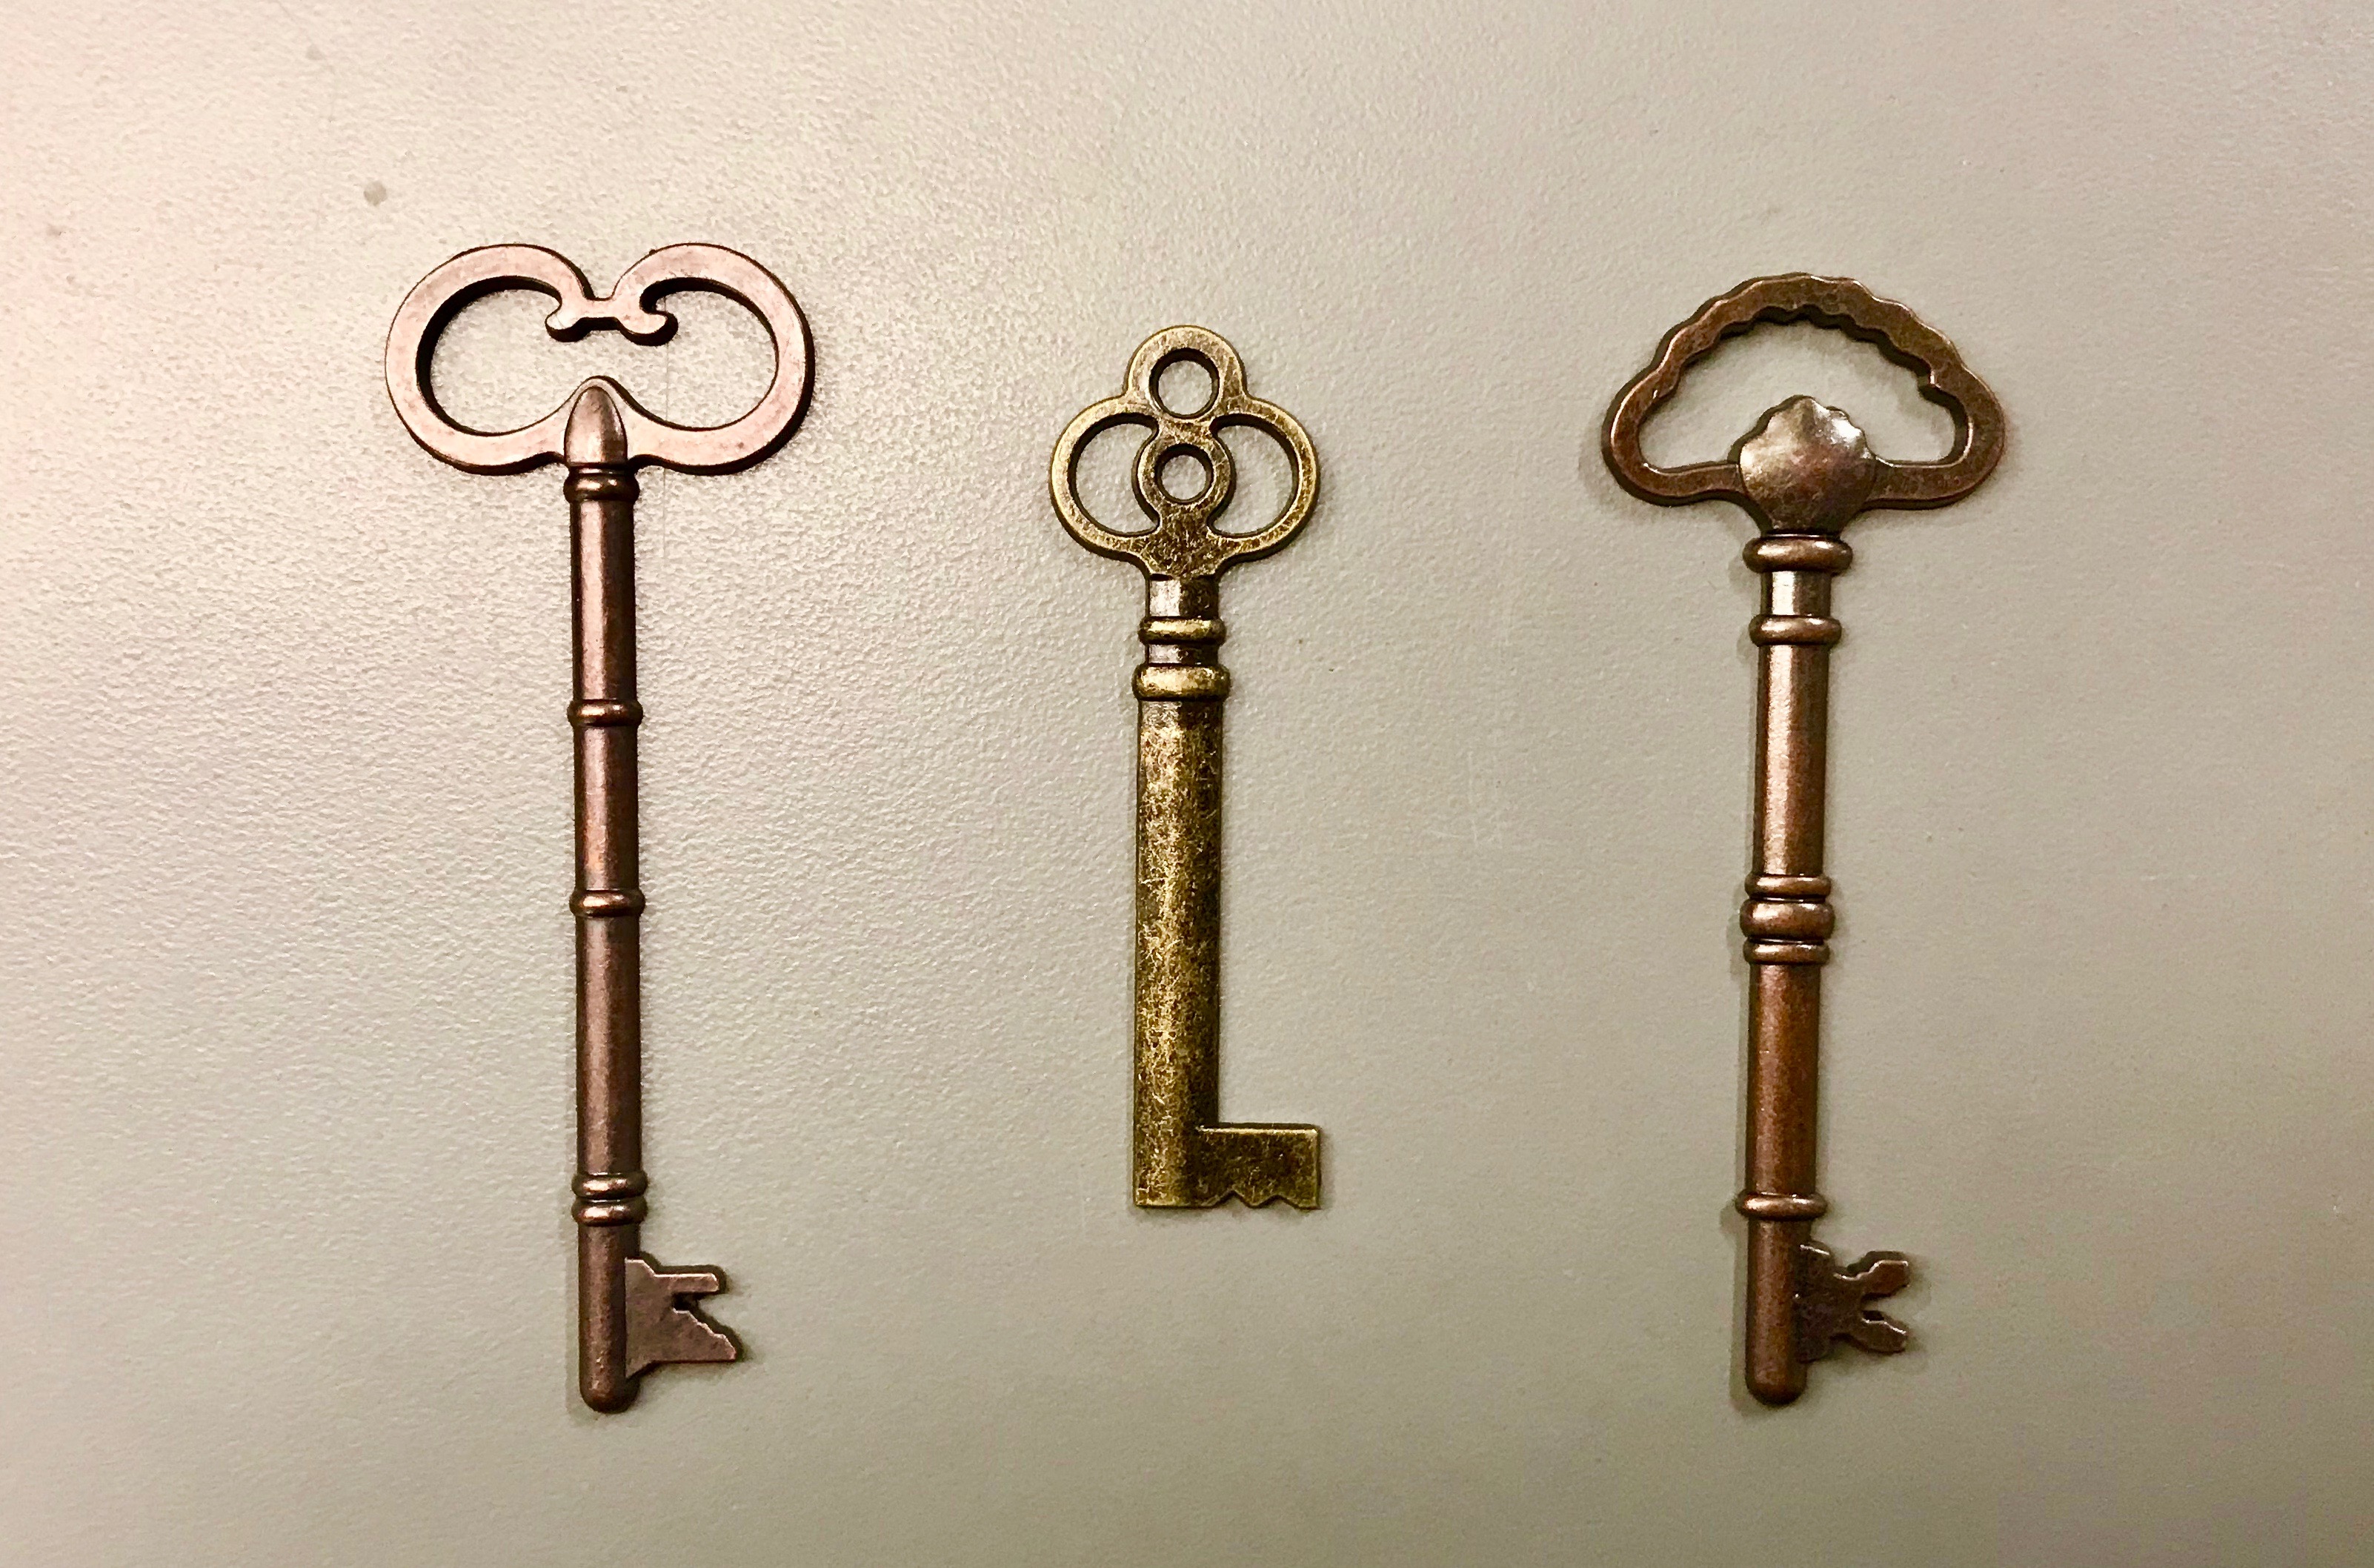 I tied some string around them to make pulling them out of the sand easier after pressing when creating the negative. 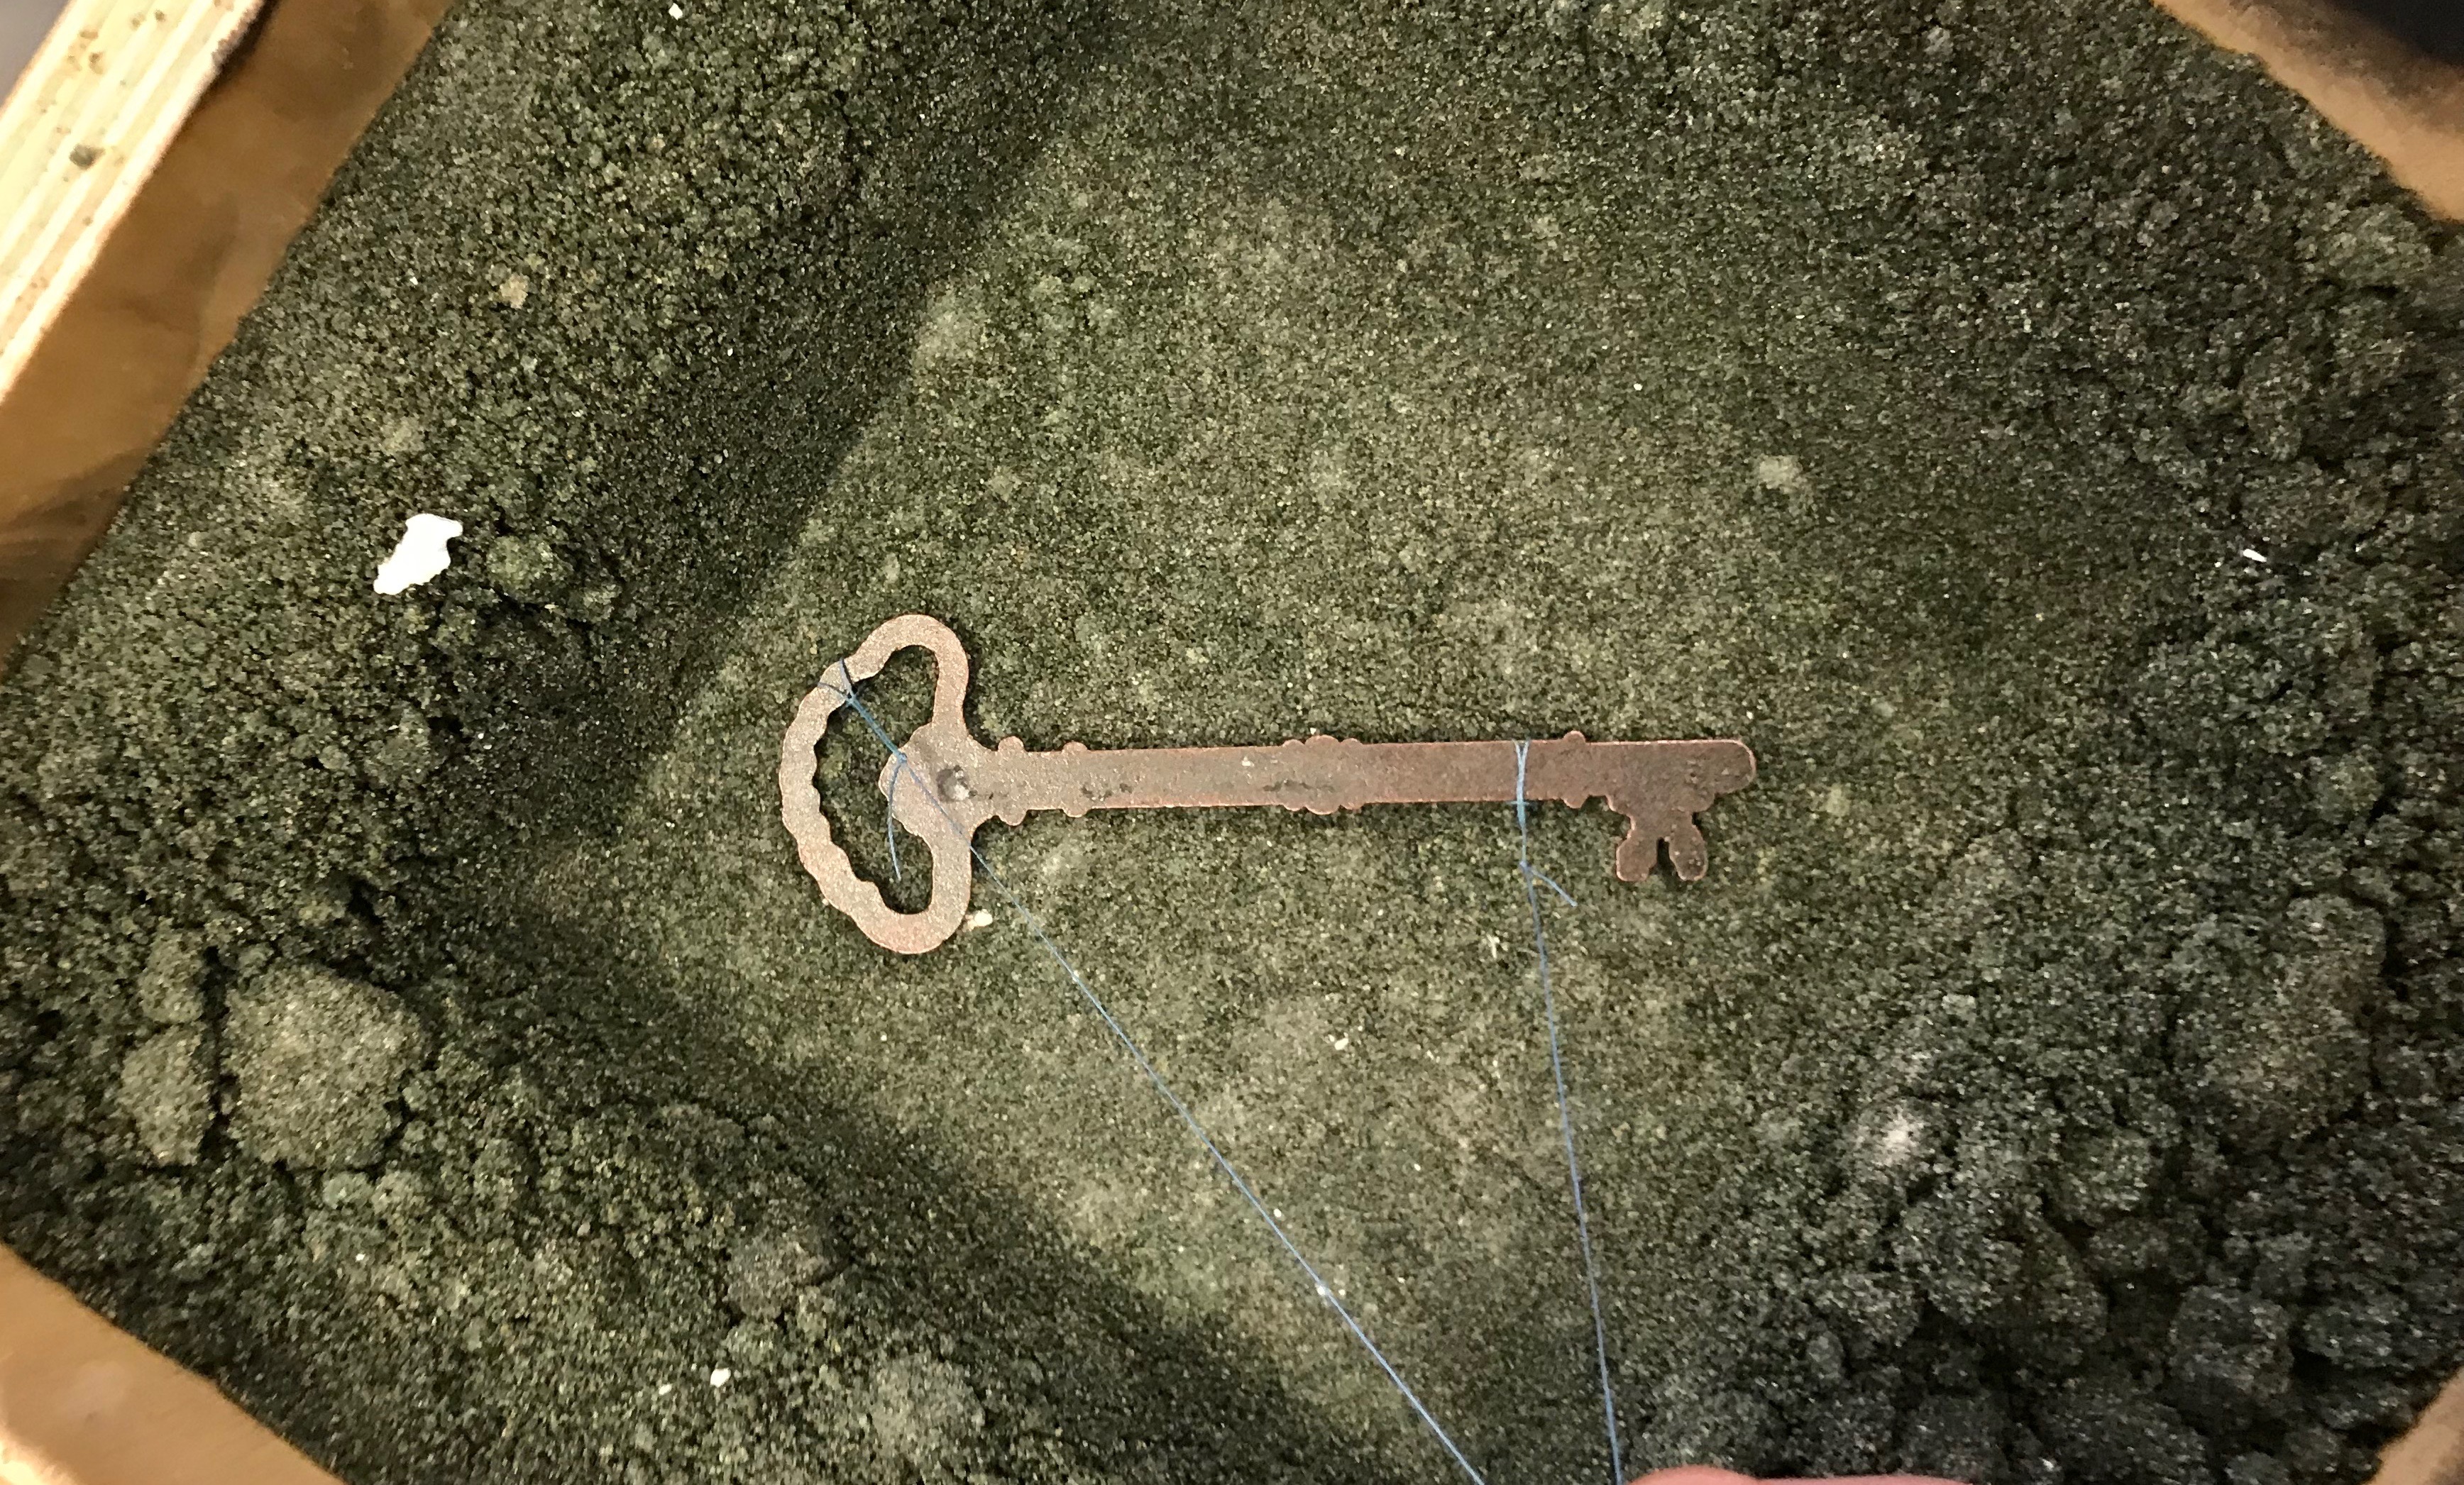 After firmly pressing the key into the sand I used an acetylene torch to create a layer of carbon between the sand and the glass. If you don't create this carbon build up the glass can stick to the sand, this will make removing the sand after the cooling process more difficult. 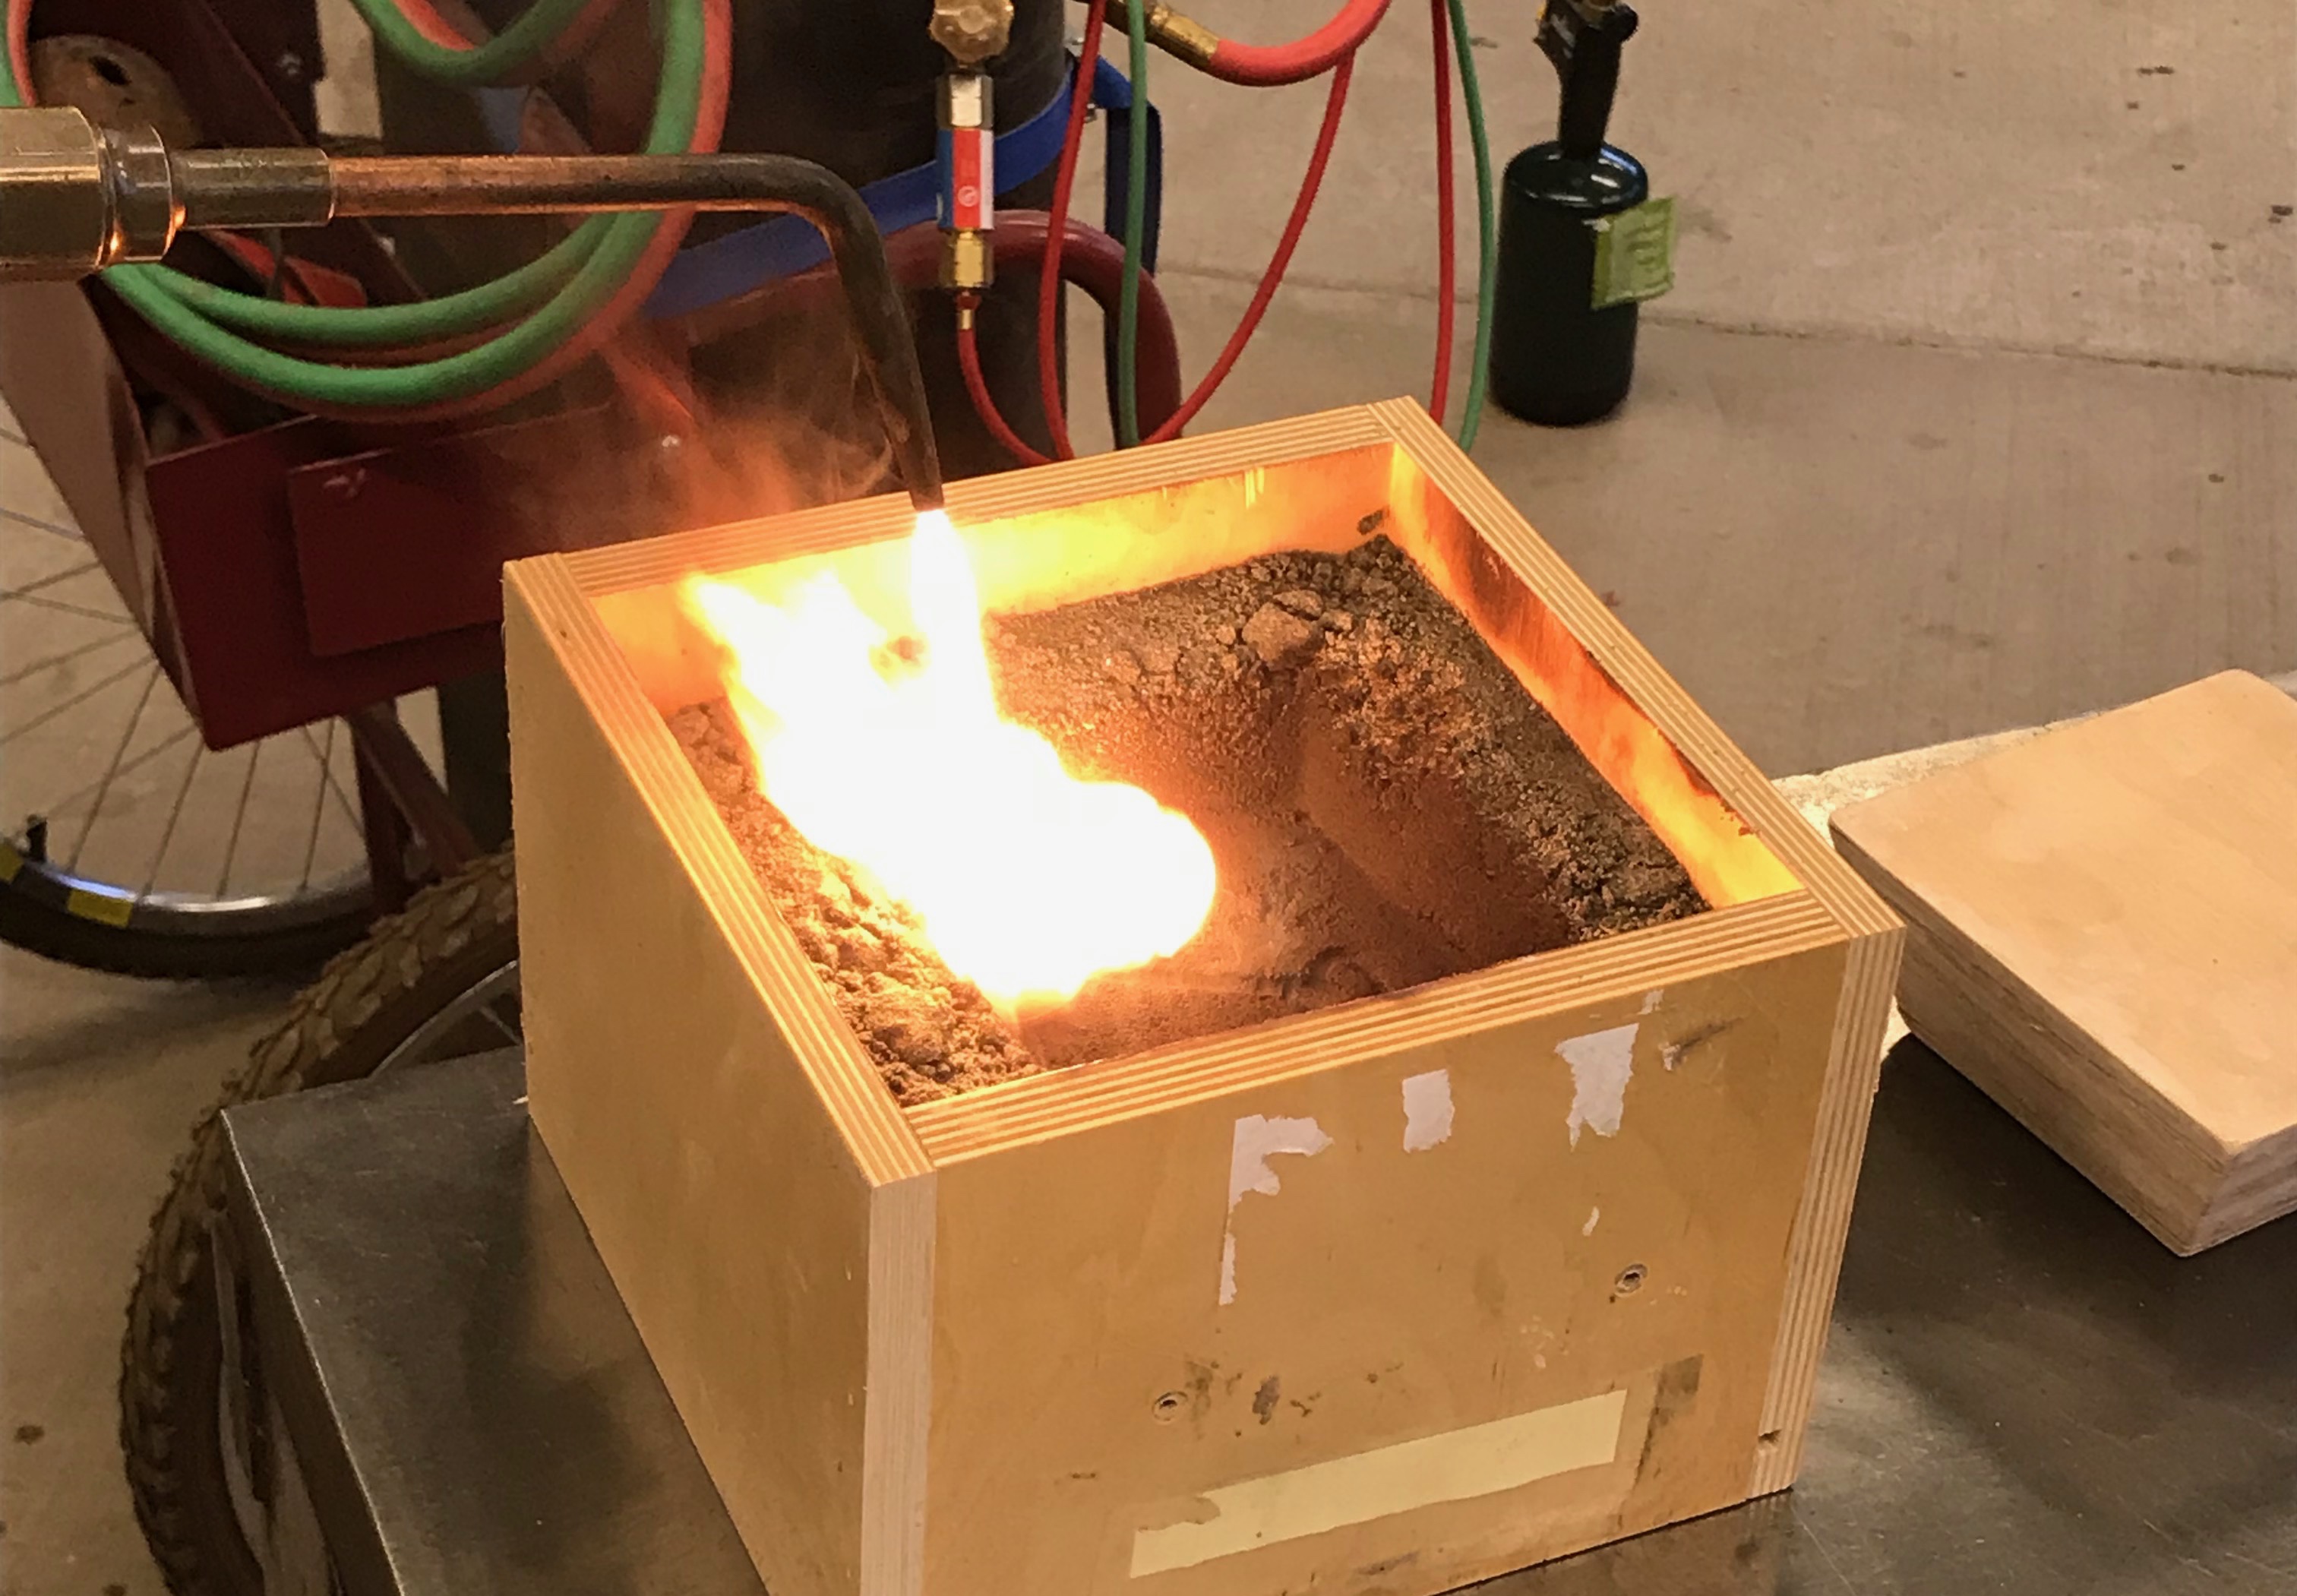 After torching the area the sand should have a nice even layer of carbon. 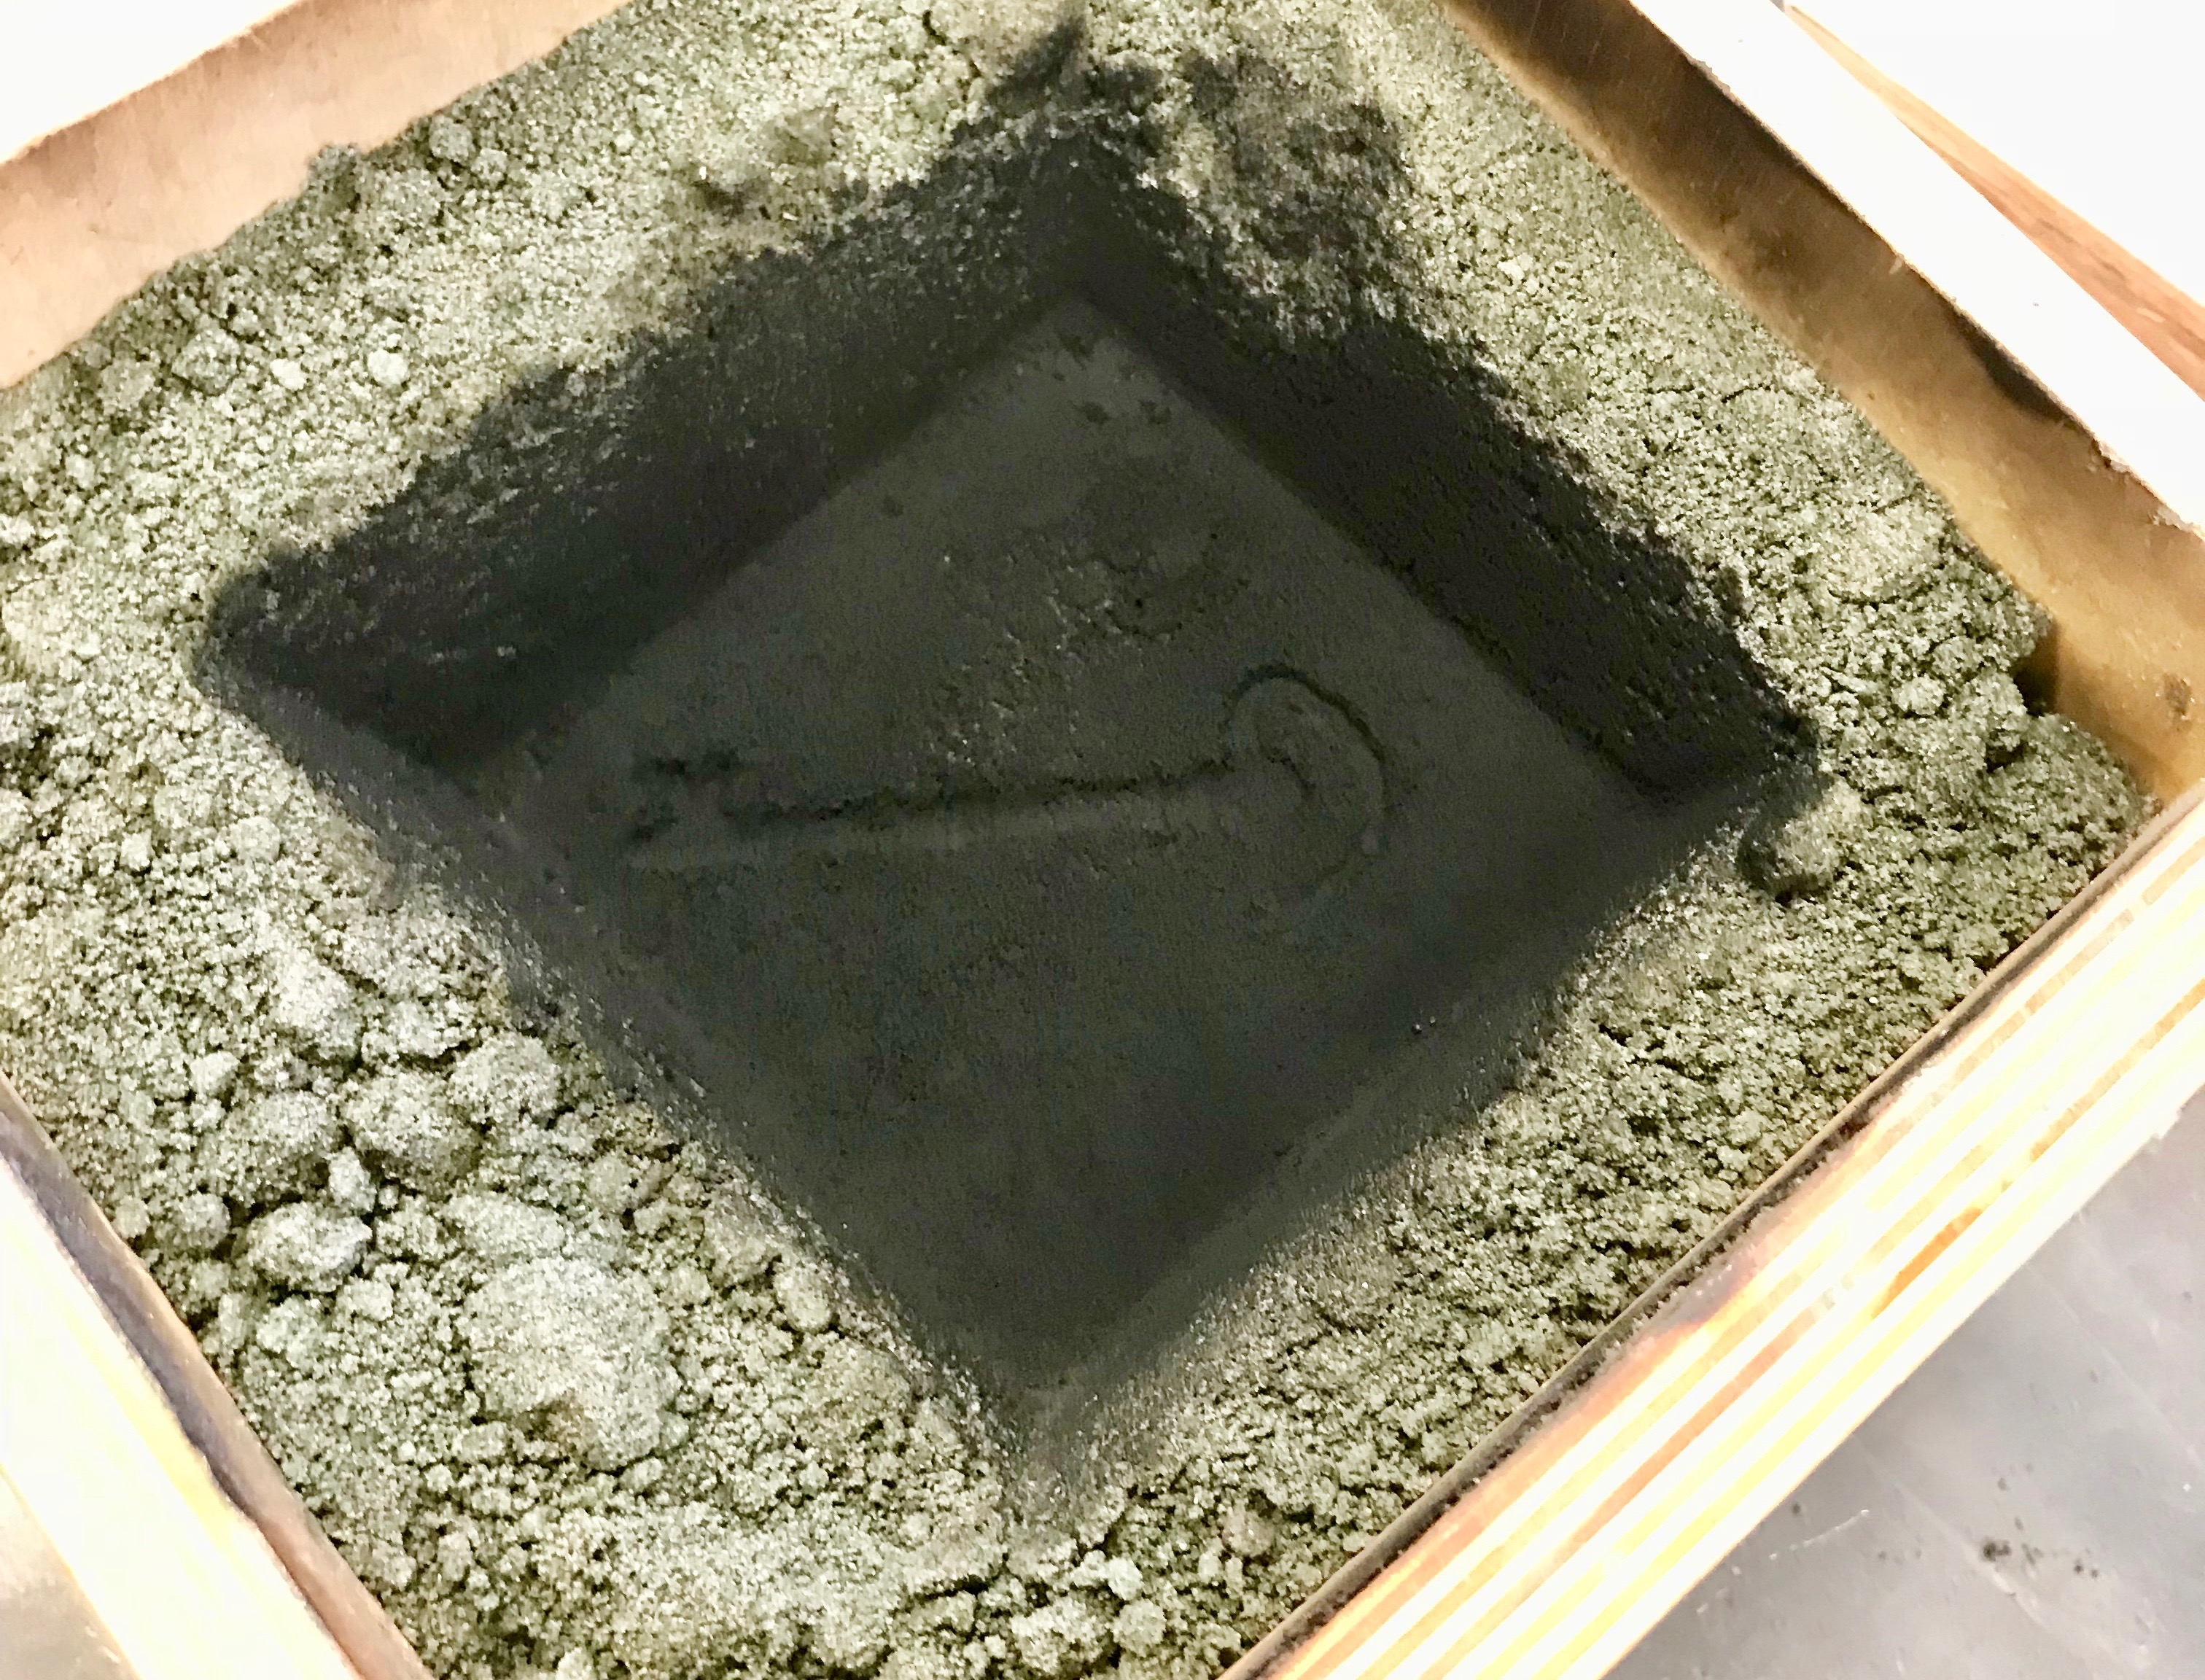 Now you are ready to pour the glass into the mold. There are several ways of doing this but I chose to strip glass off of a solid pipe. The other popular way to do this is to ladle glass out of the furnace, but for such a small project this wasn't necessary. After taking a few gathers out of the furnace (3 to be precise), the glass is ready to be stripped off into the mold. This process is probably familiar to most glass blowers but is really just a fancy way of saying you stop turning the pipe so that all the glass drips from it. This is what gathering out of the furnace looks like, the long metal pipe being held is what is collecting the glass. It's helpful to thing of this process as trying to collect honey on the end of a q-tip. If you wanted honey on the end of a q-tip you would dip the q-tip in the honey and start turning the q-tip so the honey wouldn't drip off. 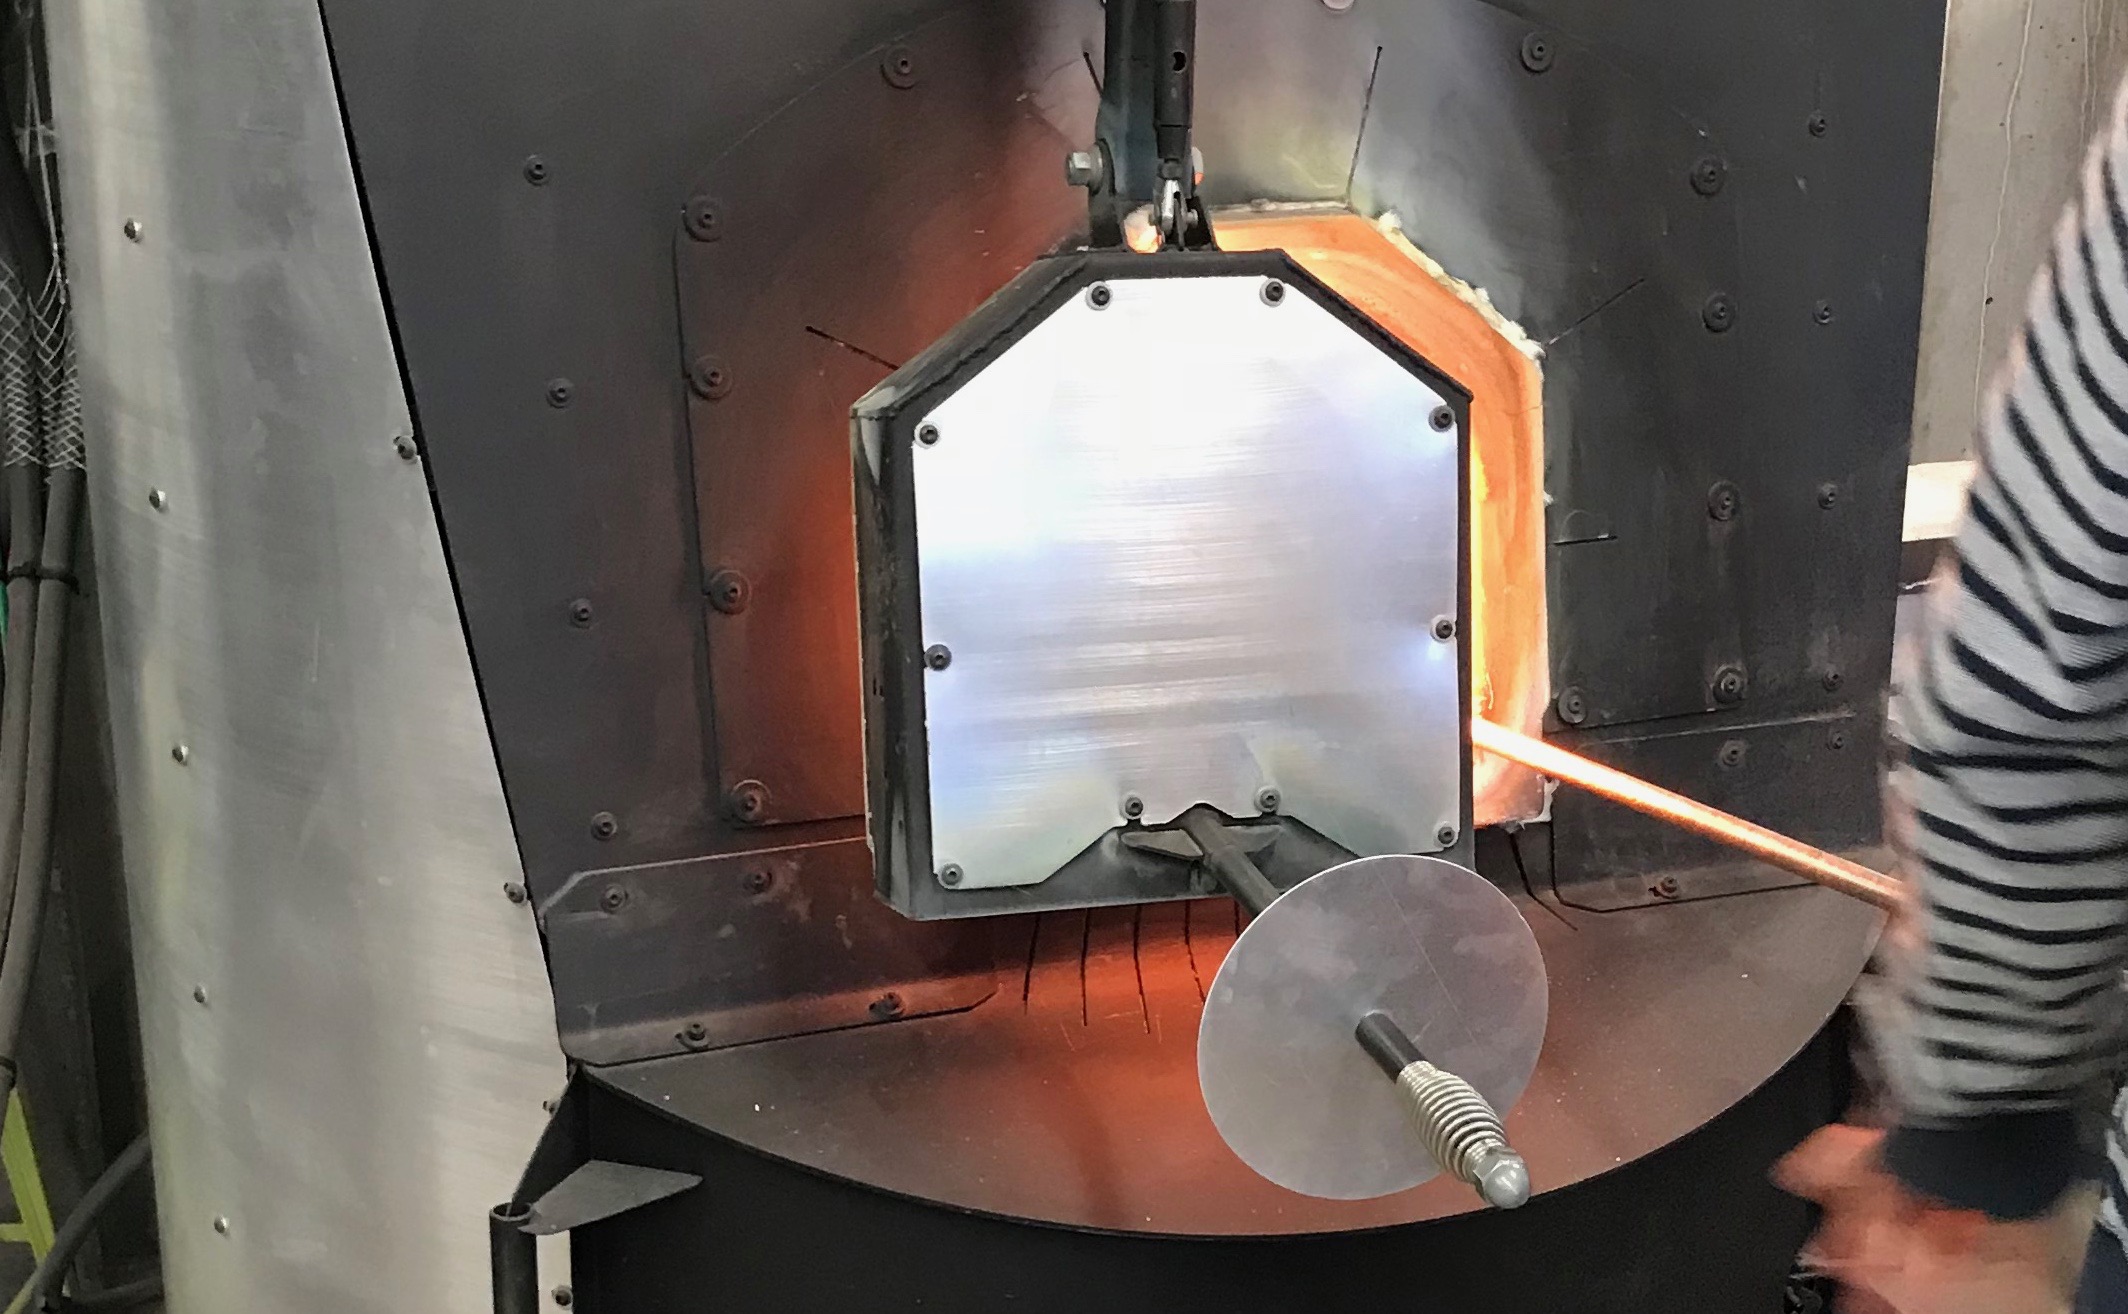 The furnace is around 2000 degrees Fahrenheit, which is well above glass' melting point. Stripping the glass of the pipe looks like this. To extend the metaphor about honey, if you were to stop turning the q-tip the honey would drip off. 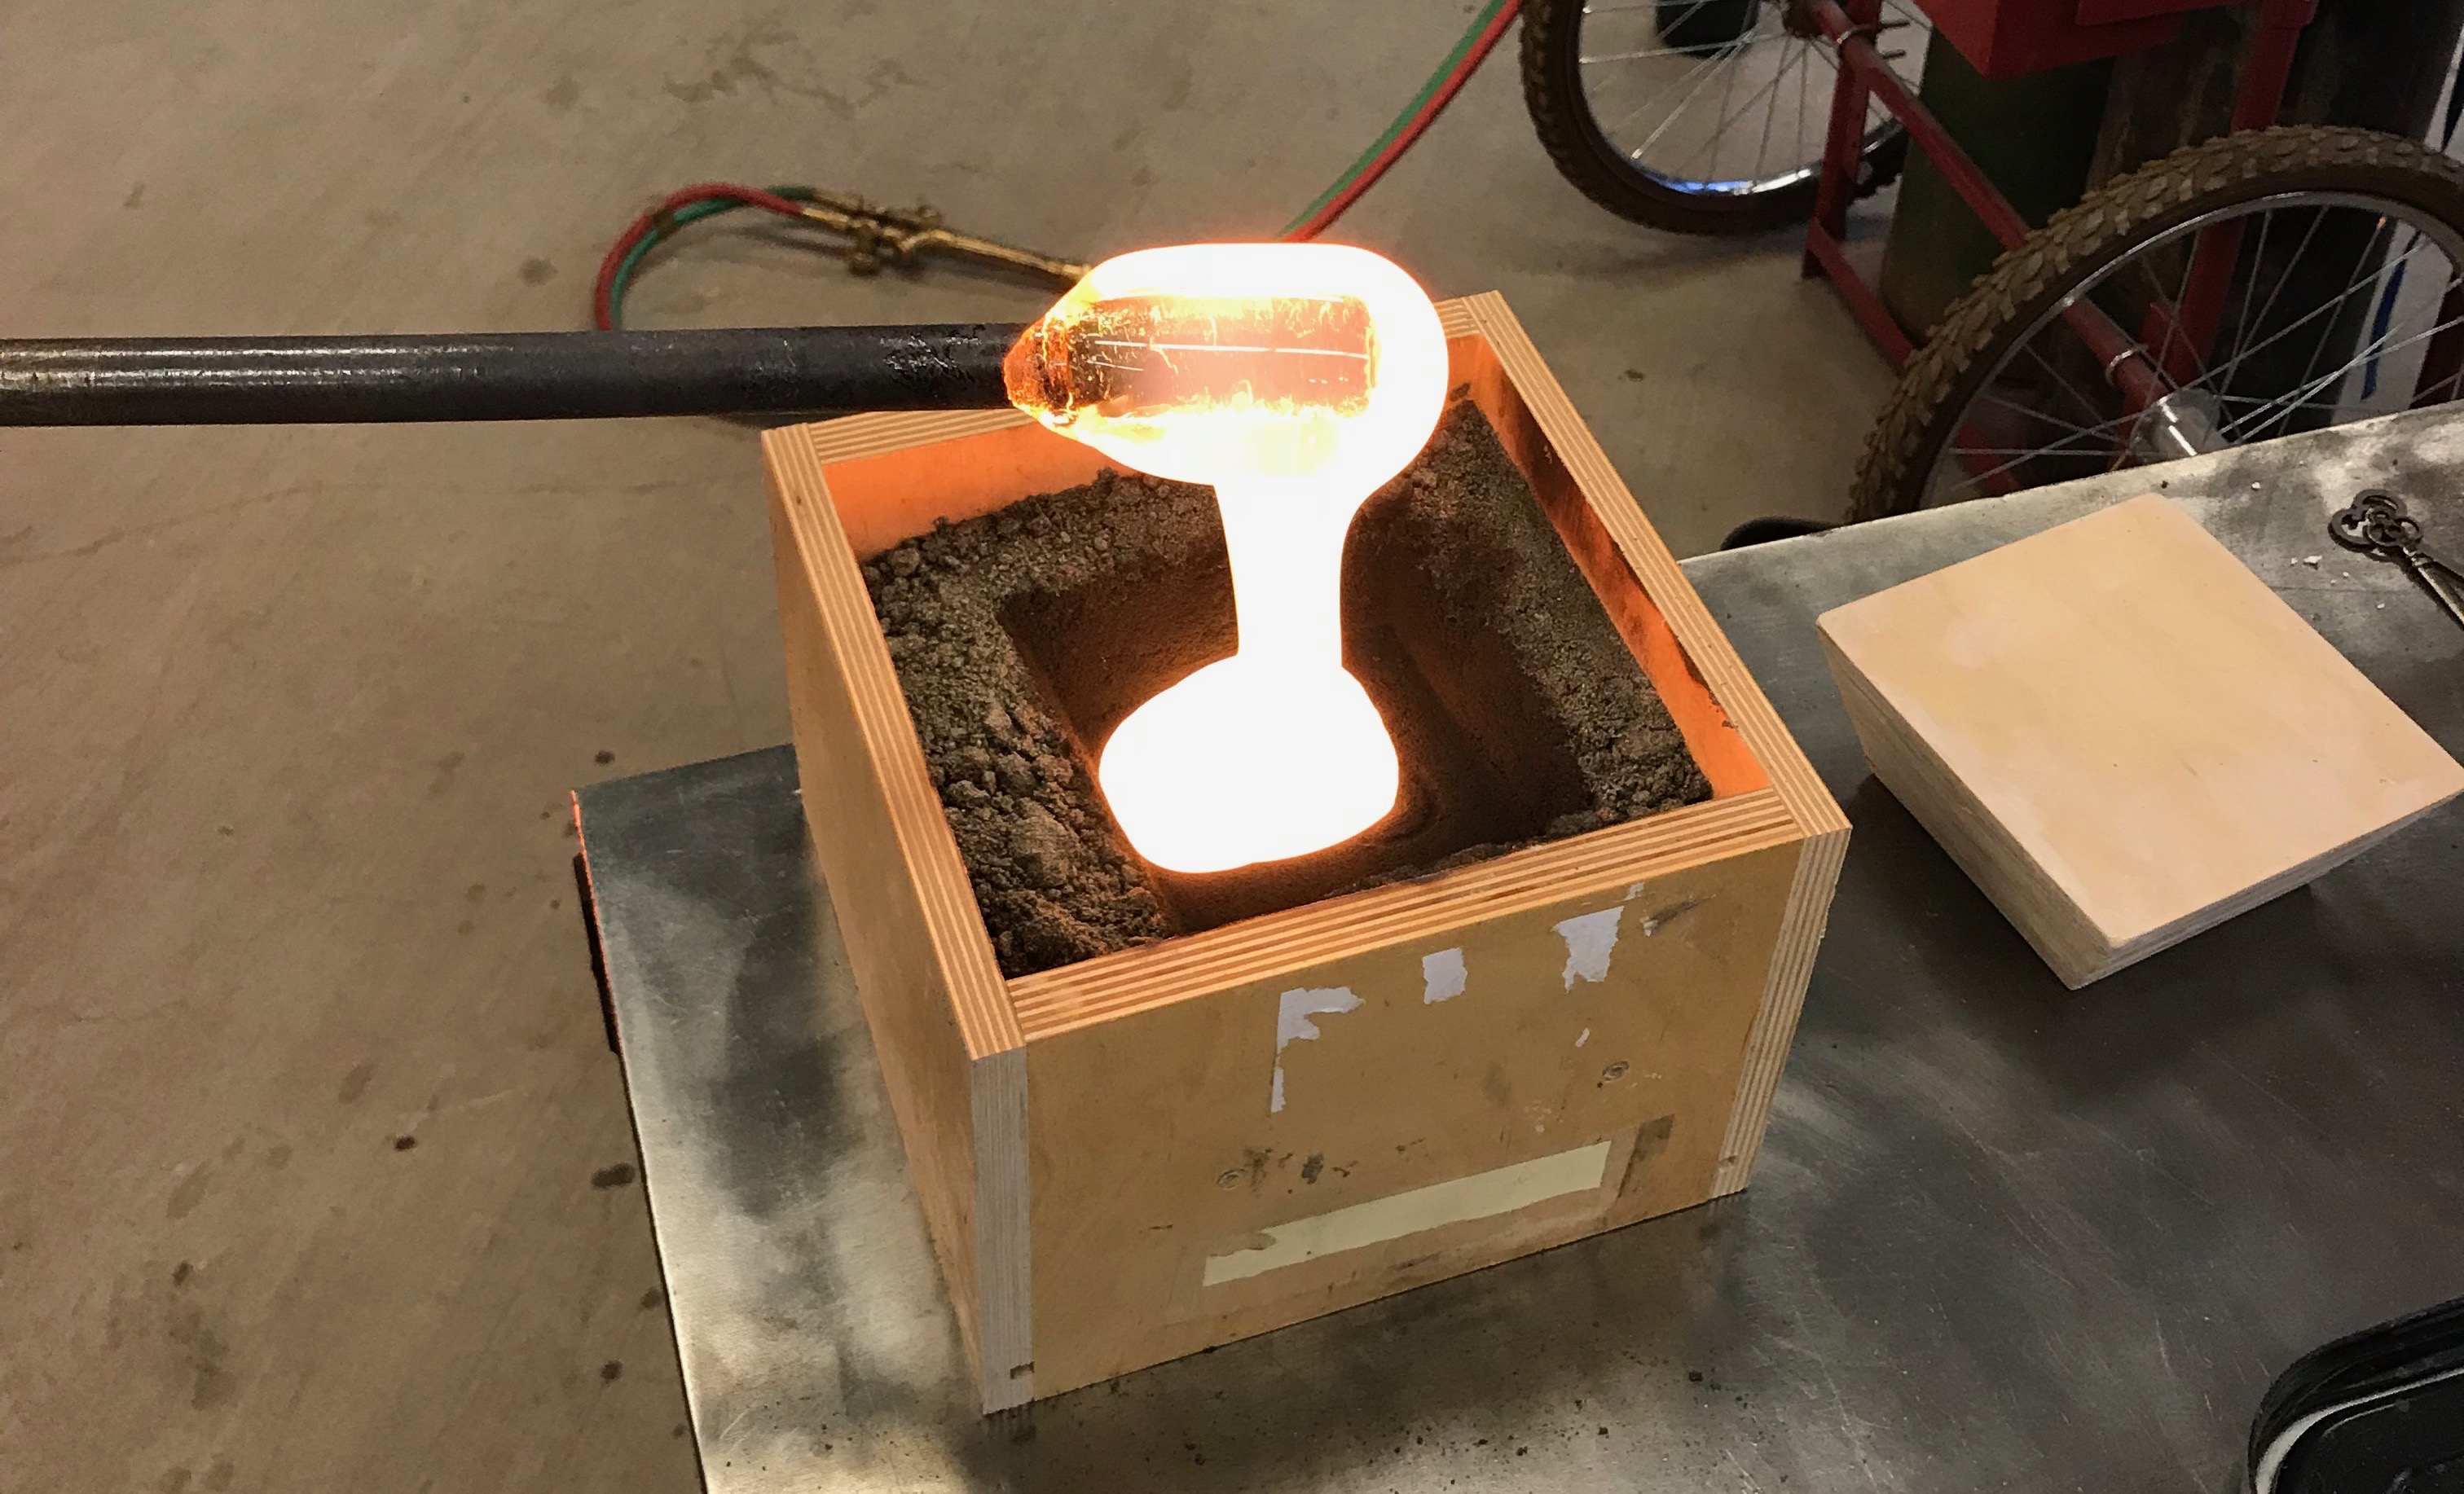 I repeated this process once more to fill the mold and then waited for the glass to create a flat surface on top and cool. 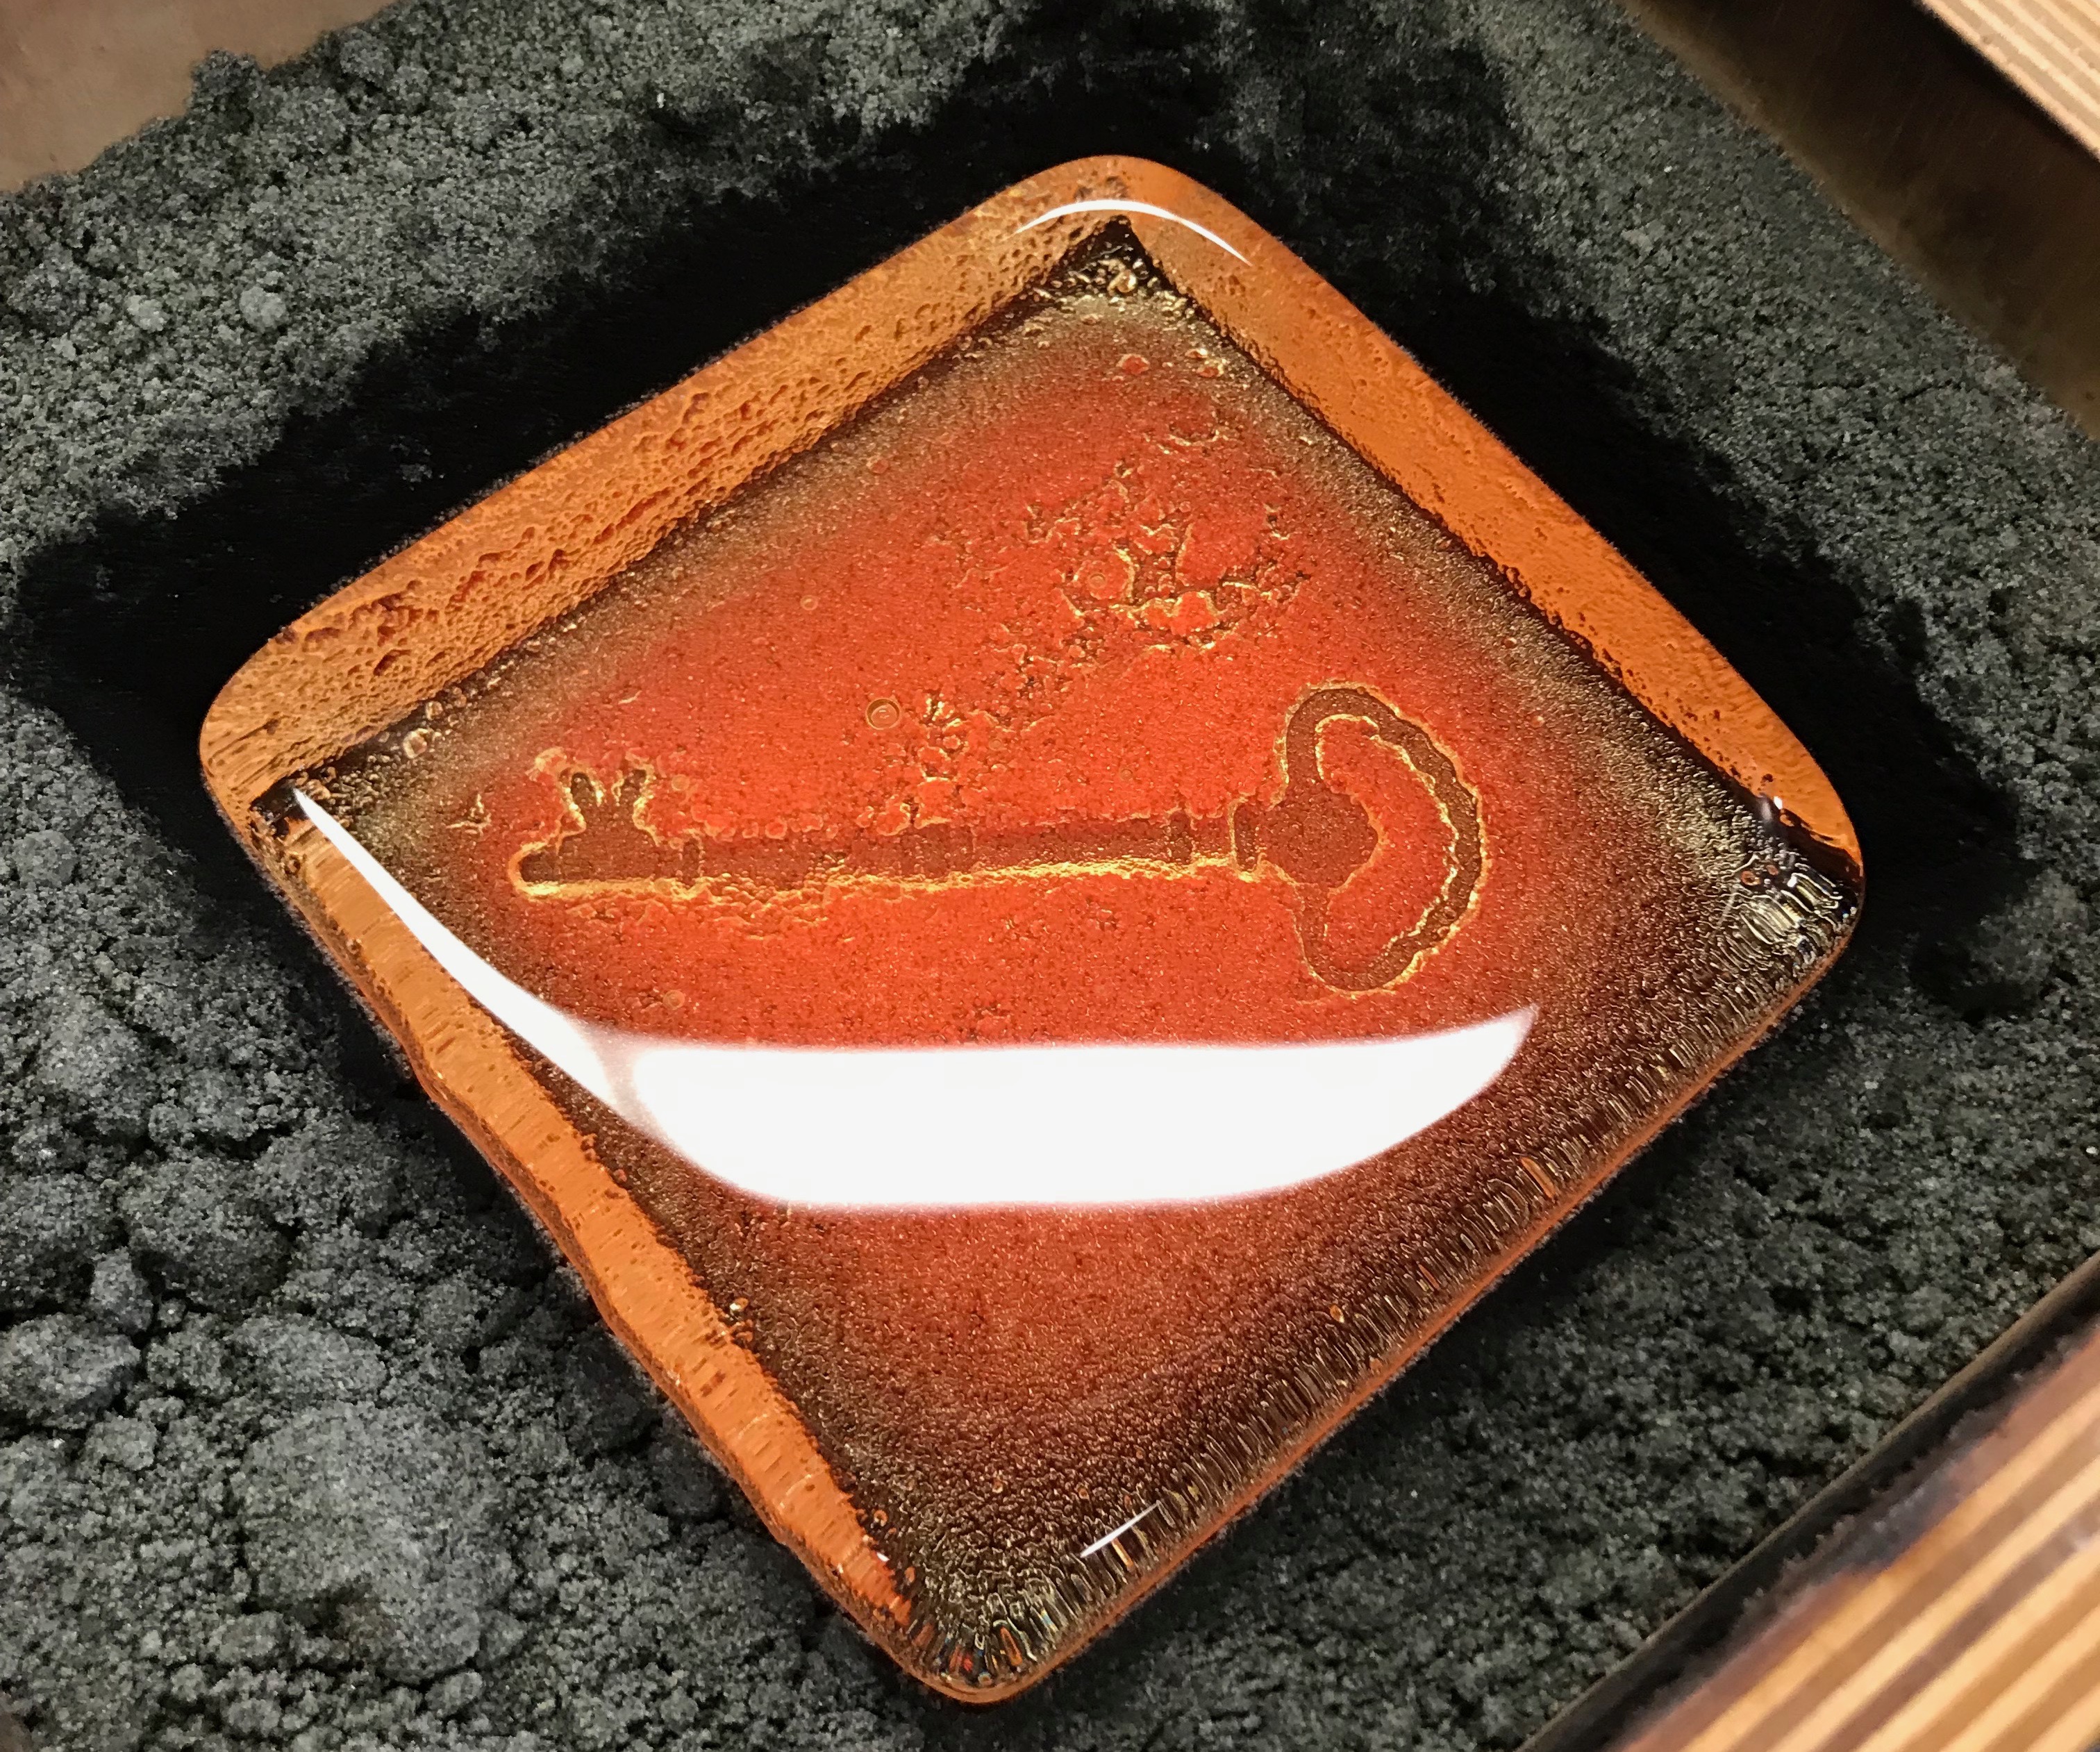 Once the glass lost most of its orange glow I knew it was stable enough to pick up. Using teflon gloves I picked up the glass and put it in a kiln at 900 degrees Fahrenheit. This kiln then cooled down to room temperature over the course of 18 hours. The slow cooling process allows all the molecules in the glass to cool at the same rate. If it was just allowed to cool in open air the molecules on the inside would be hot while the molecules on the surface of the glass would be cooling, and thus contracting. The contracting molecules on the outer surface would create a pressure build up with the expanding molecules on the inside and thus cause the glass to crack or even explode! This is the kiln which is programed to cool slowly: 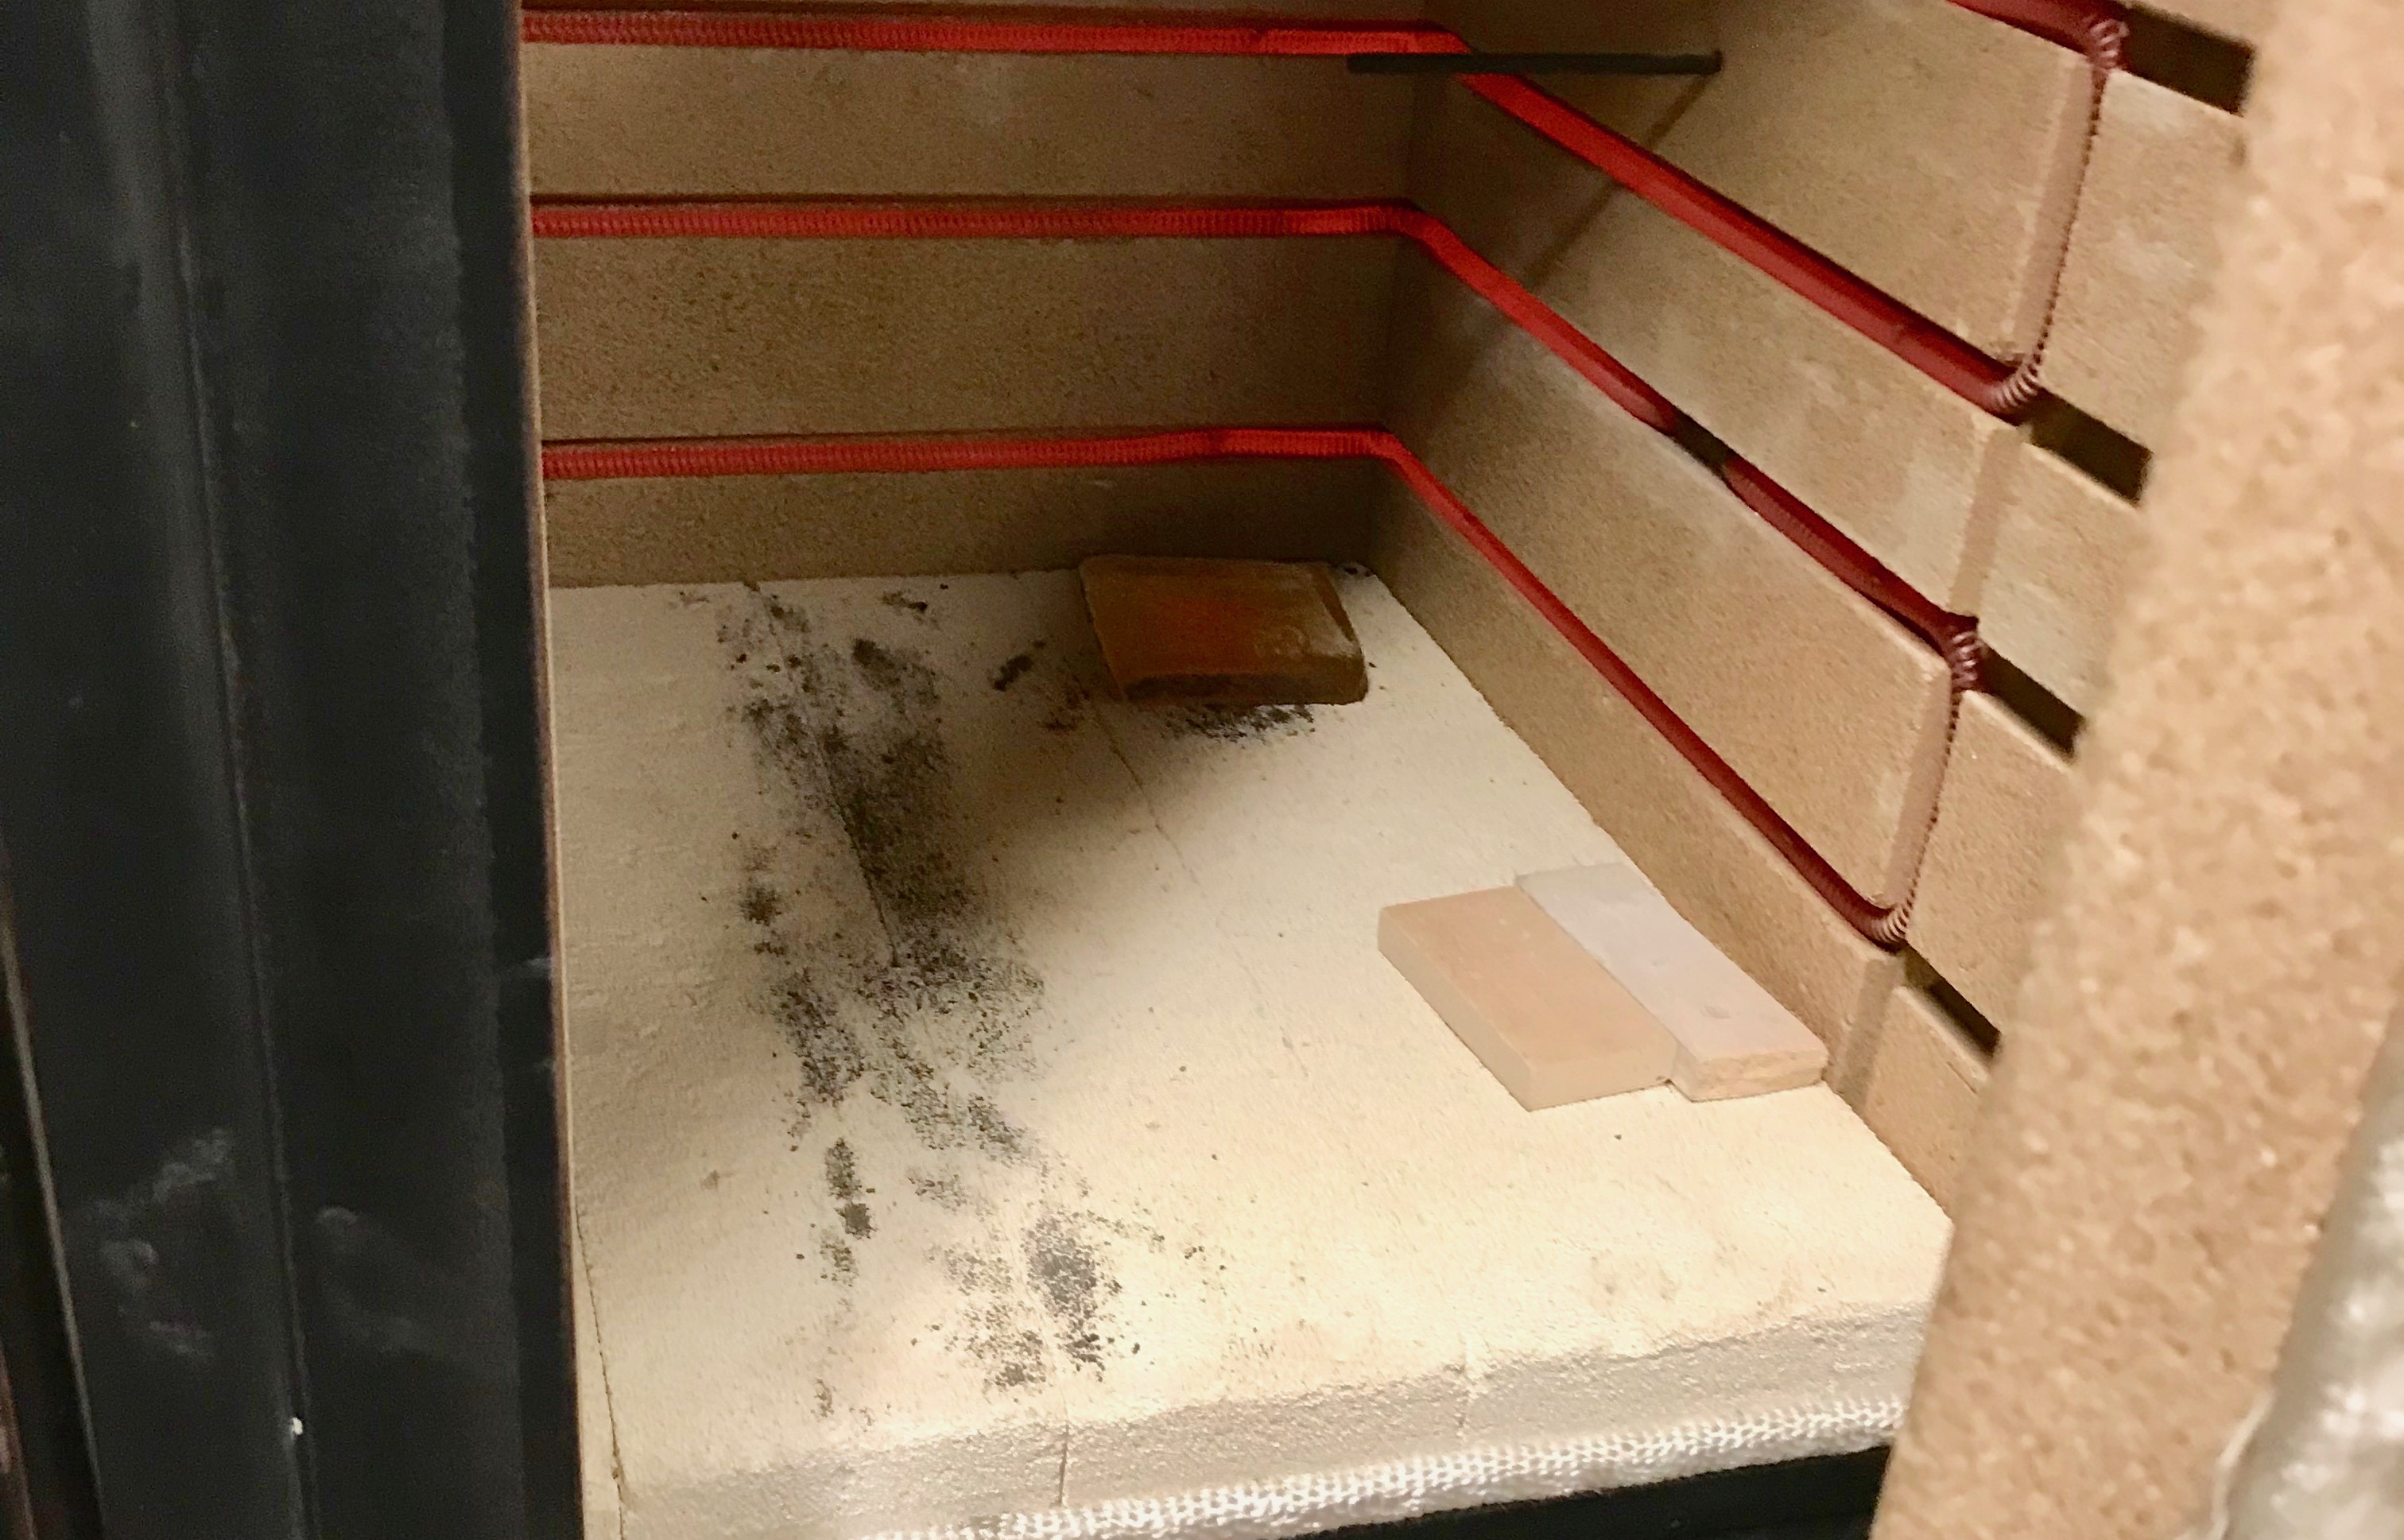 The next day I had my final piece!  **Colorful Sand Casting** To create the green and red pieces I performed a similar process but added powdered colored glass and two more keys. 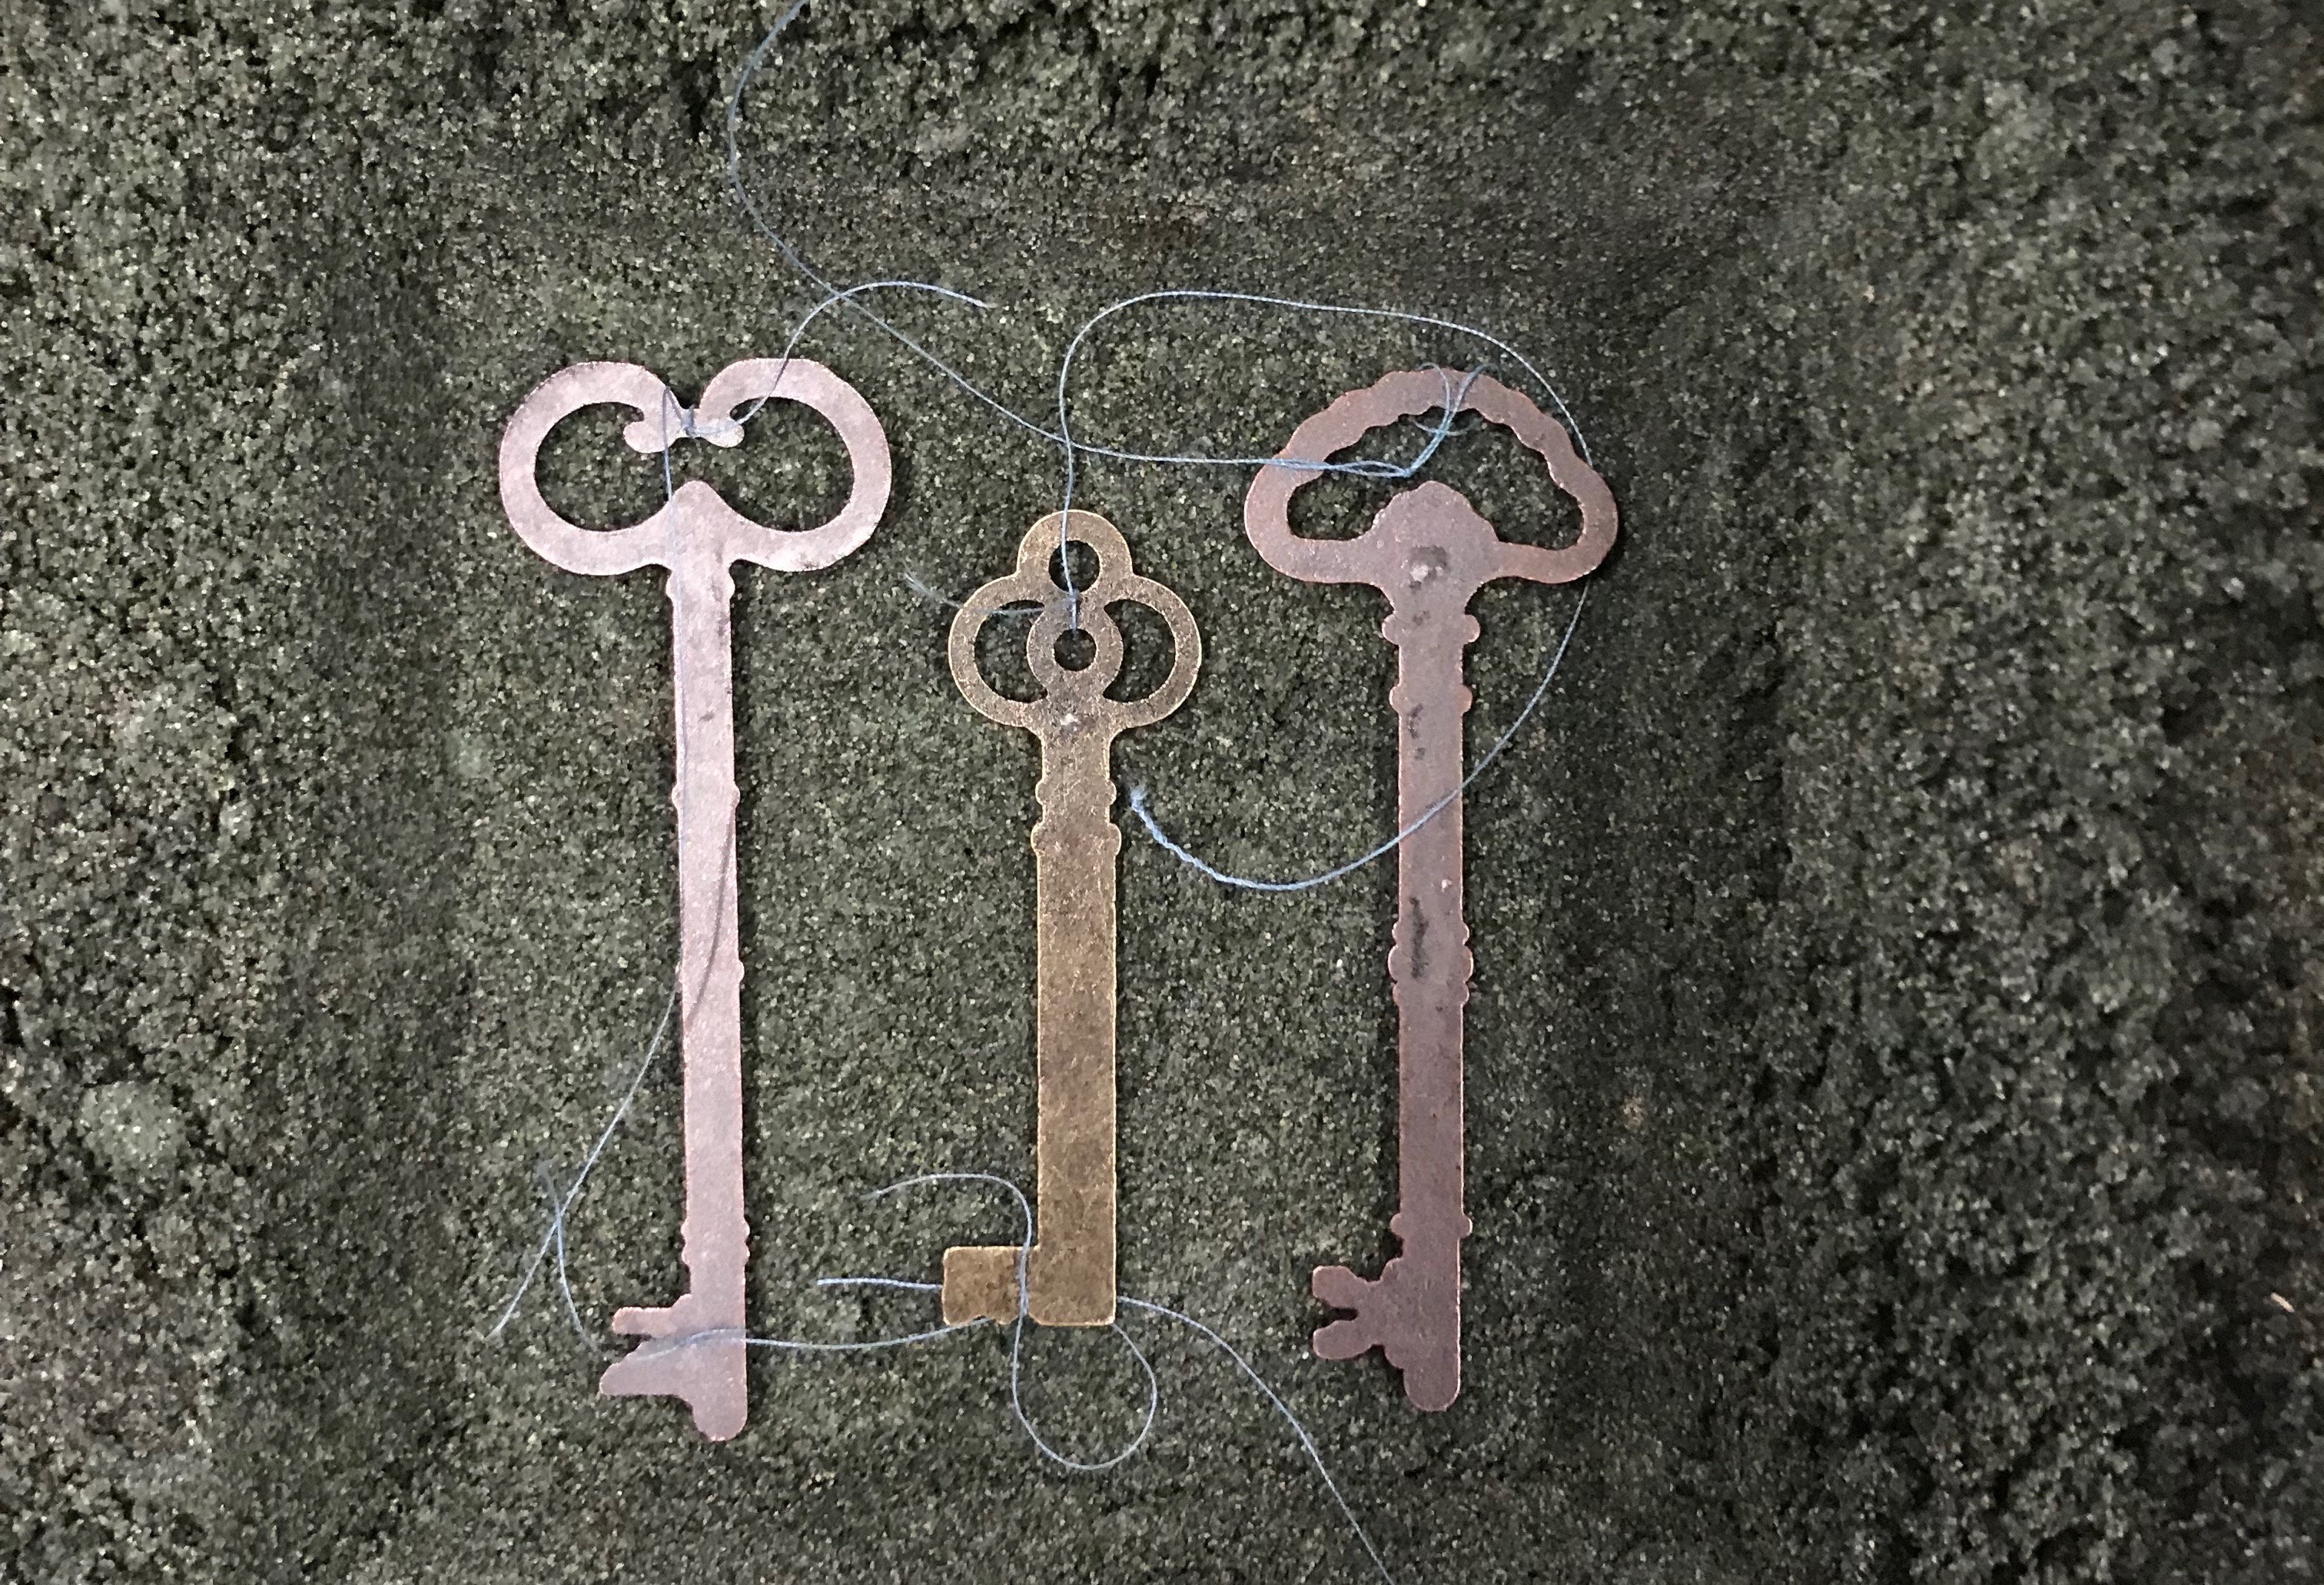 After creating the negatives of three keys this time, I sifted Dark Emerald Green powdered glass (or frit) on the mold. 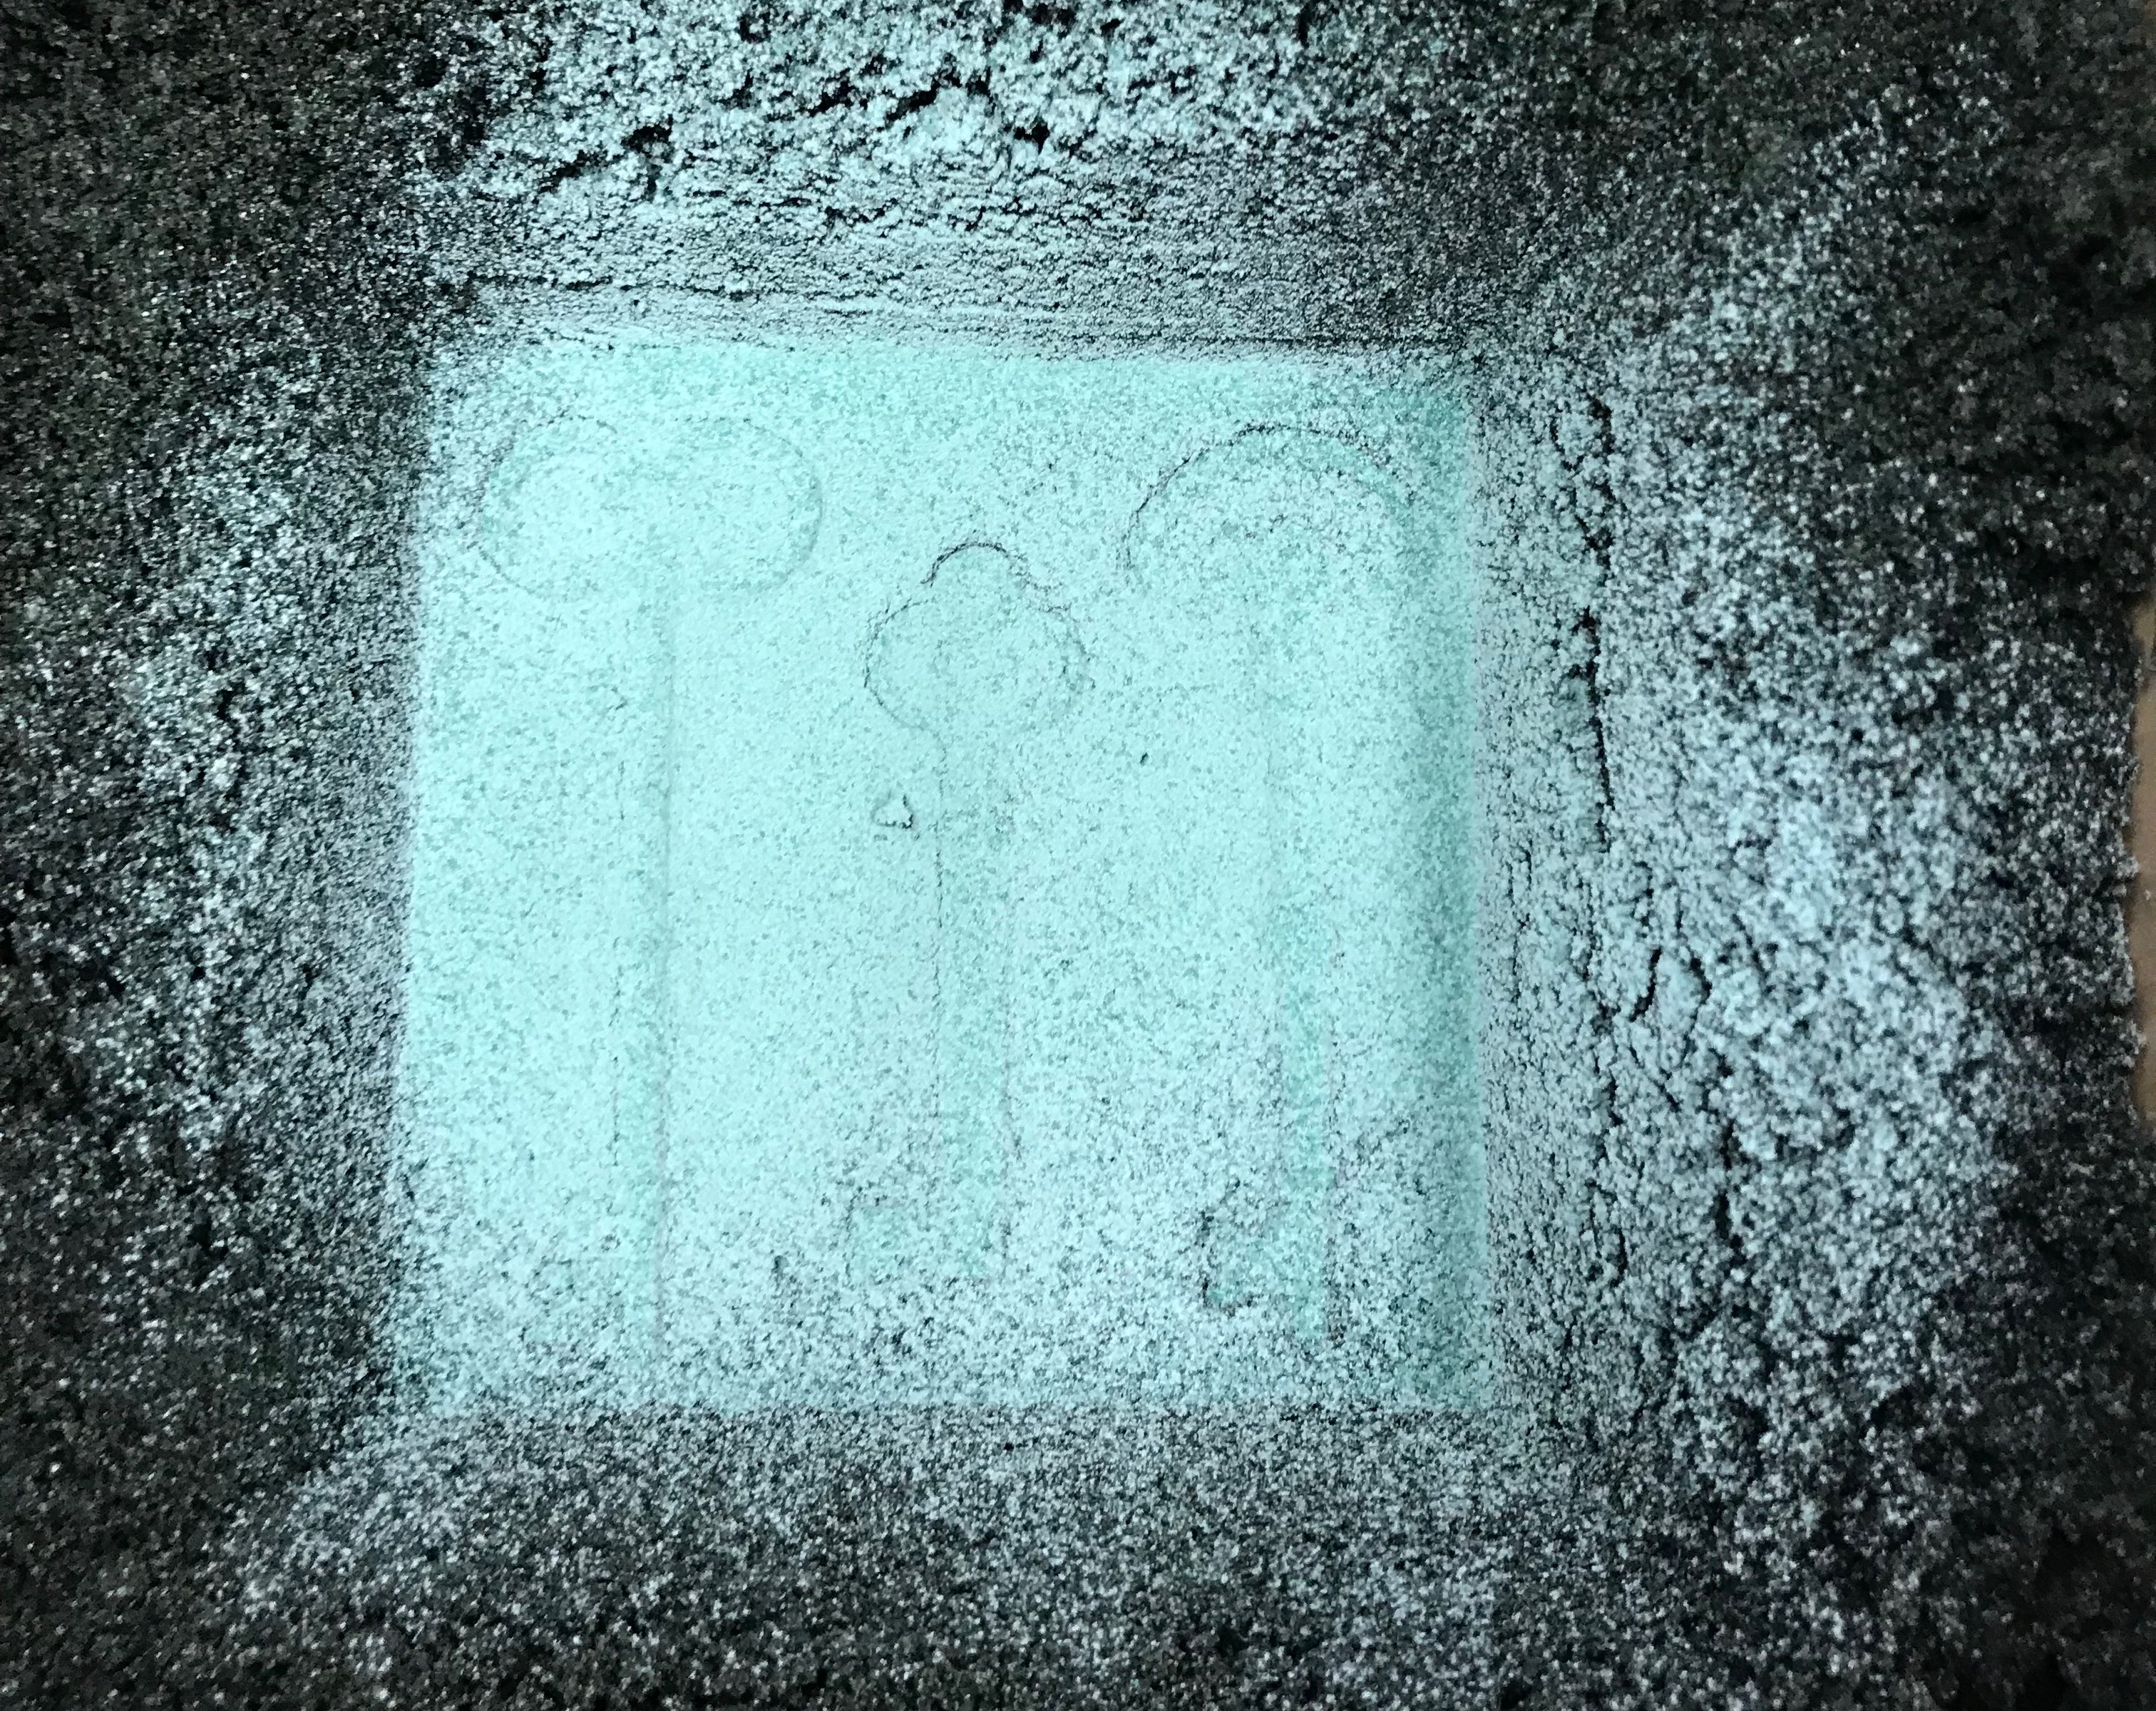 The hot glass poured over the mold melted the powdered glass and absorbed it in the process: 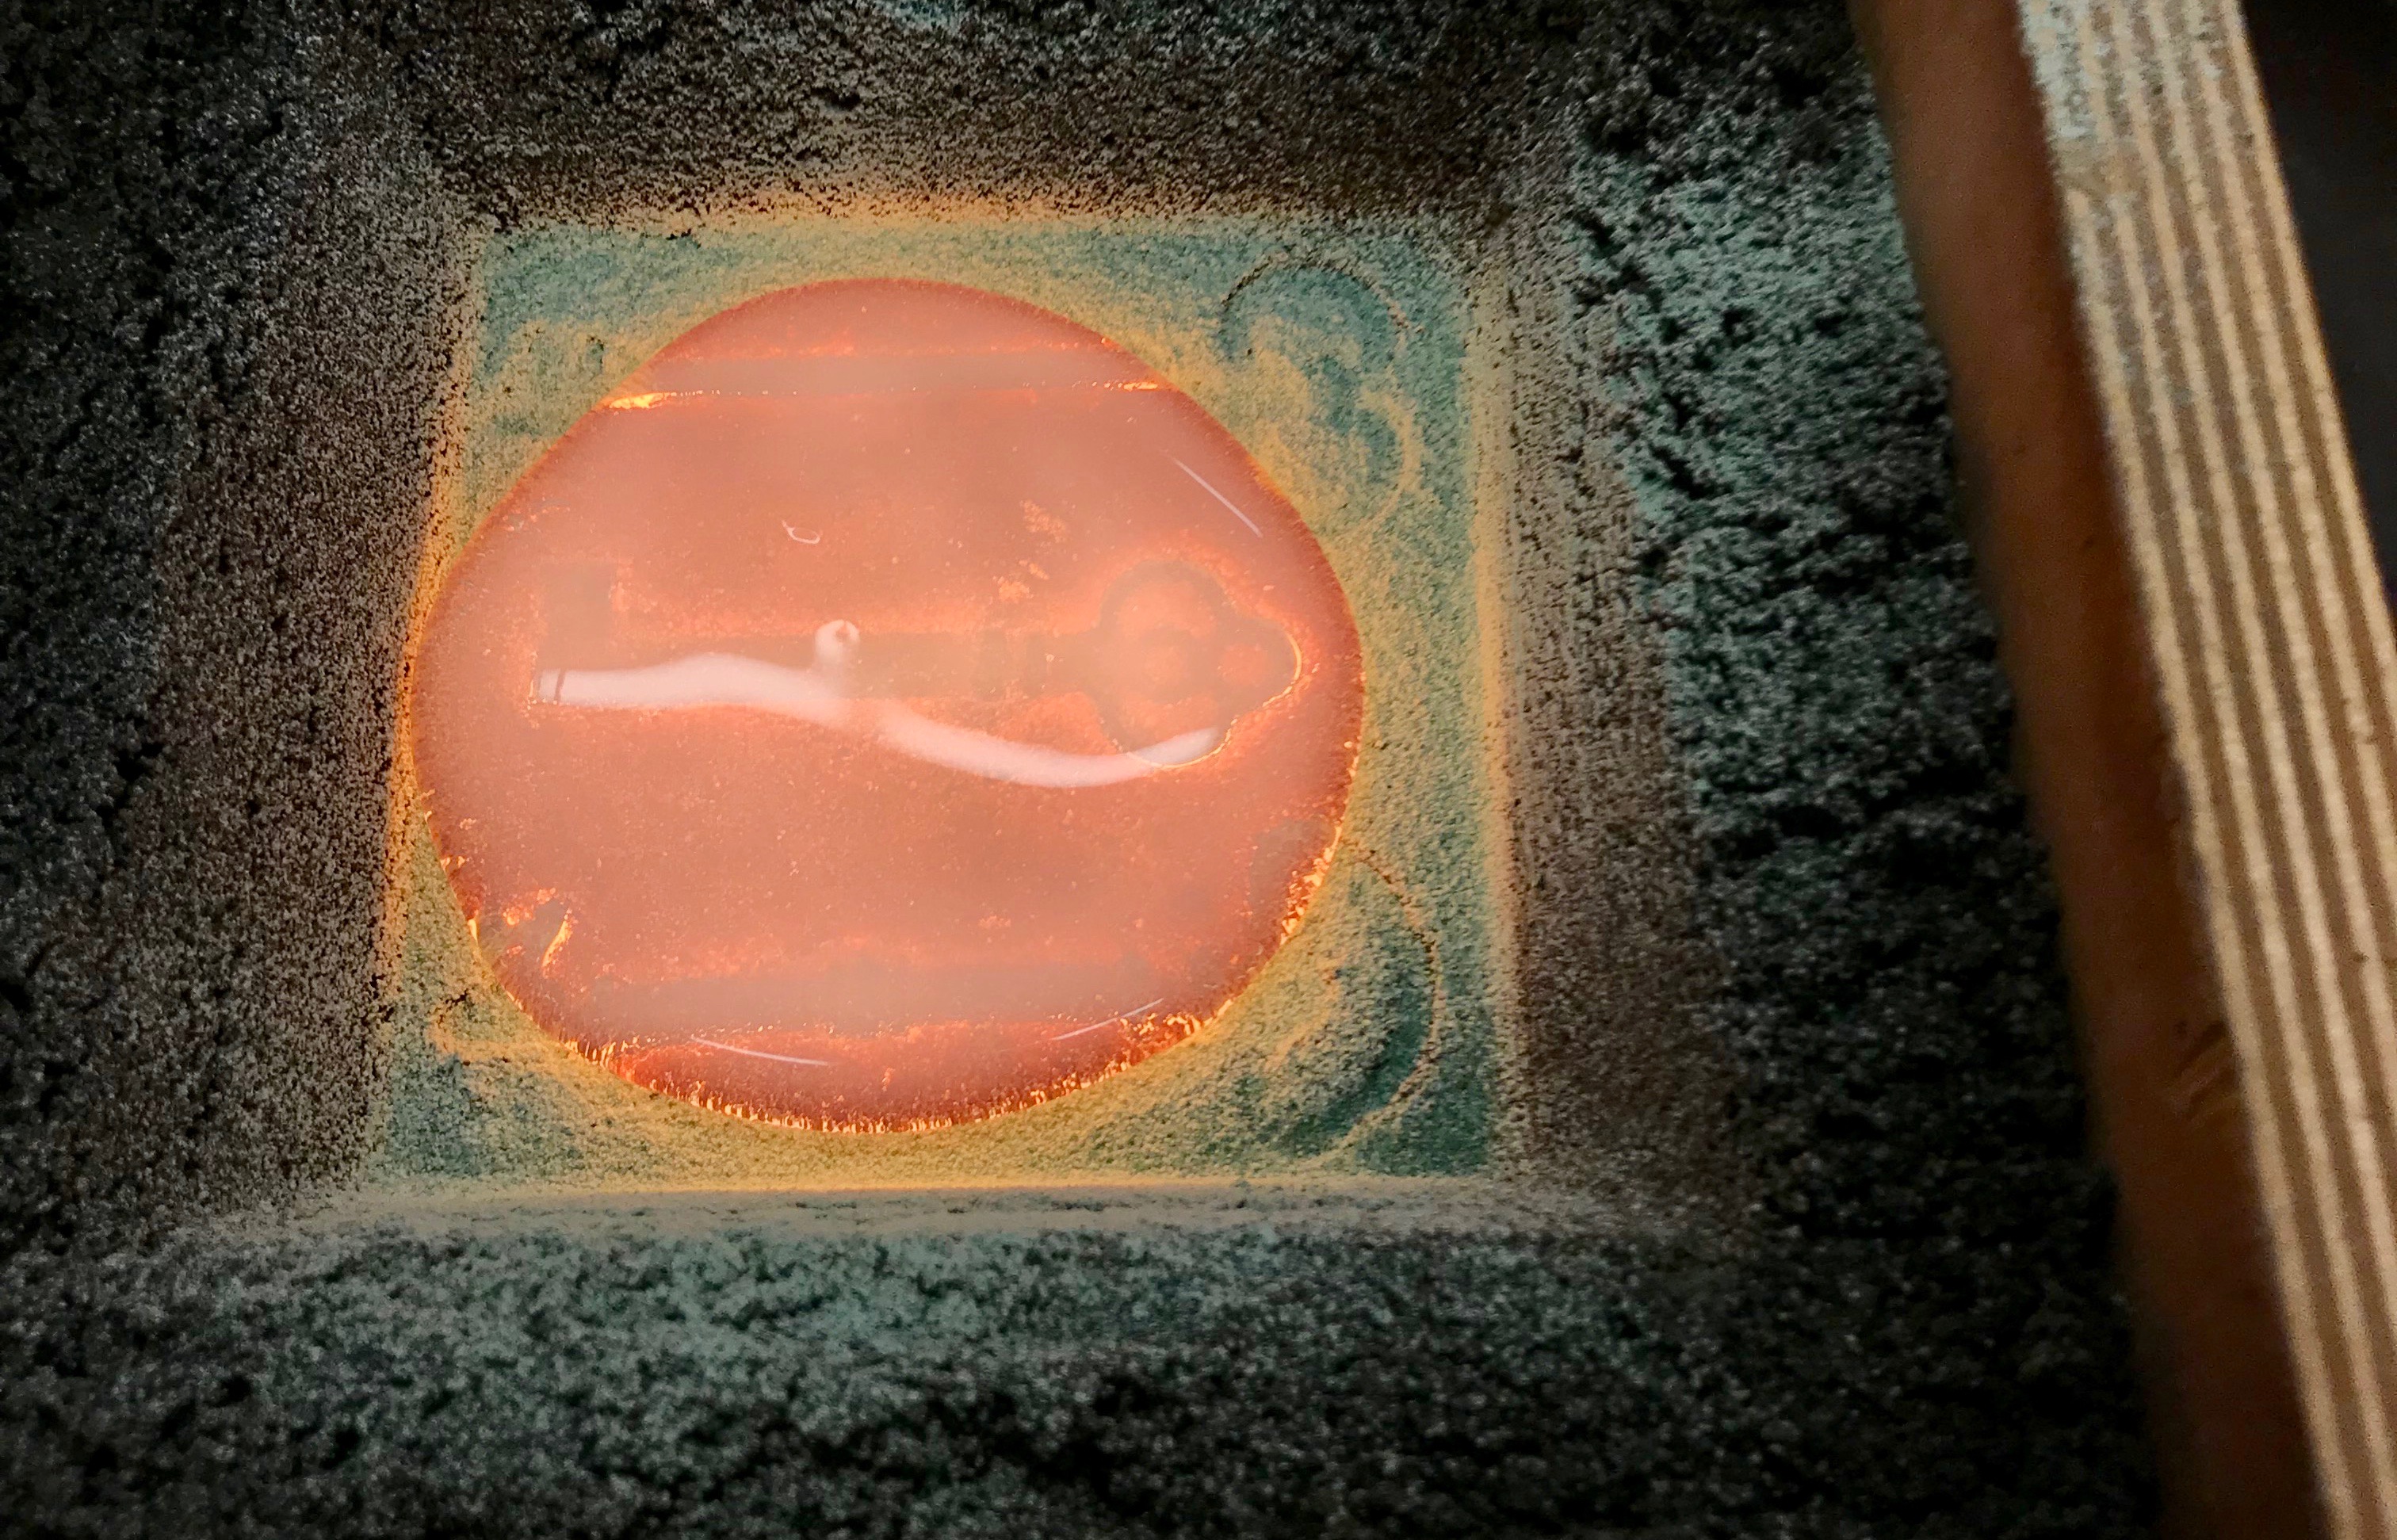 I did the same thing again but with Copper Ruby frit, a red powdered glass. 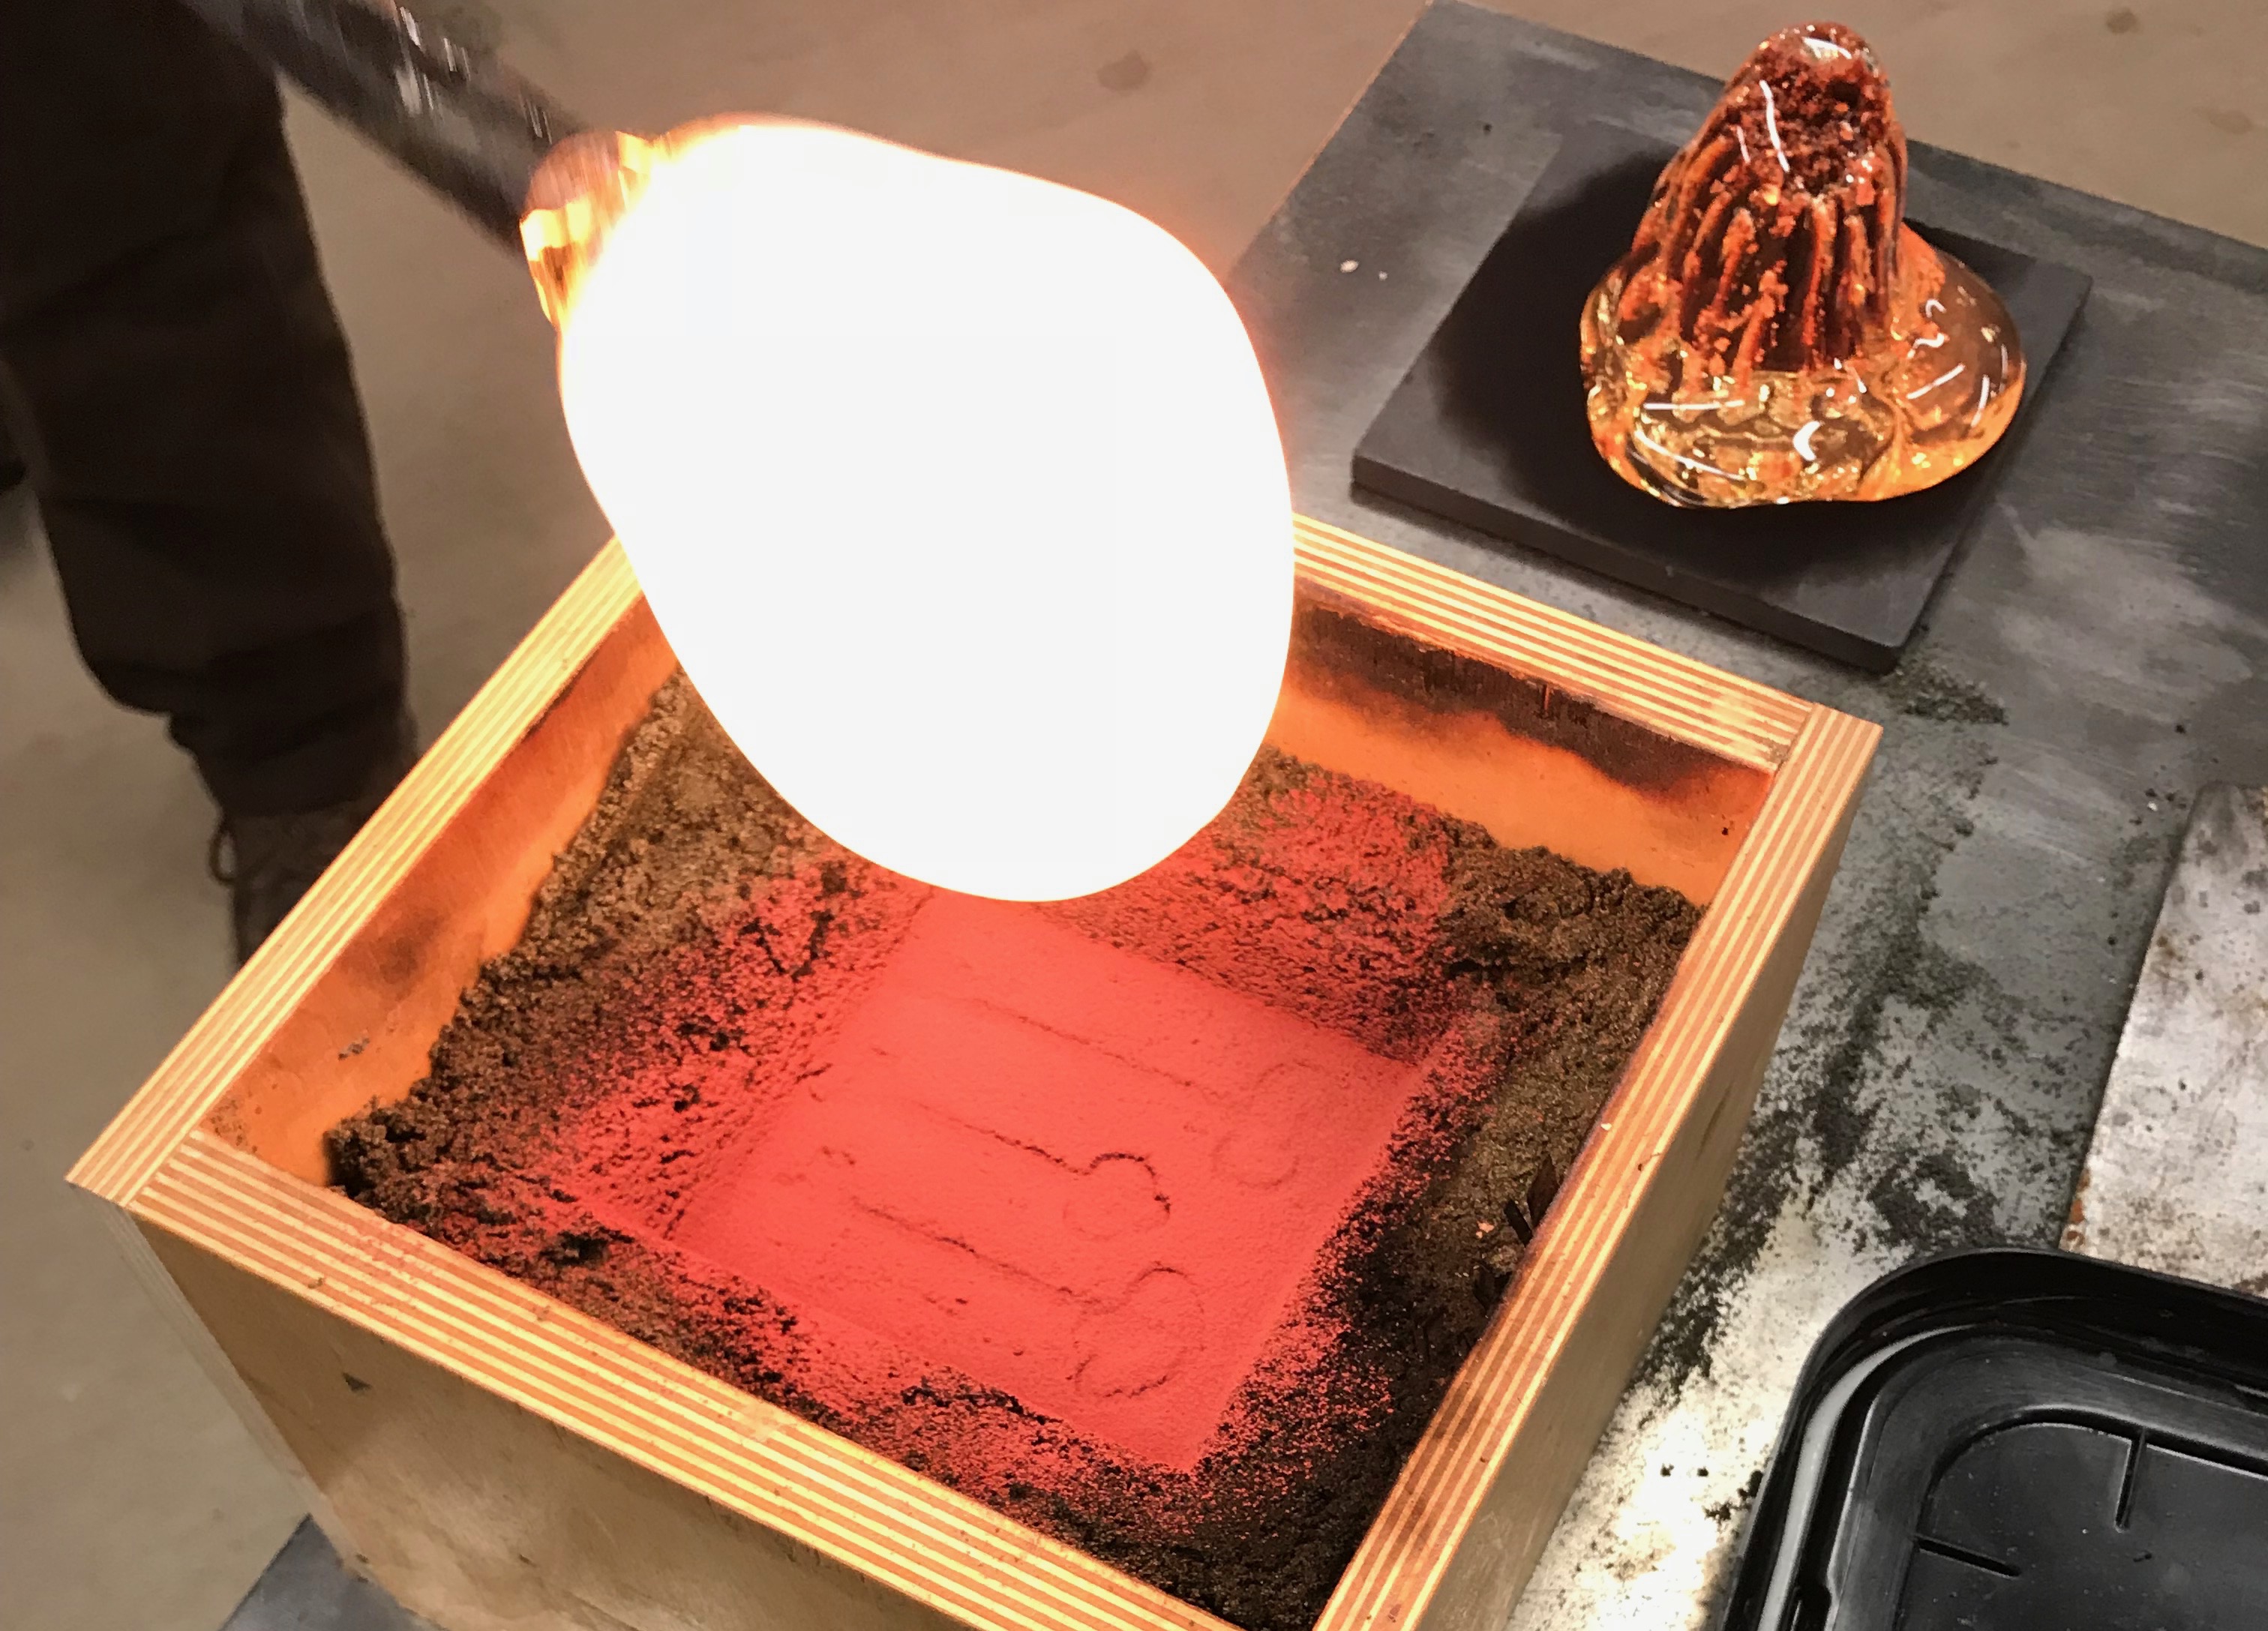 The next day, I picked up these colorful casts as well: 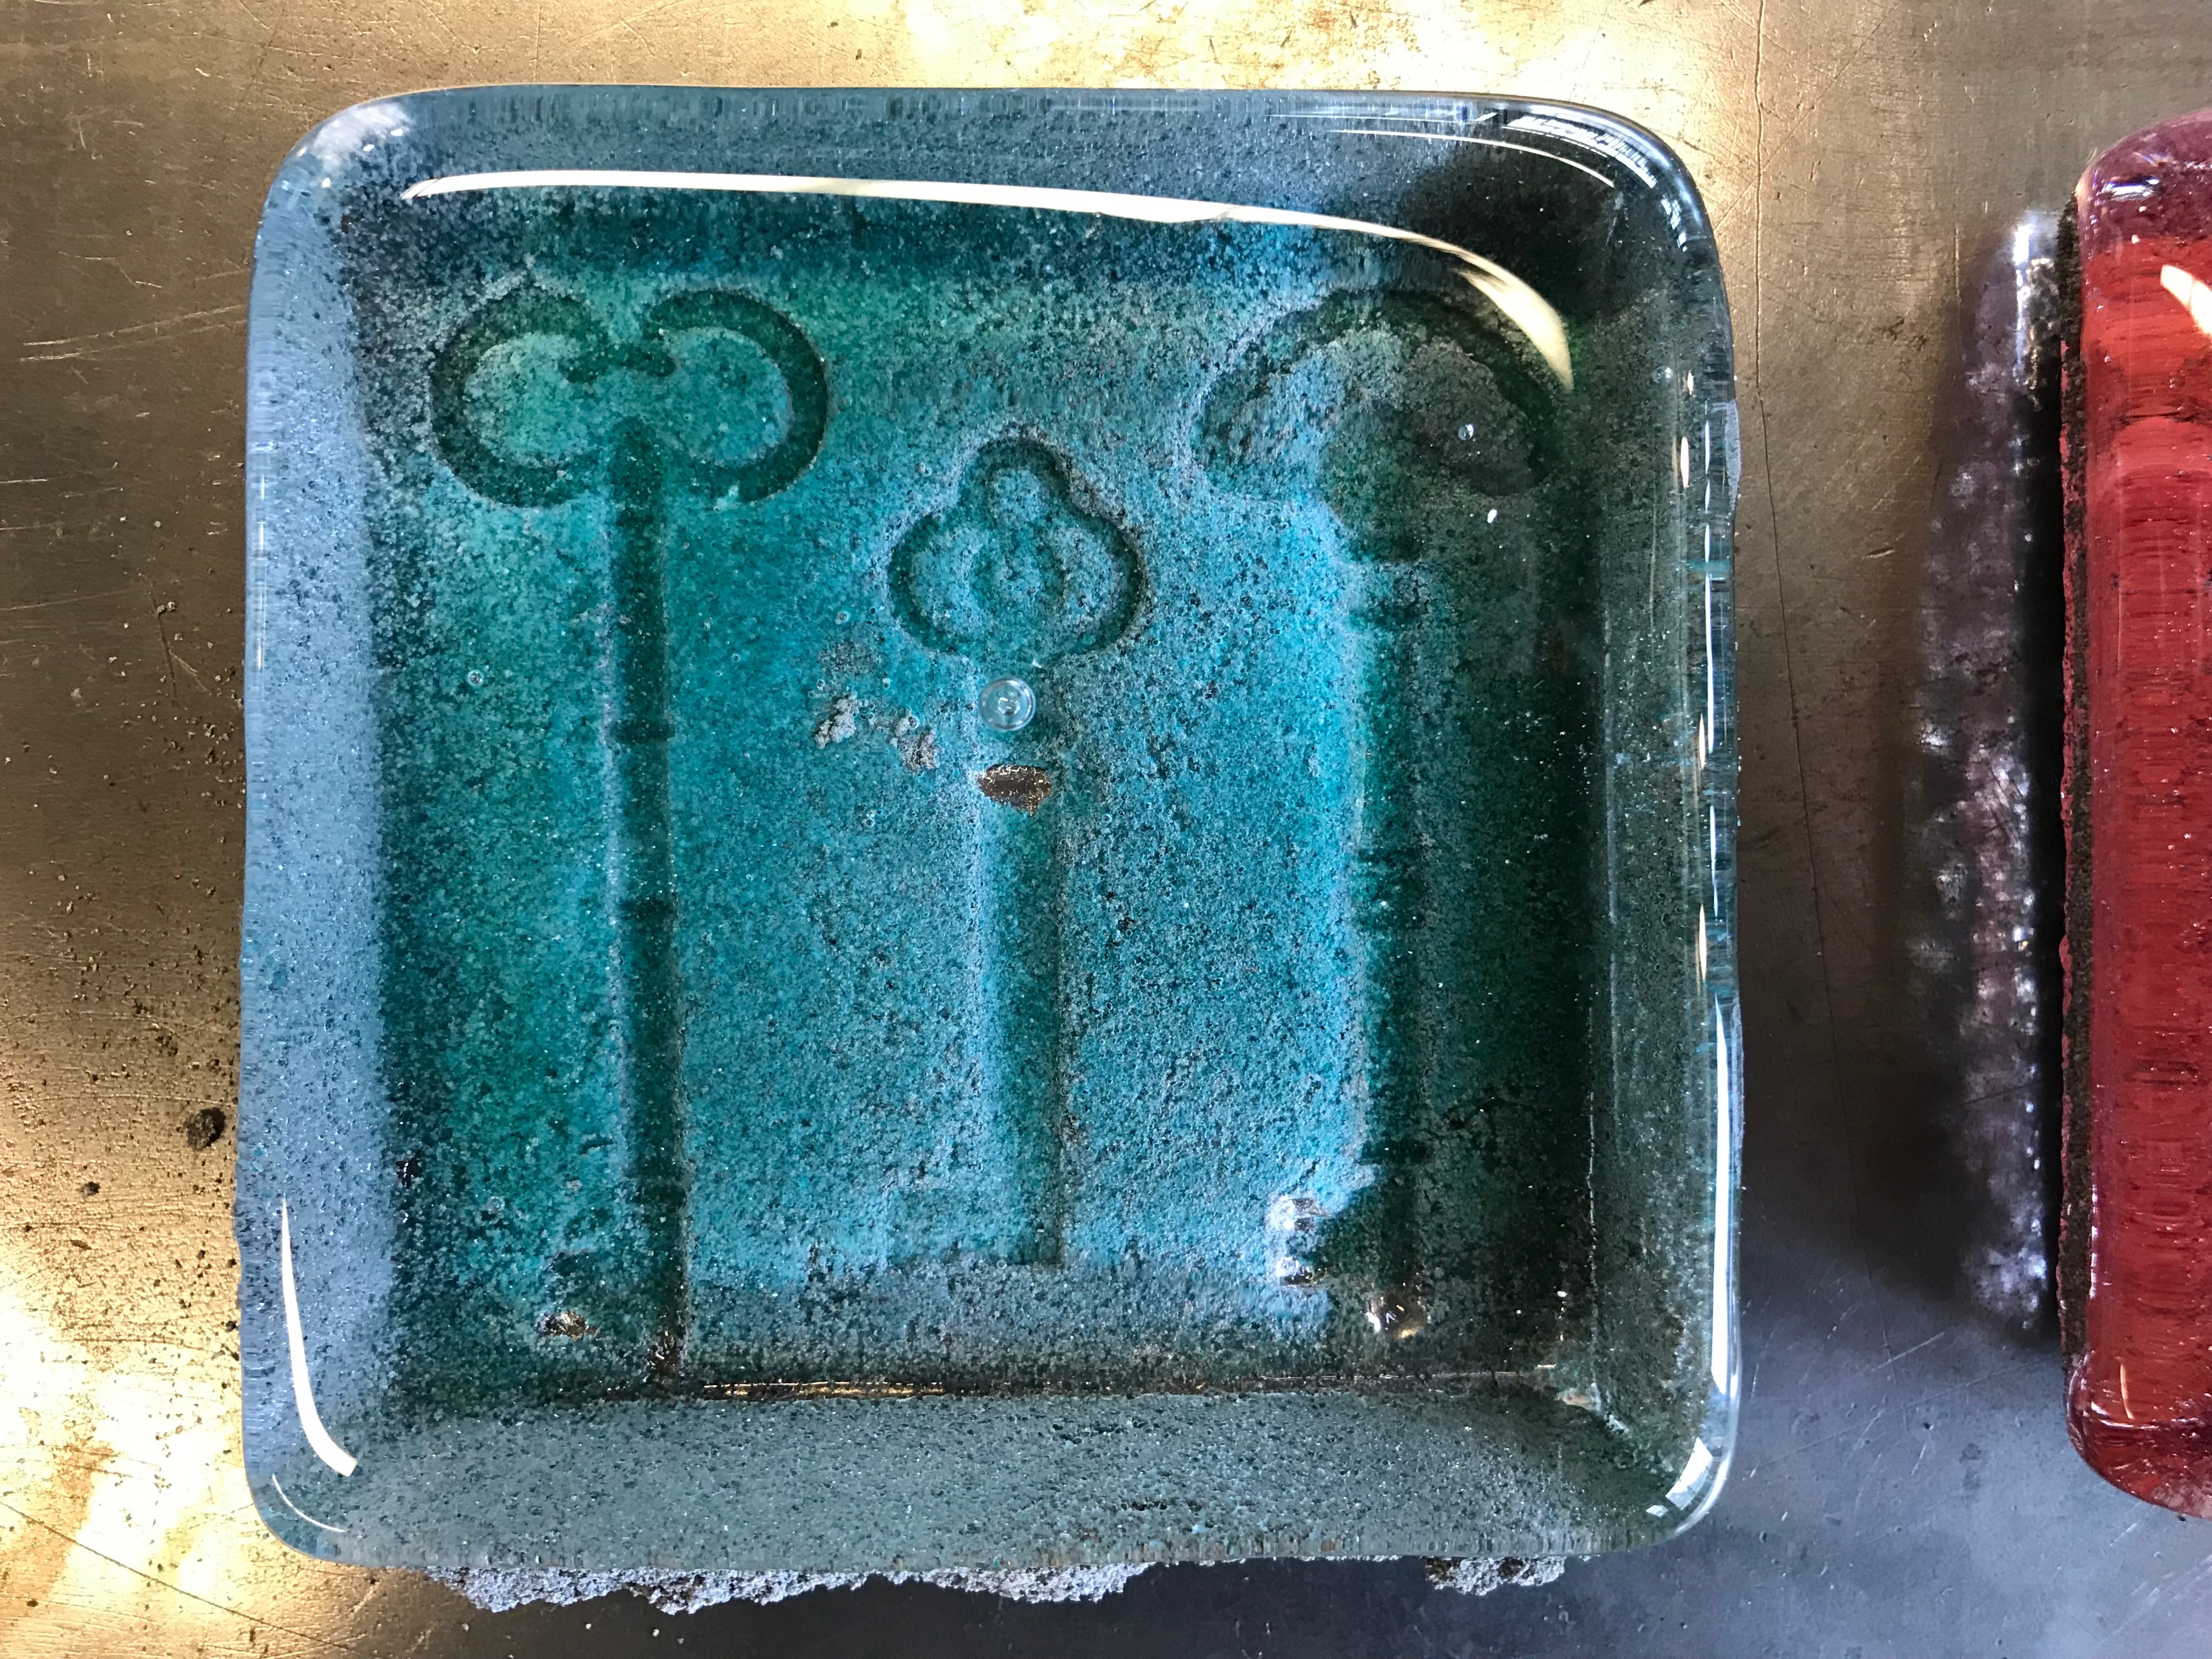  **Thank you so much for reading!** If you have any questions about the process please let me know! Please check out my Etsy if you're interested in purchasing some of my work: https://www.etsy.com/shop/SteveChadwickGlass?ref=pr_shop_more
👍 spc, dmiton, samsiedenstrang, choogirl, ausbitbank, thinknzombie, cub2, remlaps2, geekgirl, curie, liberosist, meerkat, hendrikdegrote, anwenbaumeister, rayken04, kushed, pharesim, borofreak, naanoo, bloodwork98, matejtomazin, mermaid, stahlberg, bobarker, roelandp, sauleore, shammi, unechtpeter, atakan57, sergeant113, steelartworks, aridamus, jhongo, facelessmyth, gothyjoshy, thetechdoctor, cerapost, iamashleyalove, borgheseglass, shawnalchemi, olgadmitriewna, synekto,