IMPROVING YOUR CHILD'S HANDWRITING
hive-165757·@whykay·
0.000 HBDIMPROVING YOUR CHILD'S HANDWRITING
![Uploading image #2...]()


![Uploading image #5...]()
IMPROVING YOUR CHILD'S HANDWRITING
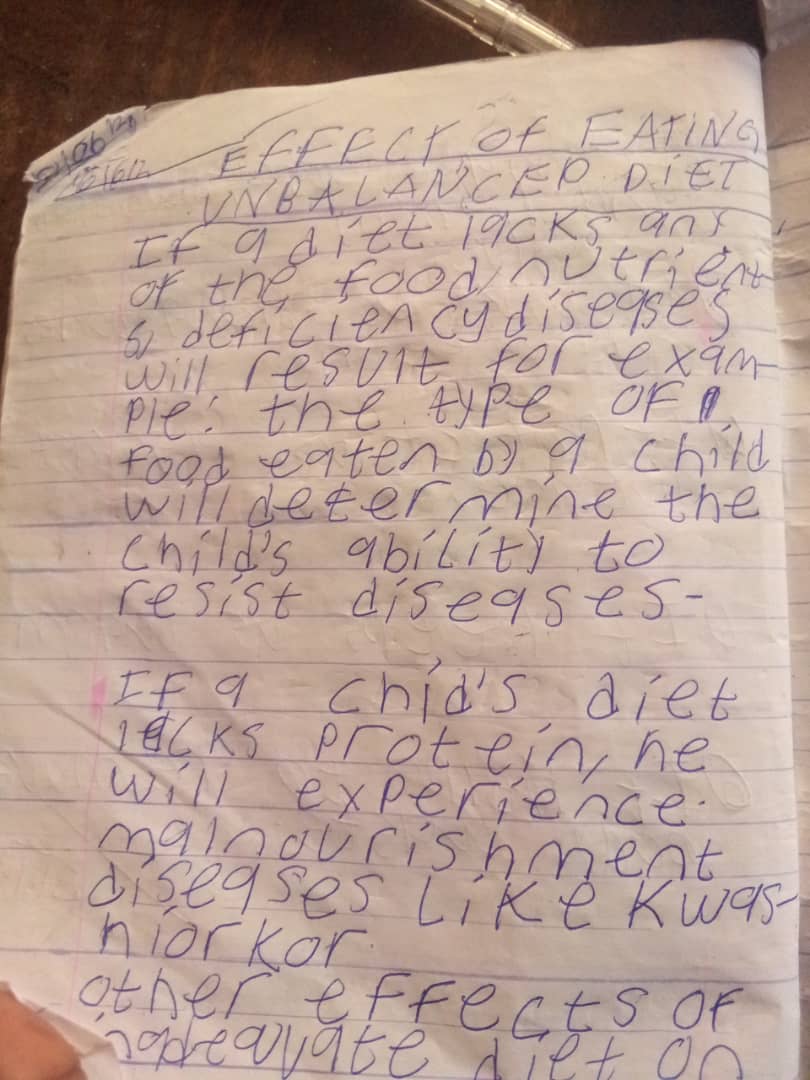
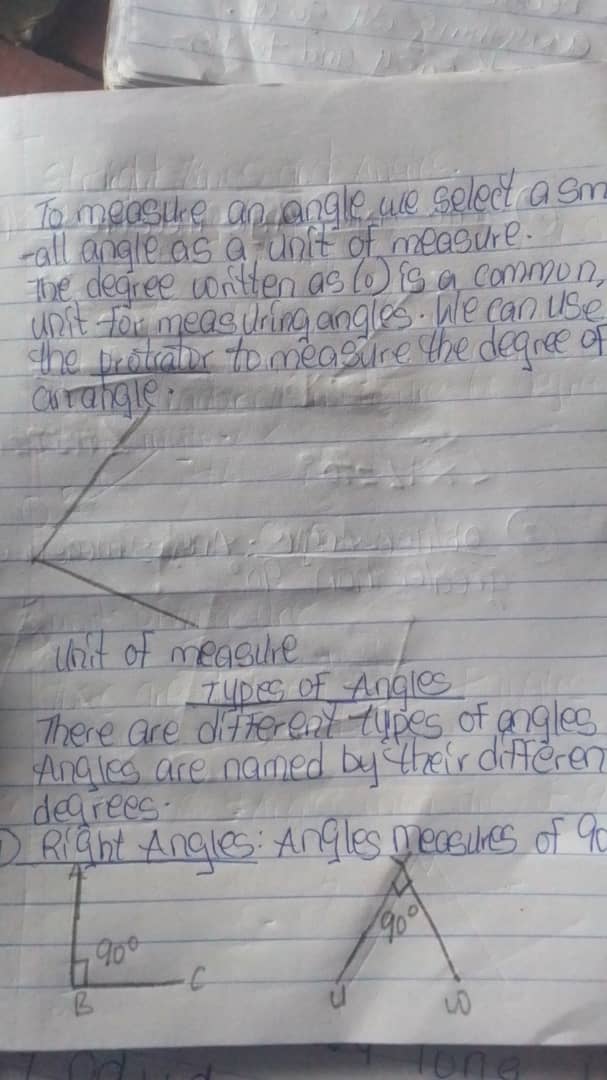
Poor handwriting can hinder a child's ability to express their knowledge effectively in written form, leading to lower grades, frustration, and disengagement in learning activities.
As a teacher and a parent I know how frustrating bad handwriting can be.
You know, people believe that anyone that has good handwriting is brilliant .
In the school where I teach in Nigeria, we have issues with some learners that have bad handwriting. Every means we gave to improve their hand writing didn't work until we introduced PRINT writing style to the learners.
WHAT IS PRINT WRITING STYLE
Print writing style, also known is a handwriting style where each letter is formed as a distinct, separate character. The letters are not joined together. It's characterized by its clear, block-like, and easily legible letter forms, making it ideal for forms, labels, and anything that needs to be easily understood.
_Step-by-Step Guide on How to Write in a Print Writing Style:_
1. Preparation:
- Warm-up: Before you start, do some hand and finger exercises to loosen up your muscles. This can include wiggling your fingers, touching each finger to your thumb, making fists and stretching your hands, and rolling your shoulders.
- Comfortable Setup: Ensure you have a good writing surface (a table or hard surface), a comfortable chair, good lighting, and proper posture (feet flat on the floor, arms and shoulders relaxed).
- Paper with Guidelines: For beginners, using lined paper is crucial. This helps maintain consistent letter size and alignment.
- Choose Your Pen/Pencil: Use a writing instrument that feels comfortable in your hand and provides a smooth writing experience. Gel pens or fountain pens can reduce hand strain.
2. Holding Your Pen/Pencil:
- Relaxed Grip: Don't grip the pen too tightly. A relaxed, comfortable hold is key to preventing hand fatigue and allowing for smooth movement.
- Proper Placement: Place your index finger on top of the pen, about an inch from the tip. Your thumb should rest on the side, and the pen should be supported by your middle finger. Your ring and pinky fingers should rest naturally.
3. Forming Individual Letters (The Core of Print Writing):
- Focus on Each Letter: The key to print writing is to think of each letter as a separate entity. Don't rush to connect them.
- Start with Uppercase Letters (Capitals):
- All capital letters typically start on the "headline" (the top line of your writing guide).
- They should sit on the "baseline" (the bottom line of your writing guide).
- None of them should extend below the baseline.
- Practice forming each capital letter by focusing on its unique shape and strokes. For example, for 'A', start at the top, draw a slanting line down to the left, lift your pen, draw another slanting line down to the right, lift your pen, and draw a horizontal line across the middle.
- Move to Lowercase Letters:
- Lowercase letters can vary in where they start. Some start at the "headline" (like 't' or 'h'), some start at the "midline" (the middle line between the headline and baseline, like 'a' or 'c').
- Some lowercase letters have "tails" that dip below the baseline (g, y, p, q, j).
- Pay attention to the specific strokes and curves for each letter. Many resources provide directional arrows for forming letters.
- Consistency in Size and Shape: Aim for uniformity in the size and shape of your letters. This contributes significantly to legibility.
4. Spacing and Alignment:
- Letter Spacing: Leave a small, consistent space between individual letters within a word. Avoid crowding or spreading them too far apart.
- Word Spacing: Leave a larger, consistent space between words to clearly differentiate them. A good rule of thumb is to leave enough space to fit the lowercase letter 'o' between words.
- Line Alignment: Ensure your letters sit squarely on the baseline. For letters with ascenders (like 'b', 'd', 'f', 'h', 'k', 'l', 't'), make sure they reach the headline. For letters with descenders (g, y, p, q, j), ensure their tails extend below the baseline consistently.
5. Practice and Refinement:
- Slow Down: Especially when starting, write slowly. Rushing often leads to sloppy handwriting.
- Practice Drills: Dedicate time to handwriting drills. This involves repeatedly writing individual letters or common letter combinations to build muscle memory and consistency.
- Copying: Copy text from books or magazines that are printed clearly. This helps you observe and replicate well-formed print letters.
- Analyze Your Writing: Regularly review your own writing. Identify areas where you can improve, such as inconsistent letter size, uneven spacing, or unclear letter forms.
- Patience is Key: Improving handwriting takes time and consistent practice. Don't get discouraged if you don't see immediate results. By following these steps and practicing regularly, you can develop a clear, legible, and consistent print writing style.
This is what I teach presently and I tell you for a fact that I have recorded 90% success. You can also give it a trial.
