[ESP-ING] Kawaii mini candy box tutorial | Kawaii mini candy box tutorial
hive-148441·@yolimarag·
0.000 HBD[ESP-ING] Kawaii mini candy box tutorial | Kawaii mini candy box tutorial
## Un saludo Creativos 🤗 / Best regards Creativos 🤗 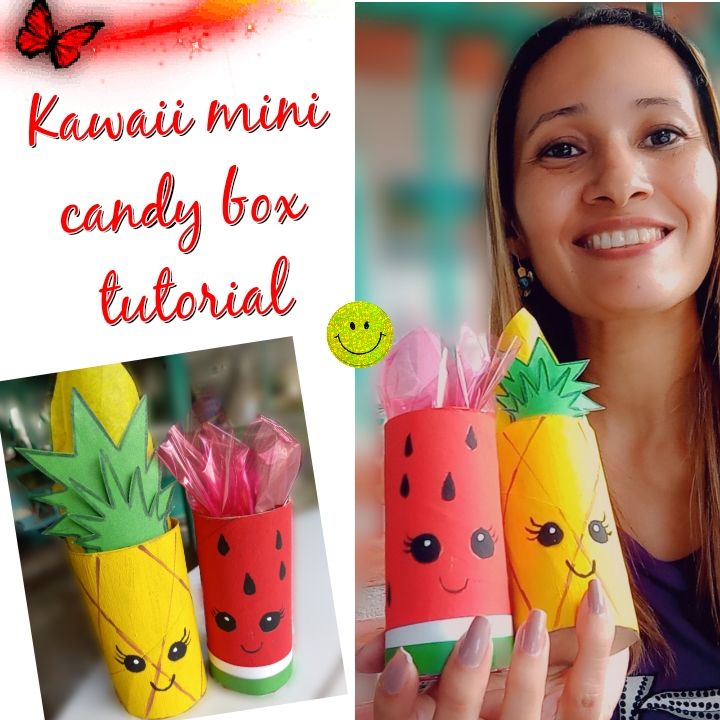  <div class="pull-left">  En los cumpleaños infantiles siempre necesitamos tener algunos cotillones o un detallito para el invitado y muchas veces no tenemos los recursos, así que podemos reciclar tubitos de papel higiénico que salen muy económico y con eso podemos hacer unos mini dulceros para repartir en cumpleaños en cualquier detalle que quieran obsequiar algún souvenir muy lindo, así que les presento esta opción de unos mini dulceros tipo kawaii. Así que los invito a seguir leyendo, son fáciles, económicos y prácticos, manos a la obra creativos. </div> <div class="pull-right">  In children's birthdays we always need to have some cotillions or a detail for the guest and often do not have the resources, so we can recycle toilet paper tubes that come out very economical and with that we can make a mini candy to distribute on birthdays in any detail that want to give away a very nice souvenir, so I present this option of a mini kawaii type candy. So I invite you to keep reading, they are easy, economical and practical, creative hands to work. </div> --- 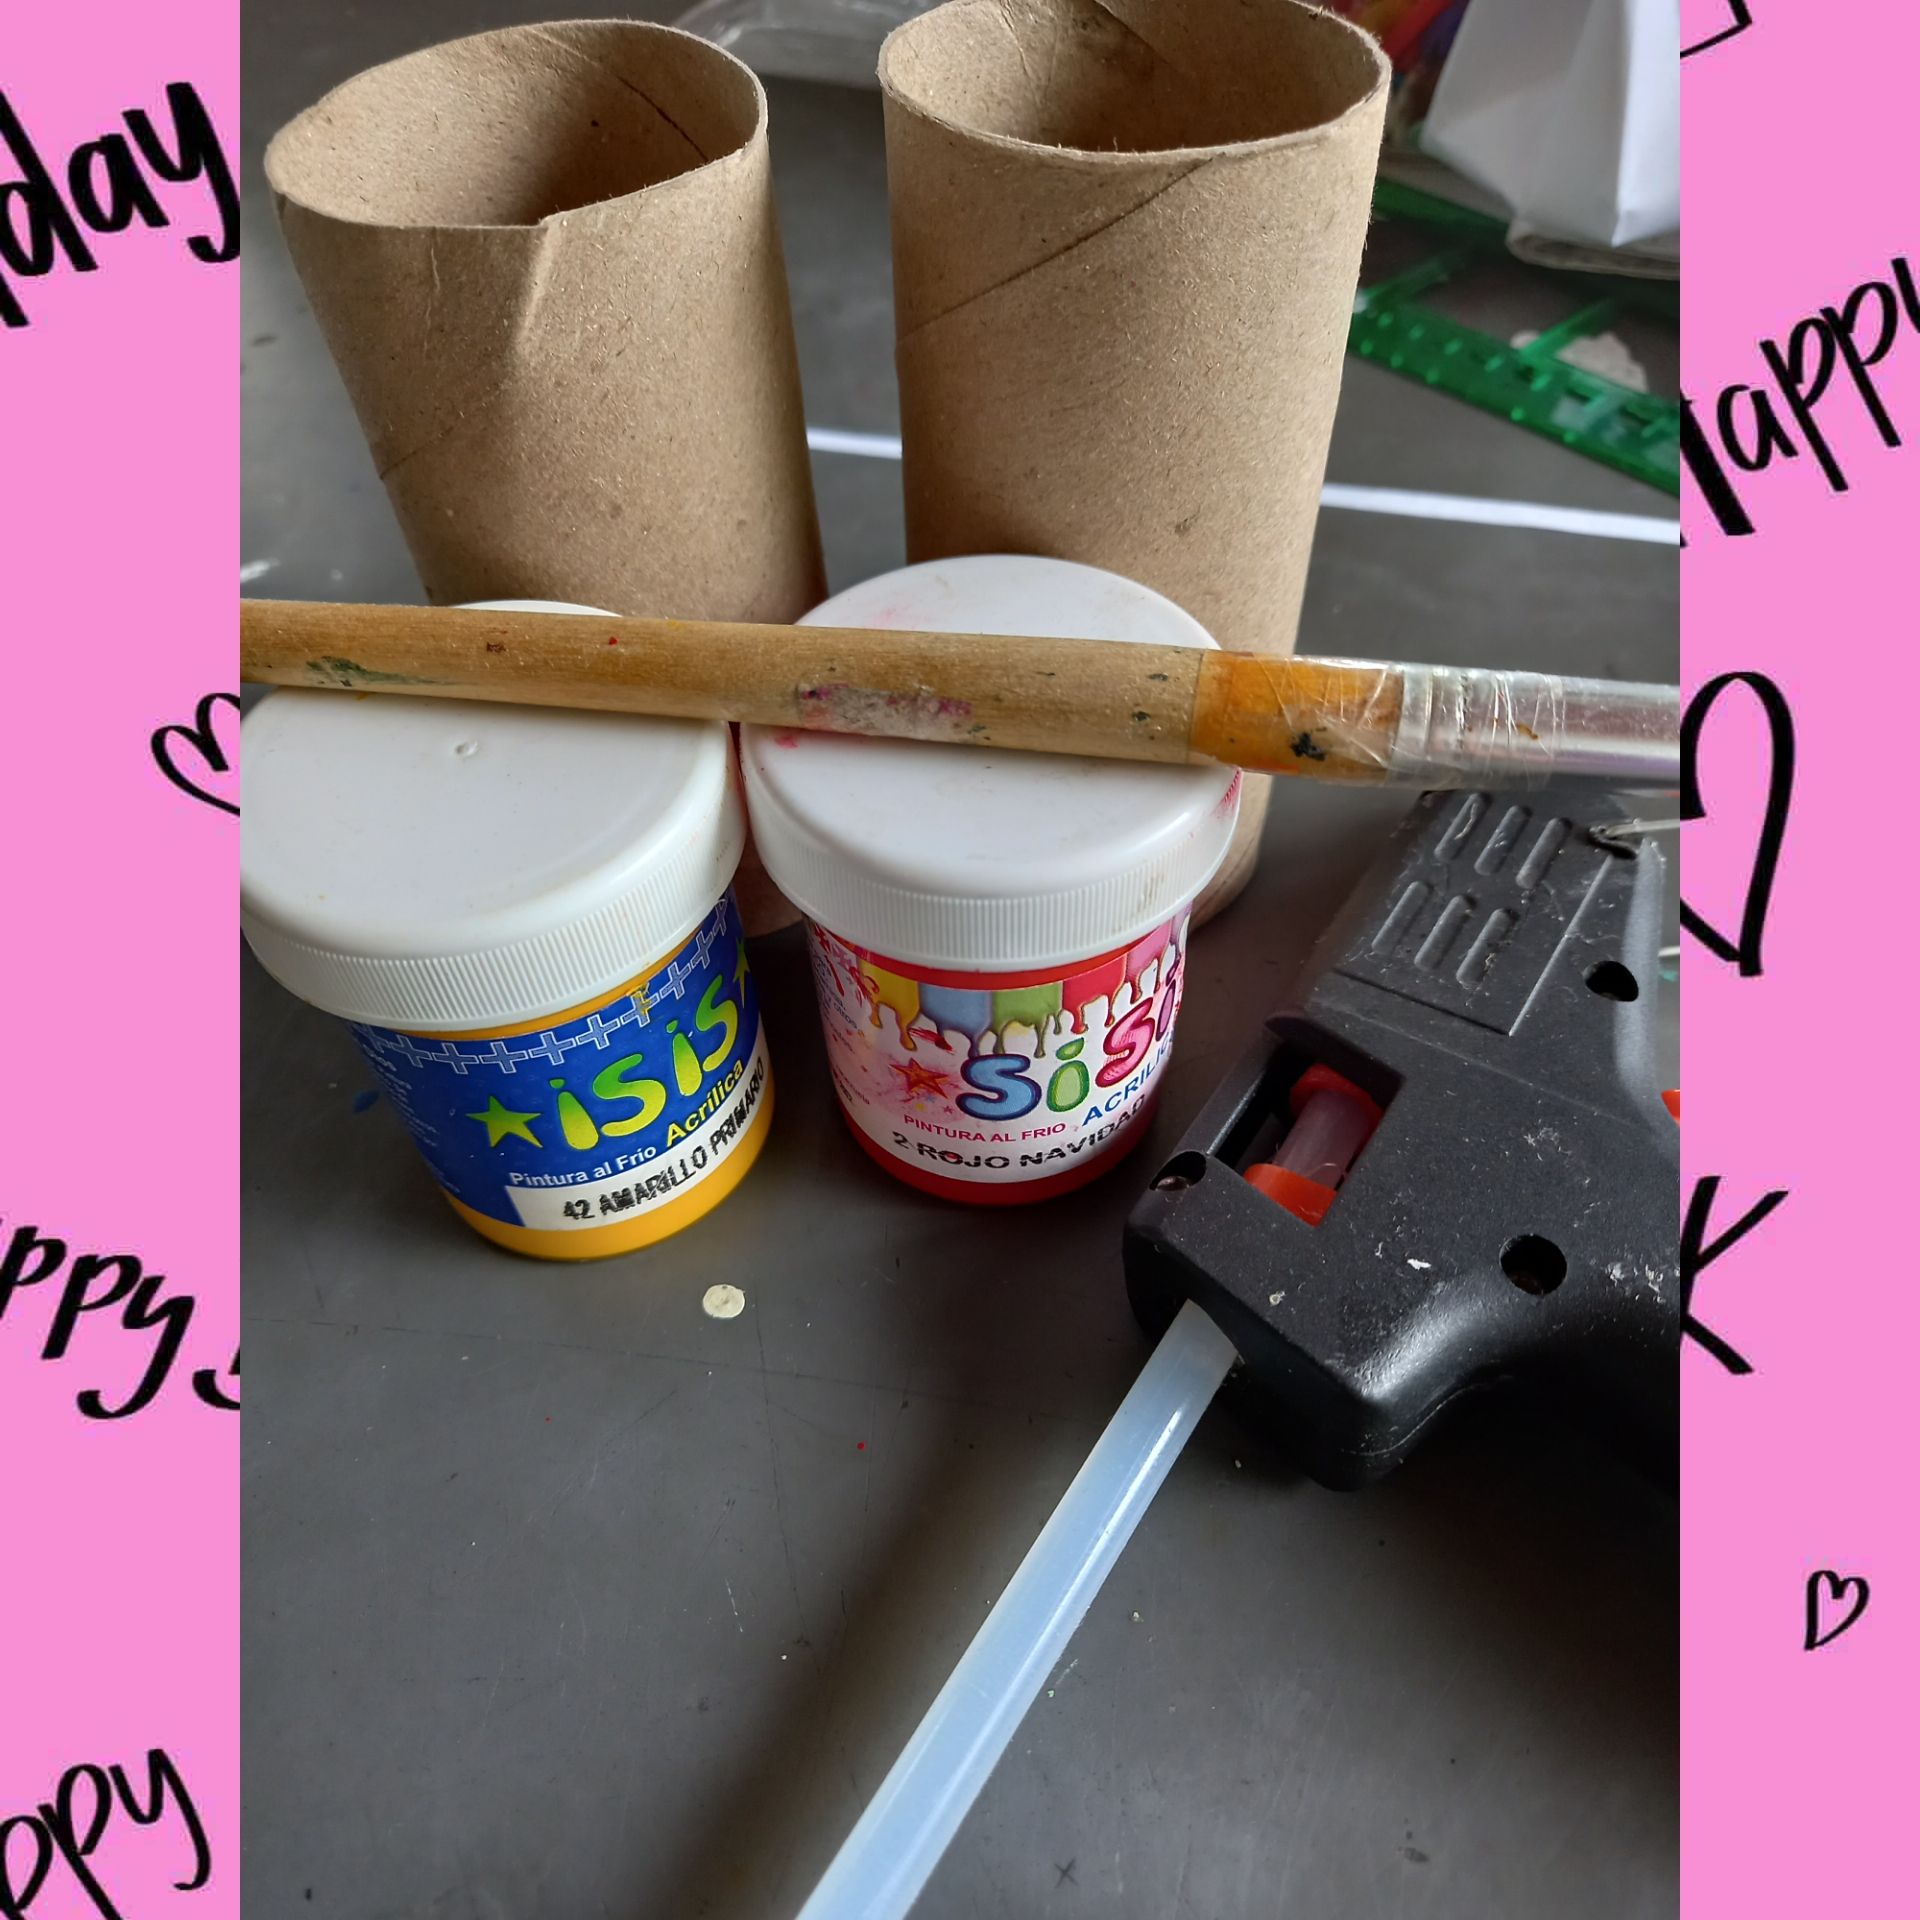 <div class="pull-left"> ## Materiales: + Tubos de papel Higiénico + Pinturas acrílicas + Pinceles + Papel de seda + Cartulina. + Cartón blando. </div> <div class="pull-right"> ## Materials: + Toilet paper tubes + Acrylic paints + Brushes + Tissue paper + Cardboard. + Soft cardboard. </div> --- ## Paso a Paso / Step by Step 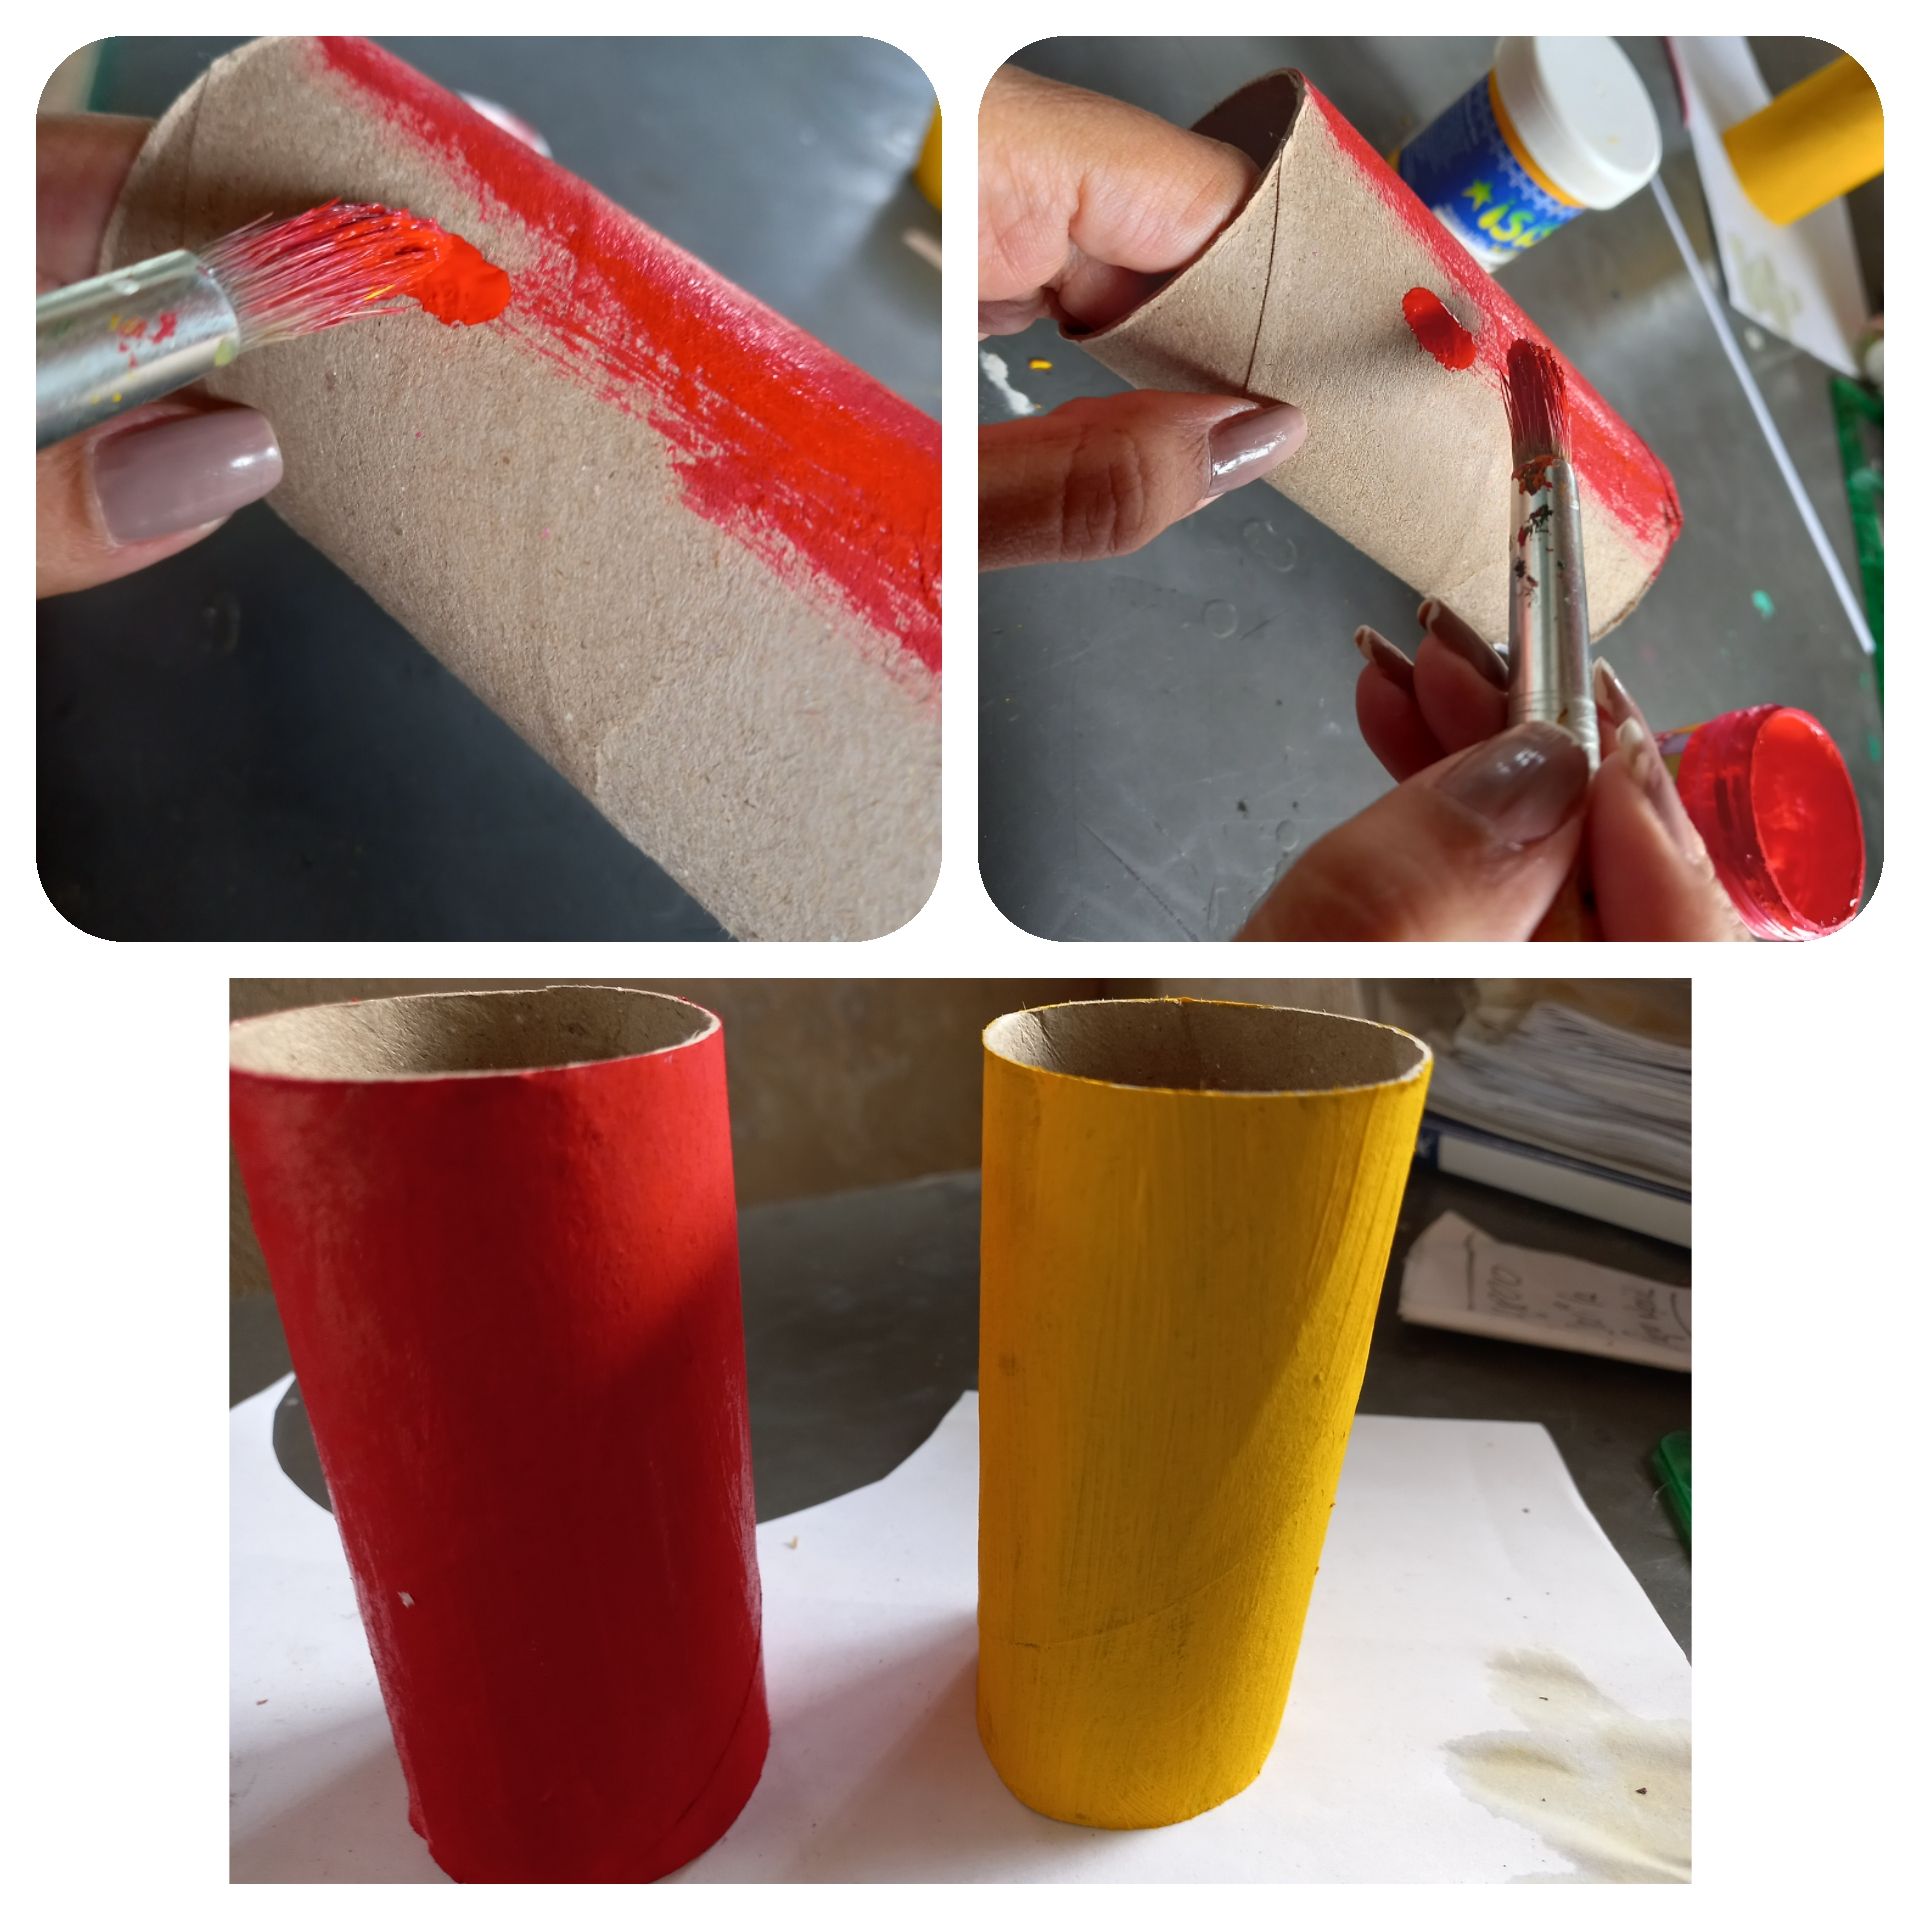 <div class="pull-left"> Lo primero que vamos a hacer es pintar nuestros tubos del color de la fruta de su preferencia, en este caso yo tomé color rojo de fresa y color amarillo para una piña. </div> <div class="pull-right"> The first thing we are going to do is to paint our tubes with the color of the fruit of your preference, in this case I took red for strawberry and yellow for a pineapple. </div> ---  <div class="pull-left"> Con cartón fino vamos a hacer el redondo el redondel de nuestro papel higiénico para ponerle una pequeña tapa por la parte de abajo y la pegamos con silicón caliente. </div> <div class="pull-right"> The first thing we are going to do is to paint our tubes with the color of the fruit of your preference, in this case I took red for strawberry and yellow for a pineapple. </div> --- 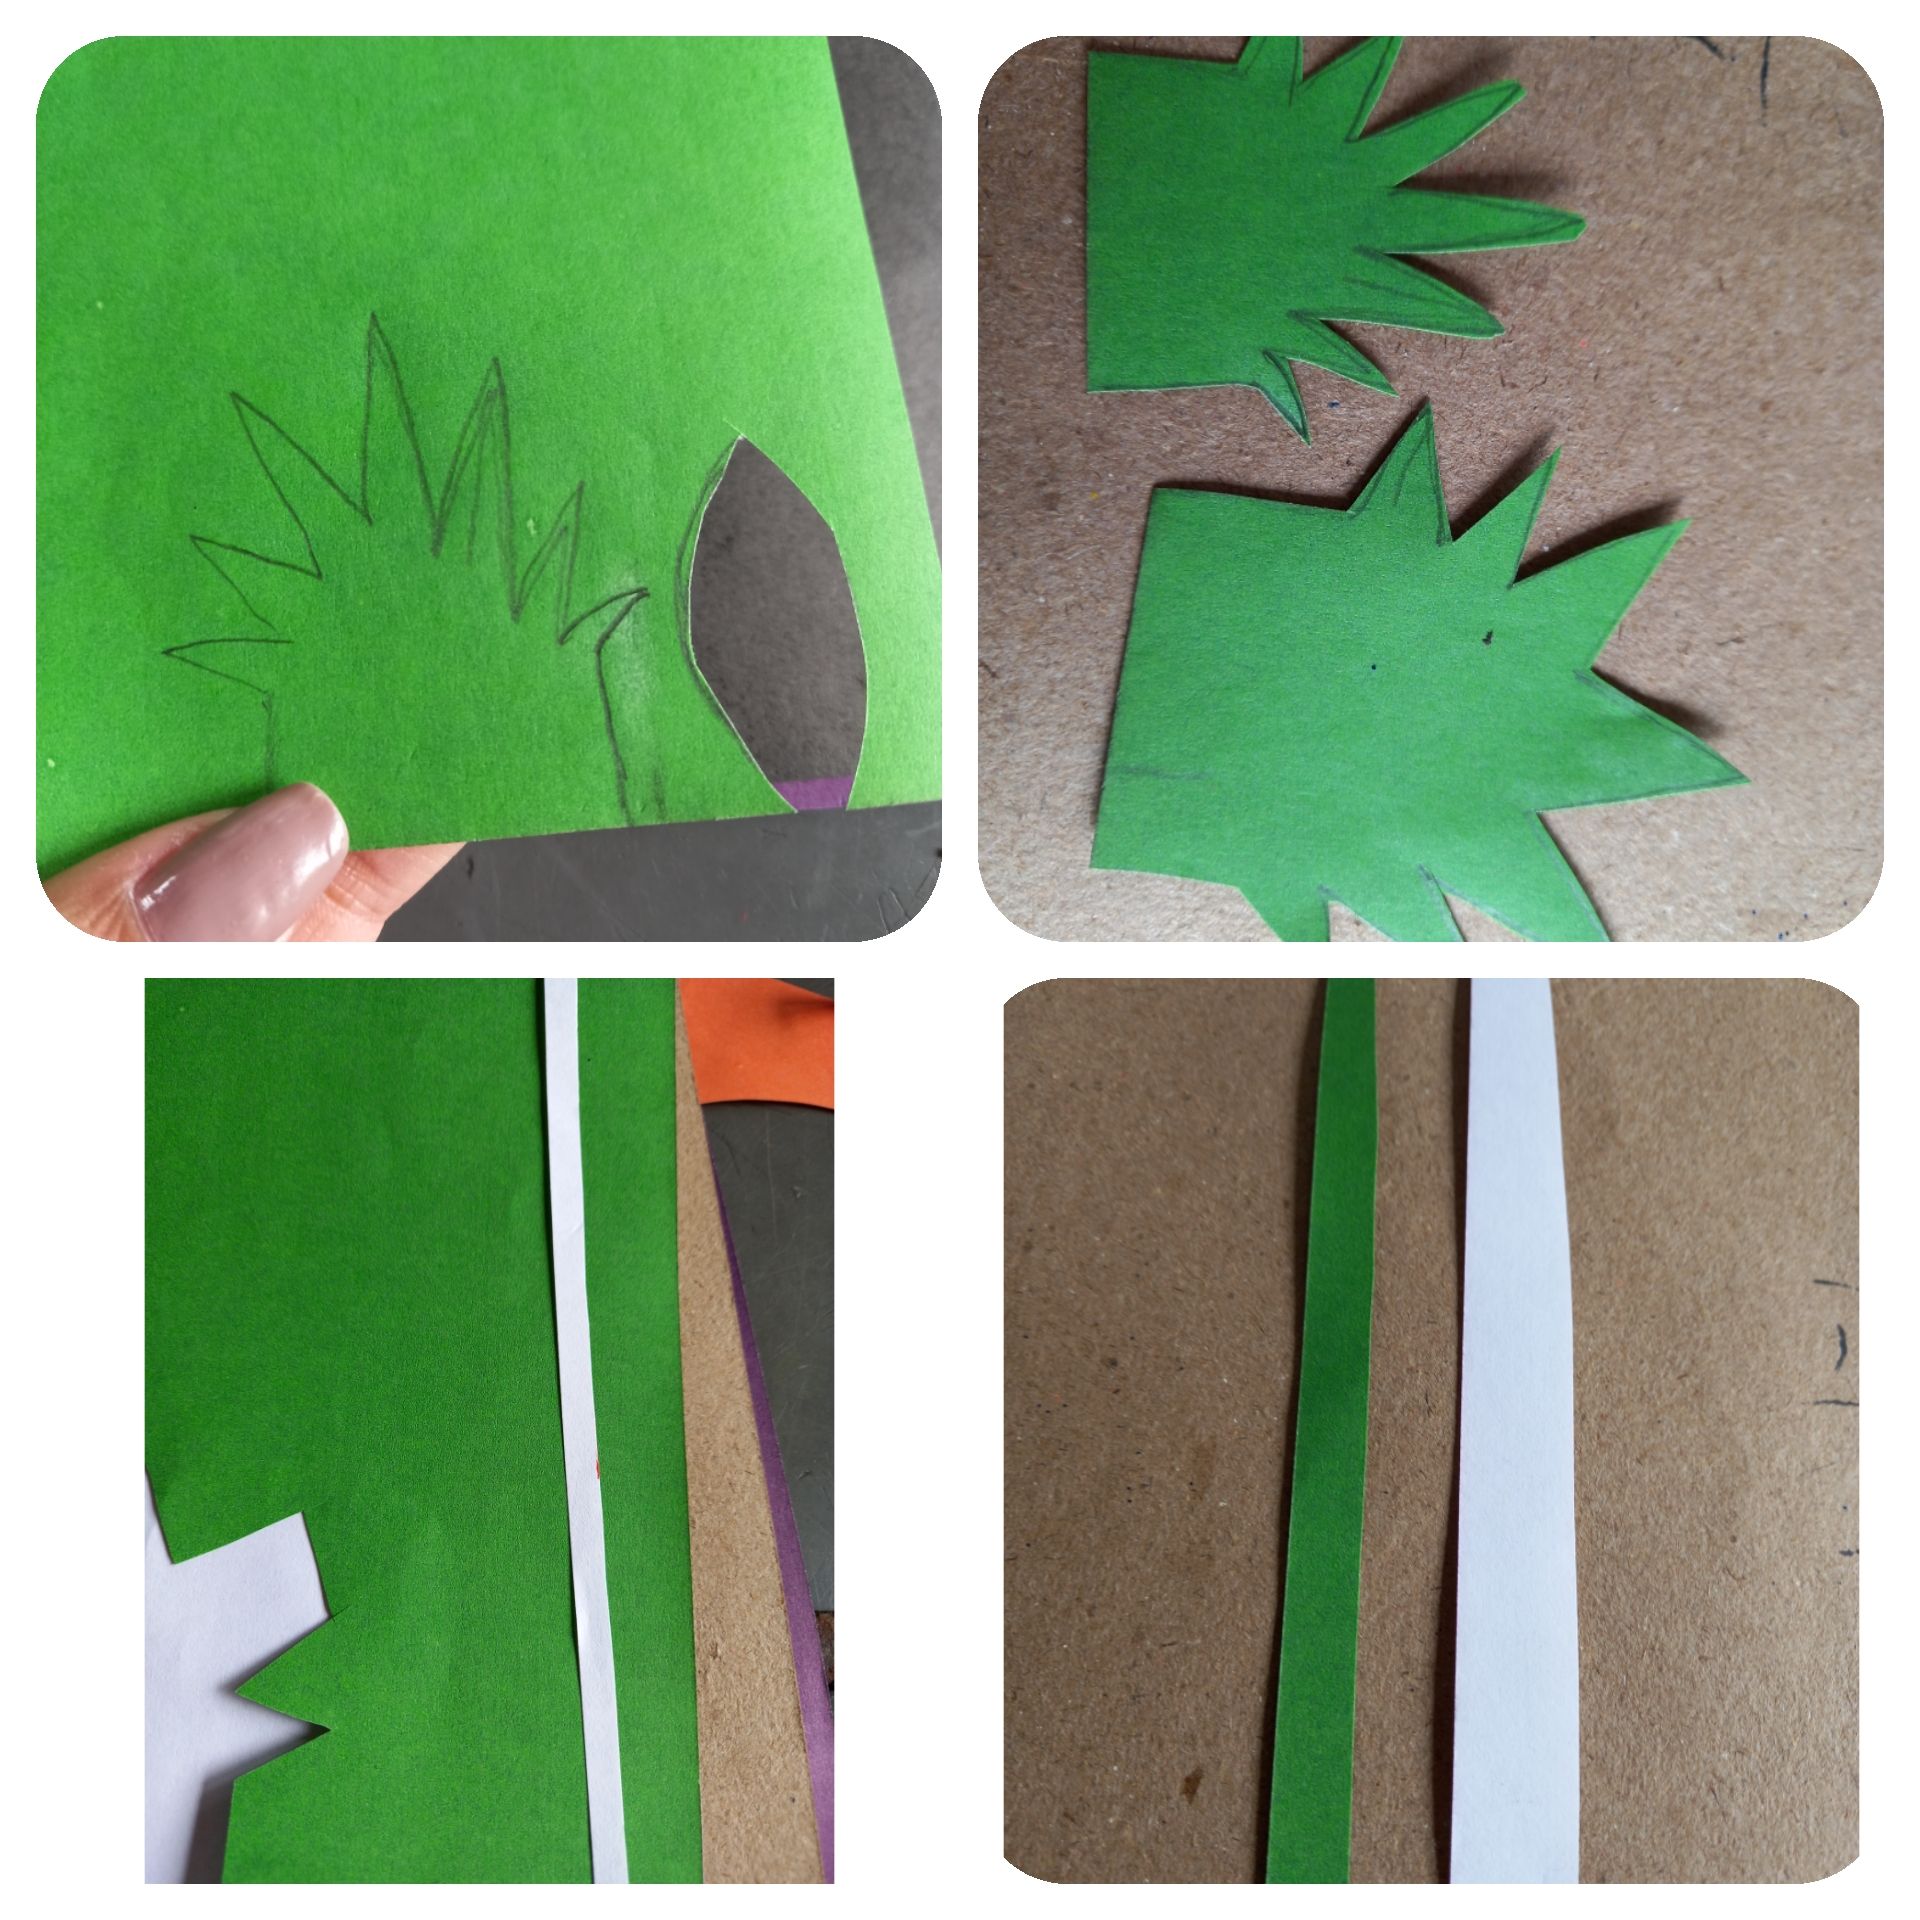 <div class="pull-left"> Ahora vamos a dibujar en nuestra cartulina color verde simulando la hoja de piña y aparte vamos a cortar una tira de color blanca de 1,5cm de grueso y una tirada color verde de medio centímetro. </div> <div class="pull-right"> Now we are going to draw on our green cardboard simulating the pineapple leaf and we are going to cut a 1.5 cm thick white strip and a half centimeter thick green strip. </div> --- 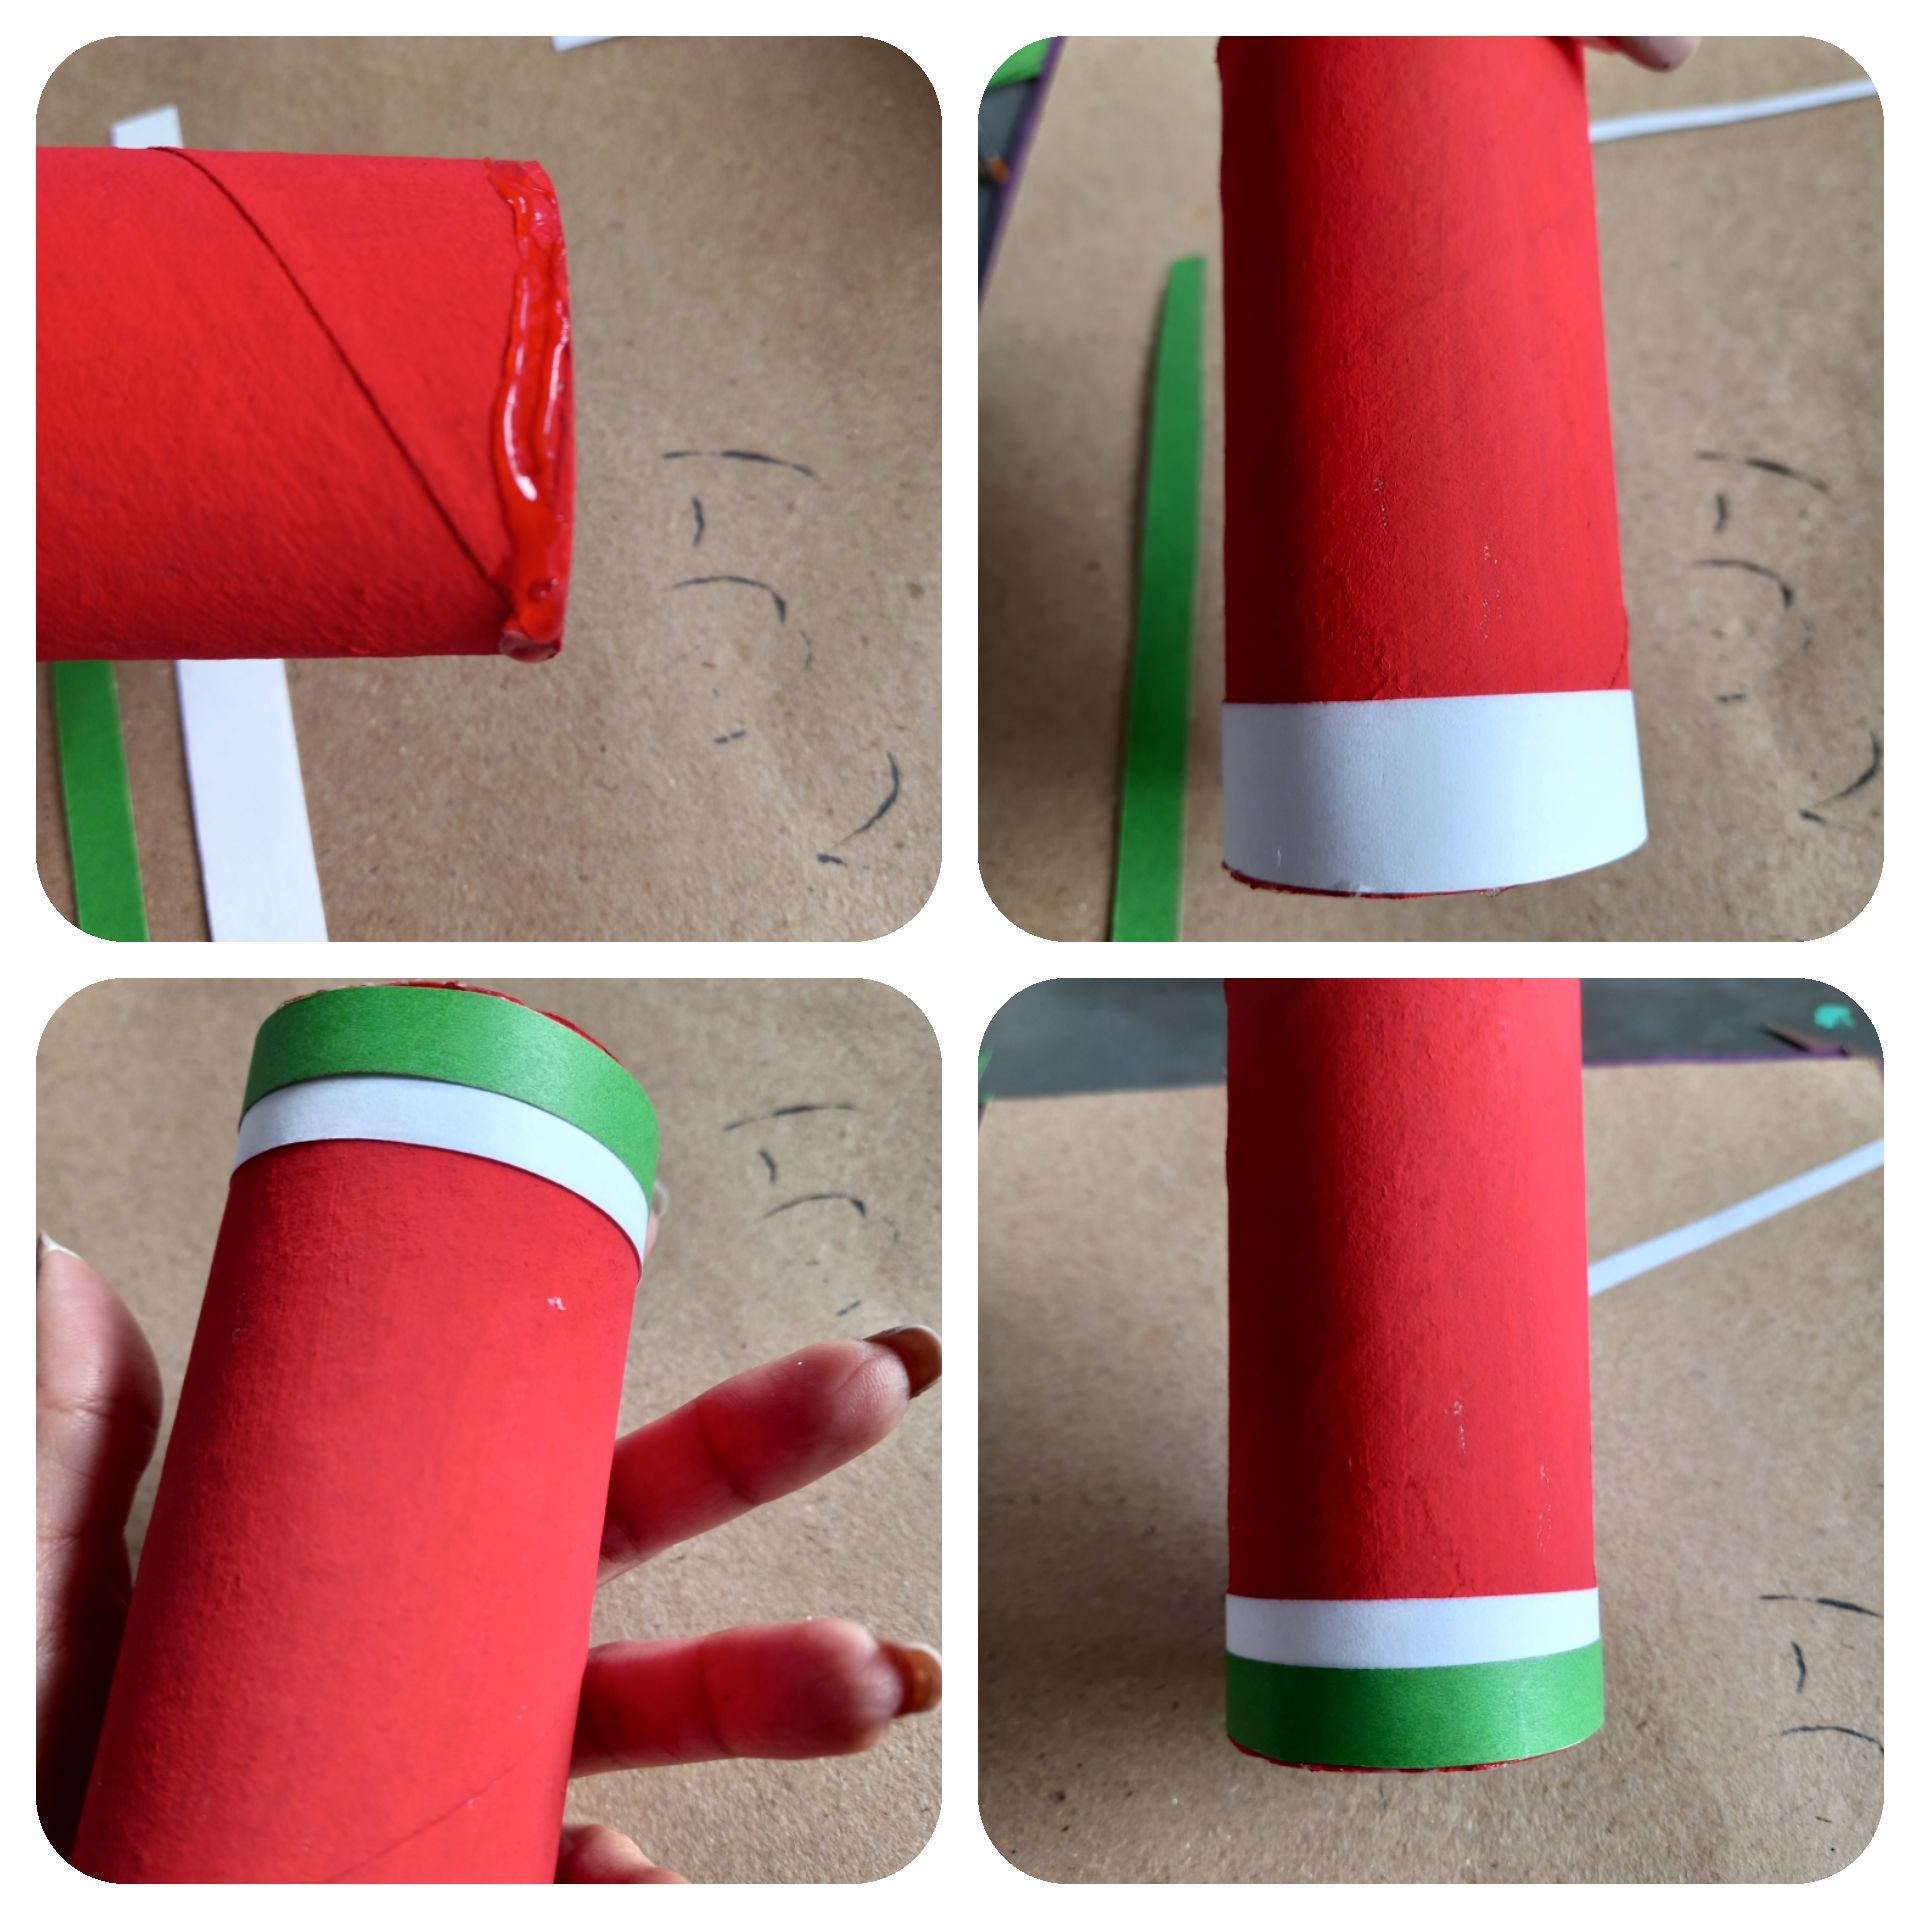 <div class="pull-left"> La tira color blanca le pegaremos en nuestro cilindro pintado de rojo, la pegaremos en la parte de abajo y luego encima de ella pegaremos la tira color verde. </div> <div class="pull-right"> The white strip will be glued on our cylinder painted red, we will glue it at the bottom and then we will glue the green strip on top of it. </div> ---  <div class="pull-left"> Con un lápiz dibujaremos en nuestro cilindro rojo las semillas de nuestra patilla y los ojos, luego pintaremos de negro con pincel. </div> <div class="pull-right"> With a pencil we will draw on our red cylinder the seeds of our sideburn and the eyes, then we will paint black with a brush. </div> ---  <div class="pull-left"> Para nuestra piña dibujaremos líneas transversales para simular las partes de la piña y pegaremos lo que recortamos de nuestro papel verde para simular las hojas. </div> <div class="pull-right"> For our pineapple we will draw transversal lines to simulate the parts of the pineapple and we will glue what we cut out of our green paper to simulate the leaves. </div> --- 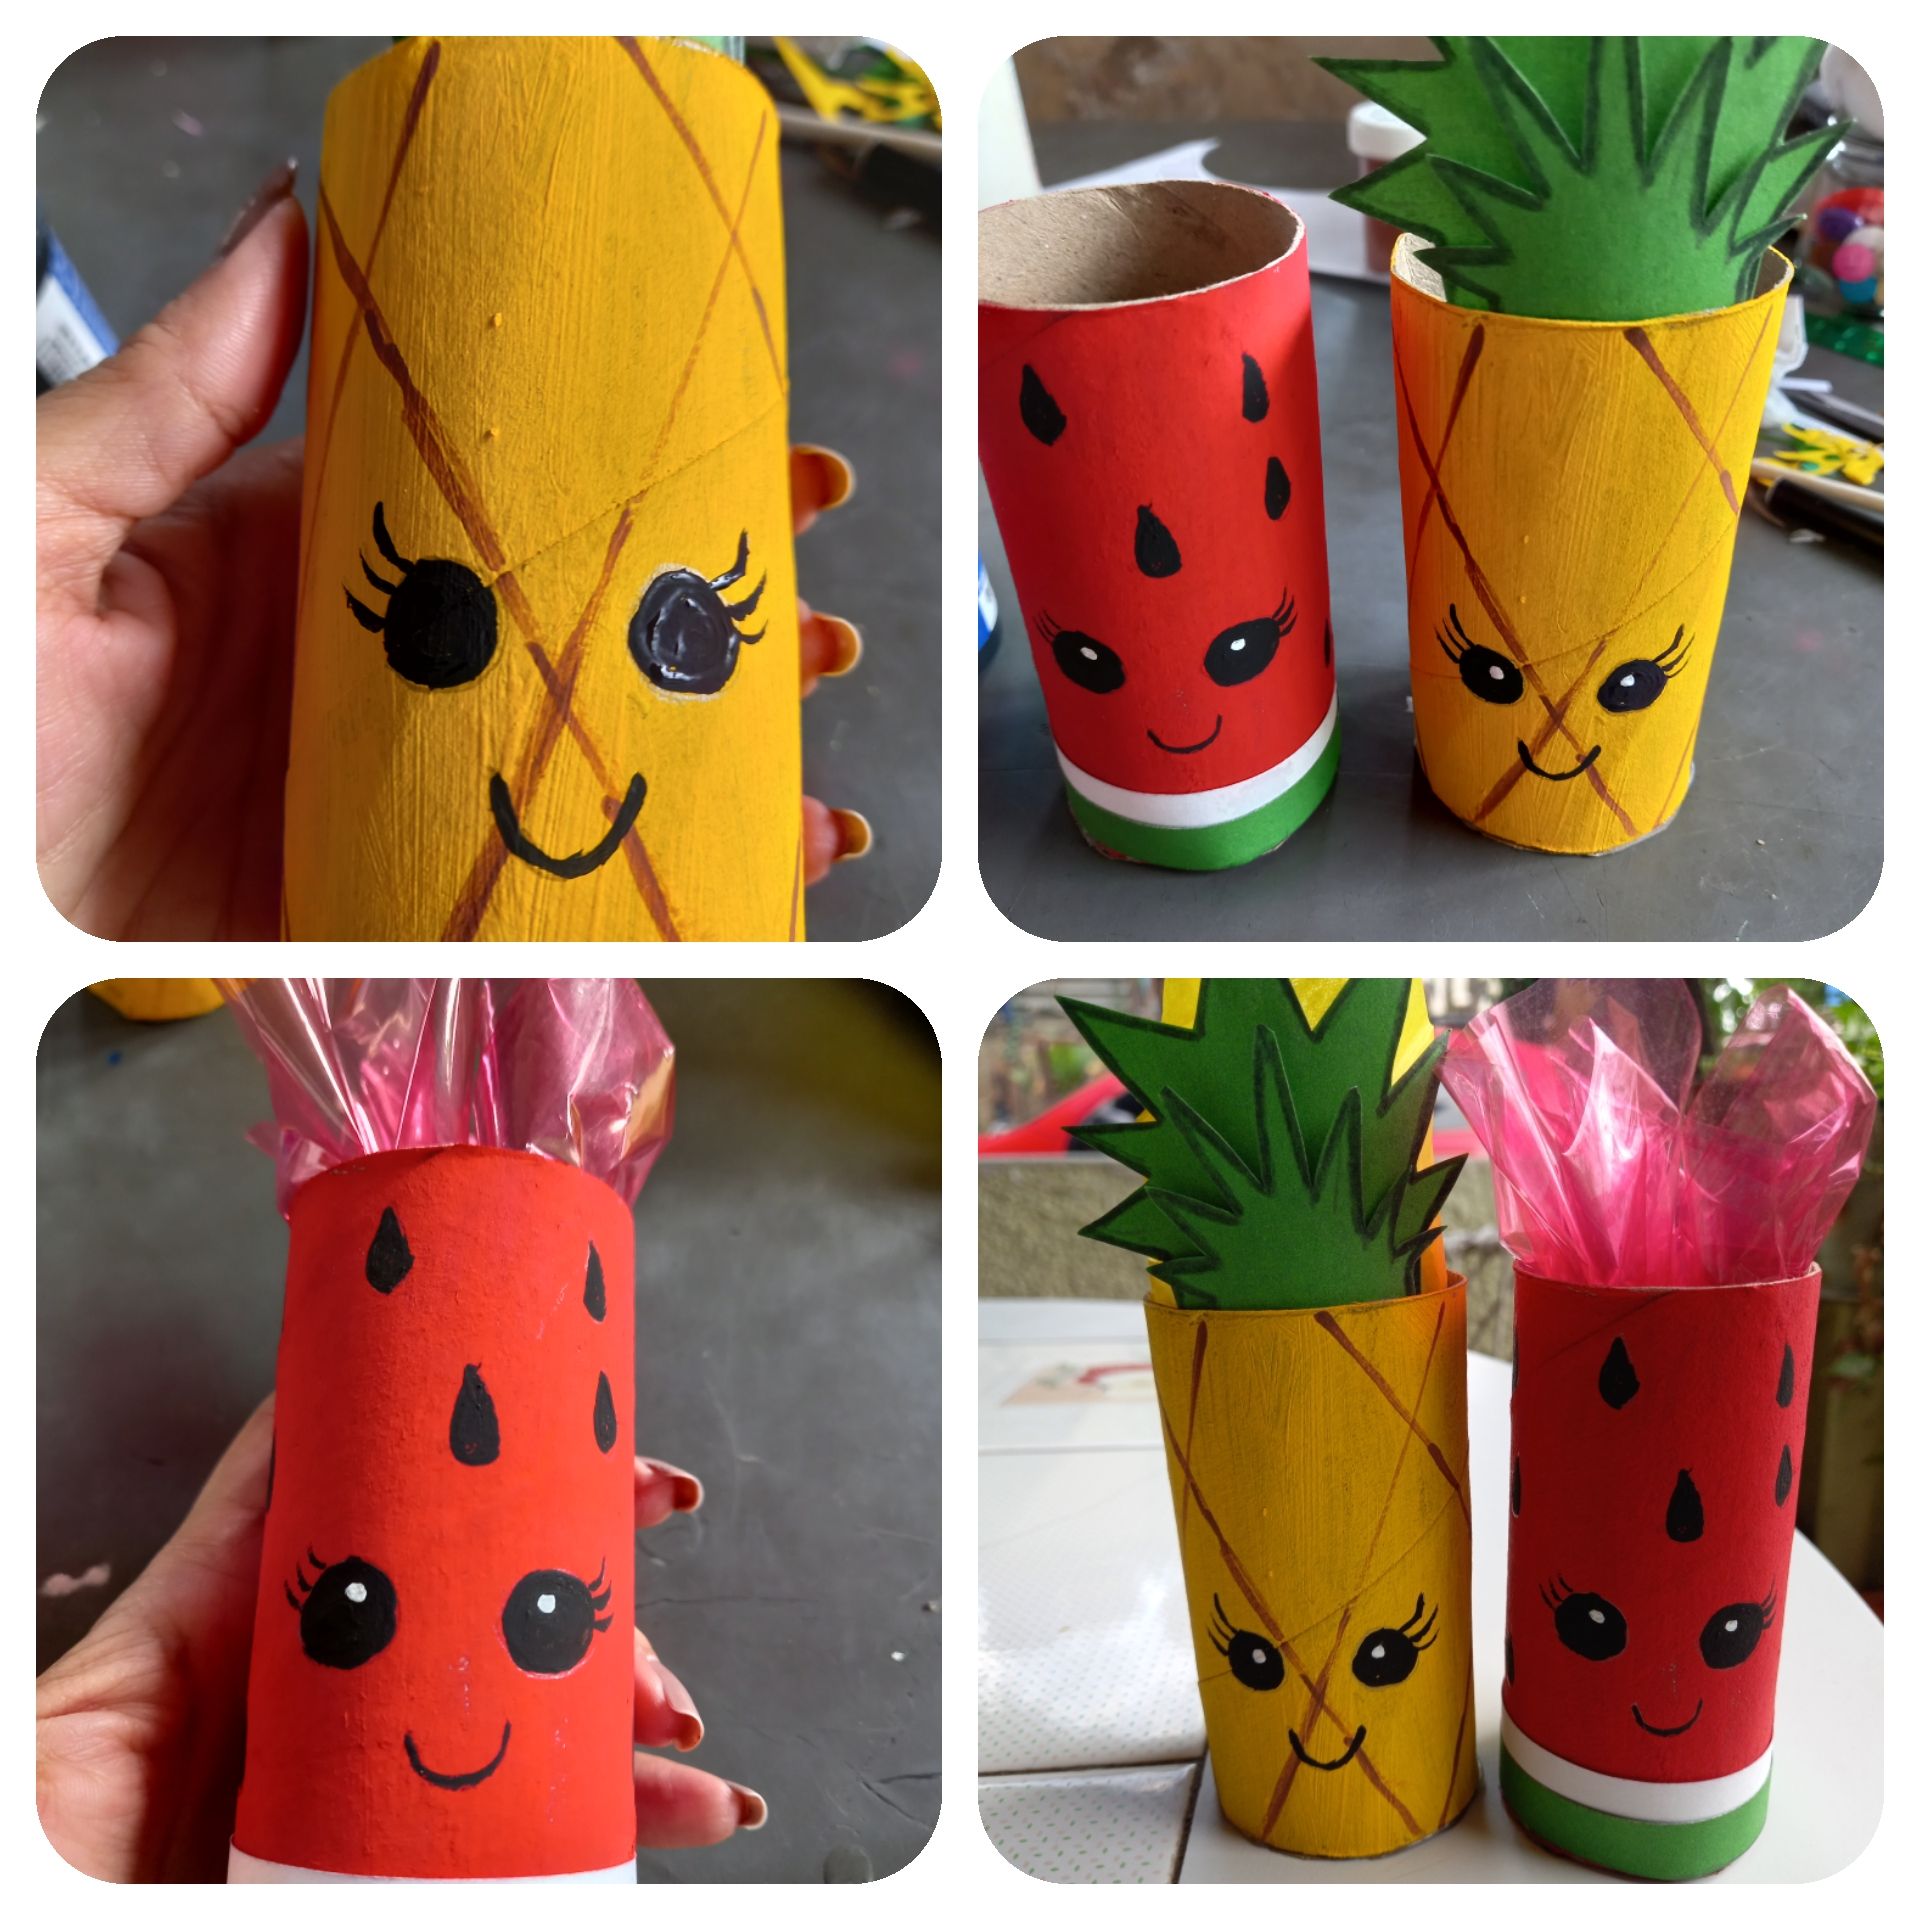 <div class="pull-left"> Por último pintamos los ojos y le damos Claridad, colocamos papel de seda amarillo y rojo al principio. </div> <div class="pull-right"> Finally we paint the eyes and give it Clarity, we place yellow and red tissue paper at the beginning. </div> --- 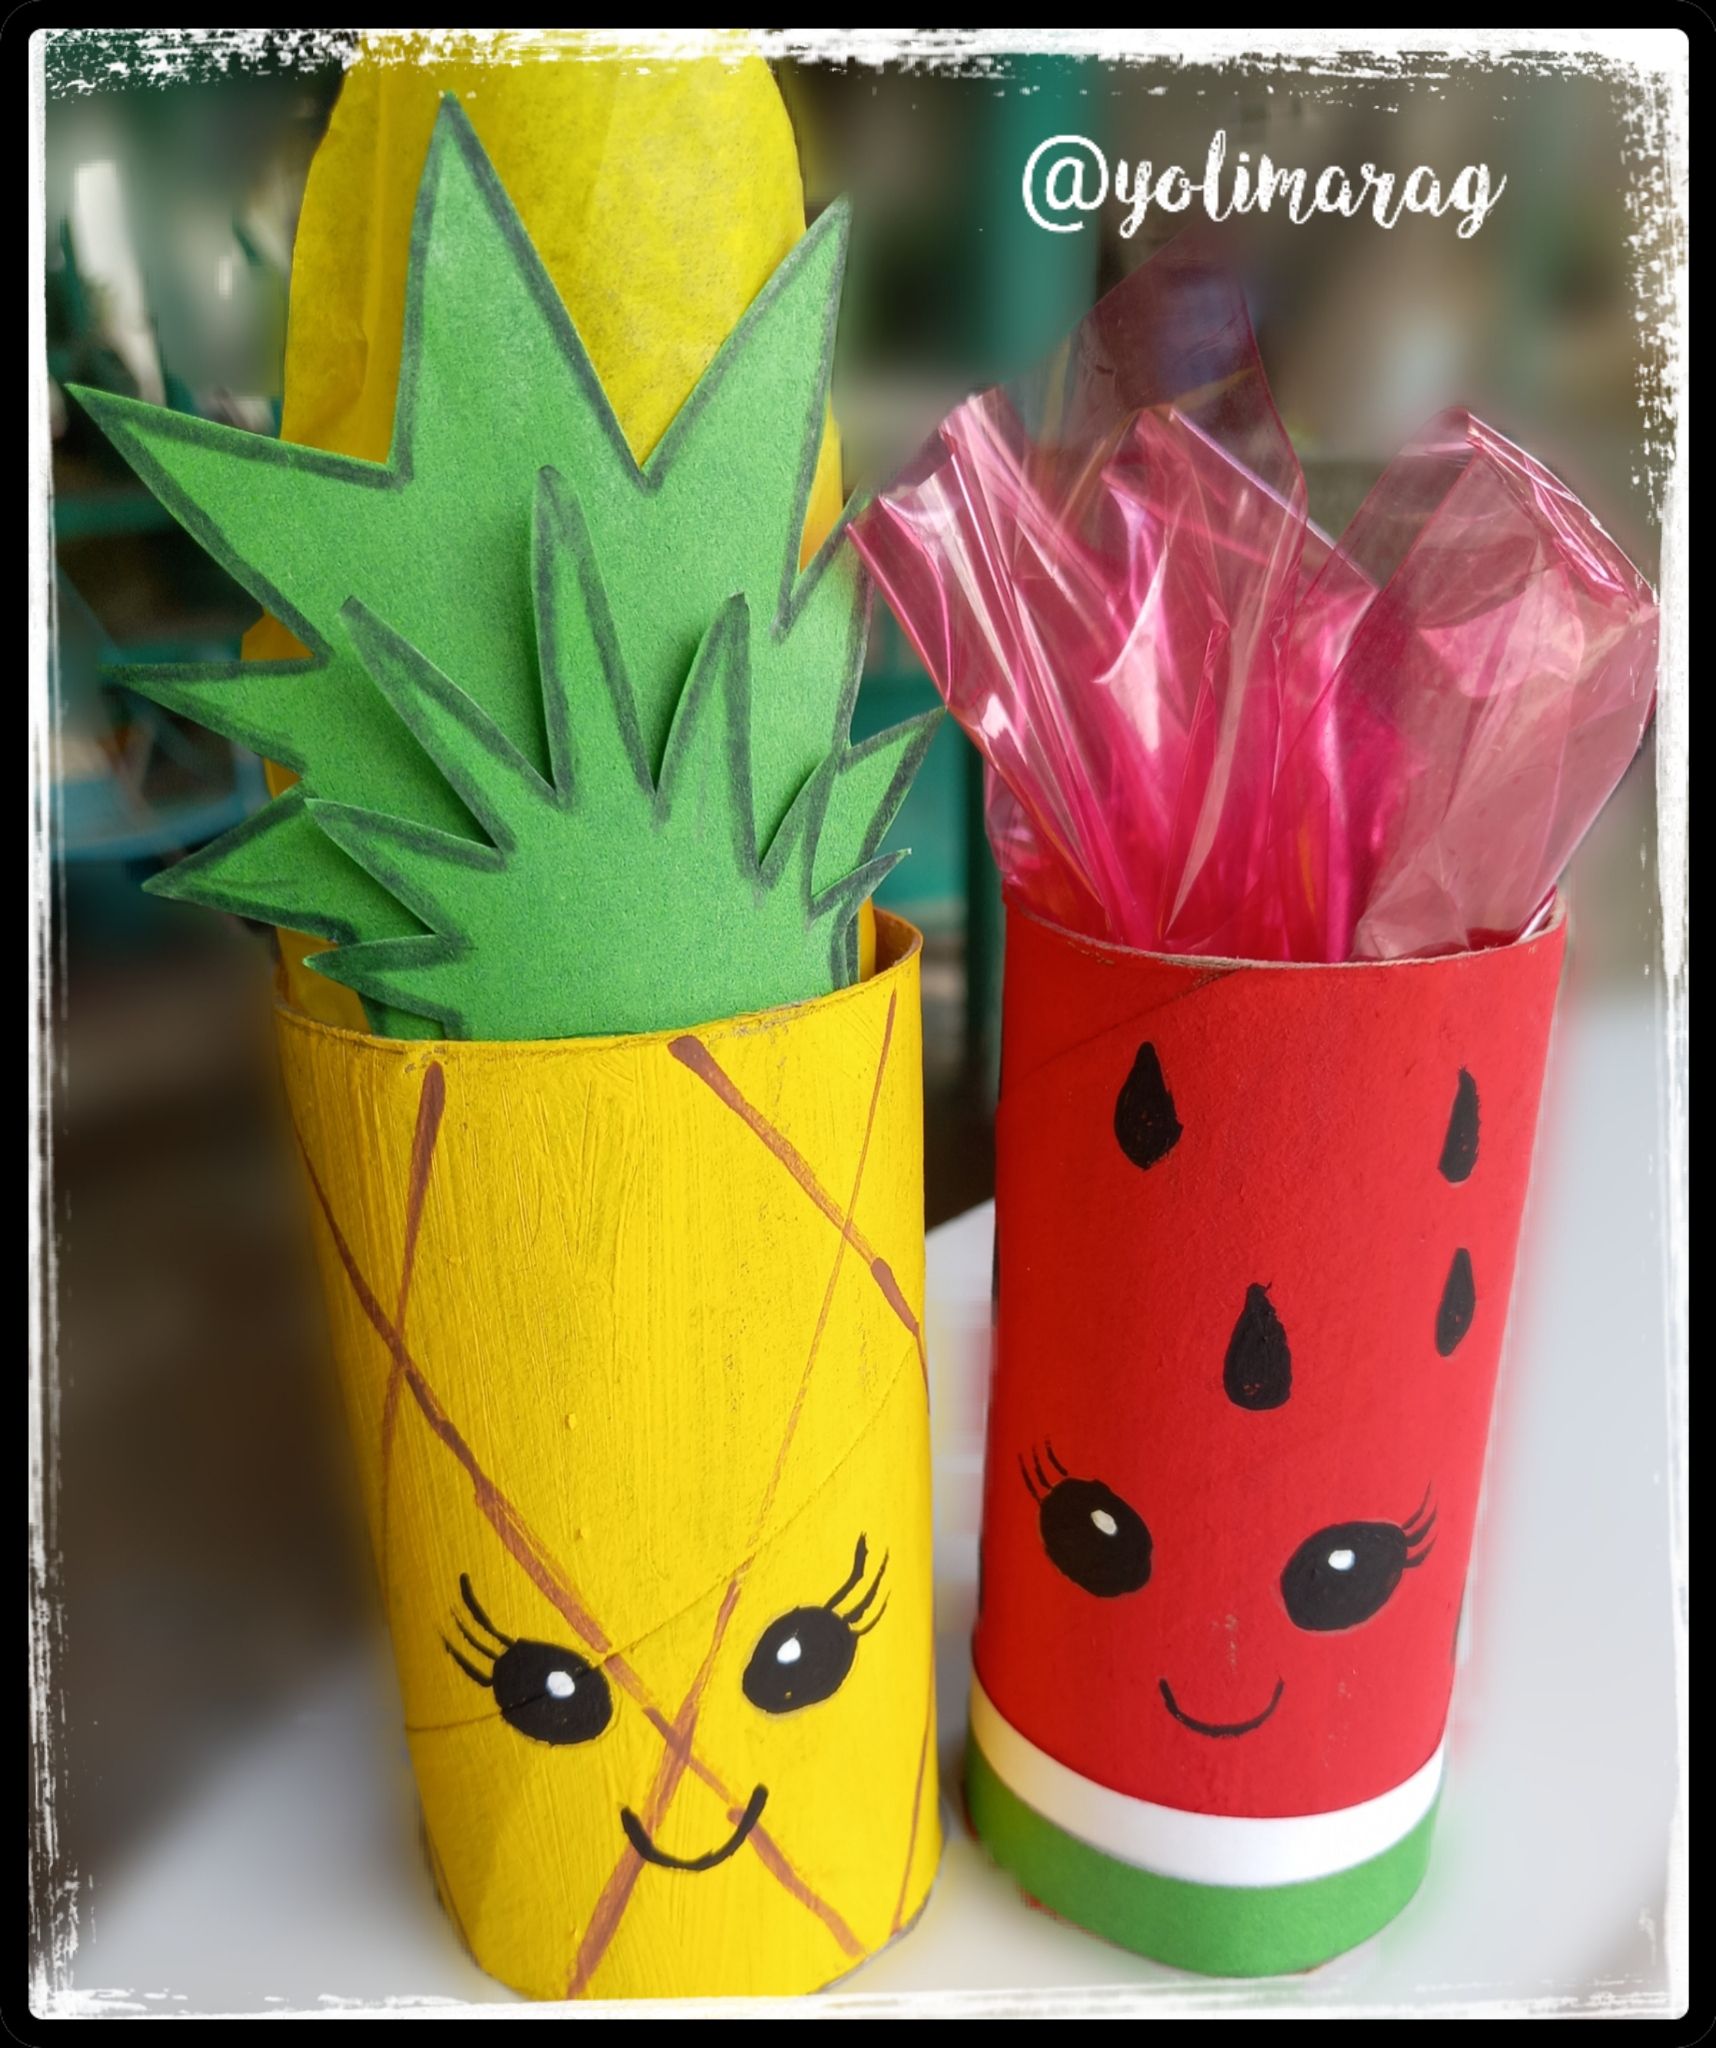 <div class="pull-left"> Y así han quedado nuestros pequeños dulceros al estilo Kawaii. Espero que les encantara este pequeño tutorial nos leemos en una próxima publicación, muchas bendiciones 🤗. </div> <div class="pull-right"> And this is how our little kawaii style candy boxes turned out. I hope you loved this little tutorial, see you in a future post, many blessings 🤗. </div> --- <center> Fotos principal editada con Canva. Fotos de mi Autoría derechos reservados Cámara: Samsung A20S Traducido con www.DeepL.com/Translator (versión gratuita) > Photos edited with Canva > Photos by me Author's rights reserved > Quote> Camera: Samsung A20S > Translated with www.DeepL.com/Translator (free version) </center> --- [](https://twitter.com/yolimarag?s=09)[](https://youtube.com/channel/UCxMzeOkmipsMXH0t2RFxfBg) 
👍 tonimontana.neo, naty16, netaterra, therealyme, msp-foundation, thefoundation, msp-makeaminnow, we-are-lucky, voter007, alphacore, talentclub, torkot, juancar347, decomoescribir, trenz, romulexx, risckylu, oscarina, zeleiracordero, amart29, treodecimo, qwerrie, mariale07, fuerza-hispana, curaciones-fh, cetb2008, rocaxel, freddybri, moisesmcardona, enrique89, danielvehe, enmy, dorada, karii, vaneaventuras, marynessc, bellarulox, stk-g, antoniarhuiz, elvigia, yisusgtr, aliriera, keisy, maleidamarcano, jesus68, delilhavores, berlissanoja, rodrikun17, vicvperezdelara, angelescats, jennynas, ambarvegas, jossavendano, yolimarag, rosa4r, jtkl12, kenialorena, machf, paogcv, dorisp, enmymente, evev, tibaire, care1869, izzieperez, isaale, yohadice, pelulacro, milamarkn, duneskya, jomarbym, ayleenr, gracielakuper, rutablockchain, giocondina, angelica7, yeceniacarolina, eve66, samic, kattyart, aguilaazul7777, heyravegas, kristal24, cloris, appreciator, miguelbaez, myfreshes, zeesh, noalys, gilliatt, gabygonz, yiobri, sindetalles, sbi2, mavis16, maria27, maryed, samuelsanchez07, lisbethseijas, ggerartd08, valerianis, emilycorvof, ciresophen, koxmicart, miguelaag, alejandroxg, gisland,