(ESP/ENG)TUTORIAL/ ¿CÓMO CONFECCIONAR UN VESTIDO CAMISERO EN DOS COLORES?/TUTORIAL/ HOW TO MAKE A SHIRT DRESS IN TWO COLORS?
hive-127911·@kathelopez77·
0.000 HBD(ESP/ENG)TUTORIAL/ ¿CÓMO CONFECCIONAR UN VESTIDO CAMISERO EN DOS COLORES?/TUTORIAL/ HOW TO MAKE A SHIRT DRESS IN TWO COLORS?
<center></center> <div class="text-justify"> Feliz y bendecido inicio de semana mis muy apreciados amigos de esta linda colmena de #Needleworkmonday , espero que estén pasando un resto del día lleno de buena salud y éxitos. Que alegría estar de nuevo con ustedes compartiendo un nuevo lunes de costura. Siempre me han gustado los vestidos, y sobretodo los tipos camiseros , con únos tenis blancos de suela semi plataforma se ven geniales, y de éste vestido se trata el tutorial que hoy quiero mostrarles: ***¿Cómo confeccionar un Vestido Camisero en dos Colores?***. Espero les guste, asi que, ¡Manos a la obra!. > Happy and blessed start of the week my very appreciated friends of this cute #Needleworkmonday hive , I hope you are having a rest of the day full of good health and success. What a joy to be with you again sharing another sewing Monday. I have always loved dresses, and especially the shirt type, with a white semi platform sole tennis shoes look great, and this dress is the tutorial that today I want to show you: ***How to make a shirt dress in two colors ***. I hope you like it, so let's get to work.</div> <center></center> <div class="pull-left"> - 1 metro de tela gabardila strech rosada y fucsia. - Patrones(se pueden sacar de una camisa de vestir y se le agrega el largo de falda y el ancho de caderas) - Botones rosados. - Cinta métrica. - Tijeras. - Máquina de coser. </div> <div class="pull-right"> - 1 meter of pink and fuchsia gabardila strech fabric. - Patterns (you can take them from a dress shirt and add the length of the skirt and the width of the hips). - Pink buttons. - Tape measure. - Scissors. - Sewing machine. </div> <center>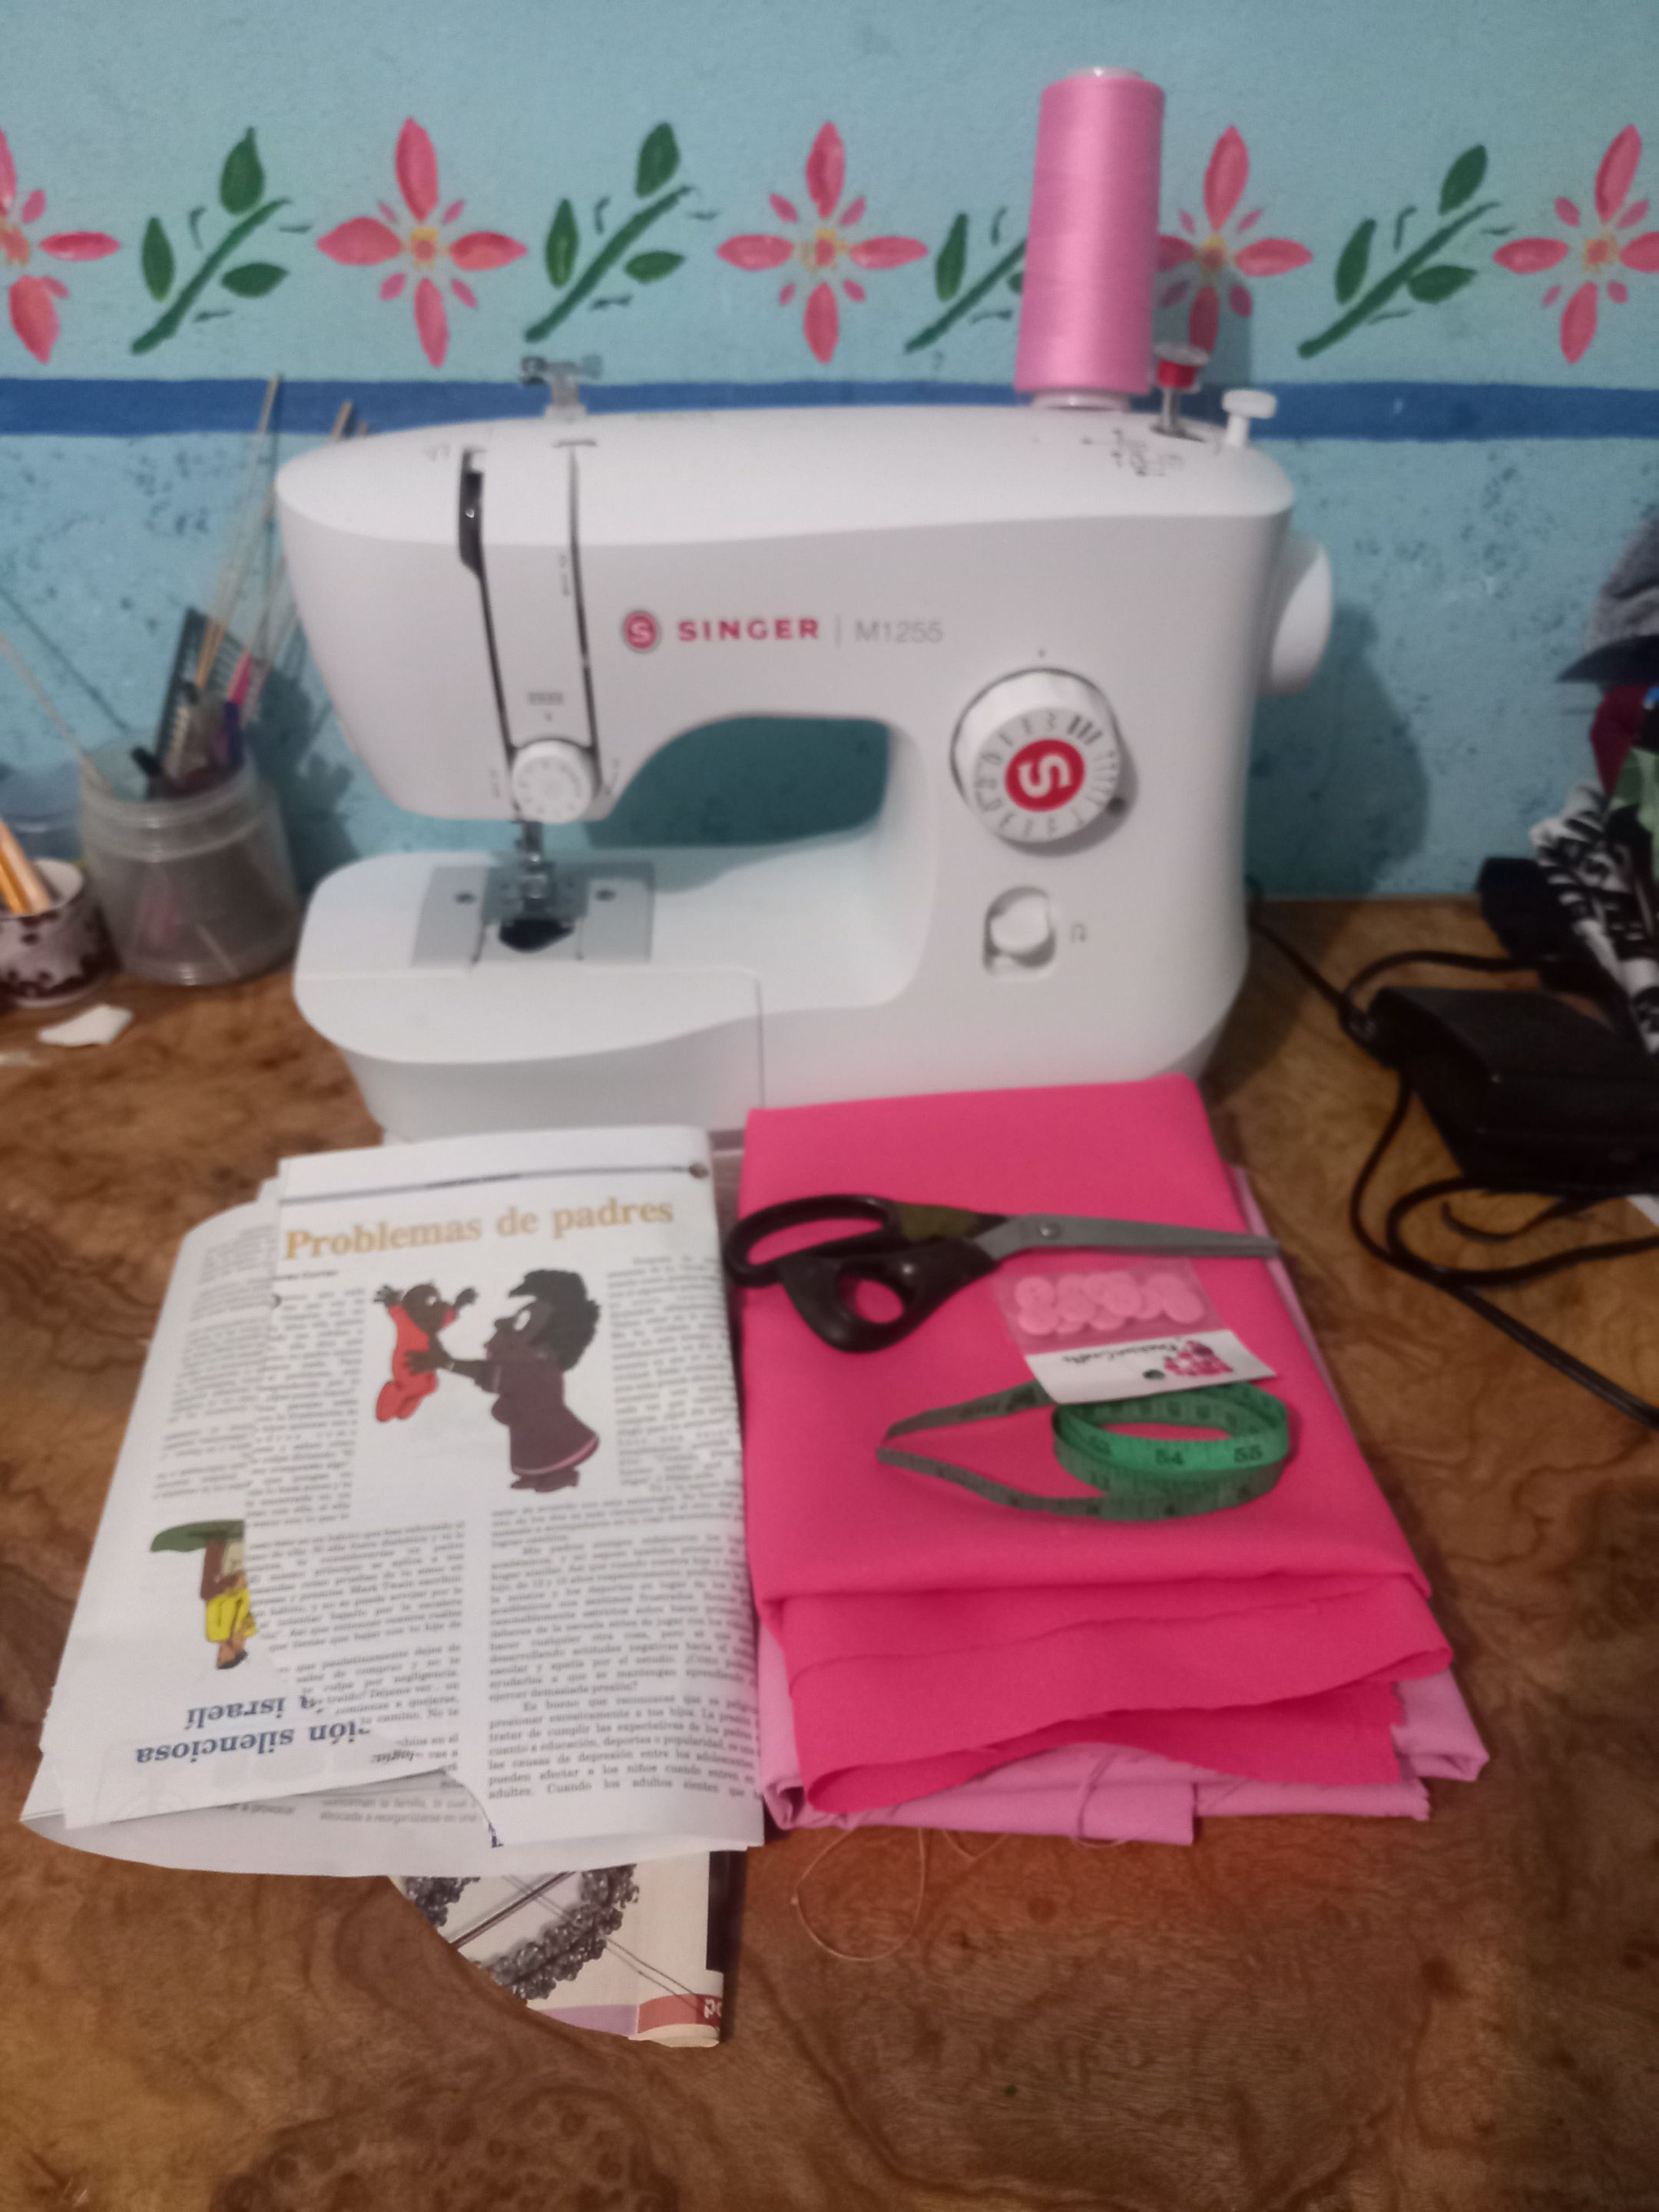</center> <center></center> Comencé la confección de éste vestido, sacando primero el patrón trasero de la tela fucsia, después saque las dos piezas delanteras, un lateral fucsis y otro lateral rosado. > I started the making of this dress, taking out first the back pattern of the fuchsia fabric, then I took out the two front pieces, a fuchsia side and a pink side. <center>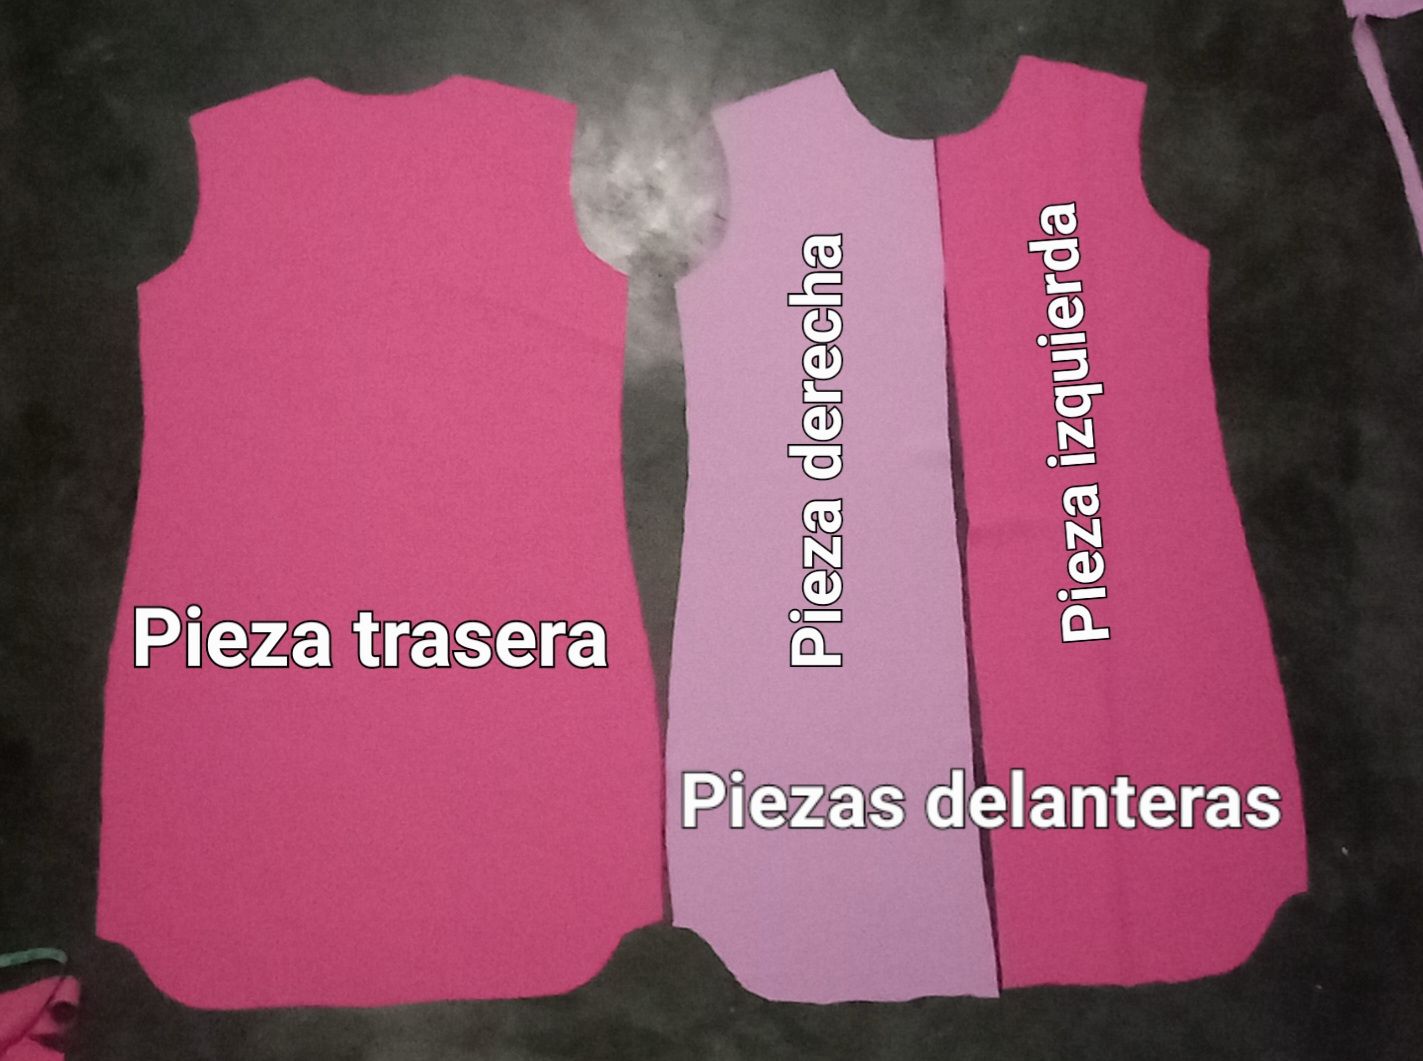</center> Luego saqué el patrón de las mangas en tela rosada y las piezas del cuello en la tela fucsia. > Then I took out the pattern for the sleeves in pink fabric and the collar pieces in the fuchsia fabric. <center>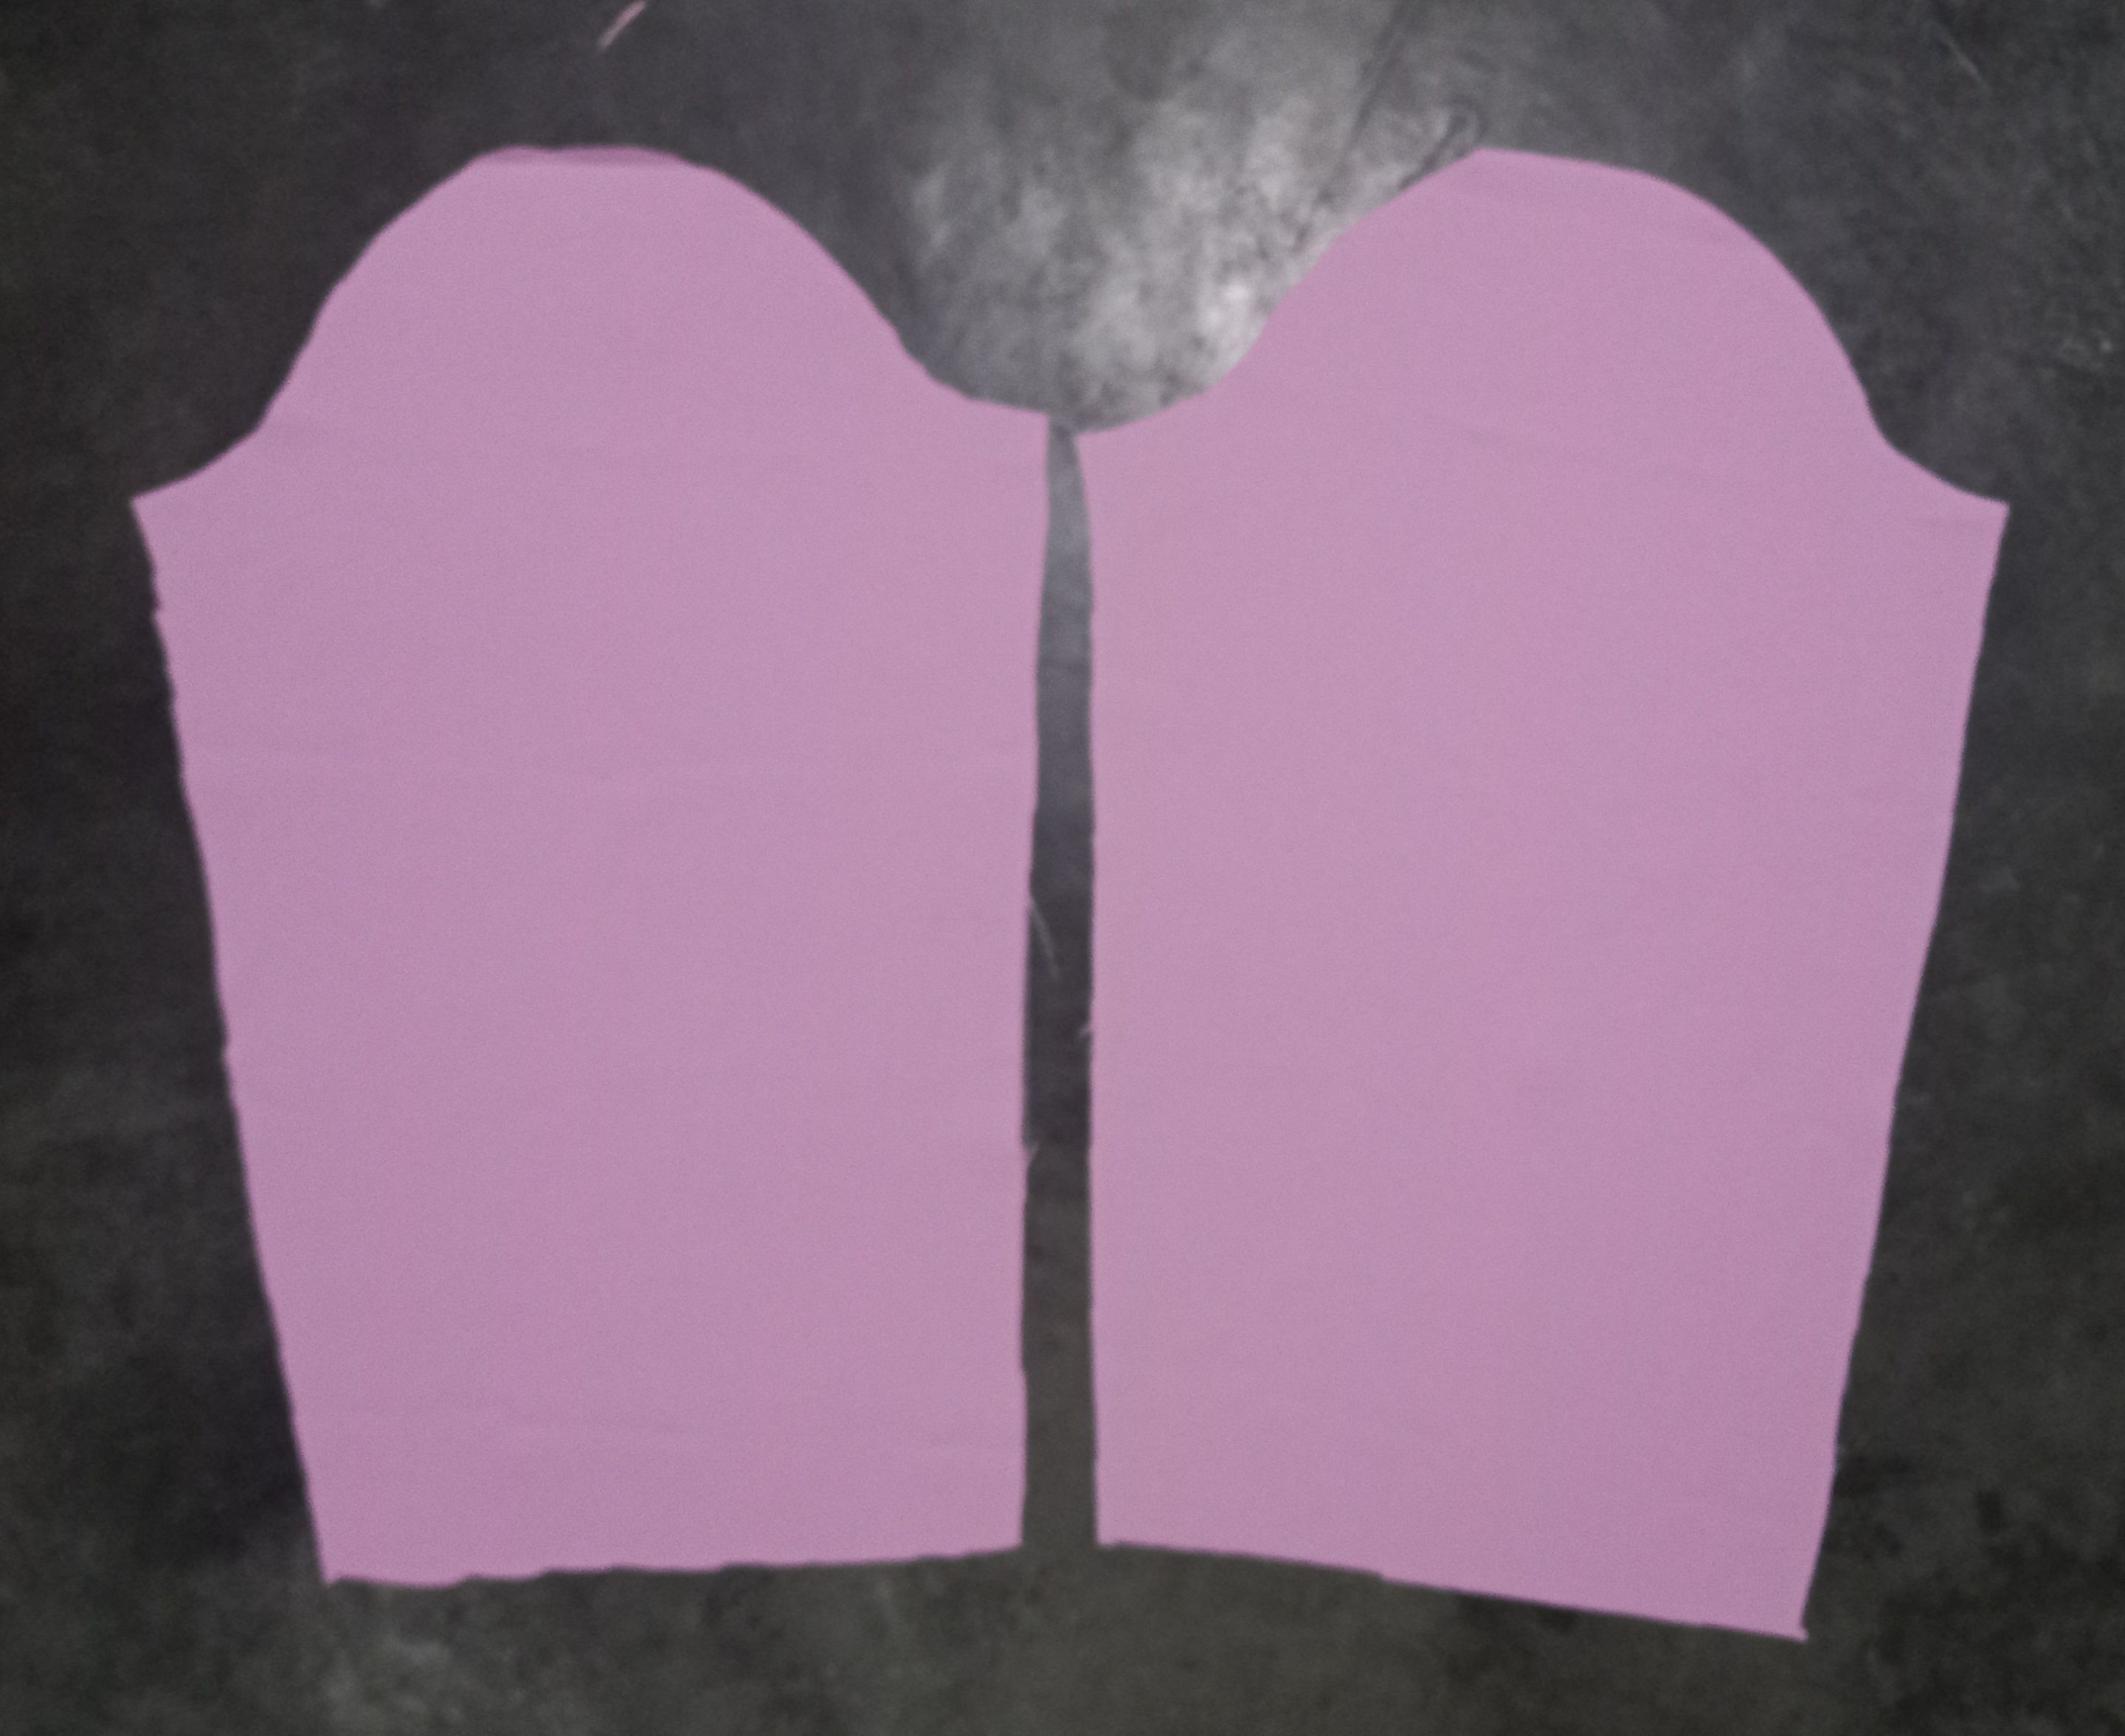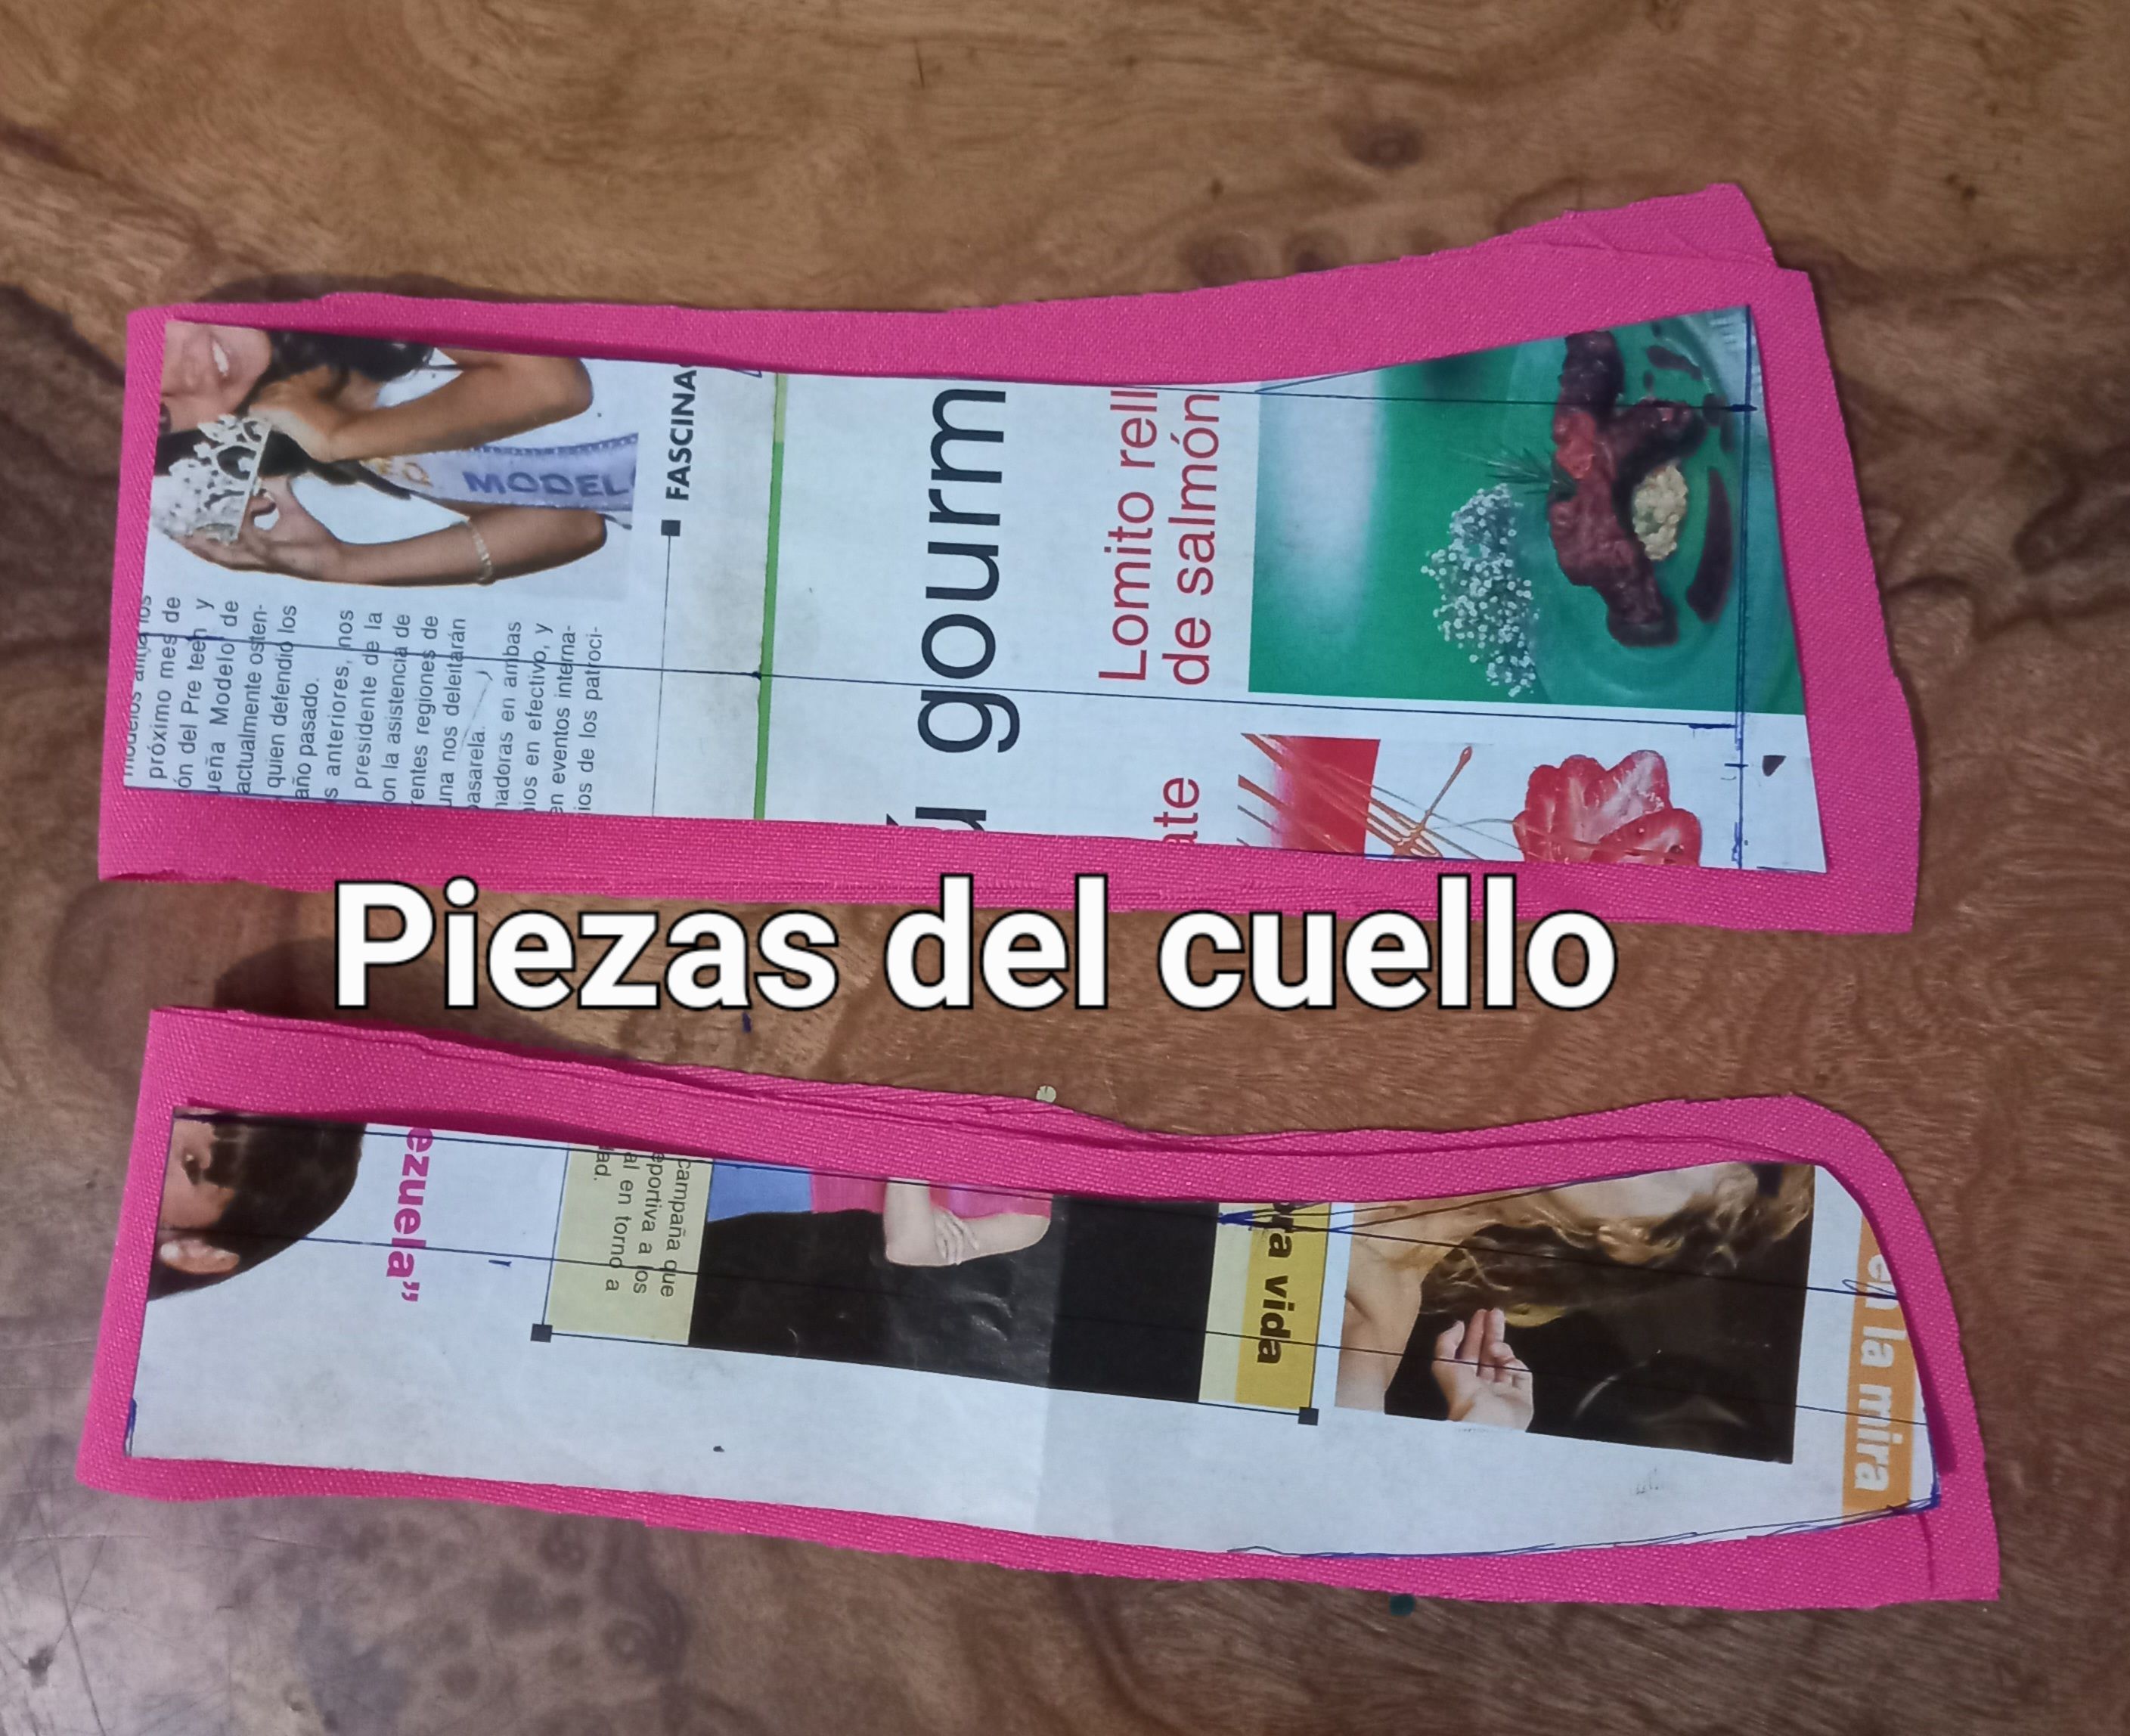</center> Saqué las bolsas de los bolsillos. > I took the bags out of my pockets. <center> </center> Posteriormente saqué las aletillas de los botones y los ojales y las cosí por las orillas del centro de las piezas delantera. > I then removed the button flaps and buttonholes and sewed them along the center edges of the front pieces. <center>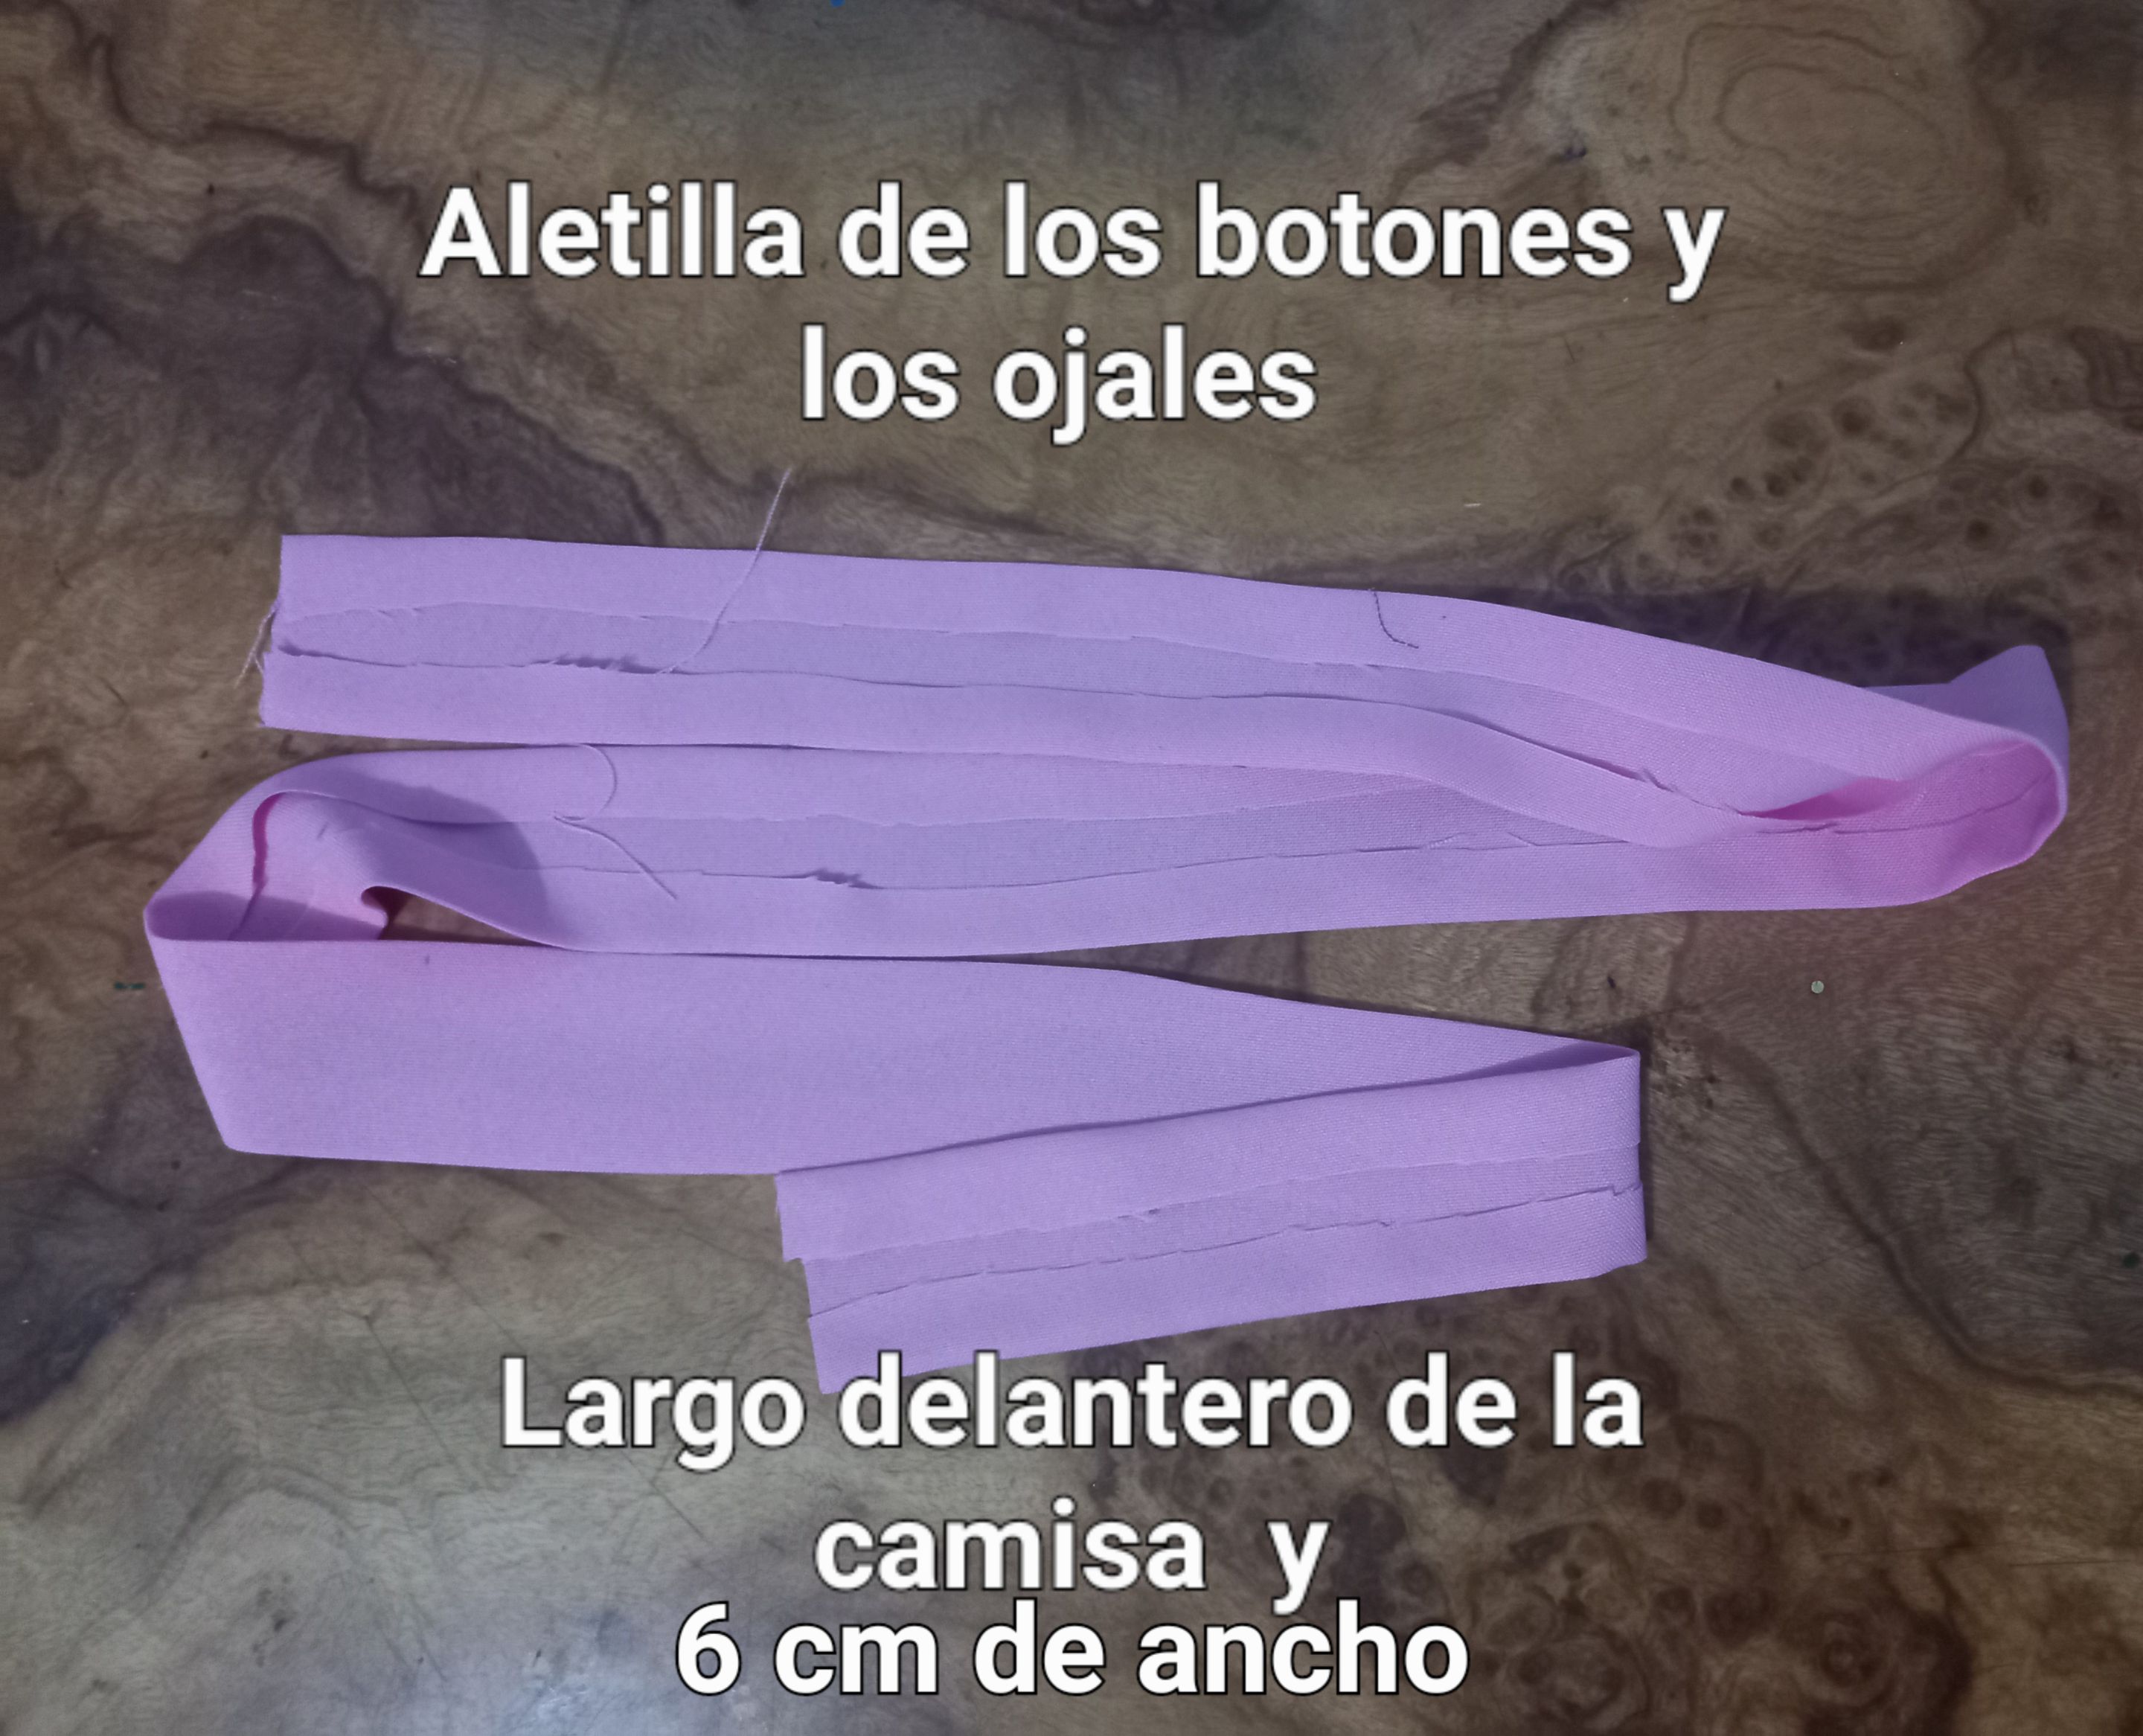 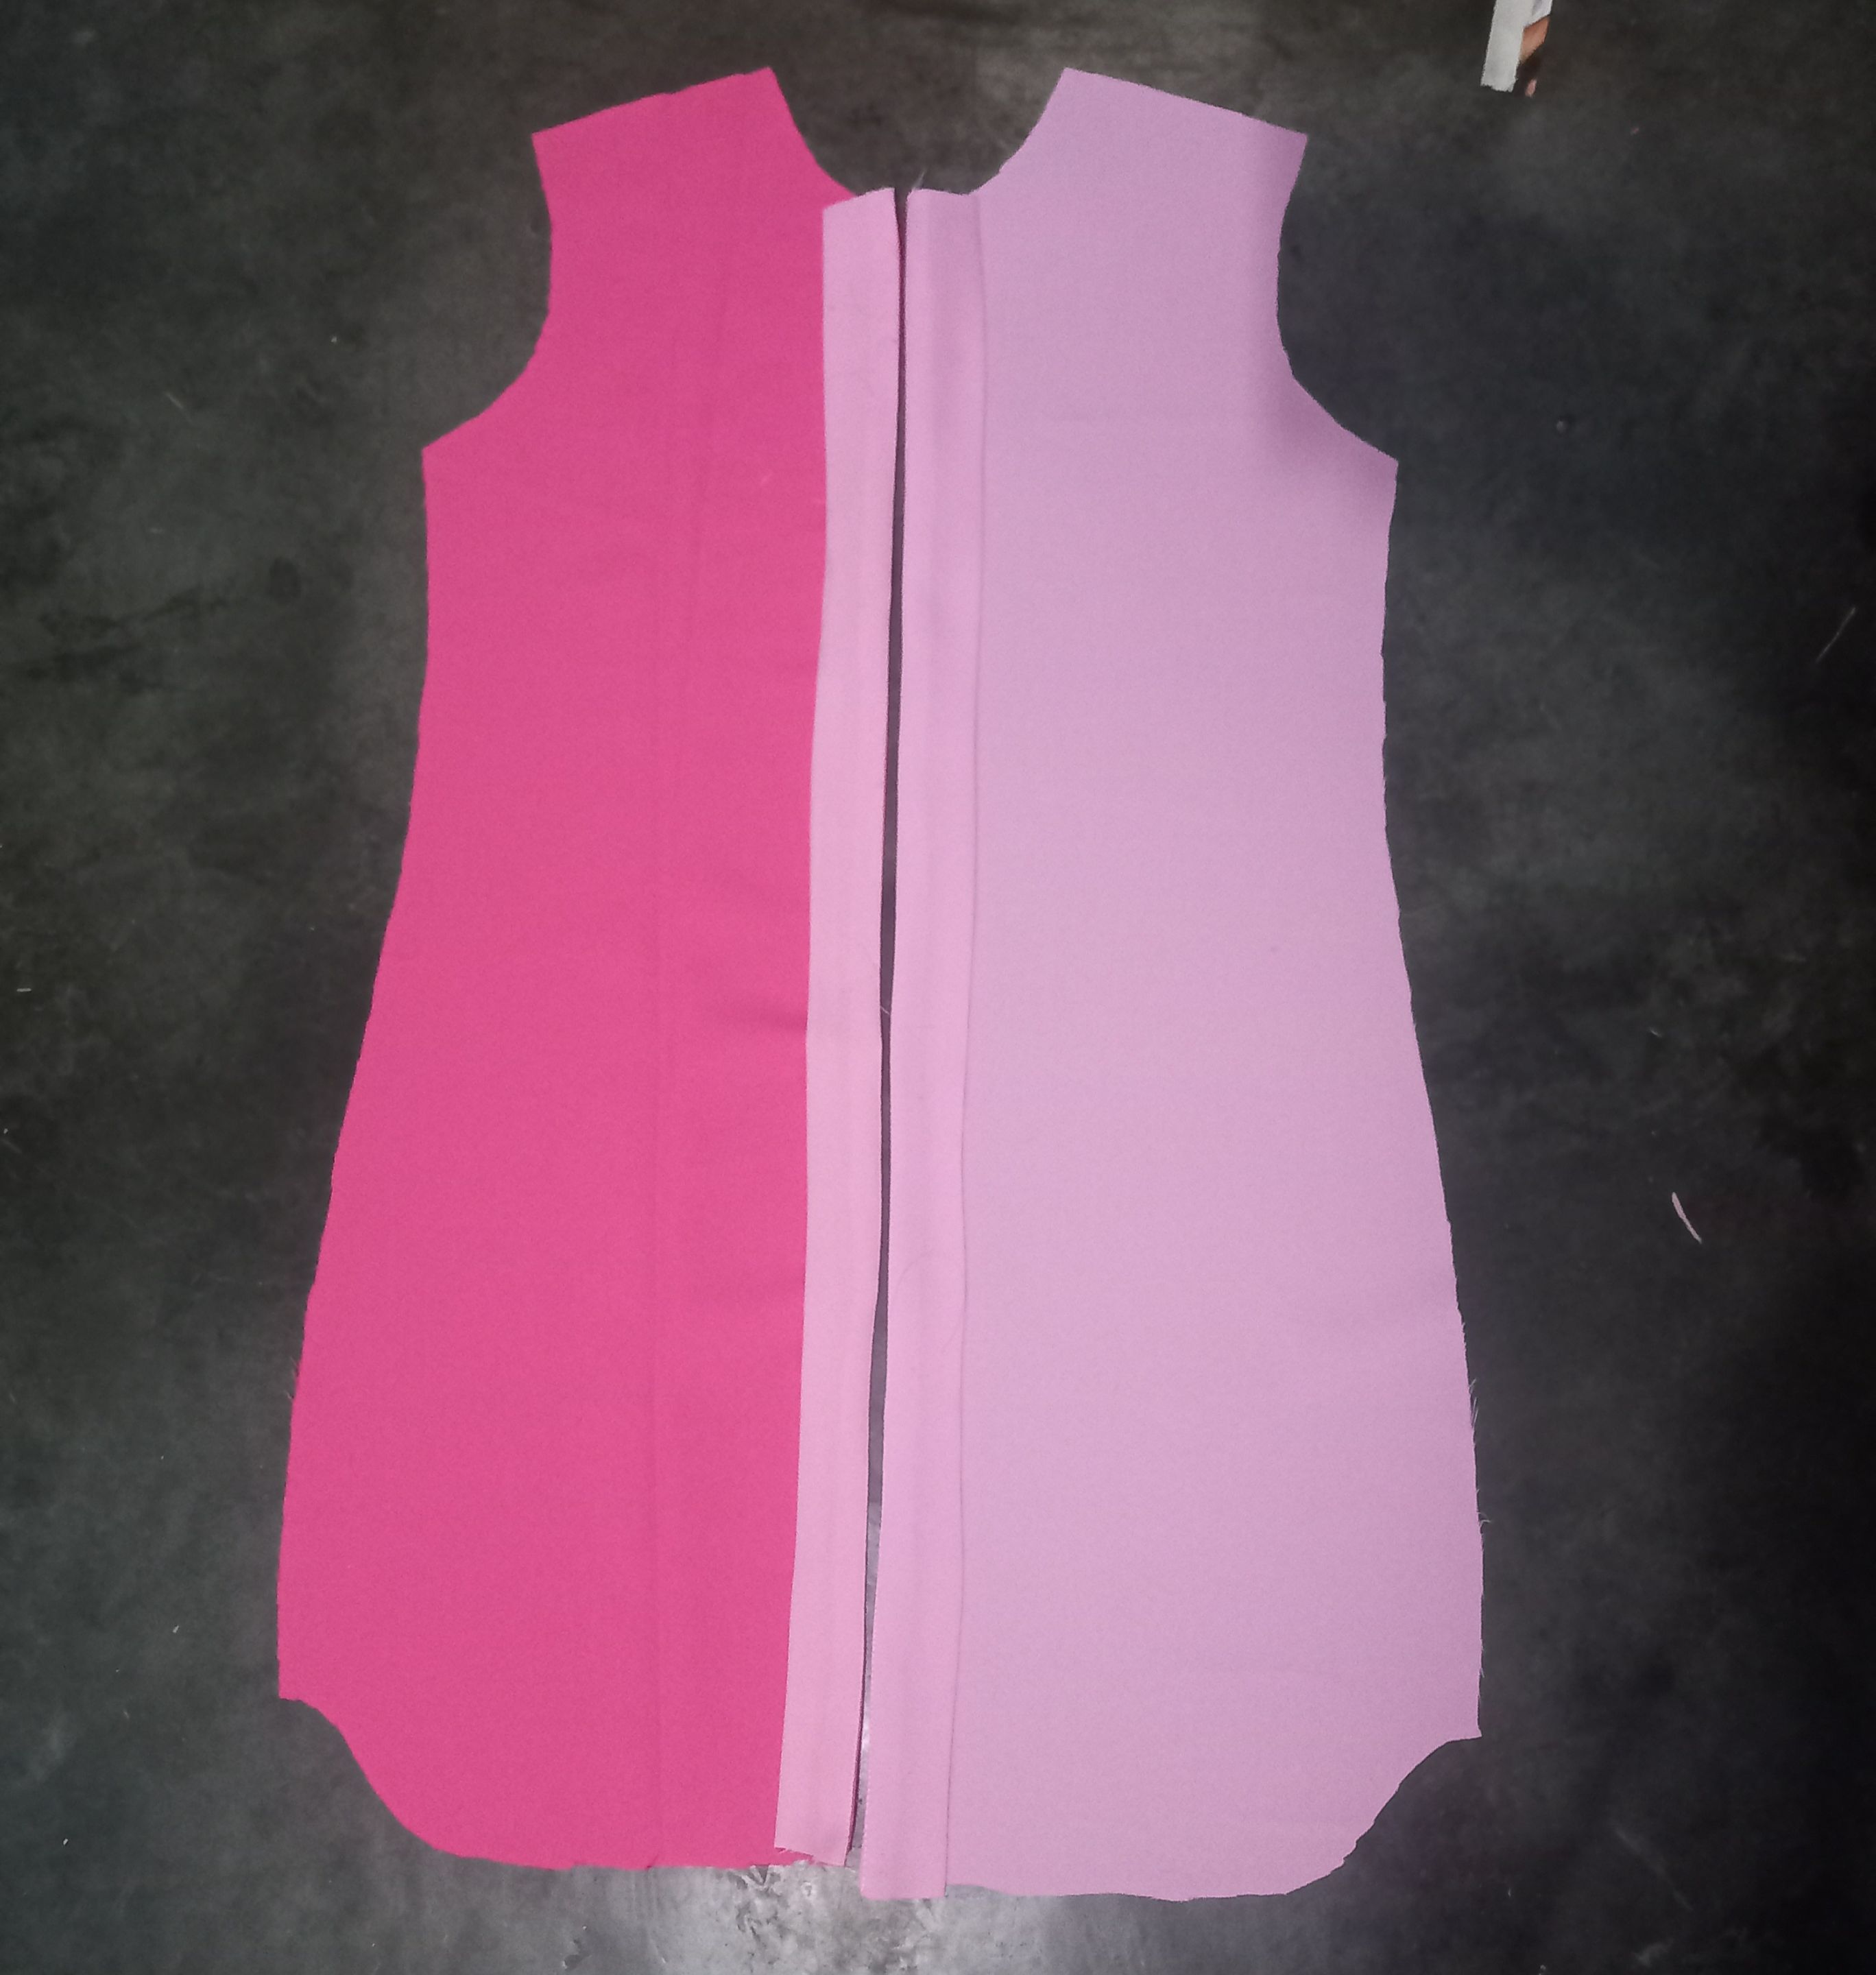</center> Antes de unir las piezas delanteras con las traseras, cosí las bolsas de los bolsillos en los laterales de cada una de éstas piezas a una distancia de 30 cm partiendo desde el final de la sisa para abajo. > Before joining the front and back pieces, I sewed the pocket pockets on the sides of each of these pieces at a distance of 30 cm from the end of the armhole down. <center>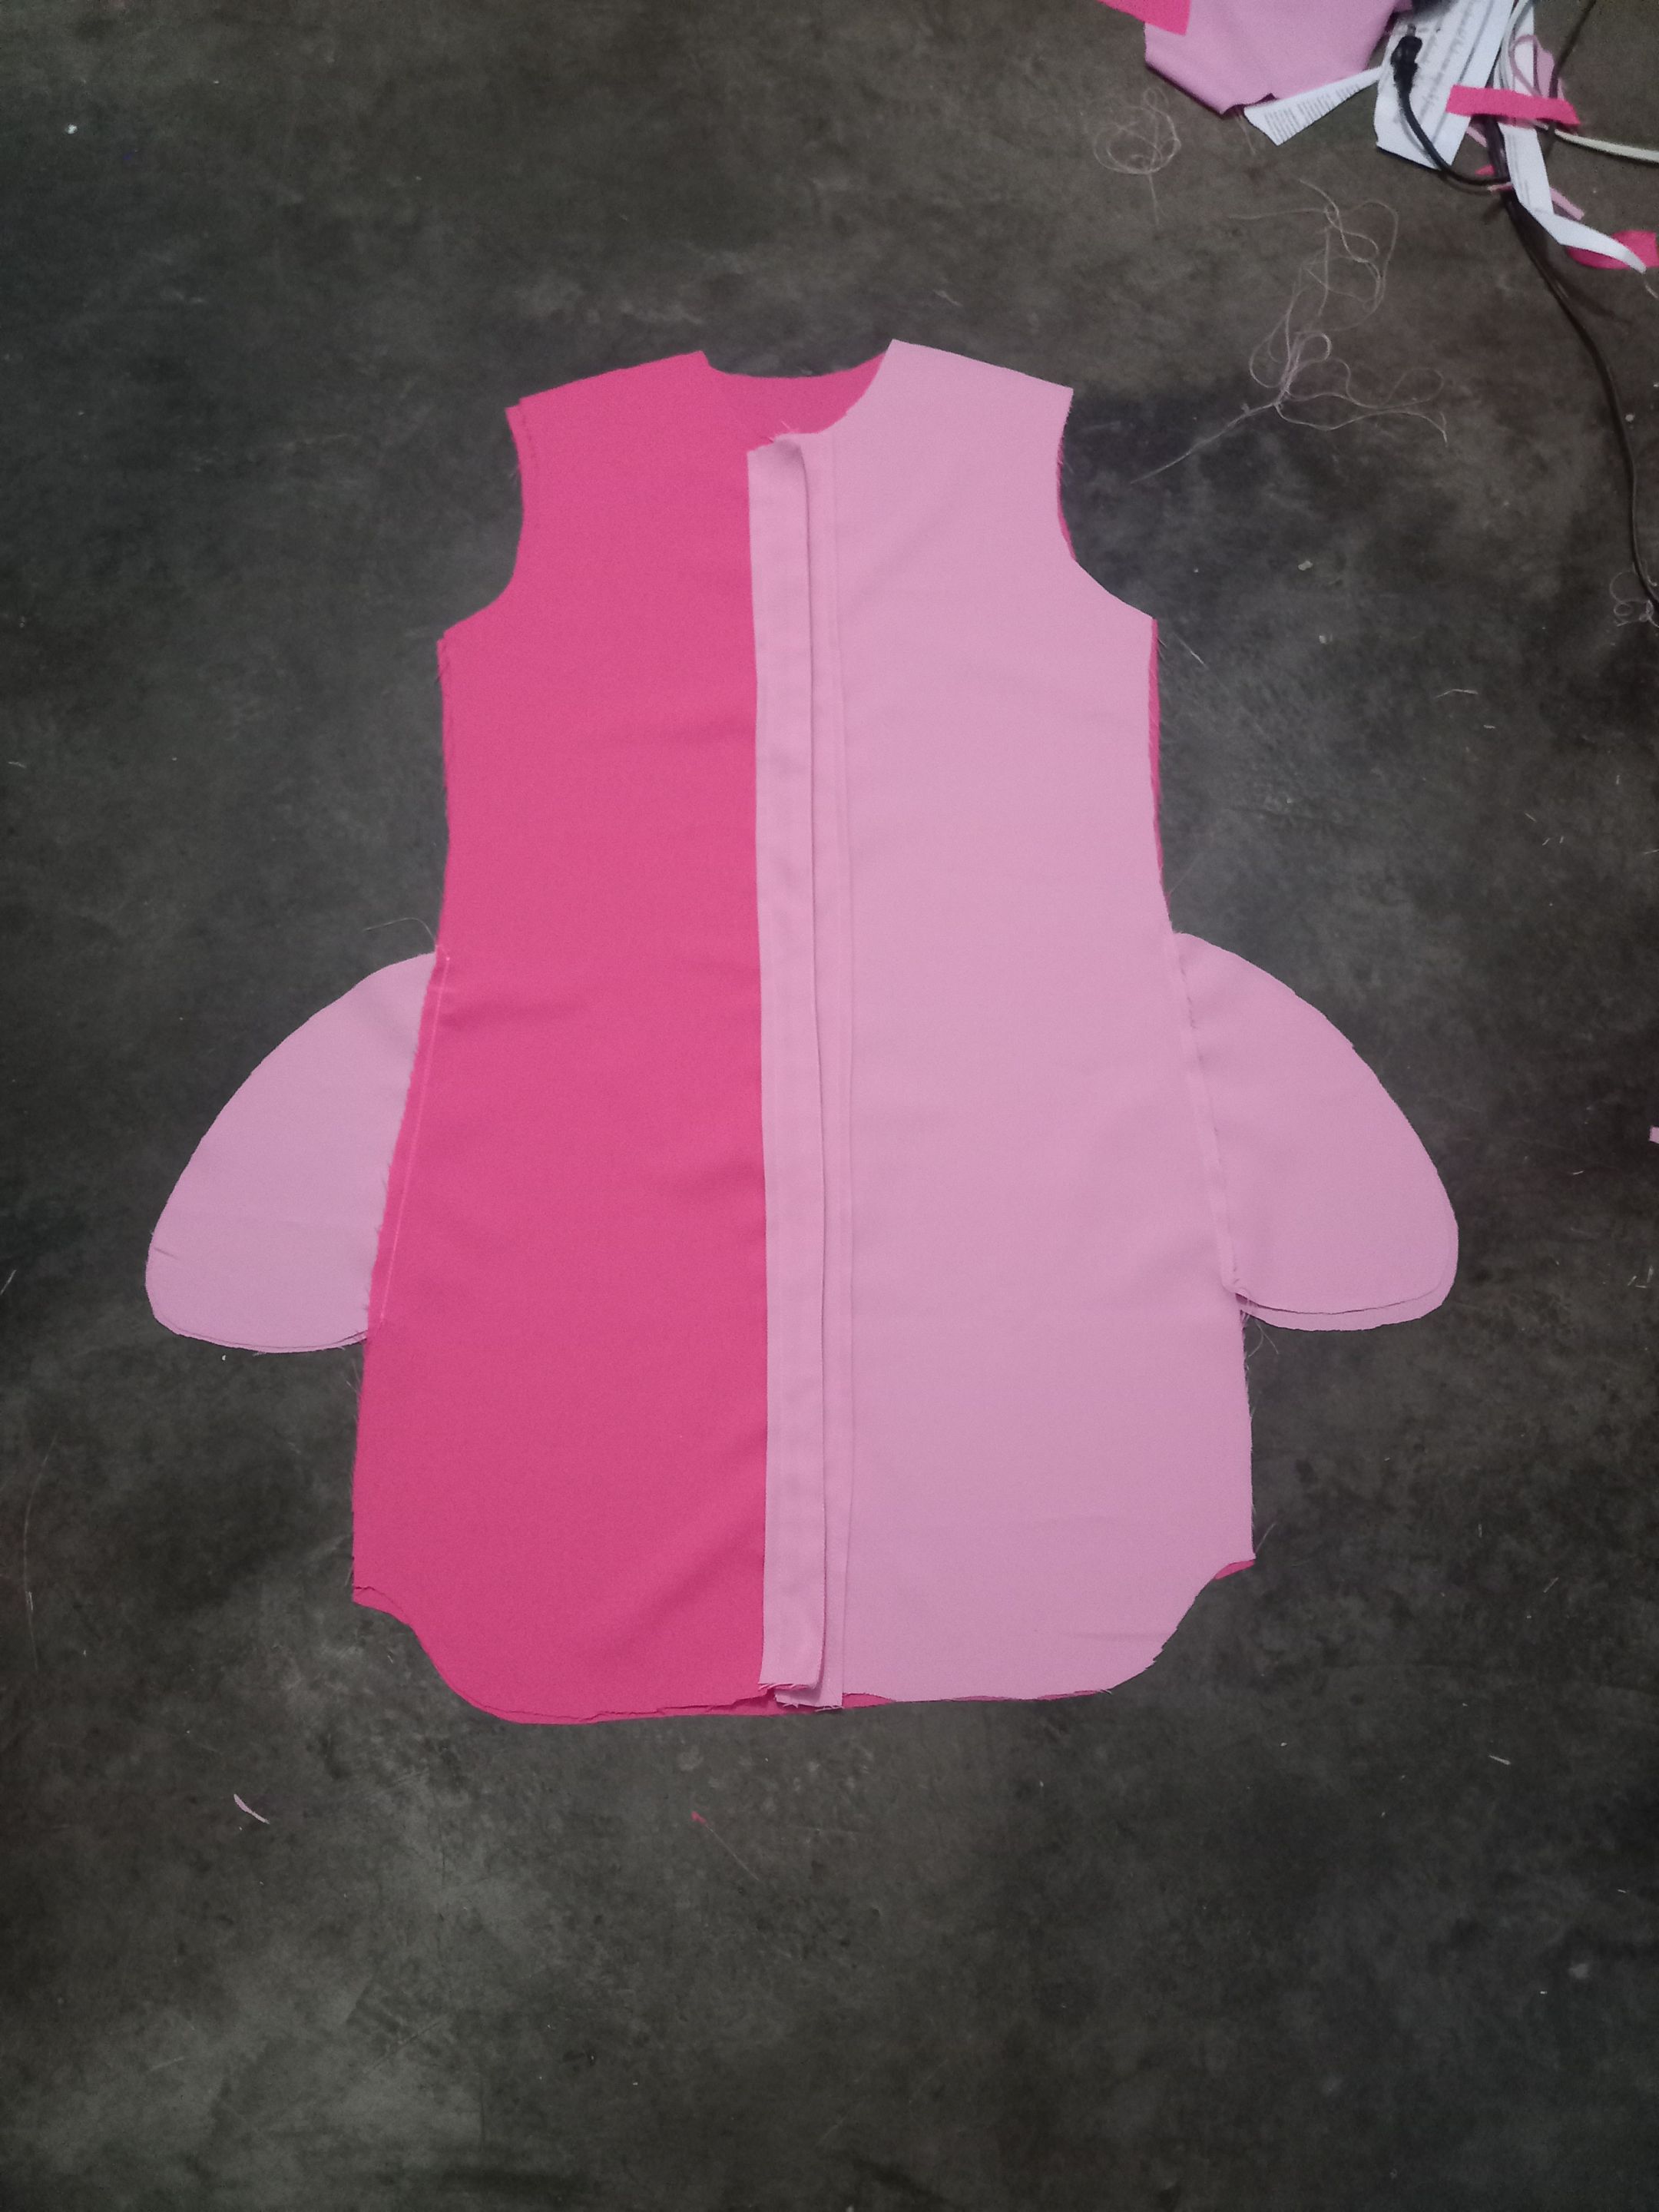</center> Coloqué las peizas delanteras sobre la pieza trasera, dejando las bolsas de los bolsillos por fuera y pasé costura, así cono se muestra en la imagen. > I placed the front pieces on top of the back piece, leaving the pocket pockets on the outside and stitched, as shown in the picture. <center> 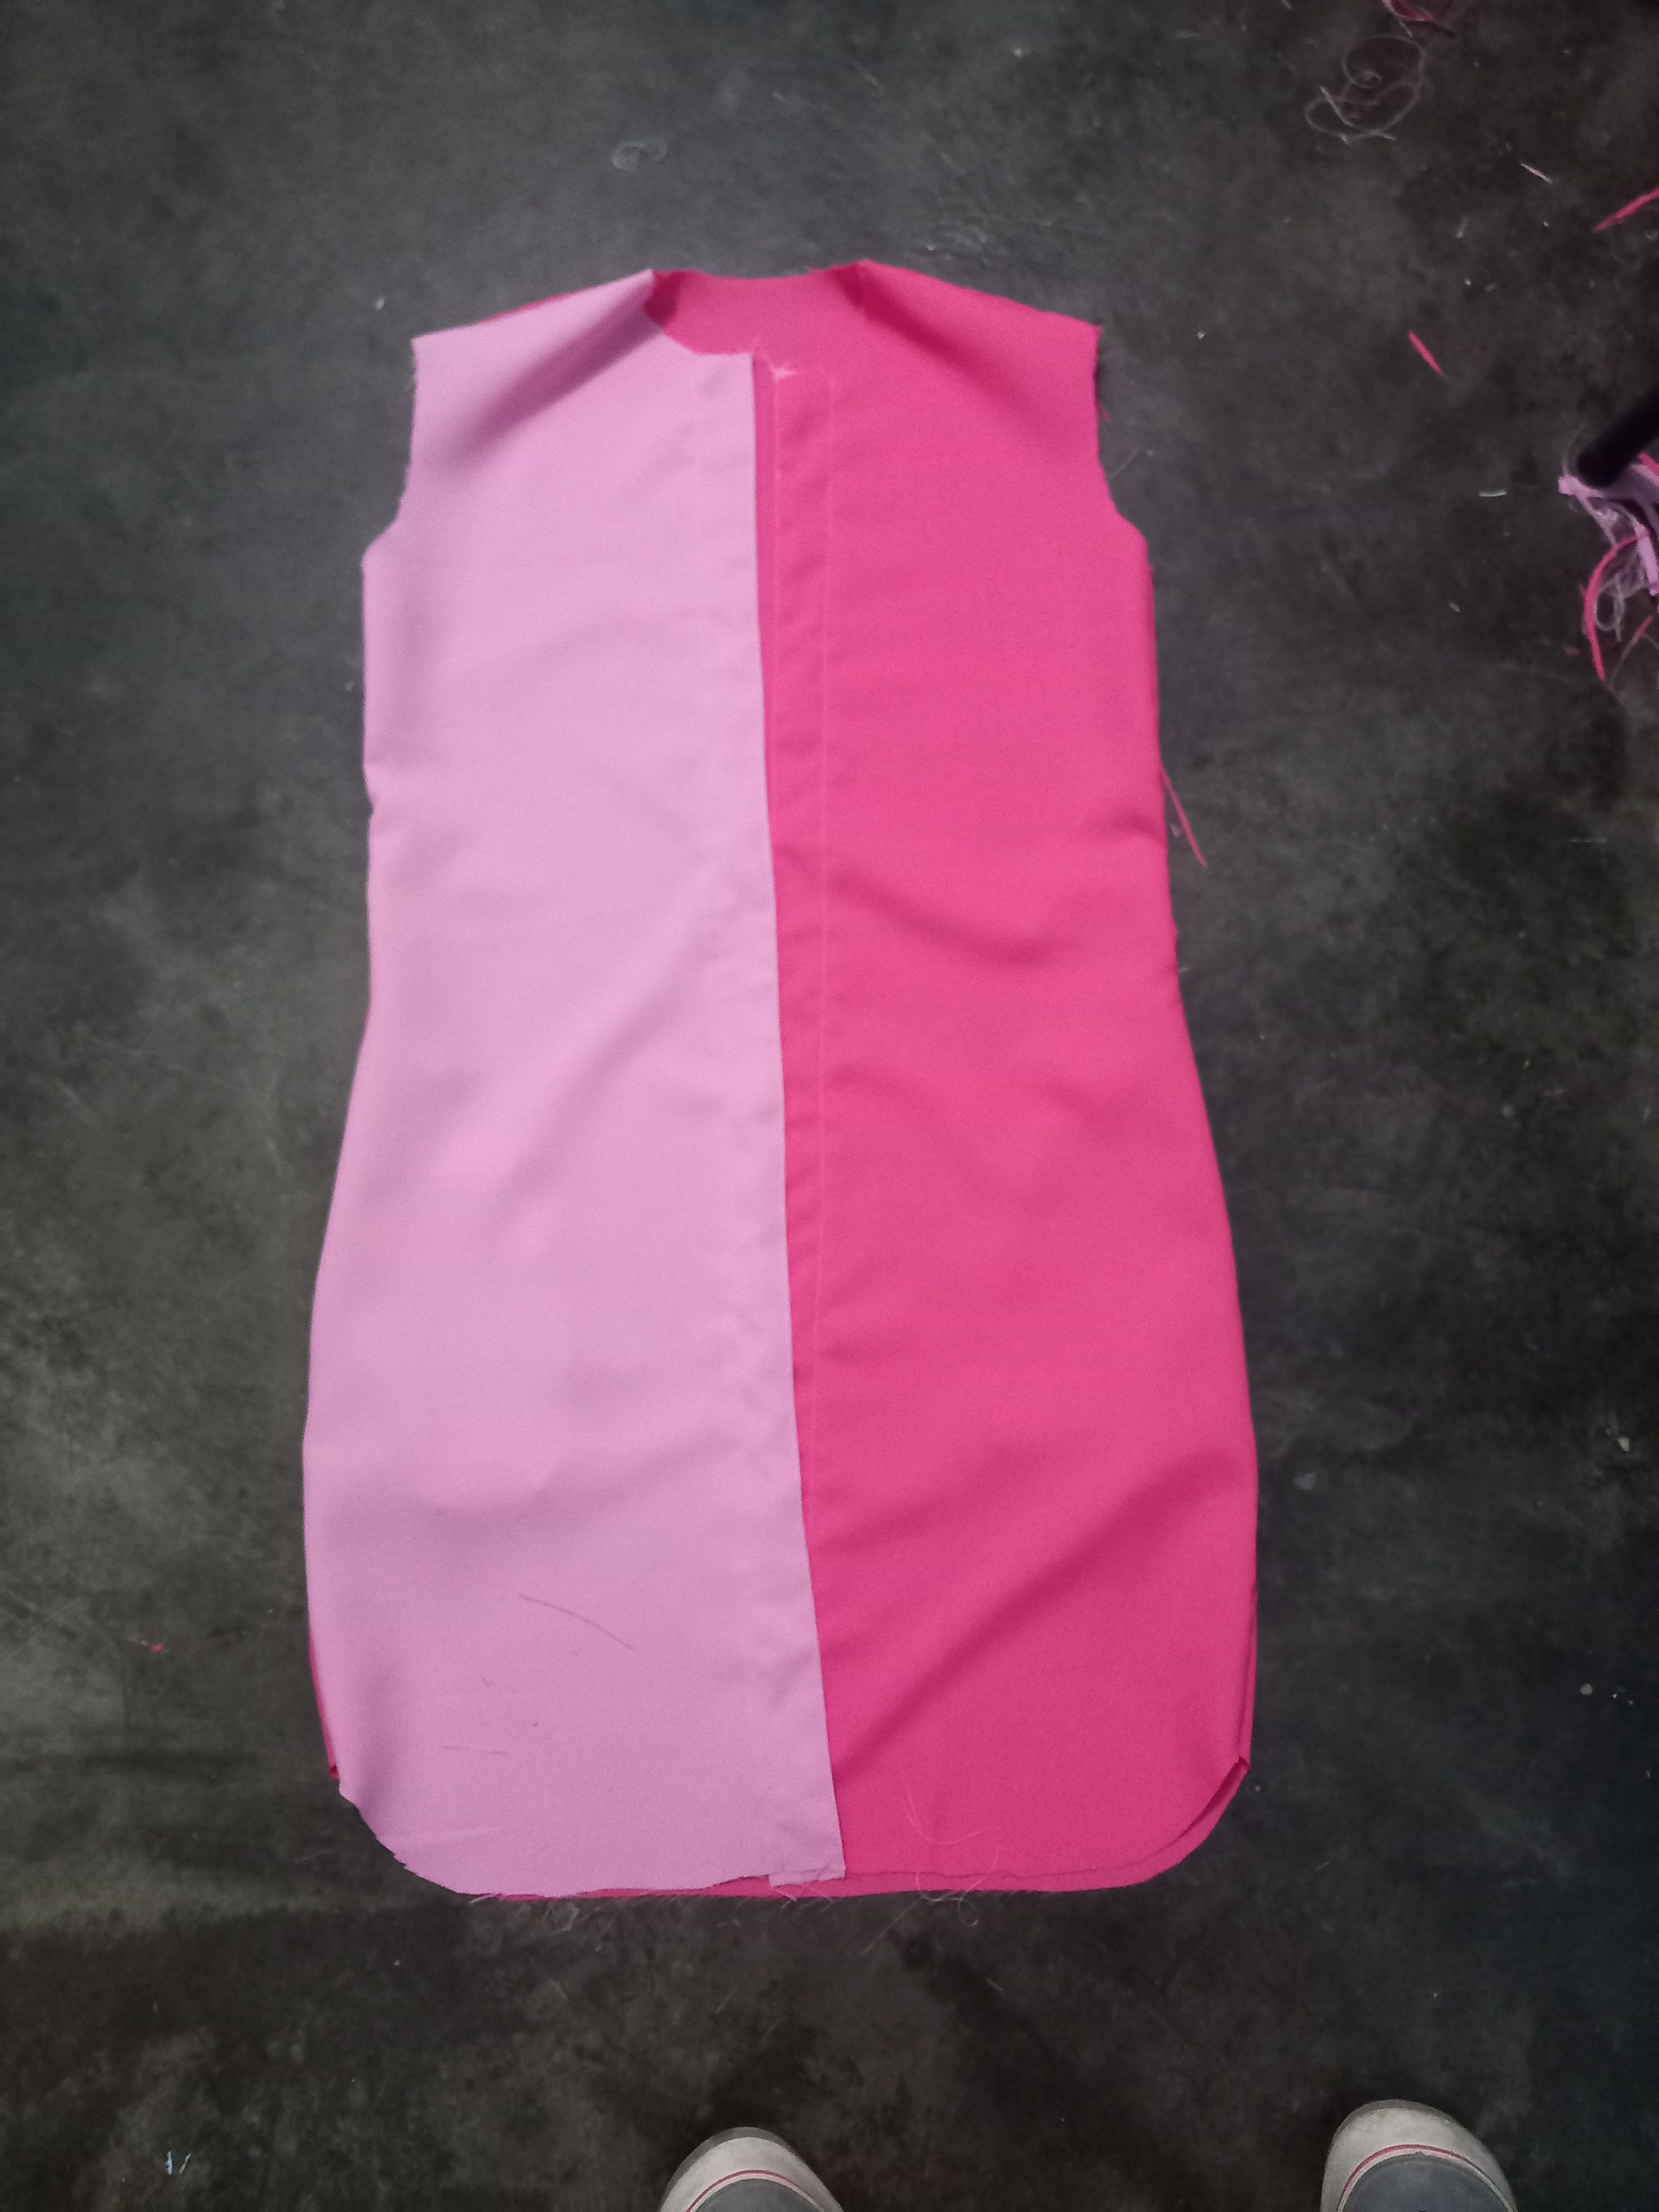</center> Cosí las mangas haciendo coincidir las orillas de estas con las orillas de la sisa, para esto, meti la manga por dentro de la camisa y pasé costura. > I sewed the sleeves matching the edges of the sleeves with the edges of the armhole, for this, I put the sleeve inside the shirt and sewed the seam. <center>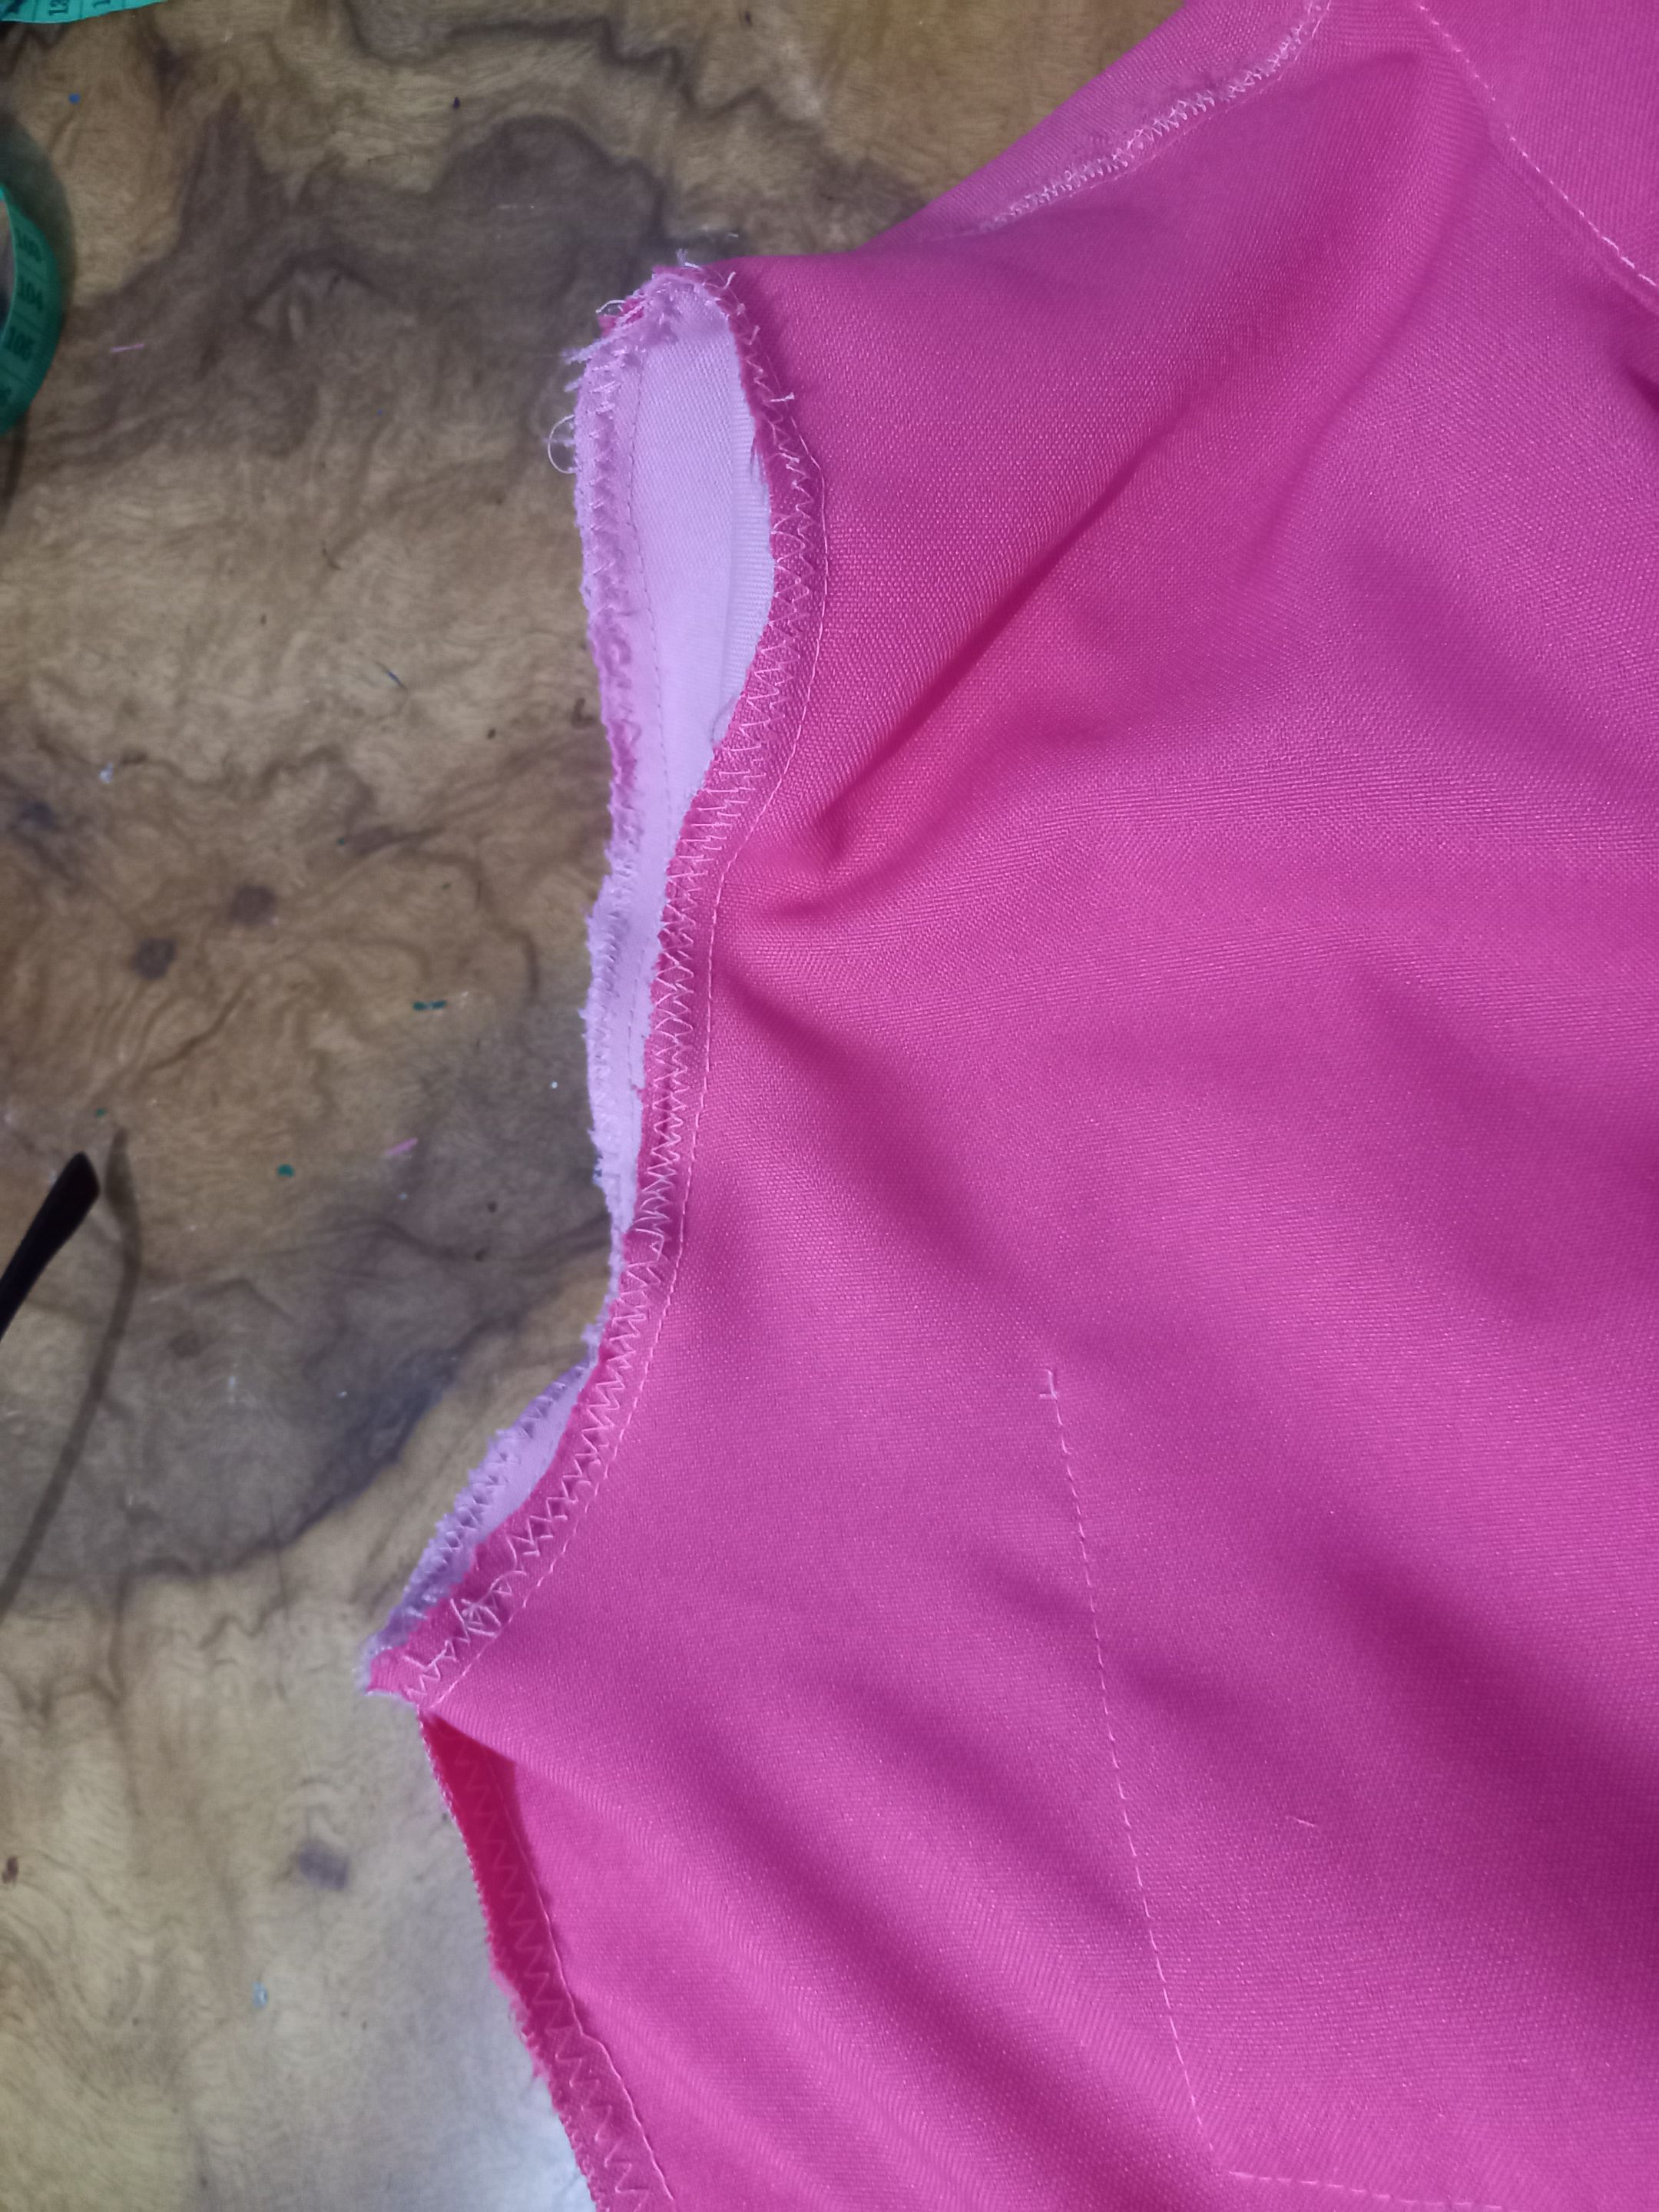 </center> Cuando terminé de pasar todas las costuras correspondientes, procedí a armar el cuello colocando la pieza completa del cuello en medio de las dos partes del pie de cuello, haciendo coincidir las orillas. > When I finished passing all the corresponding seams, I proceeded to assemble the collar by placing the complete collar piece in the middle of the two parts of the collar foot, matching the edges. <center>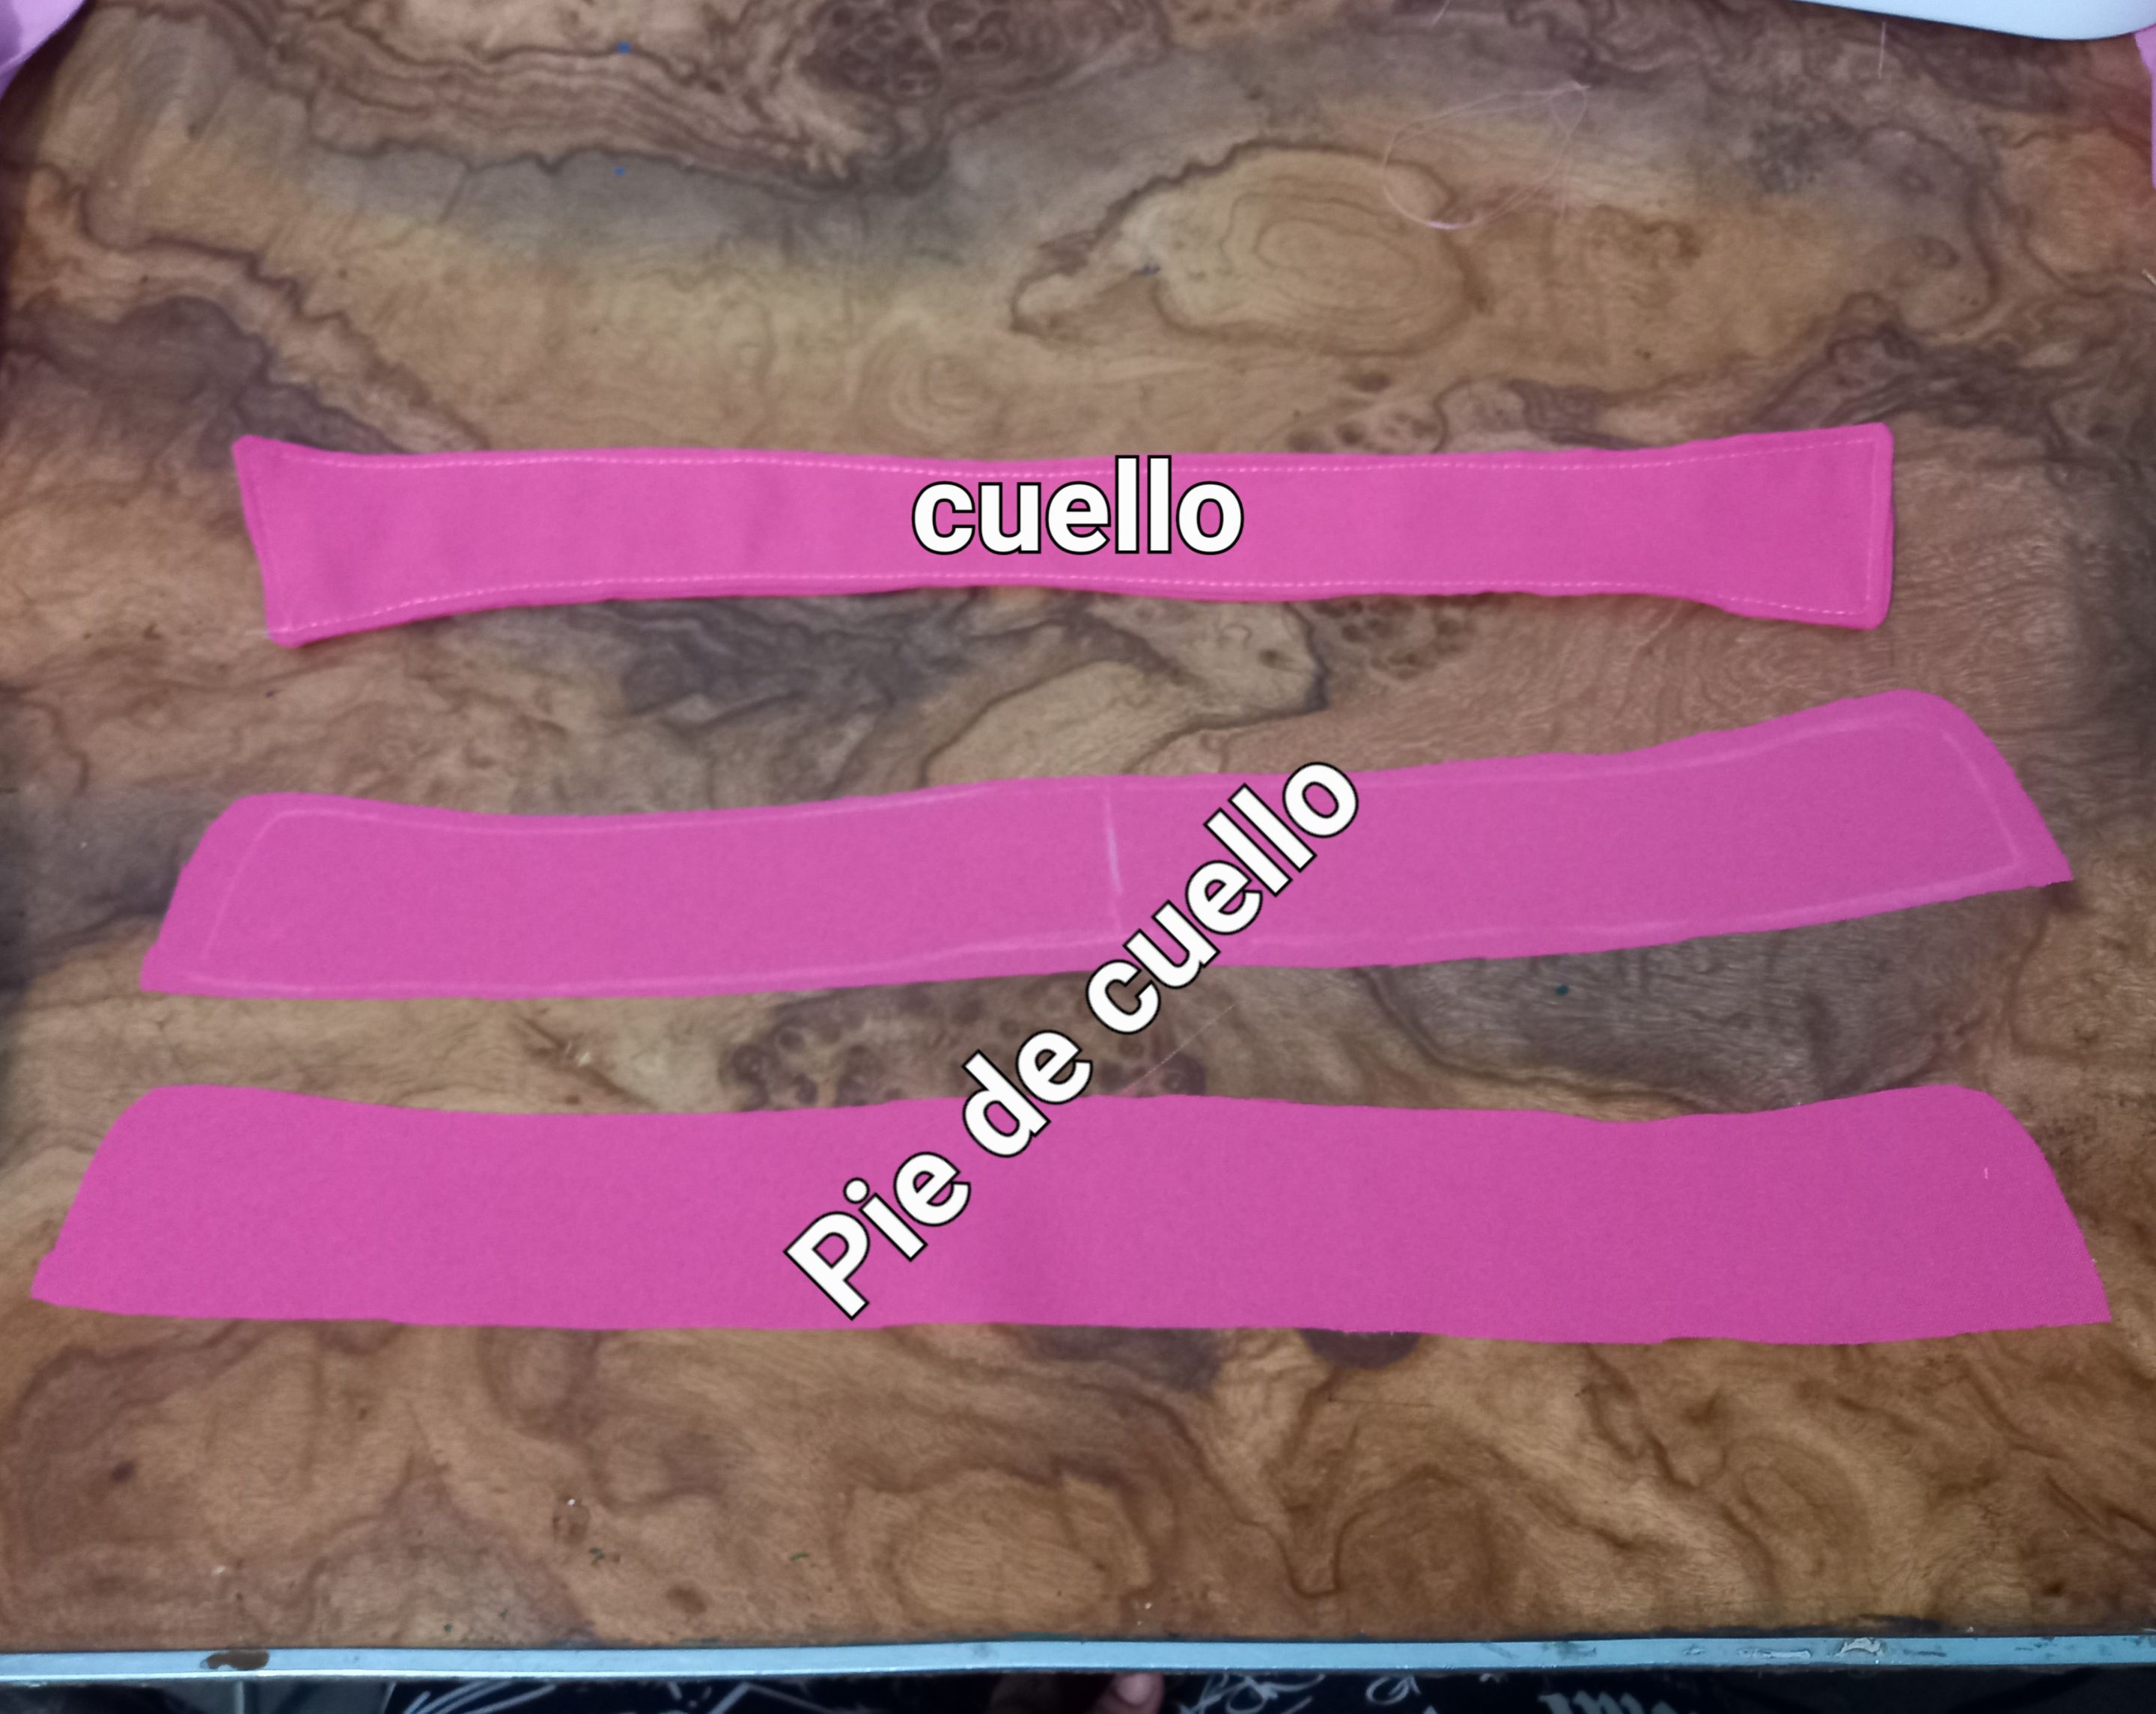 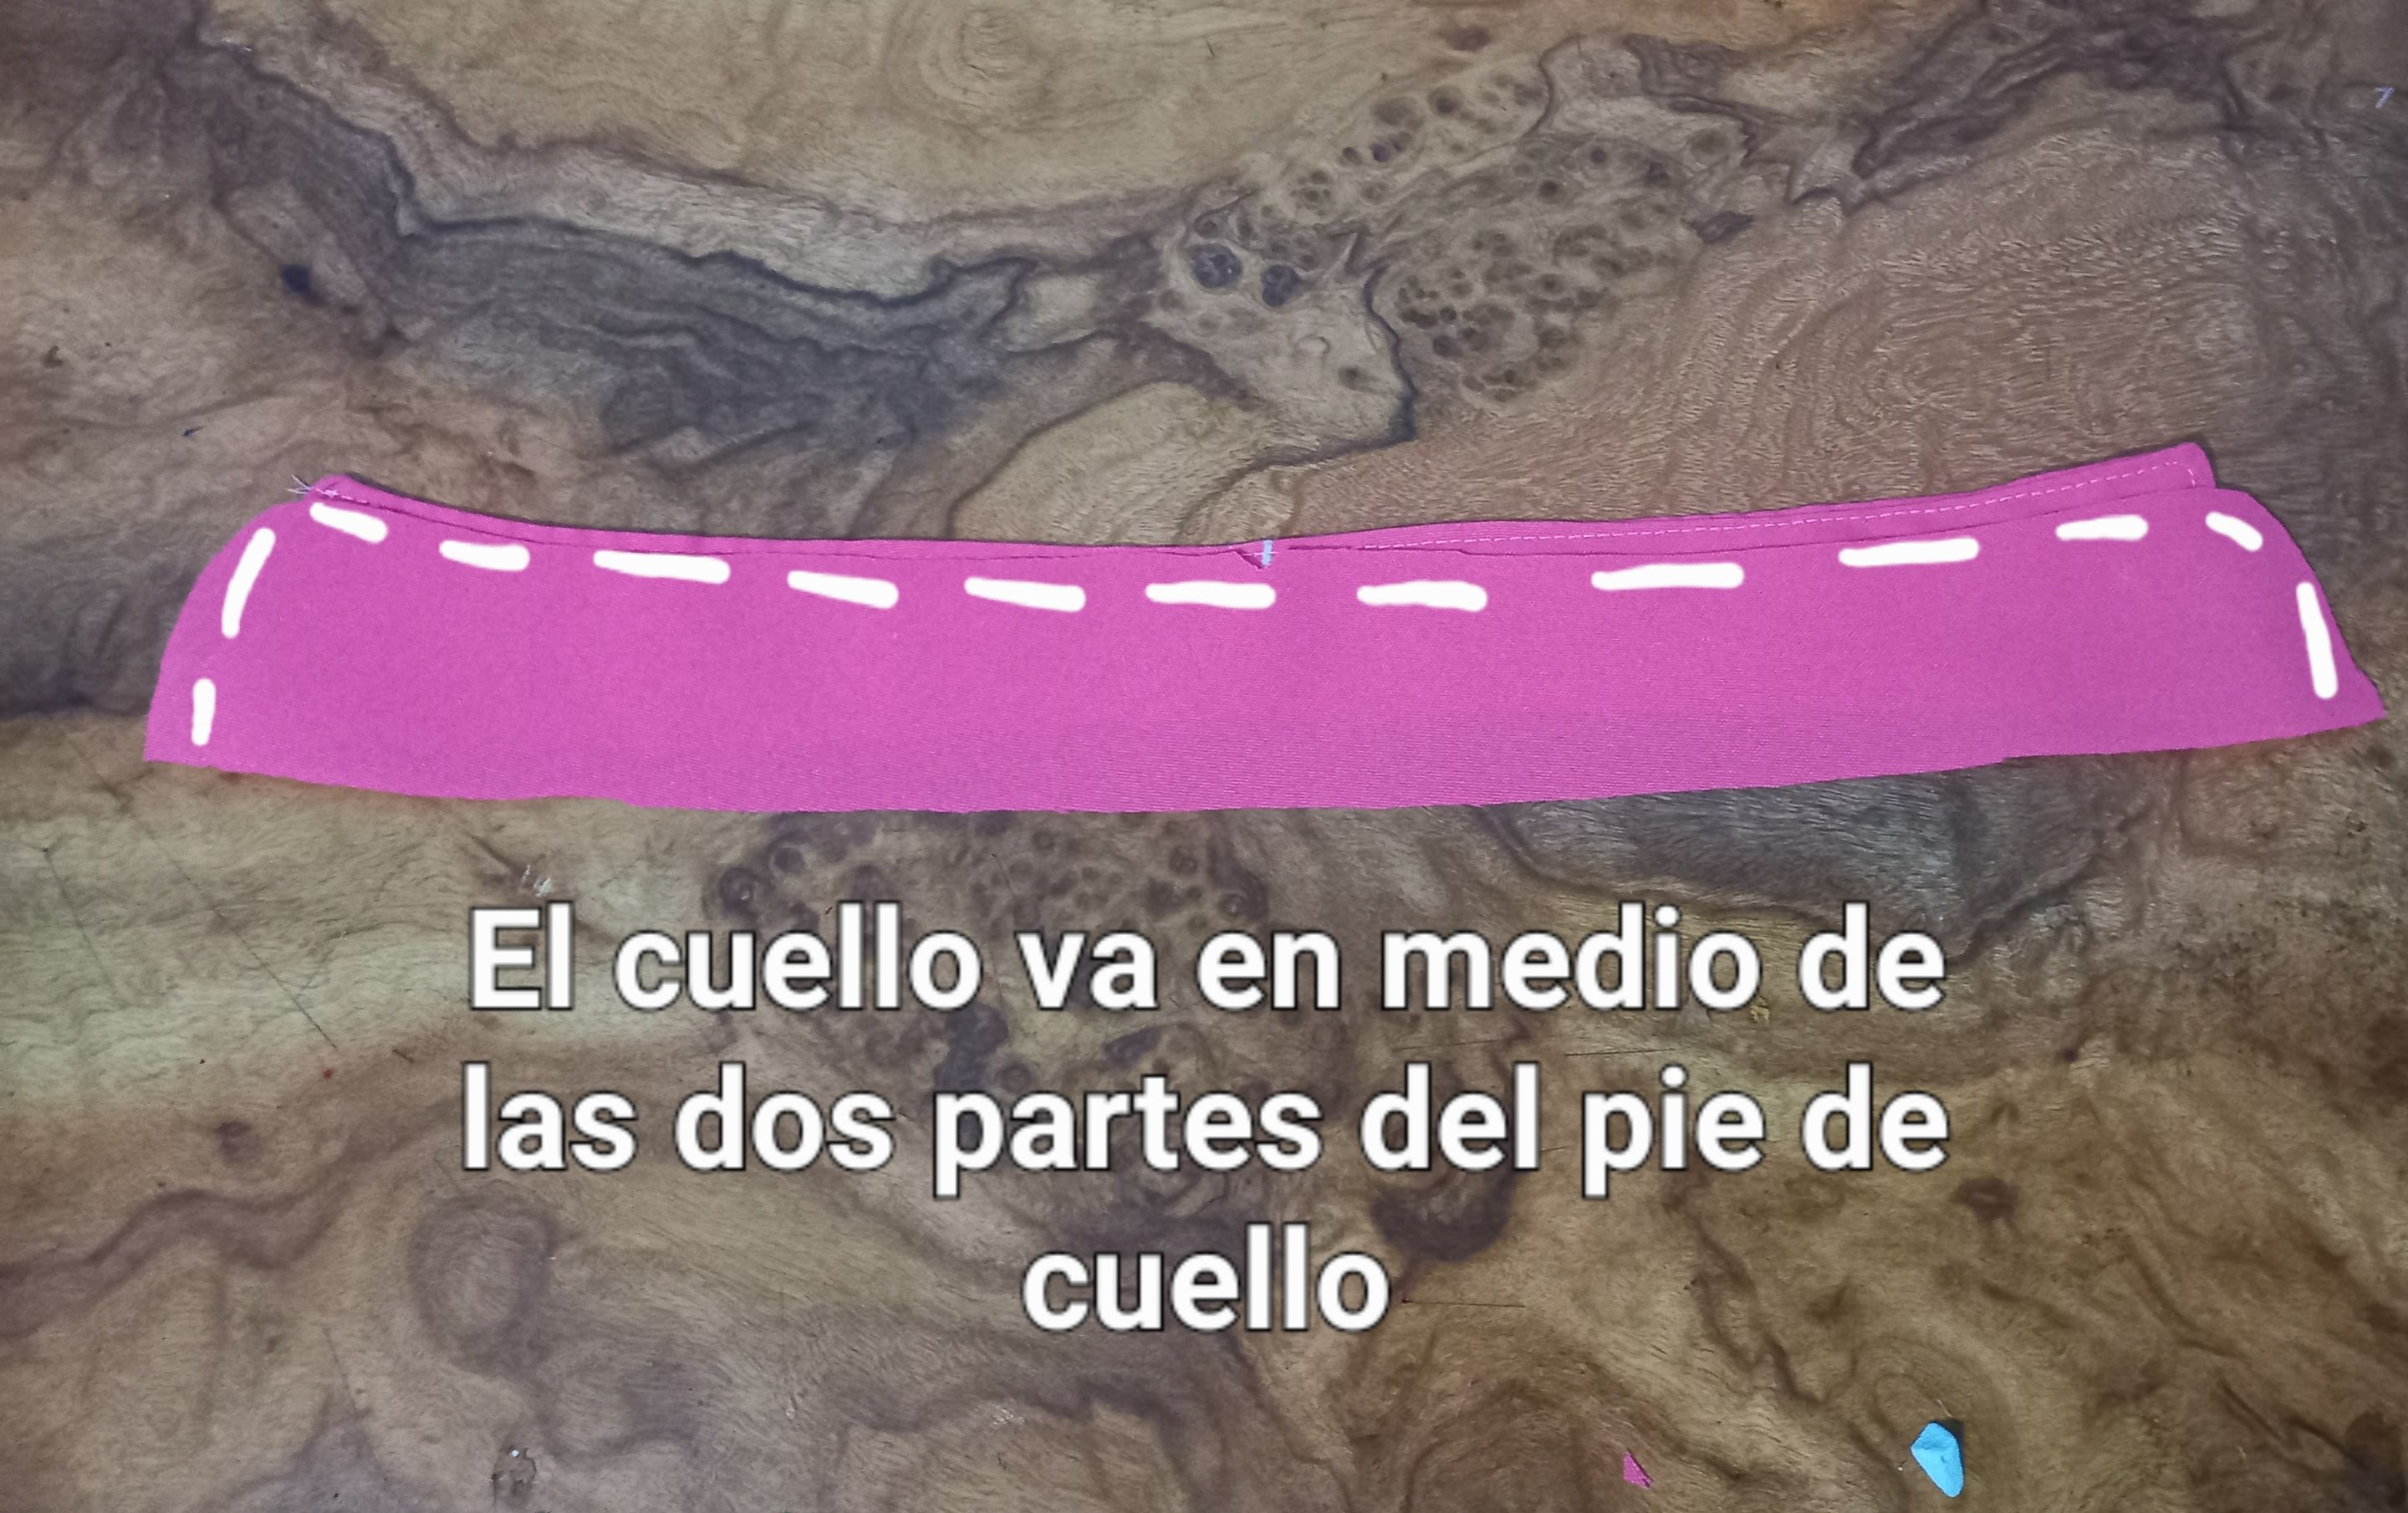 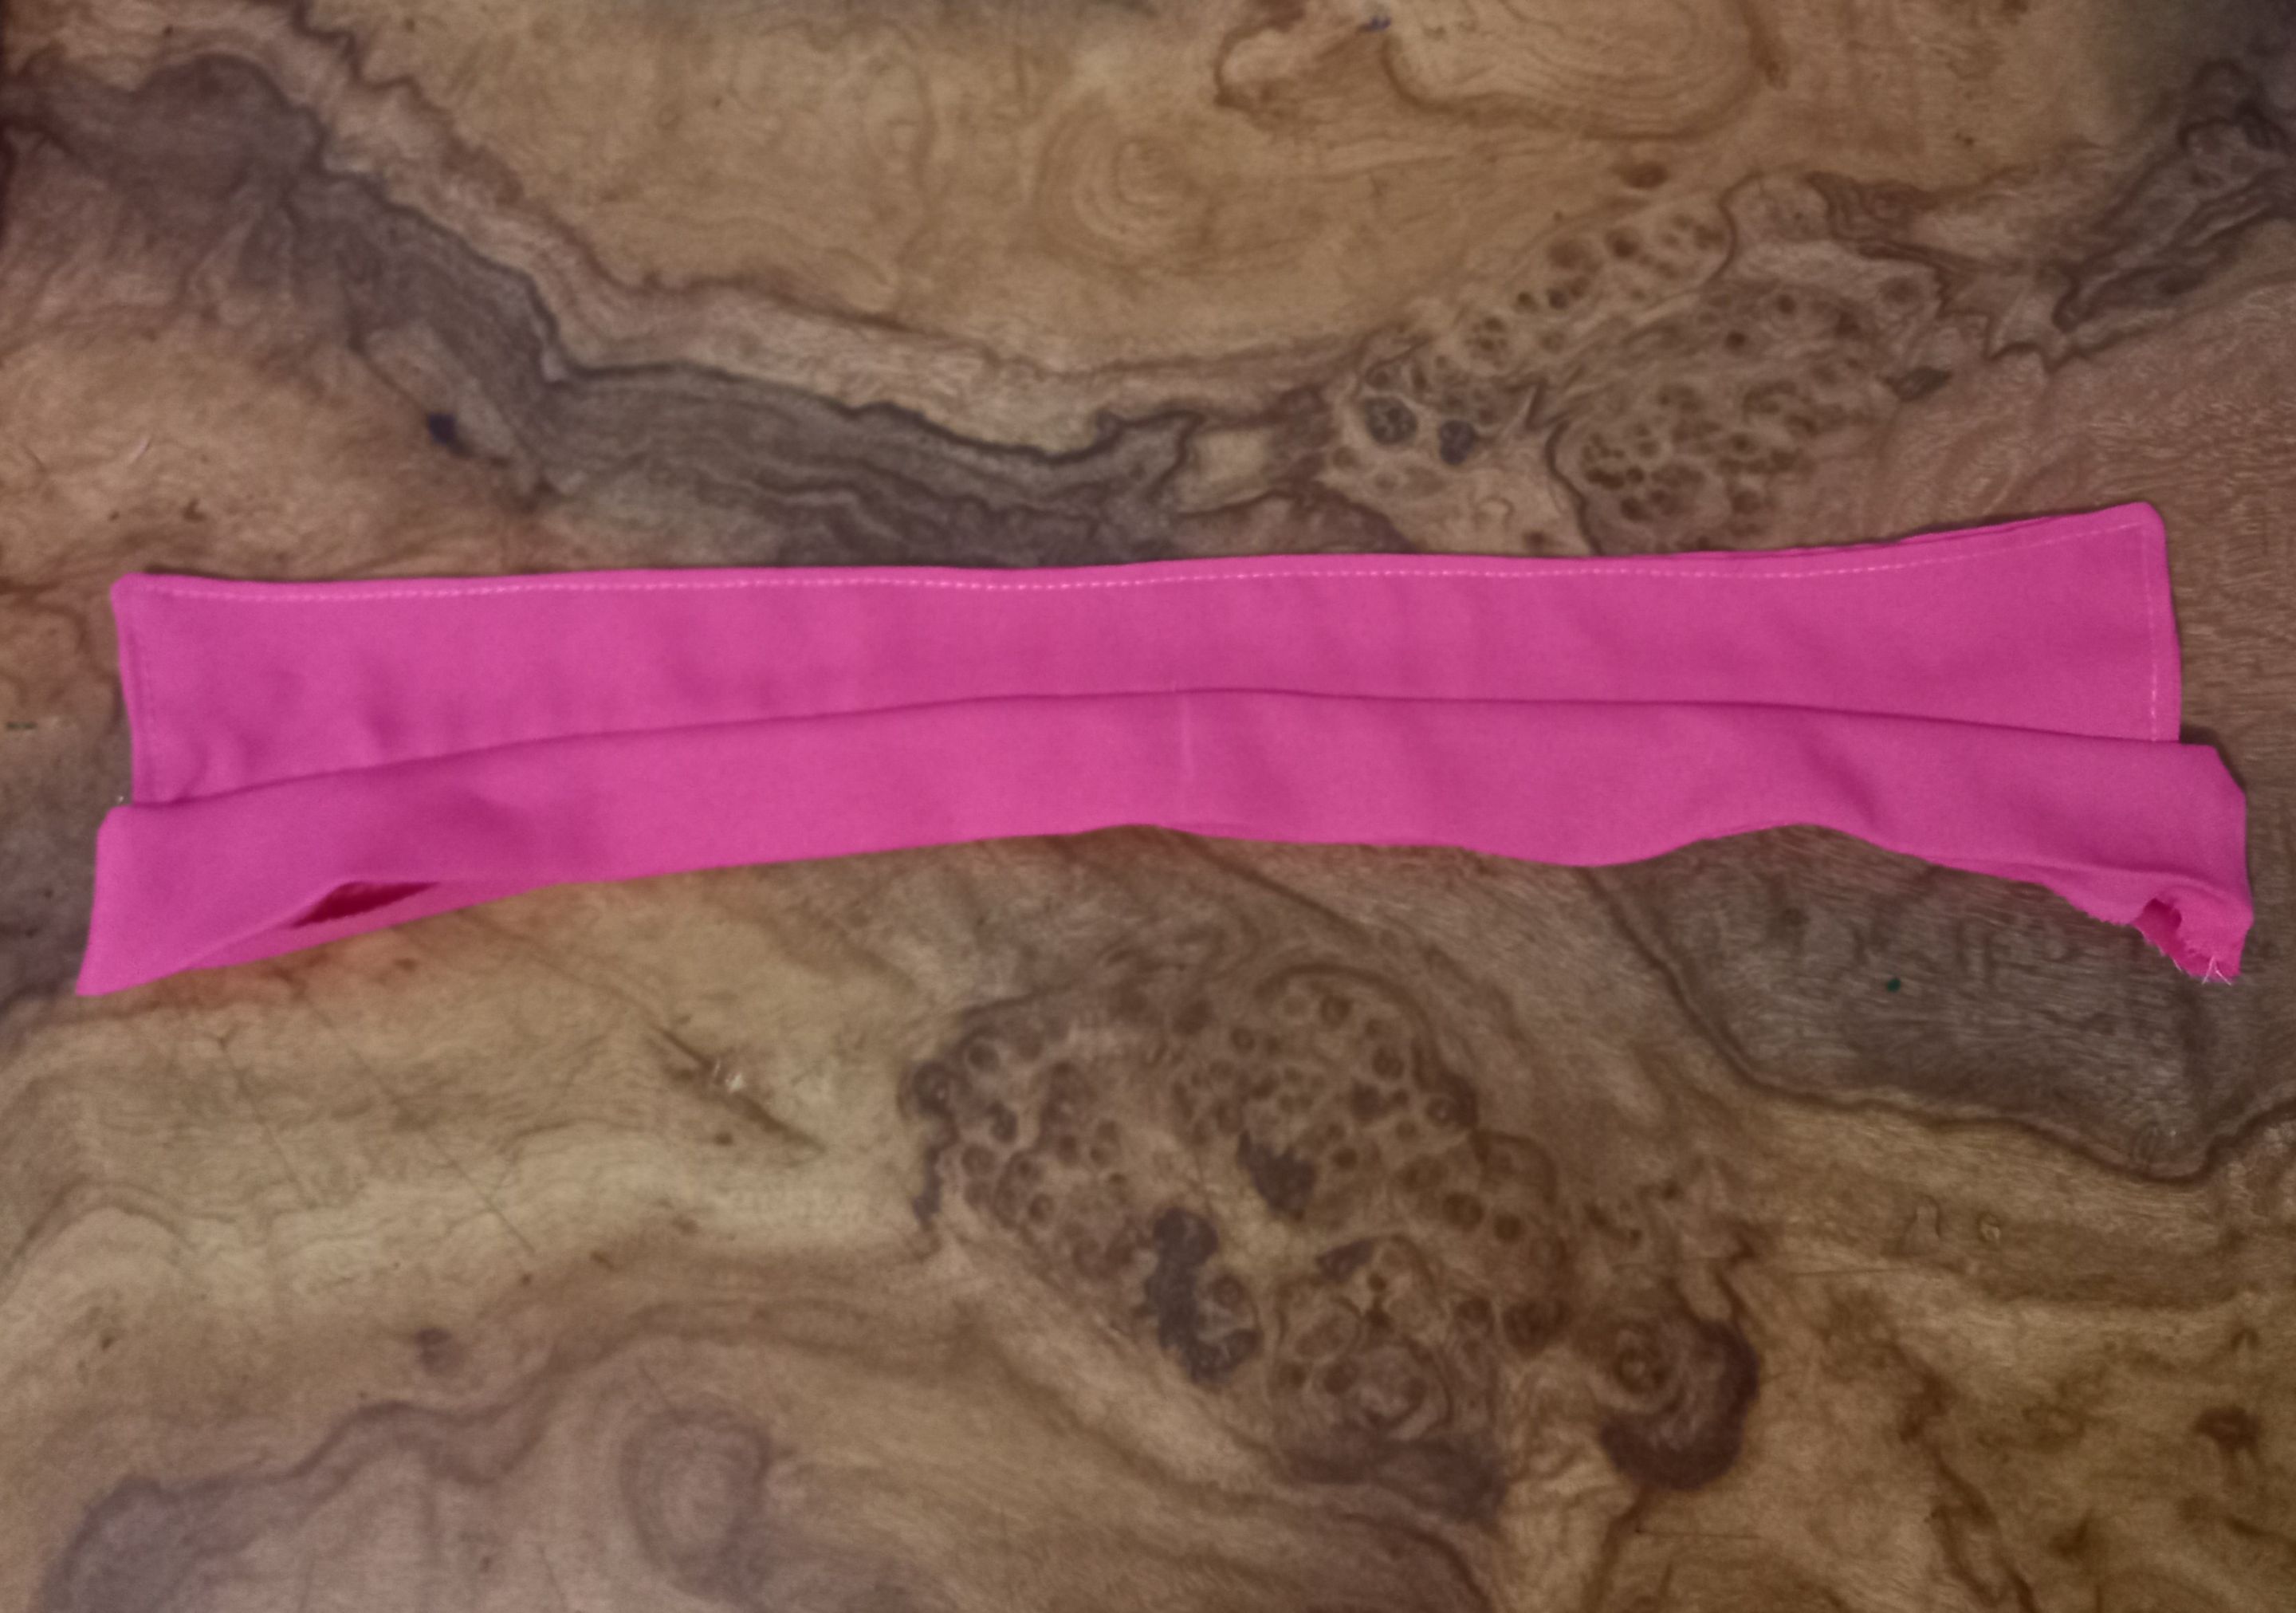</center> Cuando terminé el cuello, procedí a pegarlo, metiendo la orilla del contorno del cuello de la camisa dentro de las dos partes del pie de cuello. > When I finished the collar, I proceeded to glue it, tucking the edge of the shirt collar outline inside the two parts of the collar foot. <center>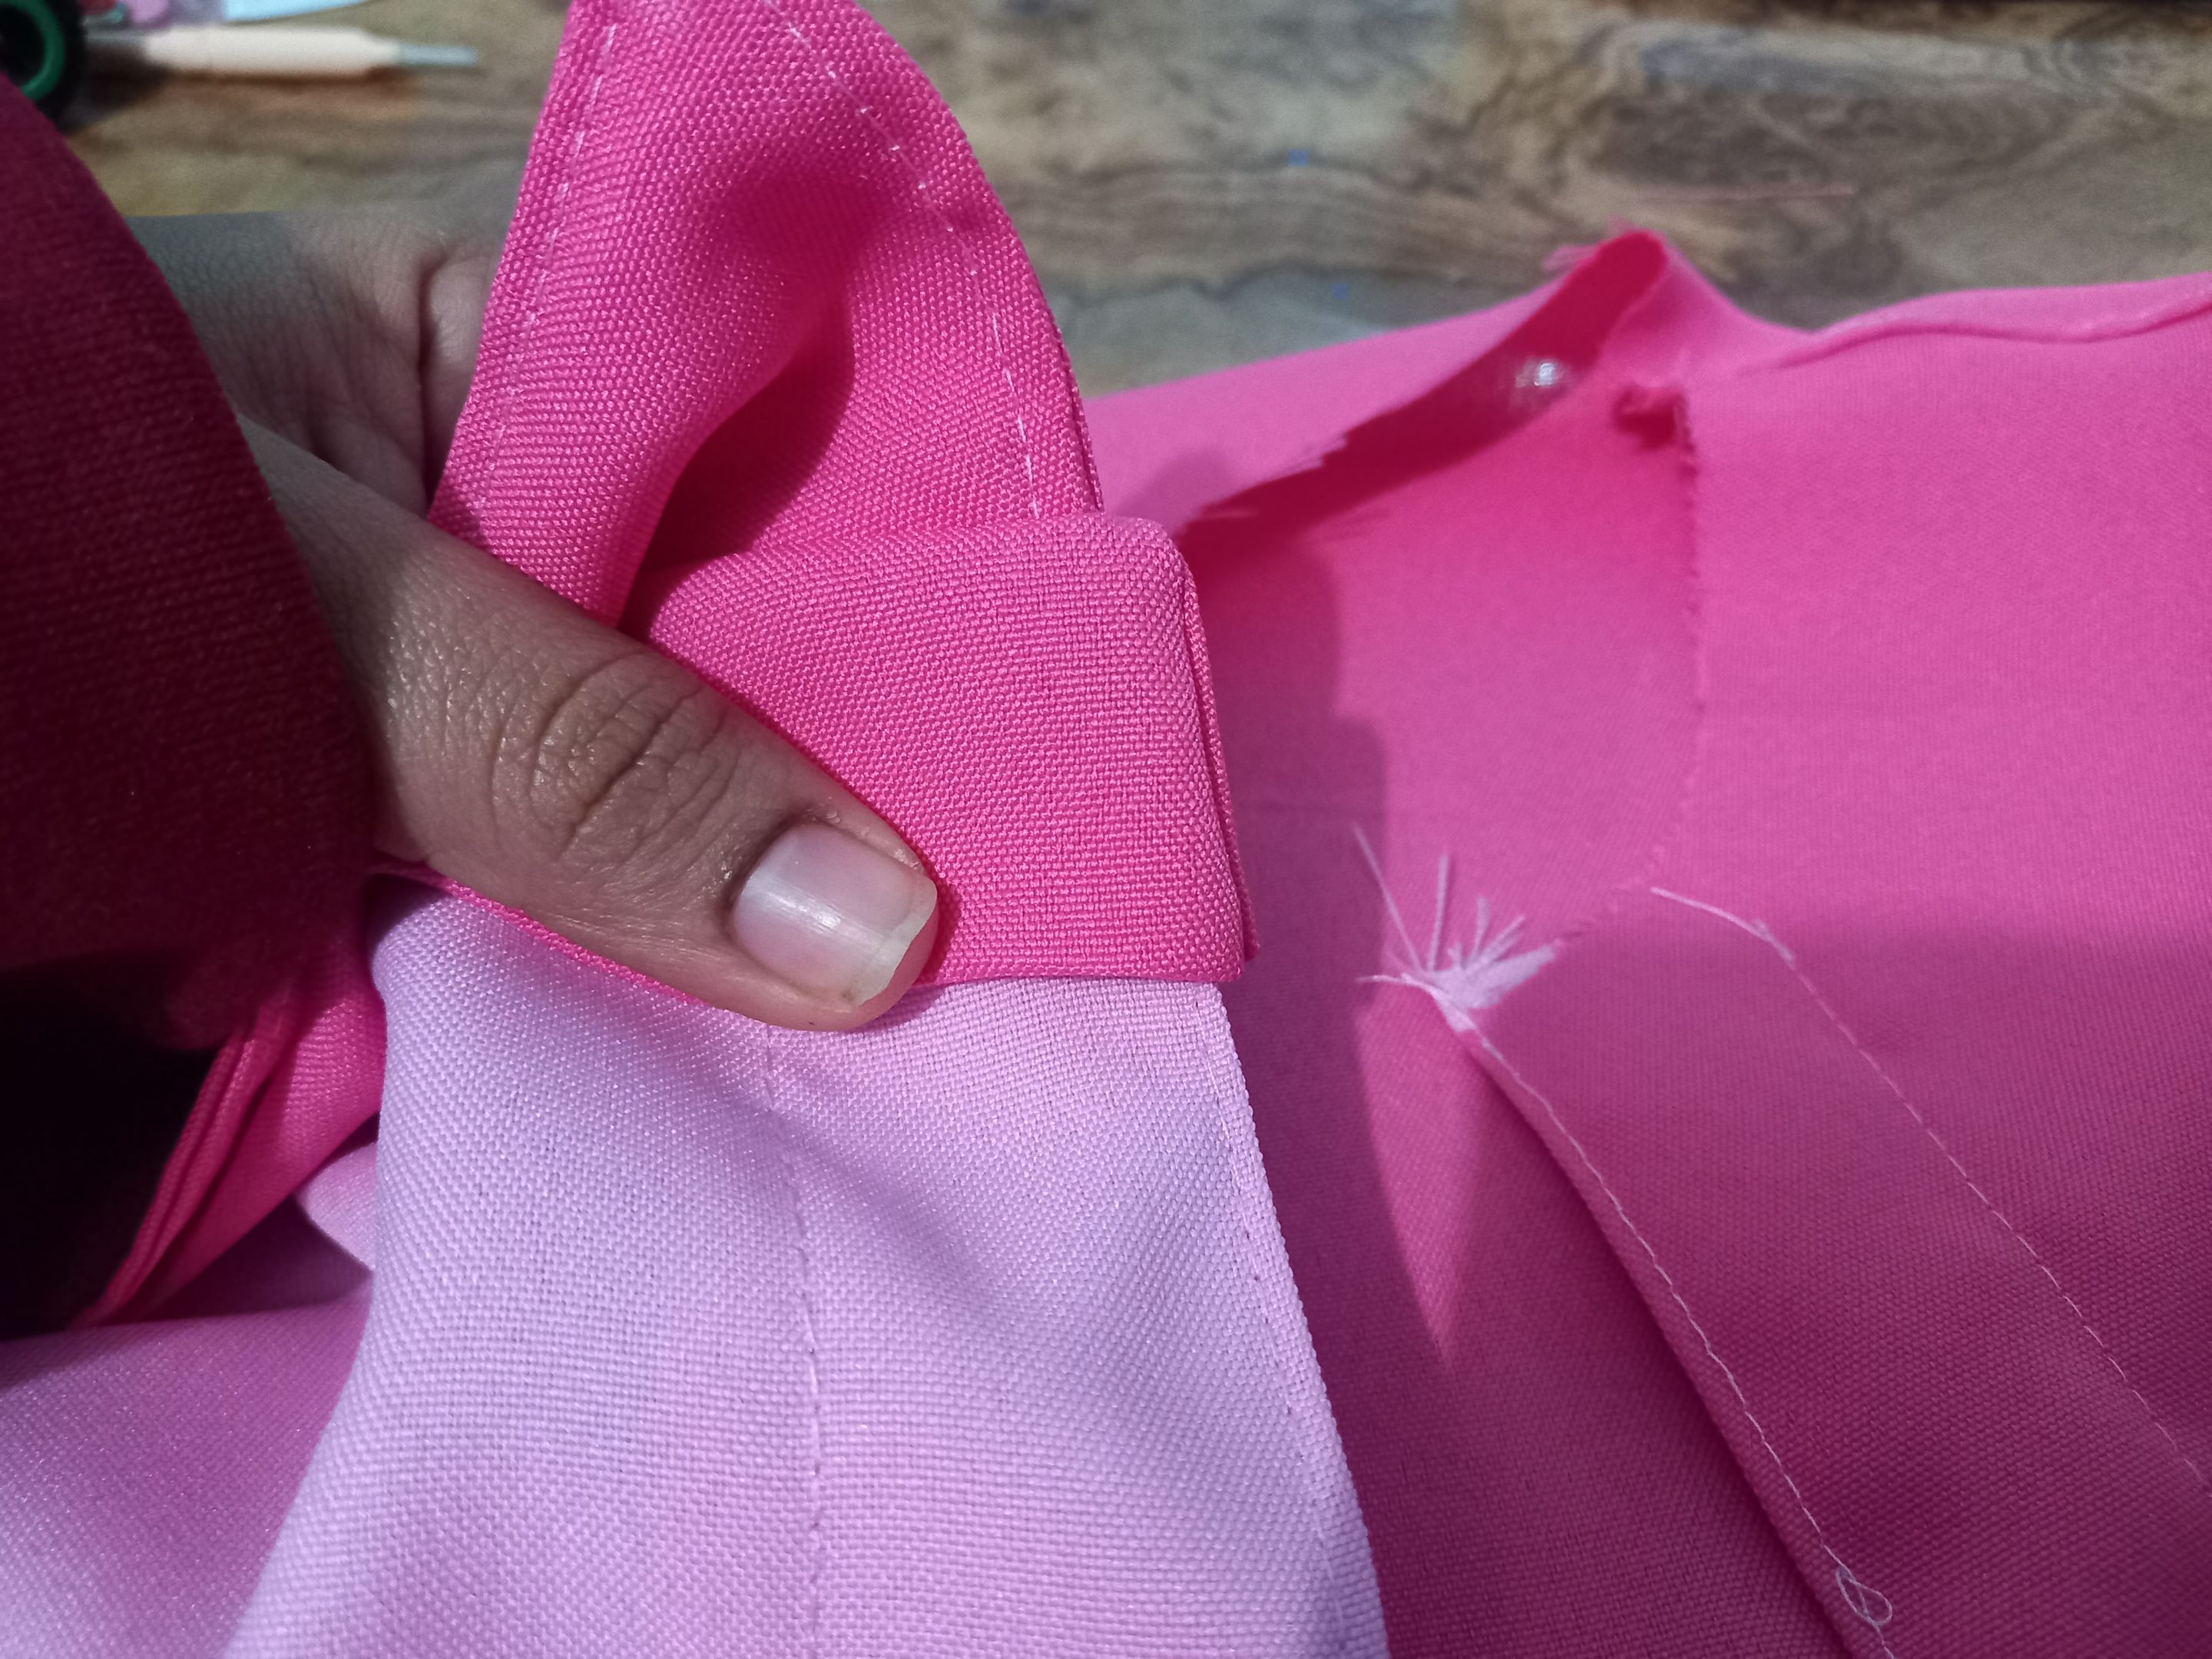 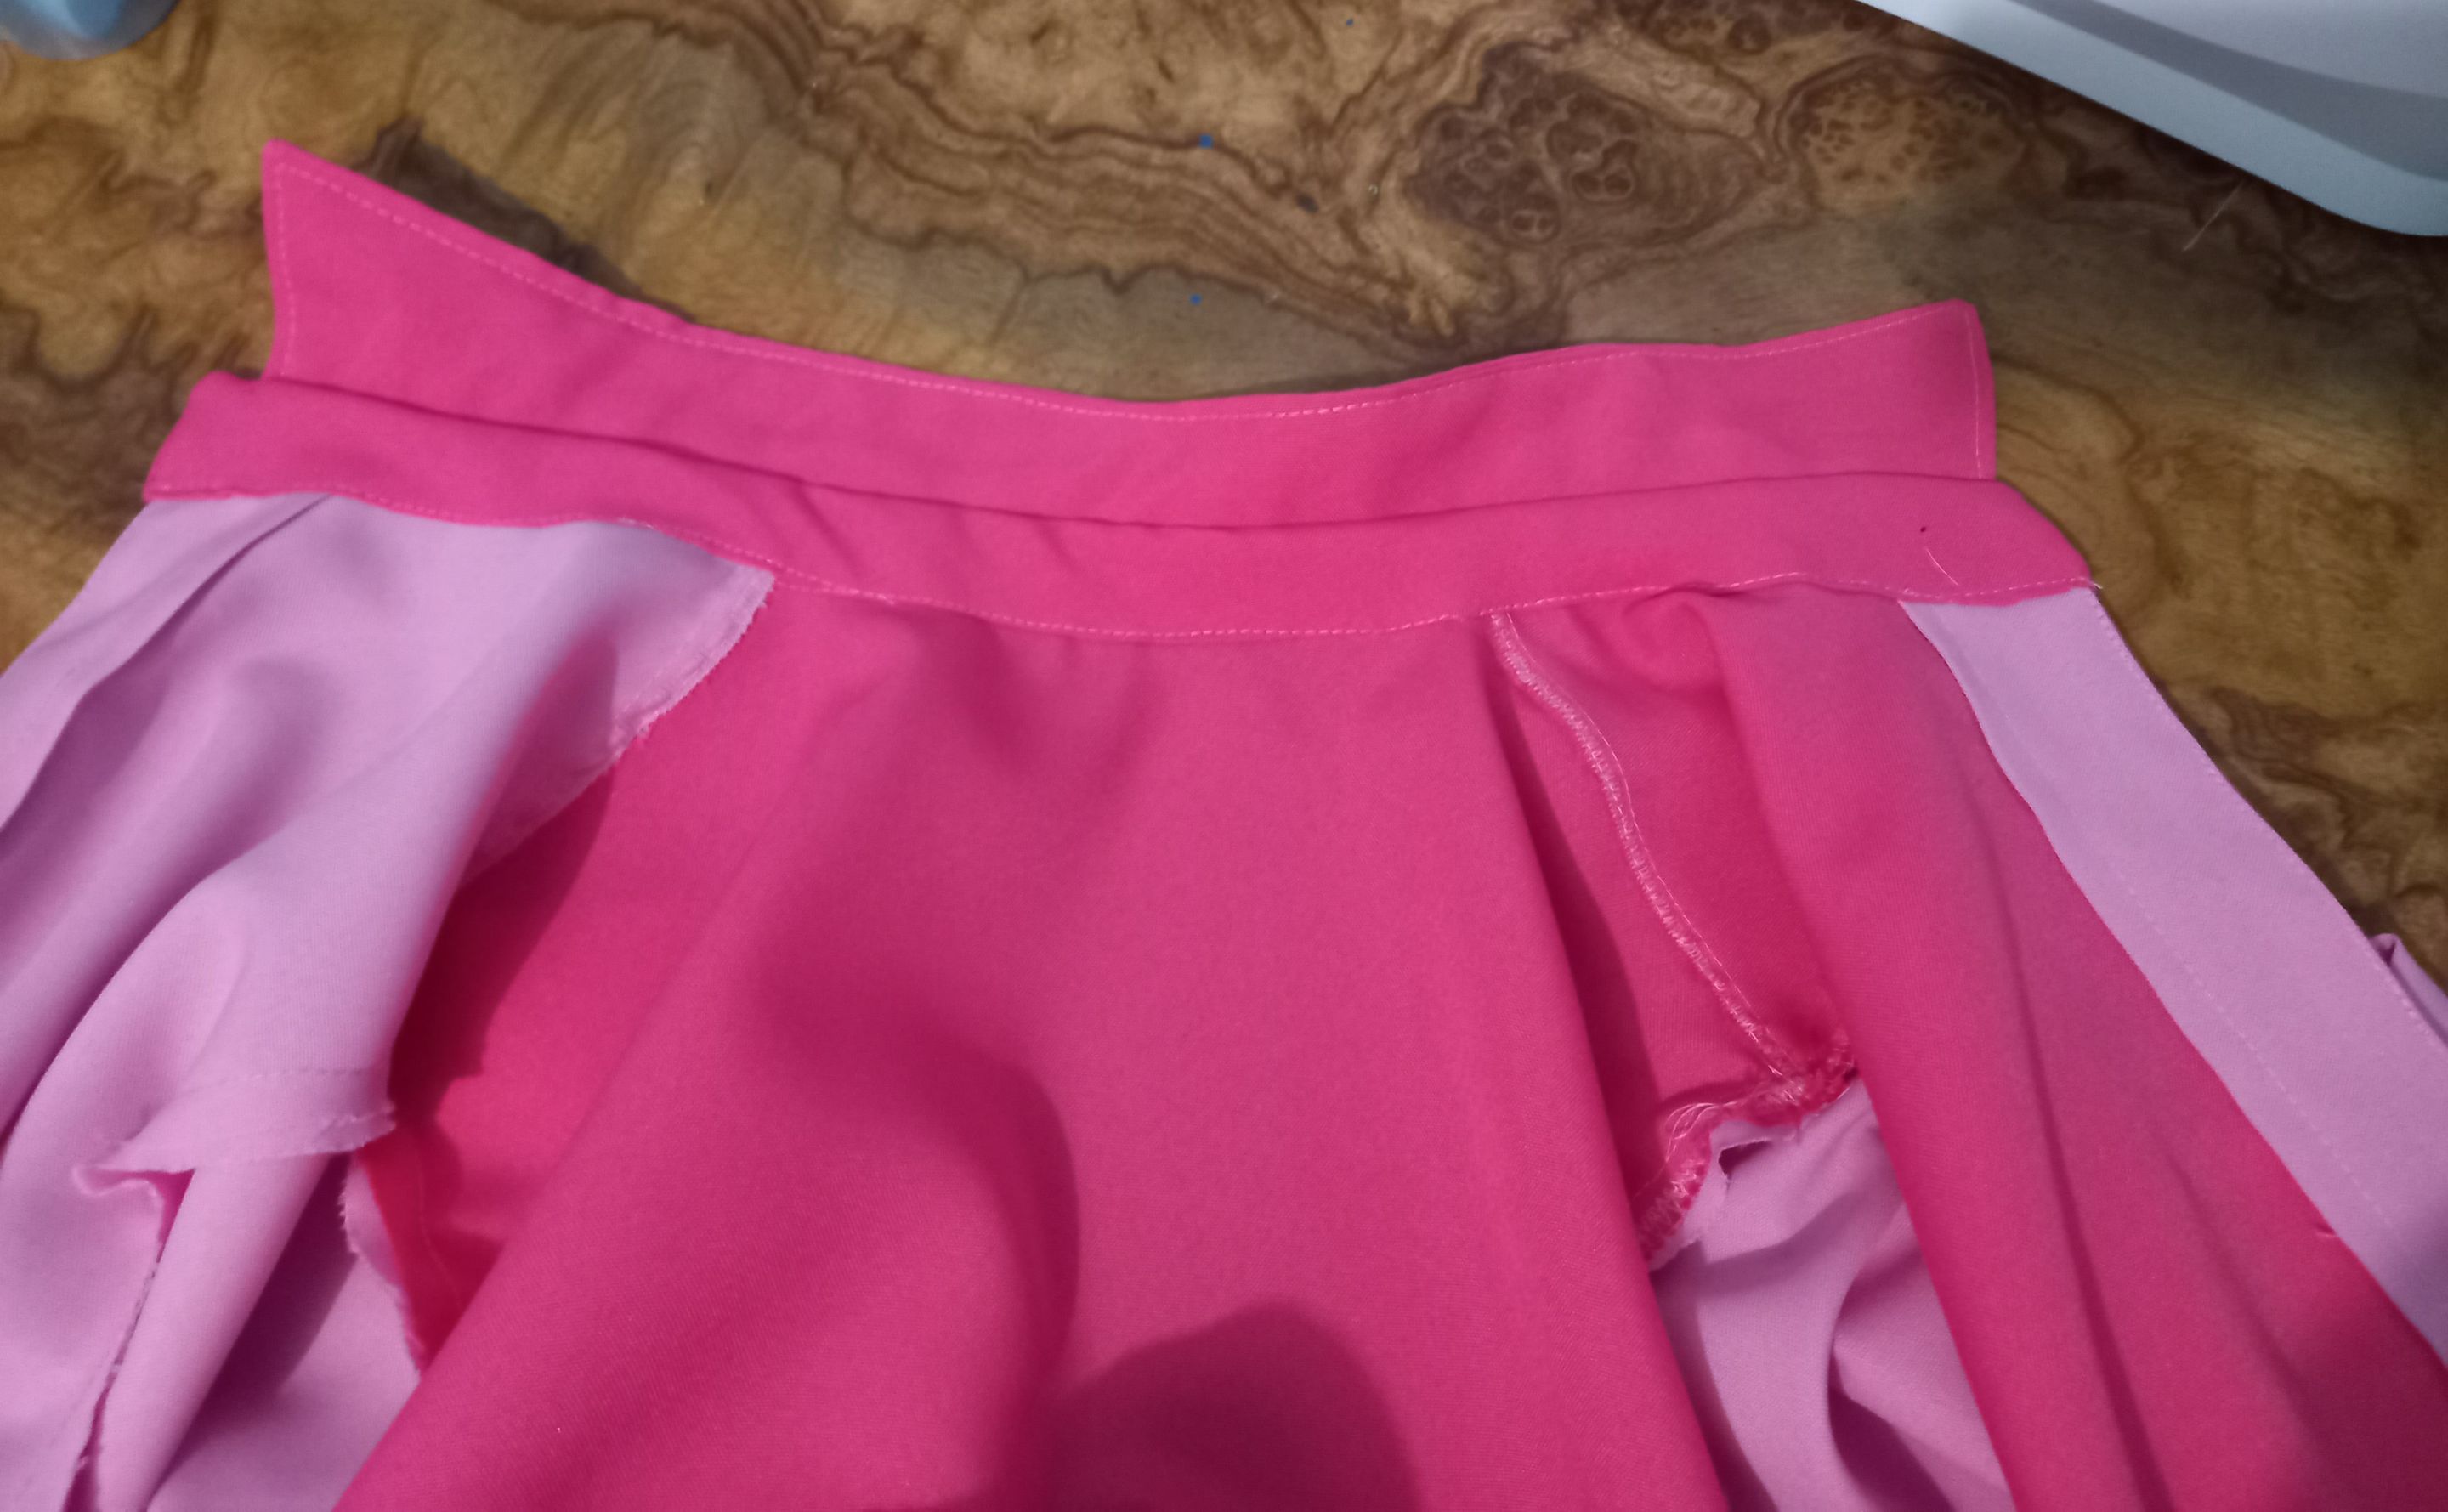</center> Una vez que terminé de pegar el cuello procedí a hacer los ojales dejando un espacio de separación entre cada ojal de 6 cm además pegué los botones. > Once I finished gluing the collar, I proceeded to make the buttonholes leaving a space of 6 cm between each buttonhole and glued the buttons. <center> 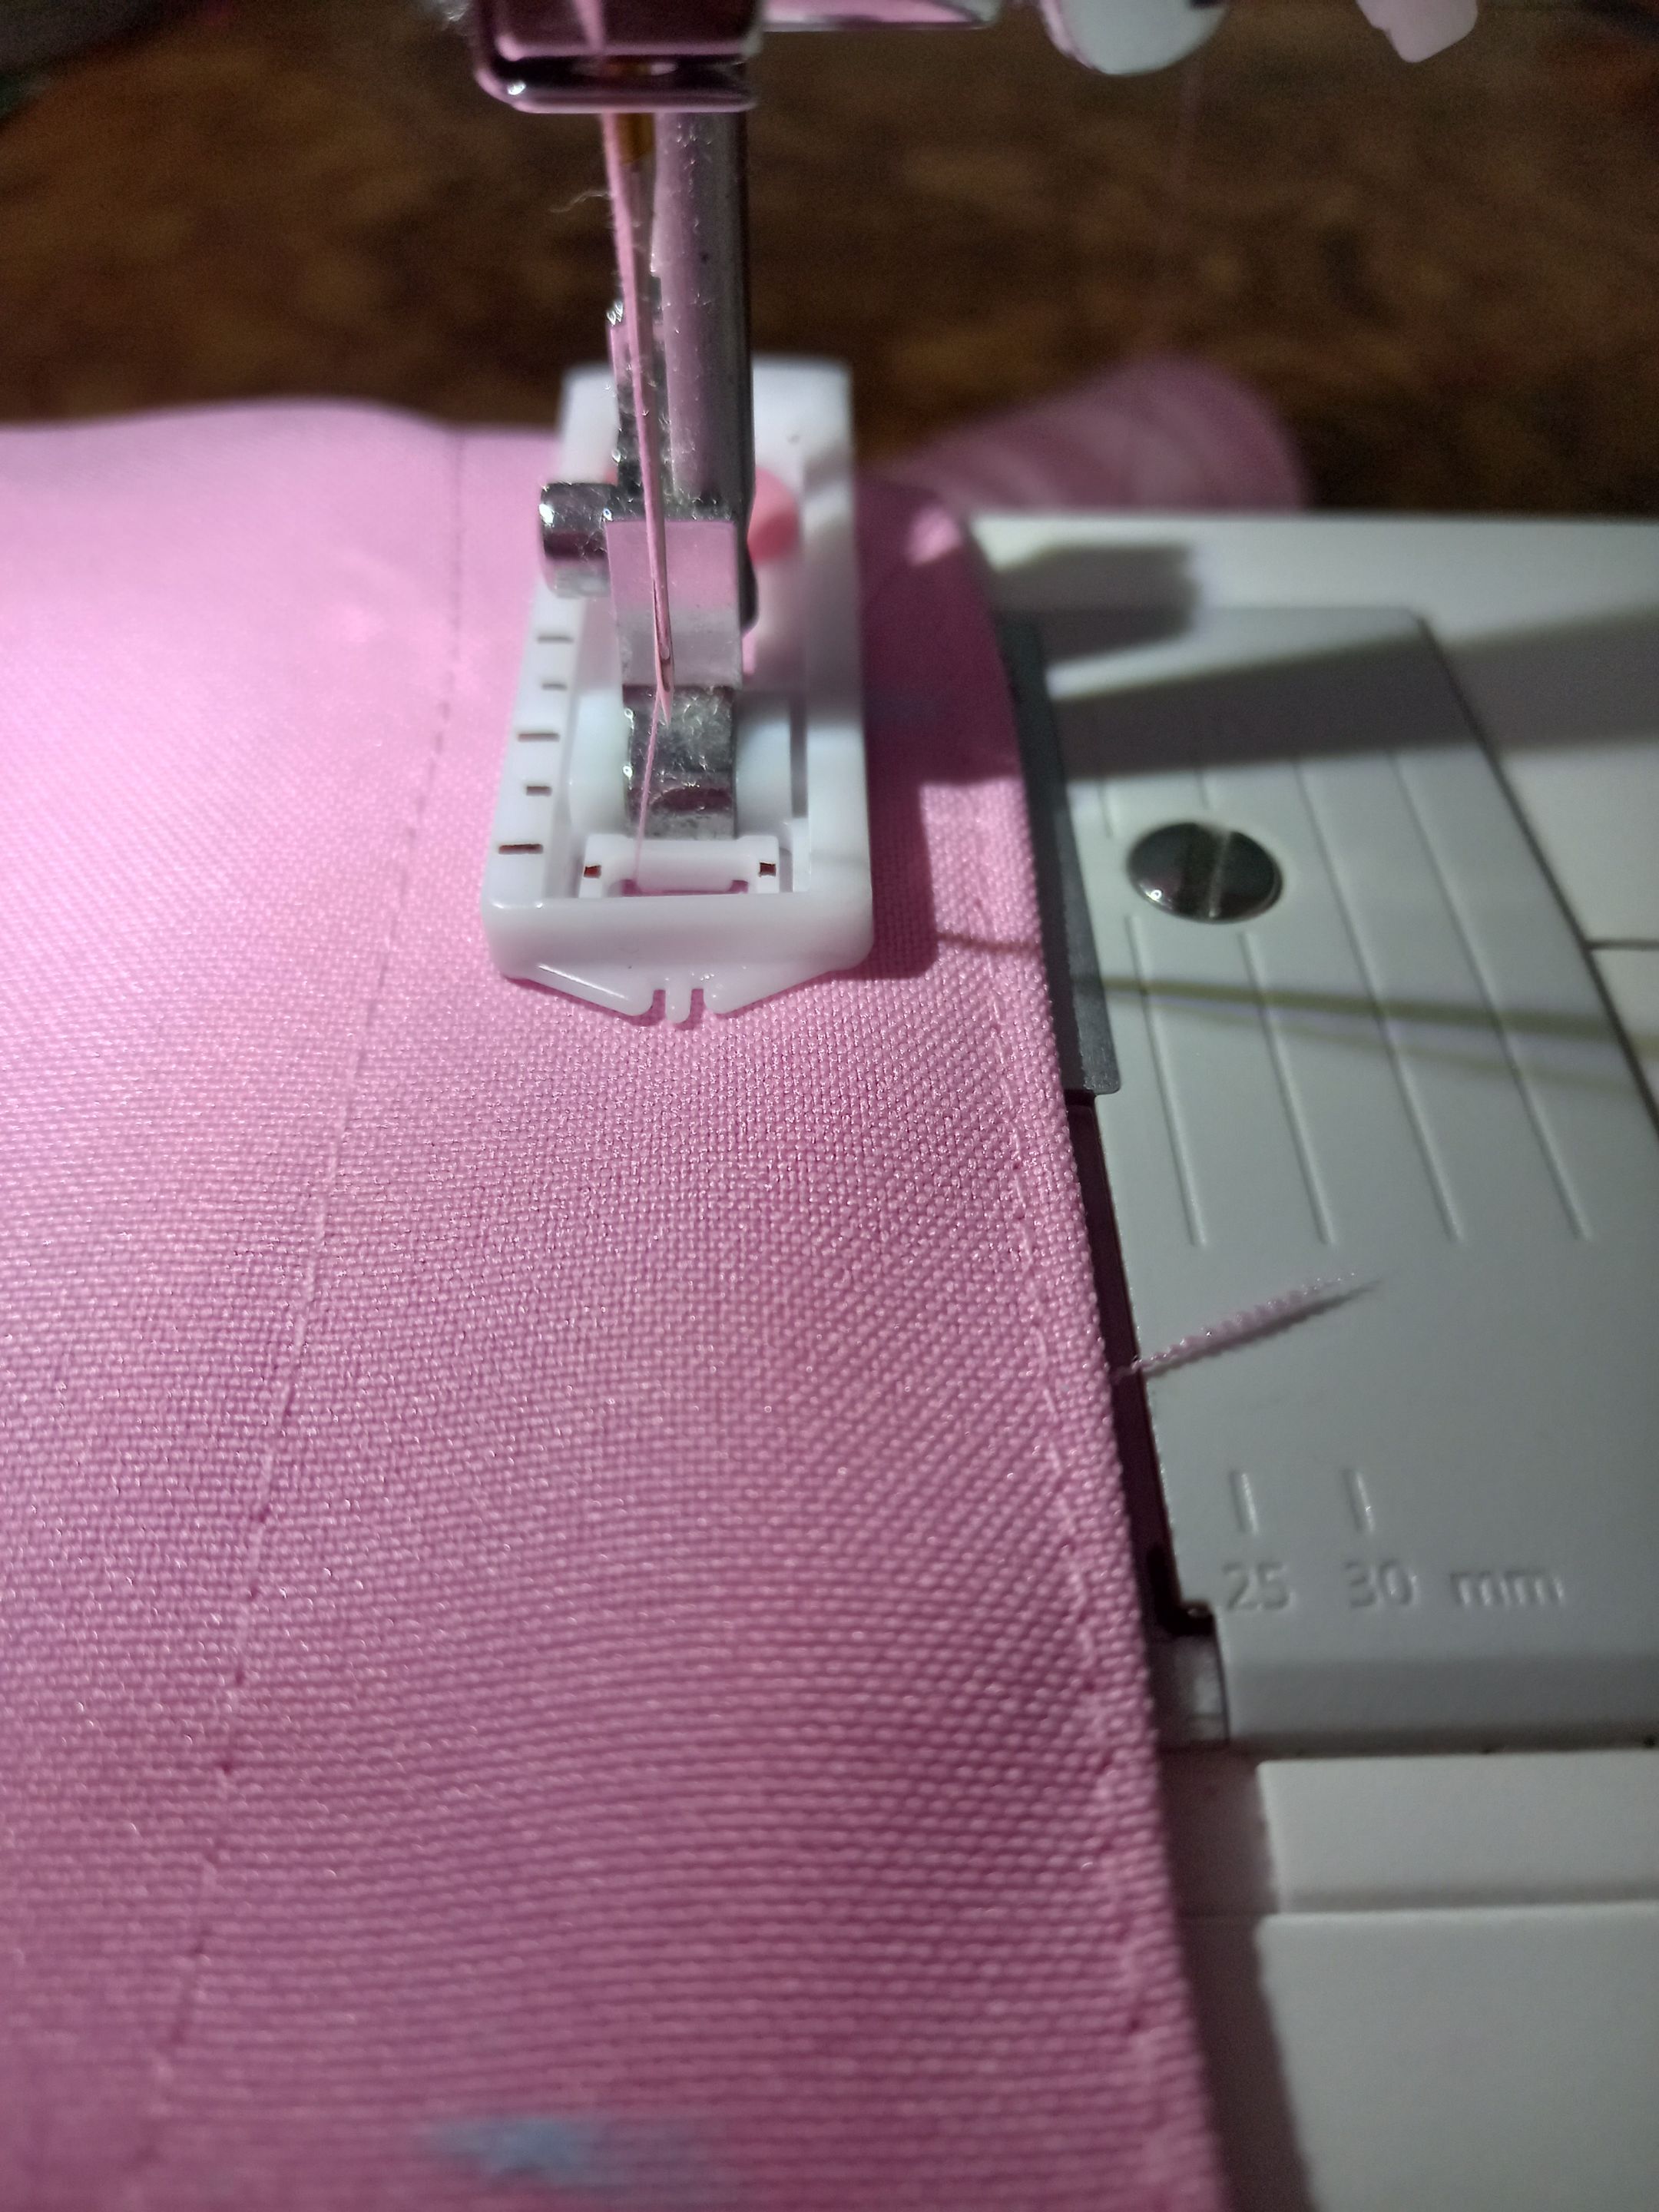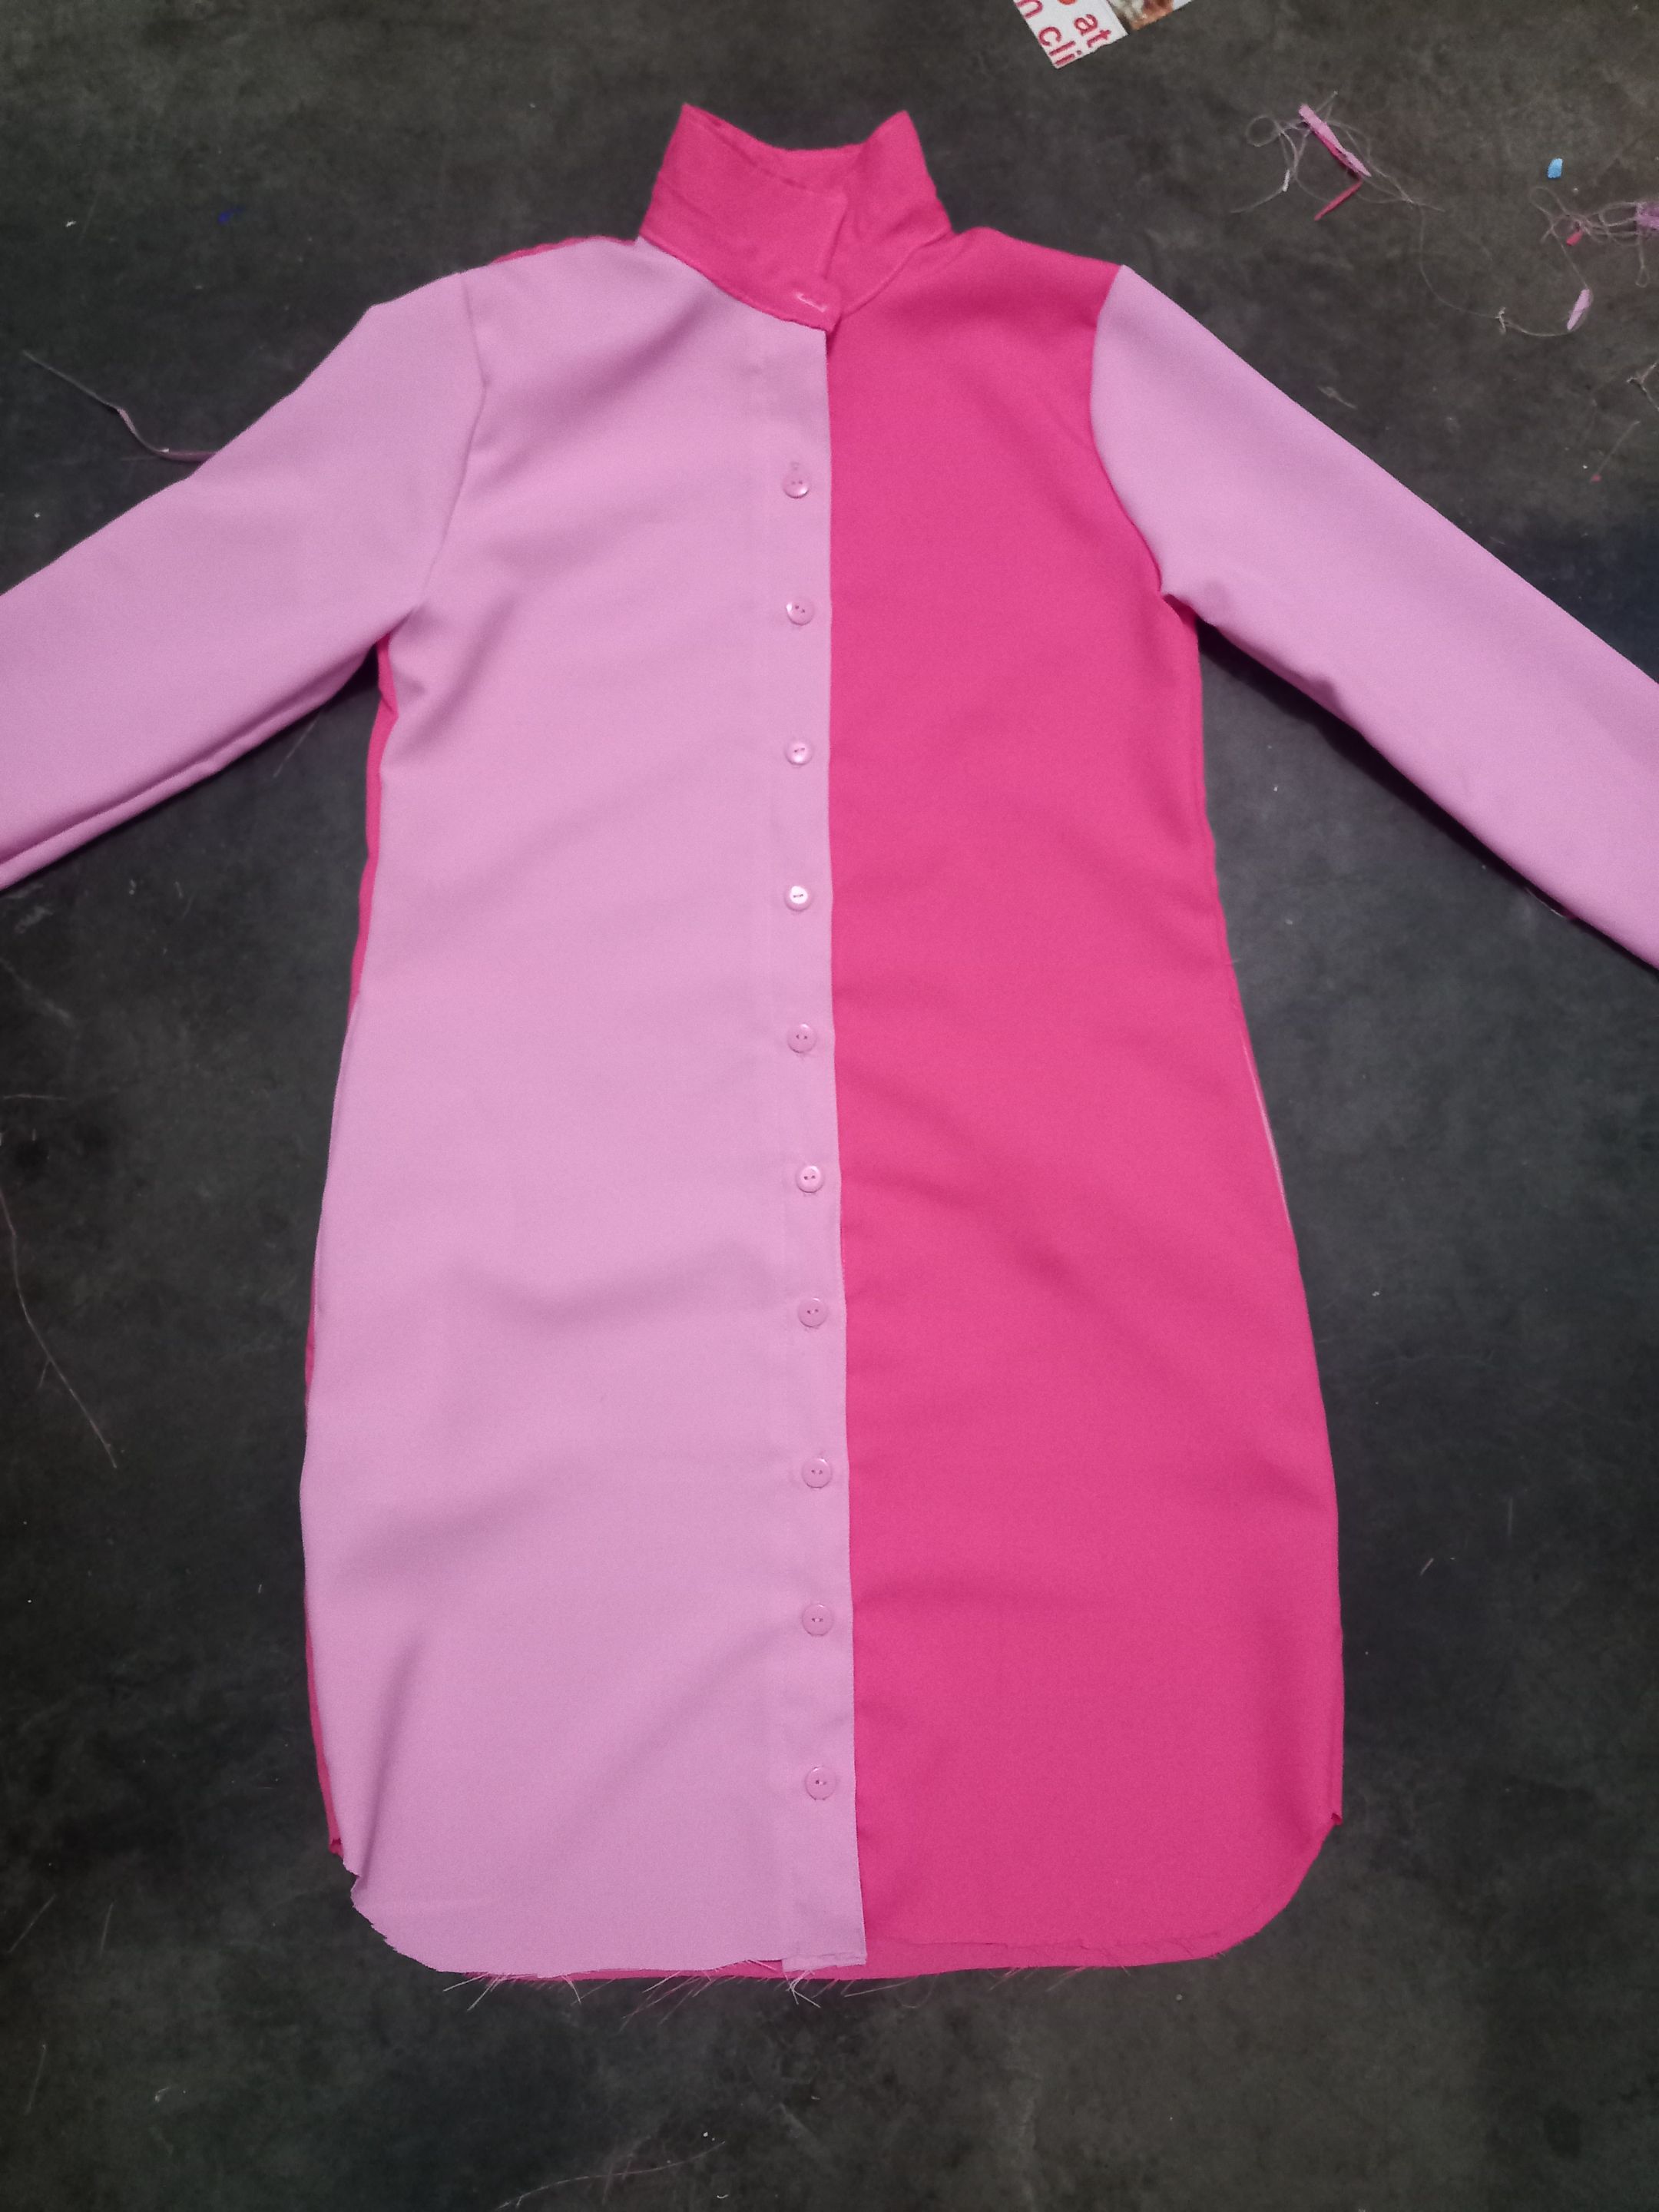</center> Finalmente, coloqué un pequeño bolsillo en la parte de arriba del lateral izquierdo de la camisa y realicé el ruedo del largo de la falda. > Finally, I placed a small pocket at the top of the left side of the shirt and made the hem of the skirt length. <center>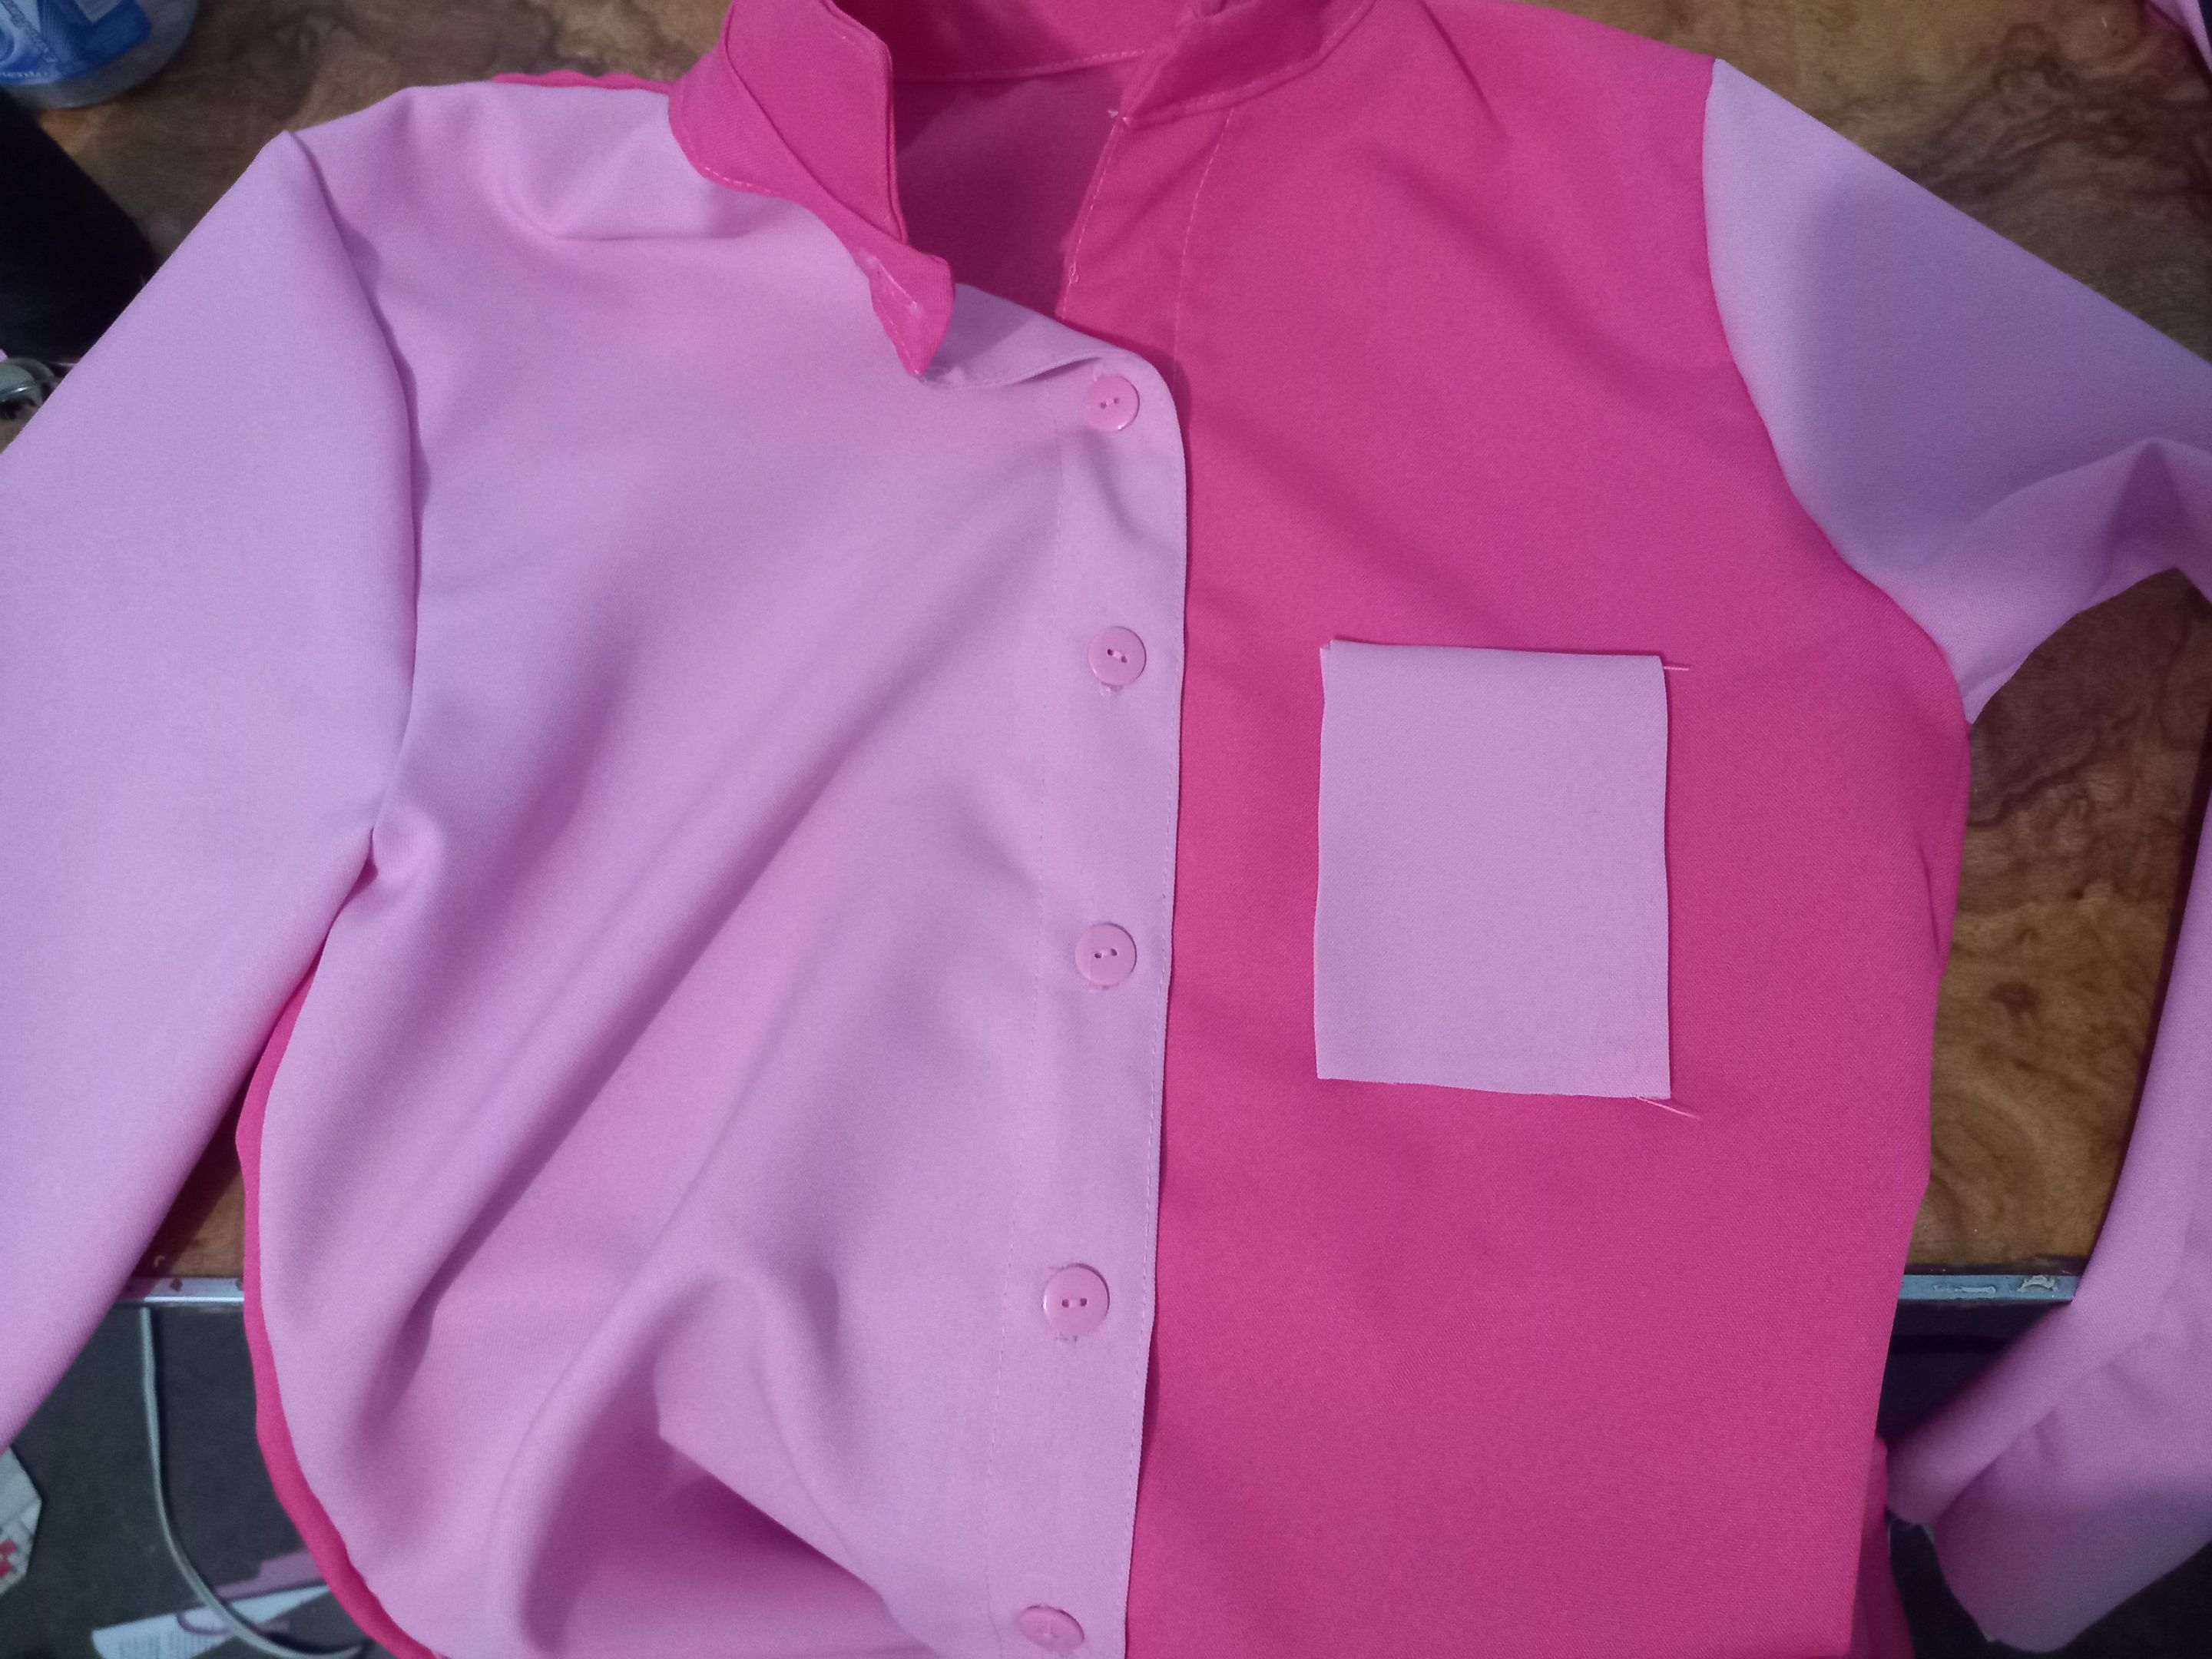 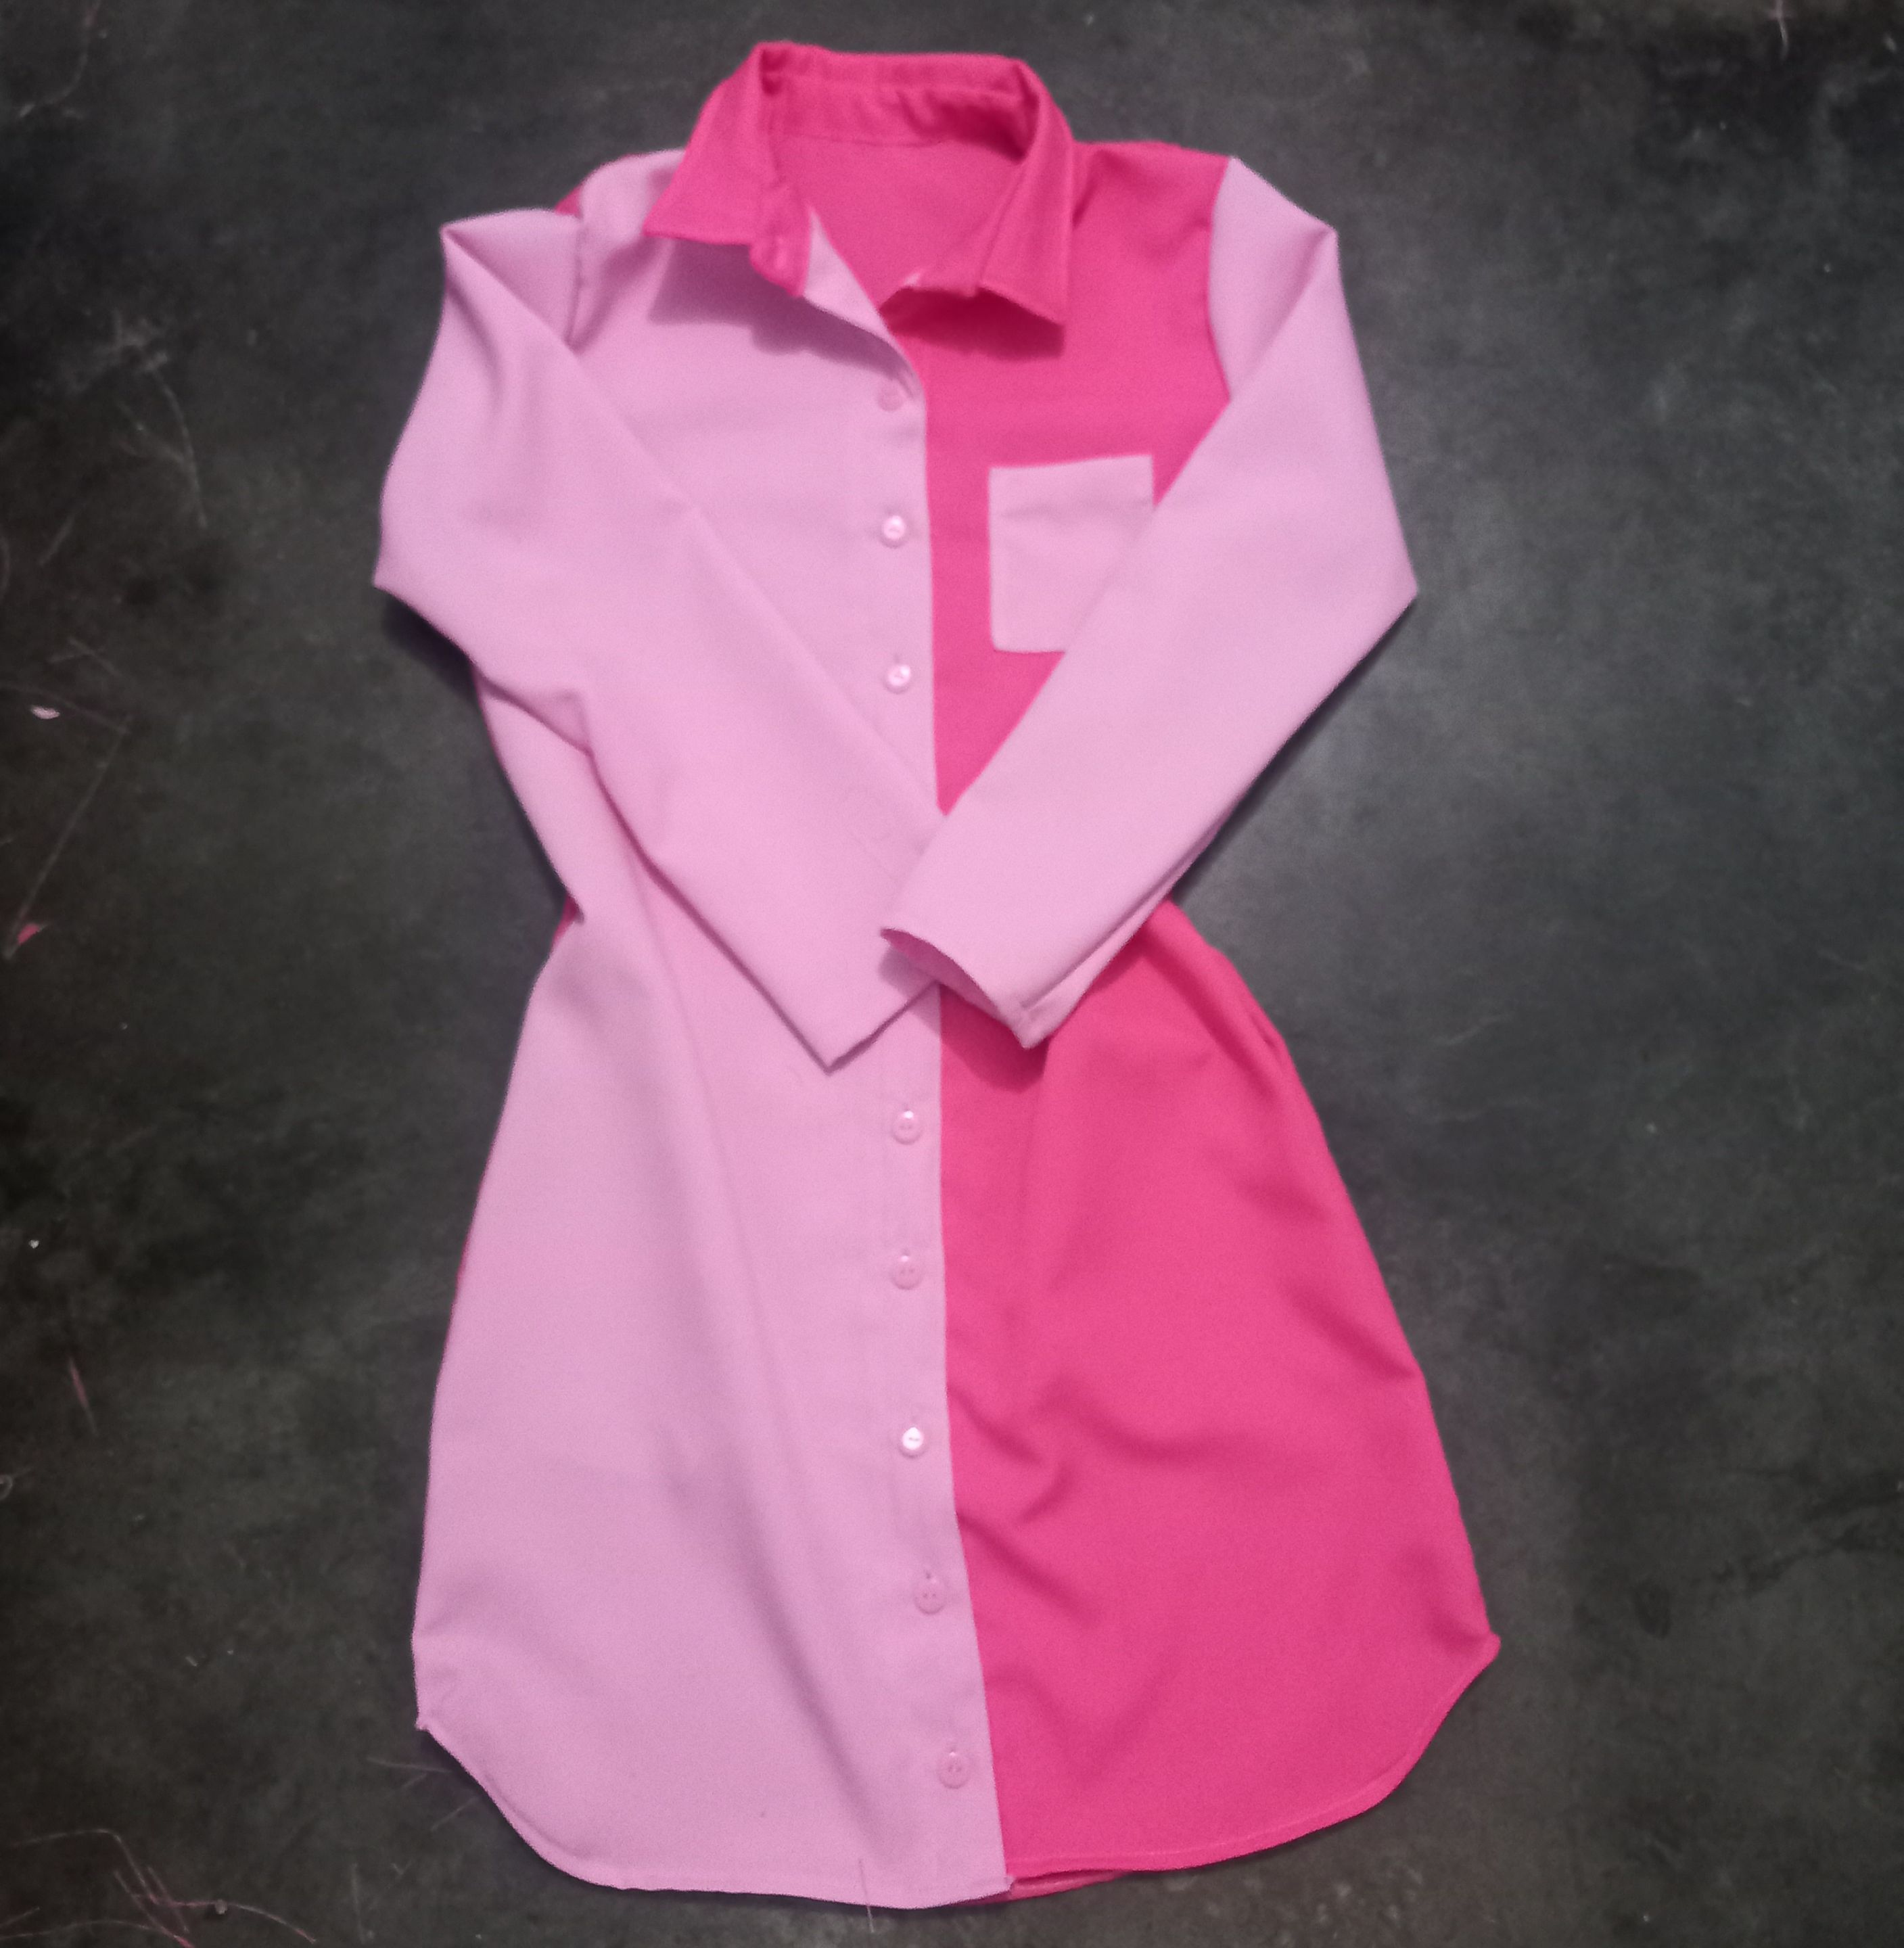</center> <center></center> <center>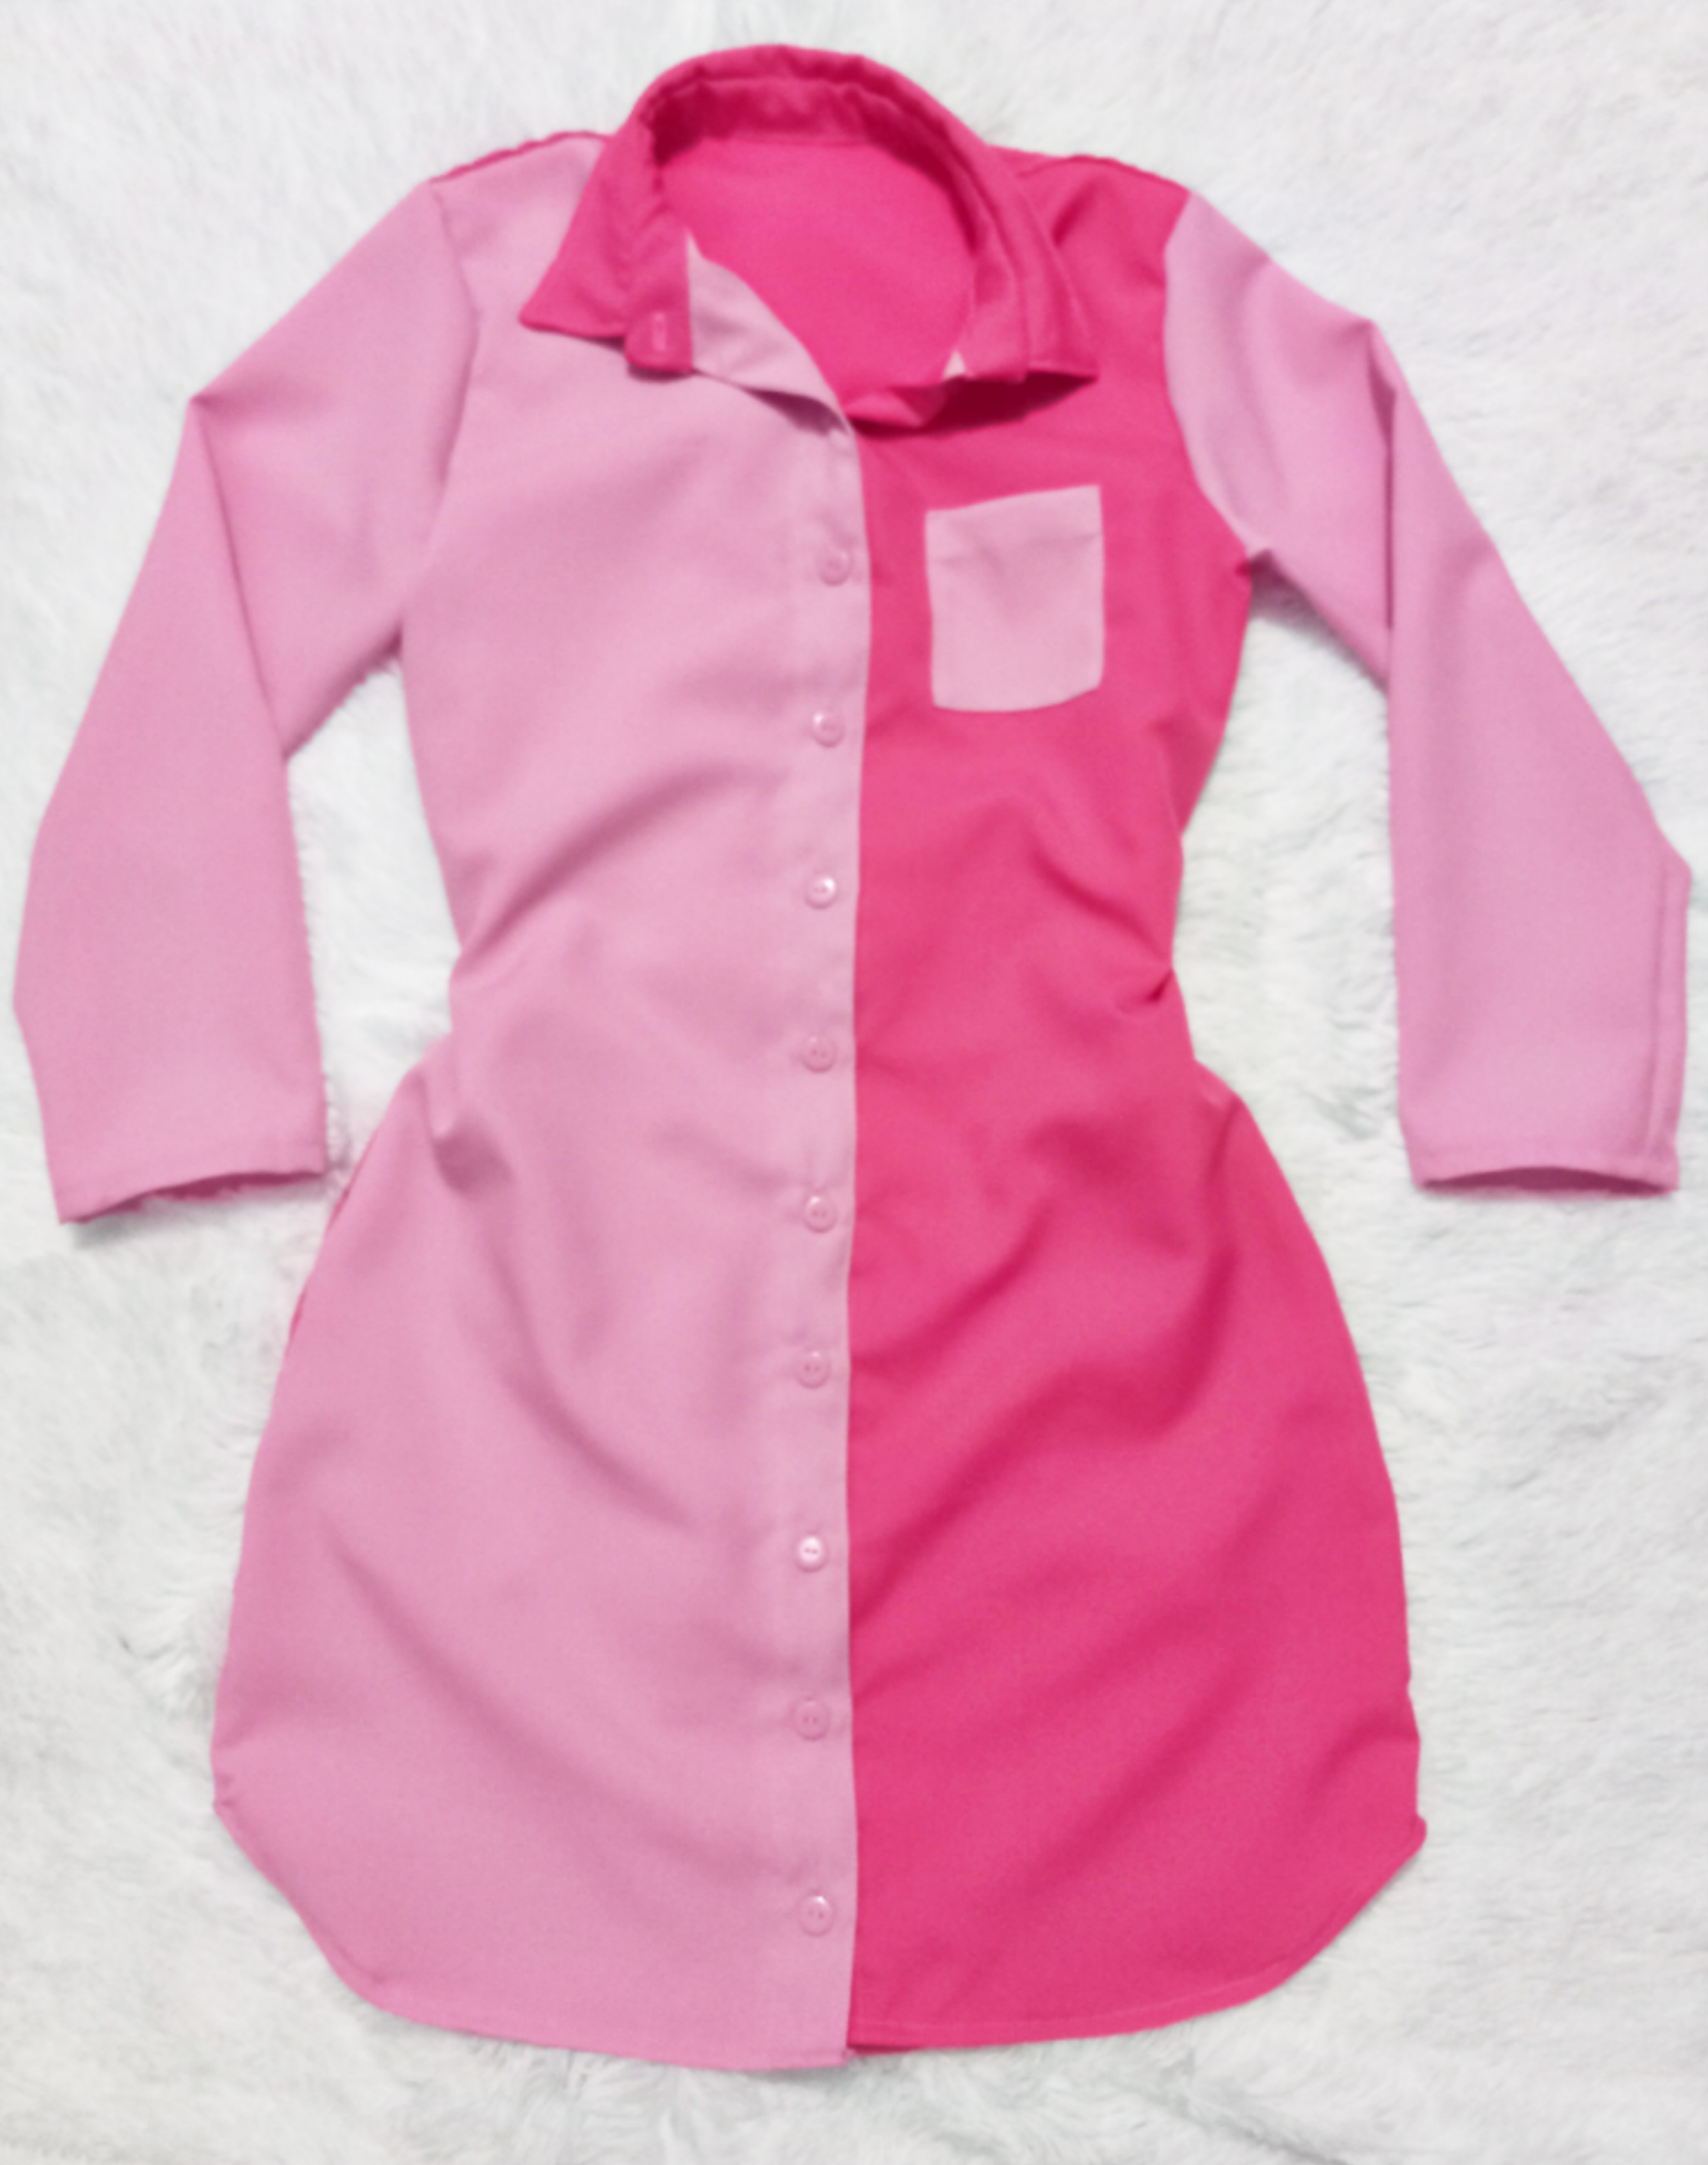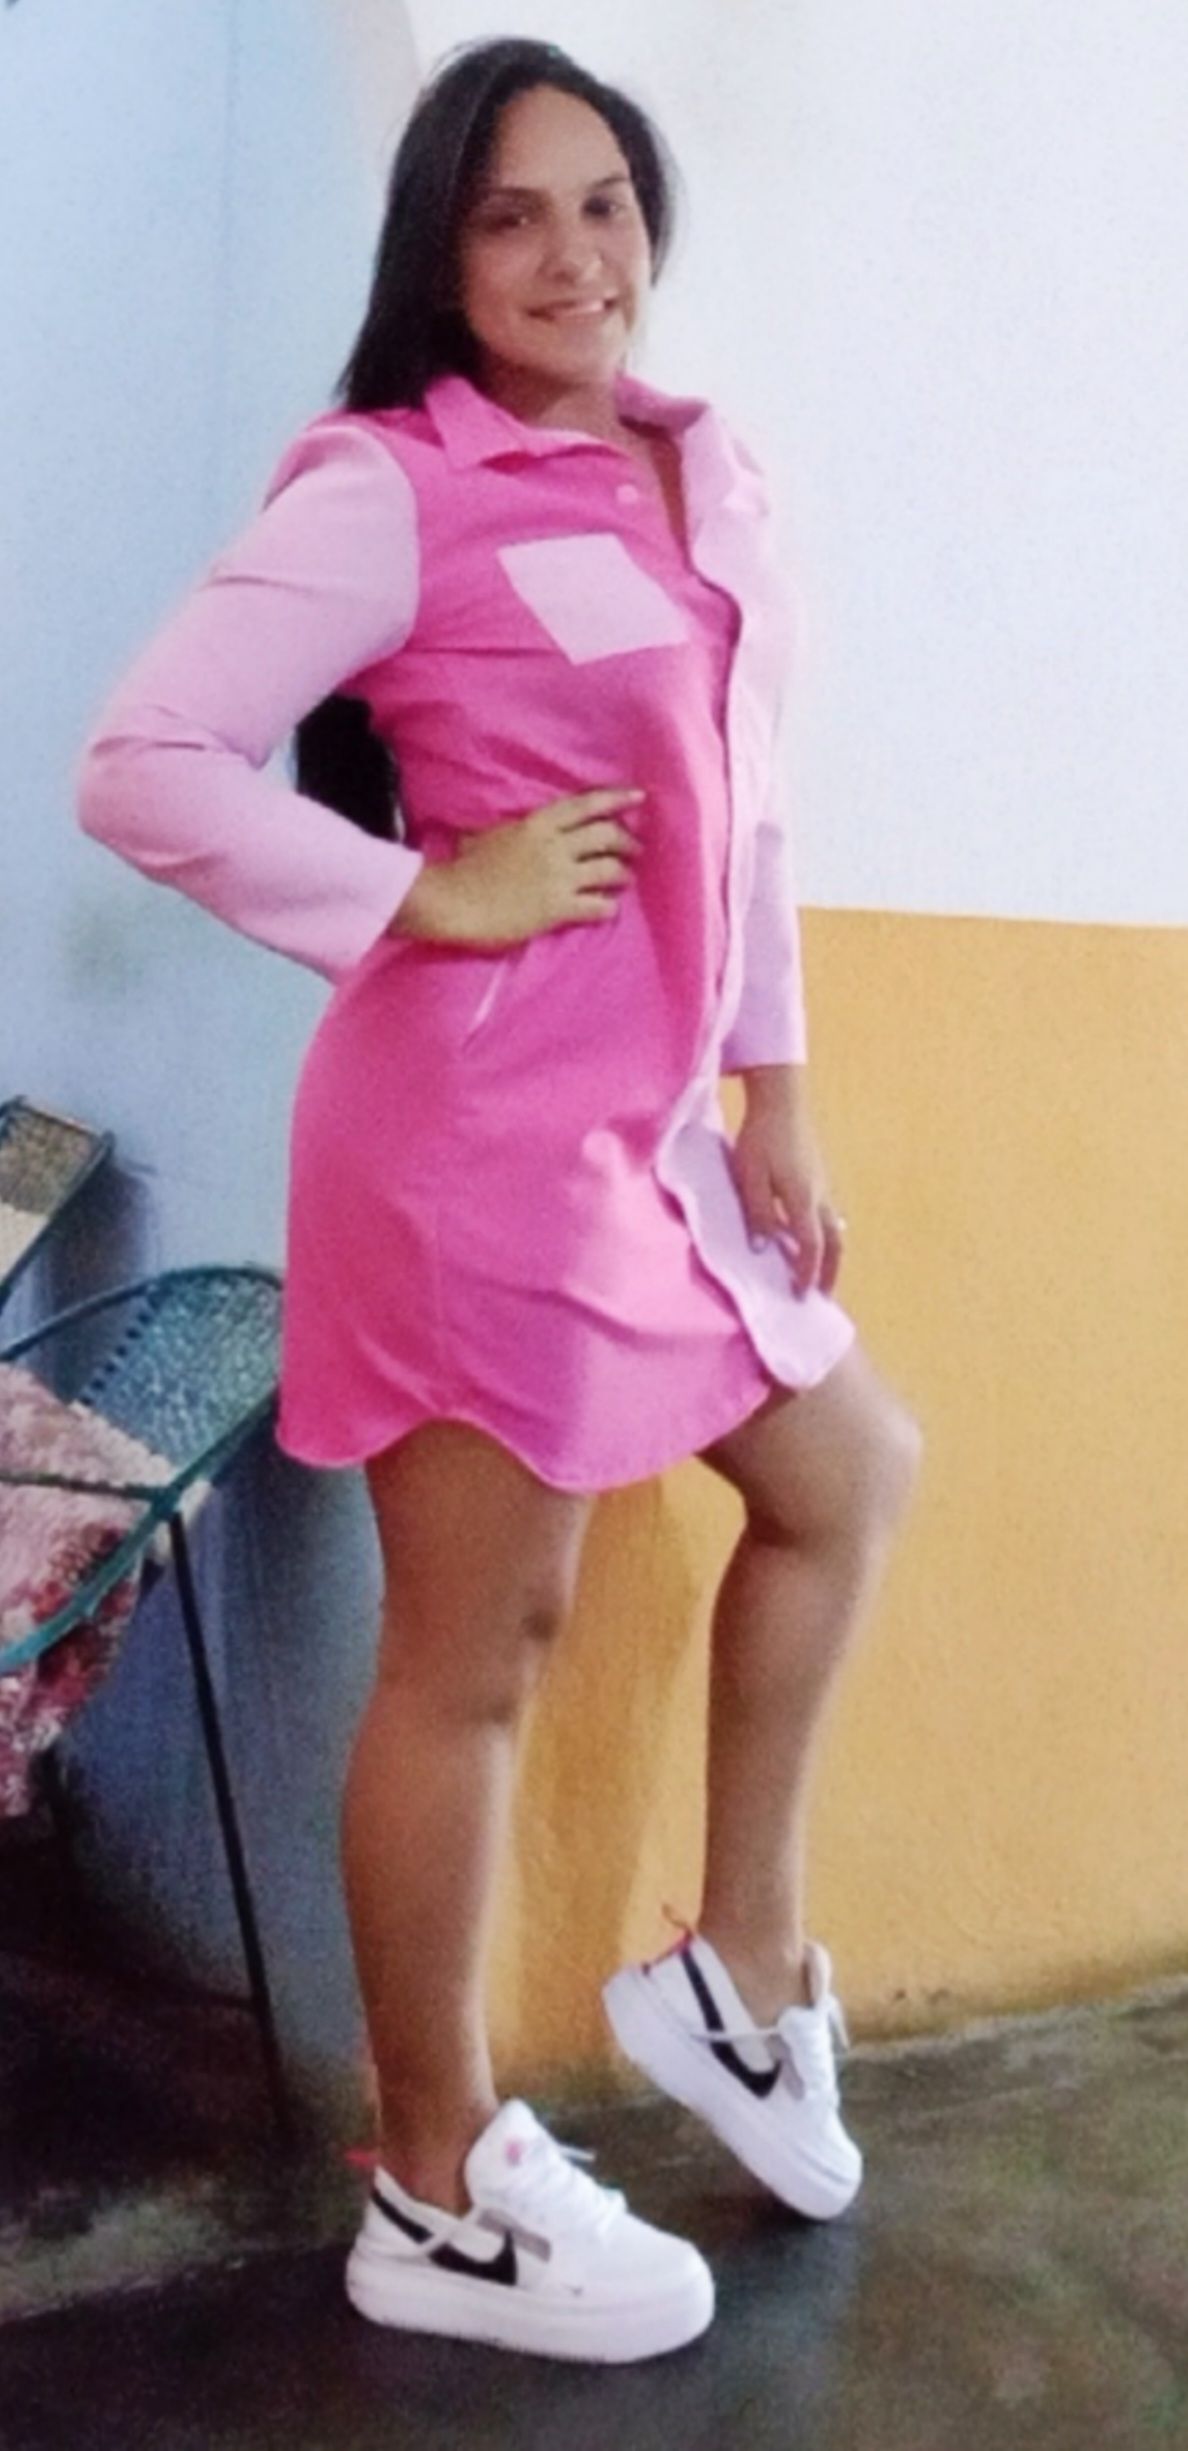 </center> *Me encantó el resultado de éste vestido, espero que a ustedes también les haya gustado y el tutorial les sea de gran utilidad. Muchas bendiciones mis muy apreciados 🙏🏻😊.* > *I loved the result of this dress, I hope you also liked it and the tutorial will be very useful for you. Many blessings my very appreciated 🙏🏻😊.*
👍 diy.blog, devann, iworld, pekkymos, g2ml, belkyscabrera, kattycrochet, anamariag, ocd, roelandp, newsflash, martibis, sanderjansenart, marblely, the100, blezyn, atexoras.pub, jmis101, captainloken, bigdizzle91, eonwarped, adelepazani, spydo, javyeslava.photo, josdelmi, annabeth, caribdao, man-fred, rainfirevt, steempress, askari, niallon11, ocdb, dpend.active, brujita18, partiesjohall, noctury, humbe, oleg326756, justinw, zyx066, justbekindtoday, sergiomendes, mobbs, hanggggbeeee, vimm, traderhive, myegoandmyself, petterch, jesus-son, whitneyalexx, chidistickz, rt395, lenasveganliving, howo, squareonefarms, trangbaby, tawadak24, elgatoshawua, hexagono6, leveluplifestyle, aprasad2325, prosocialise, ign1te, pinkchic, walterjay, rawselectmusic, athunderstruck, multifacetas, jaydr, blingit, h3m4n7, jerusa777, blockgolem, jeffjagoe, batman0916, gniksivart, postpromoter, fotogruppemunich, variedades, velinov86, cielitorojo, yadamaniart, emrebeyler, tomatom, dudeontheweb, indigoocean, steem.services, chris-uk, rima11, meritocracy, solymi, dodovietnam, jessicaossom, lynnnguyen, kimloan, crazy-bee, ivypham, allentaylor, pgm-curator, ascendingorder, babeltrips, thu172, dora381, sunnyvo, youdontknowme, xeldal, adol, hmayak, kaeserotor, goliathus, utopis, tristan.todd, empo.voter, ebargains, merlin7, roleerob, carilinger, enki, detlev, jlsplatts, gabrielatravels, saltyreptile, psyberx, psyberxmarket, dynamicrypto, mightyrocklee, twosomesup, nerdtopiade, untilwelearn, jayna, drax, helpie-caster, helpie, ciderjunkie, elchaleefatoe15, soulturtle, bennettitalia, zipporah, free-reign, bflanagin, melor9, meno, socent, lillywilton, markaustin, voxmortis, monica-ene, usainvote, slacktmusic, perceval, beerlover, pradeepdee6, kanrat, bluefinstudios, photographercr, marlynmont, razielmorales,