Upcycling-An elegant mini organizer art making tutorial.
hive-189641·@mdakash62·
0.000 HBDUpcycling-An elegant mini organizer art making tutorial.
<div class="text-justify">Wishing you all a wonderful day from the great creator. We all have spent some of our happy time with our families during the holidays. So it is a great joy to give time to our families amidst all our work. Today I will be making a great mini organizer using some discarded paper cups and yarn along with a crochet sheet with my beloved #diyhub community.</div> |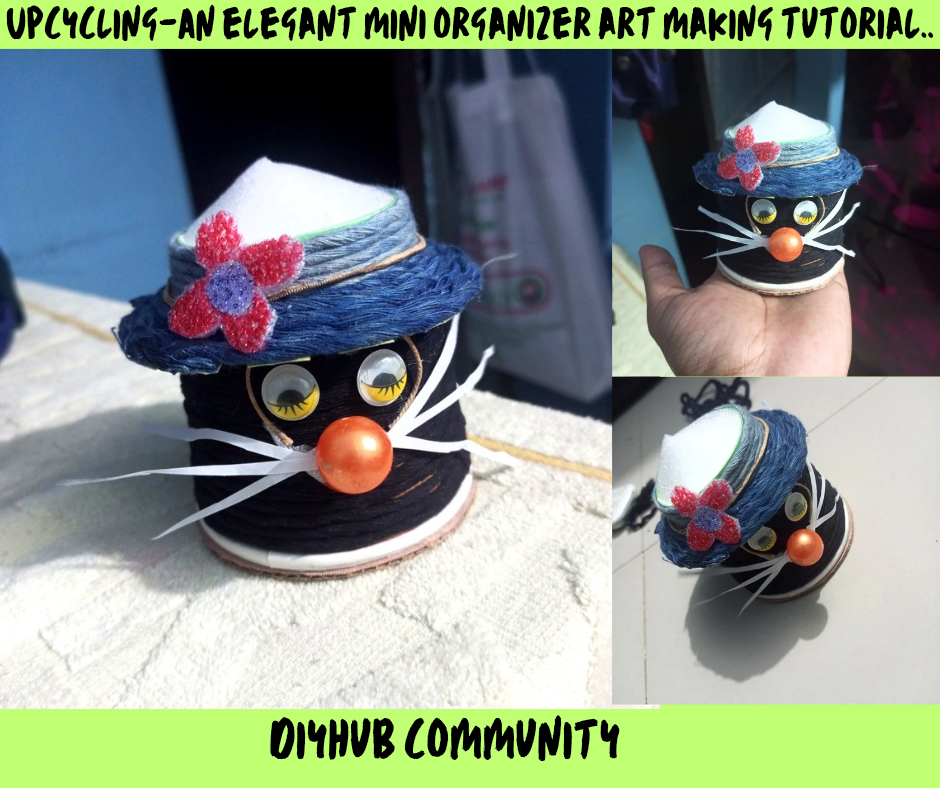| |---| <div class="phishy"><sub> <center>Cover Created By Canva</center></sub></div> >Especially the best waste craft ideas praise creative DIY projects along with promoting environmental care. 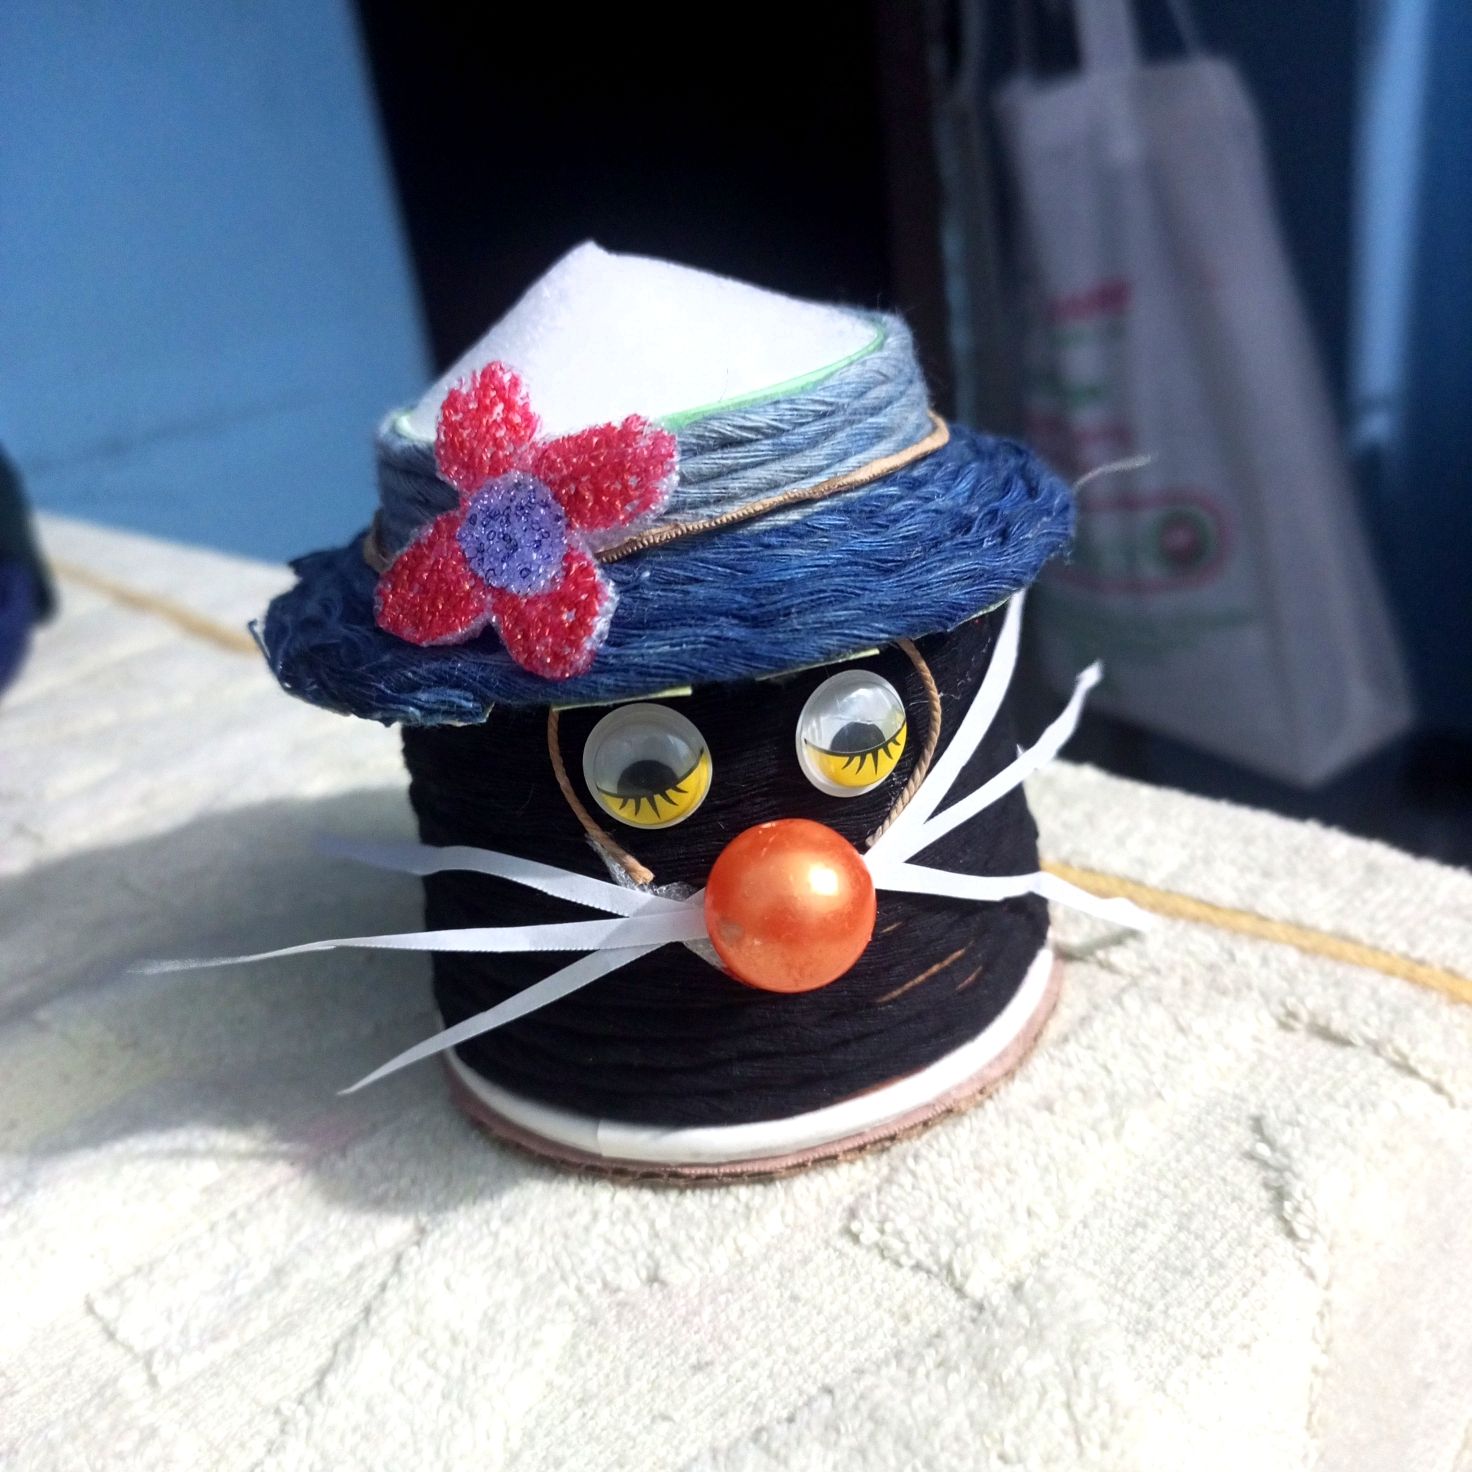 Along with that, I show you how to cut a paper cup into a beautiful and elegant mini organizer. These special creative arts always make discarded things usable. Also, it is really fun to use practical products again. These threads were stored in our house for a long time. Suddenly I found them. Later, I will carefully think about these threads and create a beautiful and elegant small creative art. 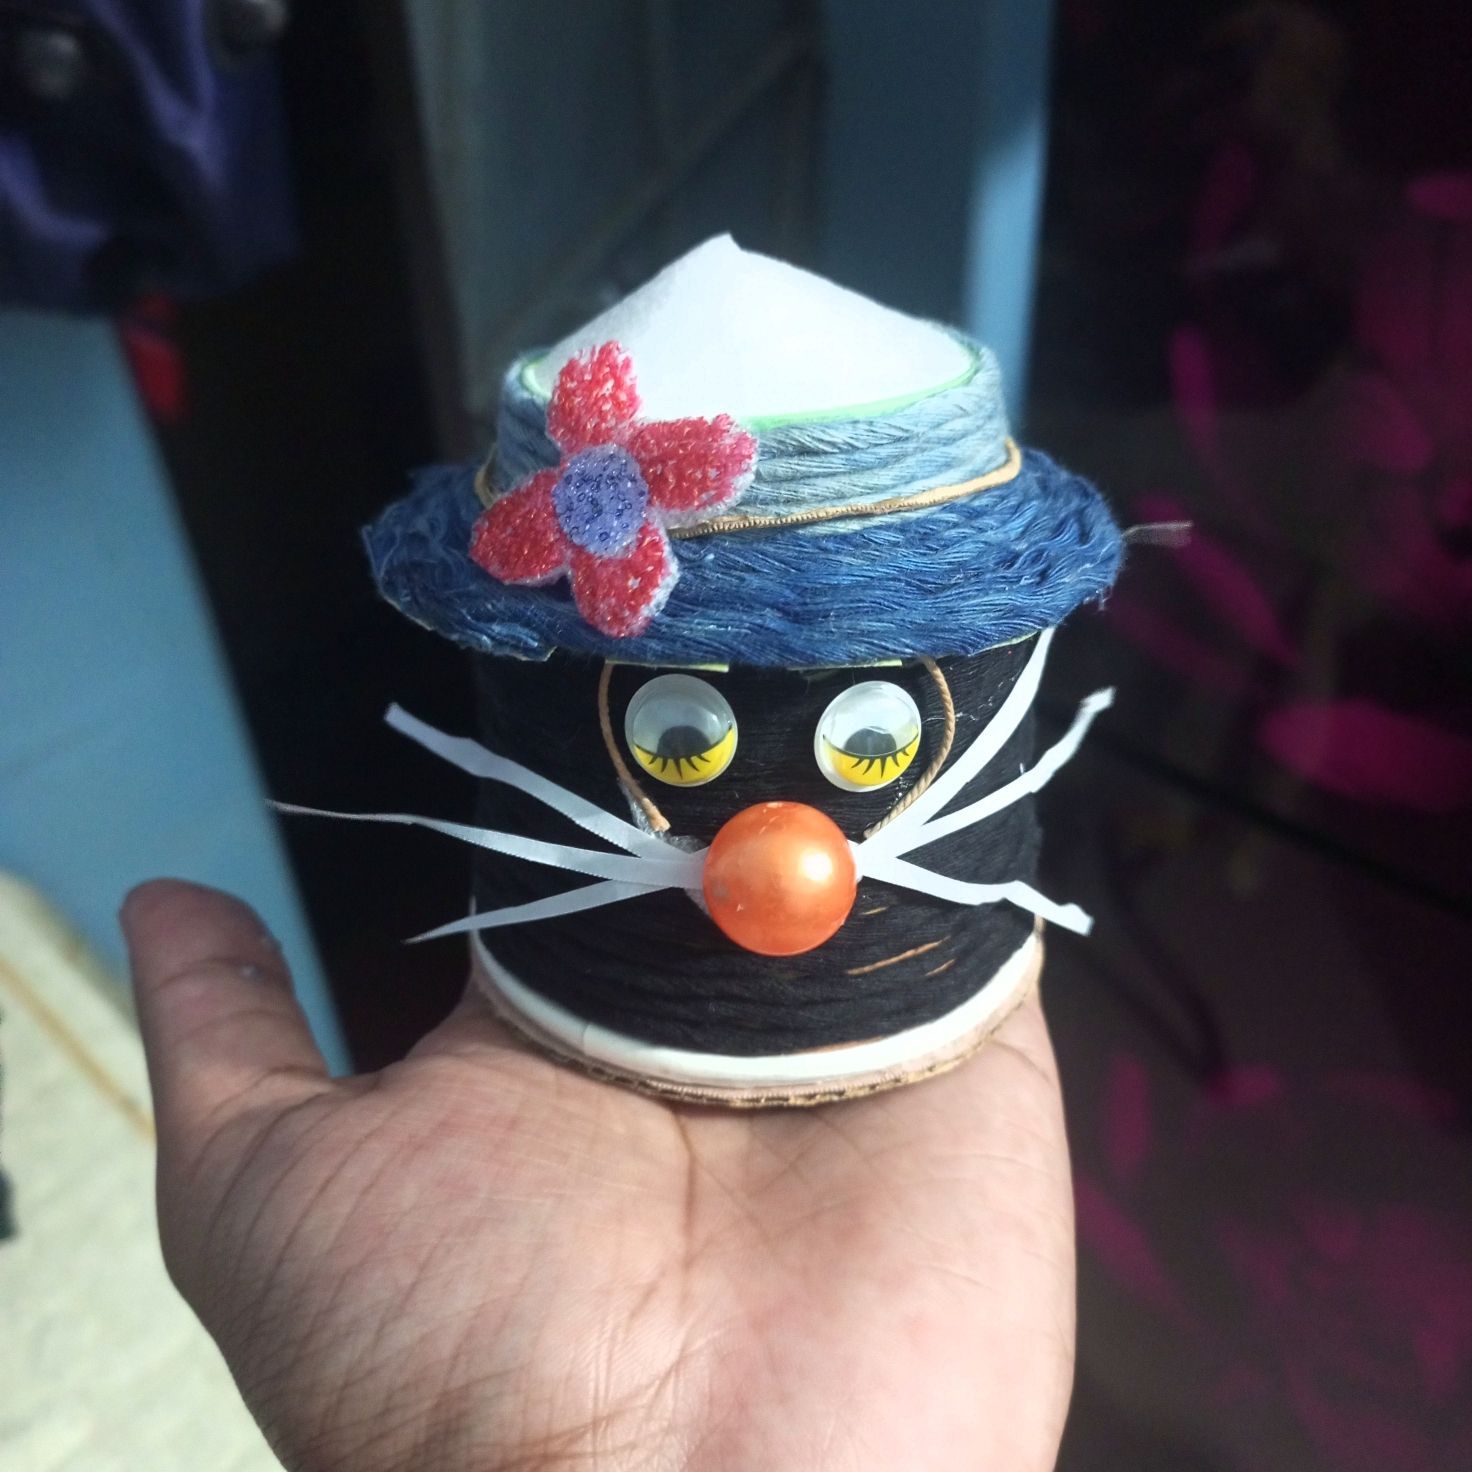 You all will find today's beautiful mini organizer suitable for storing small items like jewelry, beads, and even dress supplies. As an old upcycling, the organizer will always promote environmental care. So let's follow our art making steps. **Here I will try to list all the materials used to make today's amazing organizer, along with their names.** 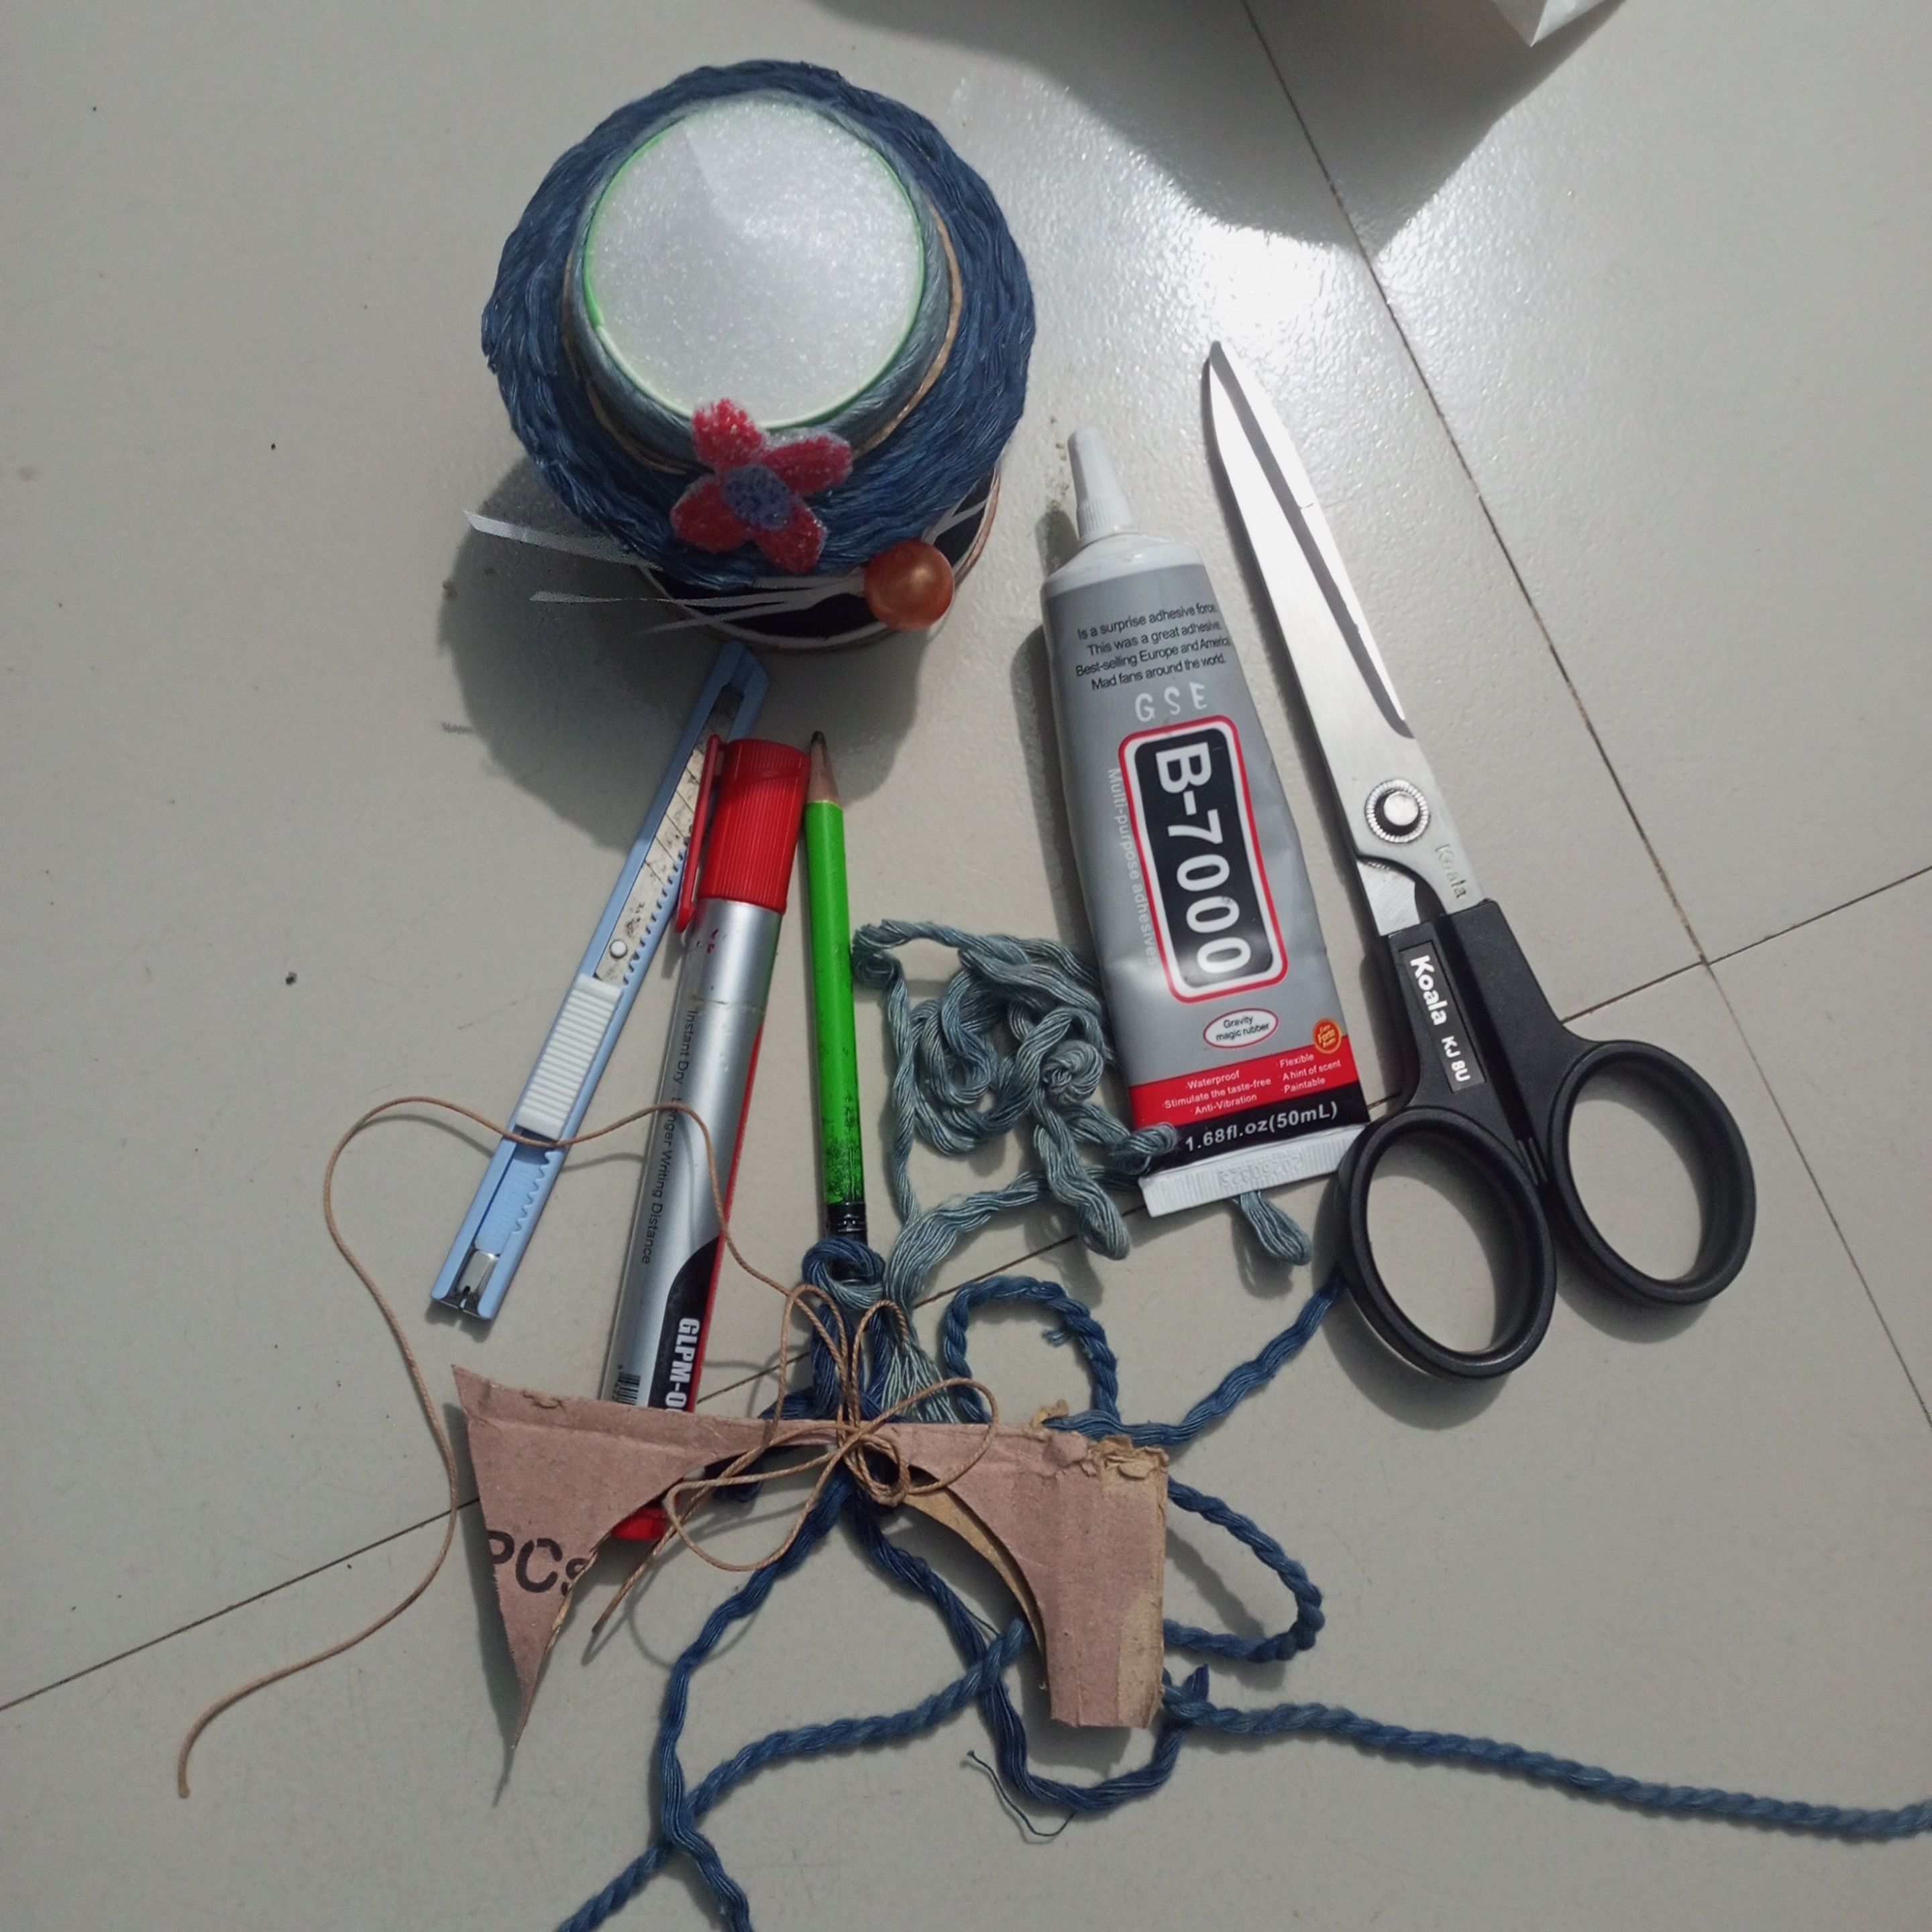 🌺Yarn bundle 👁️Anti cutter 🤔Marker pen 🤔B-7000 glue 🤔Scissors 🔵Cardboard 🔵Parachute ⛲Paper cups 2 sizes ⛲2B dark pencil 👨🔬Plastic ornament 👨🔬White paper 🔵Ornament design two eyes **Step by step making tutorial** 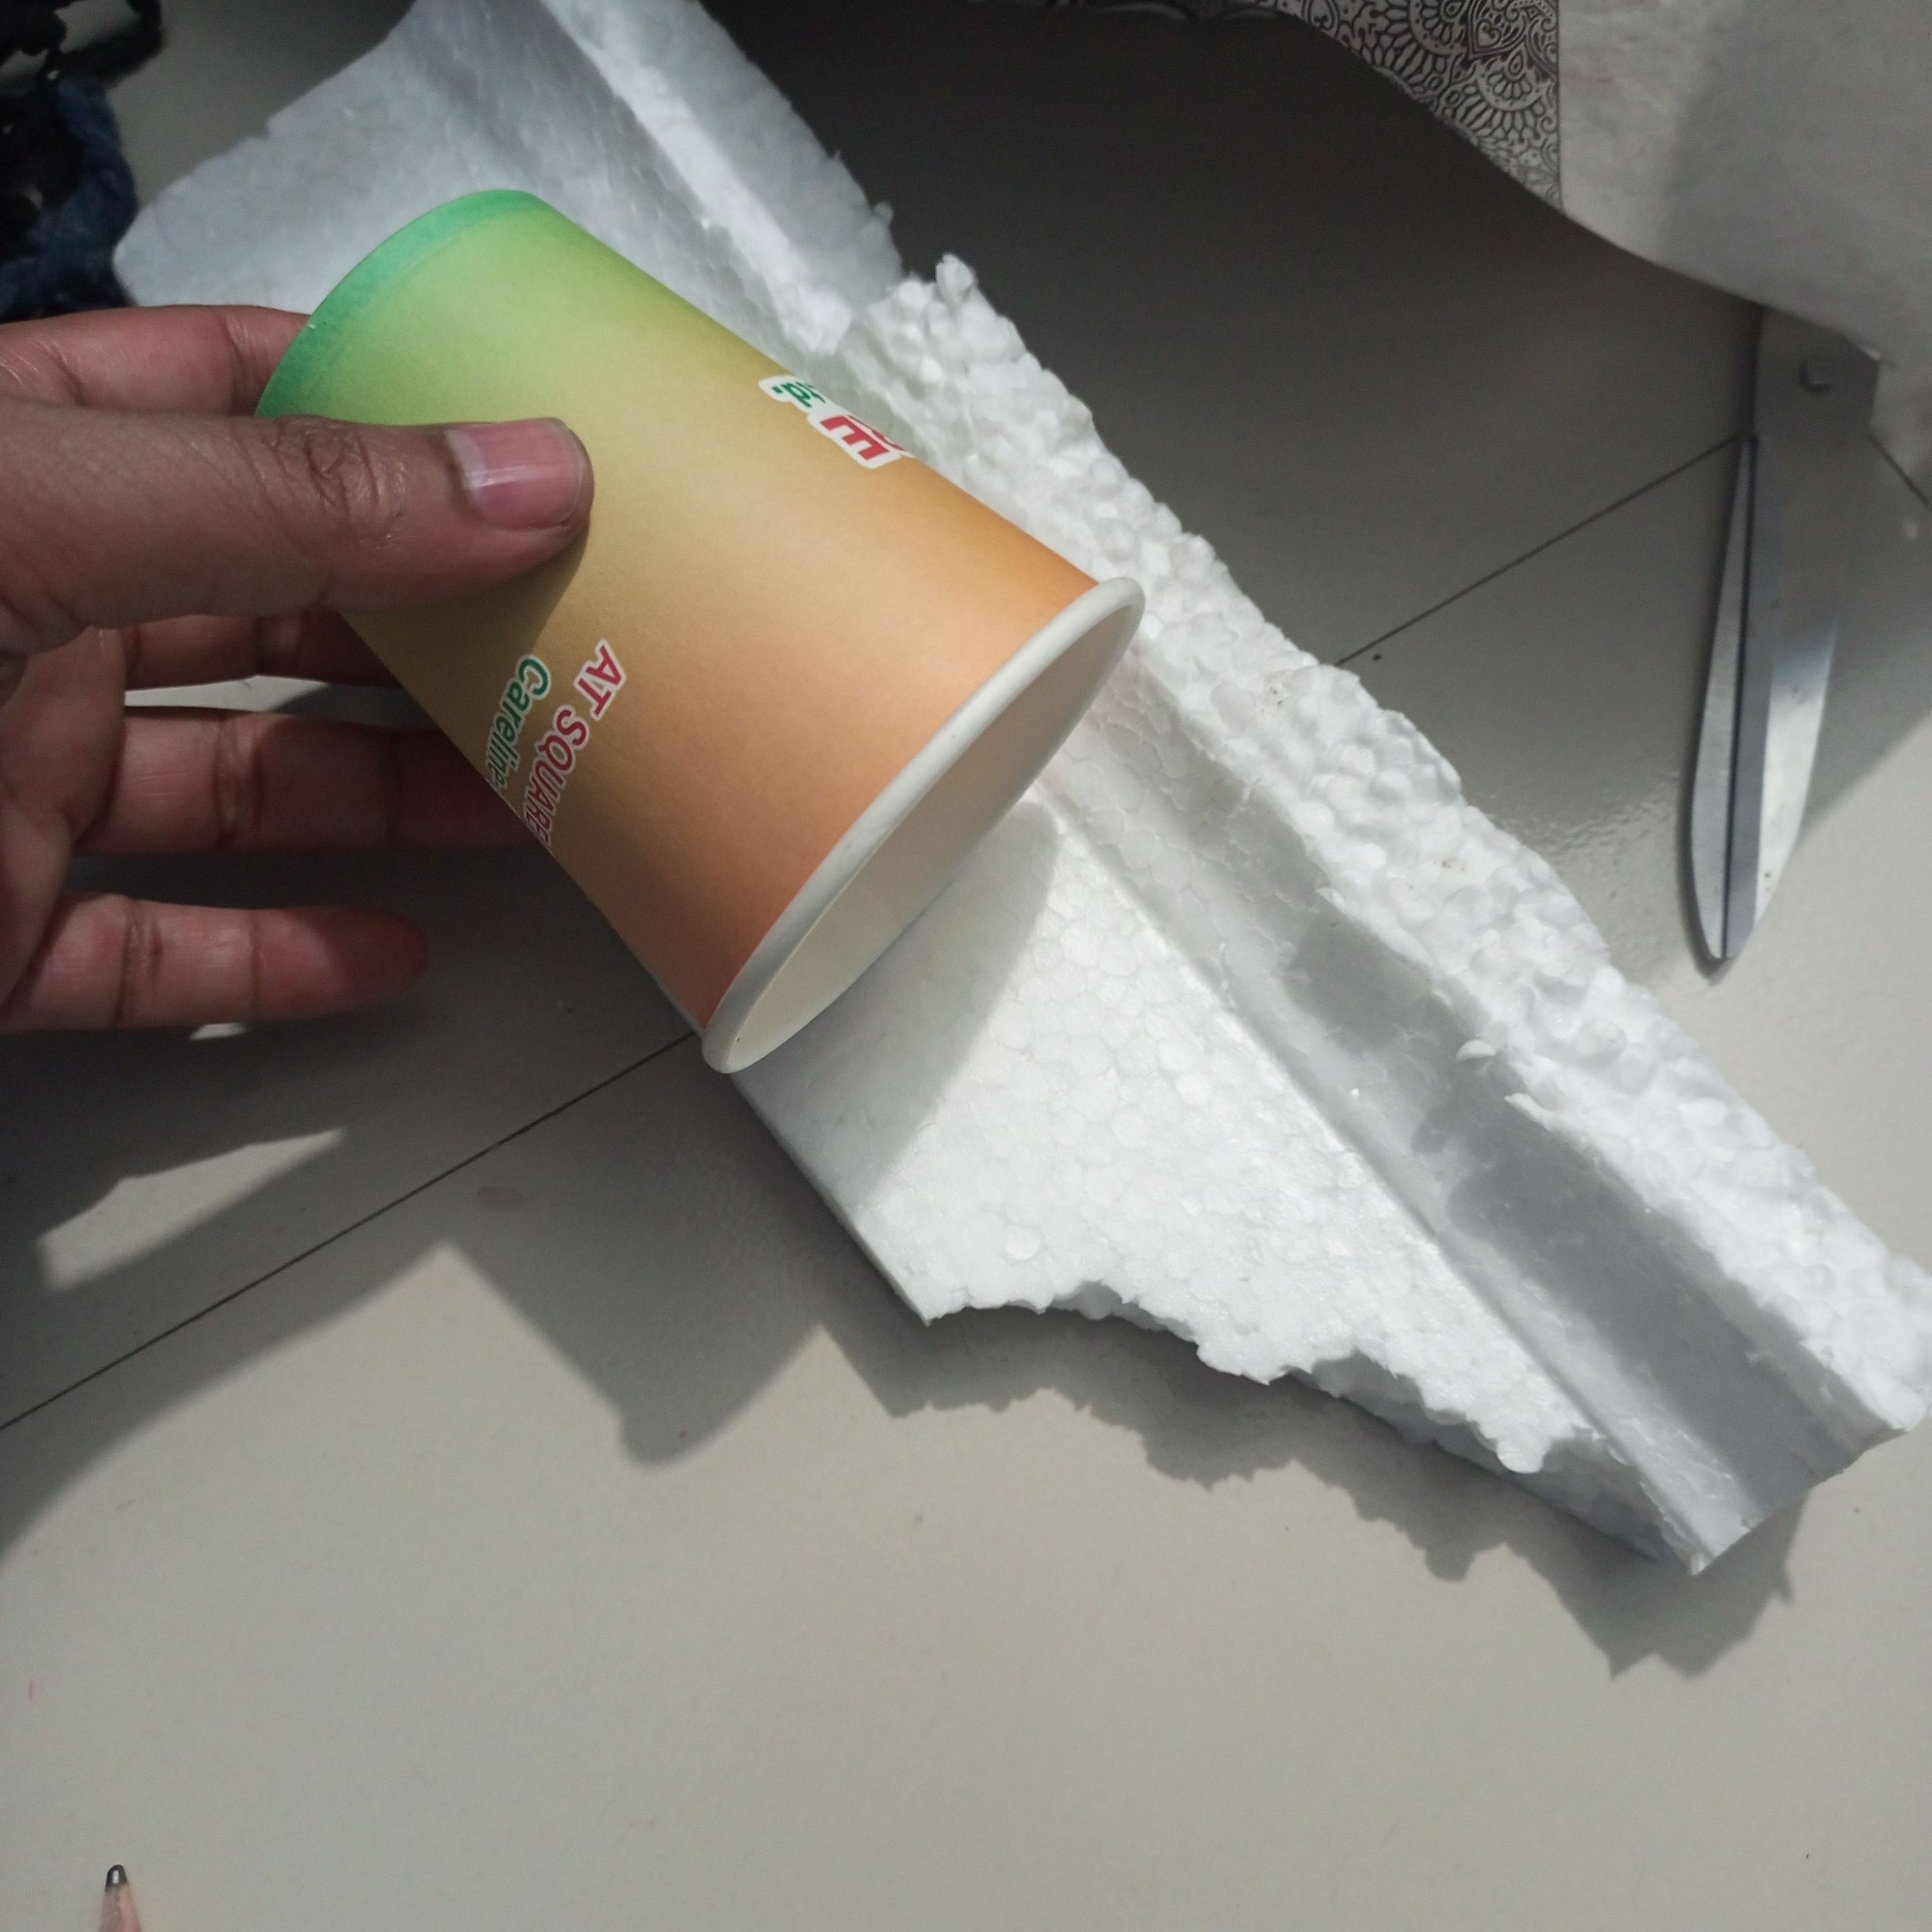 First, I collected an abandoned paper cup among the necessary materials. Later, I made this cup fully usable. 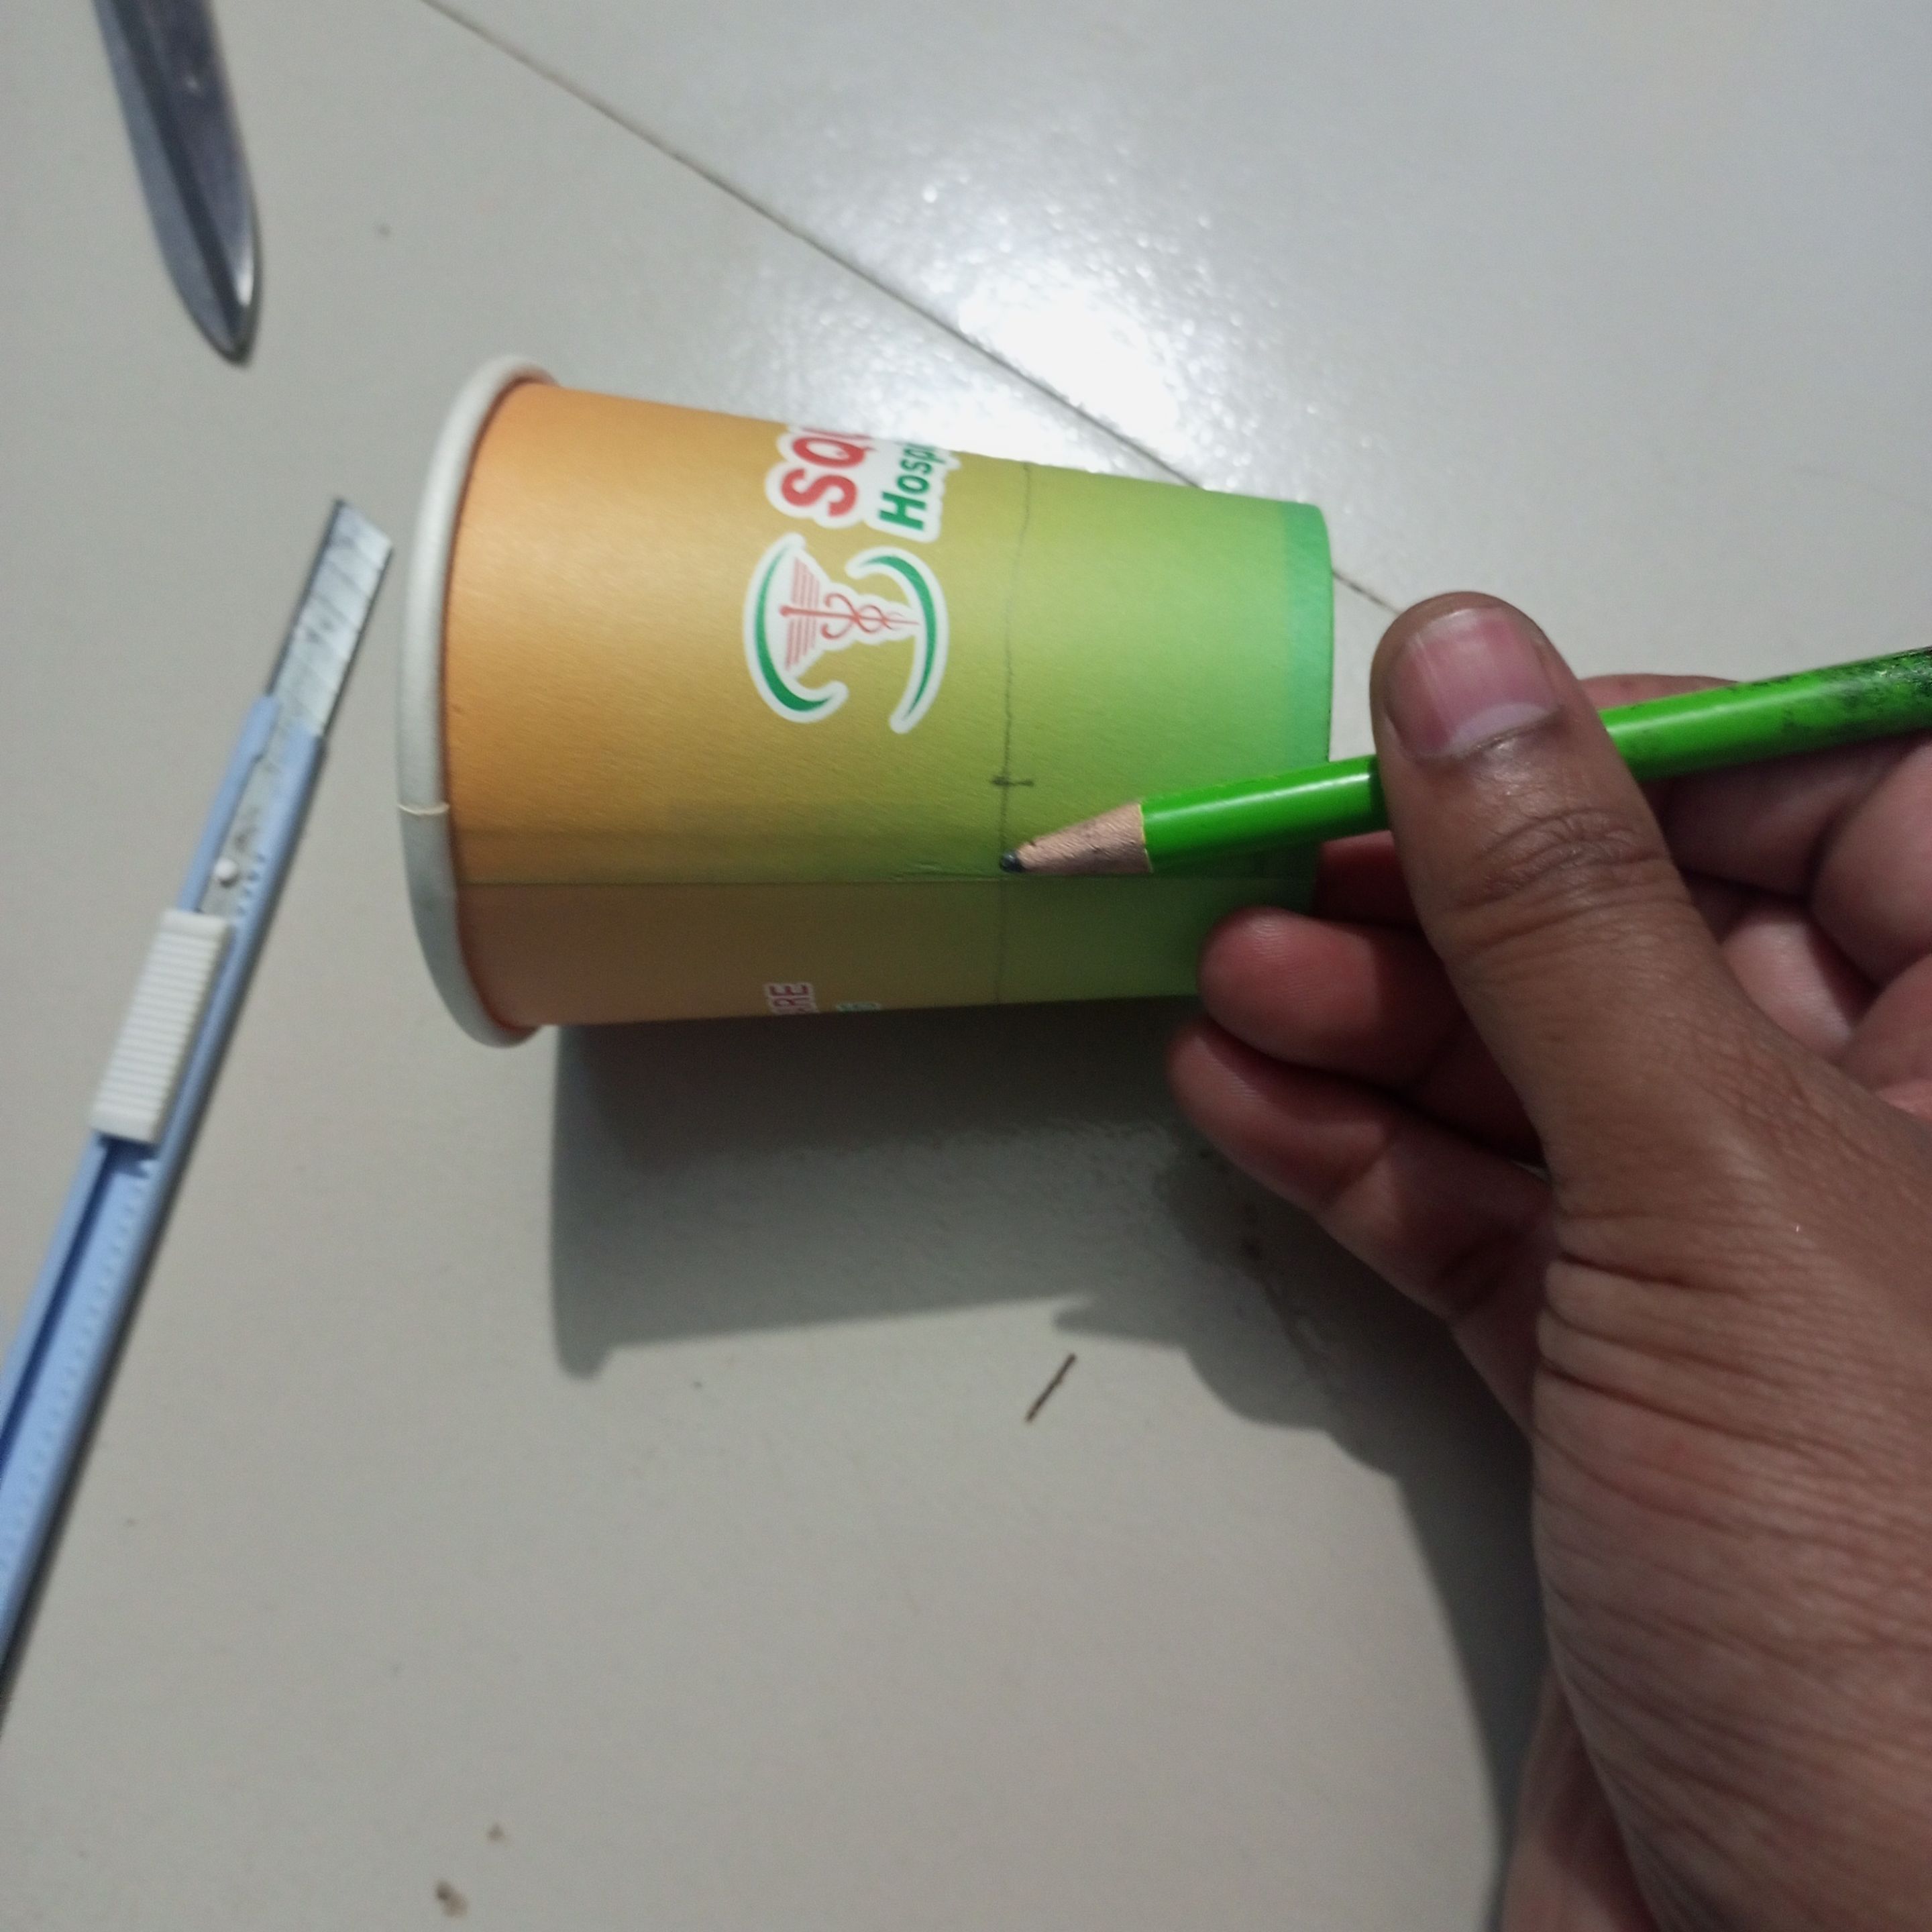 <div class="text-justify">Then, with great feeling, I drew up to three centimeters by hand in an extraordinary way using a 2B pencil.</div> 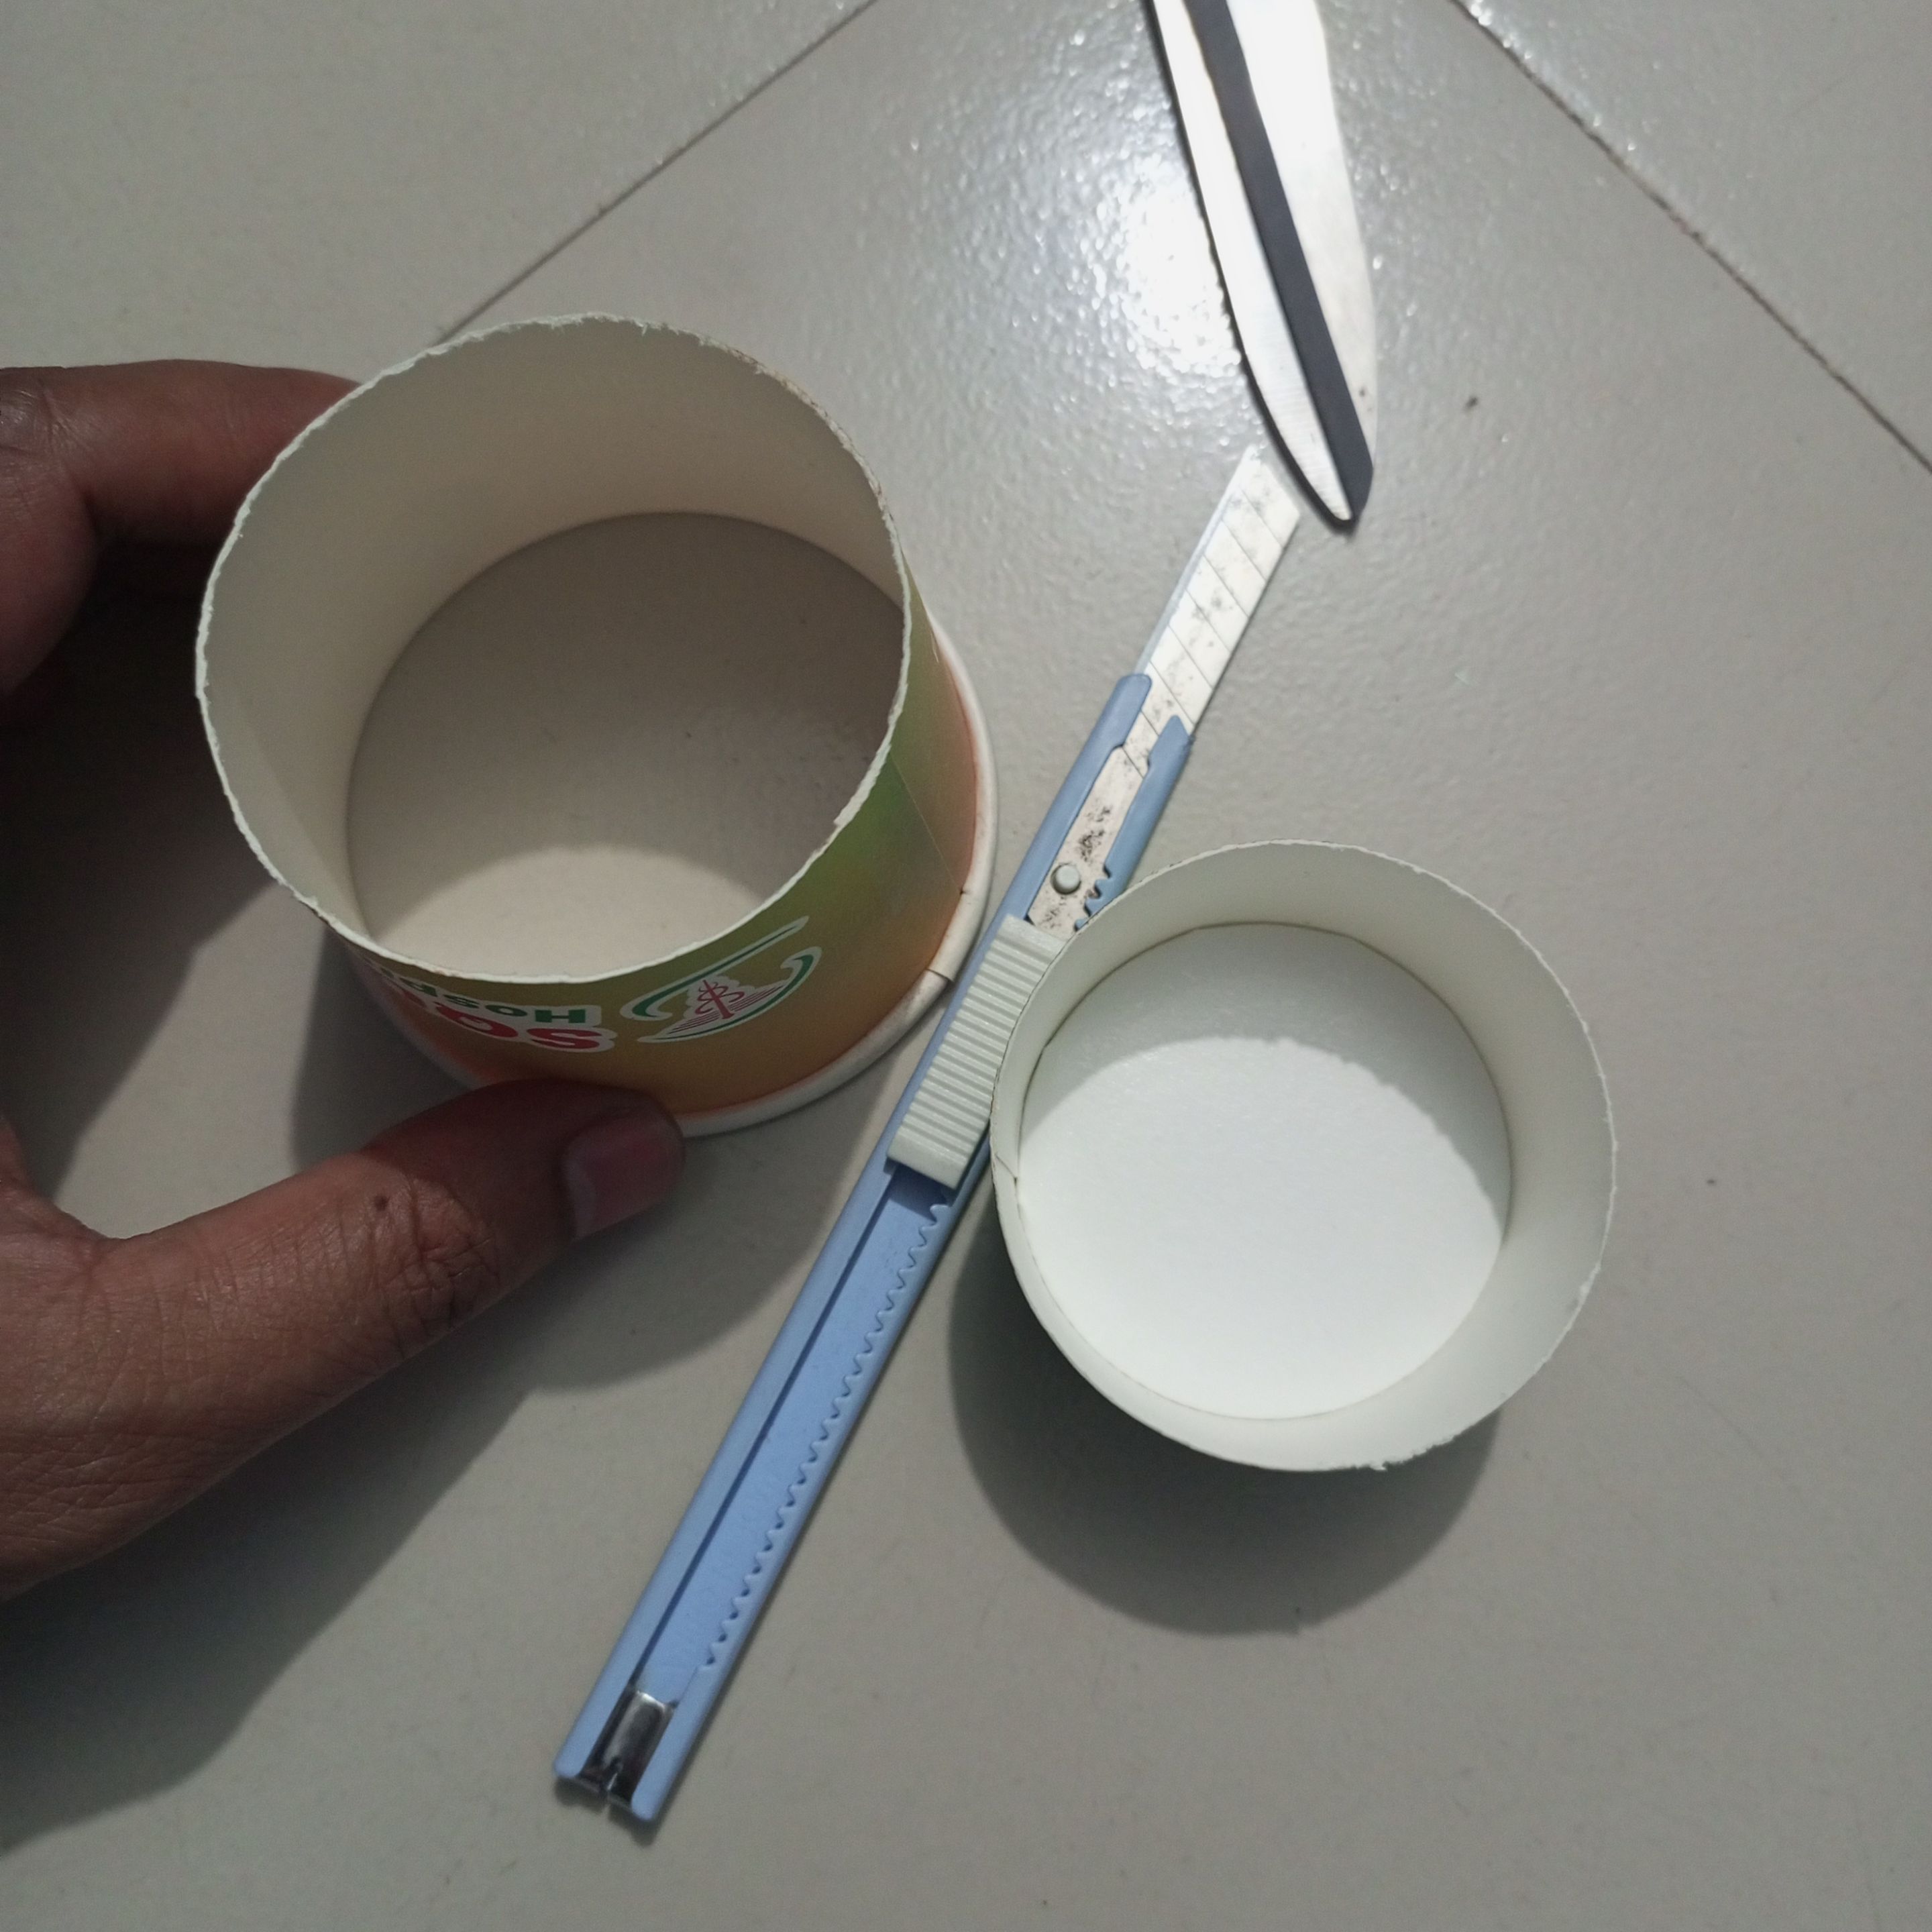 >Next, here I carefully cut according to the drawing using an anti-cutter with great feeling. 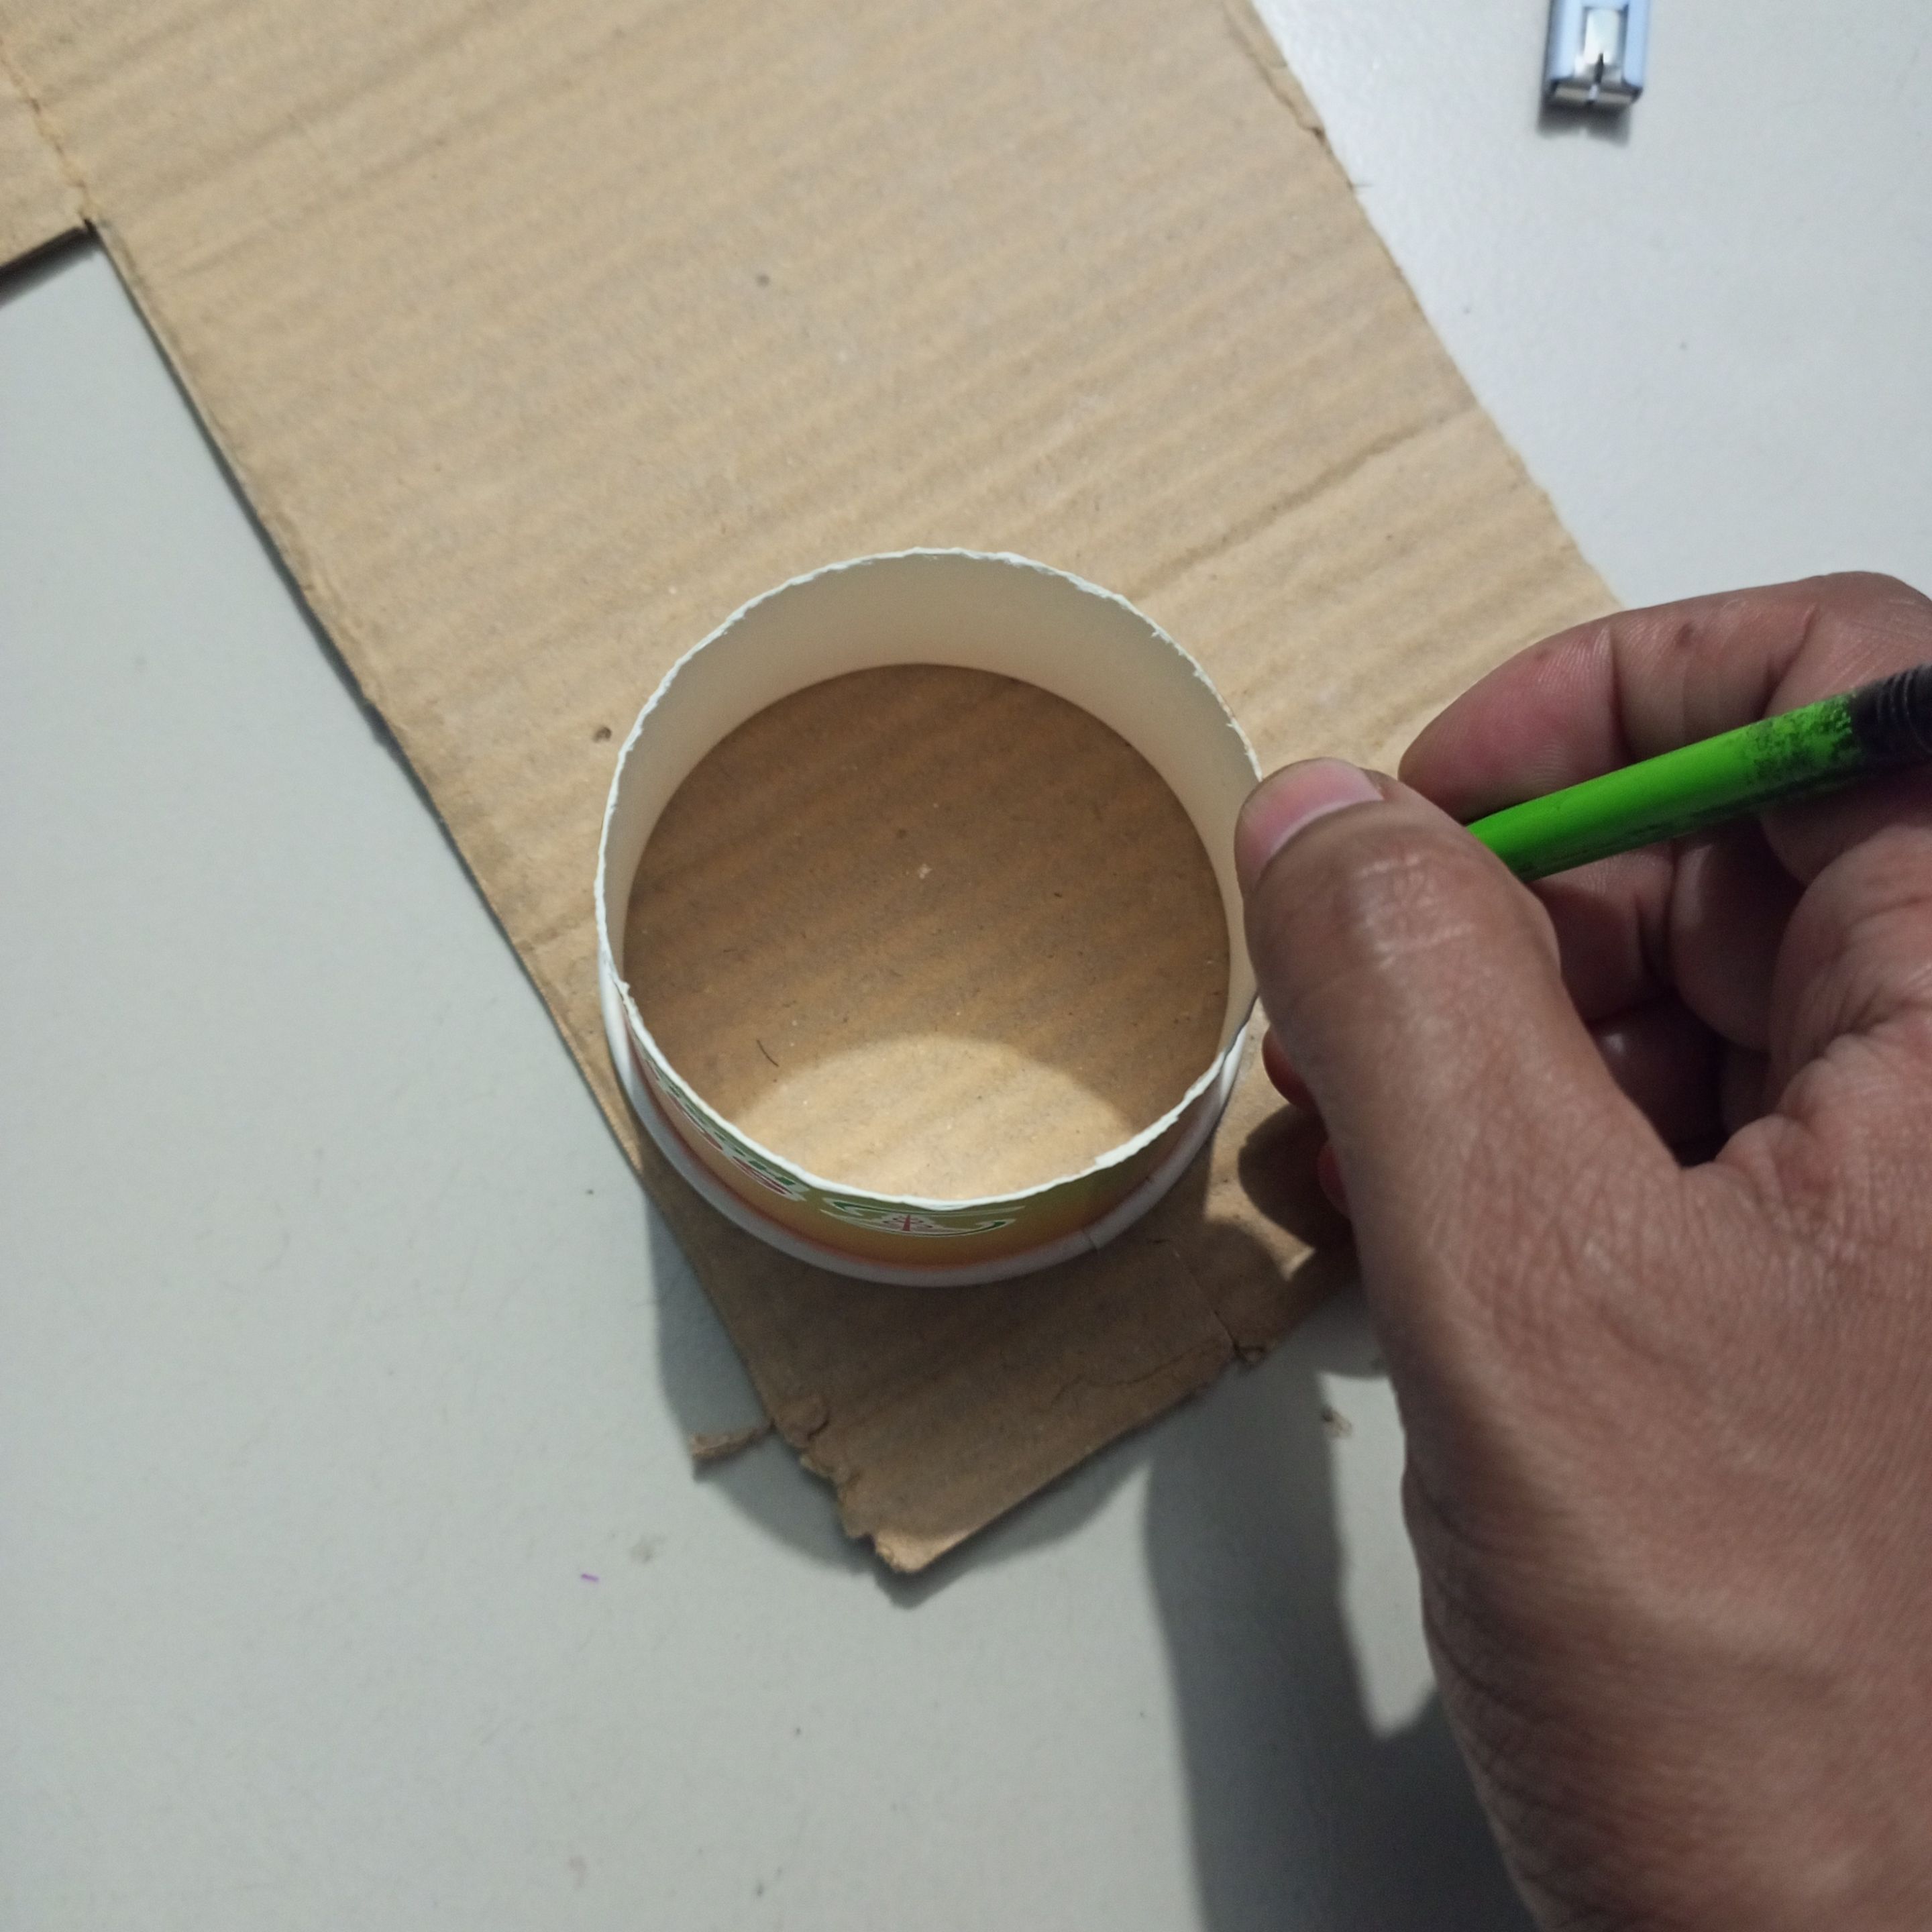 >Here I have placed the paper cup on top of the cardboard and drawn it with a pencil.  >Here I have cut the cardboard piece with great feeling using scissors. You can see it in the exhibition.  >Next, I attached the cardboard to the bottom of the paper cup using B-7000 glue.  **Then here I have wrapped the entire paper cup around the outside with a great feel, carefully wrapping it with yarn and gluing it together.**  **Then here I cut the bottom of the paper cup by two centimeters with scissors.**  >Then I cut the cockpit sheet neatly with scissors to use the cockpit sheet with a great feel for the interior.  **Next, I glued the cockpit sheet to the inside with great feel.** 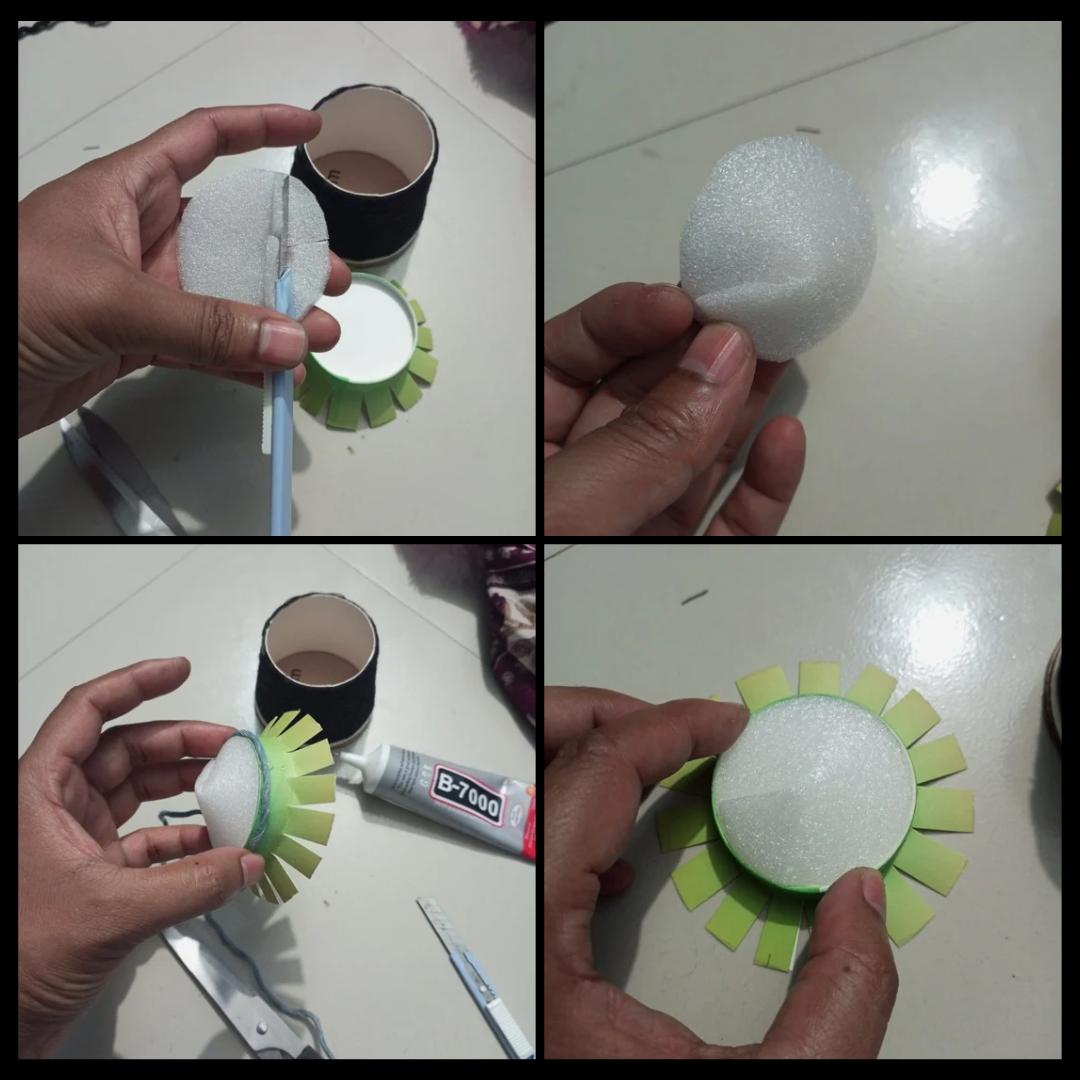 <div class="text-justify">Here I have cut another cockpit sheet close by and cut the outer part from the middle using anti cutter. Next I have prepared a beautiful white gold hat shape. Then I have placed the hat shape on the bottom of the paper cup with great feeling using B-7000 glue. And I have straightened the bottom parts by pressing.</div> 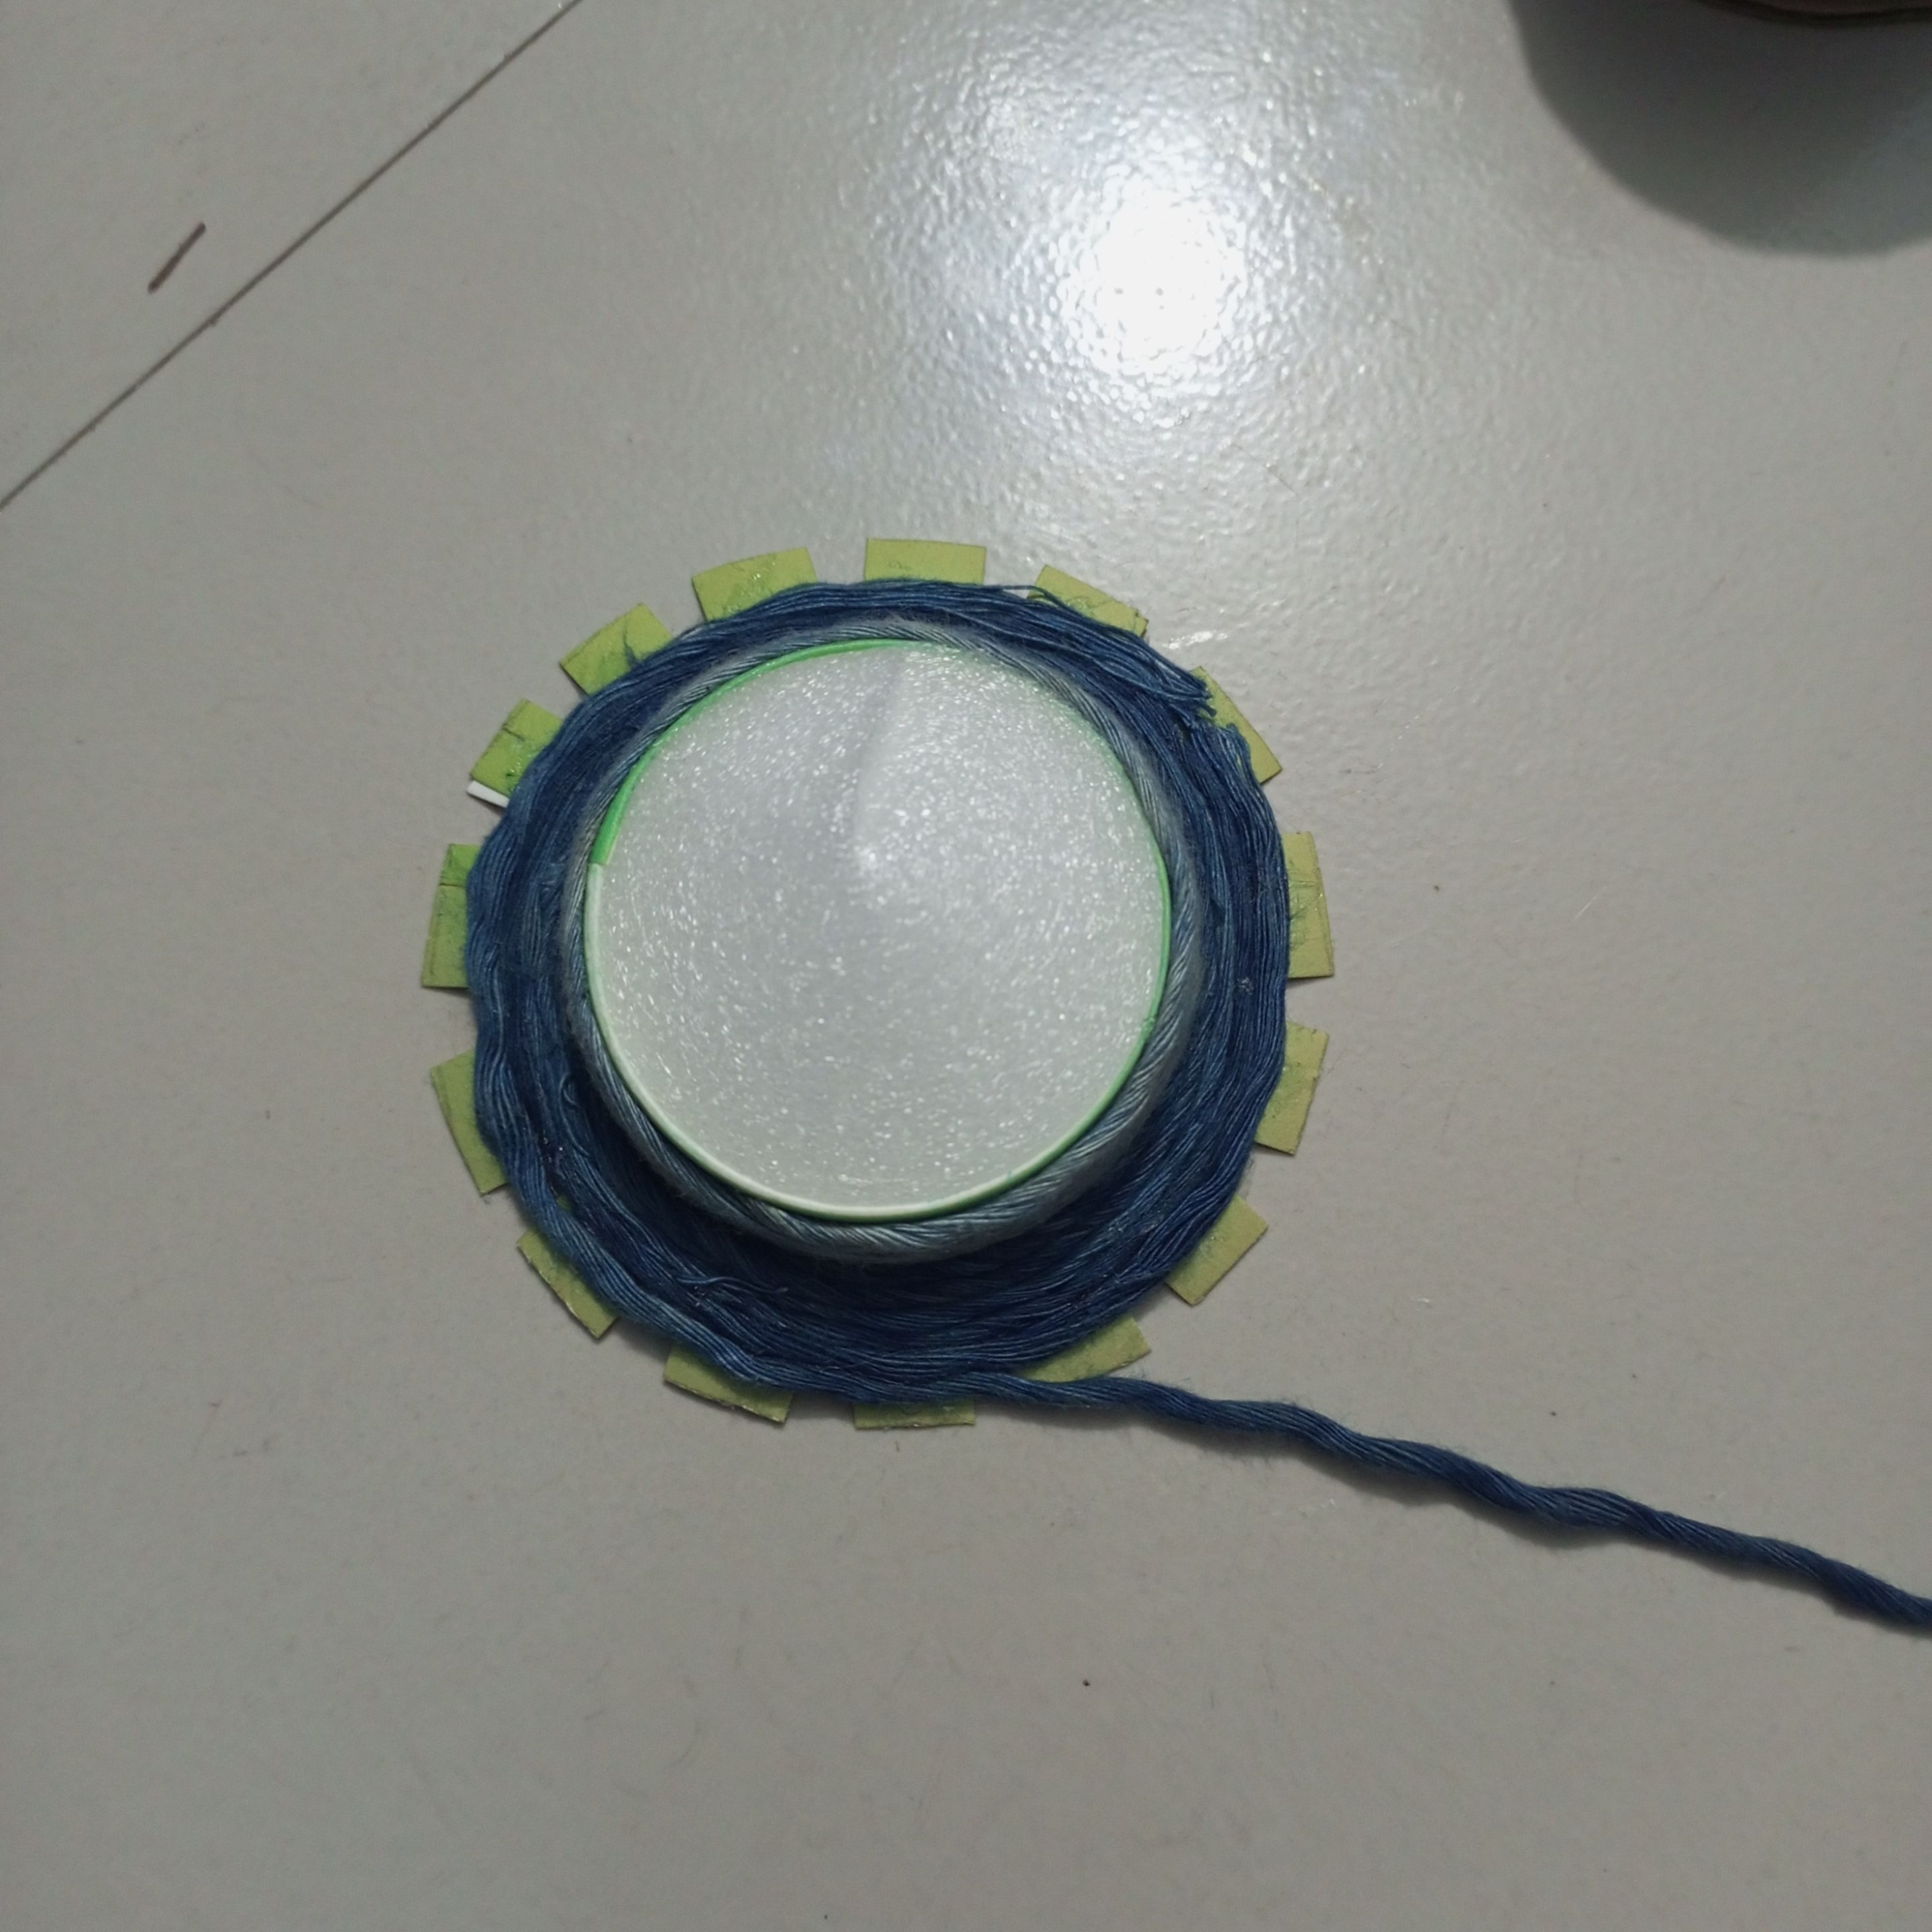 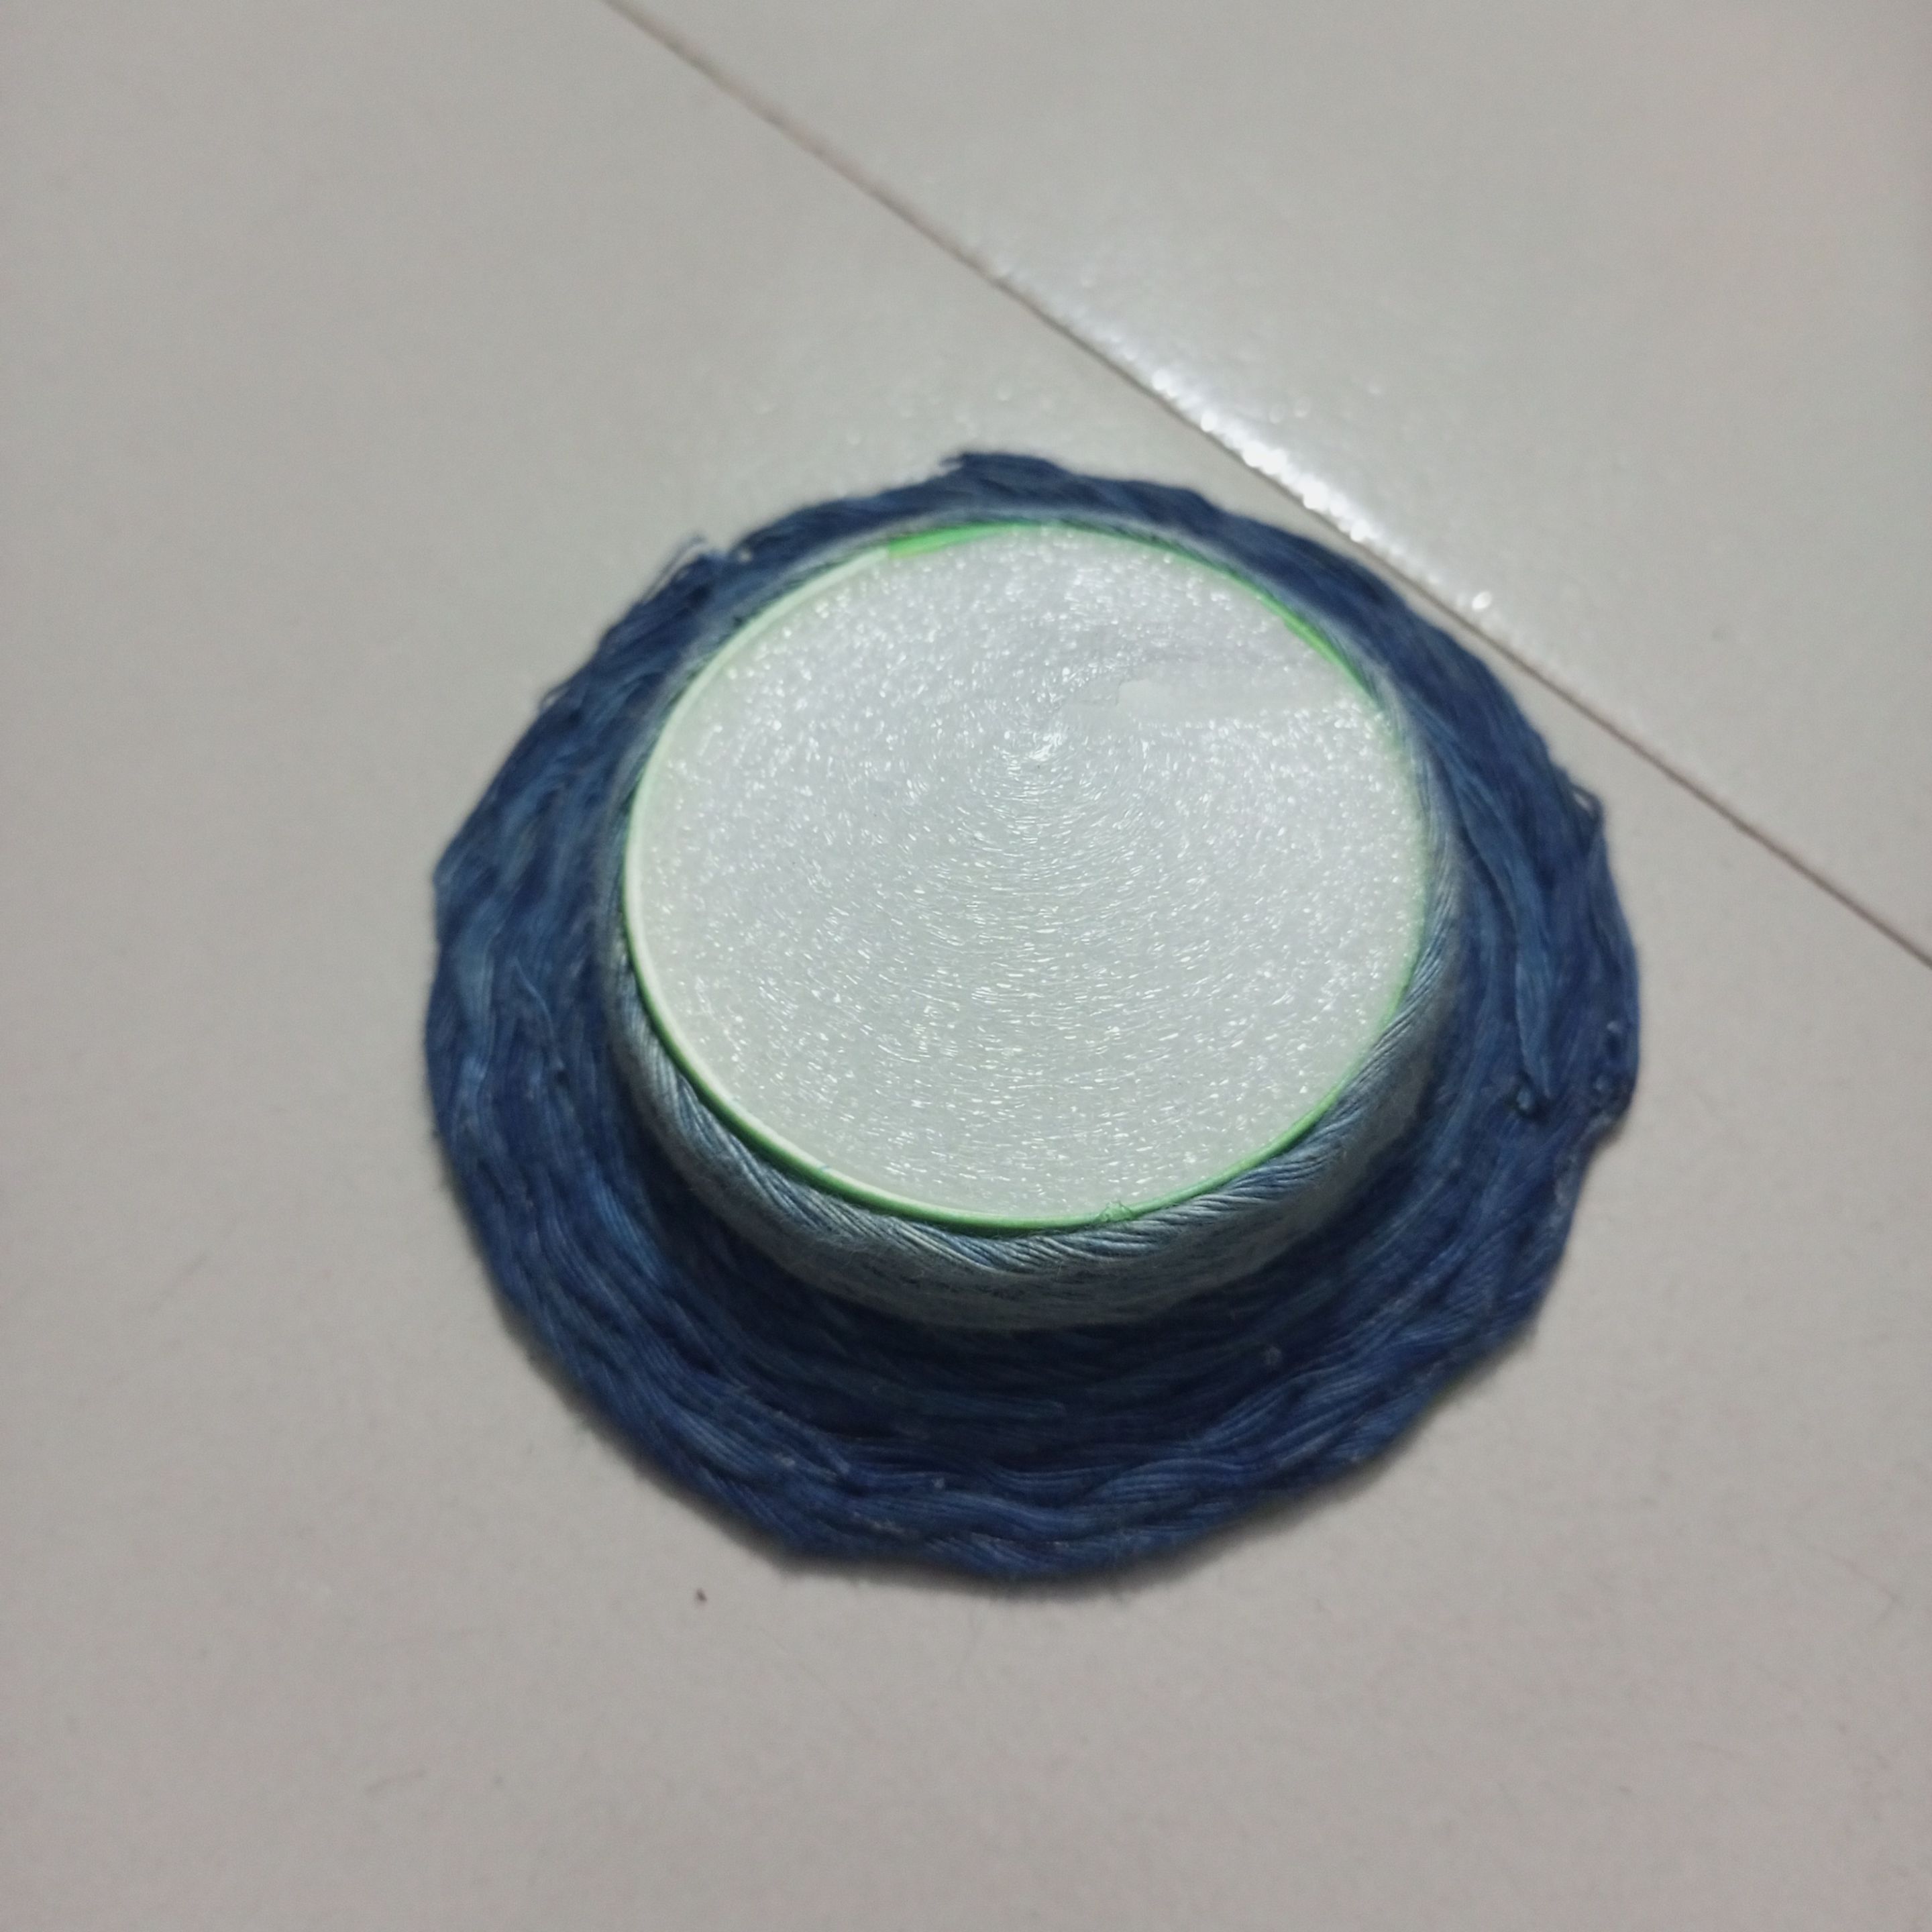 >Then I carefully wrapped the yarn from the top to the bottom using glue. In this exhibition, you can see that our beautiful lid or hat is ready. 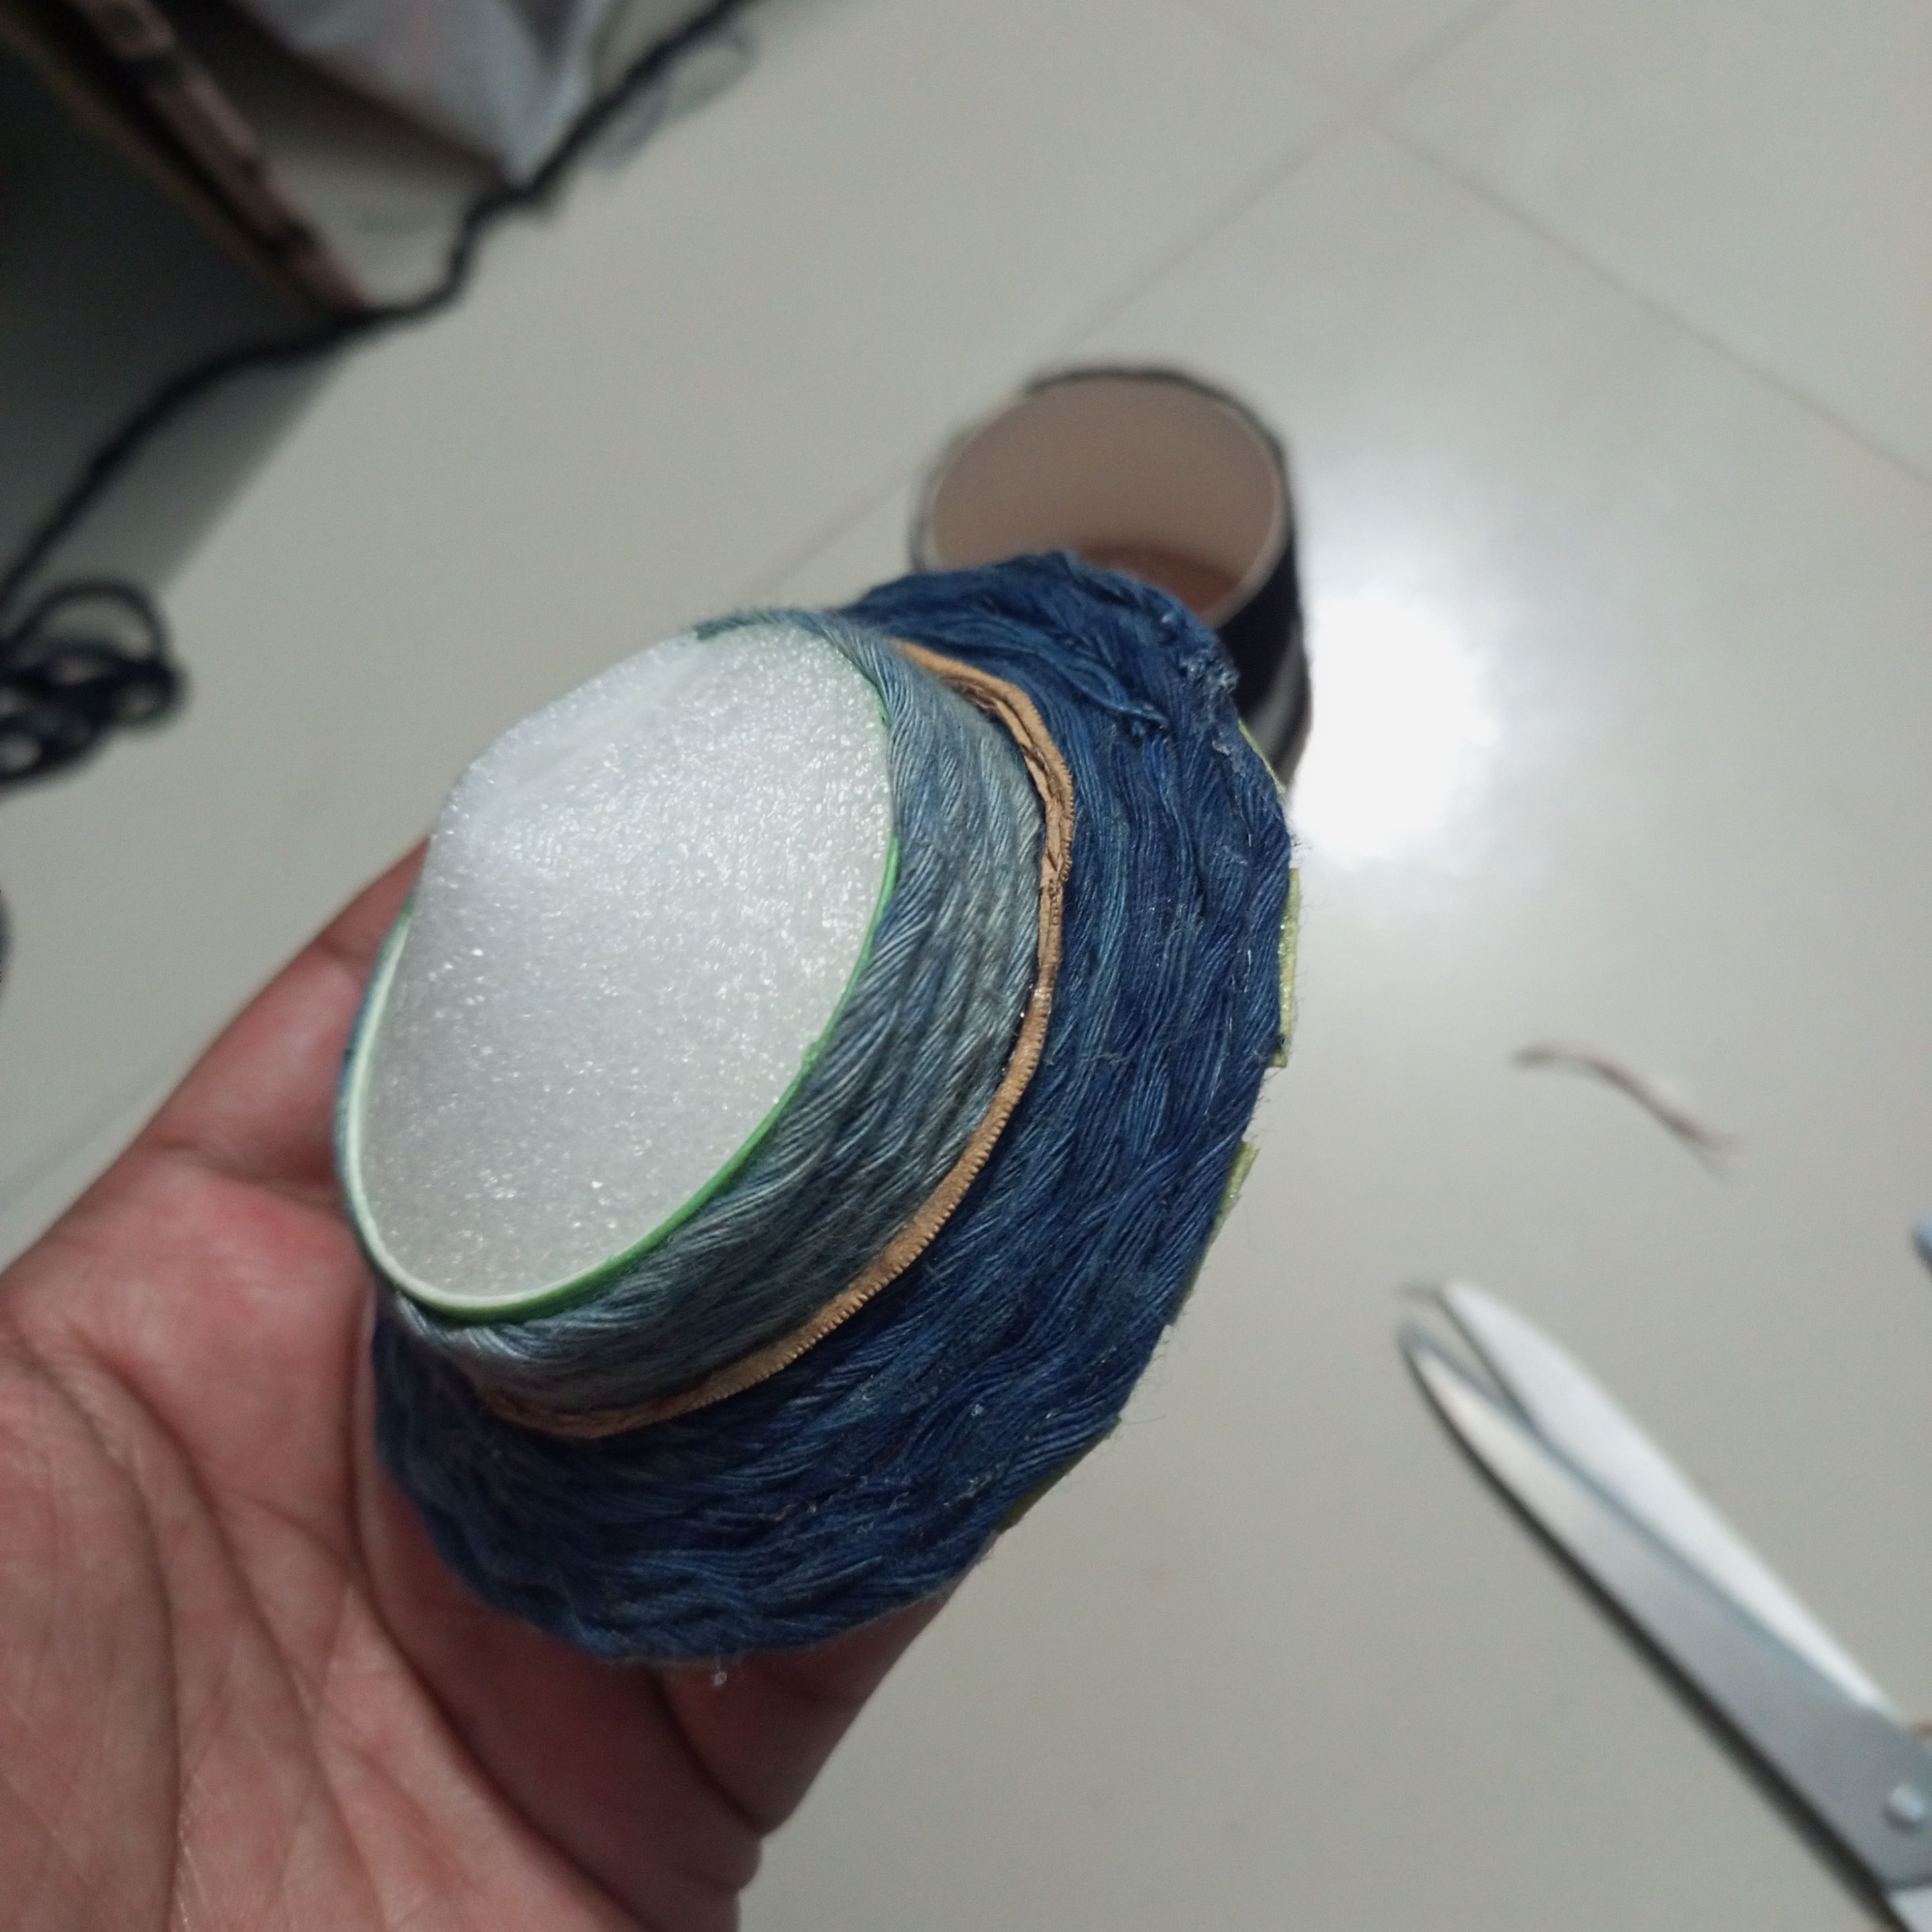 >Next, I cut a thin piece of cardboard and then shaped a beautiful design in the middle of the hat and attached the long piece of cardboard using glue. 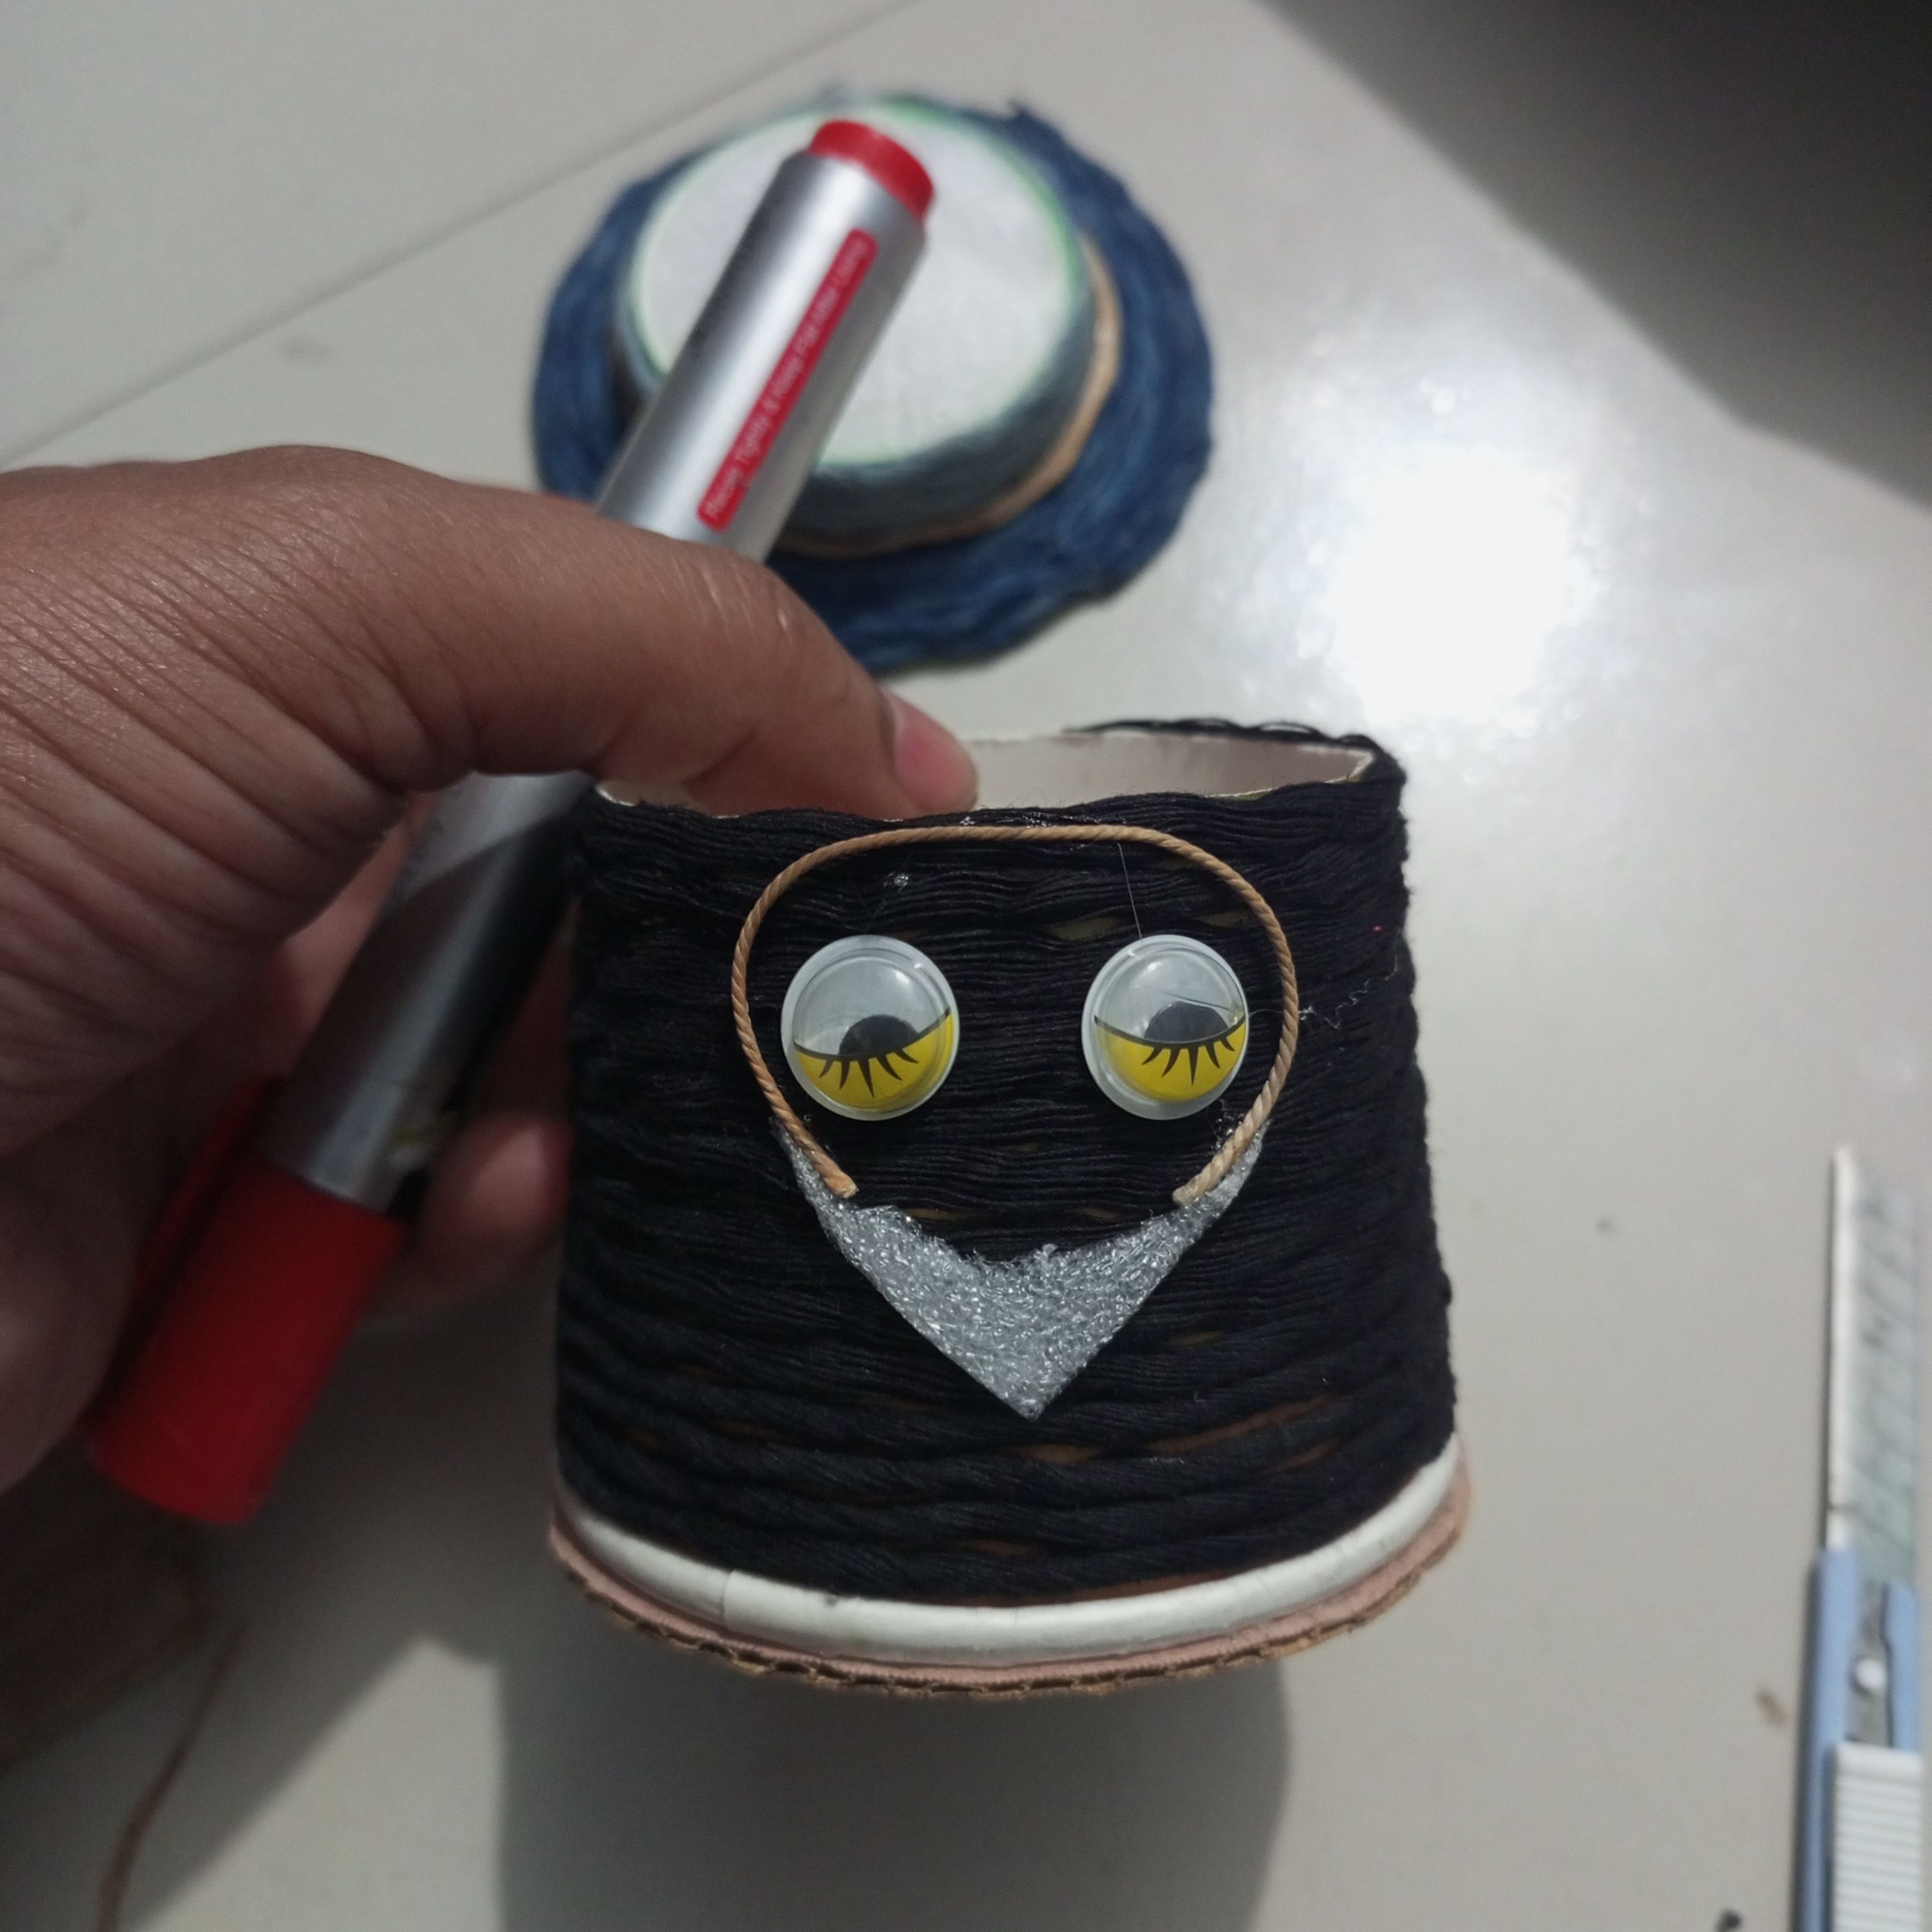 * **Here I have tried to create a beautiful elegant cat face shape using parachute and cockpit sheet. Along with that I have added ornamental eye shapes.** 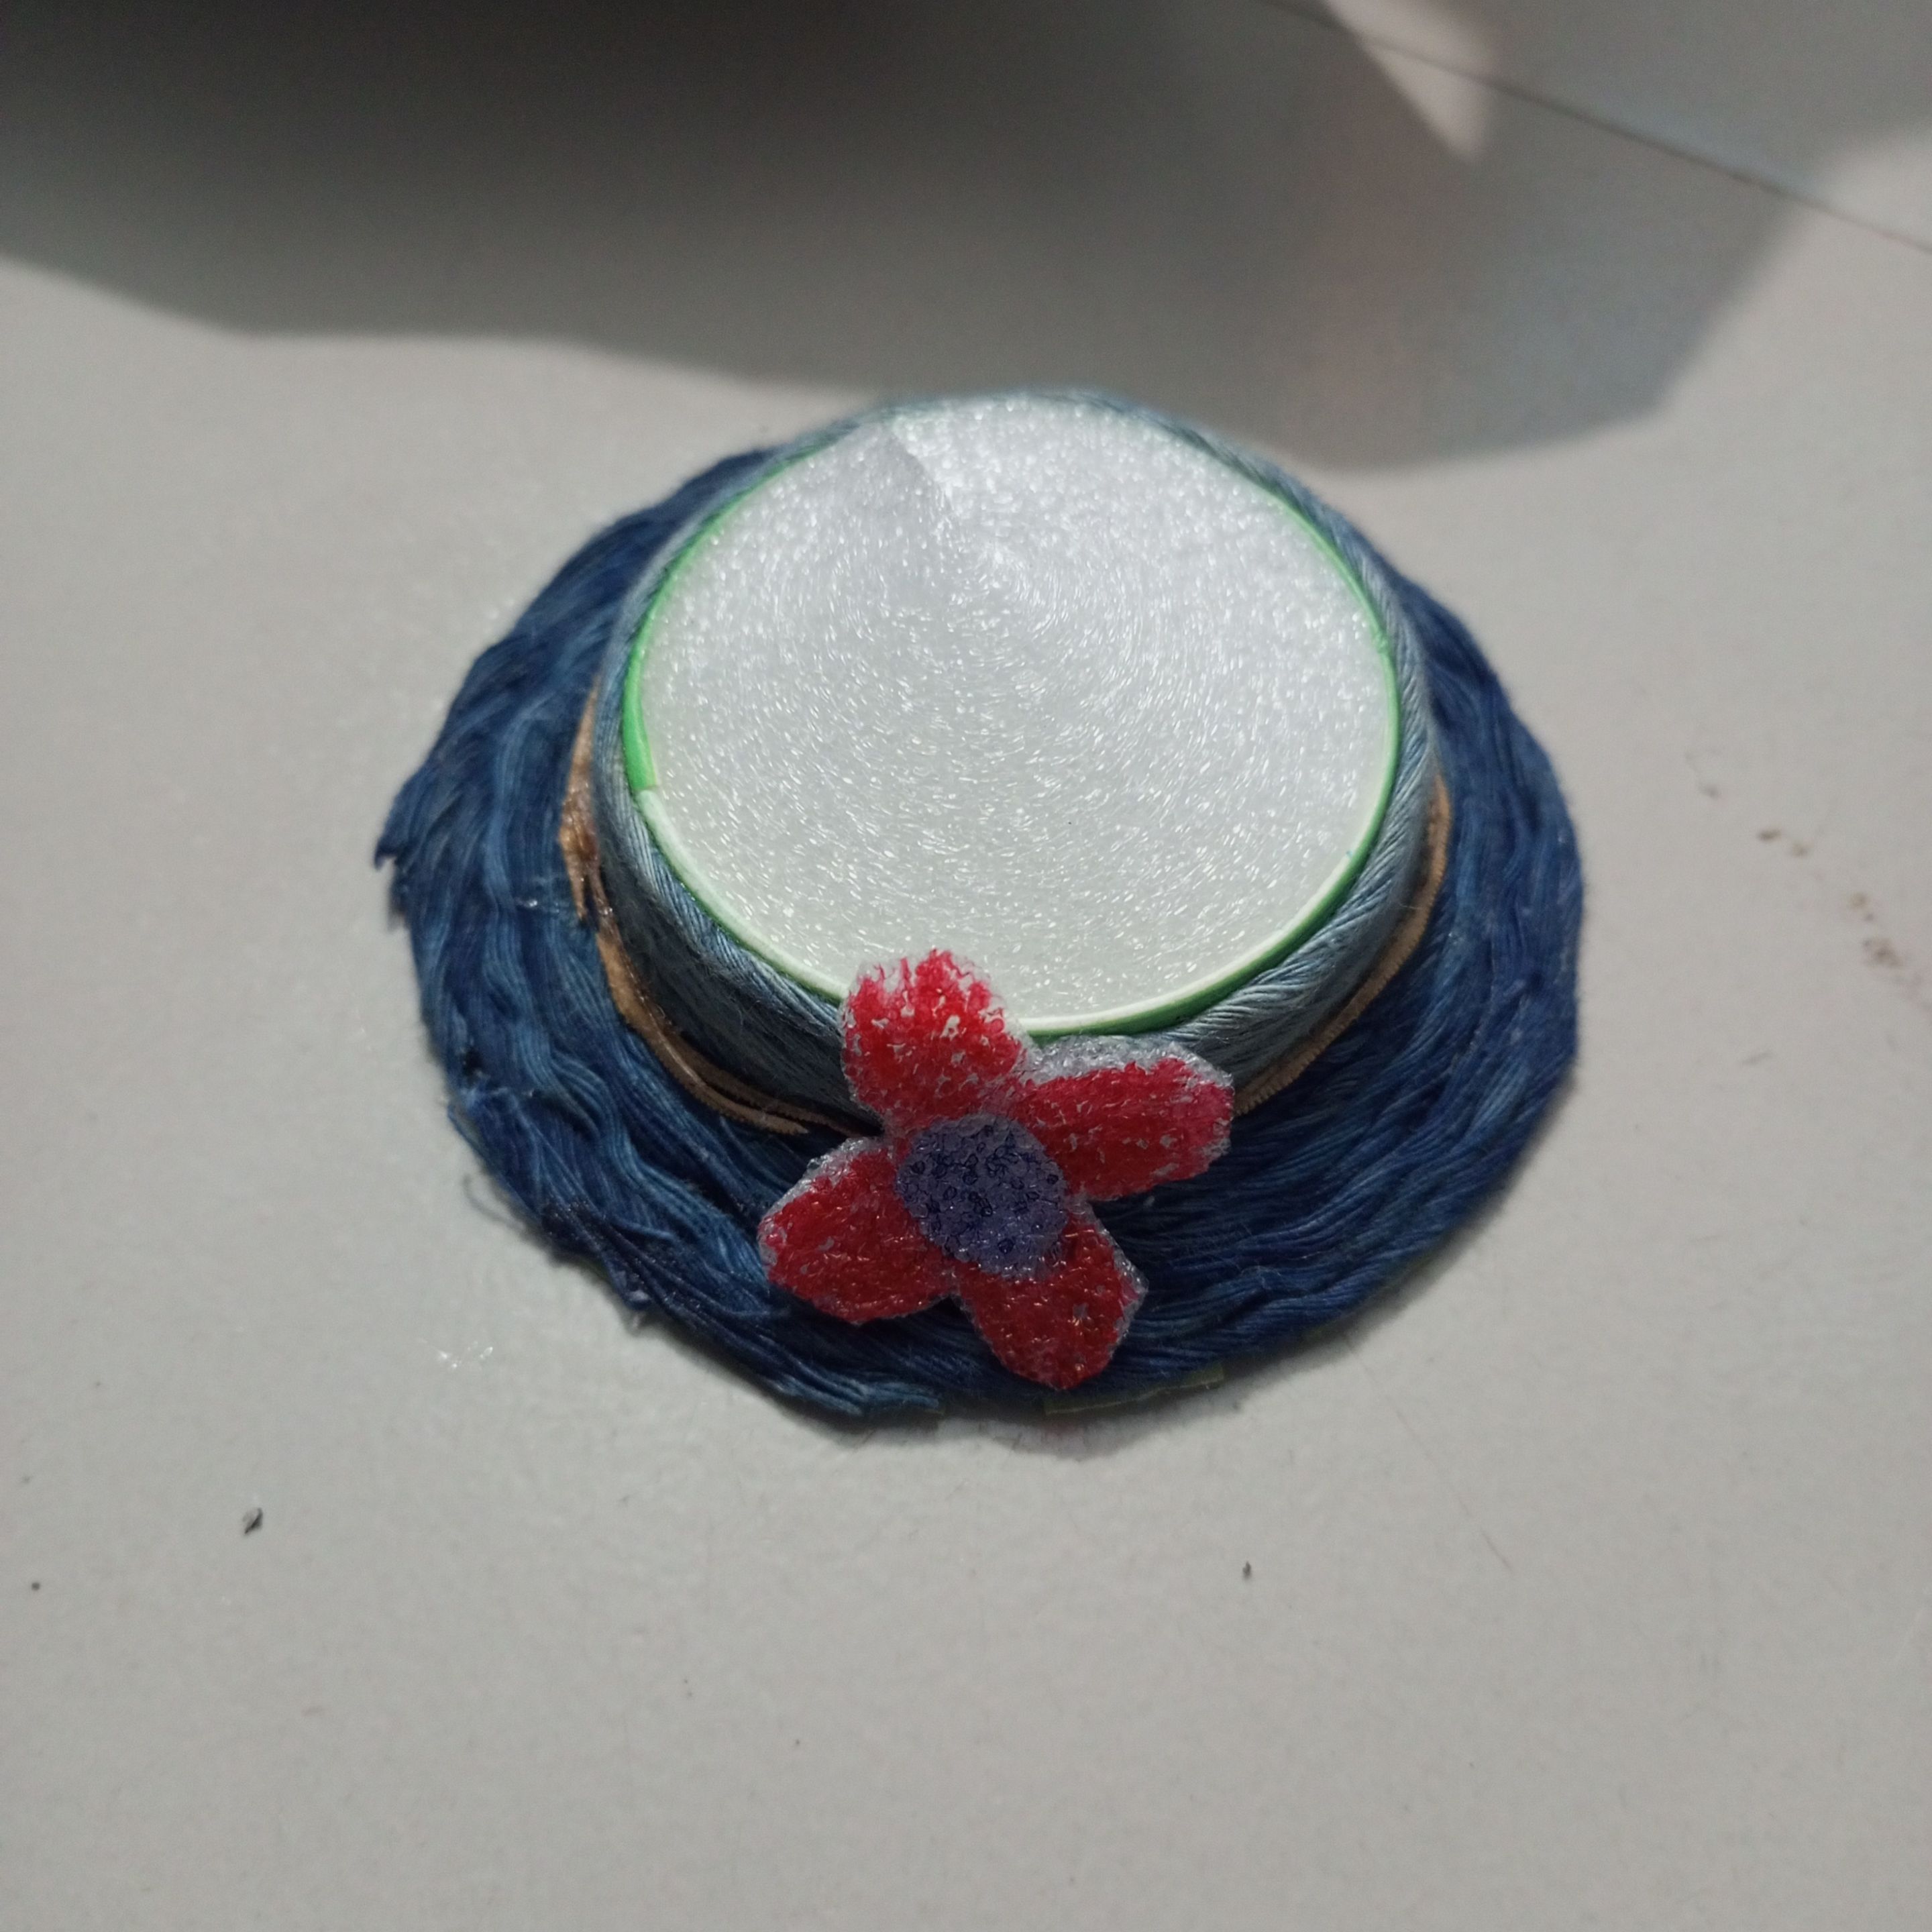 **In this step, I have prepared a flower shape by sizing a great cockshit on the side of the cap. Later, I have colored it using a marker pen, you can see the other color in the middle.** 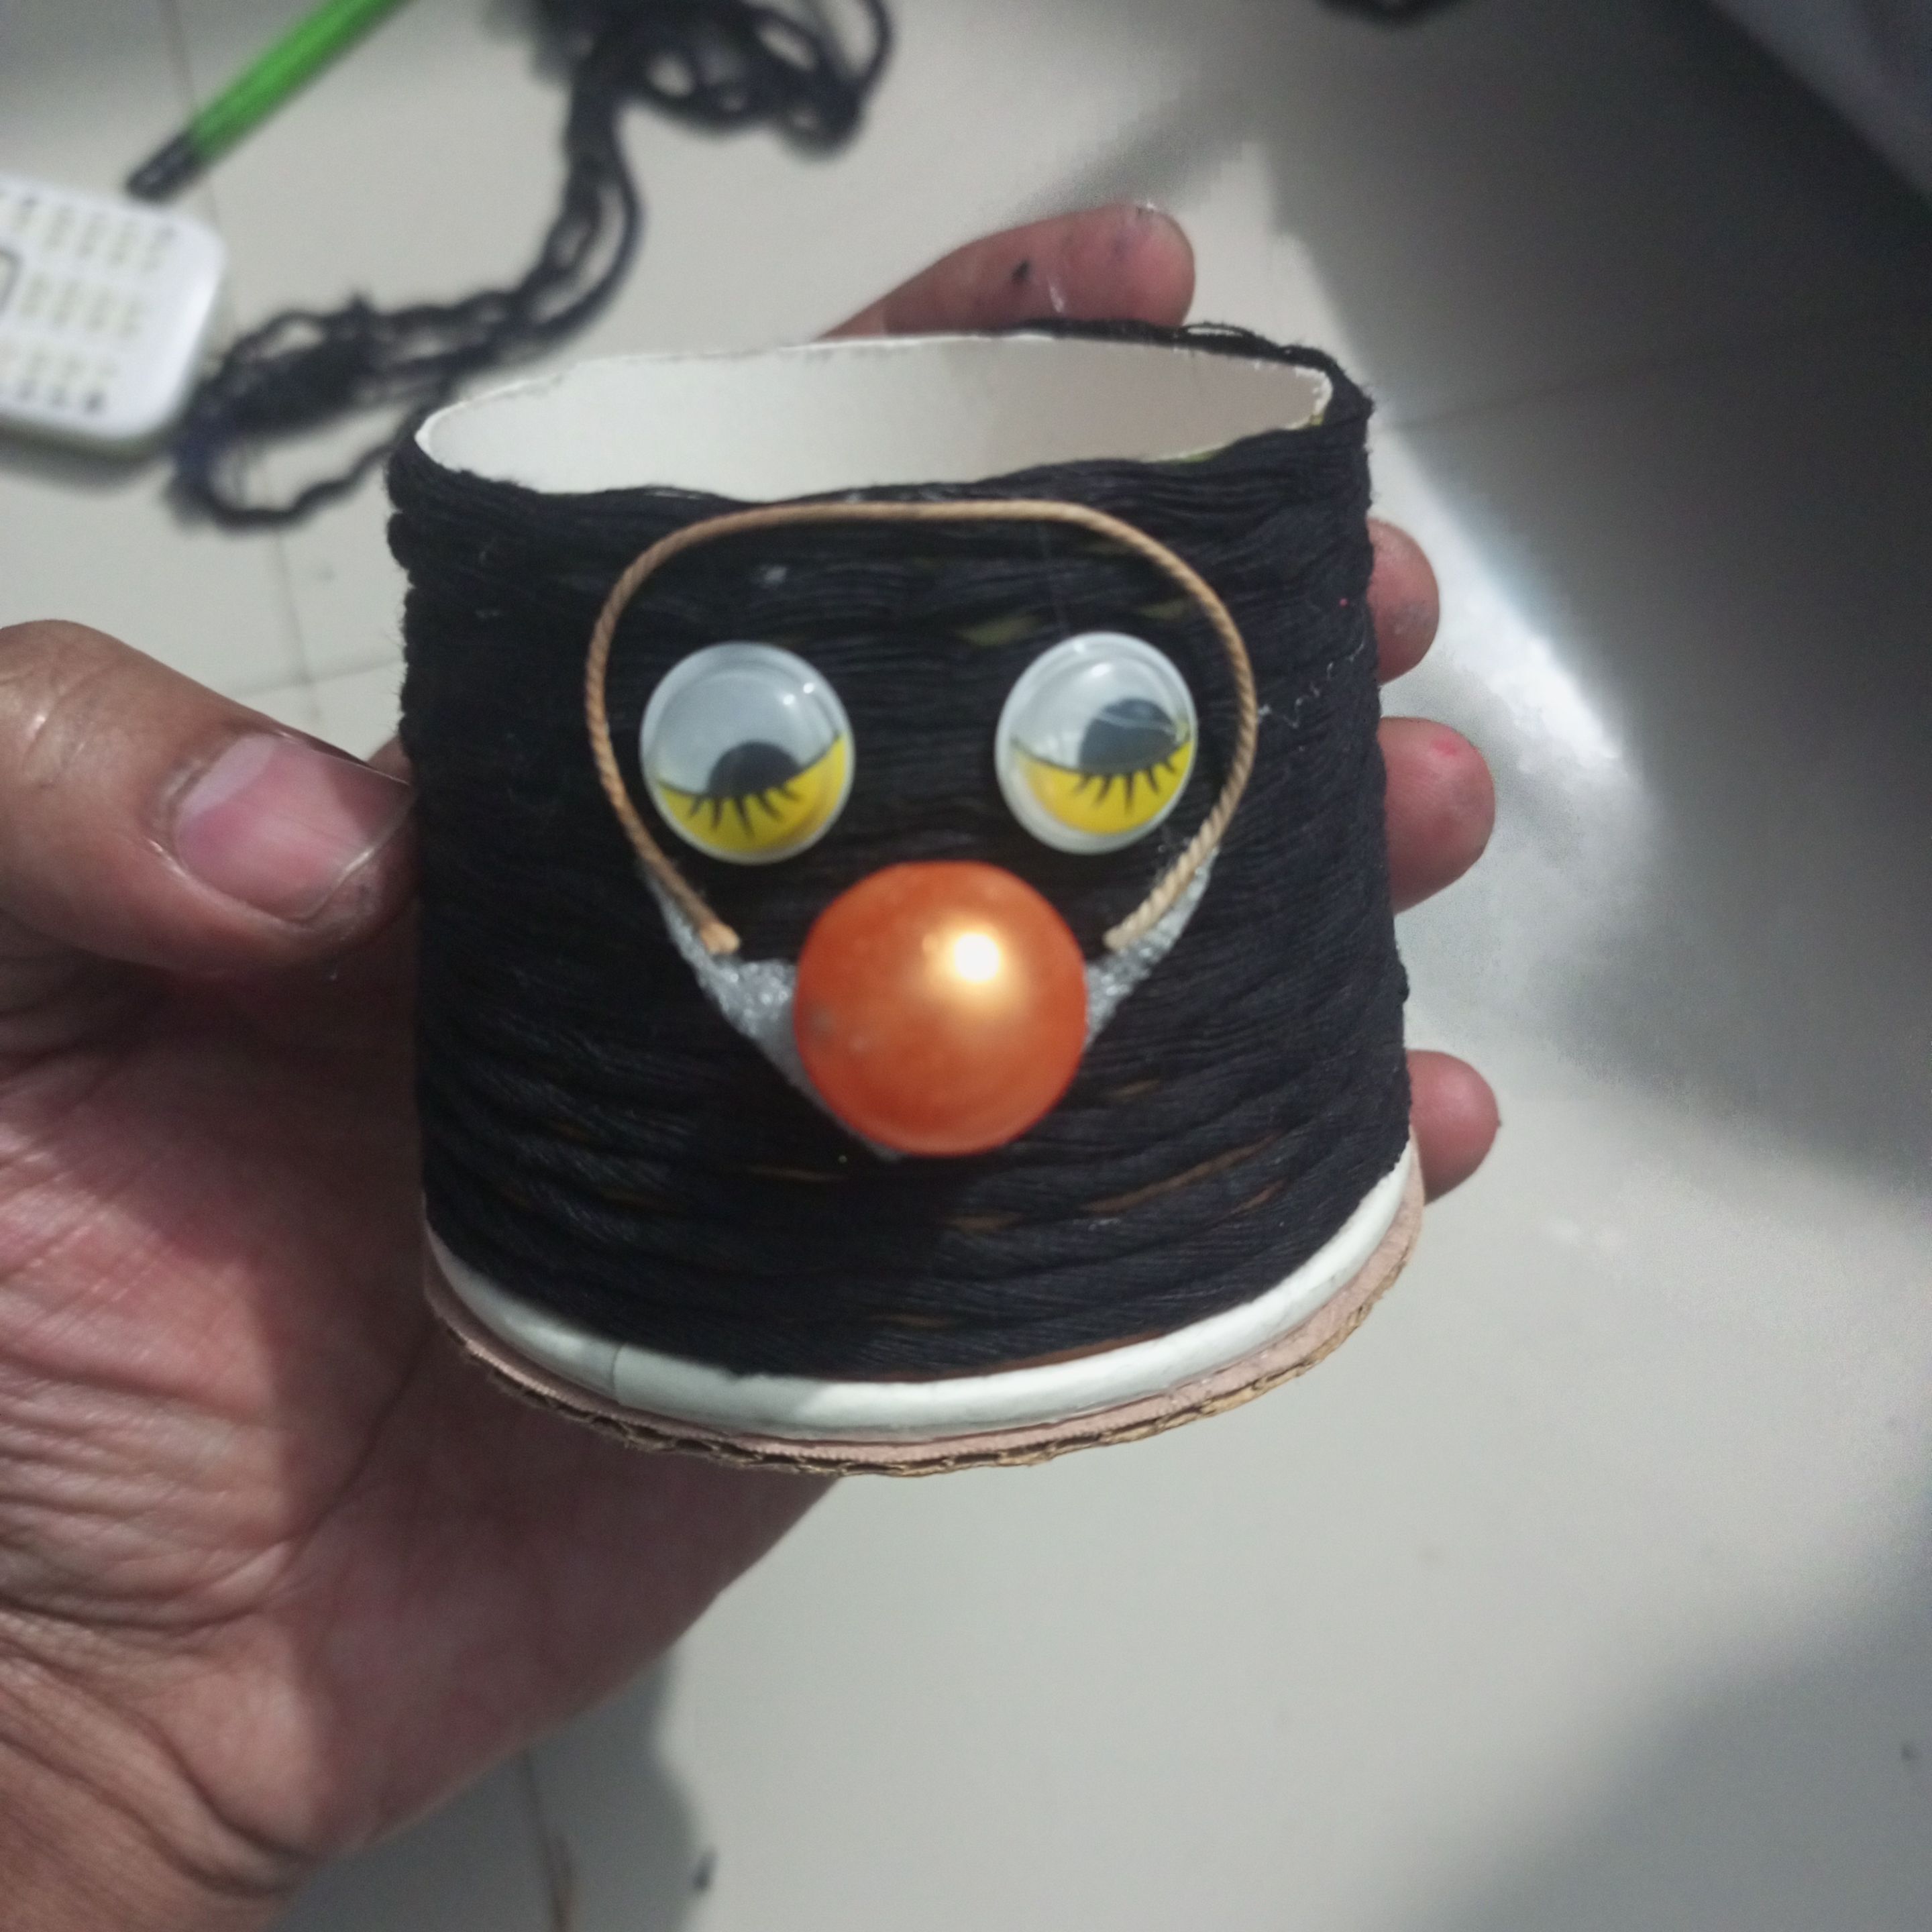 >Then here I have attached the circular shape using a garland stick glue. Which is basically trying to show you all the shape of a part of the cat's nose. 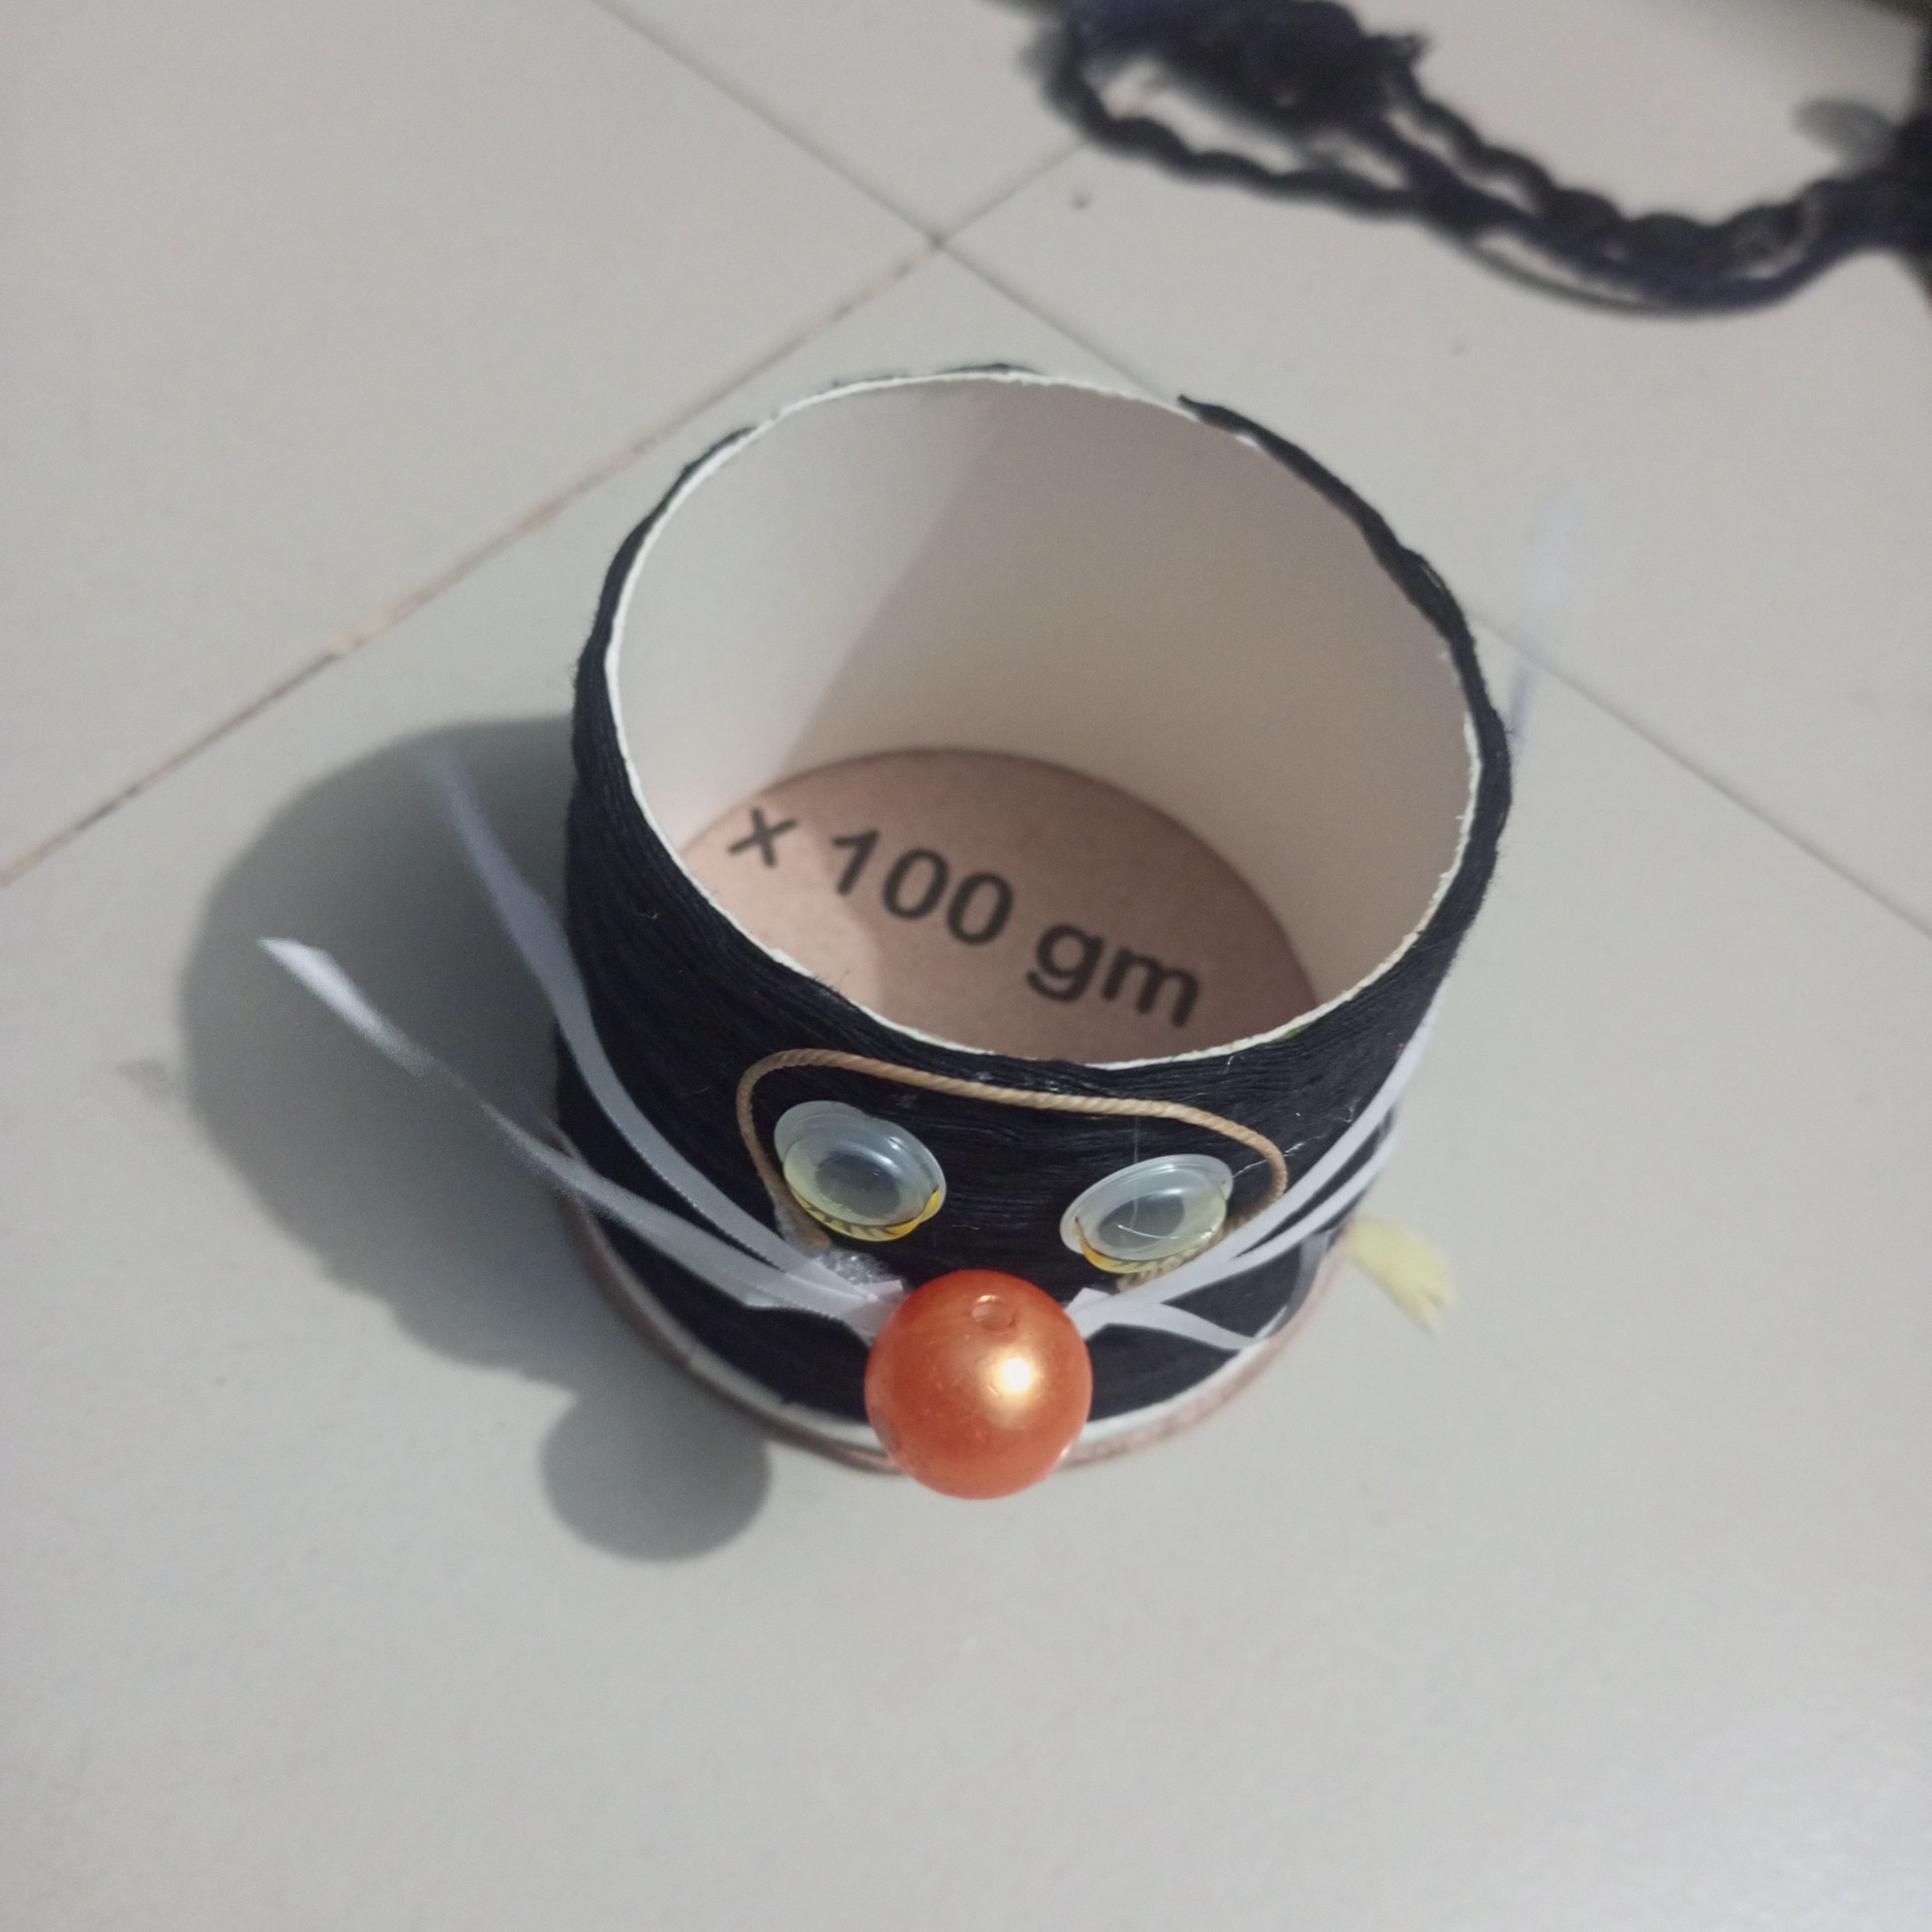 **Here I have cut the white paper with scissors with extraordinary feeling. Later I have attached the white paper piece to the six sides in a long way. Which shows the squiggles on the sides of the cat's nose.** 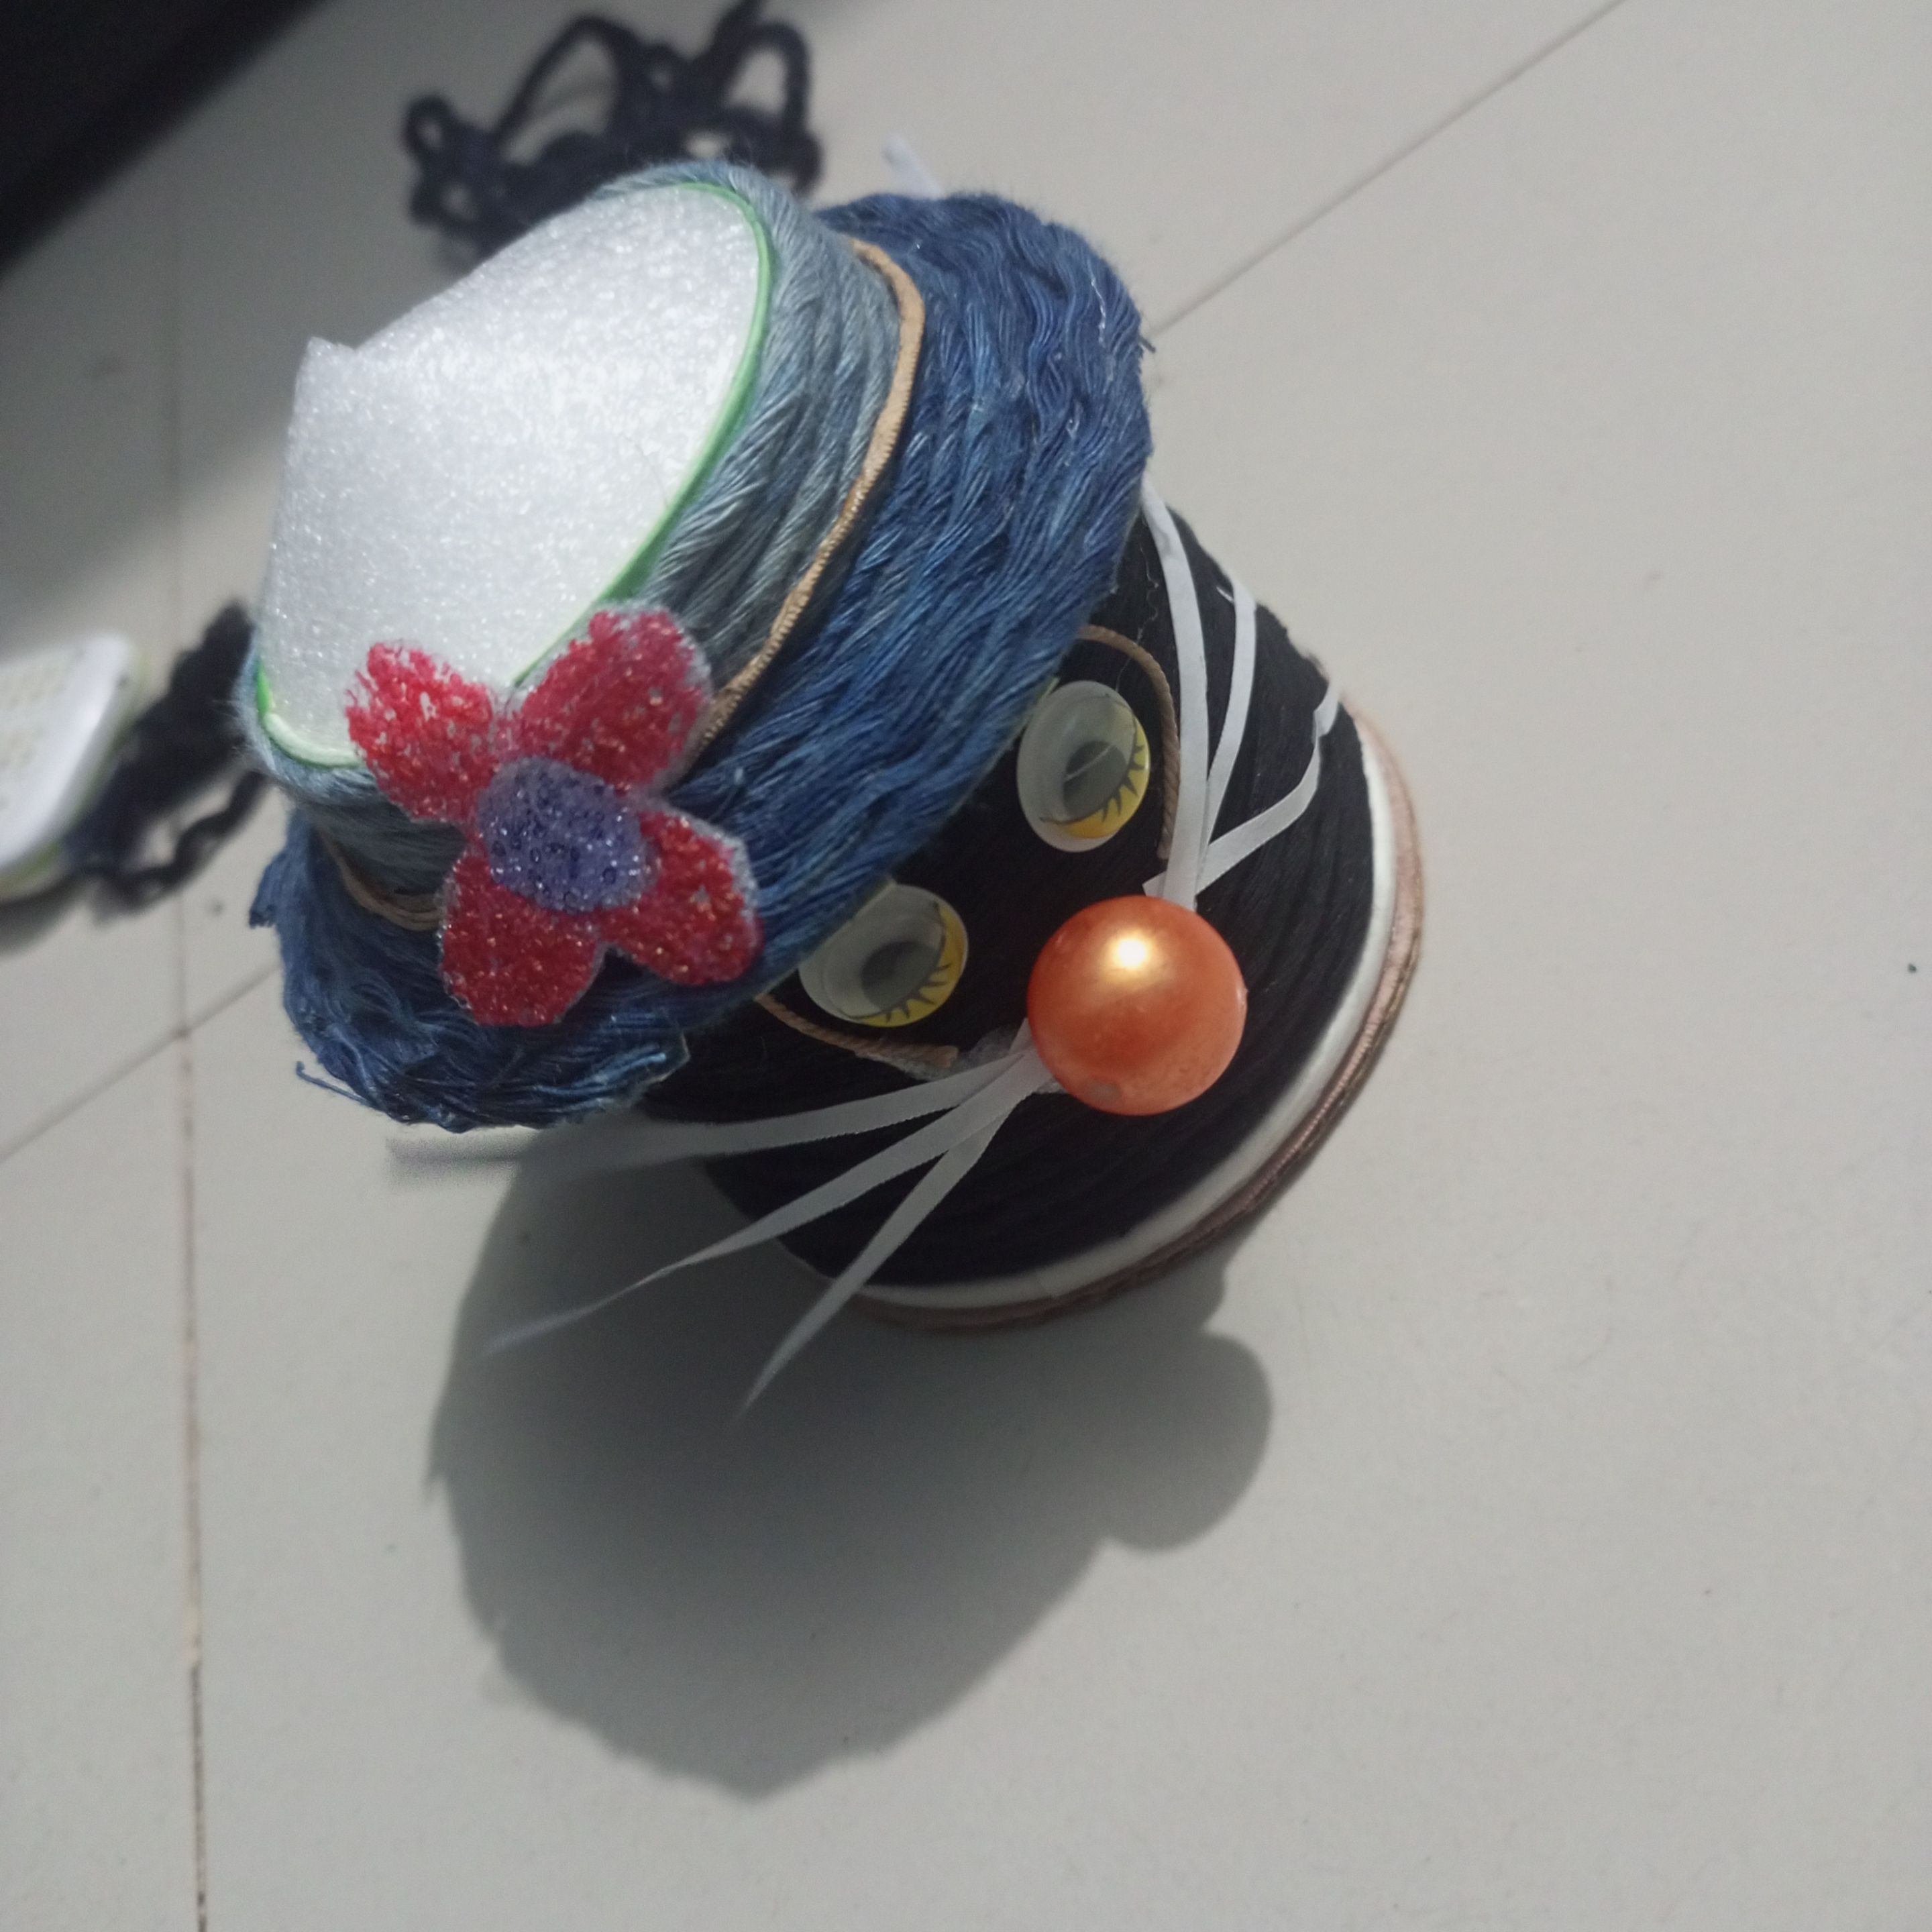 <div class="text-justify">Here we are trying to show you two parts of the two sides. Then we will put the lid on the top. Although we are trying to show a very beautiful organizer for keeping our necessary small practical ornaments or small items in the inner part. Then we will cover the necessary practical products with the lid on the top part.</div> 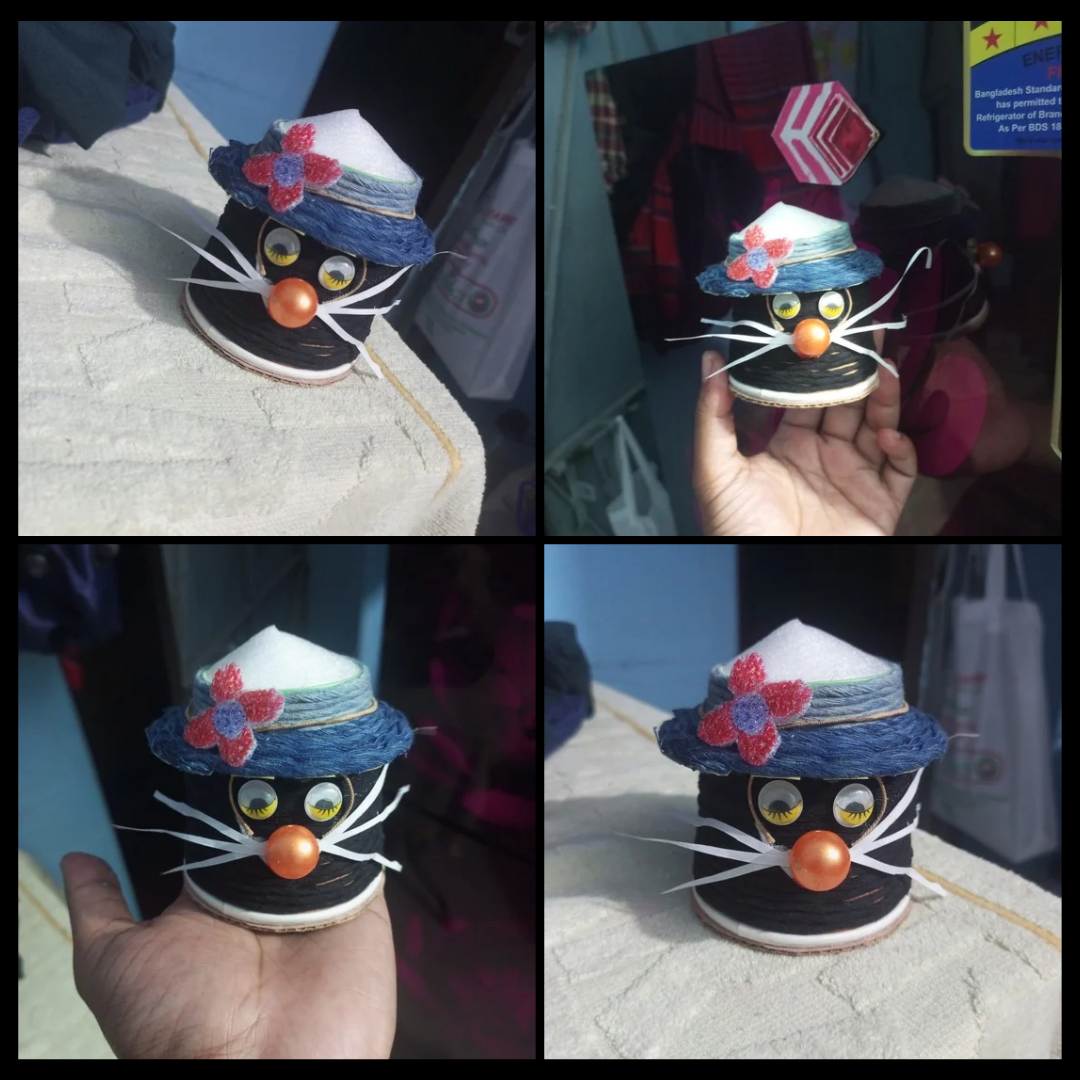 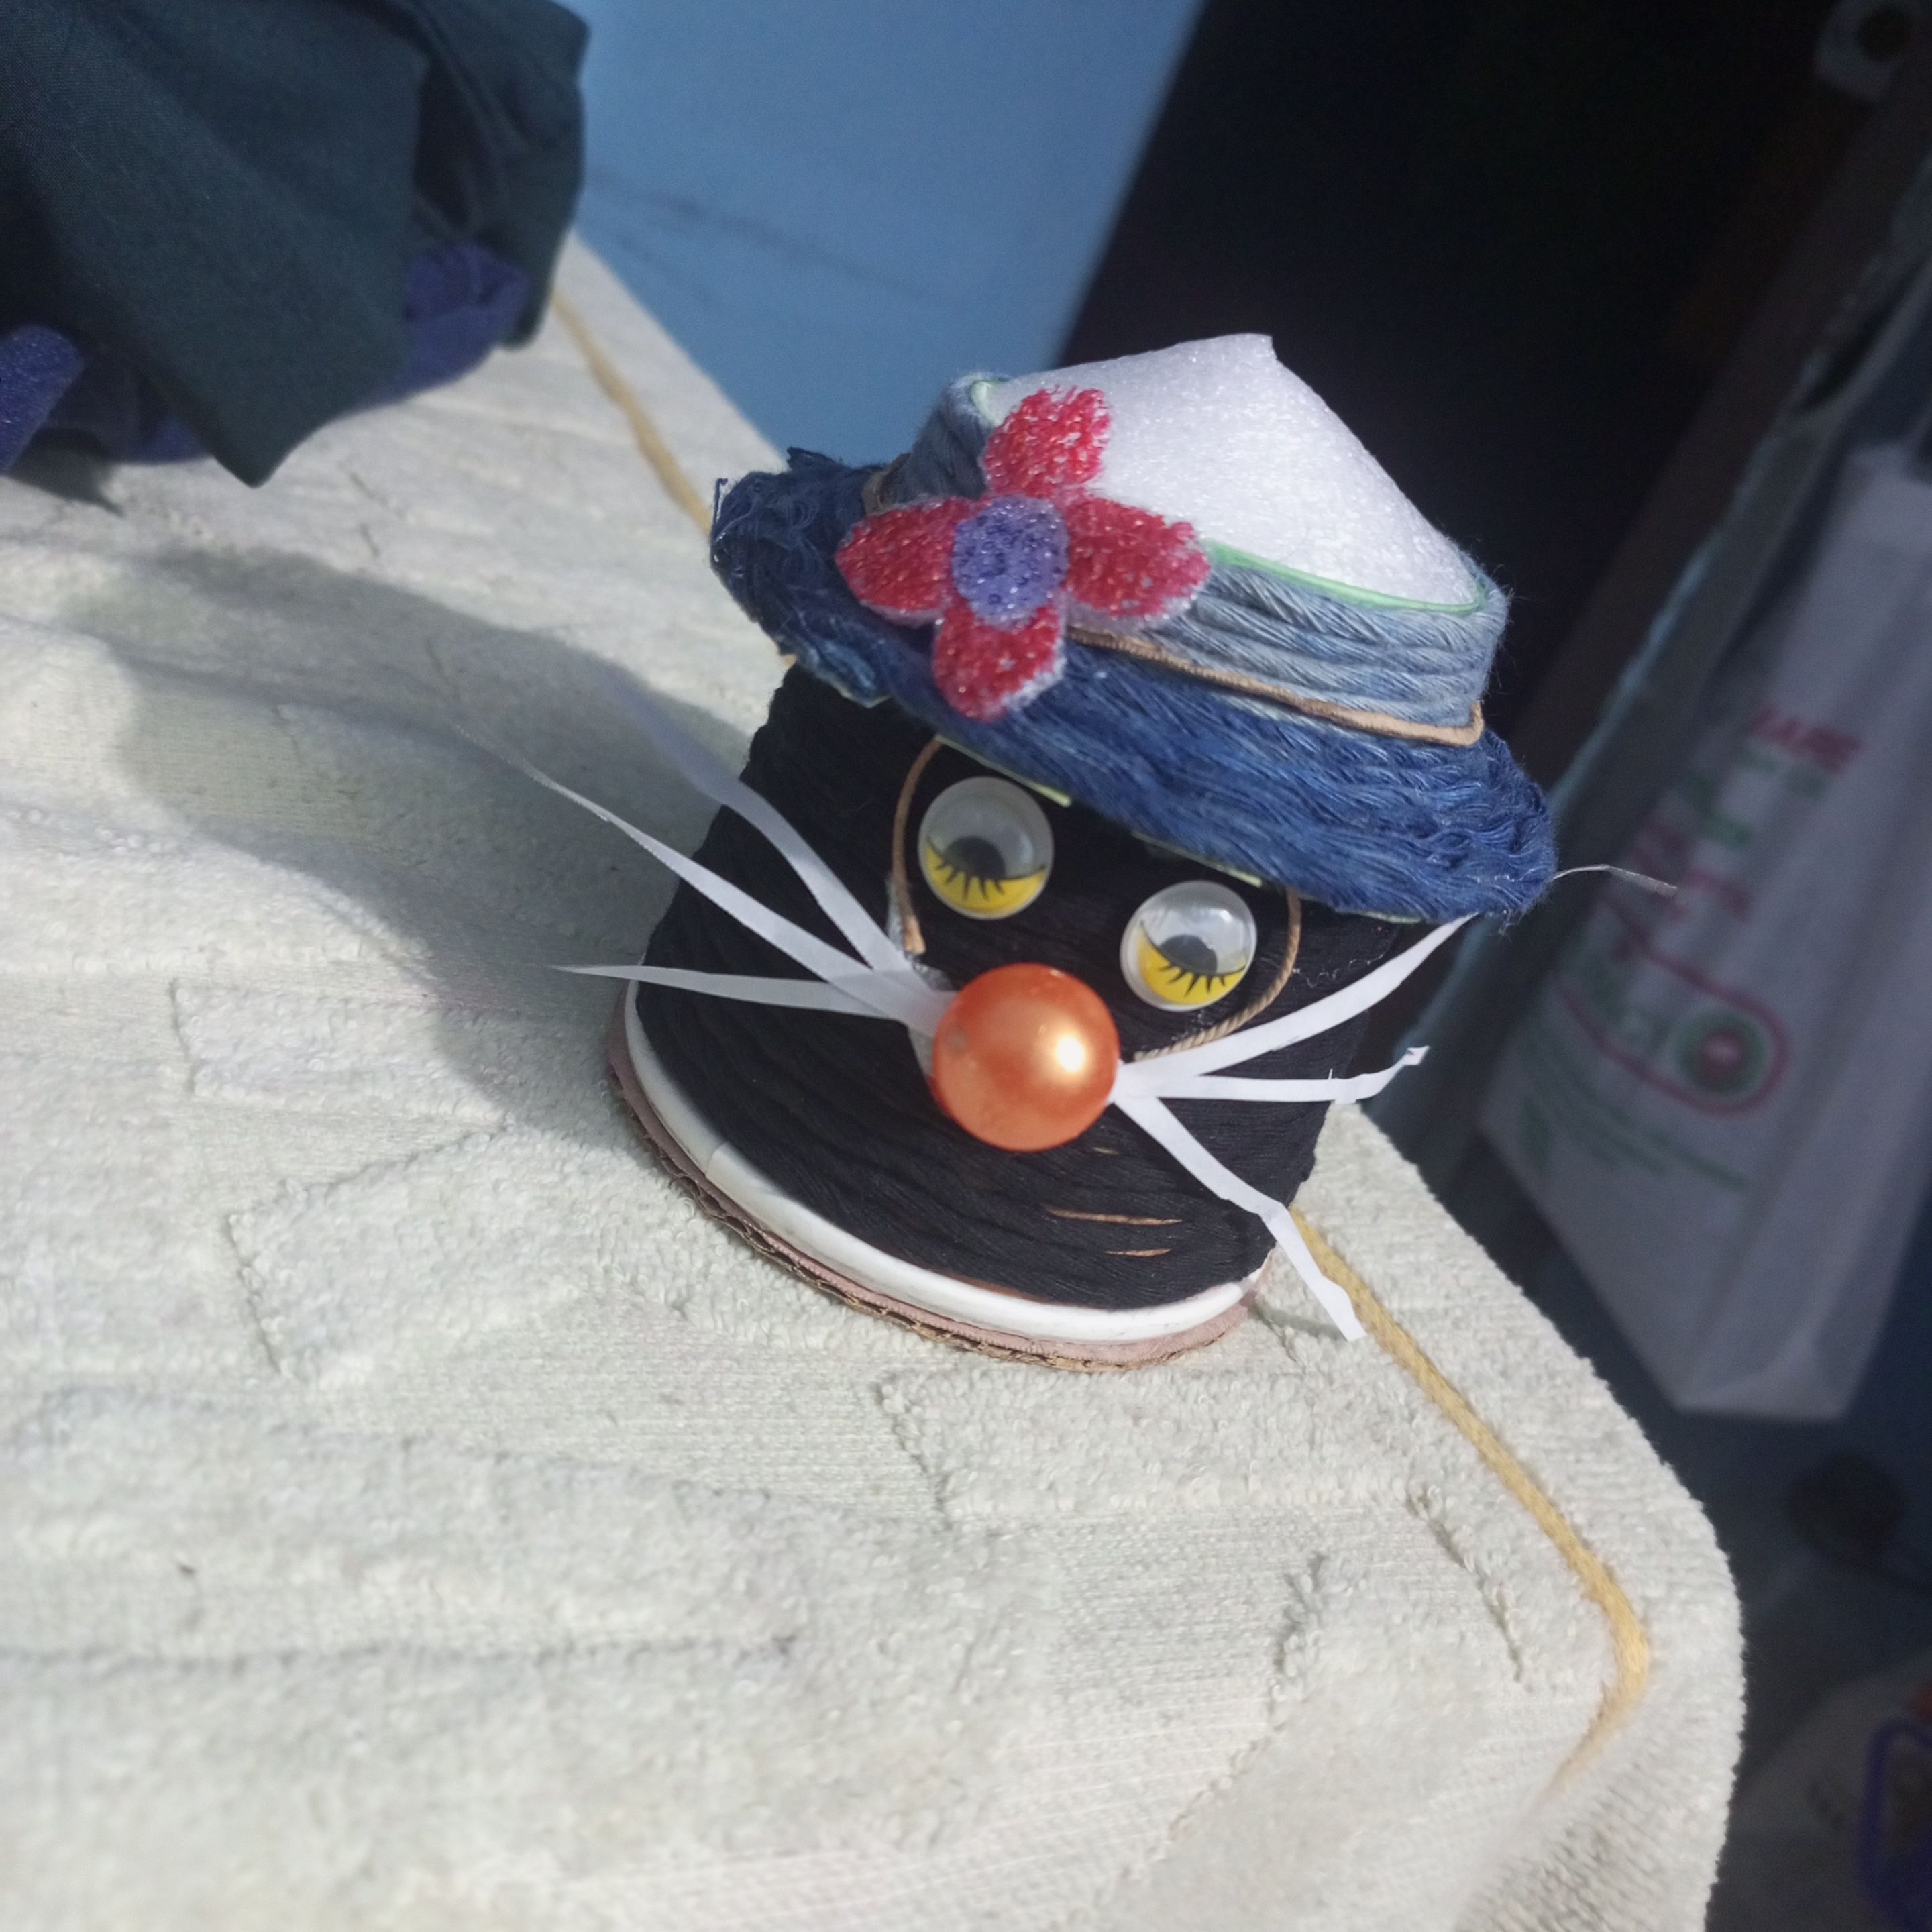 <div class="text-justify">Finally, I have prepared this wonderful mini organizer craft by completing all the steps with great feeling. Here you can comfortably keep your small necessary things. Along with this, I have tried to show an attempt to use practical products to the fullest. Here, you all will enjoy today's organizer craft as a beautiful upcycling. Above all, I wish you all a beautiful, healthy and normal life from the great creator. The great creator will definitely promise your family and friends to live a beautiful life. Prayers and love for everyone.</div>  >I showed off a selfie after creating this awesome art today. <center>[Twitter](https://twitter.com/Mdmrakash262?t=RQKbgDAGm72Ta-N2_rPaeA&s=09) [Discord](https://discord.gg/t6CY6qs8)</center> [//]:# (!worldmappin 23.752534 lat 90.380927 long Upcycling-An elegant mini organizer art making tutorial. d3scr)
👍 limka, playagame, splinterboost, carl05, crypt0gnome, sonic.alfa, redes, pearl33, unpopular, terracore, omor11, hossman, intishar, yousafharoonkhan, diyhub, elizacheng, deepu7, diytube, hive-108278, arita992, sabrinah, perfect20, ladyyunajay, halleyleow, stevenson7, desro, jude9, sodom, jesuslnrs, steembasicincome, ocd, roelandp, walterjay, rt395, diegoameerali, howo, ocd-witness, dpend.active, soychalbed, jaydr, h3m4n7, idksamad78699, argo8, dev.maverick, hive-156436, fiveboringgames, browery, multifacetas, jishan5, sm-silva, nerdvana, evelynchacin, gabilan55, scriptkittie, solymi, khushboo108, yoieuqudniram, ivycrafts, tristan.todd, killerwot, pgm-curator, prosocialise, minas-glory, eberechi01, jacor, eliel, emrebeyler, carsonroscoe, manuelmusic, veteranforcrypto, nateaguila, konradxxx3, marblely, chris-uk, laruche, anafae, paolazun, ikigaidesign, princekham, jerusa777, nhaji01, humbe, flourishandflora, empo.voter, luisarrazola, askari, ma1neevent, rawselectmusic, niallon11, achimmertens, haccolong, athunderstruck, squareonefarms, medussart, drricksanchez, brujita18, dlizara, justbekindtoday, the-burn, abu78, whitneyalexx, aunty-tosin, zyx066, eonwarped, tomatom, ricardo993, madefrance, takowi, talentclub, ocdb, miguelbaez, instagram-models, dhedge, partiesjohall, josdelmi, mariamor785, lukasbachofner, bigorna1, myegoandmyself, javedkhan1989, les90, adelepazani, mciszczon, sanderjansenart, indigoocean, javyeslava.photo, kaeserotor, millycf1976, zanoz, allentaylor, imx.center, justinw, joeyarnoldvn, chidistickz, detlev, jlsplatts, gabrielatravels, rmach, felt.buzz, aidefr, kevinbacon, lesiopm, marblesz, poliac, robotics101, johndoer123, lbi-token, alexisvalera, torkot, juancar347, decomoescribir, oscarina, davemccoy, variedades, jacuzzi, qwerrie, meritocracy, cielitorojo, batman0916, friendsofgondor, steem.services, actioncats, elgatoshawua, hexagono6, mariaser, aprasad2325, luchyl, hive.helps, yiyi.maiola, el-dee-are-es, twosomesup, anli, pladozero, cryptozeug, khan.dayyanz, pl-travelfeed, ebargains, deeanndmathews, kheldar1982, francosteemvotes, ciderjunkie, hmvf, for91days, godfather.ftw, lpv, thelogicaldude, perceval, cthings, beerlover, danielhuhservice, e-sport-gamer, e-sport-girly, hive-world-champ, der-prophet, an-sich-wachsen, hozn4ukhlytriwc, mario89, oyebola, bettsmarie09, maiasun84, nurul-uli, marydeluz, tecnotronics,