12 EASY STEPS TO MAKE AN ATTRACTIVE LEI CORSAGE : OUR SIMPLE AND CREATIVE WAY ♥️
hive-189641·@simplechalyns·
0.000 HBD12 EASY STEPS TO MAKE AN ATTRACTIVE LEI CORSAGE : OUR SIMPLE AND CREATIVE WAY ♥️
<div class="text-justify"> <center>***“Passion is one great force that unleashes creativity, because if you’re passionate about something, then you’re more willing to take risks.” – Yo-Yo Ma***</center> 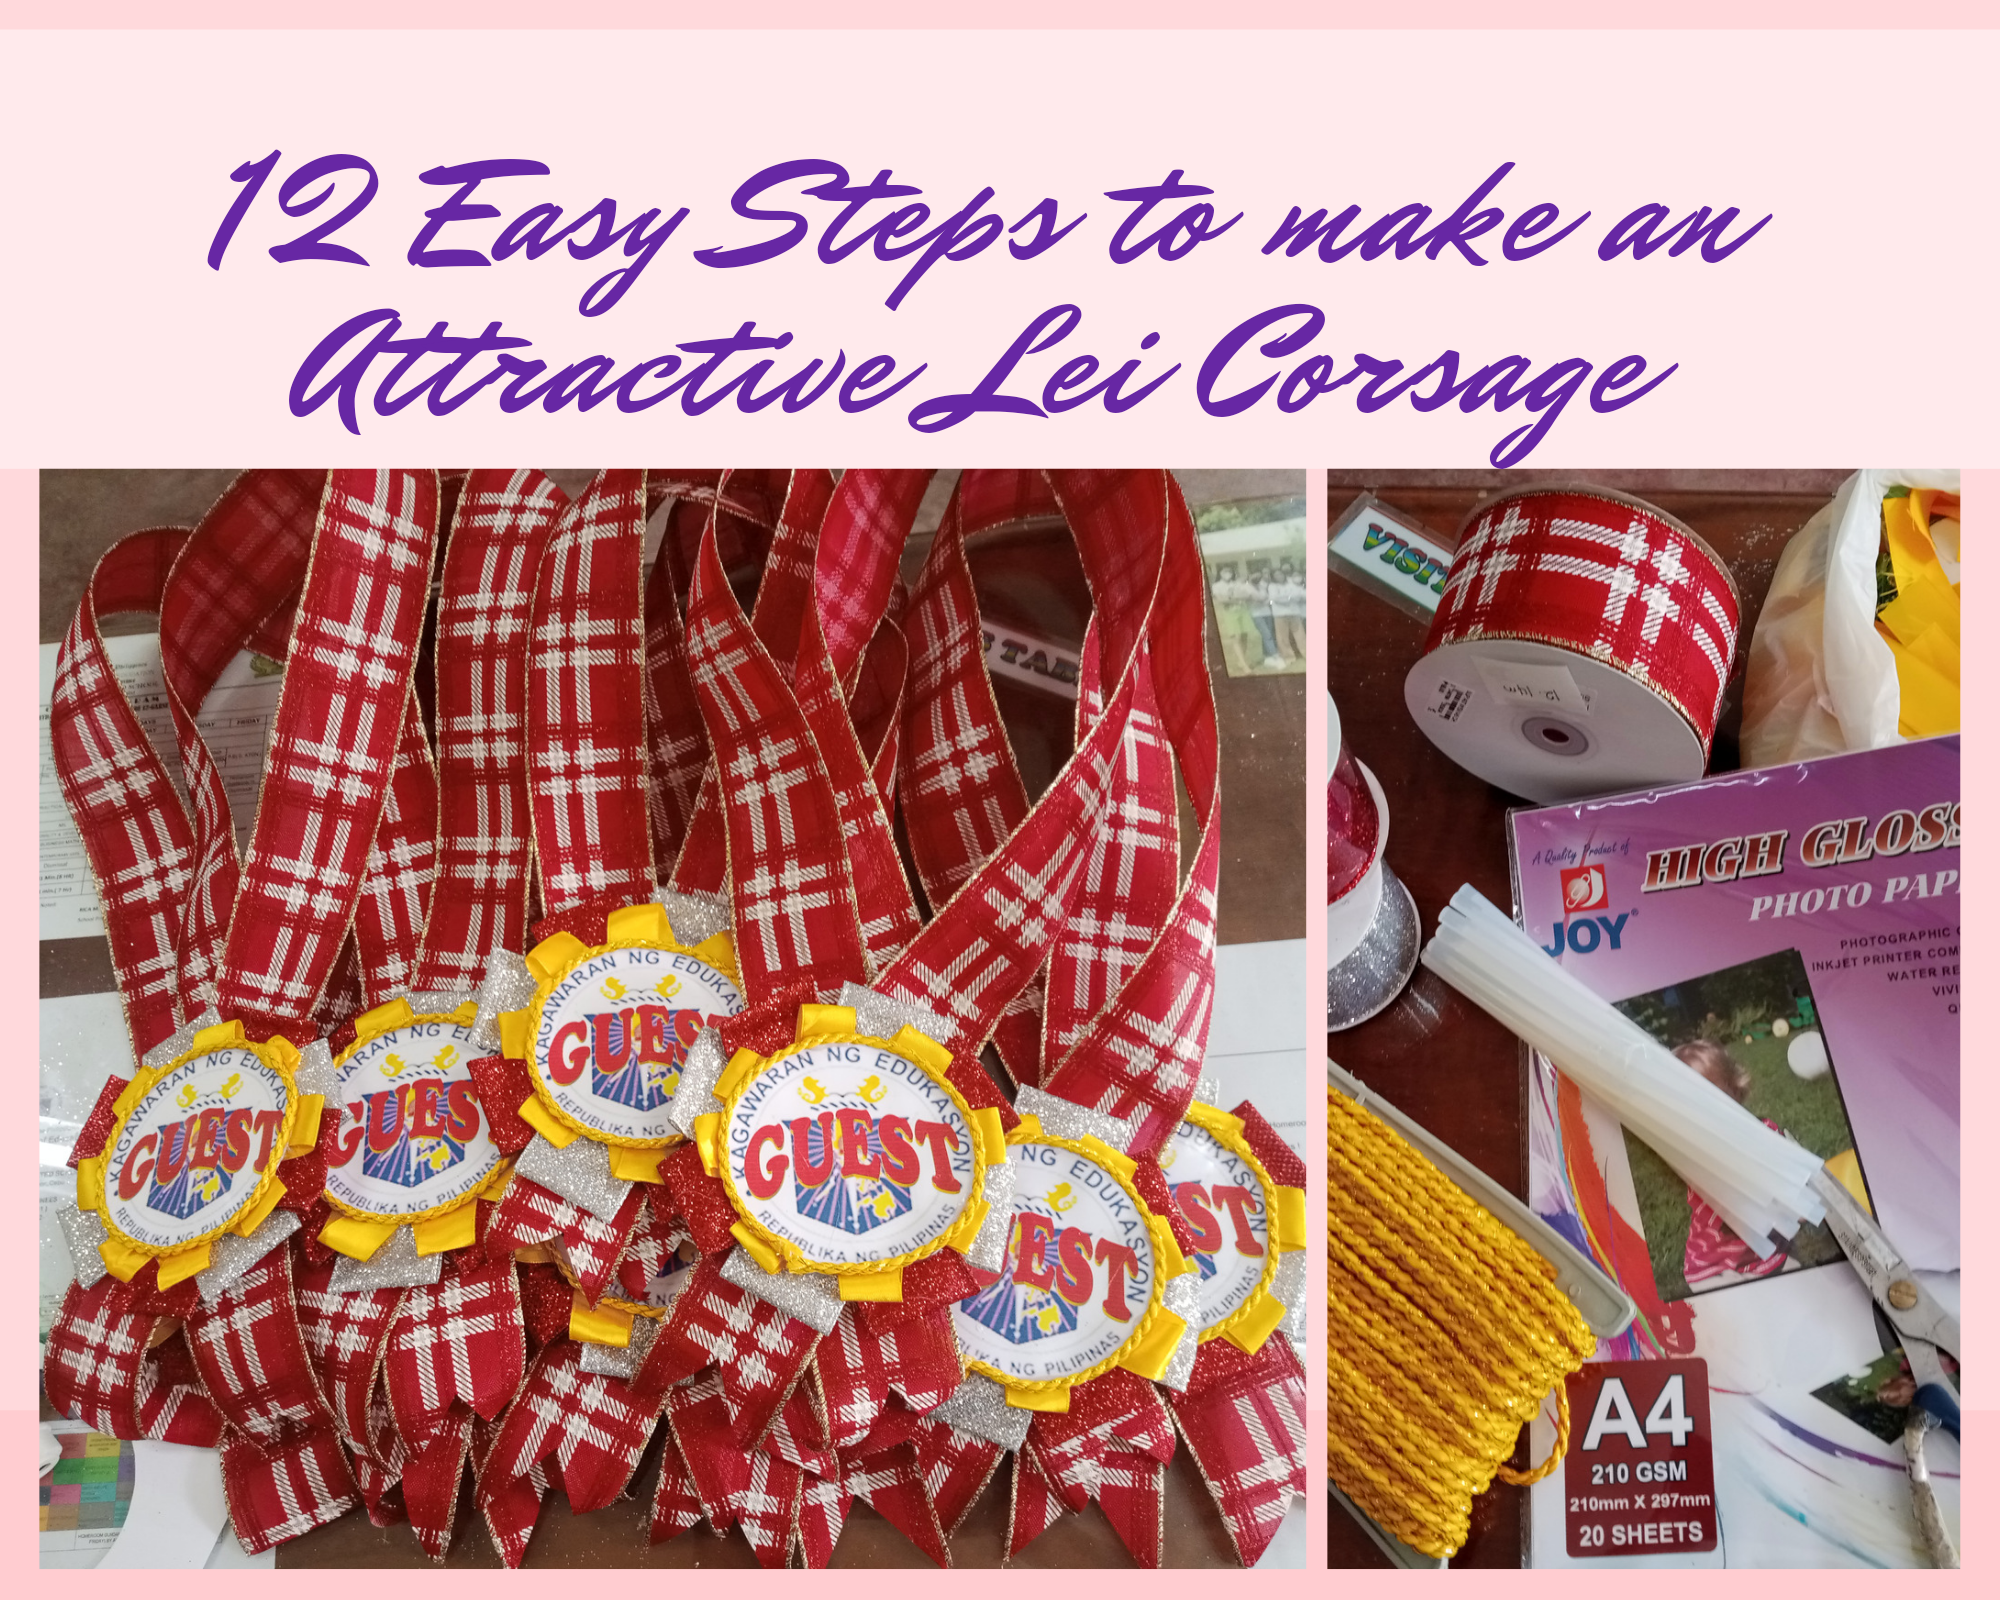 Passion for work gives us the courage to pursue what we have started with excitement within, willingness to take risks, and enthusiastically wanting to learn something new and explore things that we were interested in. Hello, my dear Hive Friends! How are you today? Hope you're doing great and healthy. We have fine weather right now here in the Philippines. I am hoping you have a great day there! This is my first post in this community. A community where I had read and witnessed everyone's talents and interests when it comes to their DIY thing. I am very proud of you all. Anyways, Allow me to share how to make an attractive Lei Corsage for our visitors and guests. I together with @missleray was assigned to make and design a Lei Corsage for our guests in the incoming events of our school. We were not good at this but we were excited to explore and learn something new. We made a plan first before buying the materials to be used. When we had our plan already, we bought the materials and made sure to buy them completely.  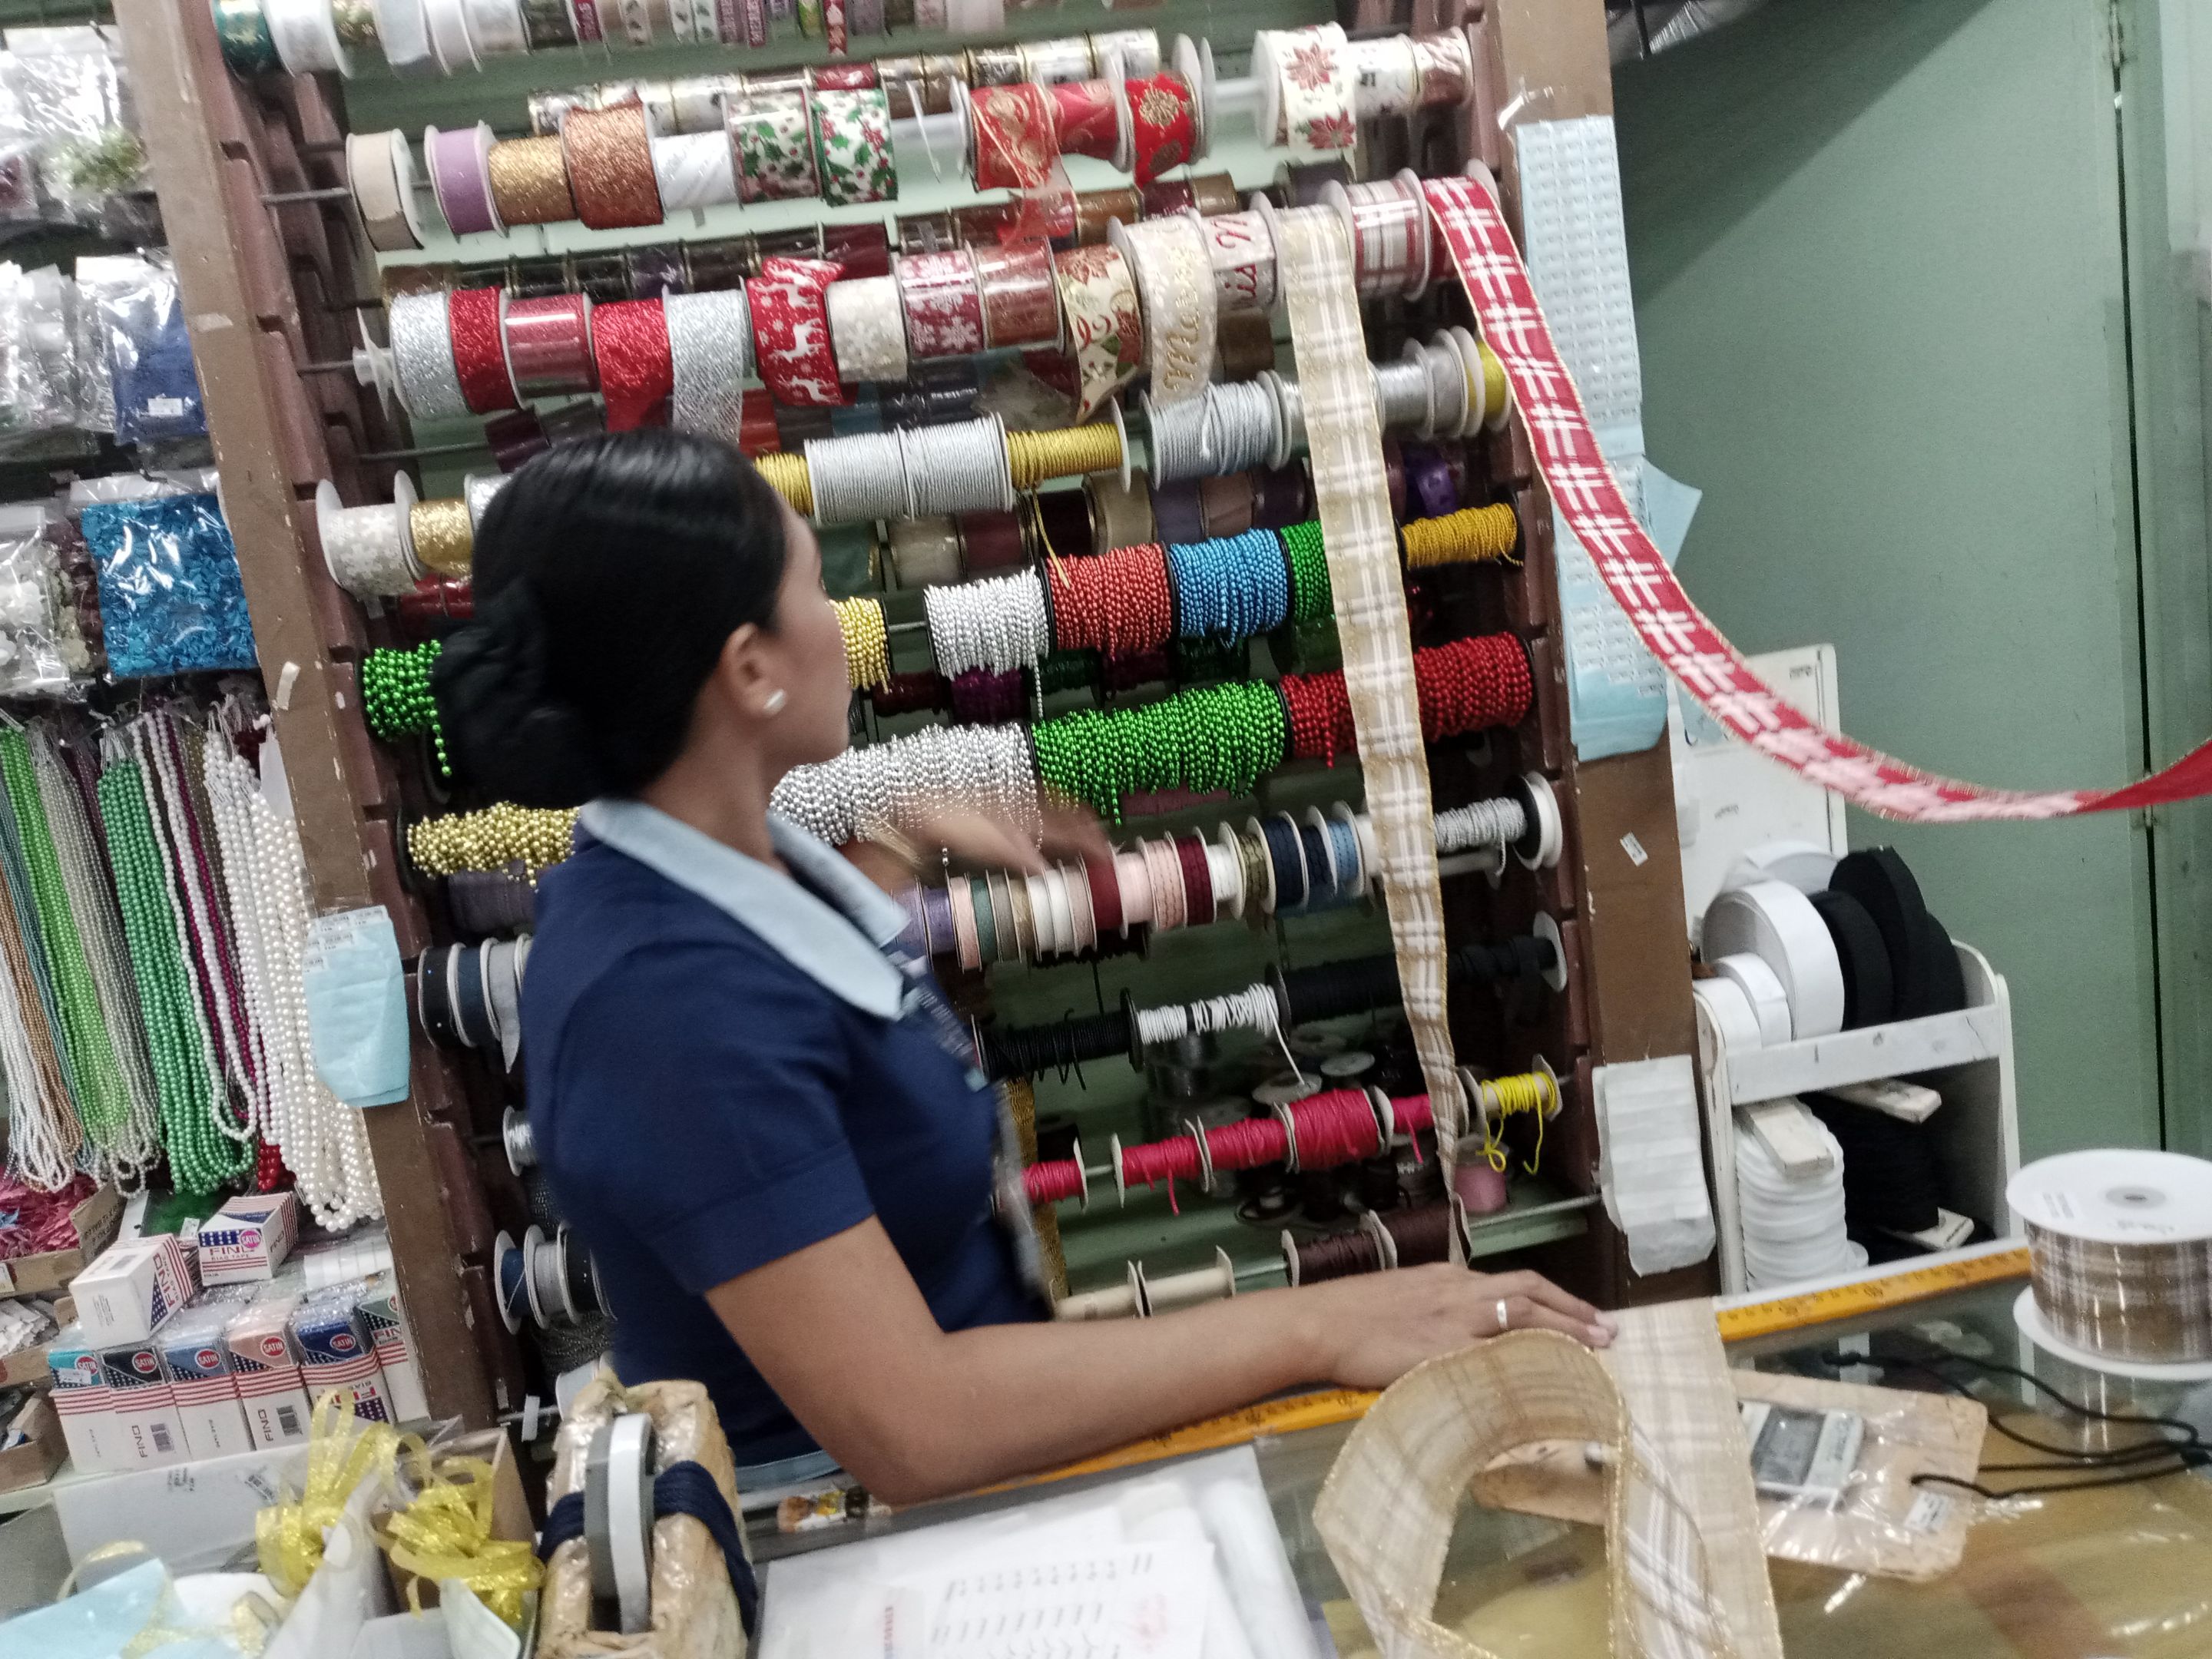 <center><sub>We were comparing then what to buy the red or the brown sash. The saleslady entertained us and gave us her idea of what color she'd like and the three of us approved the color red.</sub></center> ***THE PREPARATIONS*** Step 1. Prepare all the materials to be used 1 roll of silver ribbon 1 roll of red ribbon 12 meters of red sash with a design for the laces 1 roll of gold satin ribbon 15 pieces of glue sticks ( small) 1 pack of photo paper ( 20pcs) 1 meter of insulation foam 1 or 2 scissors 1 roll of gold cord glue gun 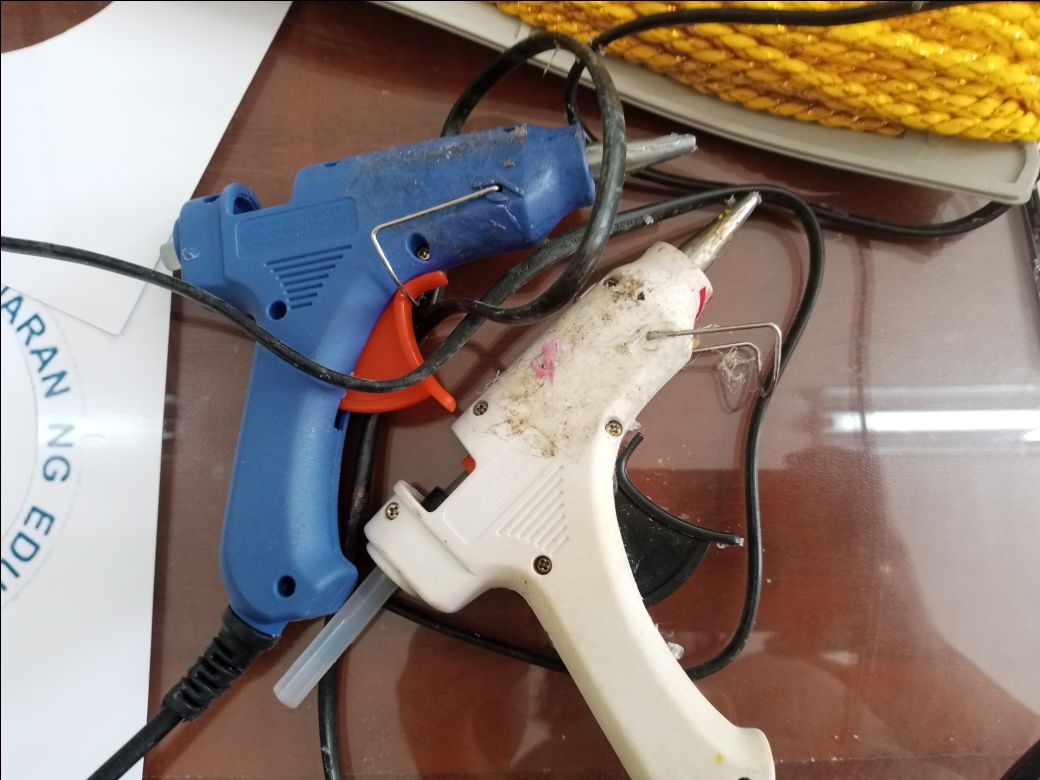 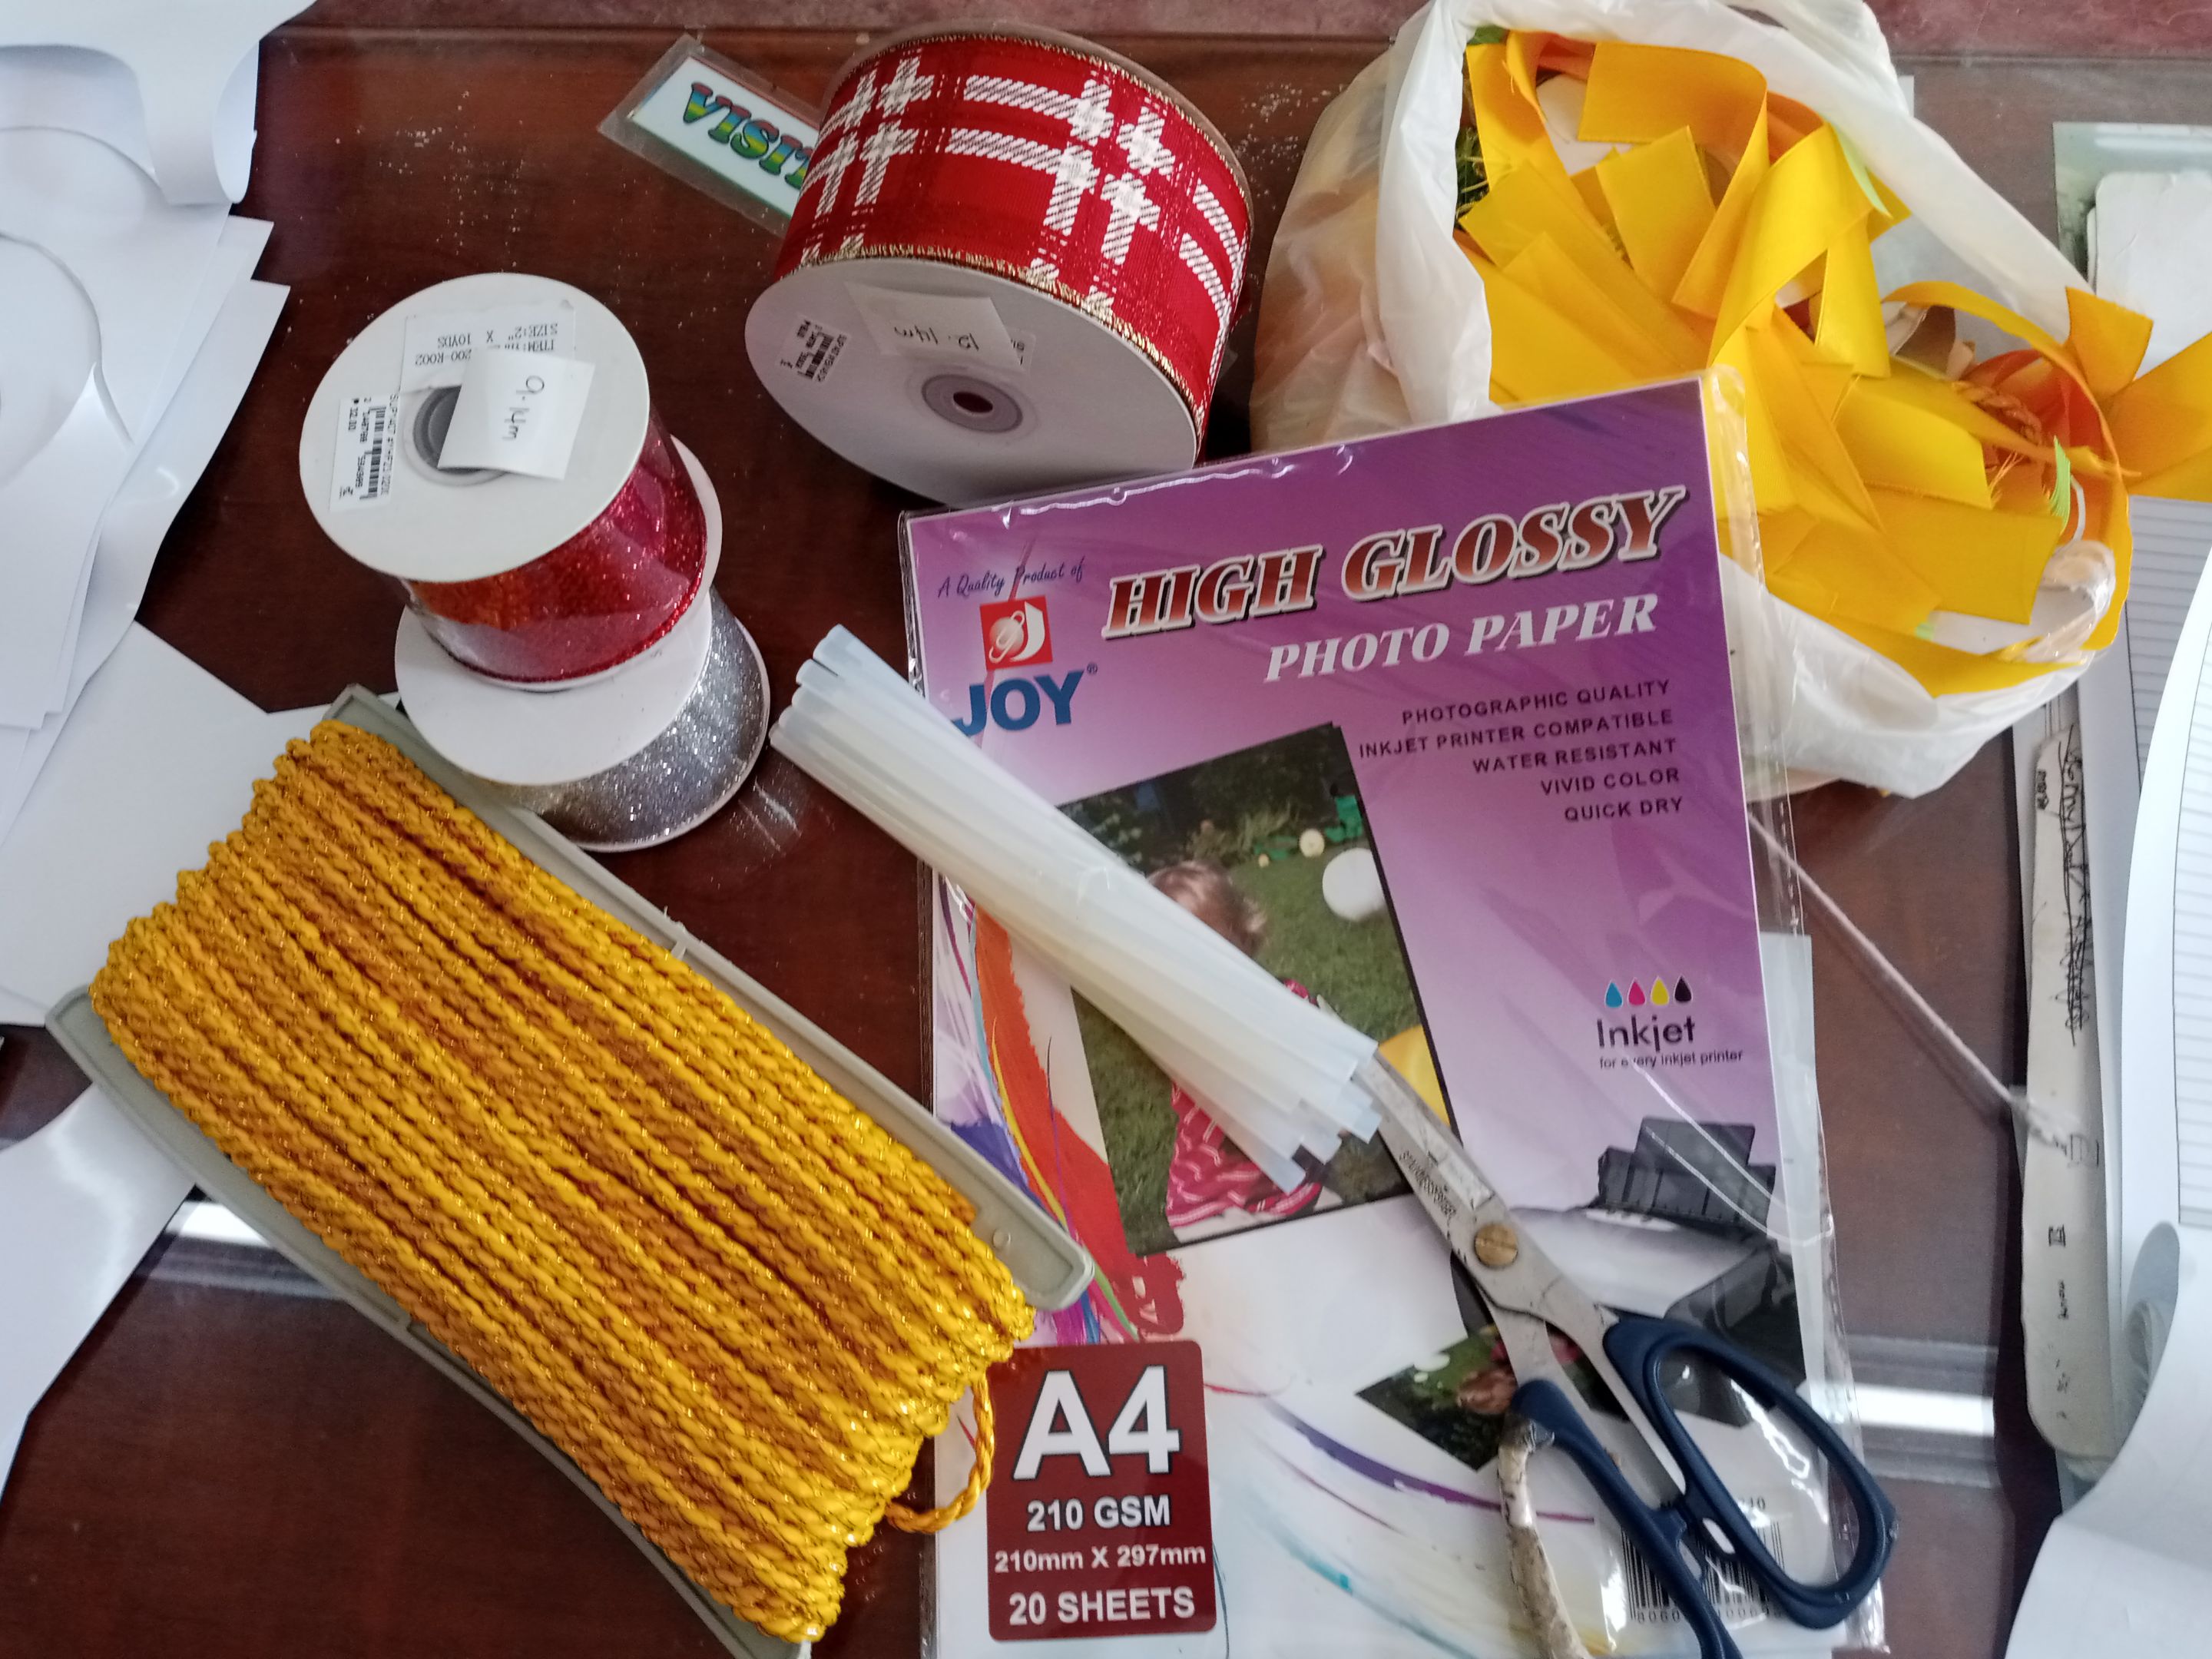 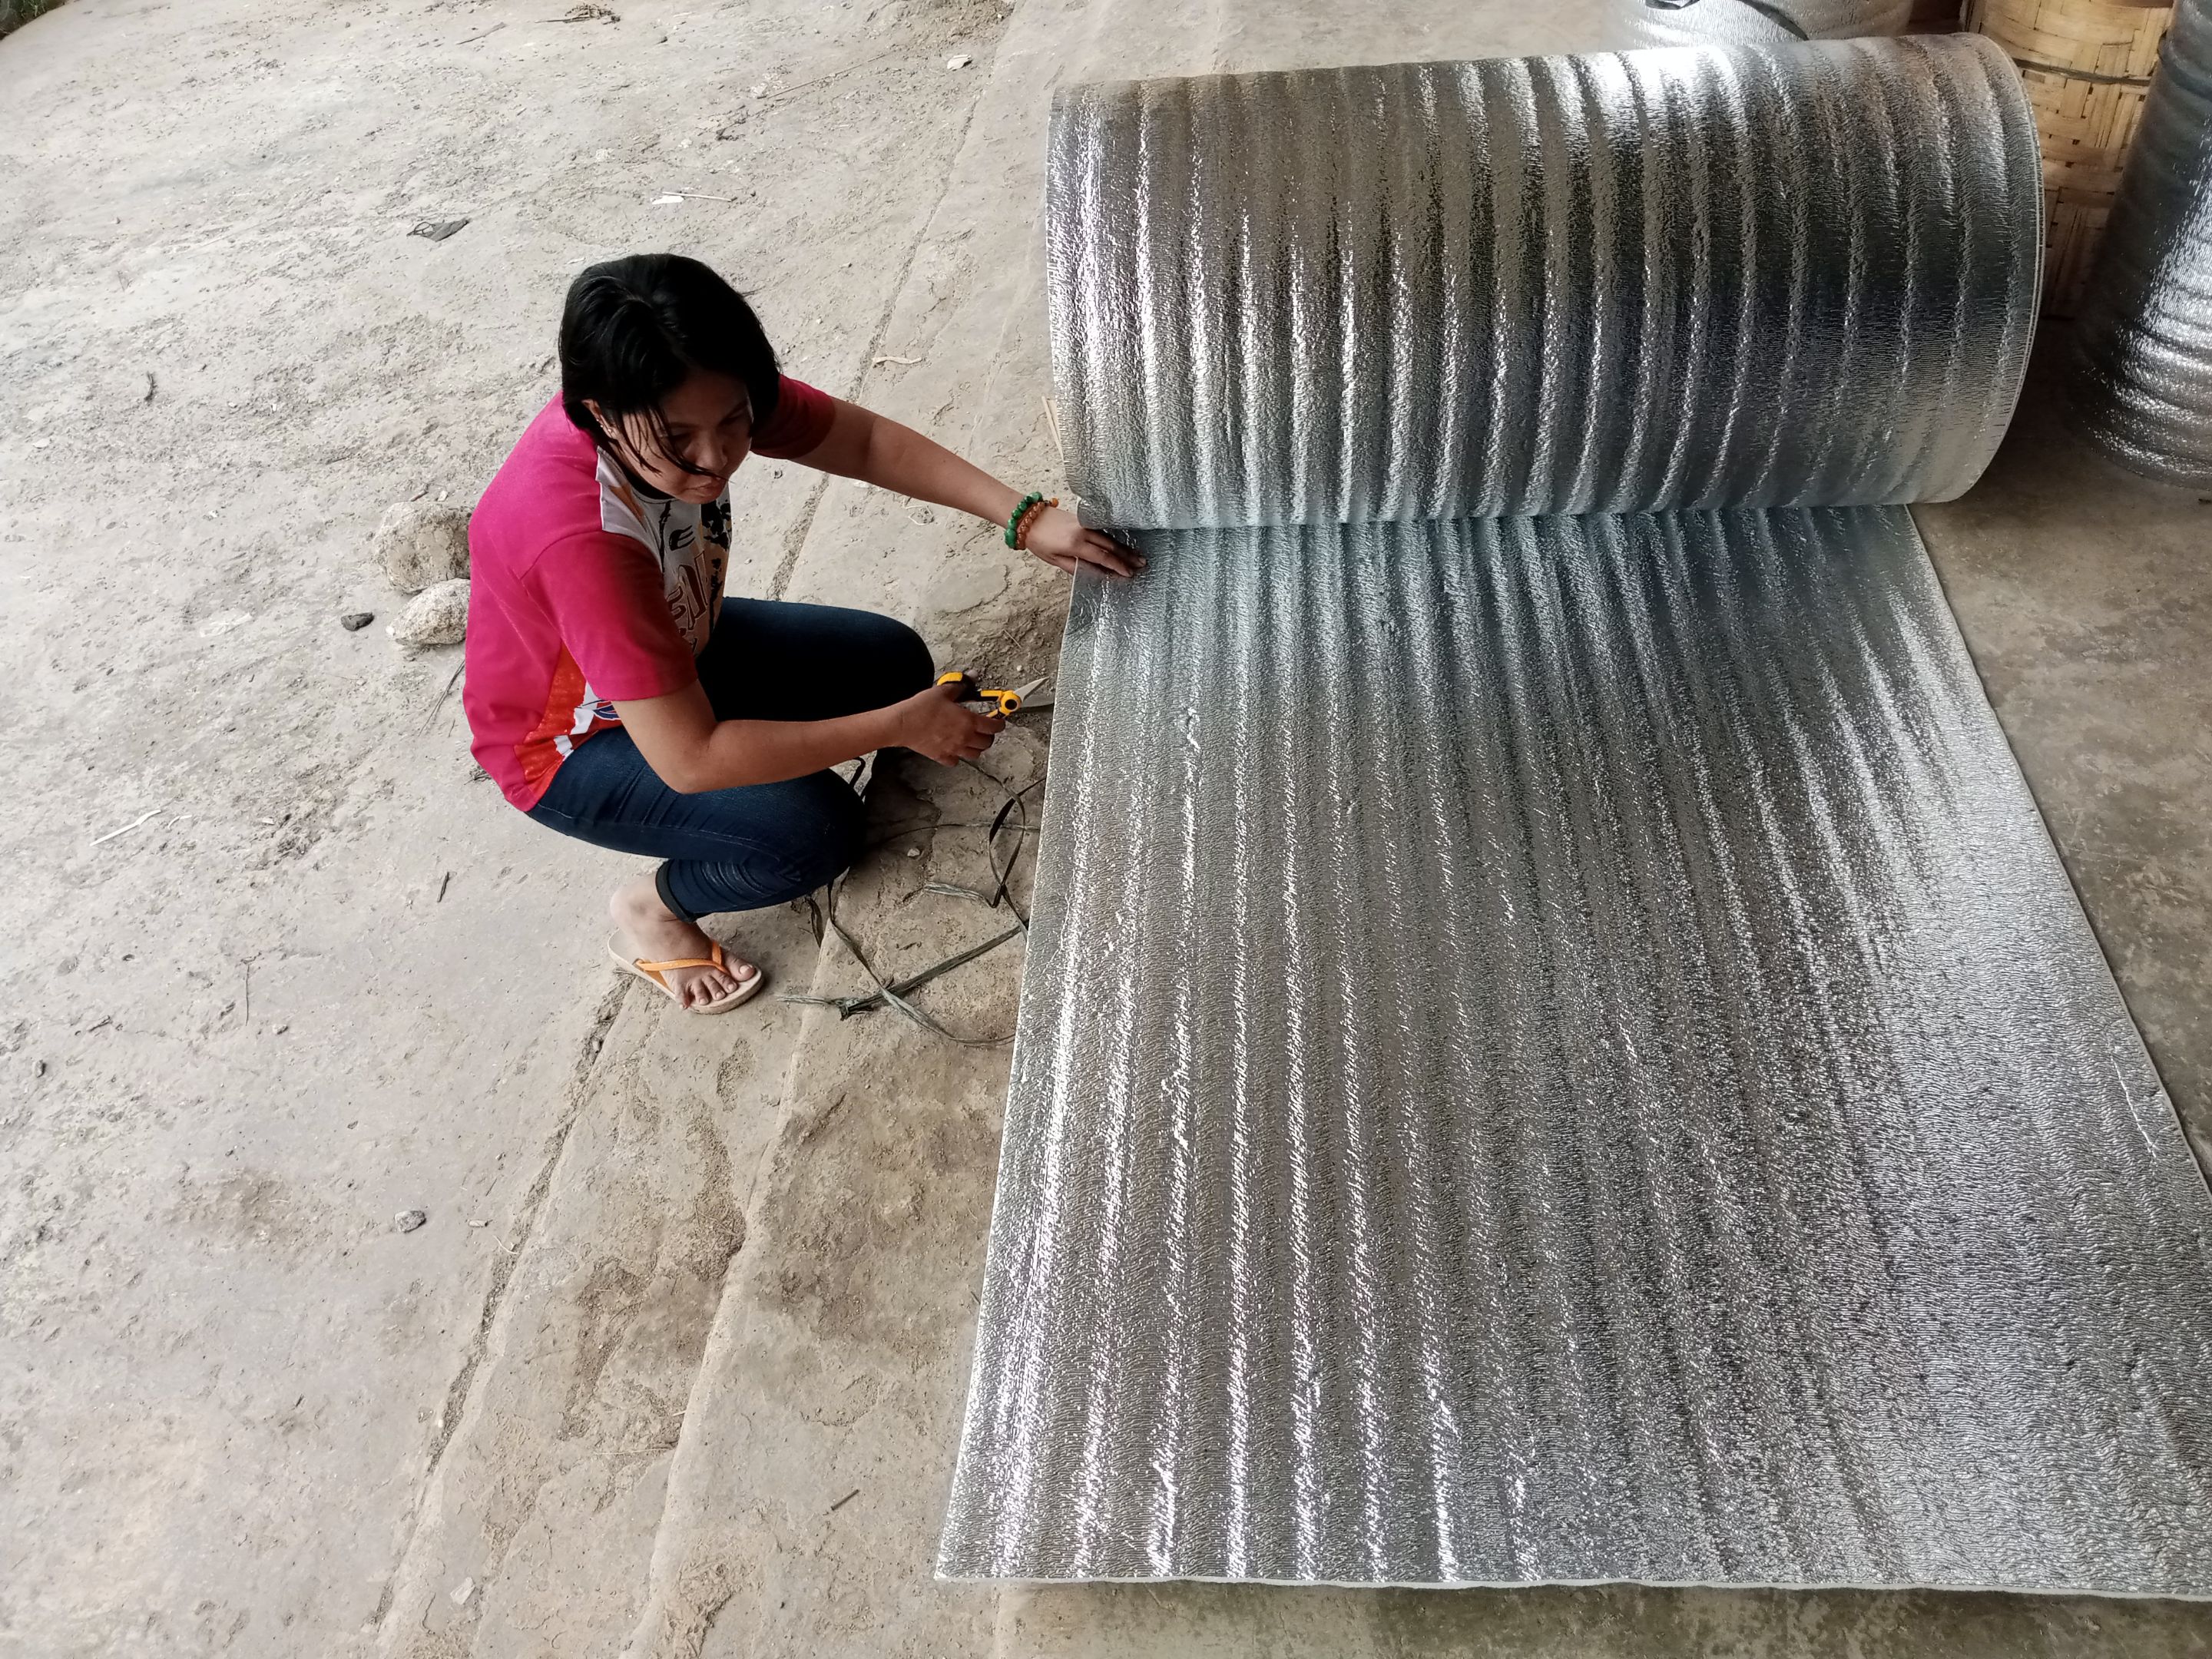 Step 2. Prepare the photo paper and decide what you wanted to design in the front and the back. When you already have your layout. Print it and cut it. 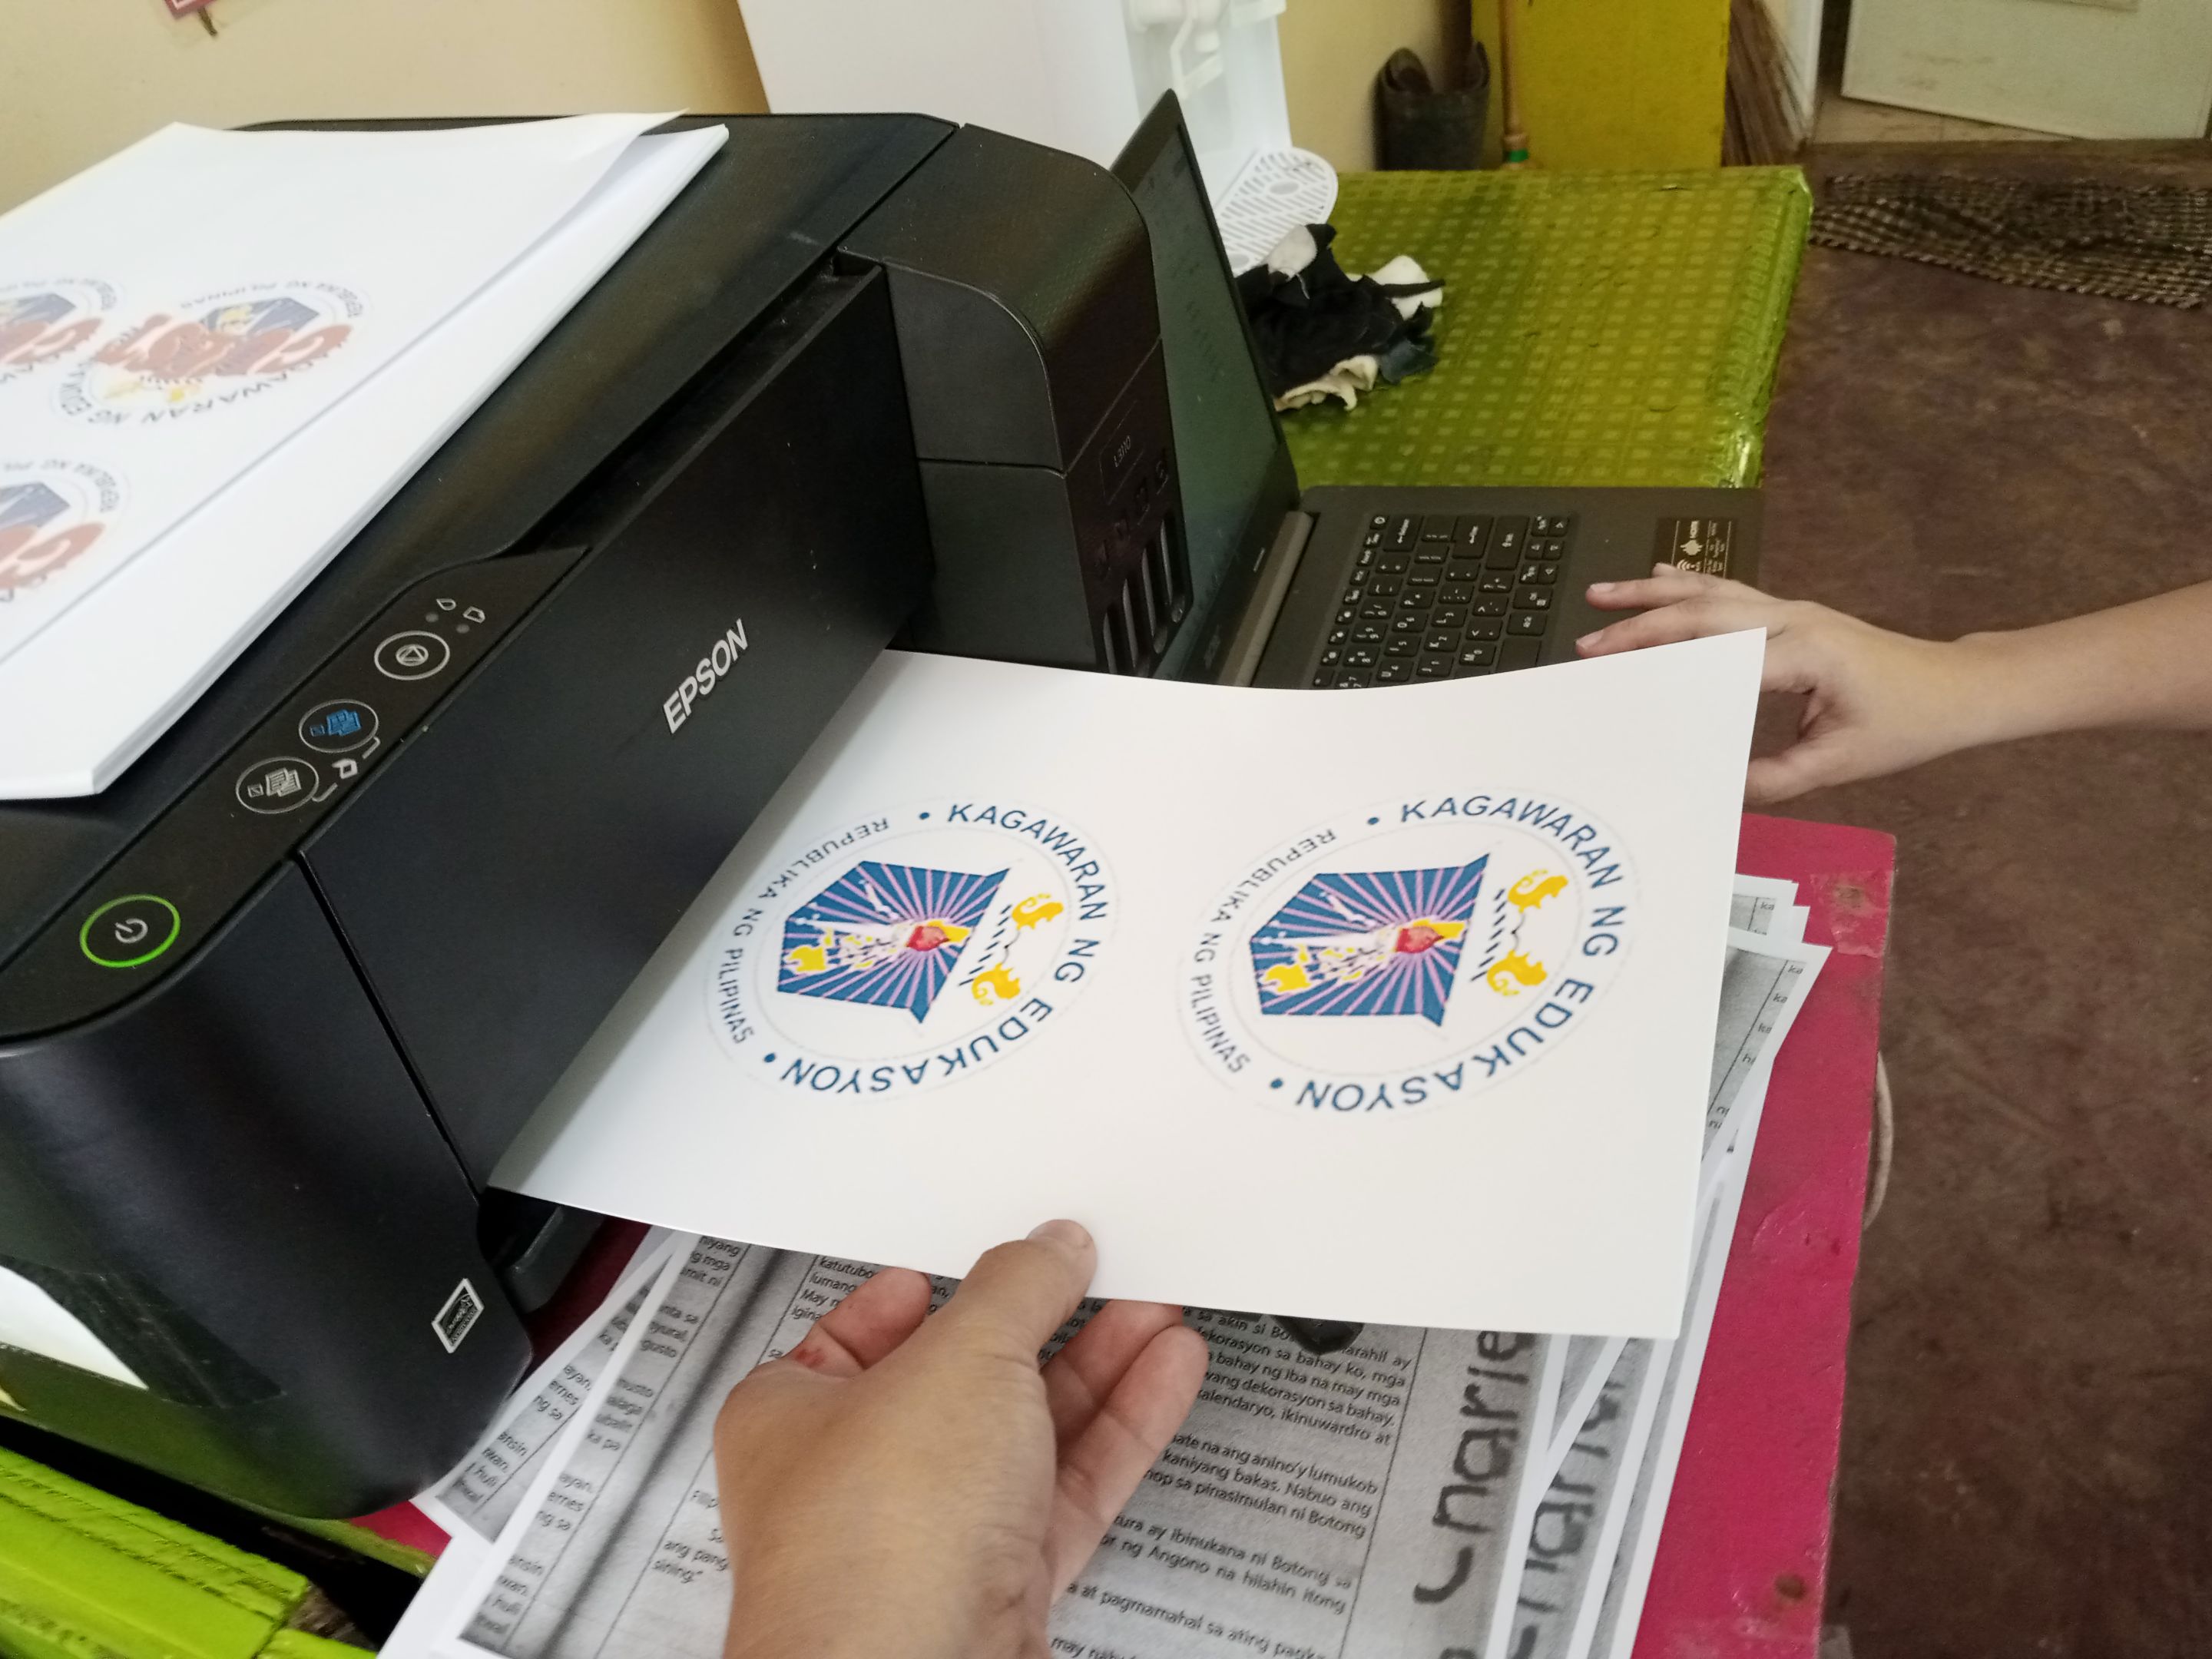 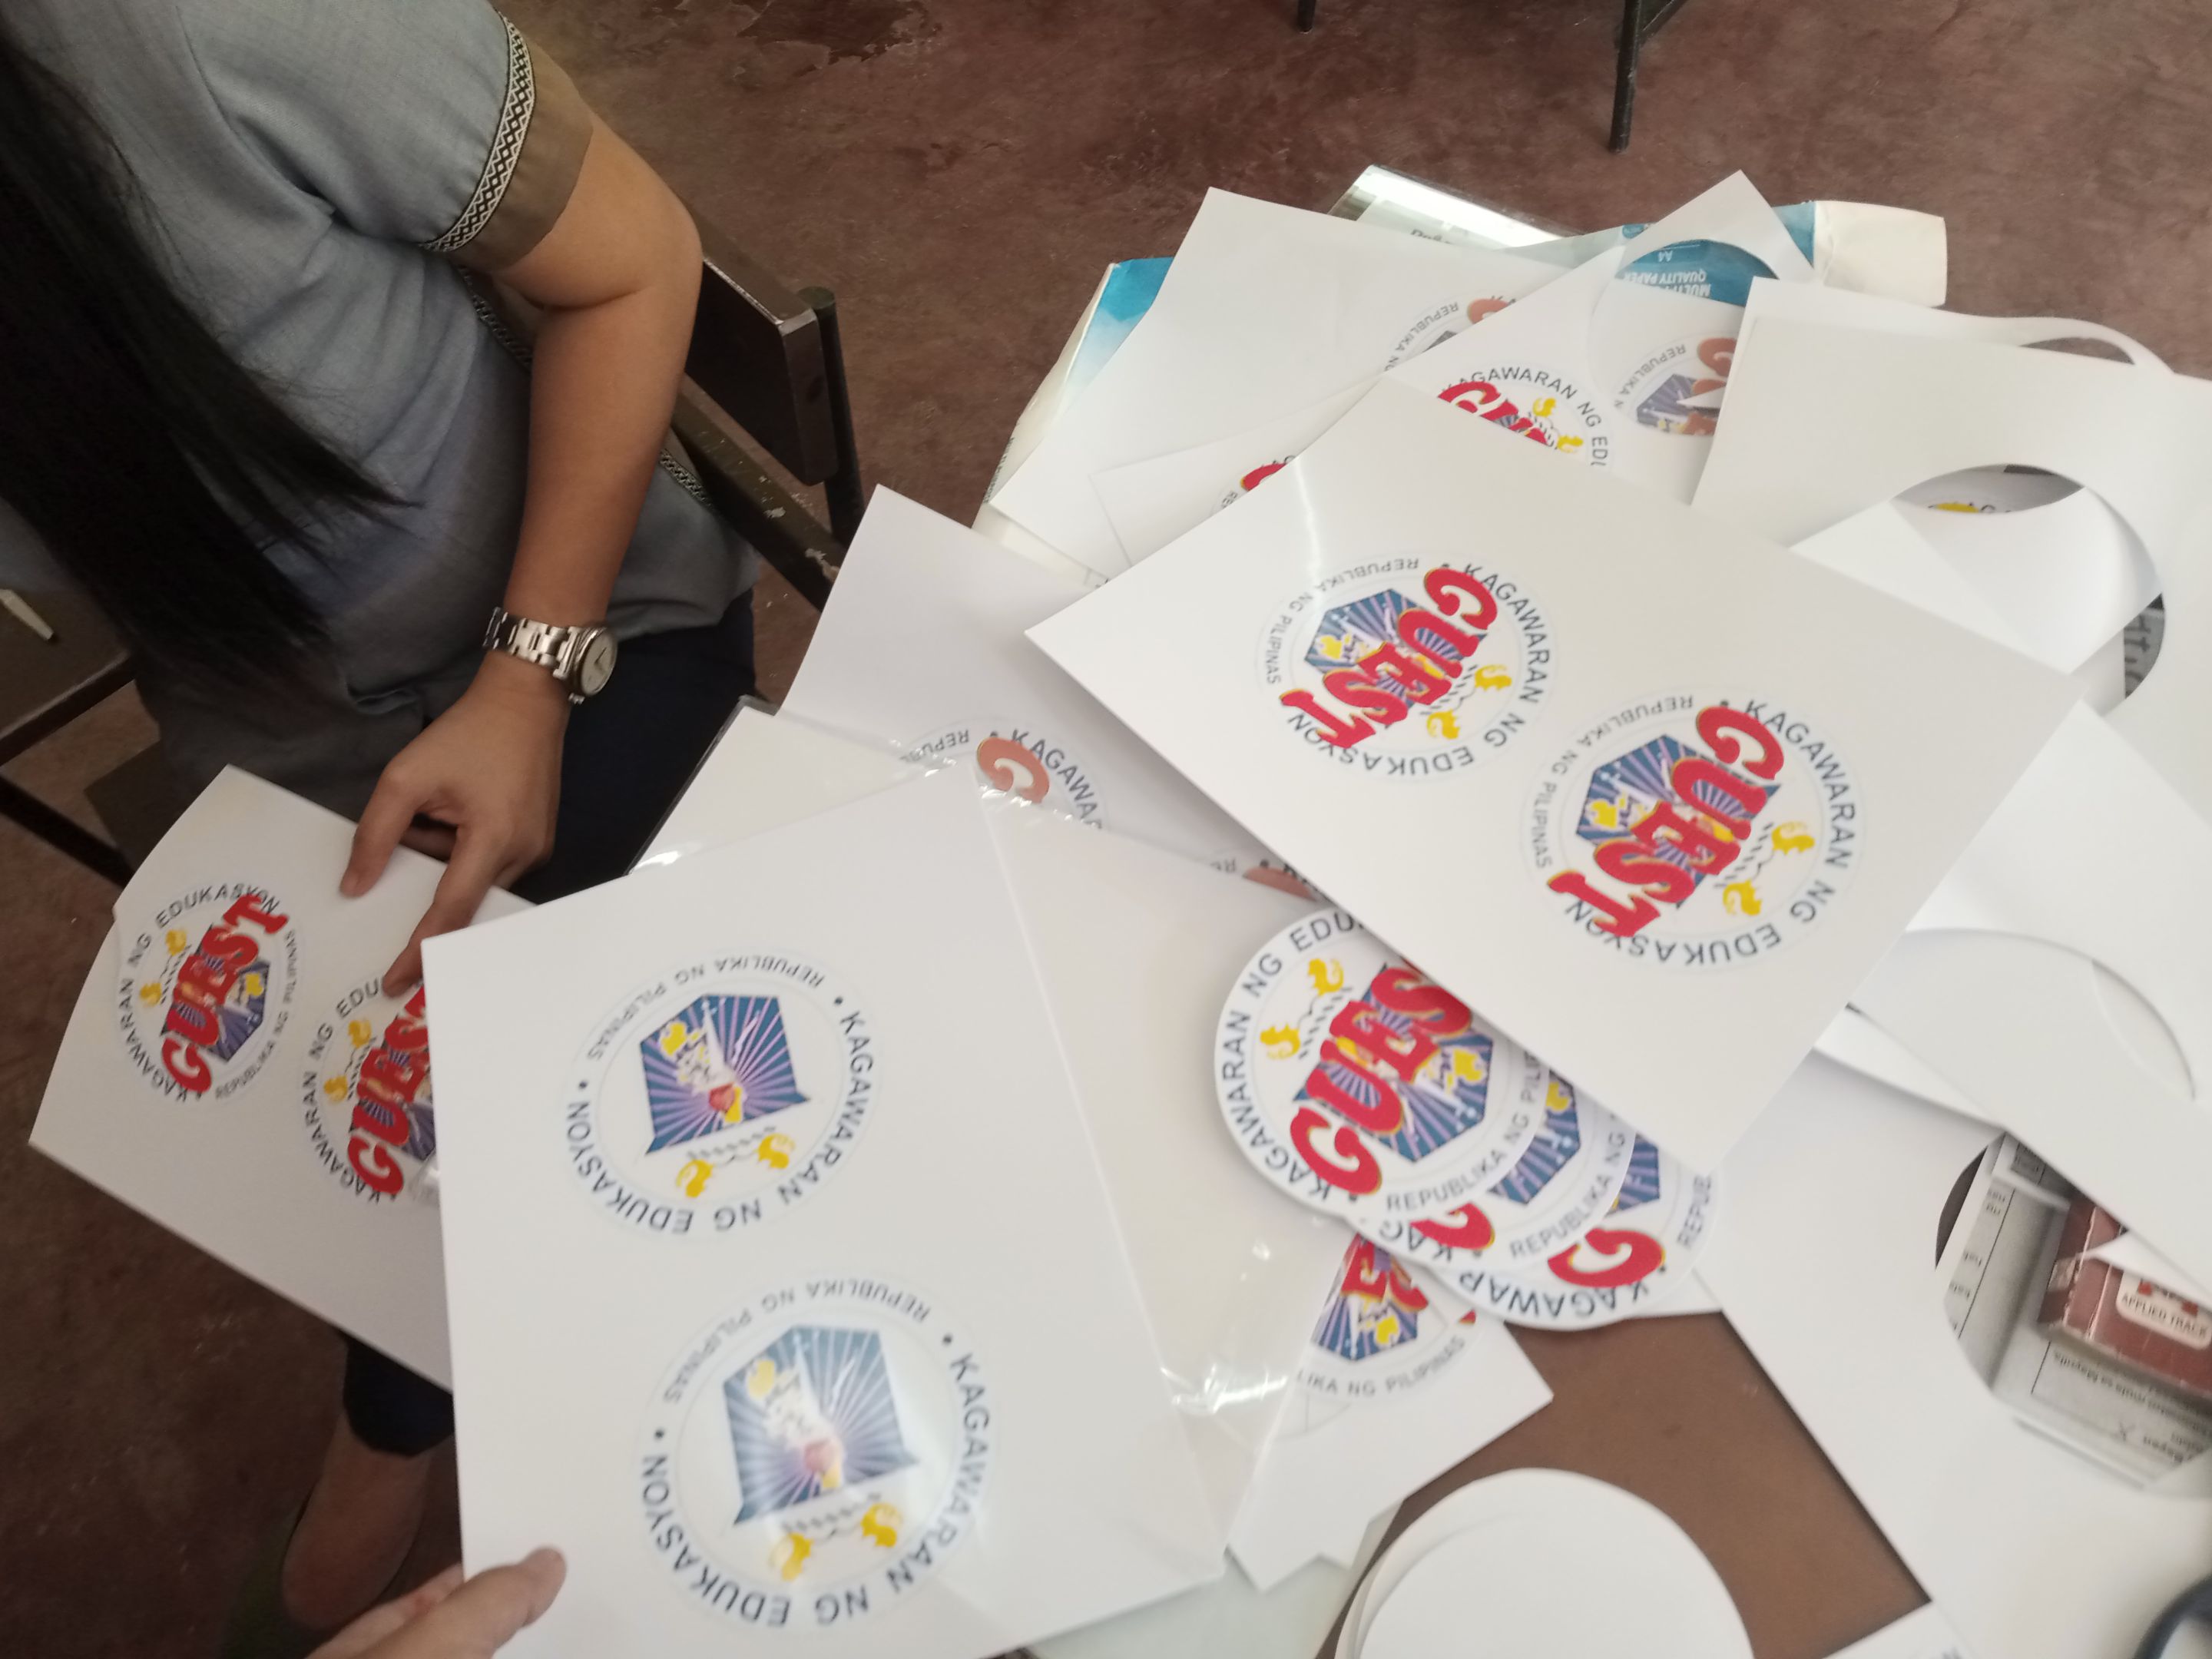 Step 3. Draw and form the cut layout in the insulation foam and cut it after. This will be used as your base in making your design. Be sure to form all the circles in the same sizes. Use a guide in drawing a circles. 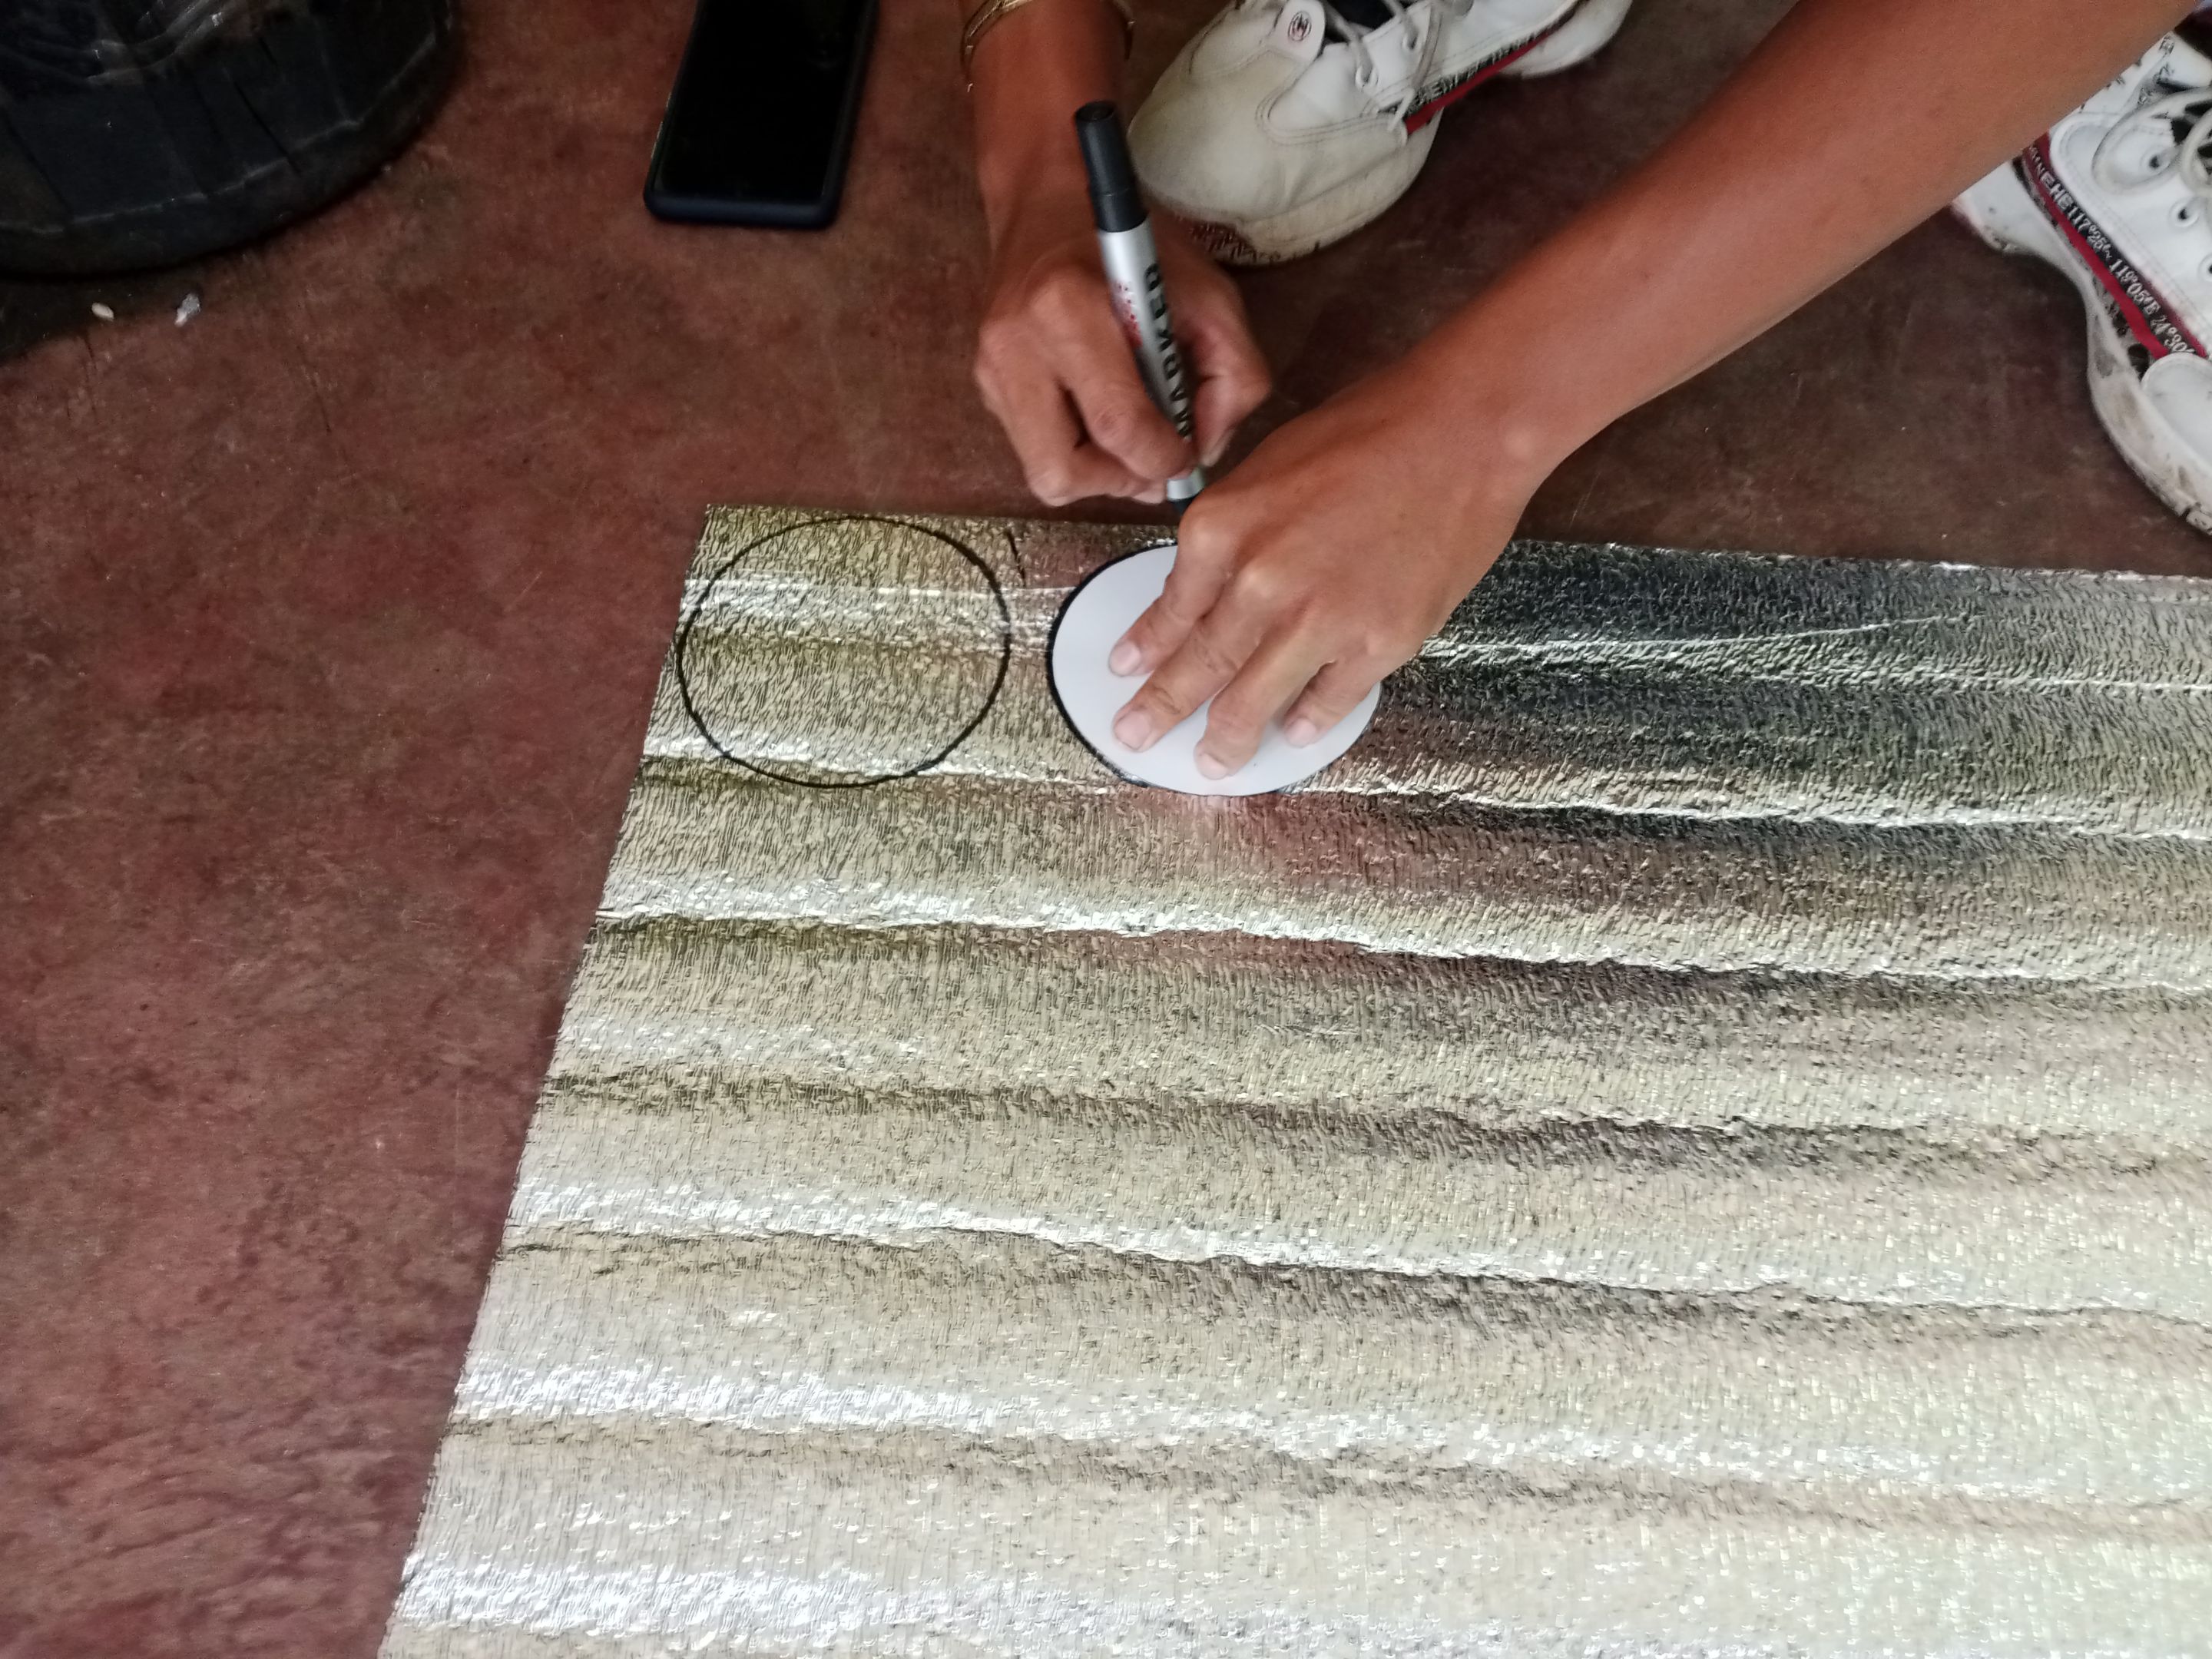  Step 4. Cut the ribbons to your desired size. You can either make 1 to 1.3 meters for your lace. In our case, we decided to cut it by 1.2 meters. 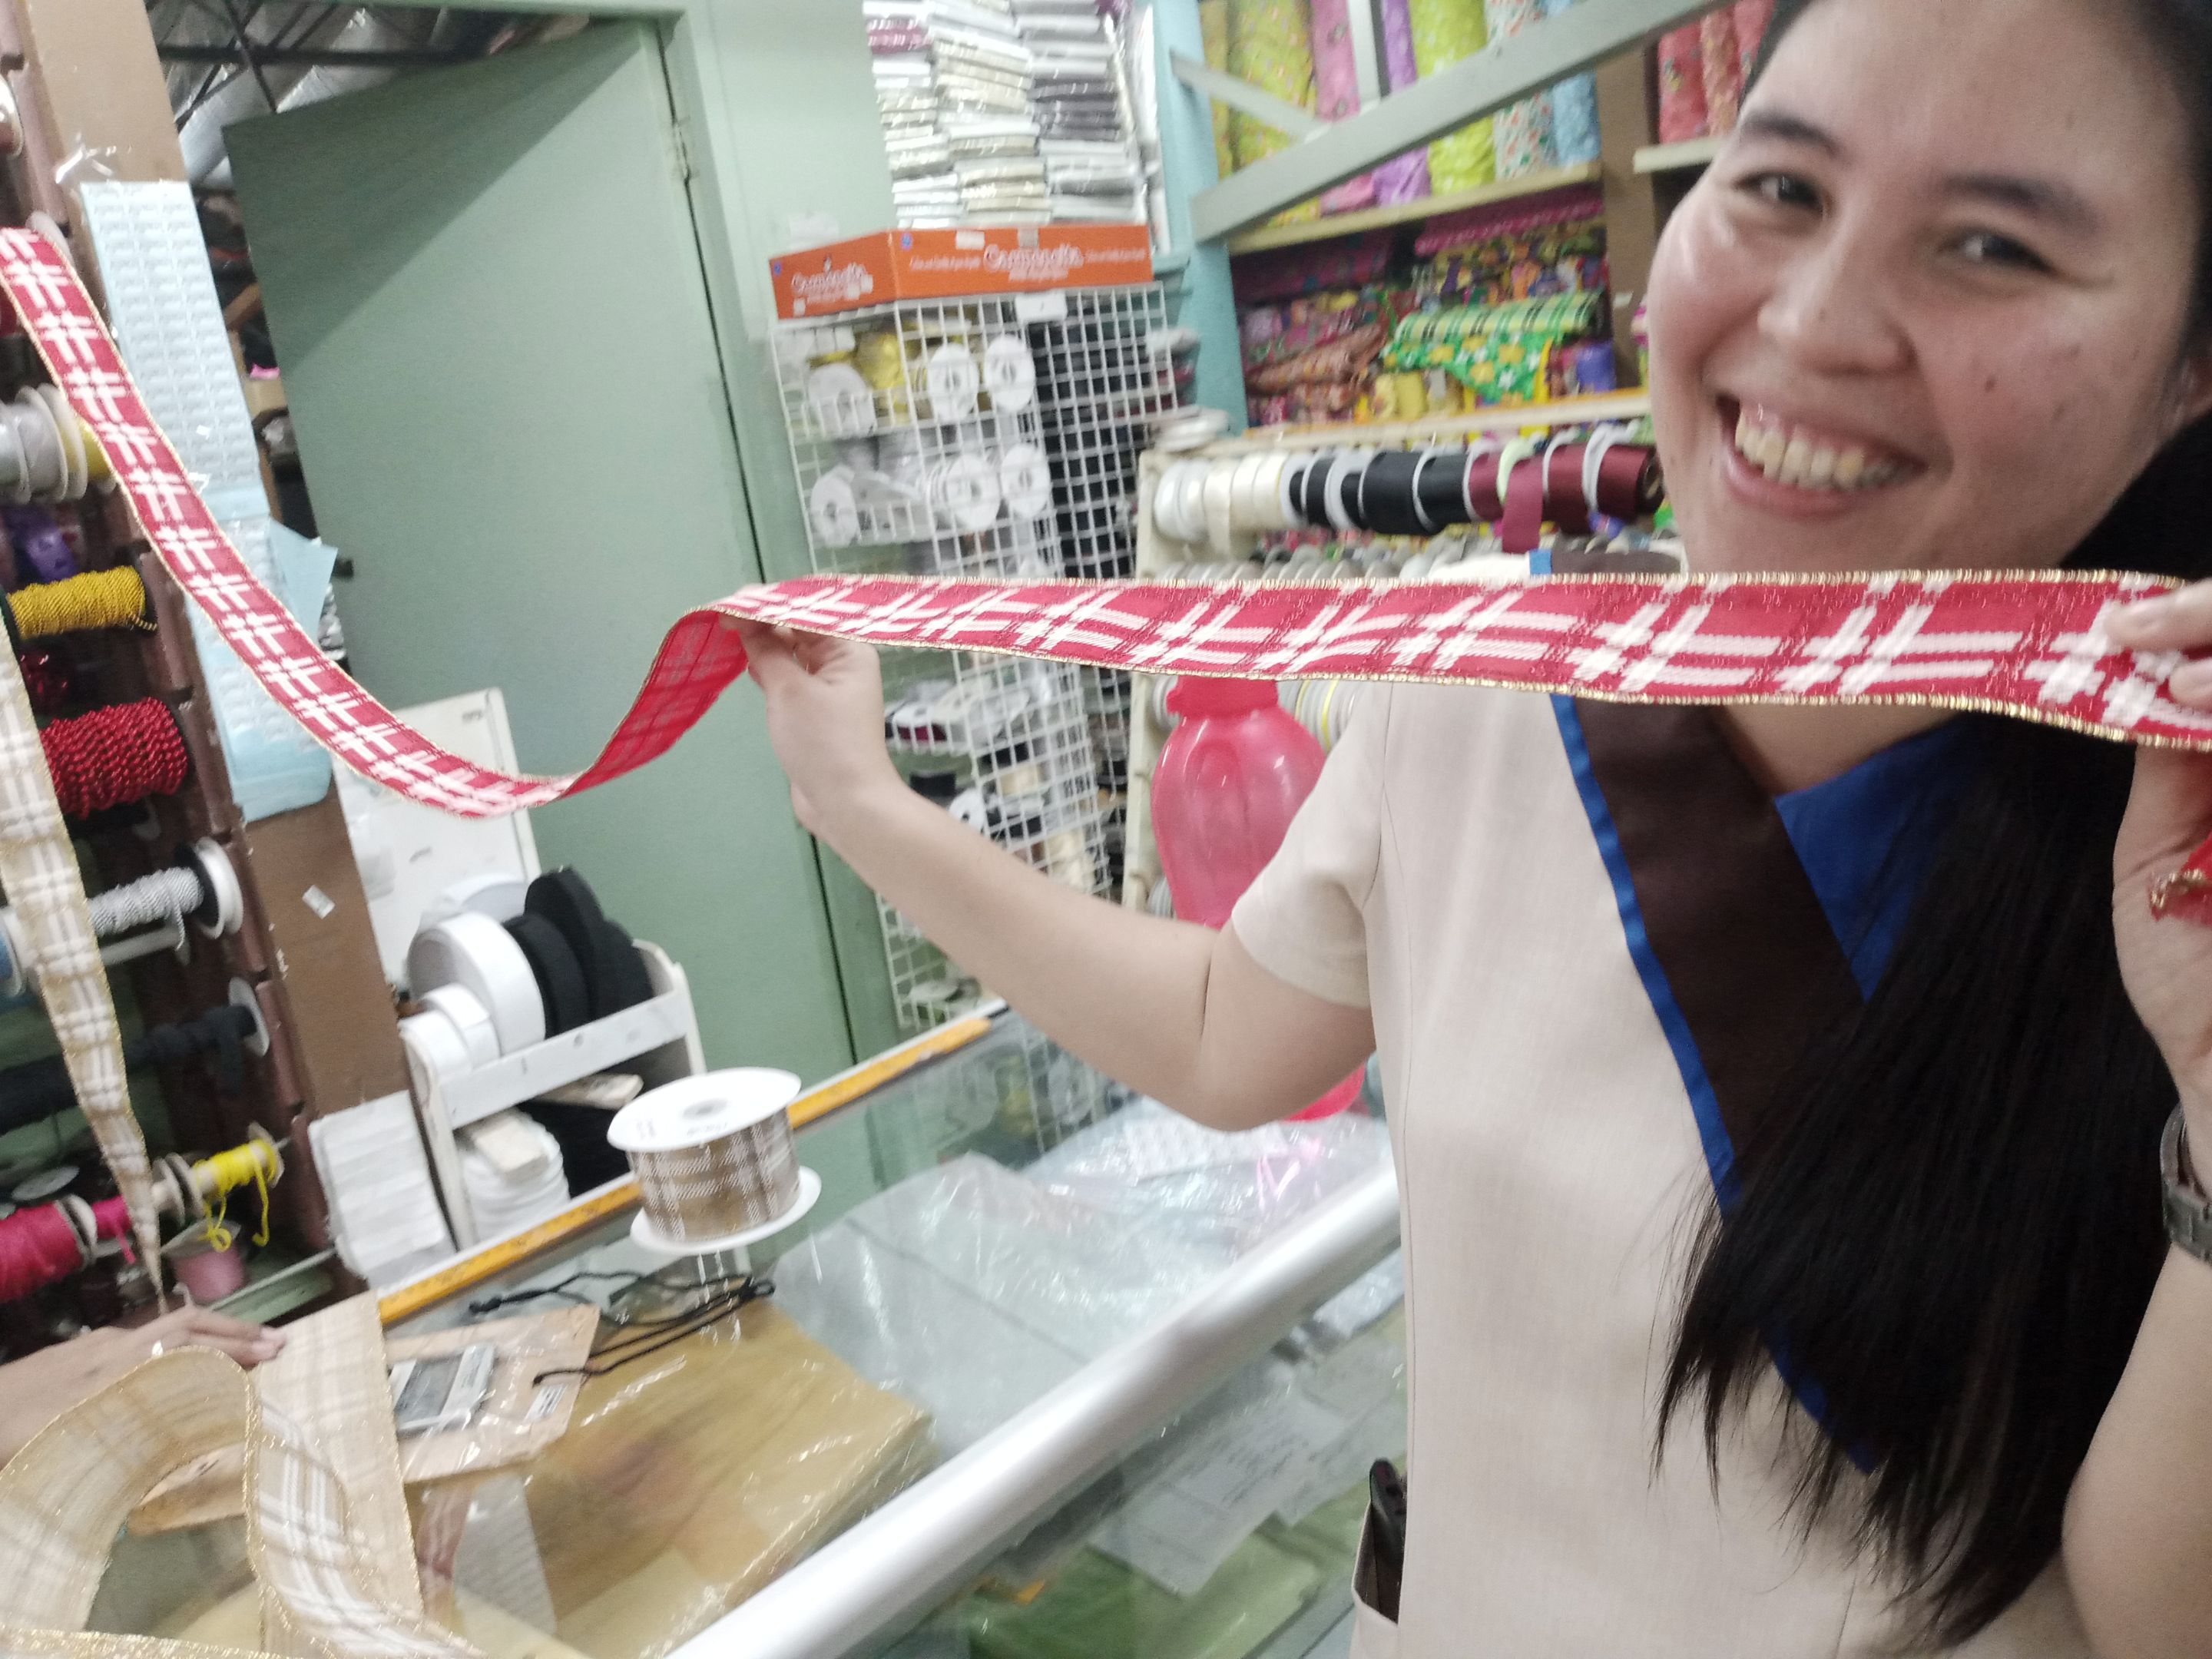 <center><sub>This is my beautiful colleague @missleray my partner in making the corsage.</sub></center> Step 5. Cut the two ribbons into 1.5 inches and fold them after the next one to cut is the satin ribbon and still the same size. Be sure to cut them in the same size. 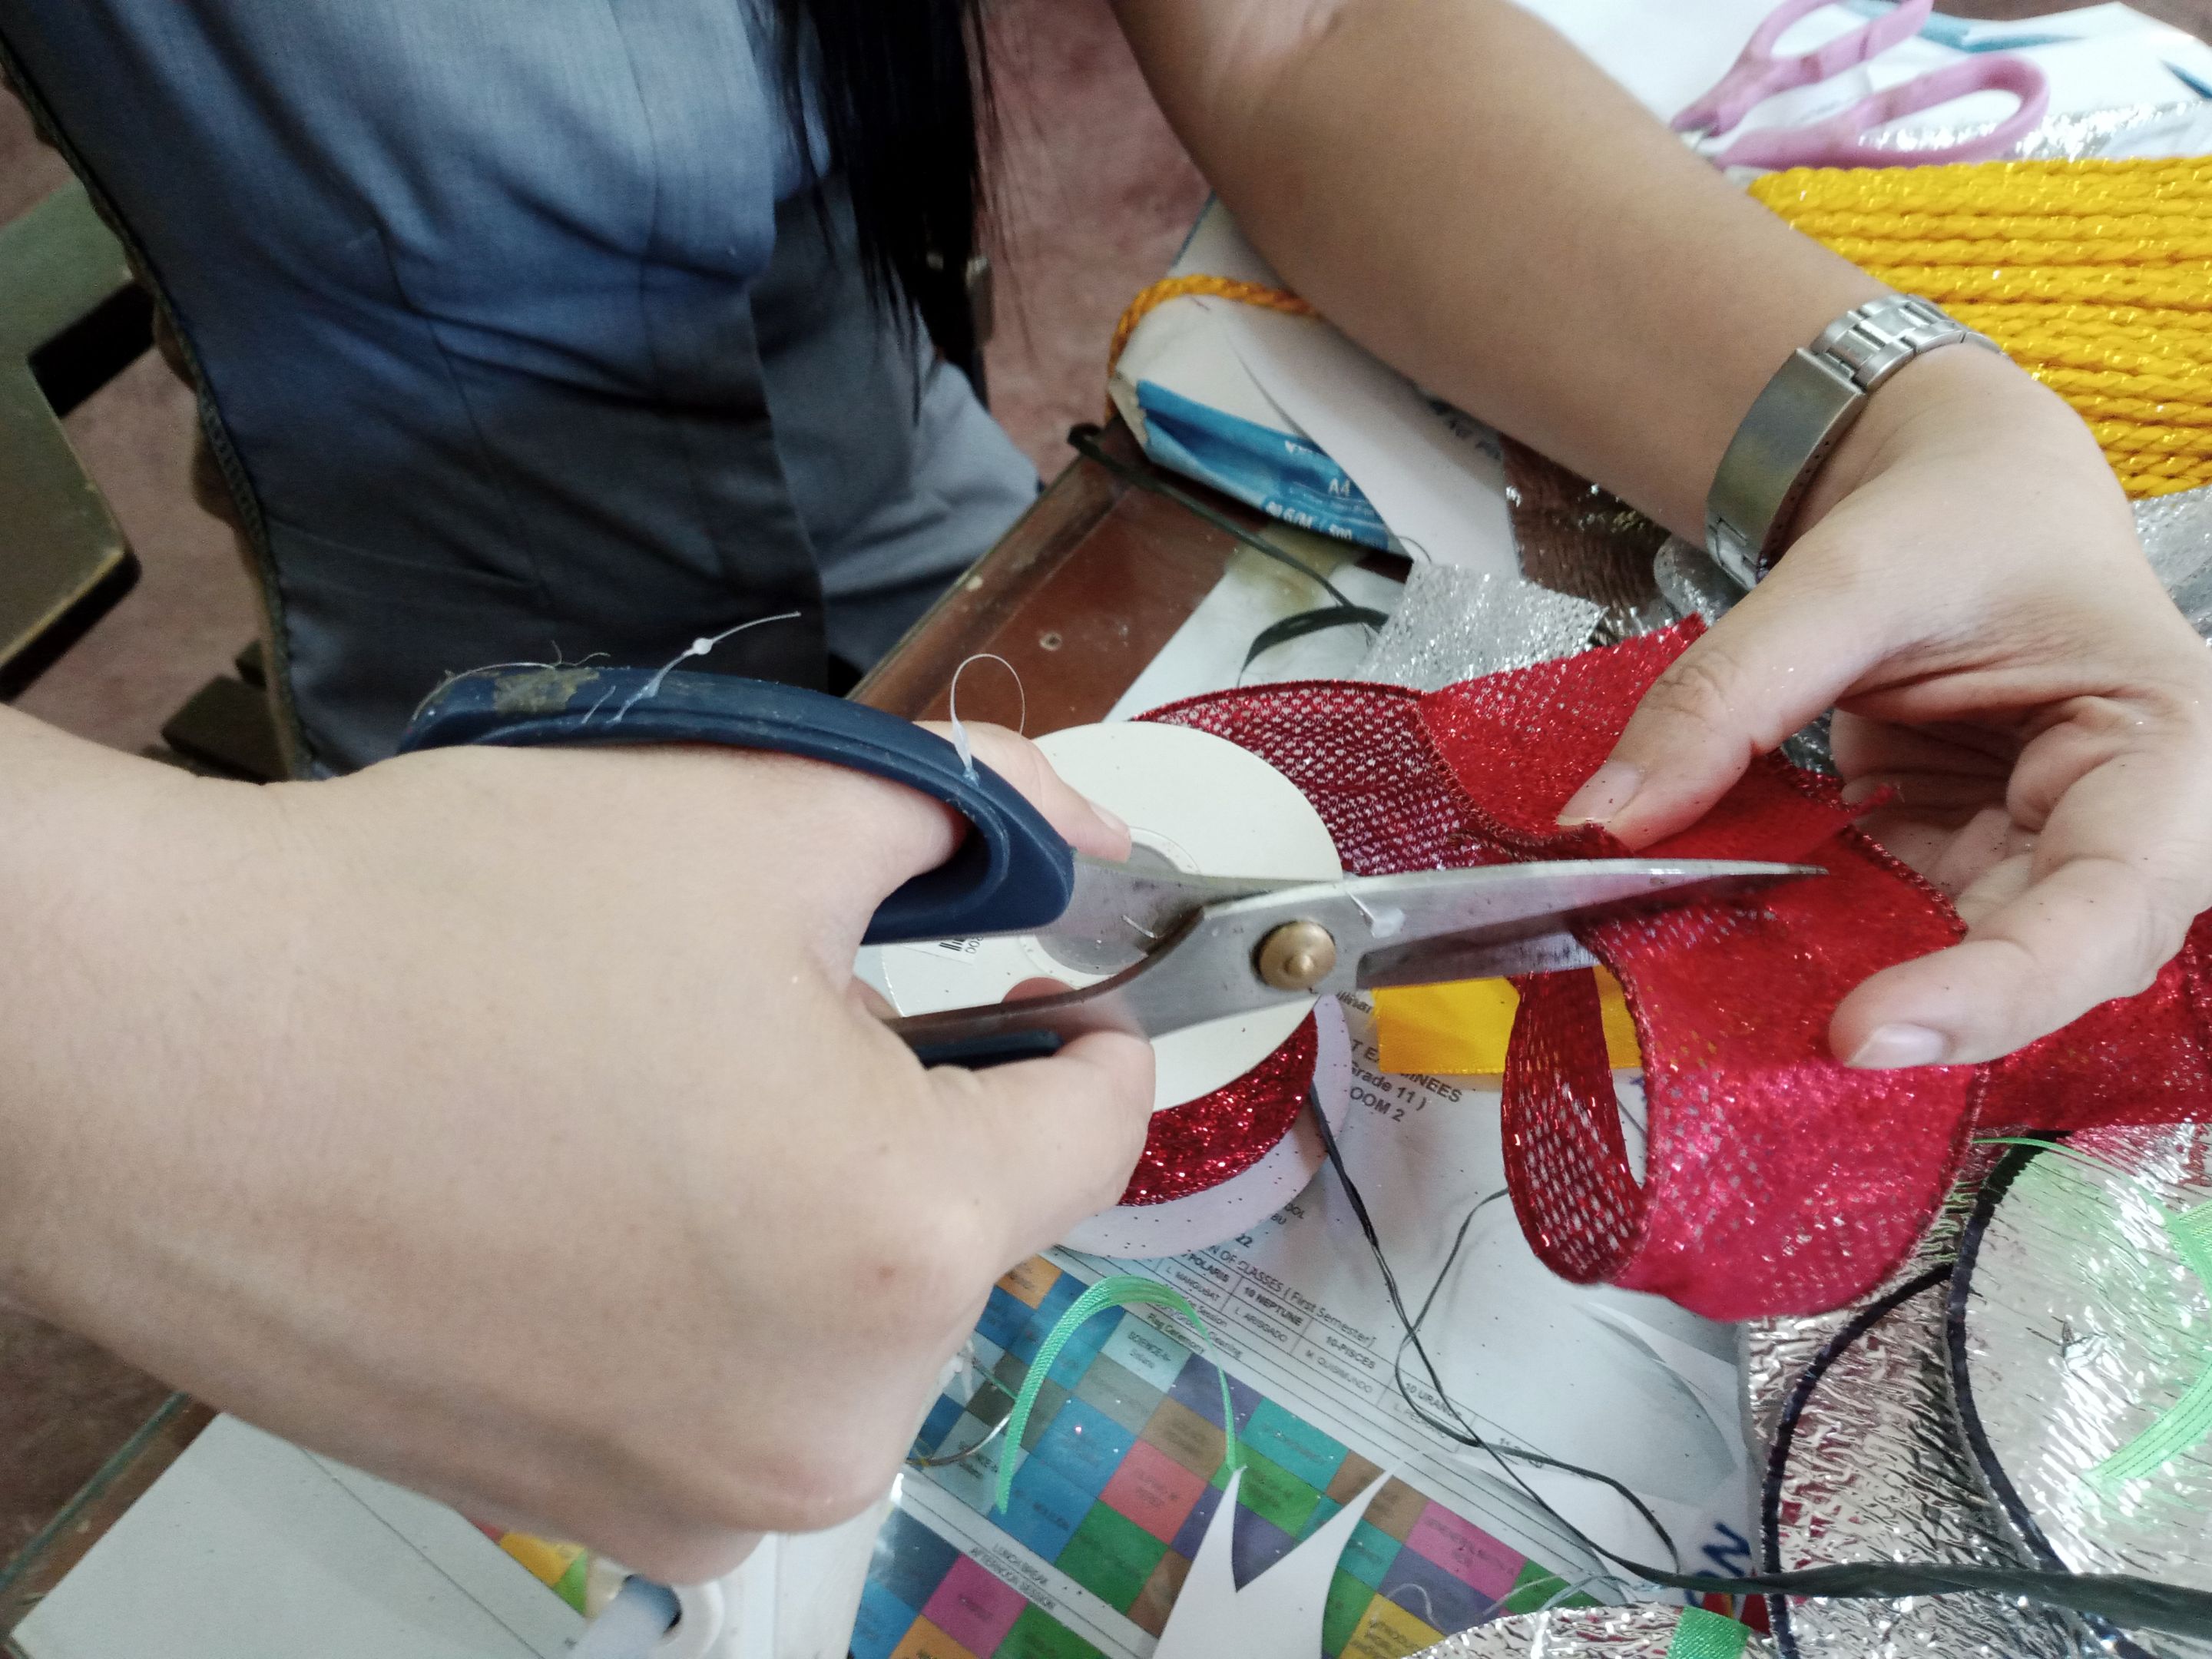 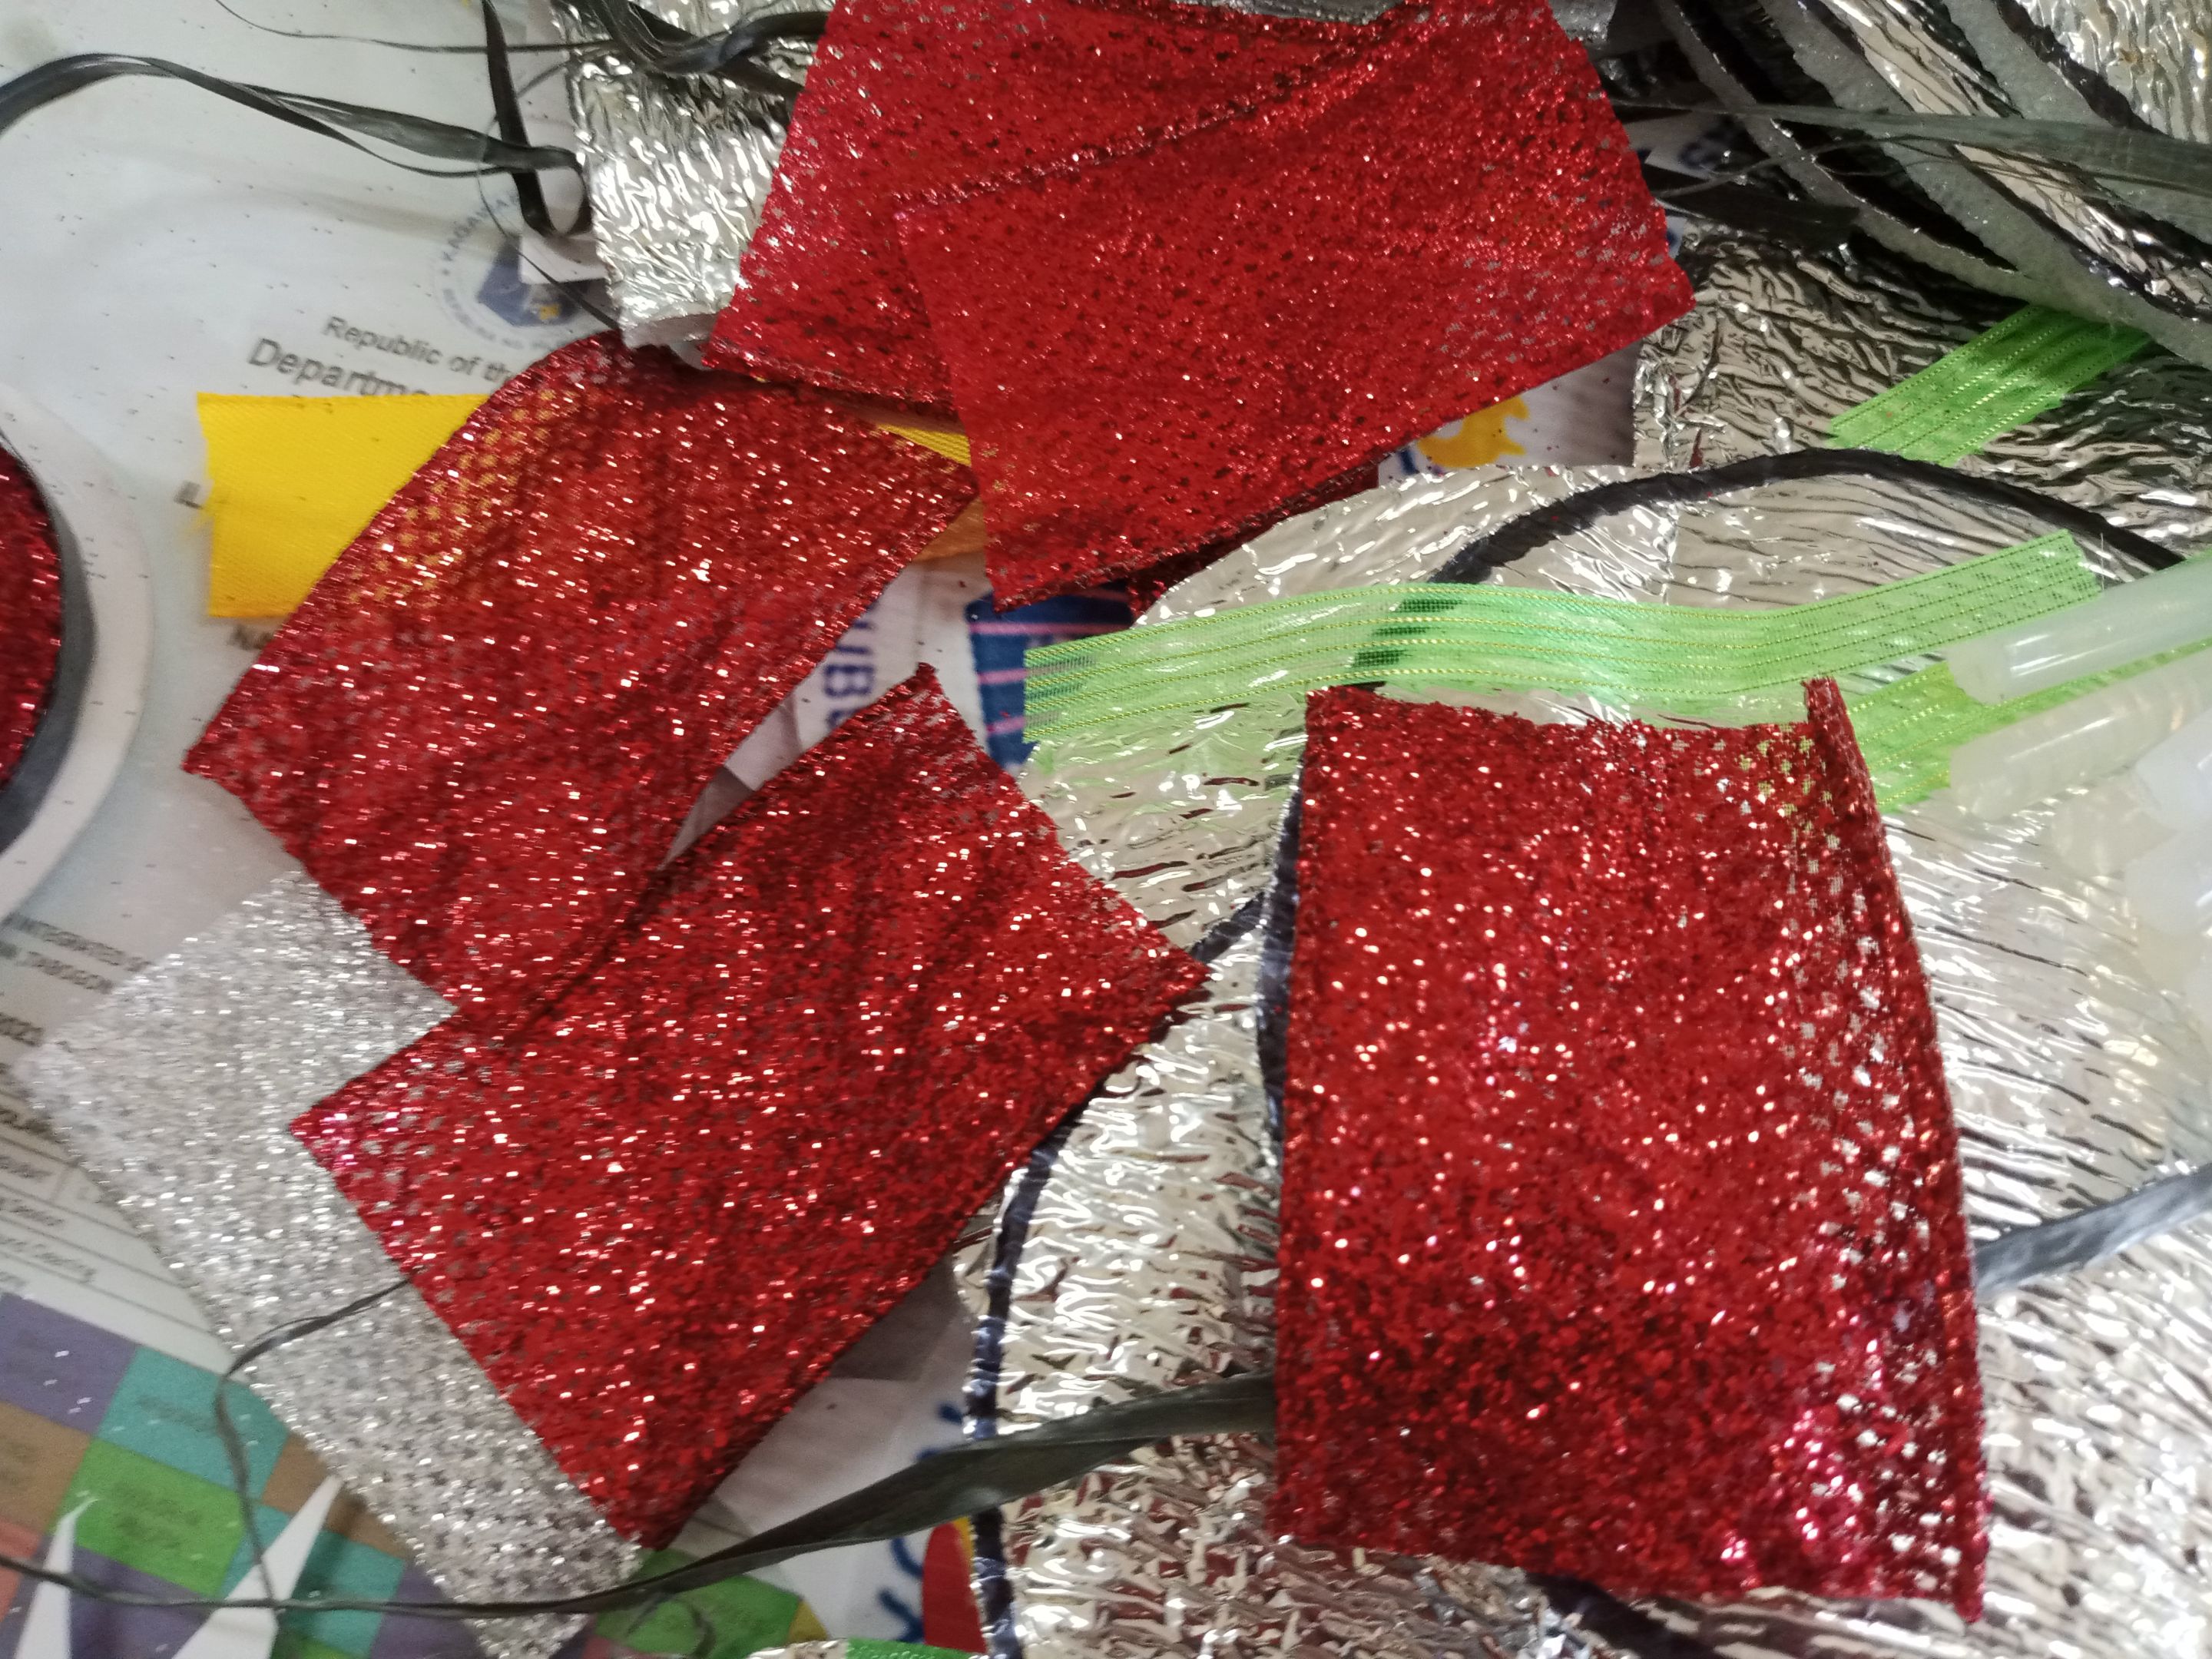 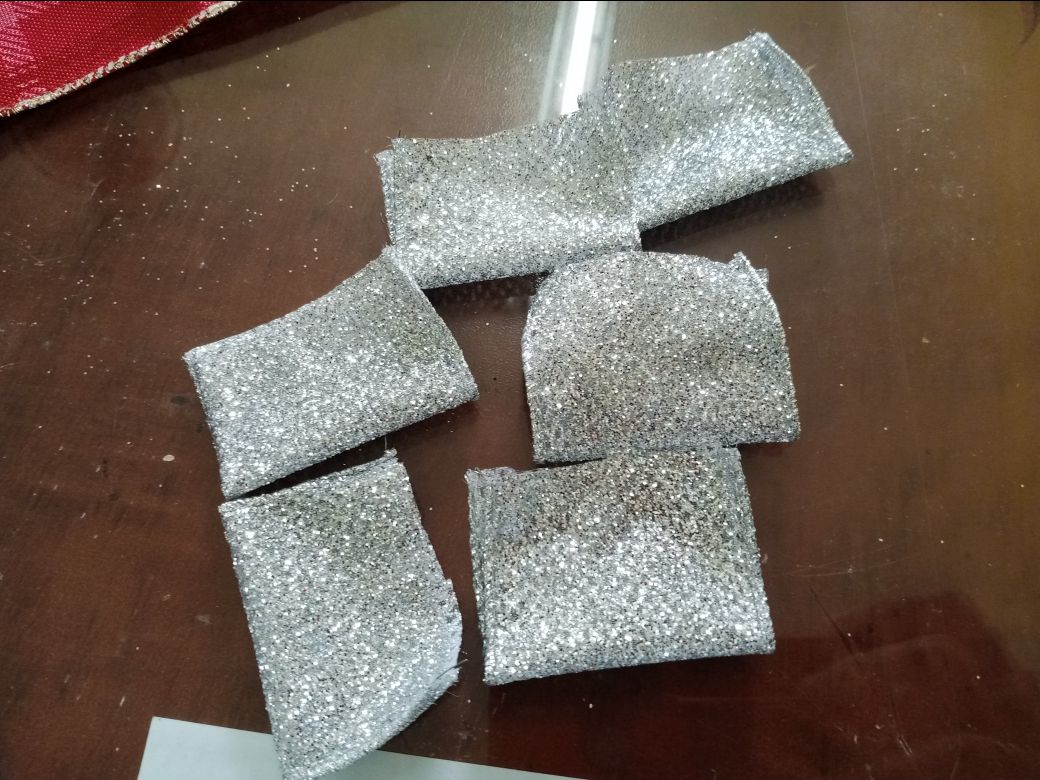 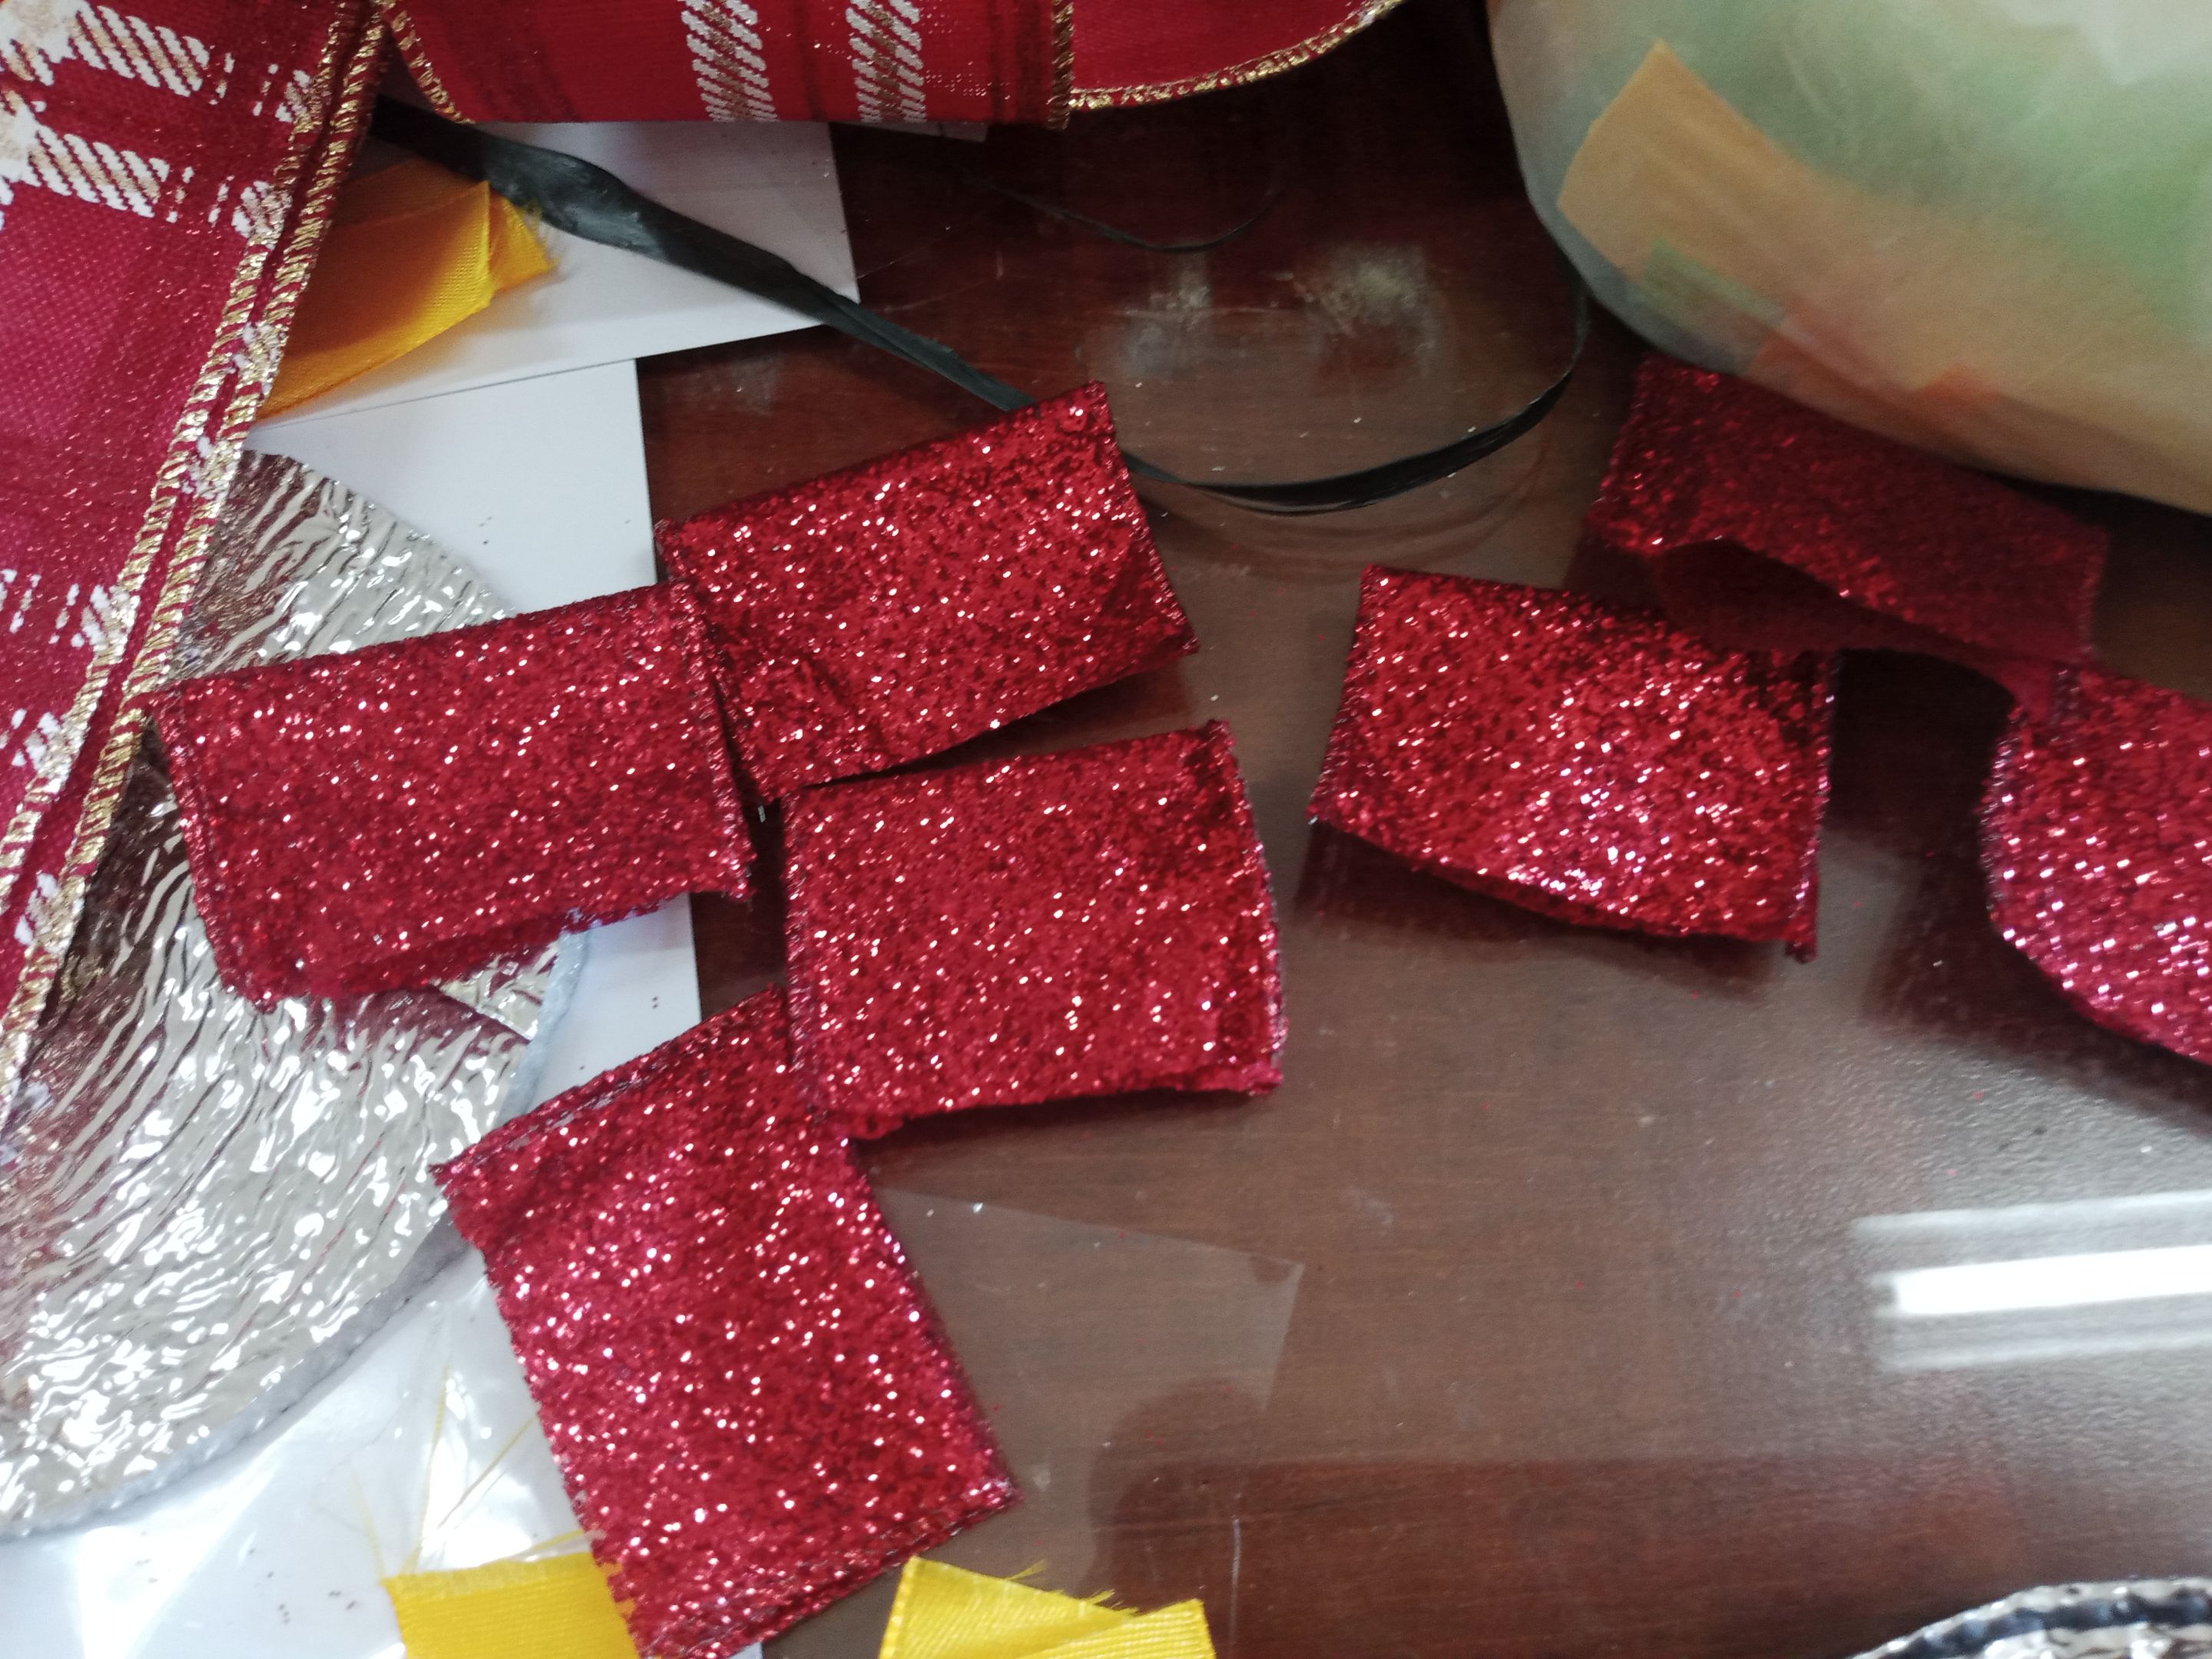 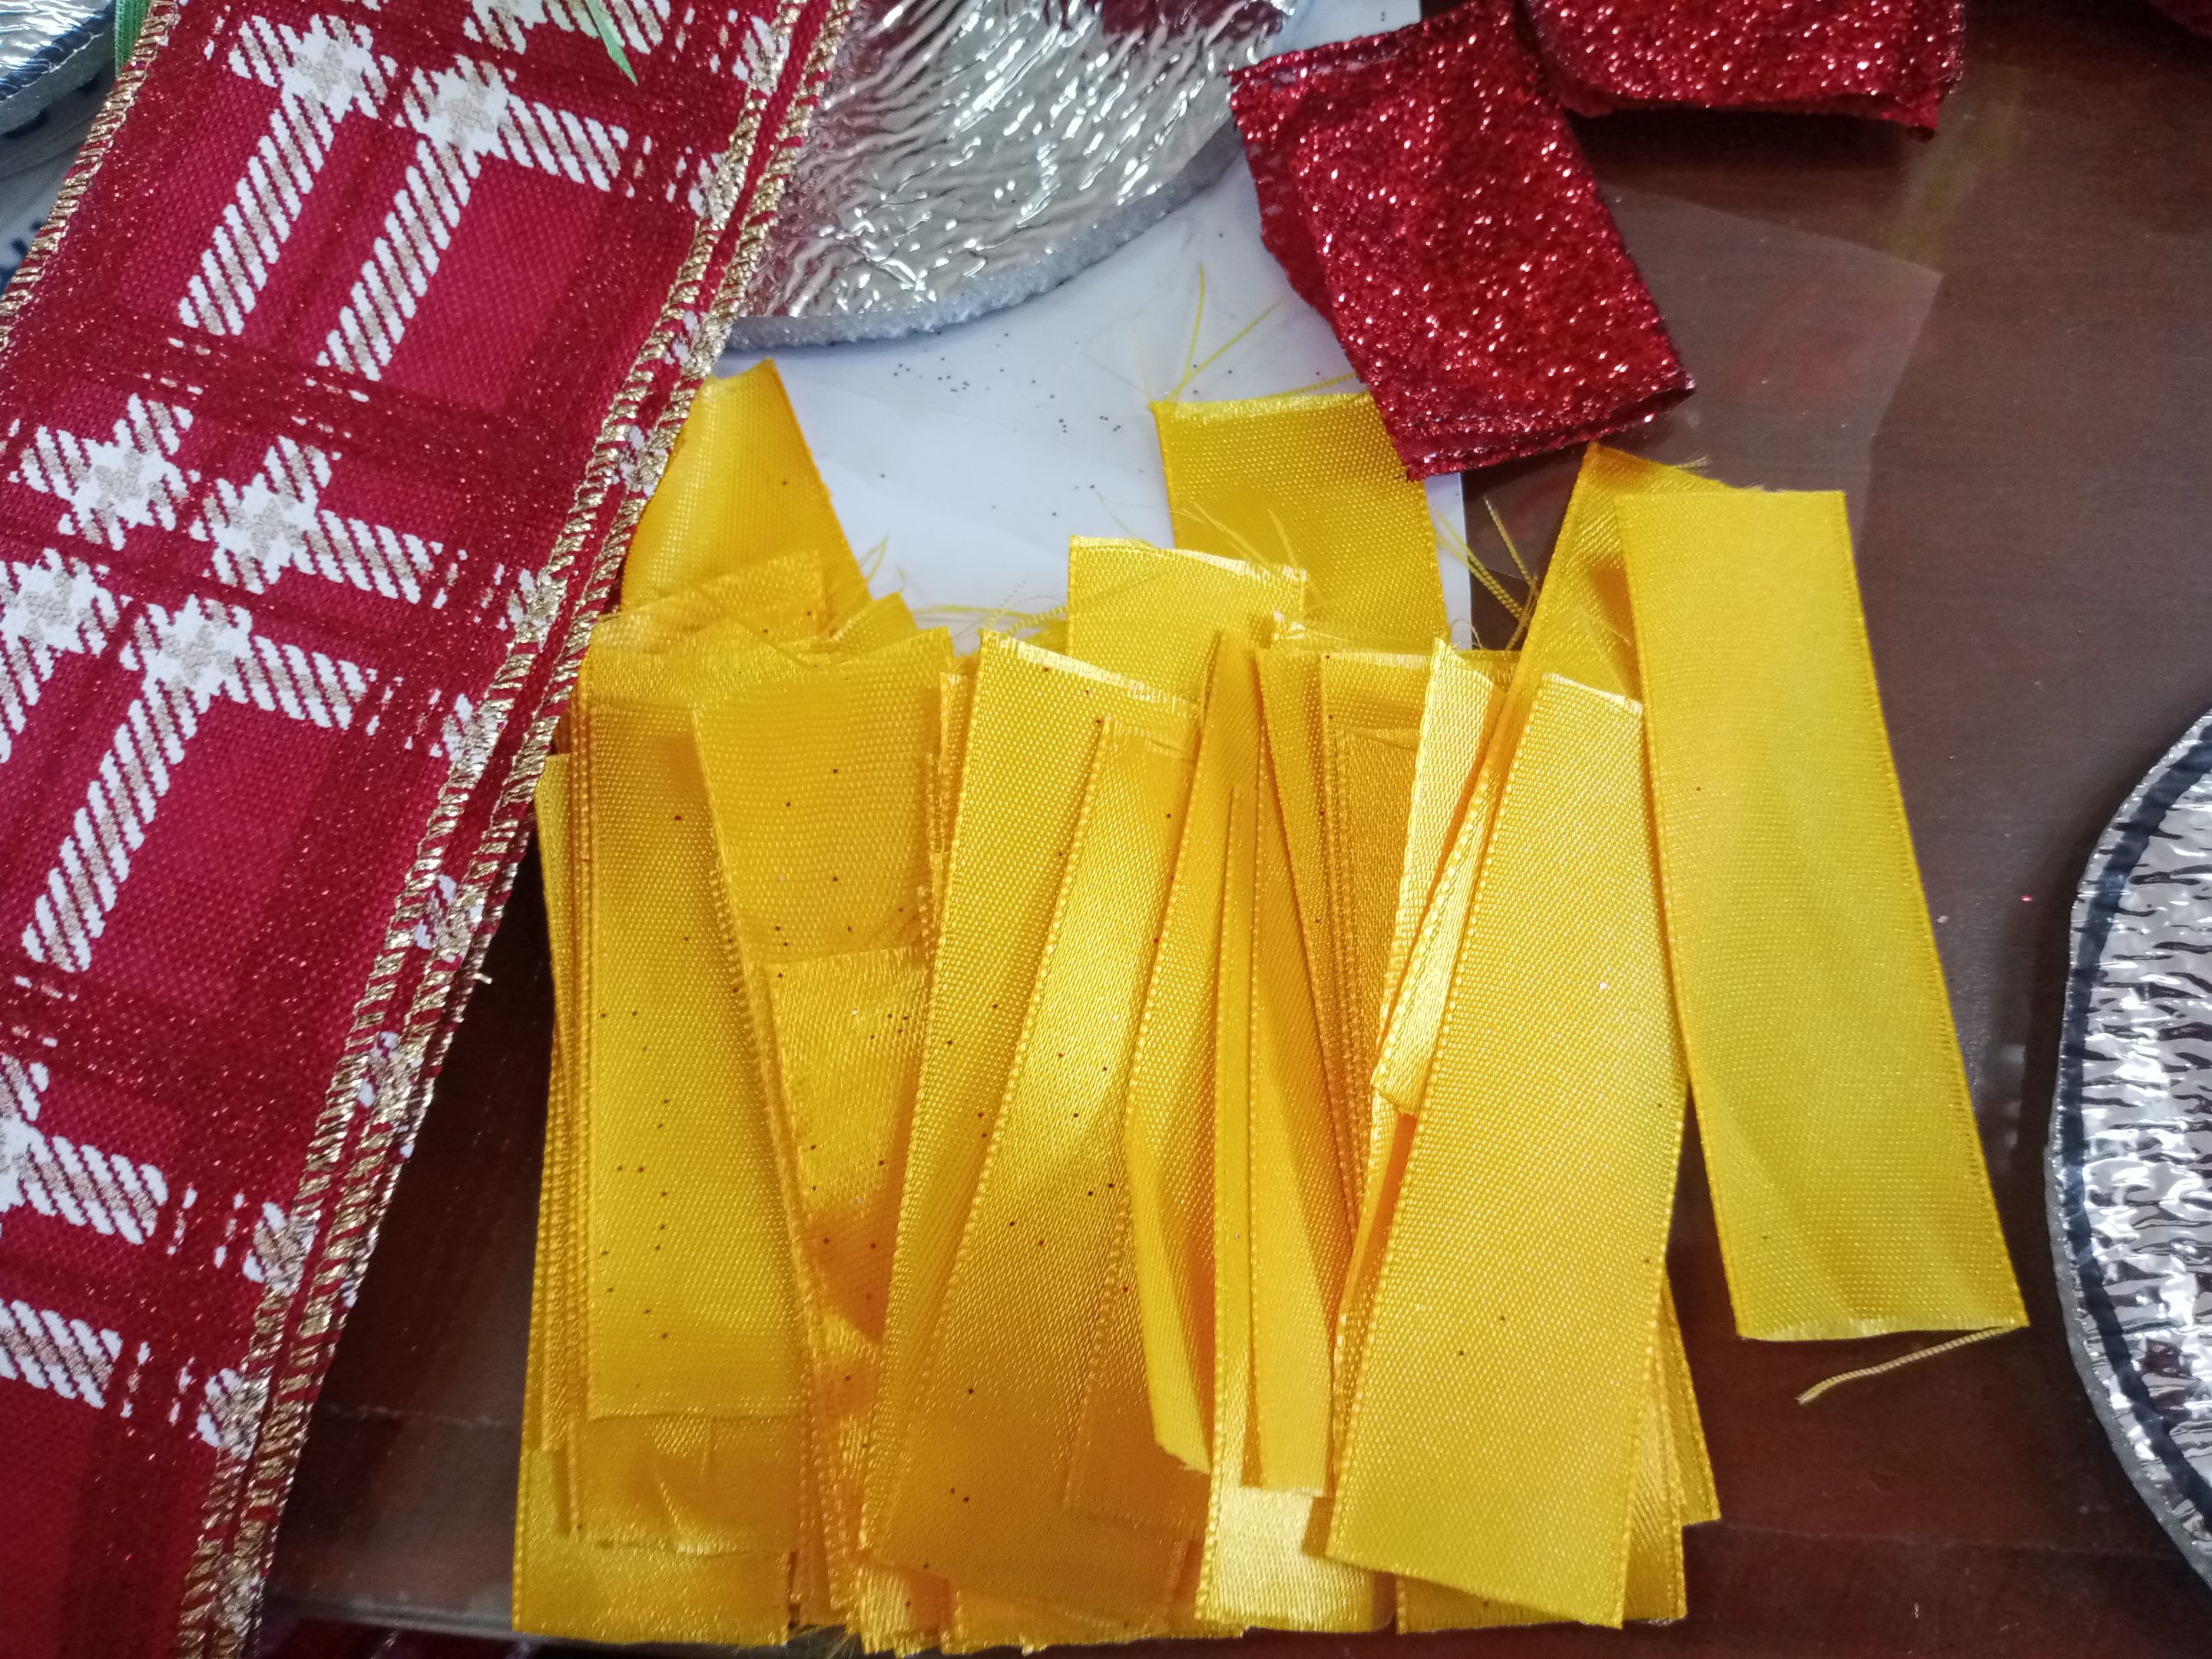 Step 6. When the insulation foam is already cut into its desired form, we will start pasting the ribbons. 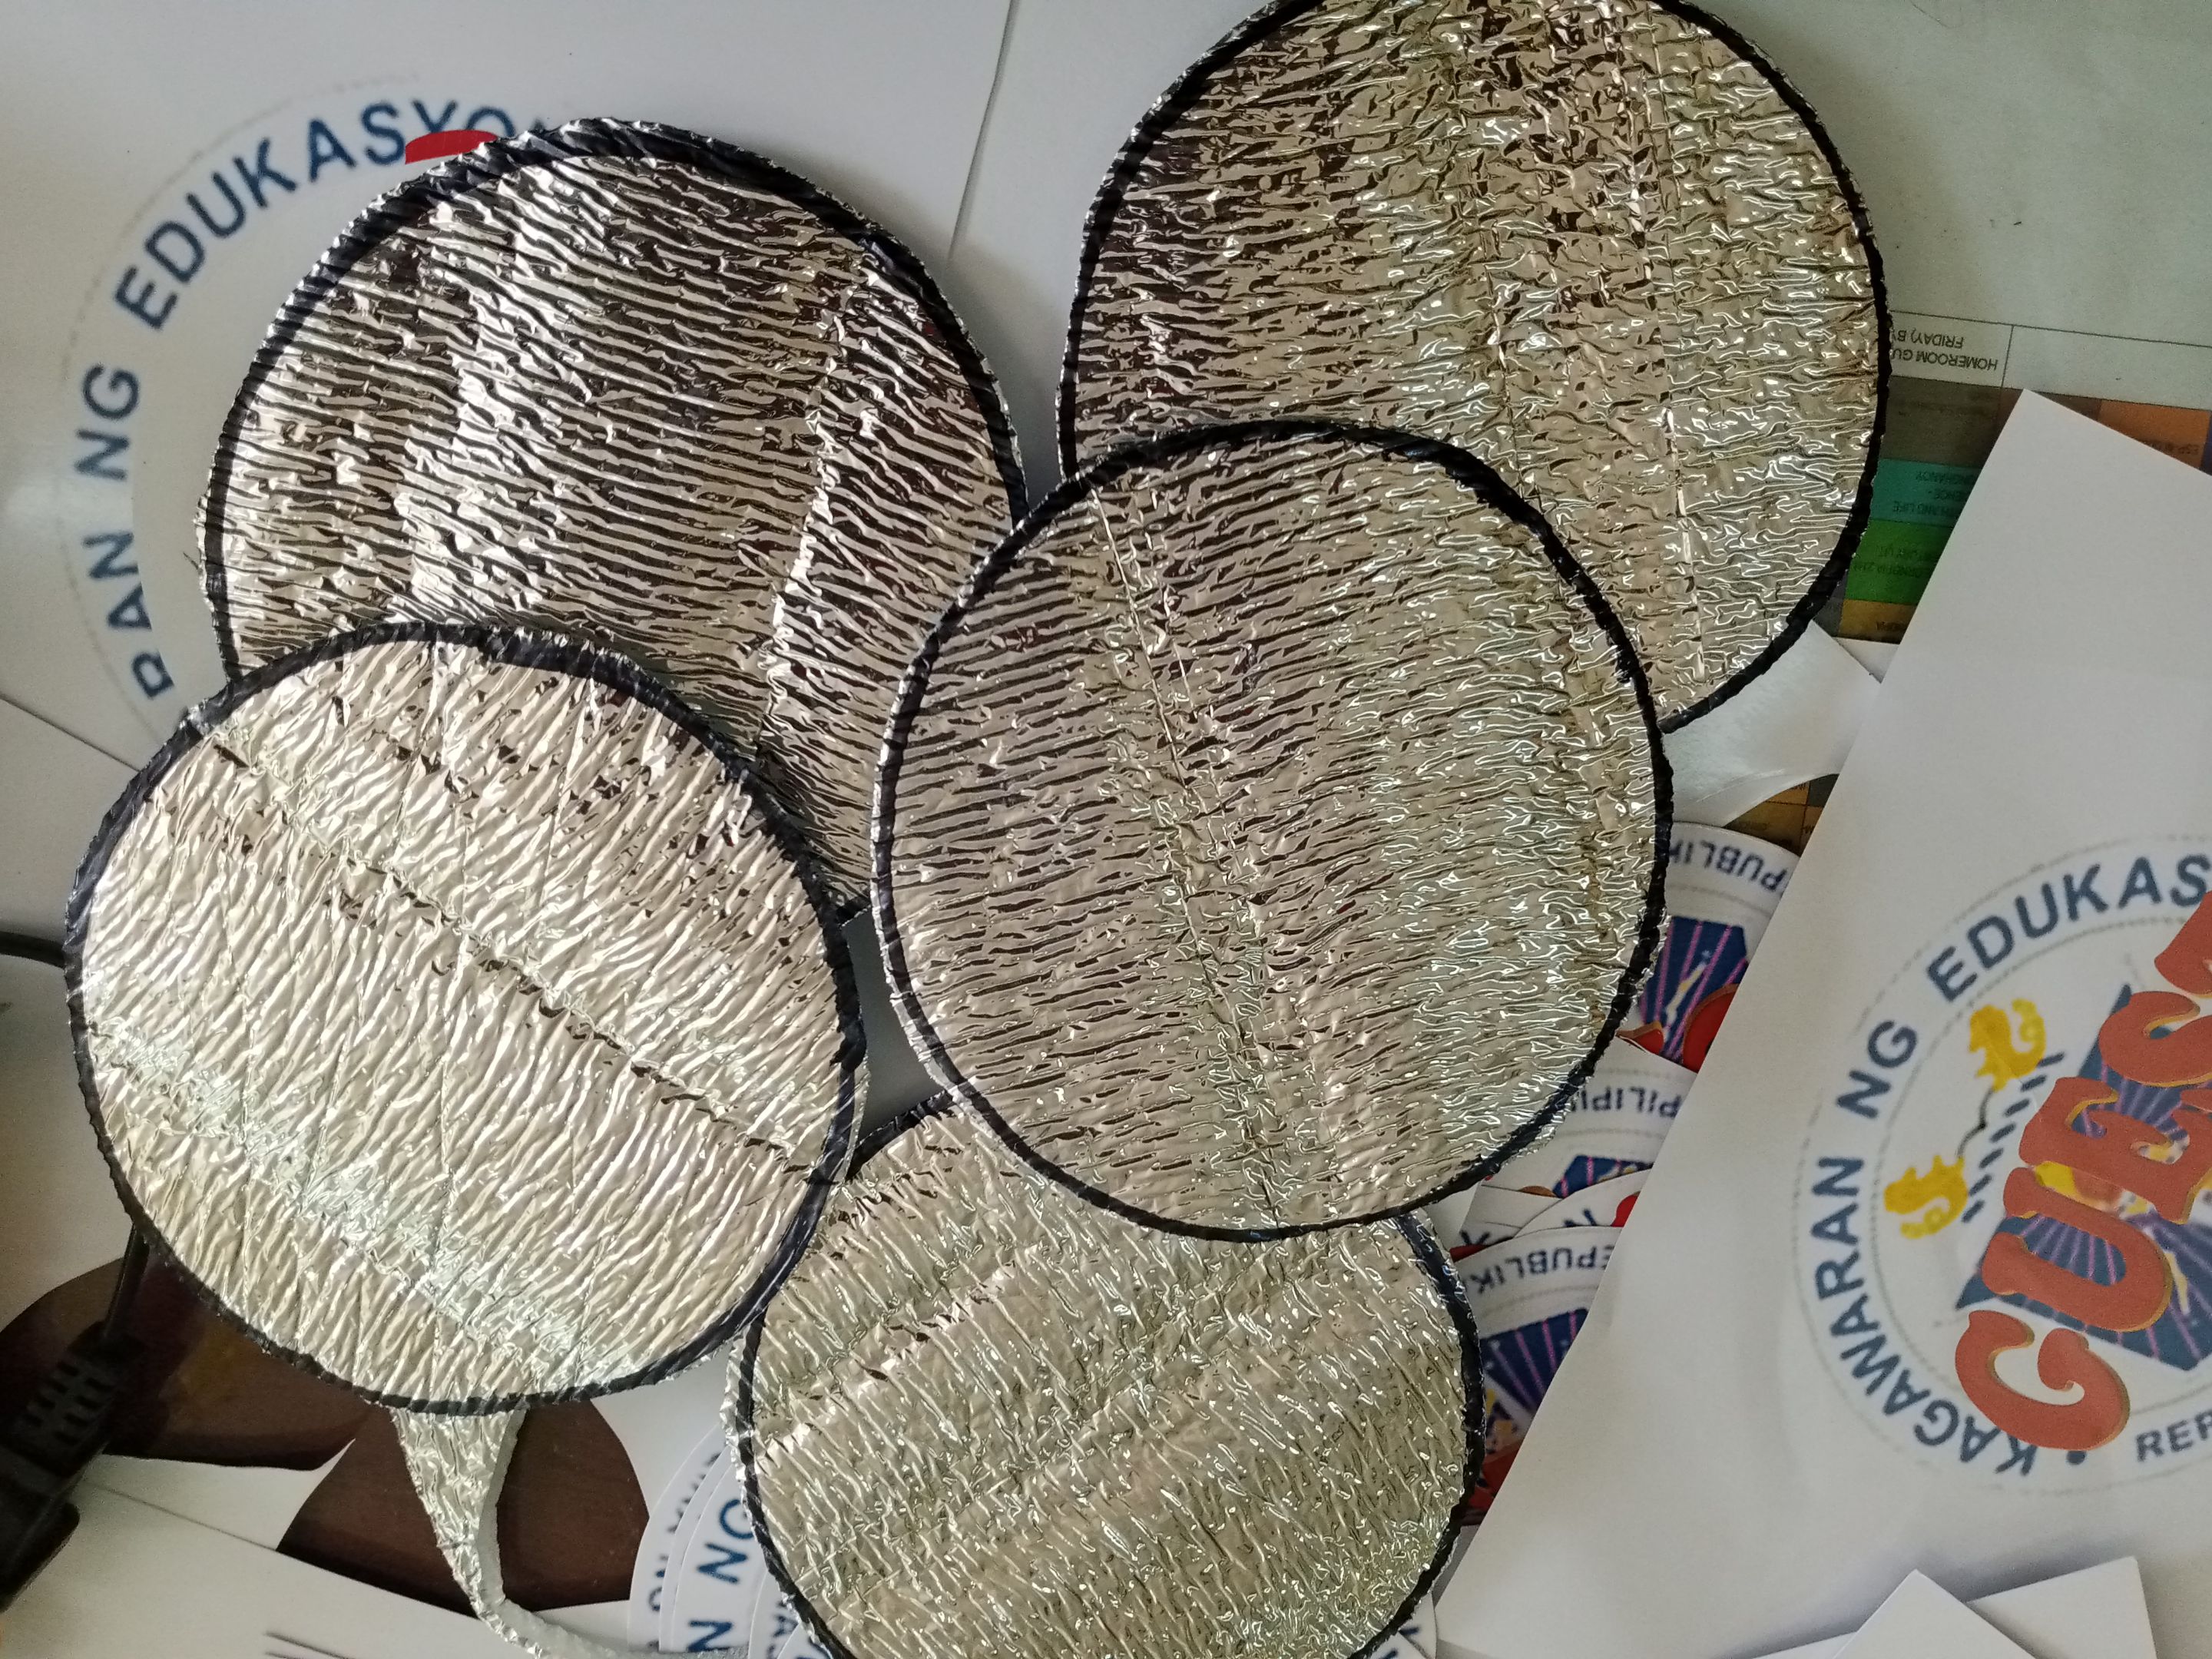 Step 7. We pasted first the silver ribbon to the insulation foam and then the red ribbon after. Paste them alternately using the glue sticks and the glue gun. 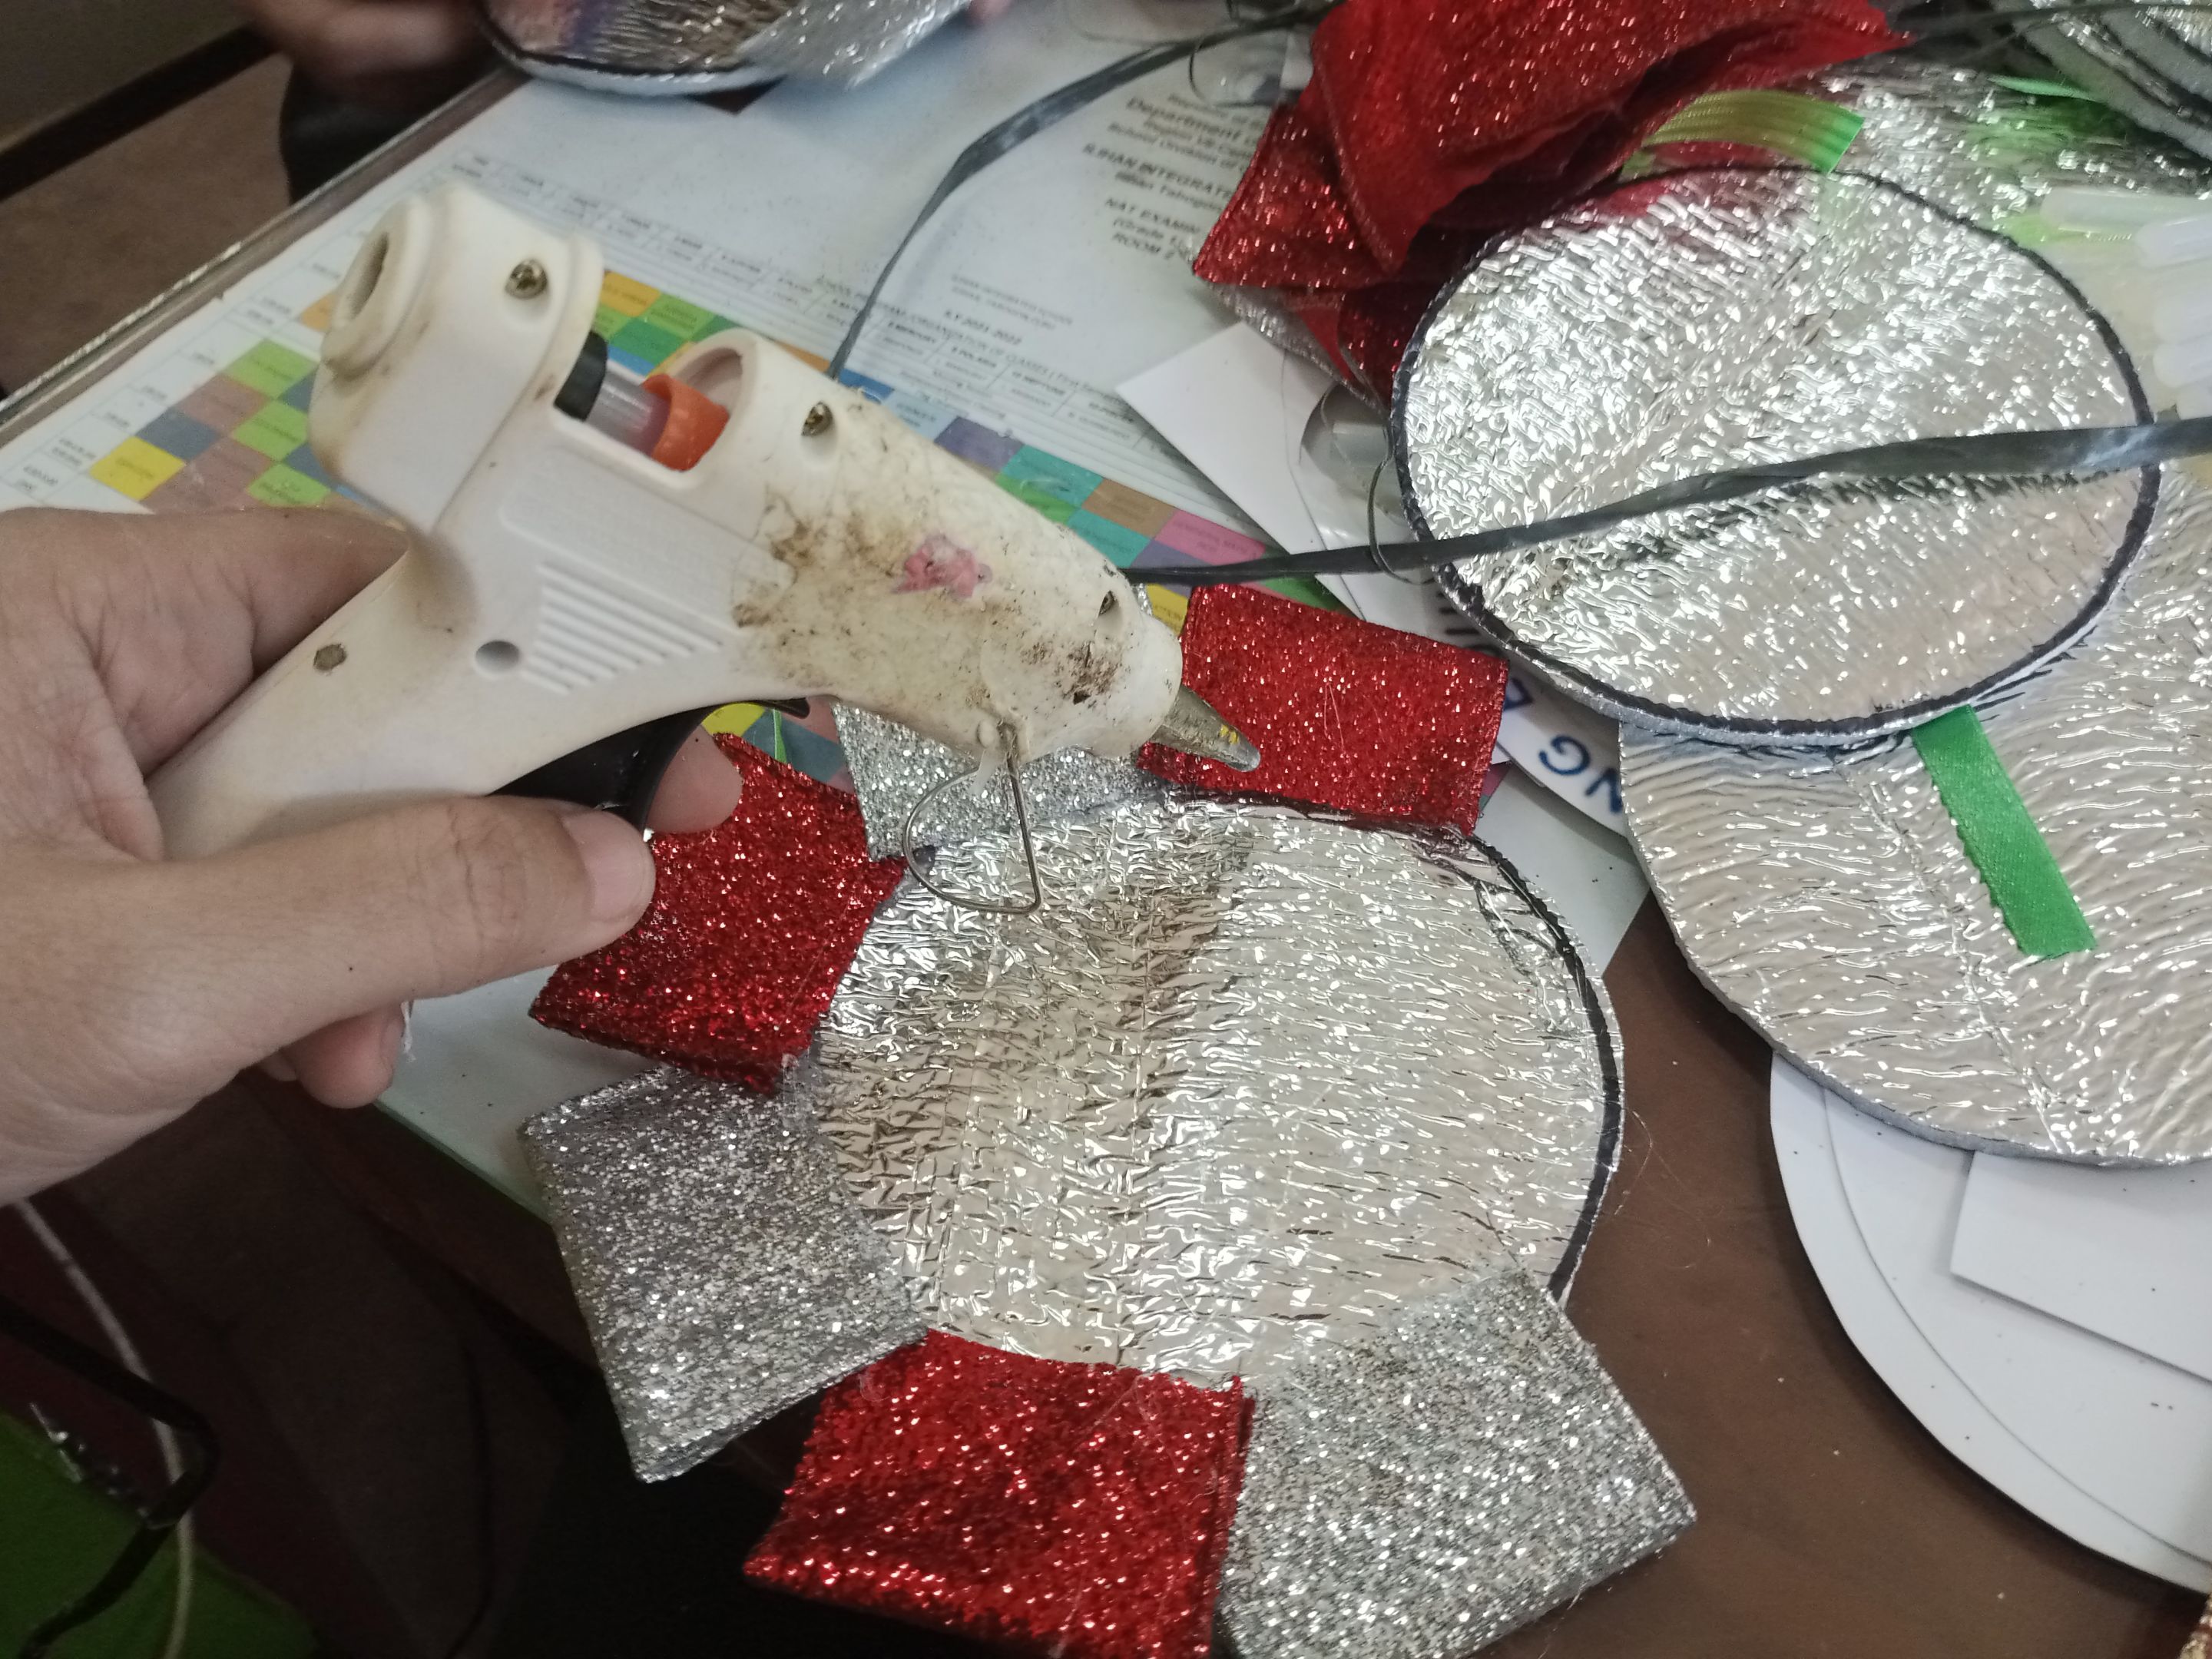 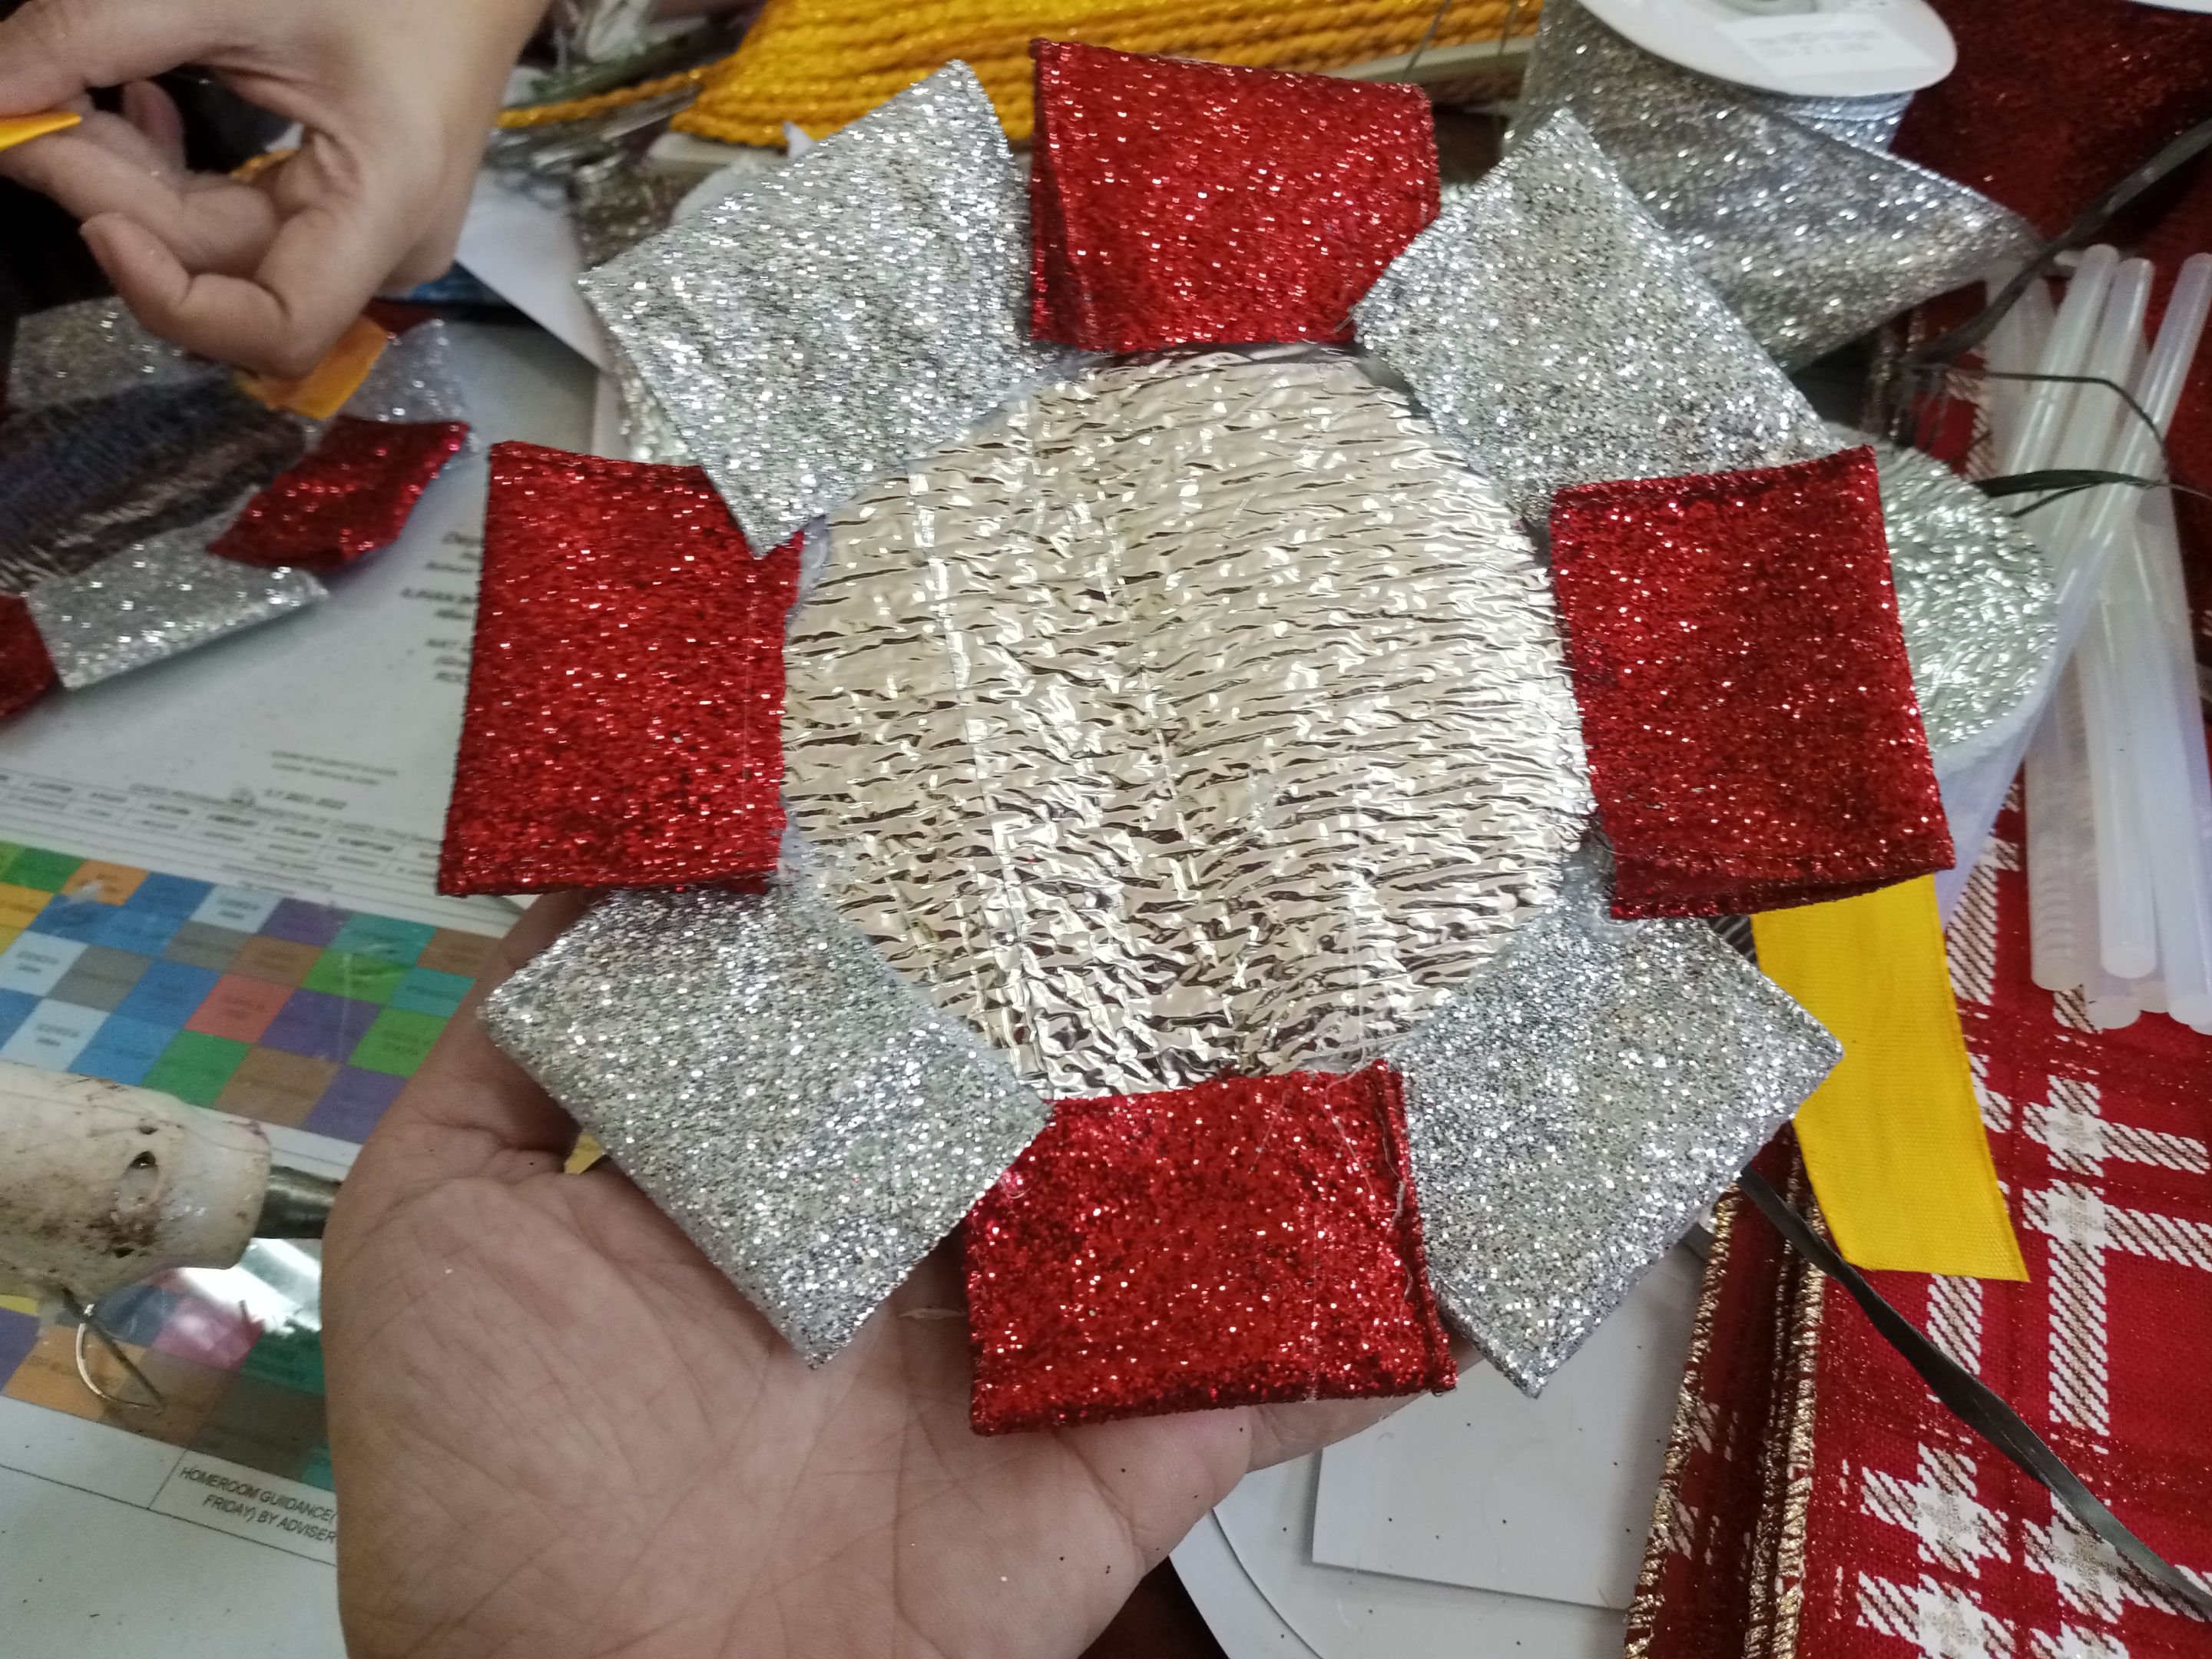 Step 8. The next one will be the satin ribbon (gold color). Fold and paste in the middle of the silver and red ribbons. Continue the process until it is filled. 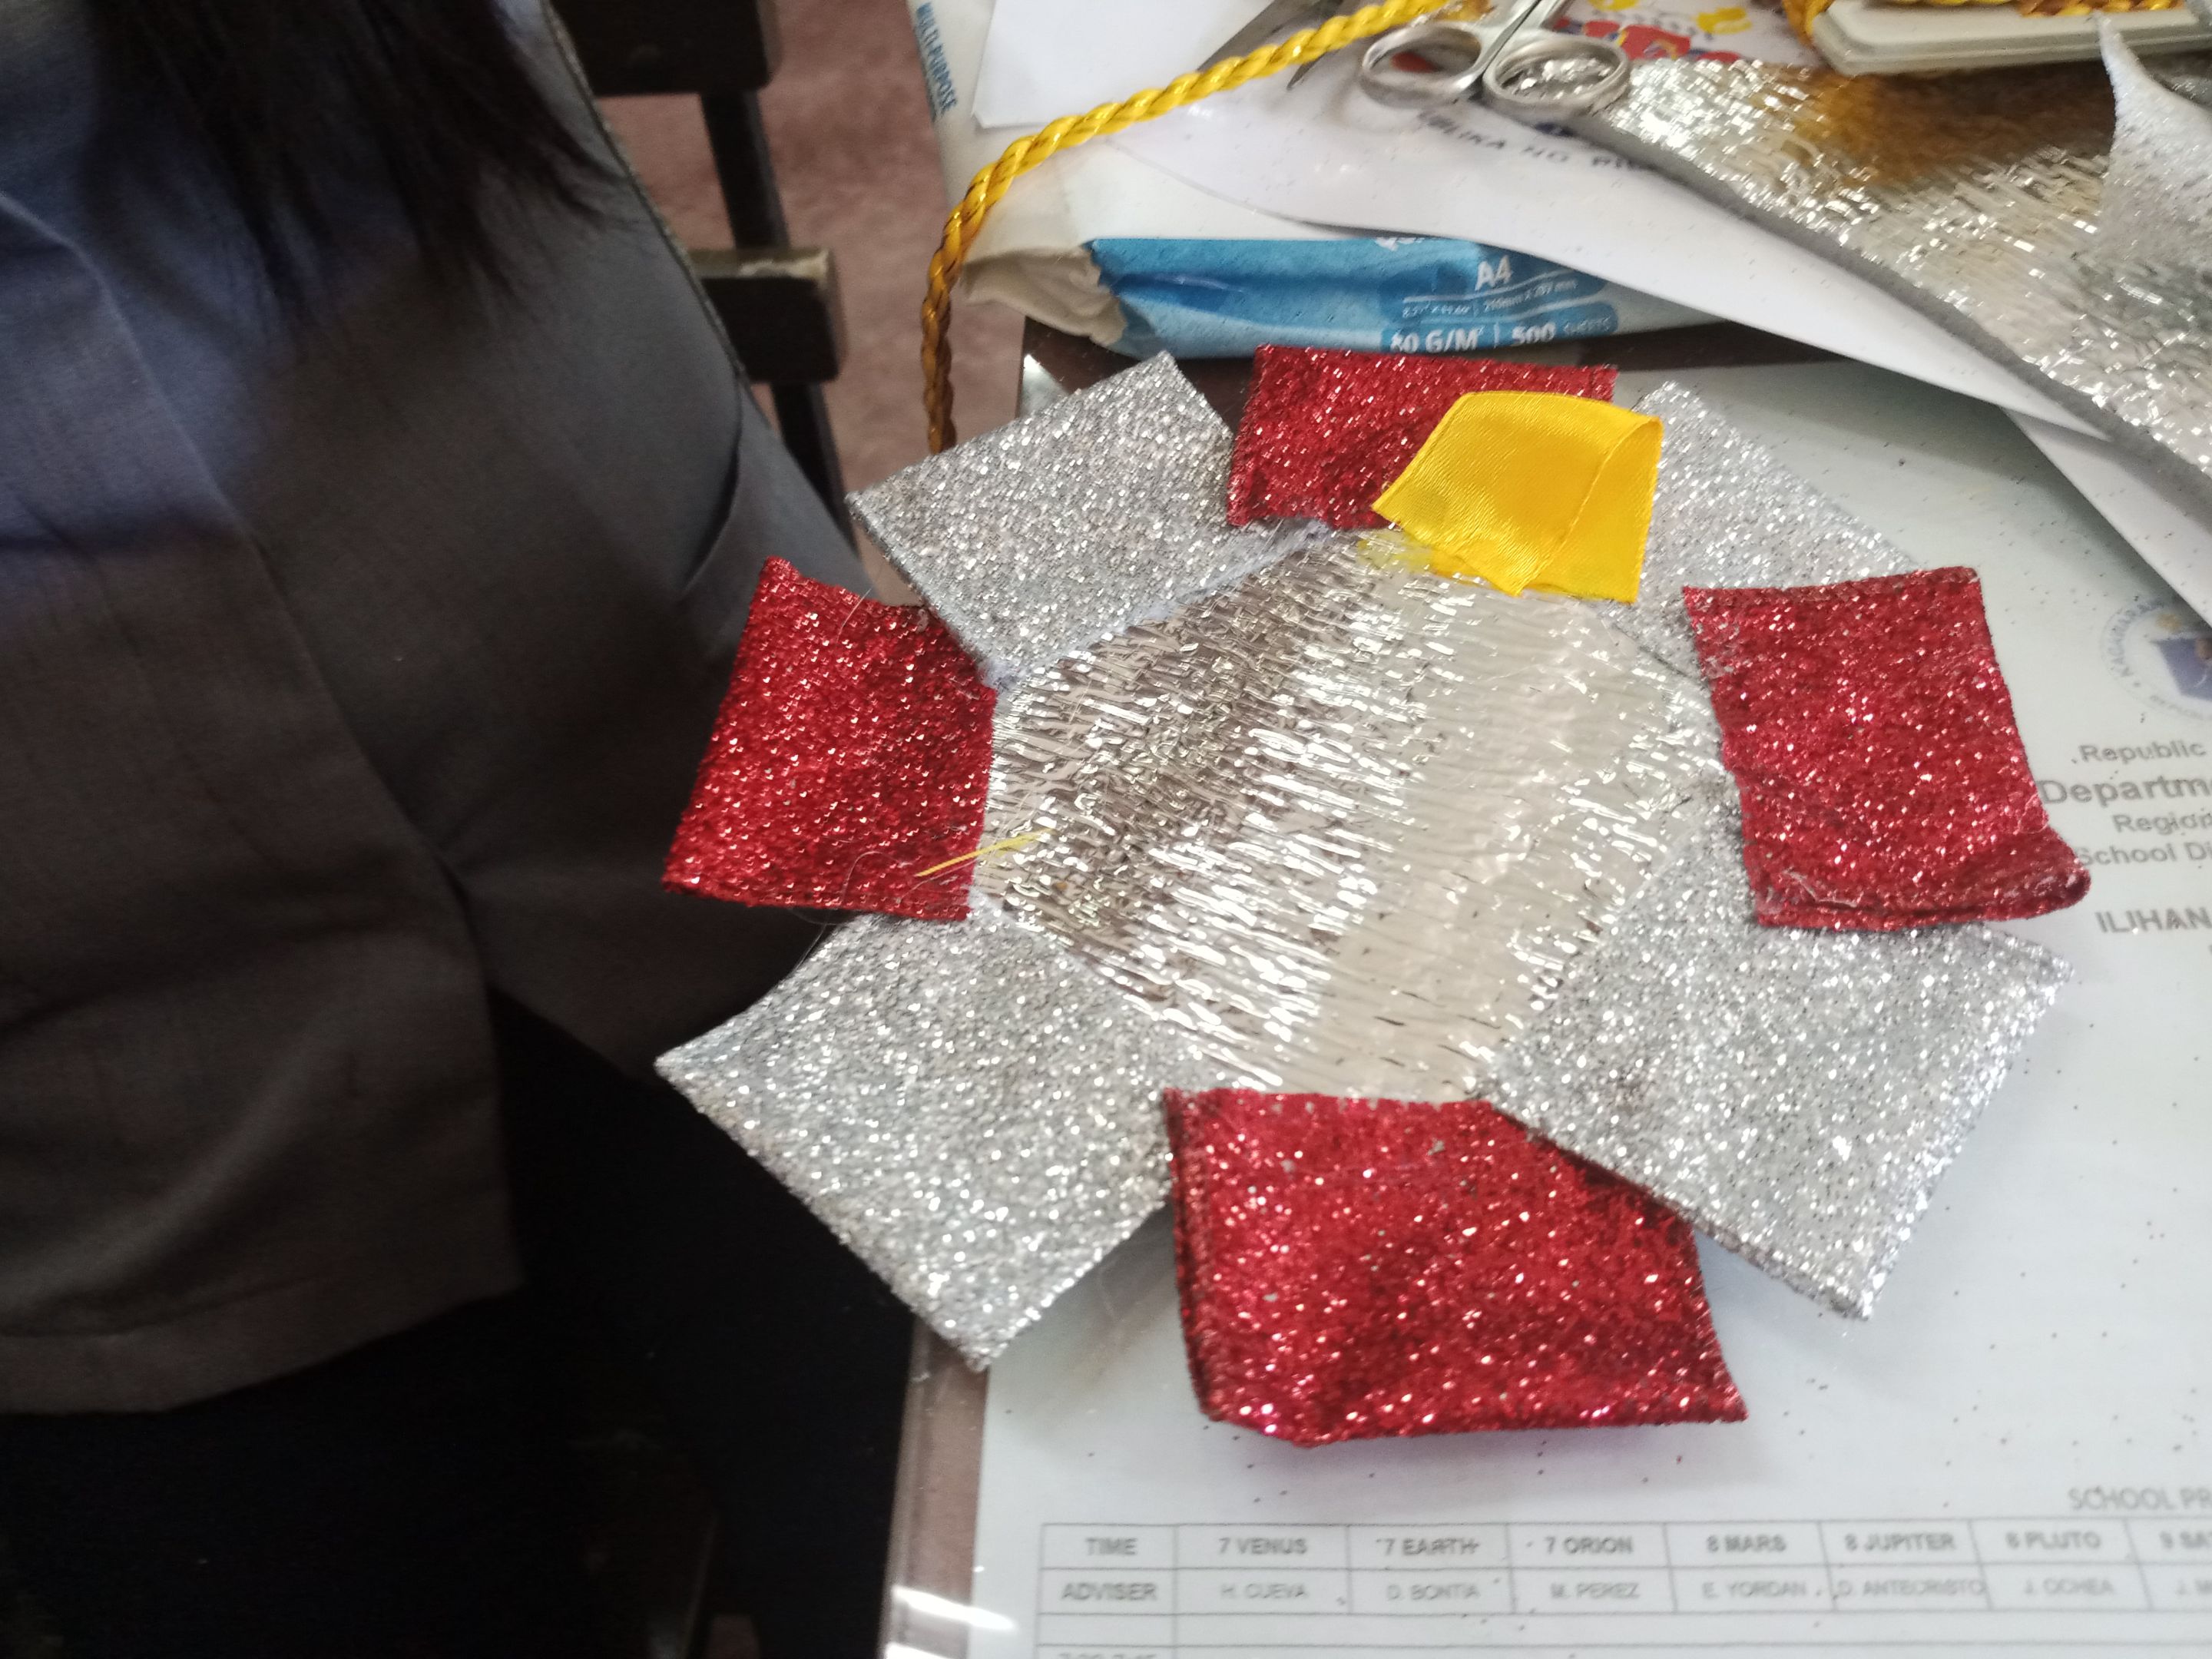 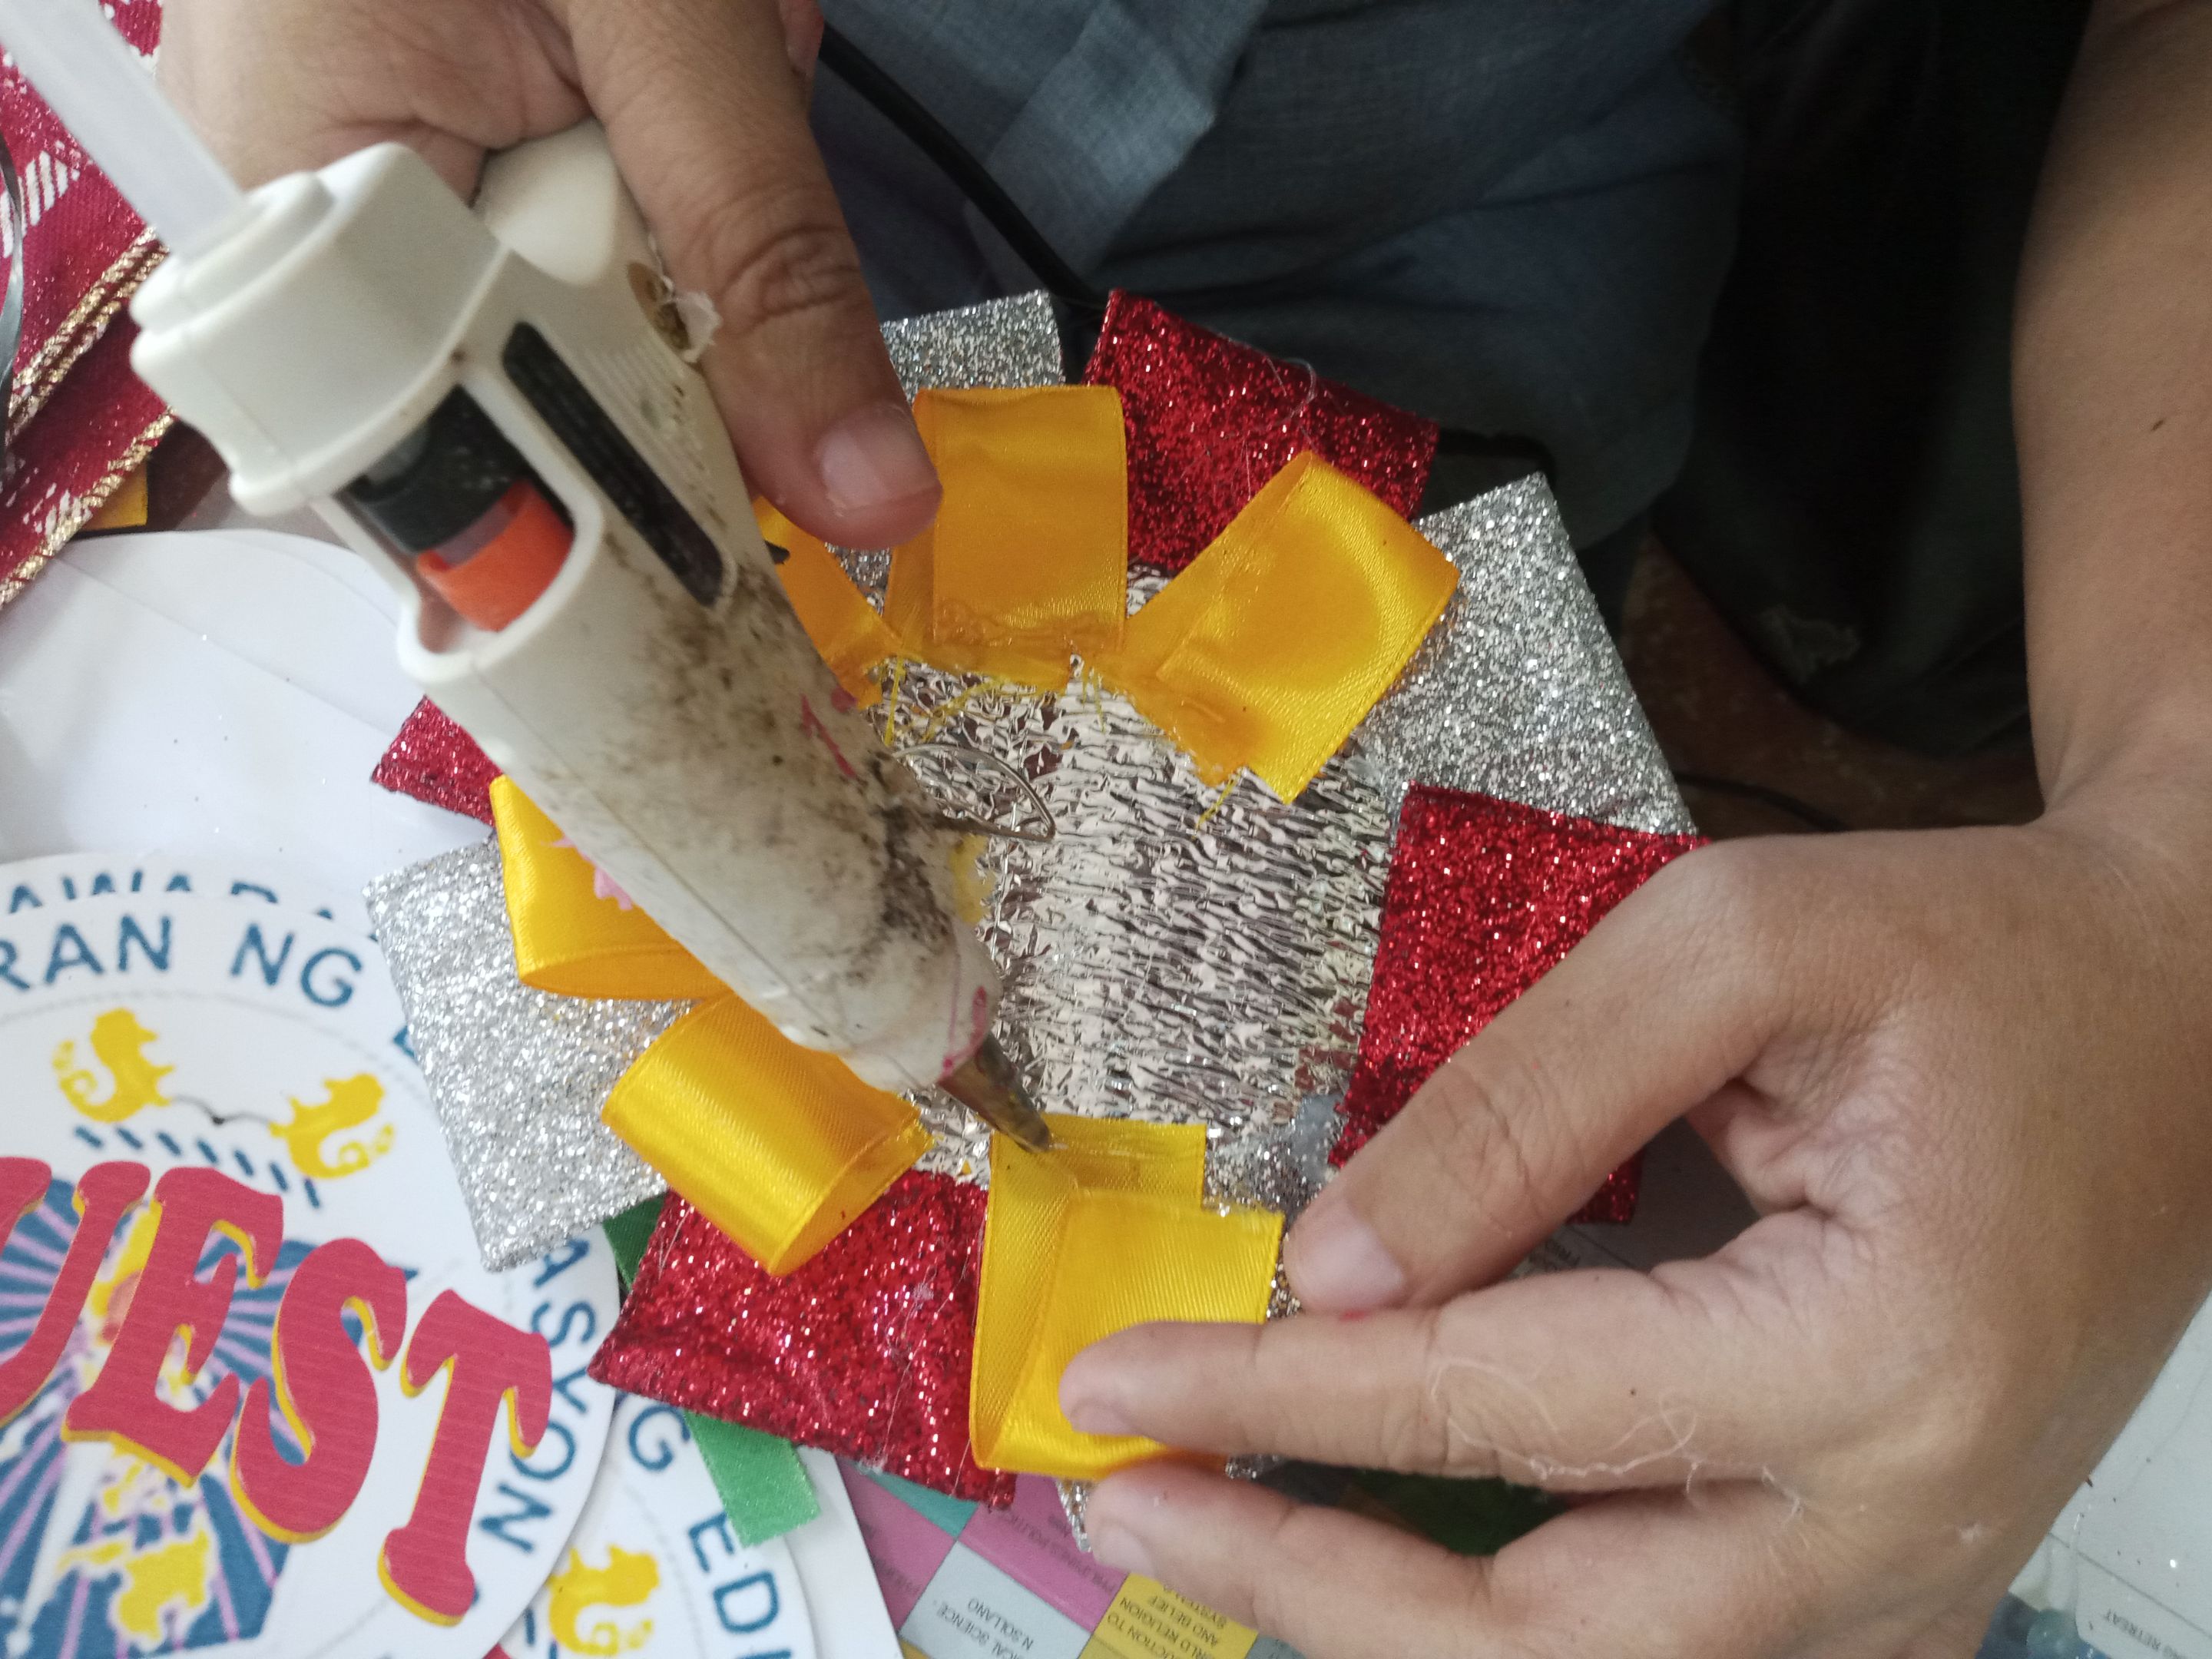 Step 9. Paste the layout in the front by using again the glue. Be sure to completely paste all the sides of the photo paper. Remember the front side only🥰 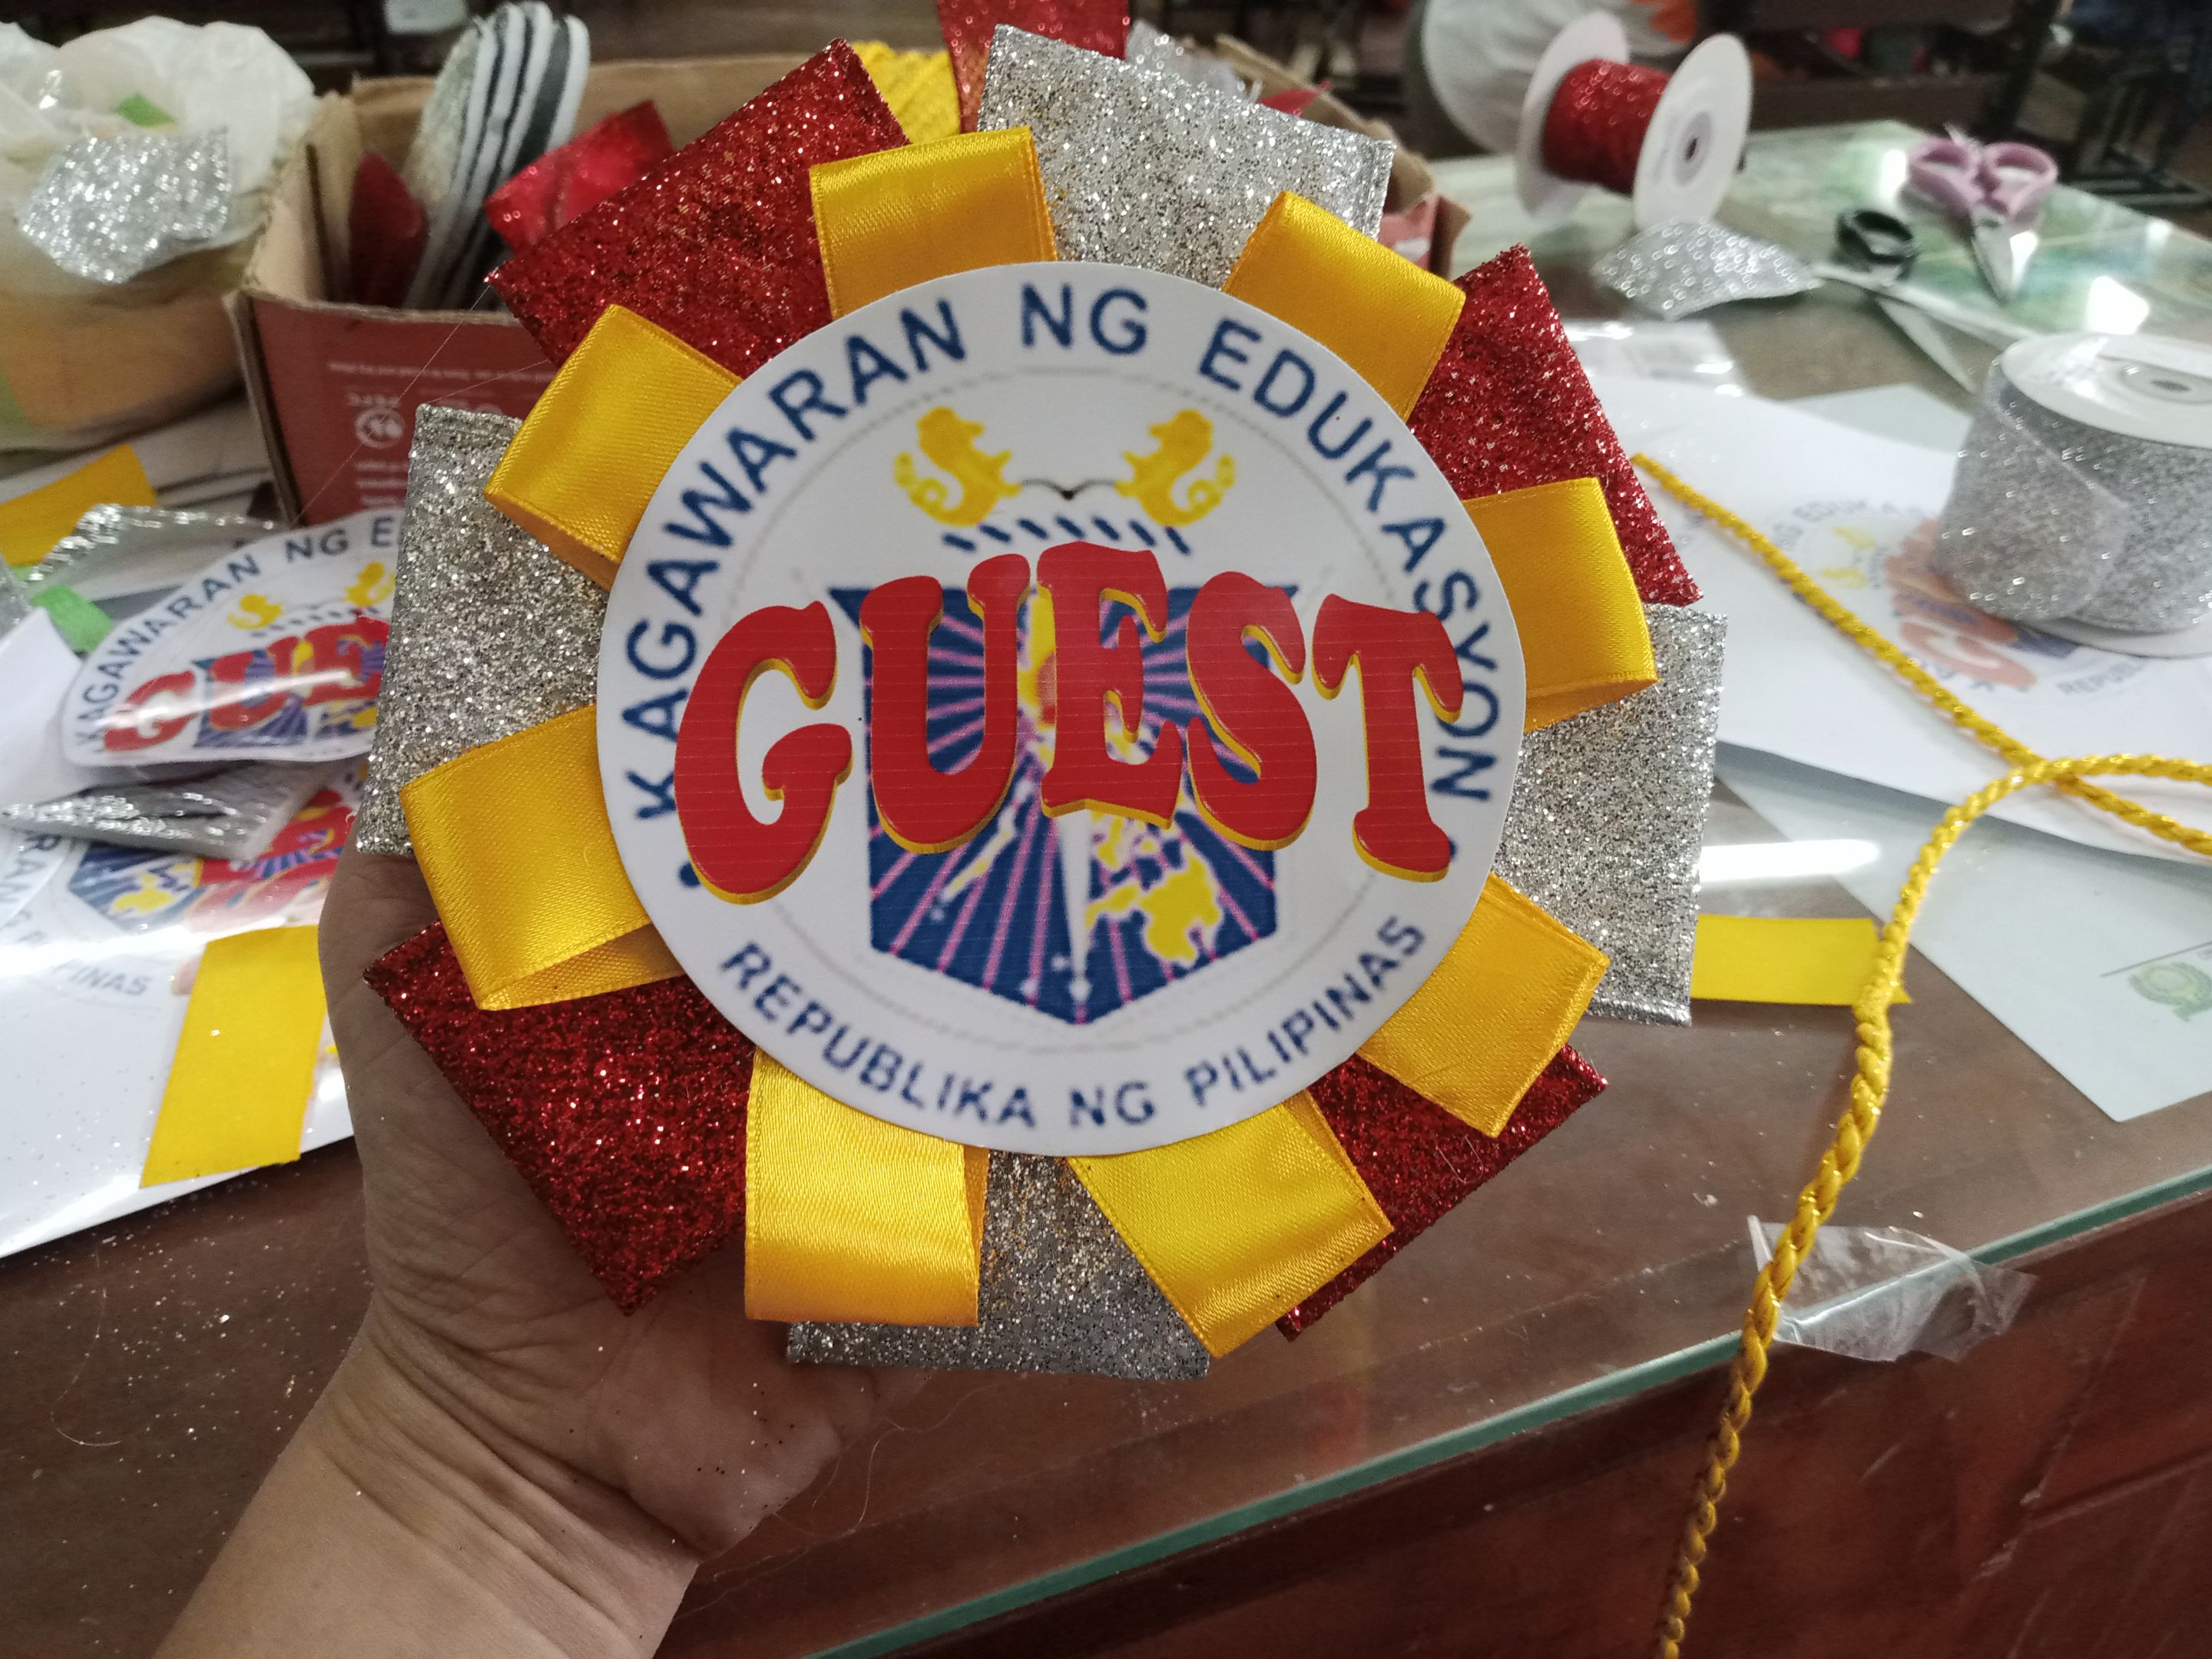 Step 10. The next one will be pasting the gold chord into the edge of the printed circle. 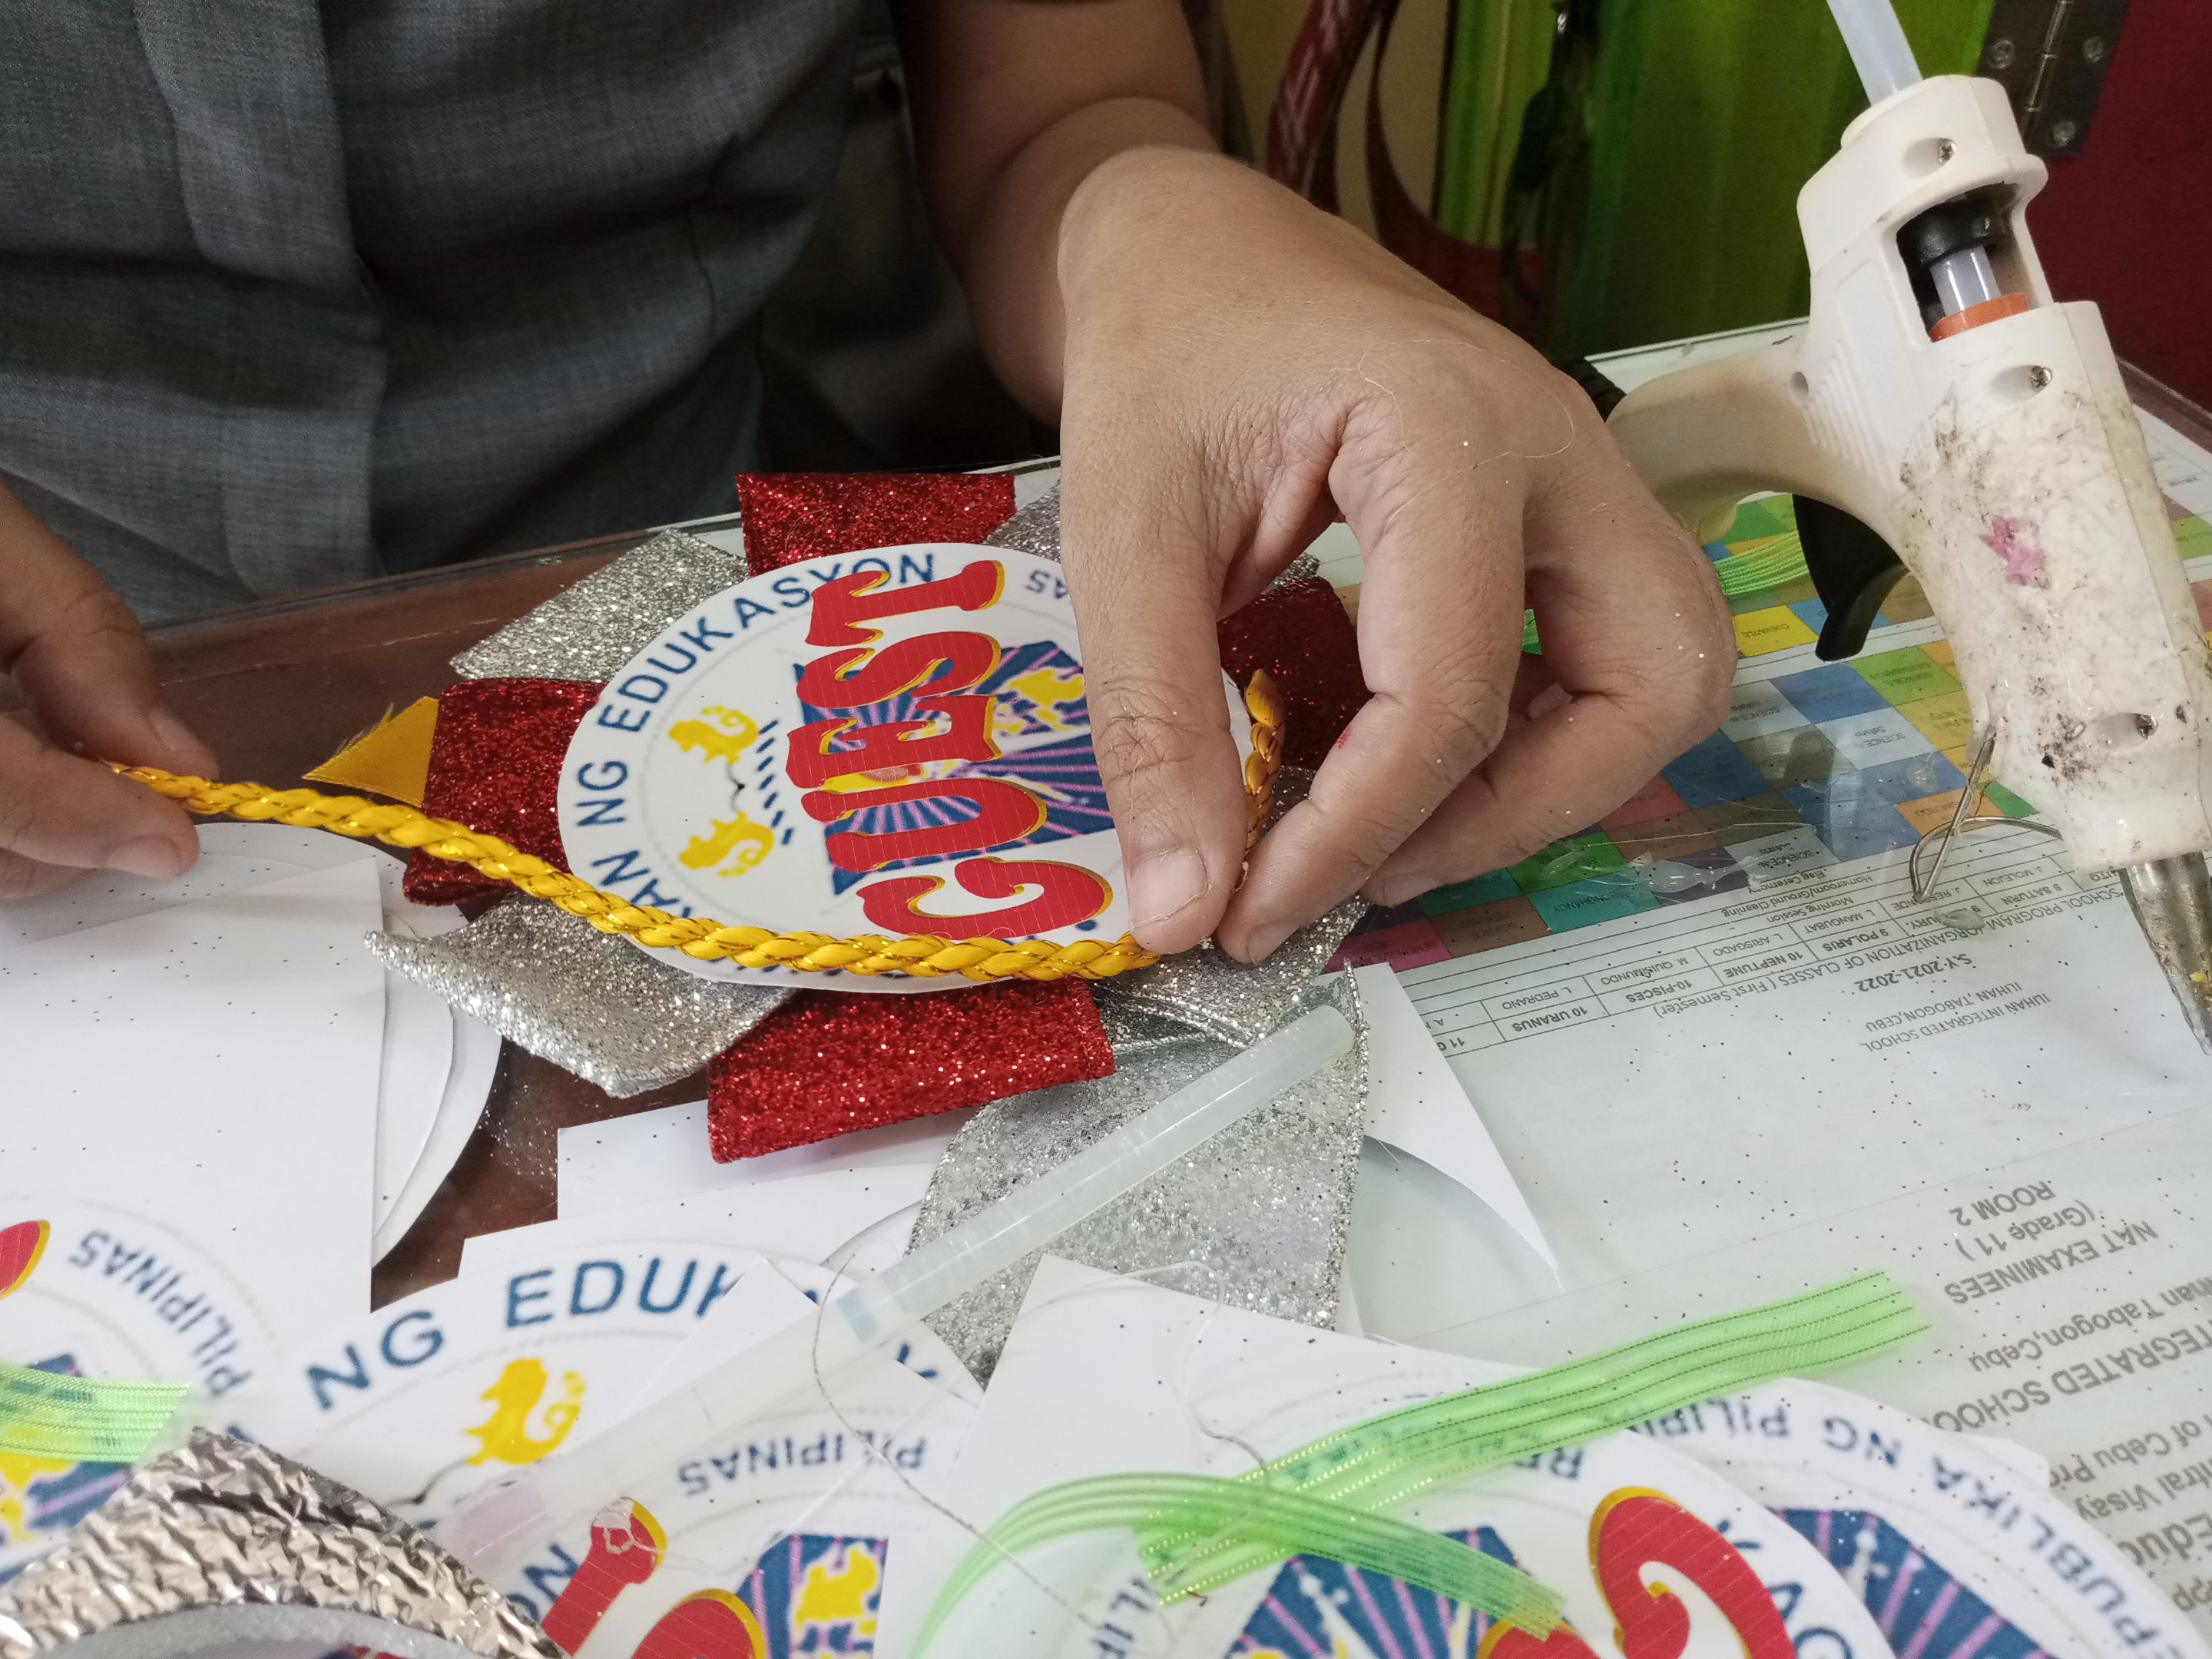 Step 11. Get the lace and paste the design materials. 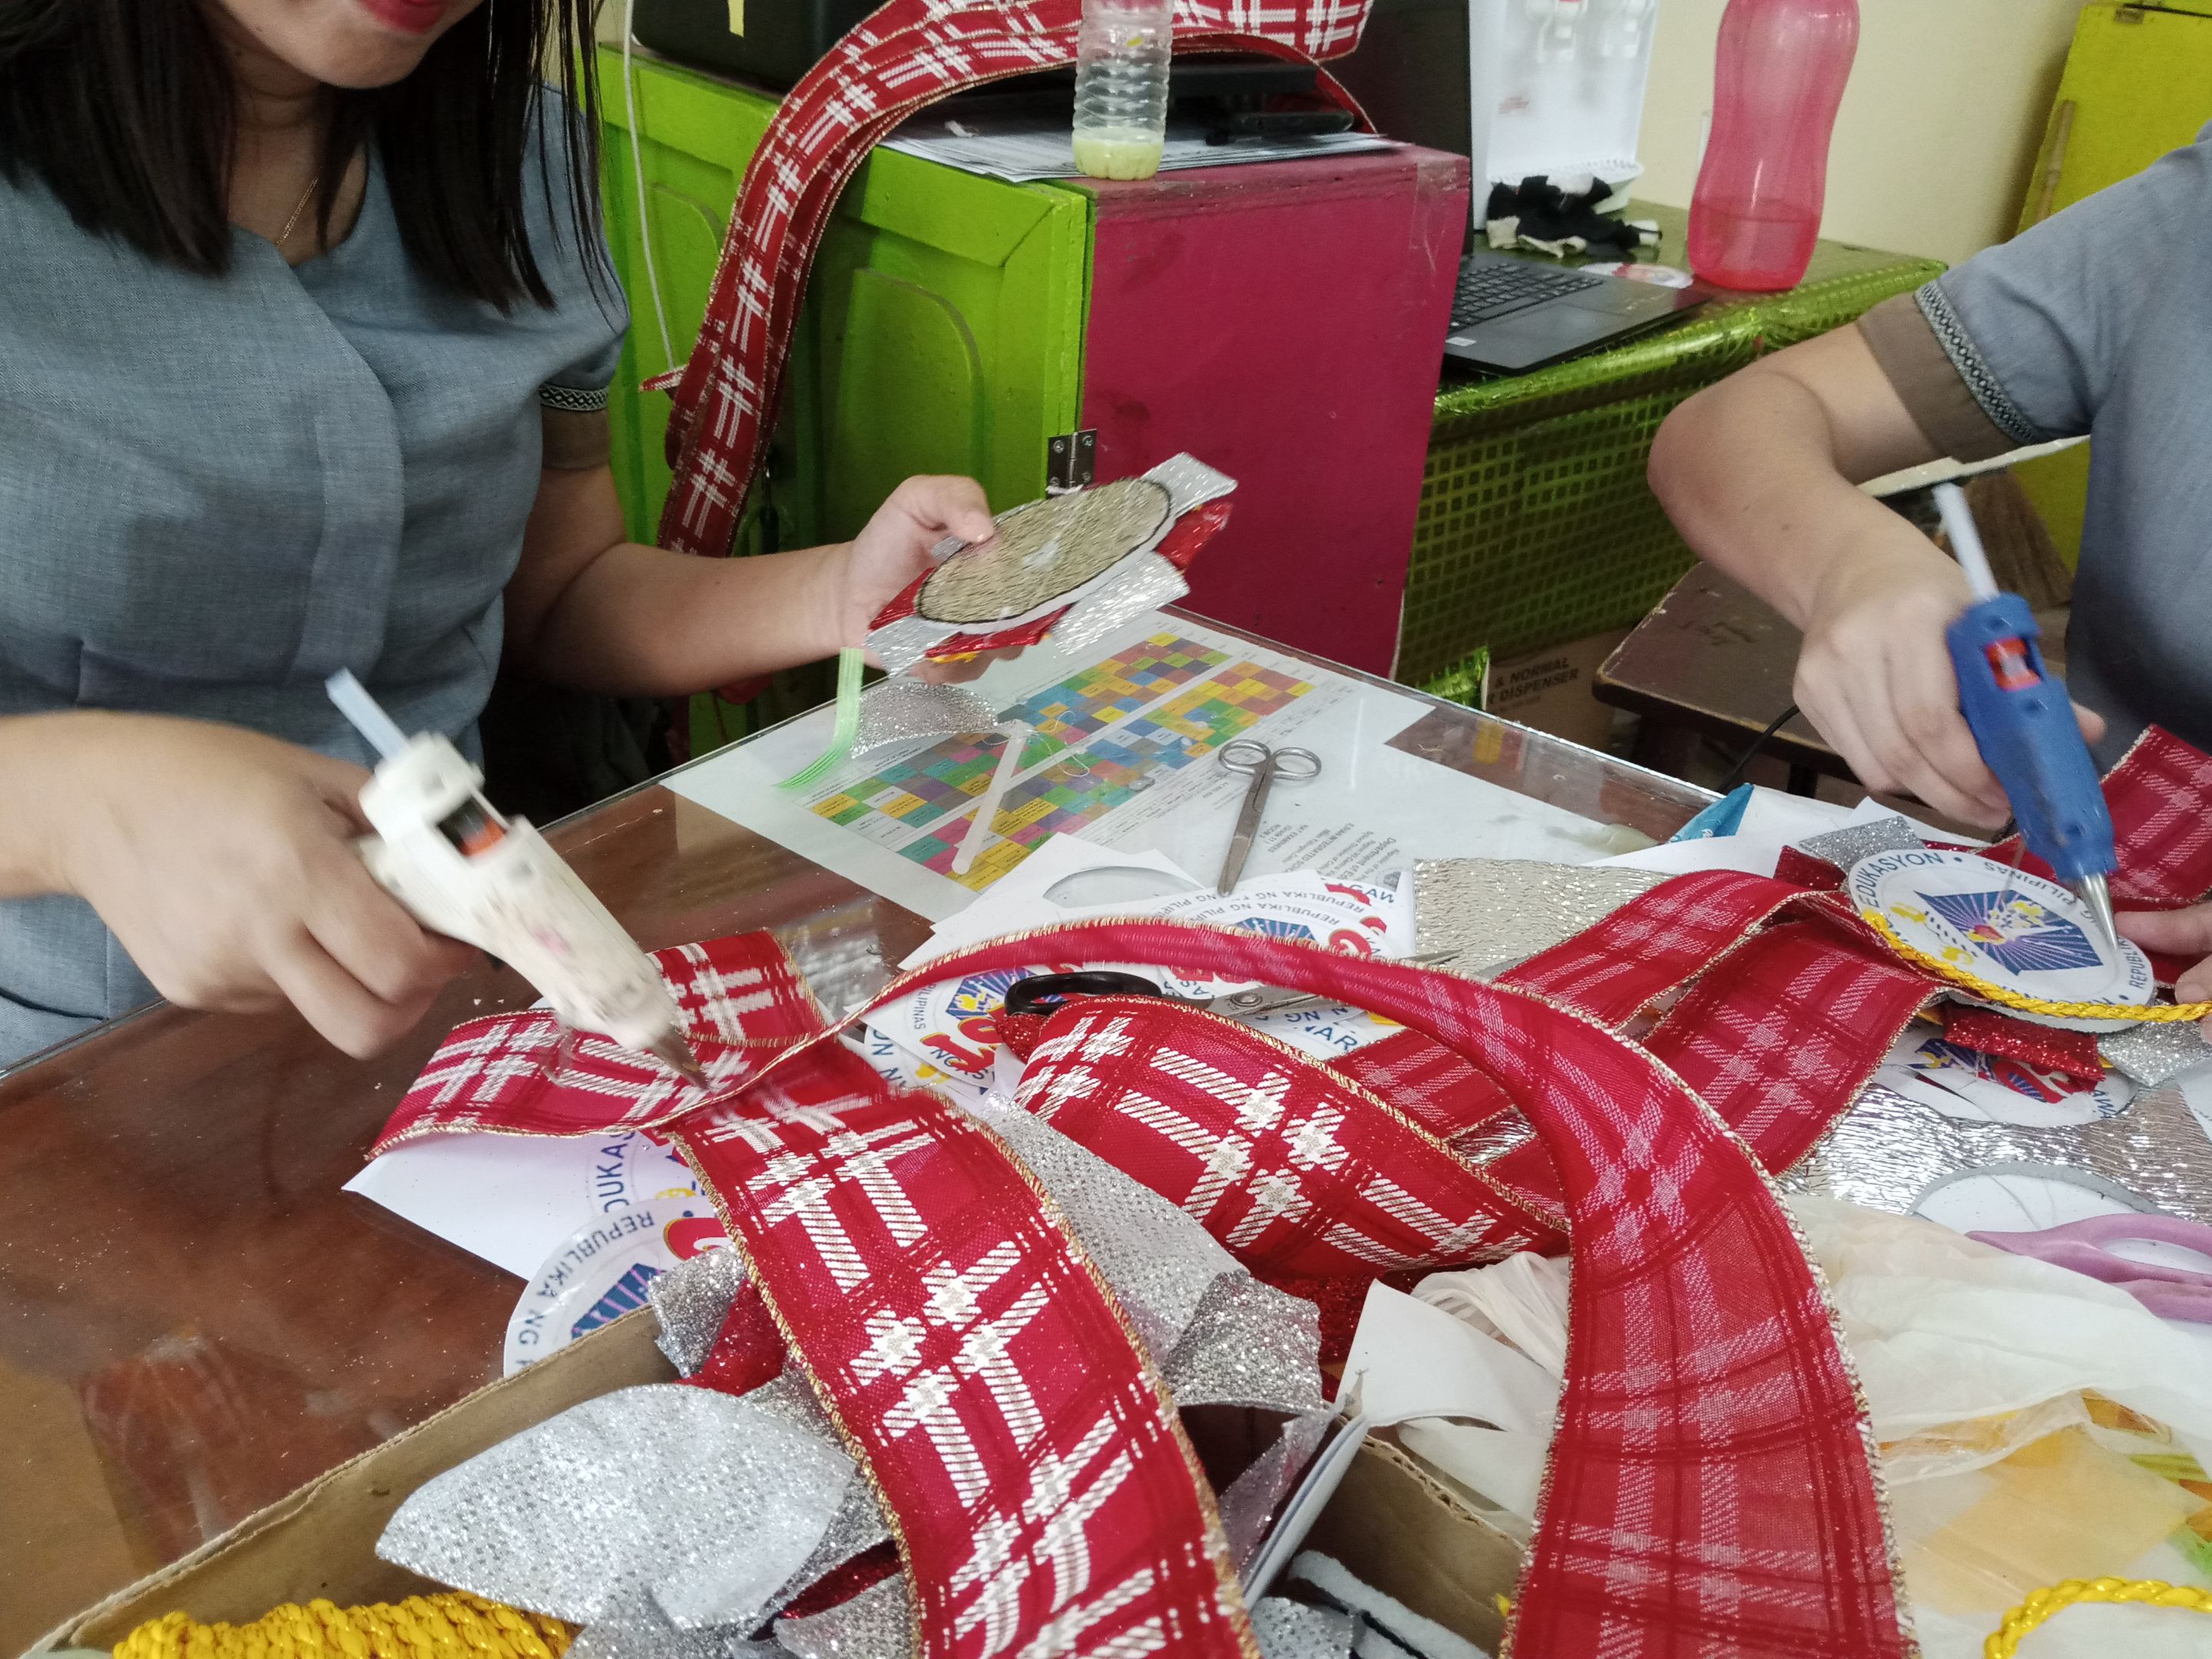 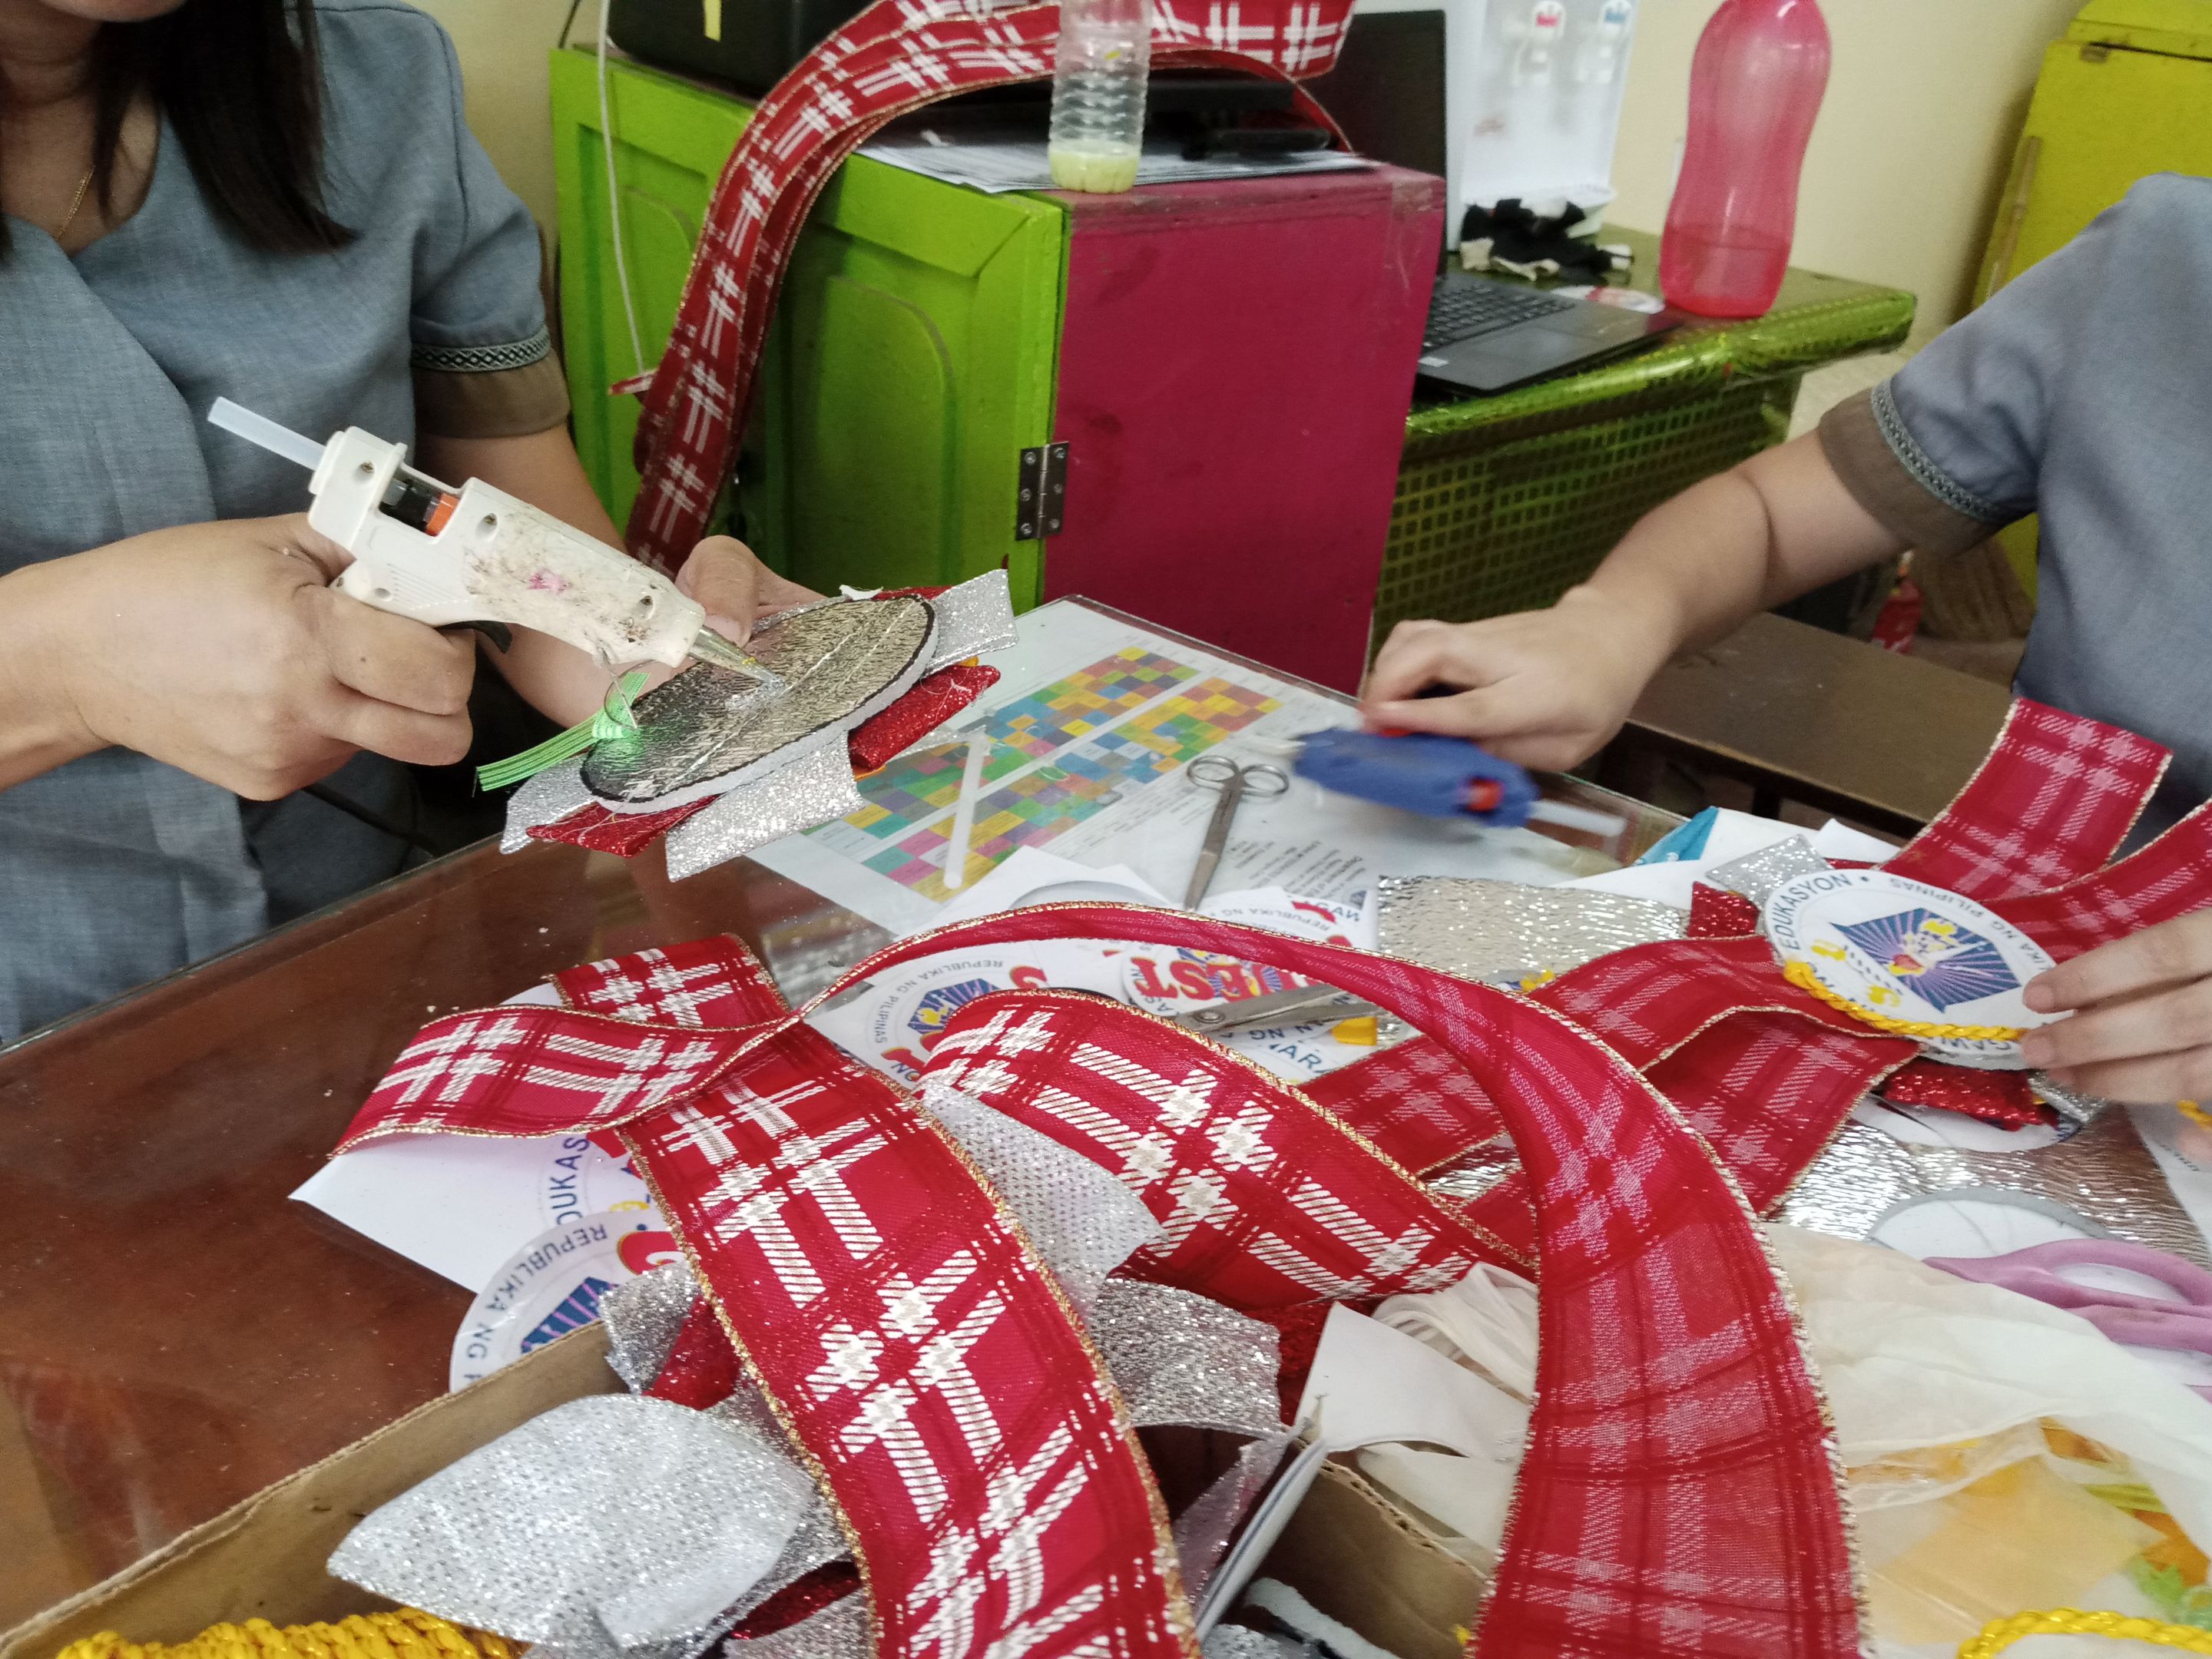 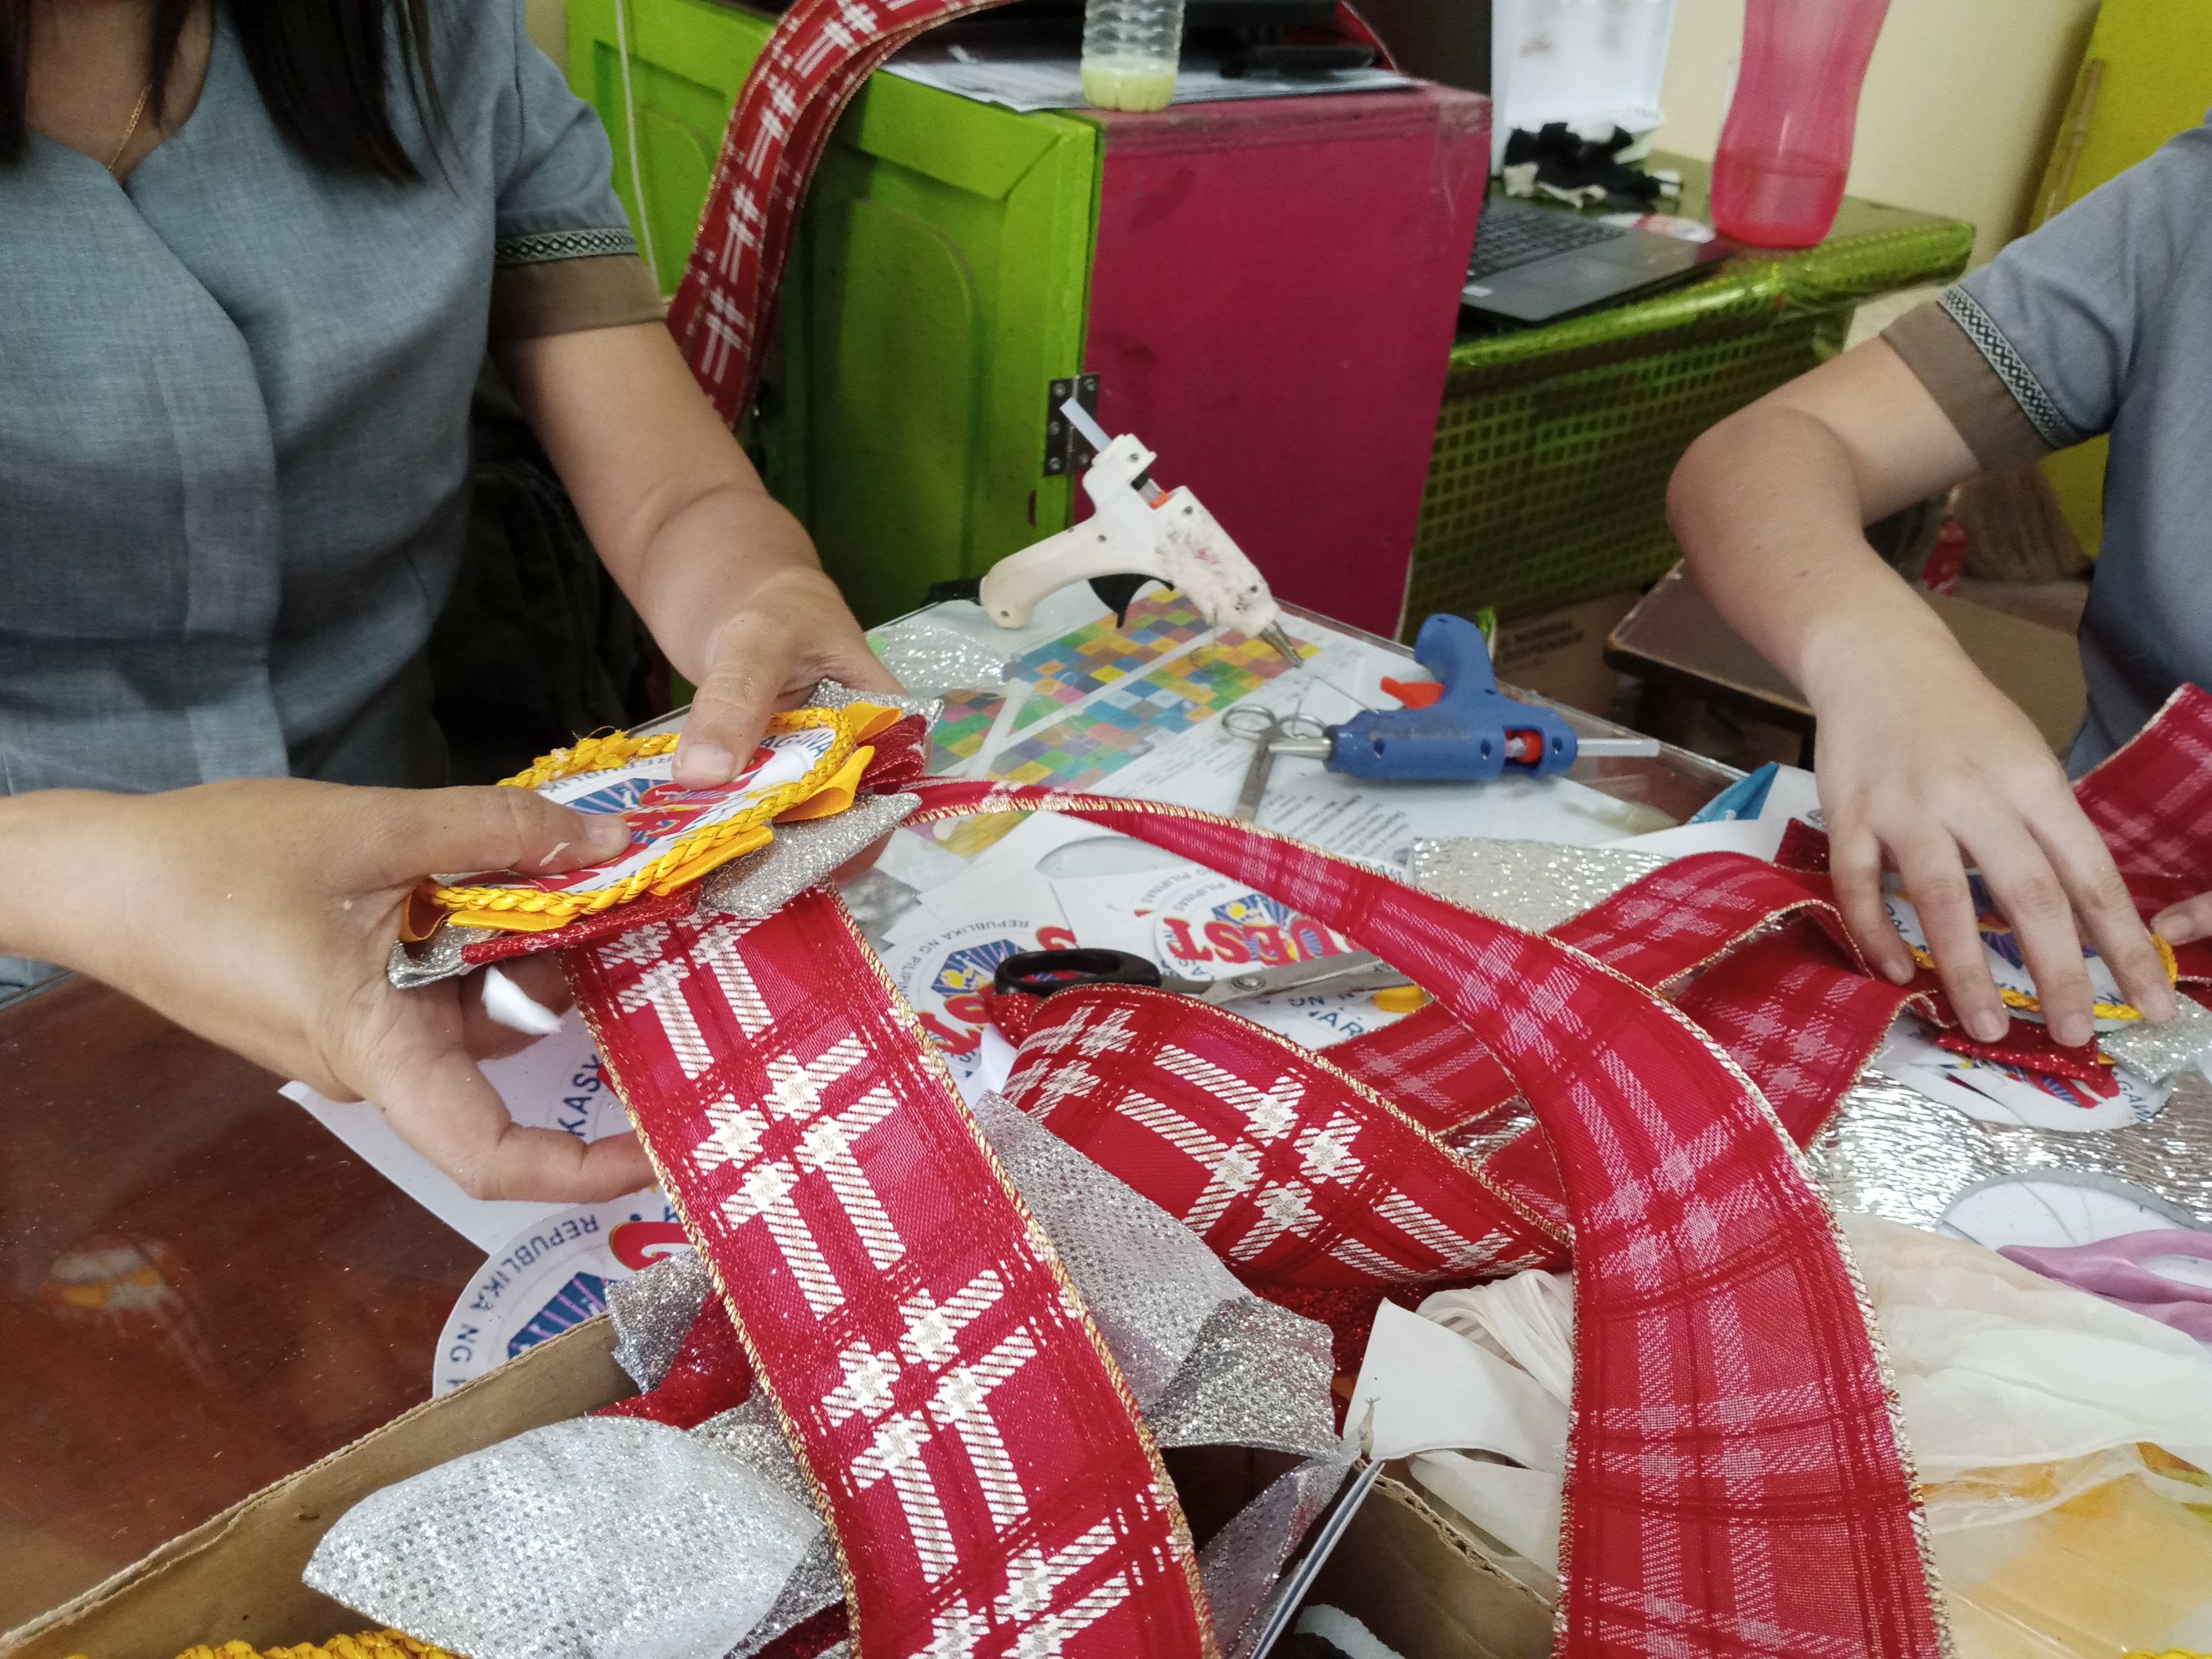 Step 12. Paste the back layout and paste the gold chord at the edge of the circle. Repeat the process for all remaining materials. These were the results of our Lei Corsage.  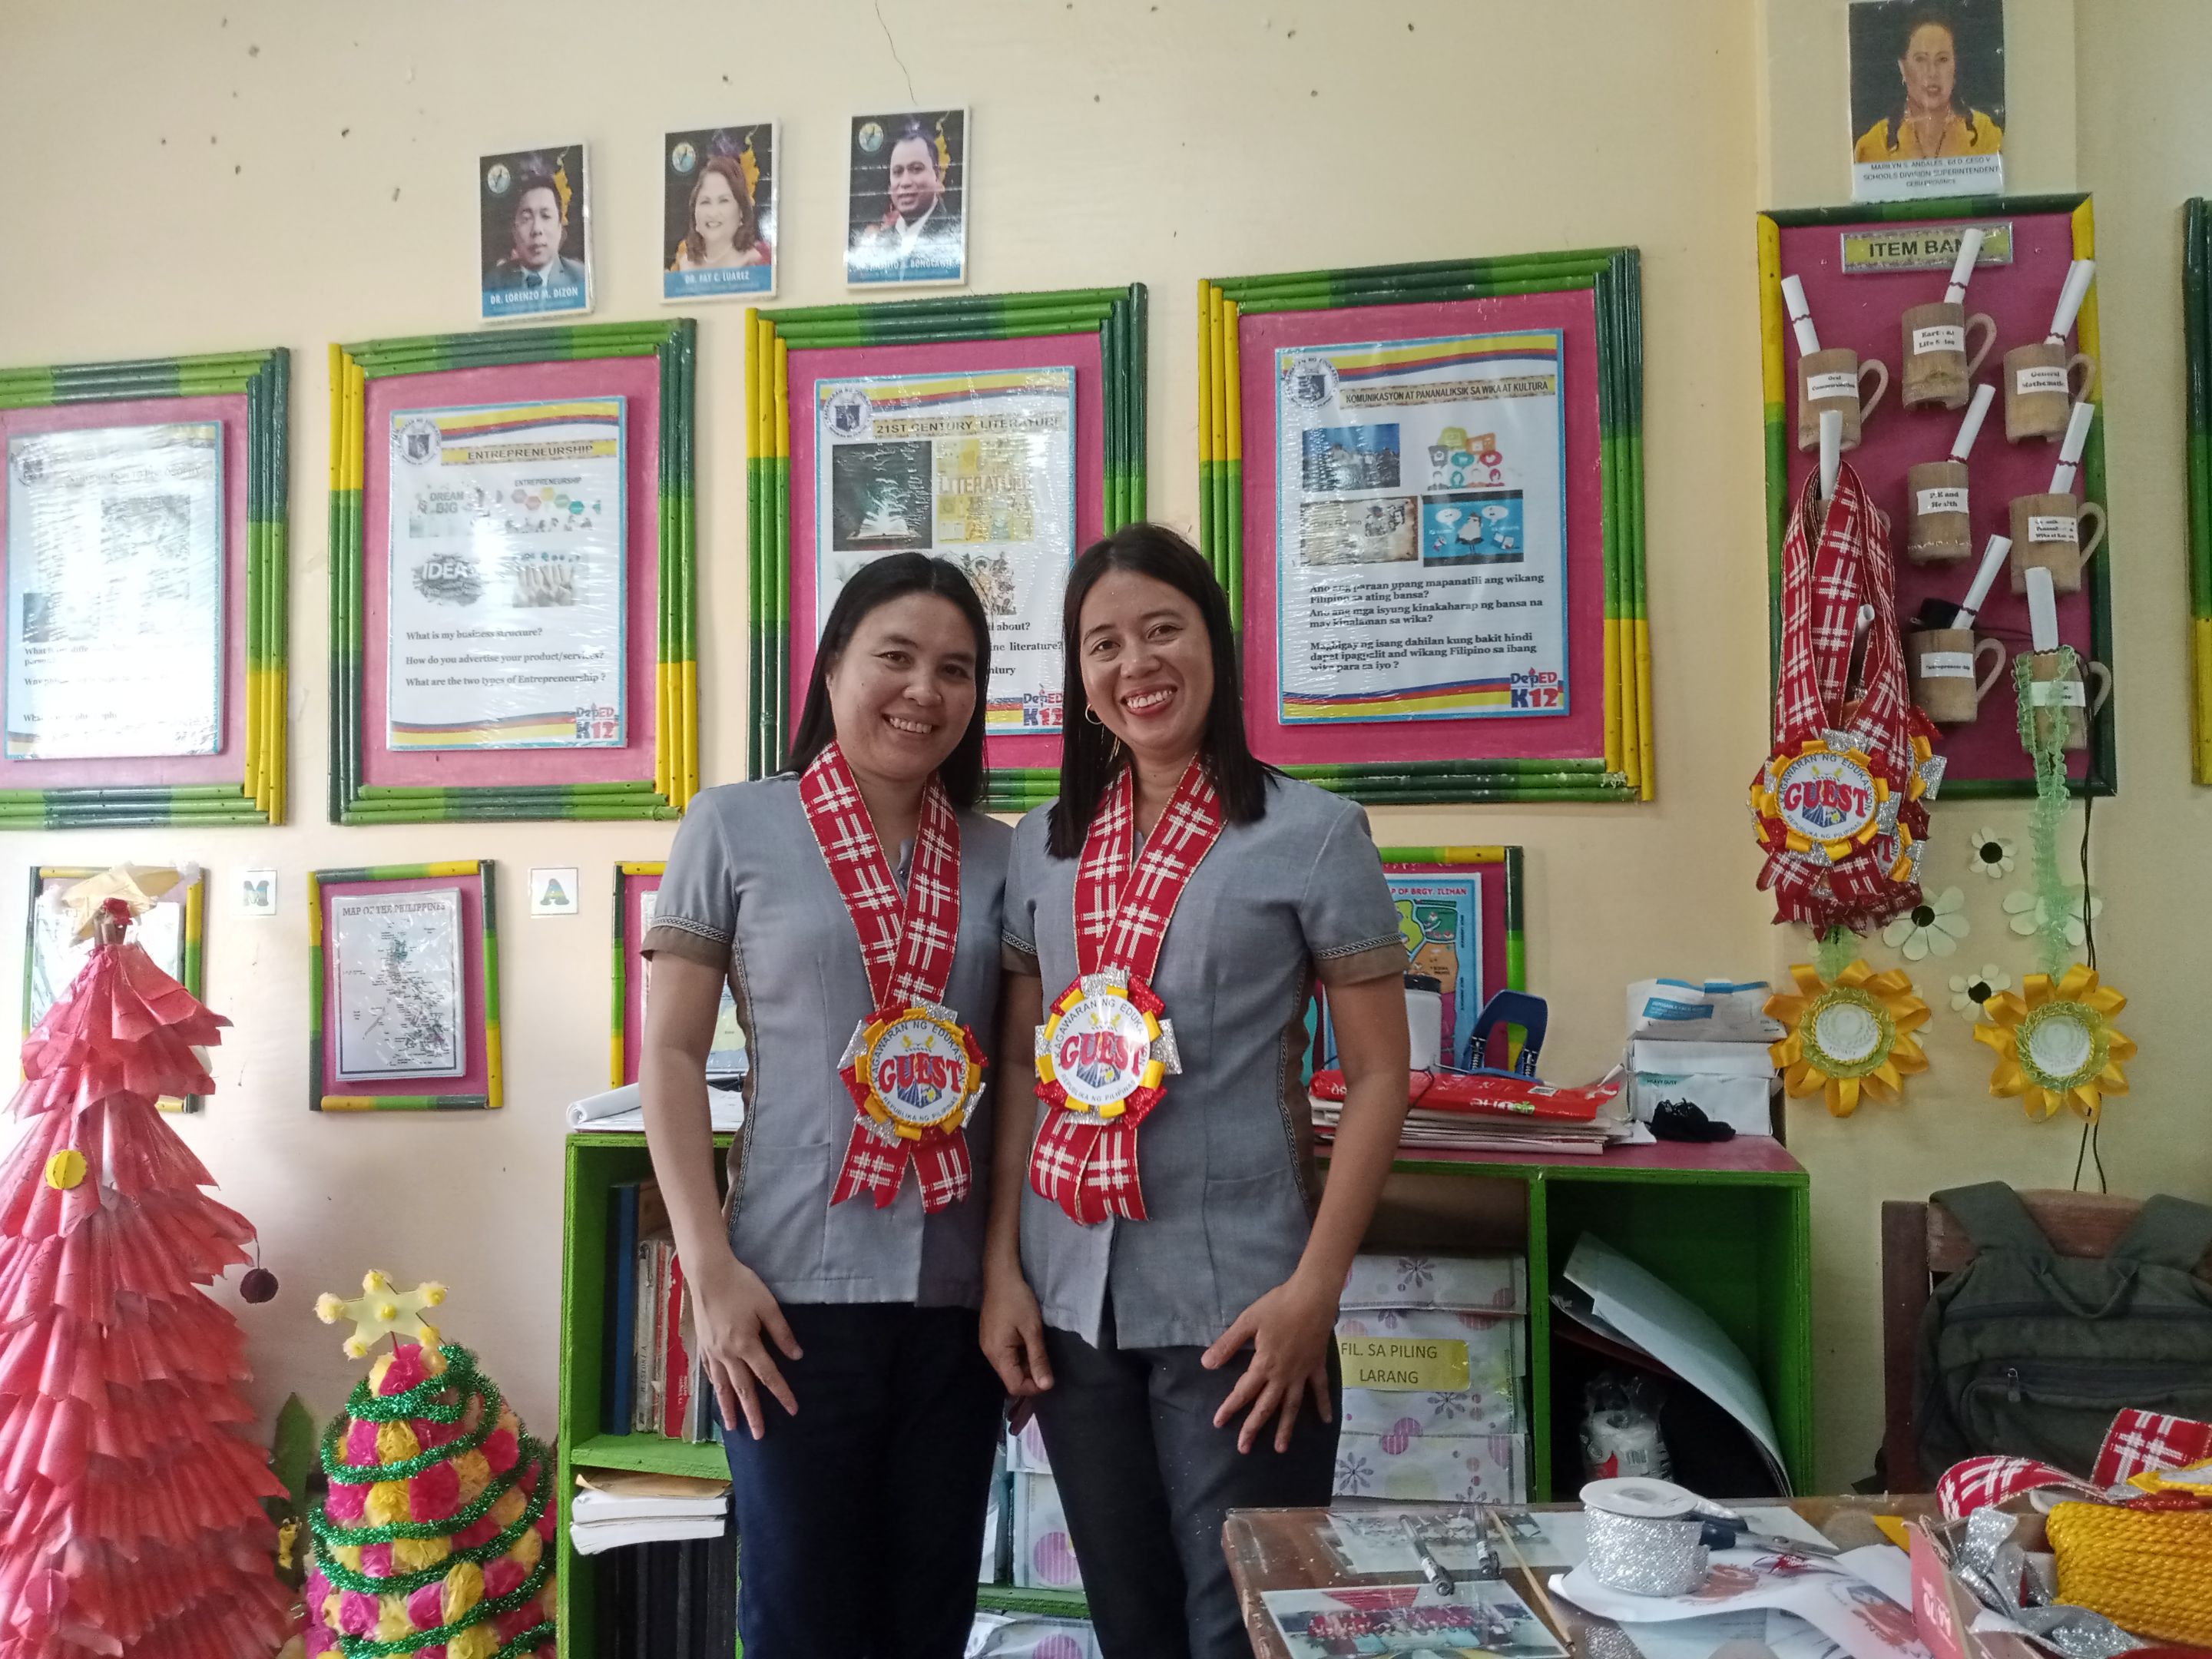 <center>***The Models! I mean the Designers!!🥰***</center> We were thankful to God that we made it and are still eager to learn and explore more. The most important thing is you are interested and enjoyed what you are doing. That's all for now my dear hivers. Hopefully, this inspired and give you the idea to do a Lei corsage for the incoming events. Keep safe always and may God bless us all. </div>
👍 voter, cloudblade, quochuy, teamvn, steemulant, smartvote, steemtelly, huaren.news, diyhub, allmonitors, elizacheng, deepu7, acidtiger, diytube, arita992, konaqua, ladyyunajay, ryenneleow, sodom, build-it, joeyarnoldvn, cruisin, letalis-laetitia, tokenyzzy, viking-ventures, jim888, nurul-uli, charityball, naymhapz, ciadanmea, acidyo, adamada, mister-meeseeks, juanvegetarian, ghaazi, leveluplifestyle, trasto, jazzhero, sgbonus, creodas, elyelma, missleray, amoreyl, pishio, madushanka, desro, jobeliever, jessmcwhite, photographercr, mommyjane, ukulima, selflessgem, ocd, roelandp, takowi, sanderjansenart, rawselectmusic, diegoameerali, hdmed, zyx066, ocdb, soychalbed, partiesjohall, pgm-curator, oleg326756, yadamaniart, askari, ricardo993, miroslavrc, indigoocean, javyeslava.photo, tawadak24, drricksanchez, brujita18, jessicaossom, myegoandmyself, minas-glory, walterjay, ma1neevent, lenasveganliving, martibis, redrica, morwhale, kernelillo, gwilberiol, kork75, velinov86, zottone444, senseiphil, hexagono6, aprasad2325, jaydr, xocdb, the-grandmaster, steempress, rt395, newsflash, shikika, howo, ocd-witness, braaiboy, squareonefarms, dcrops, cielitorojo, elgatoshawua, justbekindtoday, netaterra, fotogruppemunich, nickyhavey, meritocracy, mukadder, steemorocco, hanggggbeeee, postpromoter, feedme, tomatom, madefrance, kamalamezwar, steem.services, nathyortiz, variedades, apokruphos, issymarie2, josdelmi, ivycrafts, blackdaisyft, theawesononso, the-burn, the100, h3m4n7, prosocialise, kevinwong, morwhaleplus, morwhalebonus, eonwarped, emrebeyler, sarmitirajaa, cura, hdmed.dev, multifacetas, poliwalt10, therealyme, wynella, drexlord, annabeth, ebargains, barbyjr, sweeverdev, detlev, jlsplatts, gabrielatravels, rima11, saltyreptile, dehai, twosomesup, mercurial9, lordnigel, obsesija, nftfrappe, pladozero, usainvote, depressedfuckup, beerlover, mammasitta, pradeepdee6, huggasnook, juecoree, hope-on-fire, olaunlimited, apunawu, alexalu, melut2021, jerwin2022, shaggoth, mdriart, holovision.list, digi-me,